
1. Cream Linen Serenity Frame
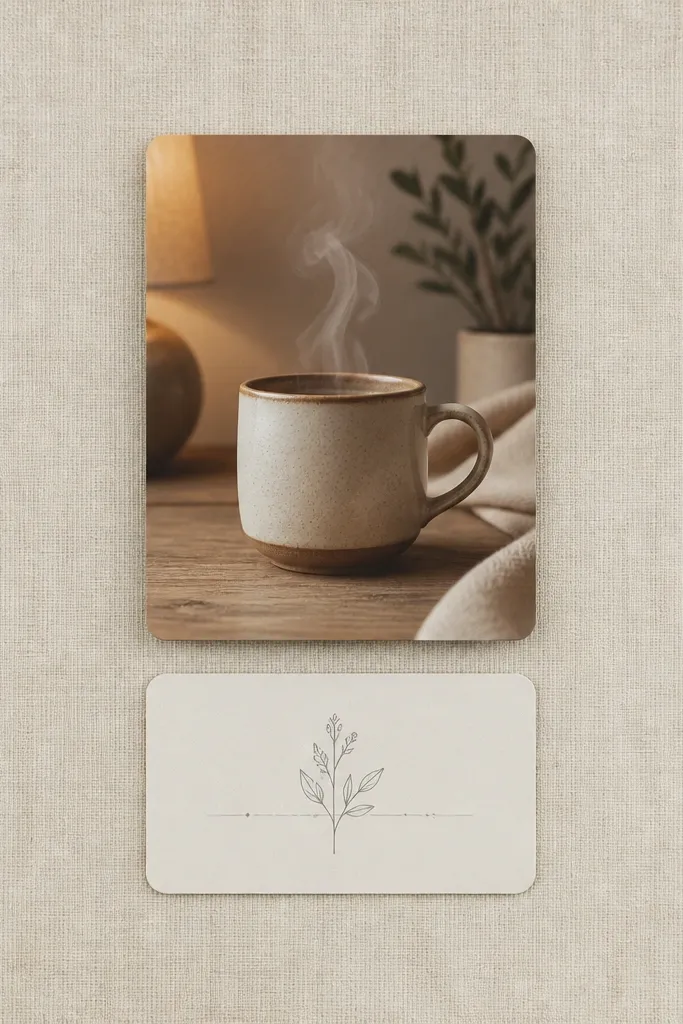
Start with a cream linen-texture background so every element looks cozy without needing extra clutter. Add one centered photo (tea mug or candle) and a thin quote card beneath it in warm gray ink. This works because the linen texture gives softness while the layout stays strict, so it reads modern. Use rounded corners on your photo cutout so the whole board feels gentle rather than sharp. This layout is best for a small board you hang near a reading chair or bedside.
Editor's noteUse matte photo paper, not glossy, because candle and tea photos look warmer under matte.
Cut your base to the frame size and cover it with linen-texture paper or fabric-backed cardstock. Print one main photo at 4x6 and crop it to a 4:5 portrait ratio, then mount it with foam squares for a slight lift. Add a quote card sized about 3x5 in warm gray, then finish with a final border strip that matches the linen tone. Seal the edges with a thin matte glue or double-sided tape so nothing curls.
Skip thisAvoid mixing multiple busy textures like floral + marble + neon patterns on the same board.
2. Sage Candlelight Collage Grid
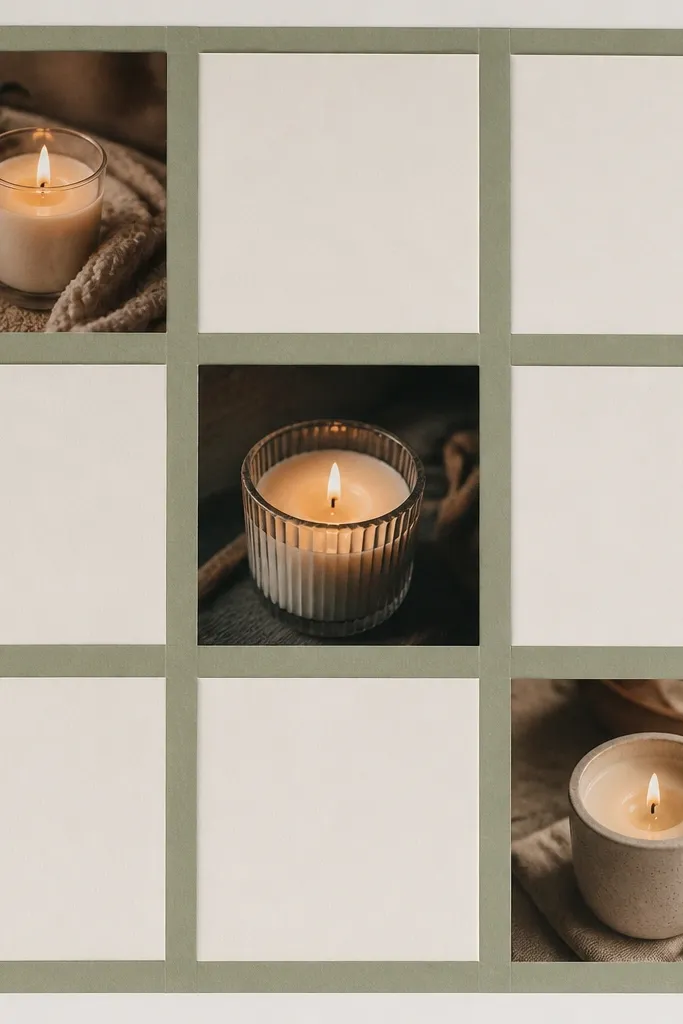
This is the cleanest “cozy but modern” approach: a strict grid with generous blank space. Use sage as your only accent color and keep candle images consistent in tone (soft flame, warm wax, no bright labels). The clean grid makes the board feel intentional, while the candle imagery keeps it comforting. Place three small candle photos across the top row, then add one larger candle or matchbox photo below. The result looks calm from across the room.
Create a grid by marking light pencil lines at 1-inch margins, then cut or print your background in a sage tone. Print three matching square candle images (1:1) for the top row and one portrait candle image (4:5) for the second row. Mount each image with the same spacing using a ruler, then add a minimal text strip at the bottom (about 6 inches wide). Finish by trimming any overhang and sealing the paper edges with matte medium.
Keep candle photos all from the same lighting direction so shadows don’t look random.
Don’t add extra stickers or doodles — the grid is the style.
3. Warm Tea Routine Strip
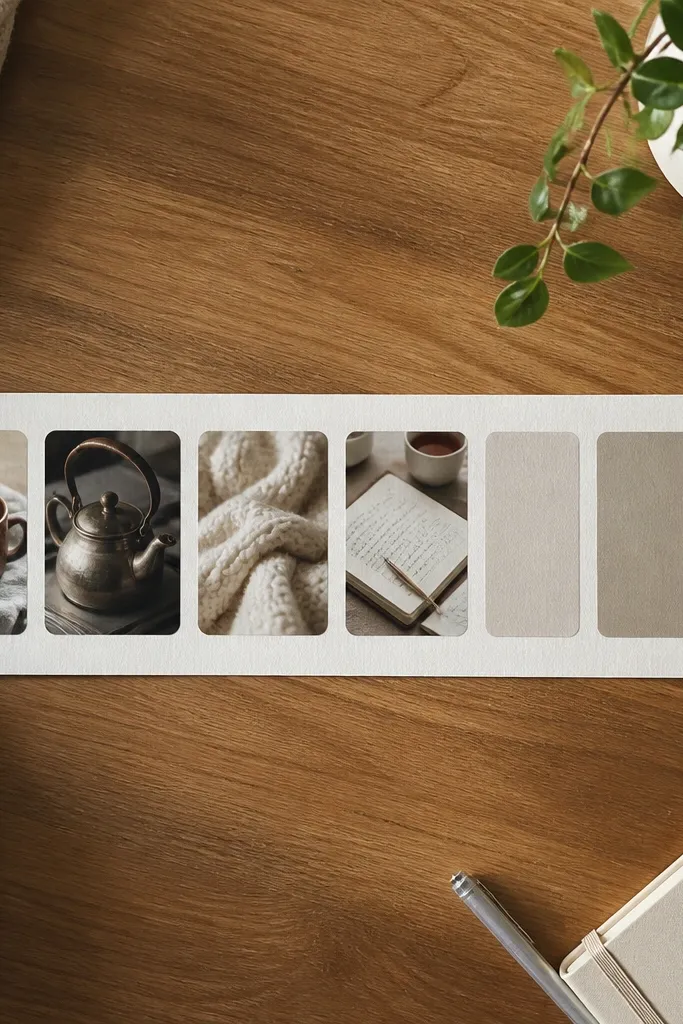
This layout turns self-care into something you can glance at and follow. Use a horizontal strip of tea-related images — mug, kettle, cozy blanket, and a journal page — then add small label cards for morning, midday, and evening. It feels cozy because the objects are warm and tangible, and it looks modern because the strip layout is linear and clean. Keep the labels in a single font style and color, like charcoal gray. This is ideal for boards meant for routines, not big goals.
Editor's noteUse a label tag size that matches your smallest image height so everything stays balanced.
Choose a background in warm white or light beige and keep it plain. Print four images as 2x3 rectangles and align them in a row with 1/4-inch gaps. Cut three small label tags (1.5x3) and place them under the first three images, each one centered. Add a final journal photo at the far right as a larger rectangle to anchor the strip.
Skip thisAvoid using too many different font colors — stick to one ink color.
4. Brown Boots Off-Duty Mood Board
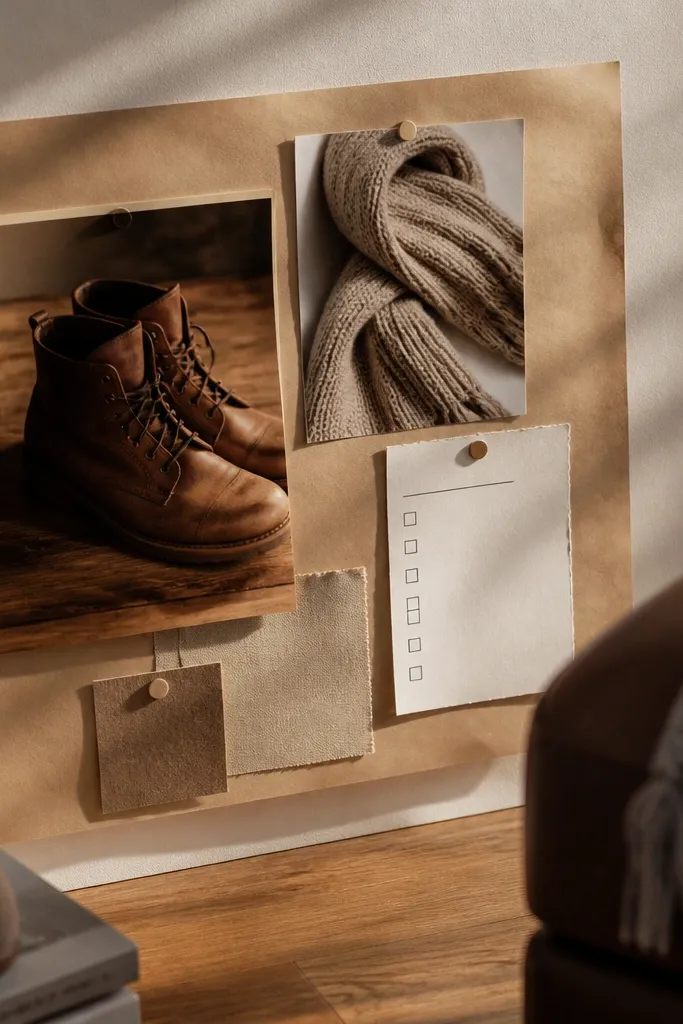
If you want self-care to feel grounded, build around footwear and fabric. Use a main photo of brown boots (tan or espresso), then add a scarf or knit texture photo next to it. Keep the background neutral and add one minimal checklist card like “Reset.” This works because boots and knit textures read tactile, and the board stays modern by limiting the number of elements. It’s a strong choice for a hallway board or a spot by your entryway.
Print the boots image as a portrait 4:5 and mount it as your main element on the left side. Print a knit/scarf image as a smaller square (1:1) and place it to the right with a consistent top alignment. Add one small checklist card sized 3x4 in warm gray, then draw a thin line divider with a fine pen. Cover the whole board with a matte fixative spray if your base is paper.
5. Terracotta Bath Night Instructions
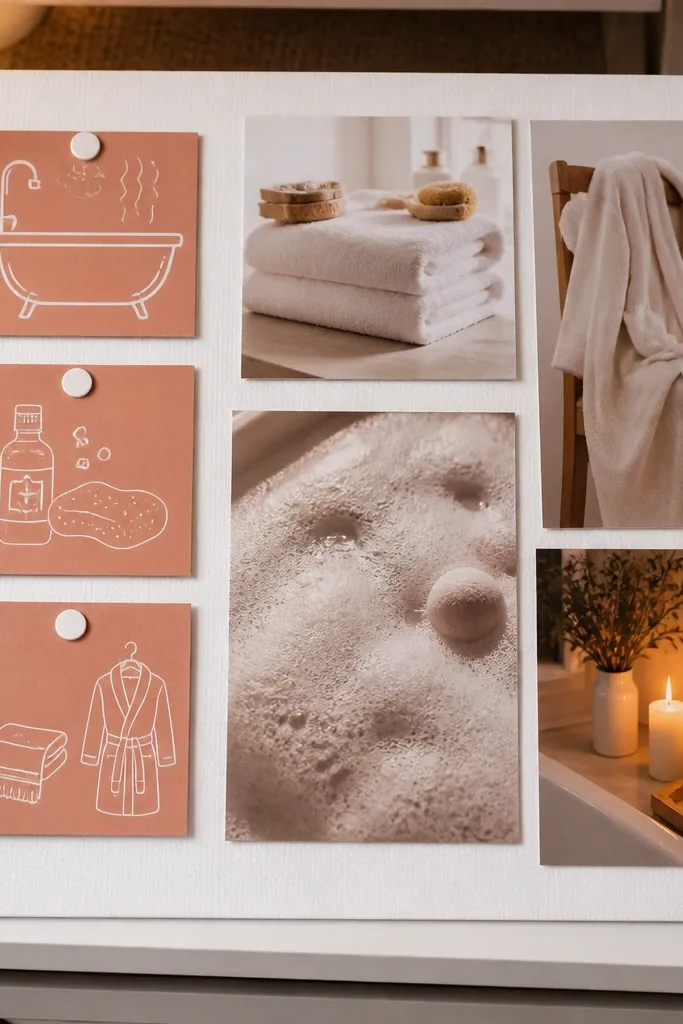
This is cozy self-care that looks organized: bath night essentials with simple step cards. Use terracotta as your accent for three small instruction cards, and keep the rest in clean whites and creams. The bath items should look soft — towels, bubbles, candlelight, and a robe — not harsh product shots. The modern feel comes from the uniform card sizes and clean alignment. It’s perfect for a bathroom door board or a cabinet-side board.
Editor's noteChoose terracotta card stock with a soft matte finish so it doesn’t glare under bathroom light.
Use a white base and cut three terracotta cards at 2.5x4 inches. Print three bath photos as 3x4 rectangles and mount them above the instruction cards. Write one short line per card like “Unwind,” “Hydrate,” “Sleep early” with a fine black marker. Place everything with a ruler so the card edges line up vertically.
Skip thisDon’t use bright blue or neon labels with bath photos — it breaks the cozy palette.
6. Olive Garden Self-Care Shapes
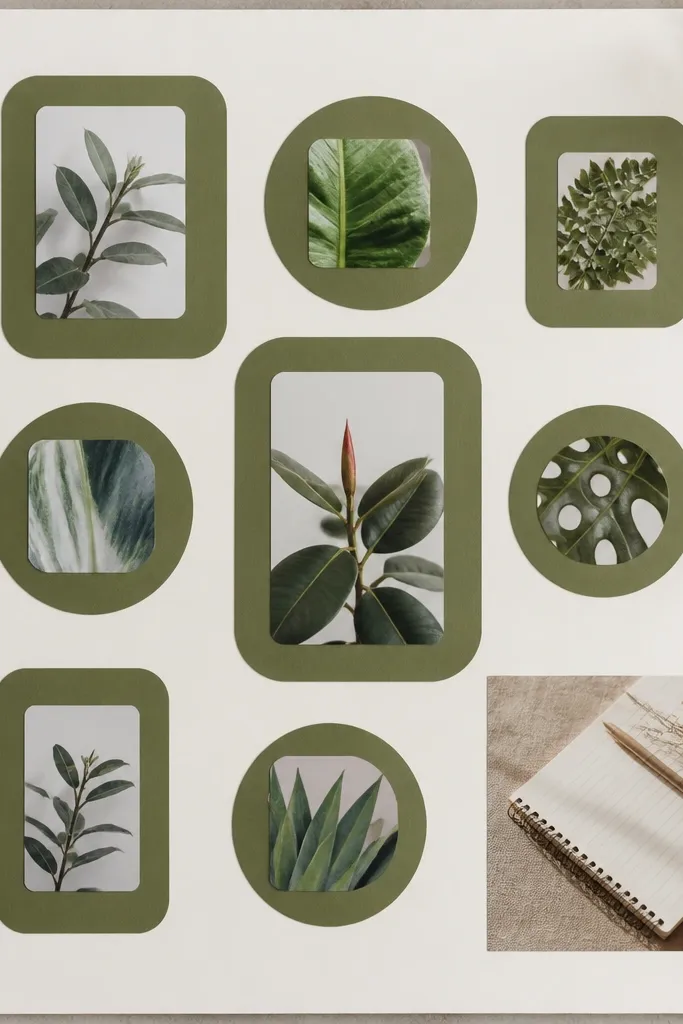
This one is for people who love plants but want it to look clean. Use olive green paper shapes — circles or rounded rectangles — as frames for small plant photos. Add a journaling image as the only text-adjacent element so the board feels calm, not busy. The shape frames keep the modern look, while the plant photos bring the cozy factor. It works best for a desk-side board where you can see it while planning your day.
Editor's noteInk the edges of paper shapes with a warm brown marker to hide cut lines.
Cut three olive circles or rounded rectangles using a template or a craft punch. Print three small plant photos (each cropped to 1:1) and glue them into the shape frames. Place them in a triangle layout and add one portrait journaling photo (4:5) in the center-bottom. Add a single small “breathe” card under the journaling photo.
Skip thisAvoid mixing different plant tones like bright neon green and deep shadowy foliage.
7. Neutral Reading Nook Corner
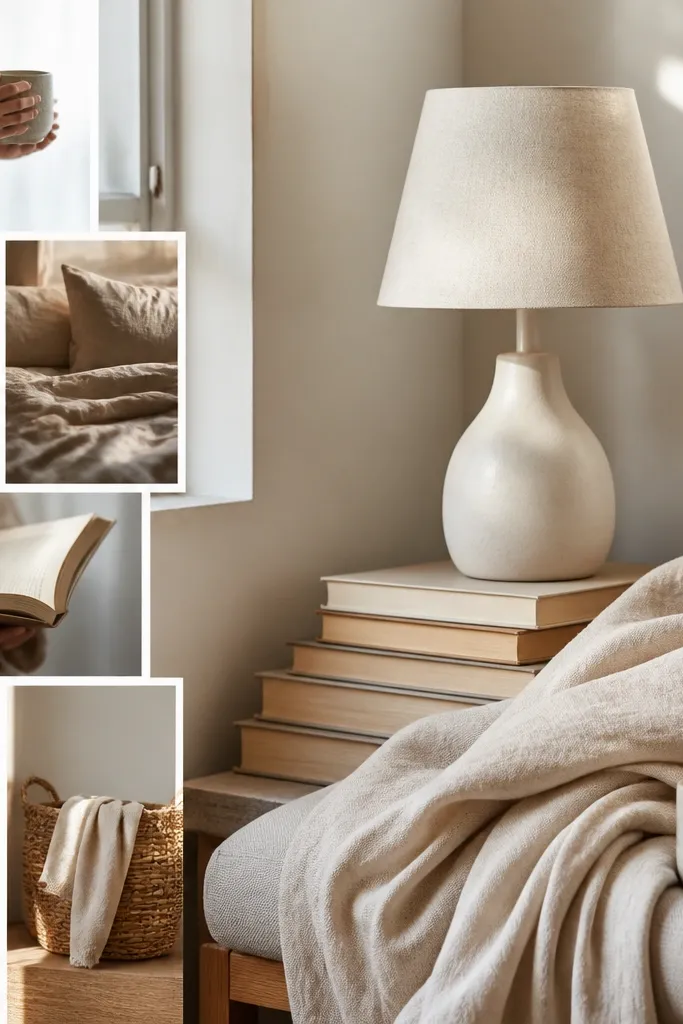
Build this board around a single “corner” photo — lamp + throw + book stack — then repeat the vibe with smaller supporting images. The modern part is the layout: keep the main photo large and the rest smaller, all aligned to one side. It feels cozy because the objects are warm and familiar, and the neutral palette keeps it clean. Add one handwritten-style card with a short intention like “slow down.” This suits living rooms, bedrooms, and anyone who reads at night.
Print your main reading nook photo at 8x10 or large 4:5 portrait and mount it on the top-left area. Add two smaller book/blanket photos beneath it as 2x3 rectangles. Place the lamp photo on the right as a small portrait 3x4 to balance the composition. Finish with one intention card sized 3x5 and slightly overlap it on the main photo by a few millimeters.
Keep the overlap tiny; too much layering makes boards look scrapbook-y instead of modern.
Avoid adding multiple motivational quotes in different styles — one intention card is enough.
8. Grey Knit Texture Stack
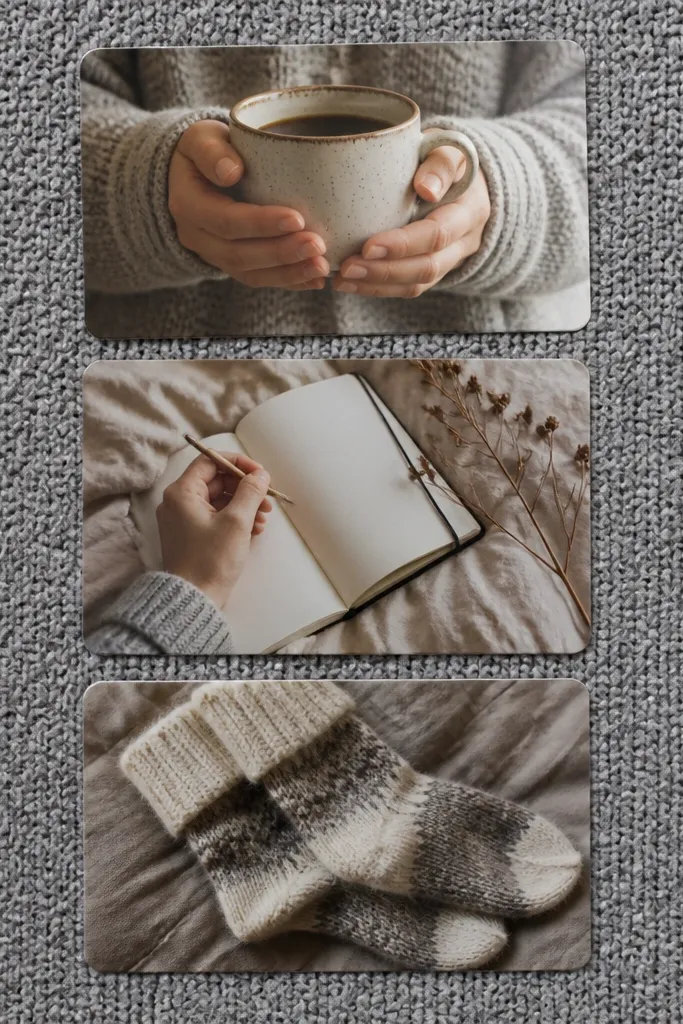
A texture-first board looks modern when you let the texture do most of the work. Use a grey knit background, then add only a few image cards — like a mug, a journal page, and a cozy sock — stacked with consistent spacing. Keep the cards the same width so it looks like a designed system, not random cutouts. This layout is quick to assemble and looks great even with minimal photos. It’s ideal for a small board where you still want it to feel soft and cozy.
Cover your base with grey knit-texture paper or fabric. Print three photos cropped to 4:5 portrait and cut them into matching card sizes (about 4x5.5). Mount them in a vertical stack using foam tape for a subtle lift. Add one thin strip of text at the bottom in warm gray and seal the surface with a matte spray.
If your printer ink looks faint on grey, print photos slightly darker by adjusting brightness down 10-15%.
Avoid adding patterned backgrounds behind the photos — the knit already has texture.
9. Warm Gray Morning Pages Layout
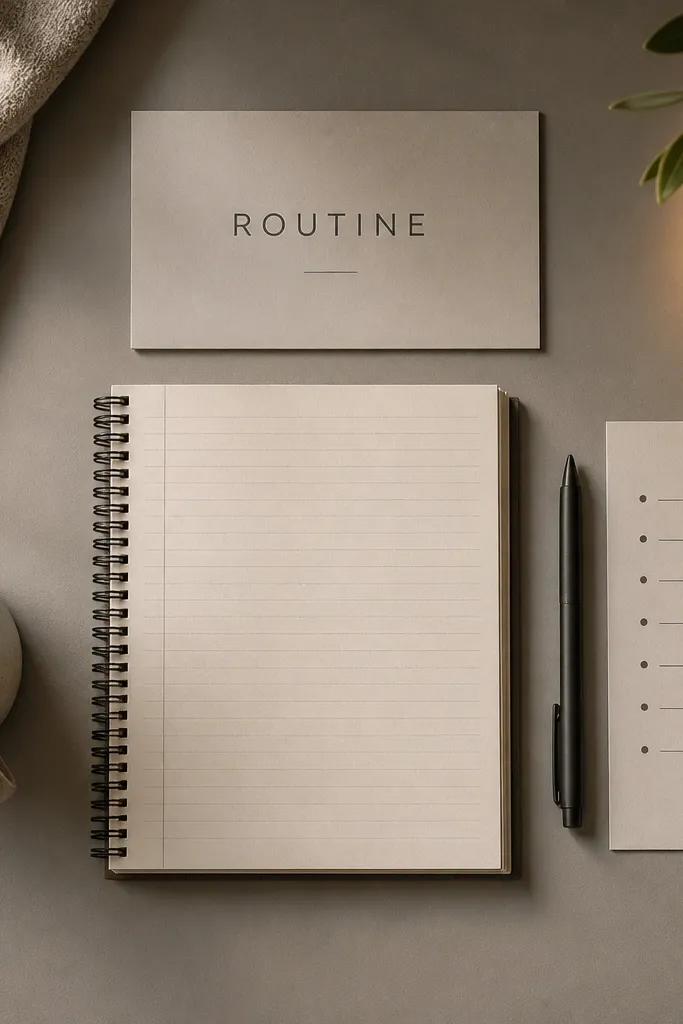
This is self-care that looks like a calm routine document. Use a warm gray background and place a notebook page photo in the center, then add coffee and a pen as side elements. Keep text minimal: one title card and one small bullet list card. The modern look comes from the typography and symmetry, not decorative clutter. This board is great for people who want self-care to feel like structure.
Choose warm gray cardstock as the base. Print a notebook page photo at 4:5 portrait and mount it in the center. Add two smaller side photos as 2x3 rectangles and align their top edges with the notebook photo. Create a title card sized 3x5 and a small list card sized 3x4, then place them at the bottom with consistent spacing.
Use a ruler for alignment — eyeballing symmetry makes it look off fast.
Avoid busy backgrounds behind the notebook photo; keep the photo itself clean.
10. Satin Ribbon Tie Board
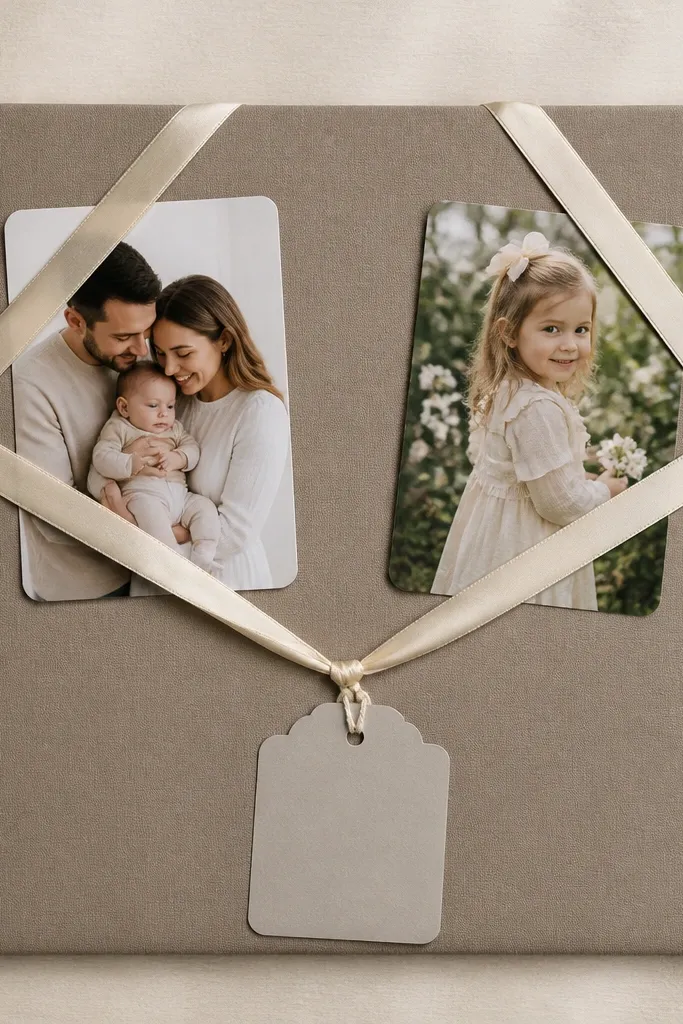
This one looks cozy because ribbon adds softness, but it stays modern because you use it as a system. Lay two satin ribbon strips across the board and “tie” small photo cards into place. Keep the ribbon color warm — champagne, blush, or light tan — and use only two photo cards per ribbon. Add a single tag card with an intention. It’s photogenic because ribbon creates highlights and movement, even in still pictures.
Editor's noteChoose satin ribbon with a width around 1/4 inch so it looks delicate, not bulky.
Use a cream base and cut two ribbon strips long enough to cross the board with 2 inches of overlap on the sides. Print two small photos as 2x3 rectangles and mount them behind ribbon pockets made from cardstock. Tie the ribbon into neat bows or secure with small hidden tape on the back. Add one tag card (2x3) under the center ribbon and write your intention in charcoal ink.
Skip thisAvoid thick ribbon — it can make boards look craft-store heavy.
11. Terracotta and Black Minimal Quotes
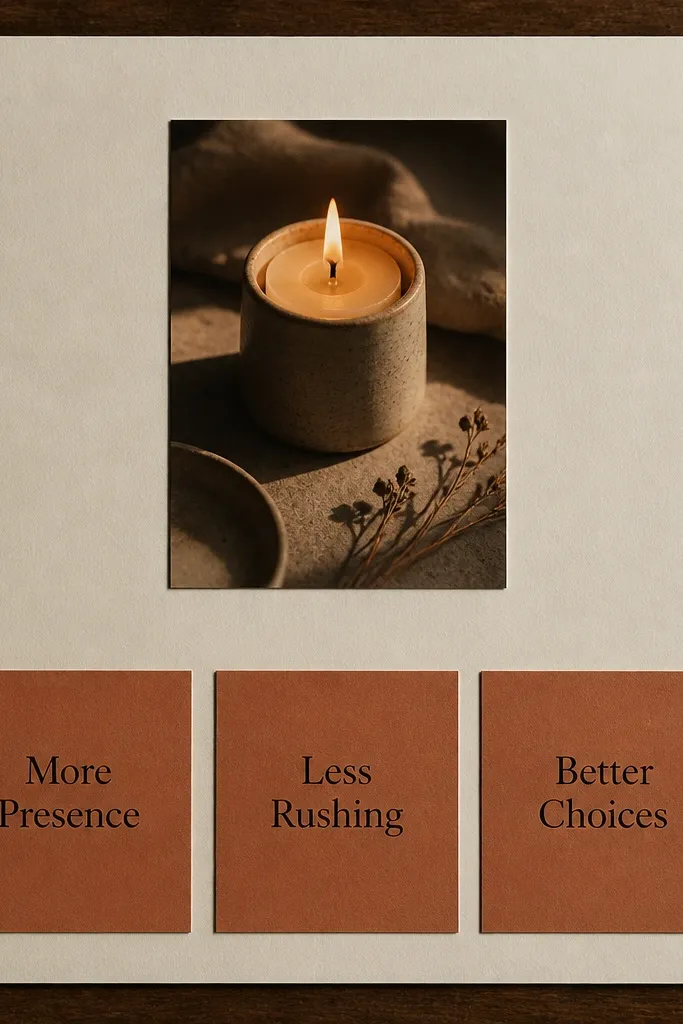
If your boards feel too “cute,” this fixes it with minimal contrast. Use off-white card stock, one candle photo, and three terracotta quote cards with short phrases in black. The cozy part is the candle and warm terracotta; the modern part is the typography and the strict spacing. Keep phrases short — 2 to 4 words — so the board reads clean. This style is great for someone who wants self-care to look grown-up and calm.
Editor's noteKeep your black ink slightly warm (charcoal) so it doesn’t look harsh against terracotta.
Cut three terracotta cards at 3x4 inches and one off-white card at 4x6 for the candle photo. Print the candle photo at 4x5 cropped and mount it in the off-white card. Add one phrase per terracotta card in a simple font style (or hand-letter with a fine tip marker). Place cards in a neat triangle with equal gaps, then run a thin matte seal over the whole board.
Skip thisAvoid long quotes — they crowd the layout and kill the clean look.
12. Pastel Bath Bomb Confetti Calm
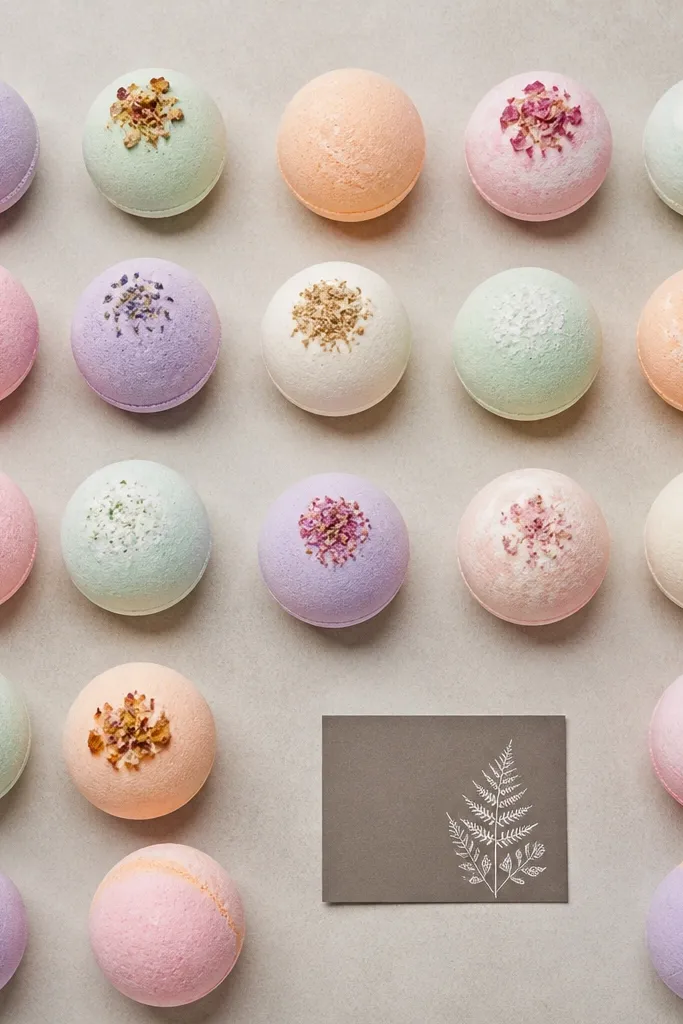
This is a color-cozy board that stays modern by using repetition. Photograph or print bath bomb images in pastel tones, then arrange them in tidy rows with equal spacing. Keep the background neutral so the colors feel soothing, not loud. Add one small “aftercare” card in warm gray to ground the board. The repeated shapes and grid layout make it look designed, not random.
Editor's noteIf your bath bomb photos have bright labels, crop them closer so only colors and textures show.
Pick a neutral base in cream or warm white. Print six small bath bomb images as squares (1:1) and arrange them in two rows of three with 1/4-inch gaps. Add a small warm gray card at the bottom sized 3x4 with a short phrase like “hydrate.” Mount everything with thin double-sided tape so edges lie flat.
Skip thisAvoid mixing too many pastel families (pink + neon + icy blue) on one board.
13. Warm Wood Desk Goal Board
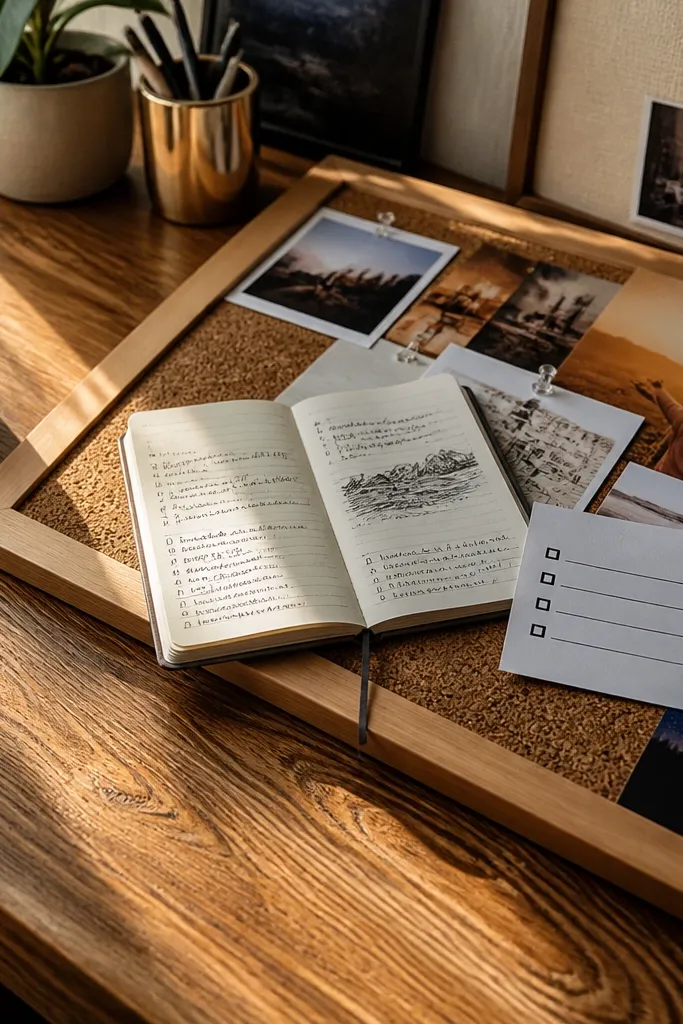
Warm wood backgrounds make self-care feel grounded, not fluffy. Use a photo of a wood desk as your base texture, then place a journal photo and a small checklist card on top. Keep the checklist short and clean, with 3 lines max. This layout is modern because it uses one dominant texture and minimal overlays. It’s a strong choice for a vision board you keep near your work area.
Editor's noteUse thin tape instead of glue blobs so the surface stays flat for photos.
Print the wood desk background as a full sheet and mount it to your base. Add a journal photo at 4:5 portrait in the center, then place a pen photo as a small 2x3 rectangle to the right. Create a checklist card sized 3x4 and glue it below the journal photo. Finish by adding a thin border strip around the outer edge in a warm brown paper.
Skip thisAvoid adding extra decorations around the checklist; keep the negative space.
14. Soft Blue Sky Reset Cards
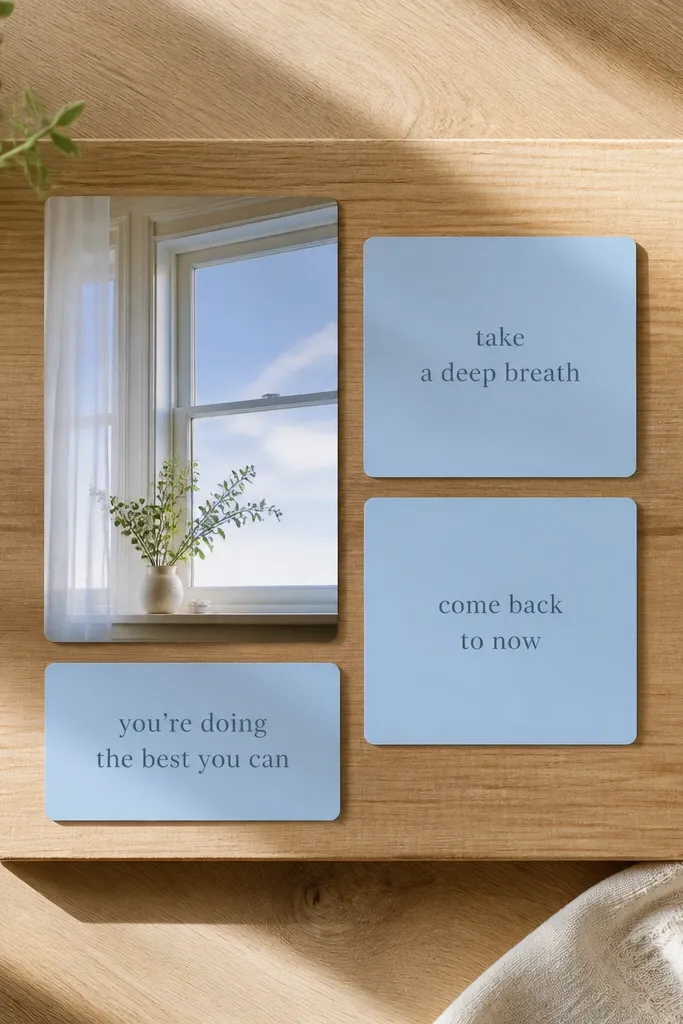
Soft sky tones feel calming, and the key to keeping this modern is controlled color. Use one window light photo as your main image, then surround it with three soft blue cards that each hold a short reset phrase. Keep the text aligned and use the same font style across all cards. This board reads cozy because of the light and clean because the cards are consistent. It’s great for a workspace or a bedroom where you want a daily reset.
Editor's noteTest your print colors under your room lighting; soft blues can shift cooler than you expect.
Choose a light neutral base and print a window light photo at 4:5 portrait. Cut three soft blue cards sized 3x4 and place them around the main photo with equal gaps. Write one phrase per card, keeping the text centered. Add a final small white card at the bottom with a single word like “breathe.” Mount all cards with thin tape so they don’t wrinkle.
Skip thisAvoid darker navy cards — they make the board feel heavy instead of cozy.
15. Beige Blanket Micro-Collage
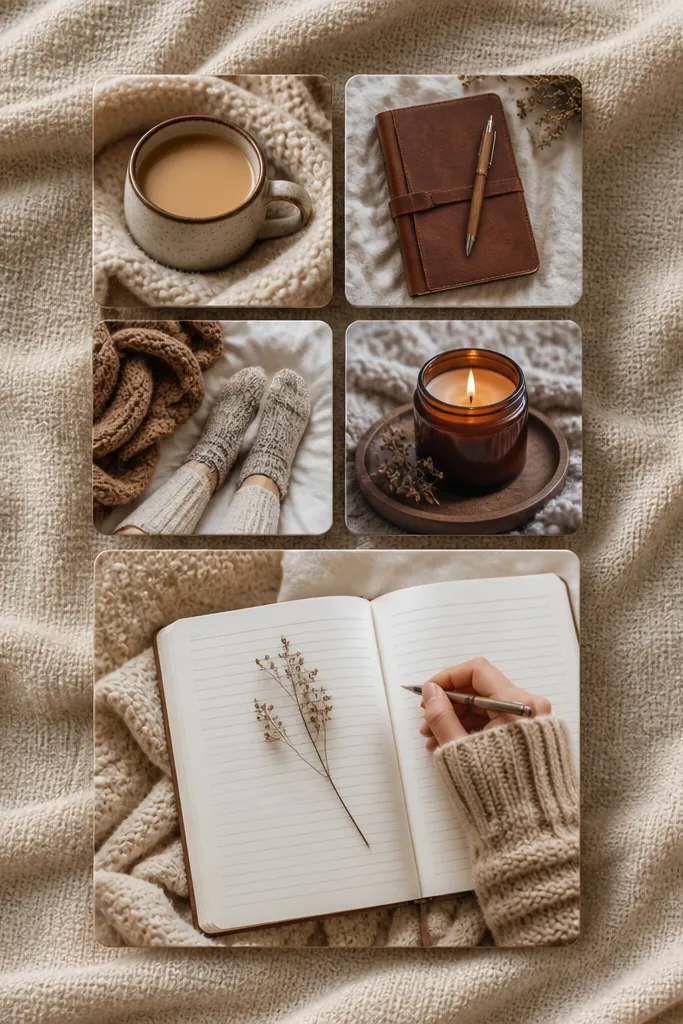
Micro-collages look modern when you keep them small and controlled. Use a beige blanket background, then place four small photo squares (mug, journal, socks, candle) in a 2x2 block. Add one larger journal card below to give the board a clear focal point. This works because the blanket texture ties everything together while the grid keeps it clean. It’s a good pick for a board that needs to look good from a distance.
Cover your base with beige blanket-texture paper. Print four square images at 1:1 and cut them so they match the same frame size, around 3 inches each. Arrange them in a 2x2 grid and mount with the same thickness of foam tape. Print a larger journal card at 4x5 and place it under the grid, centered.
Keep the photo edges straight and clean; crooked cuts make micro-collages look messy fast.
Avoid adding more than five photos total — the grid loses its calm.
16. White Ceramic Still Life Board
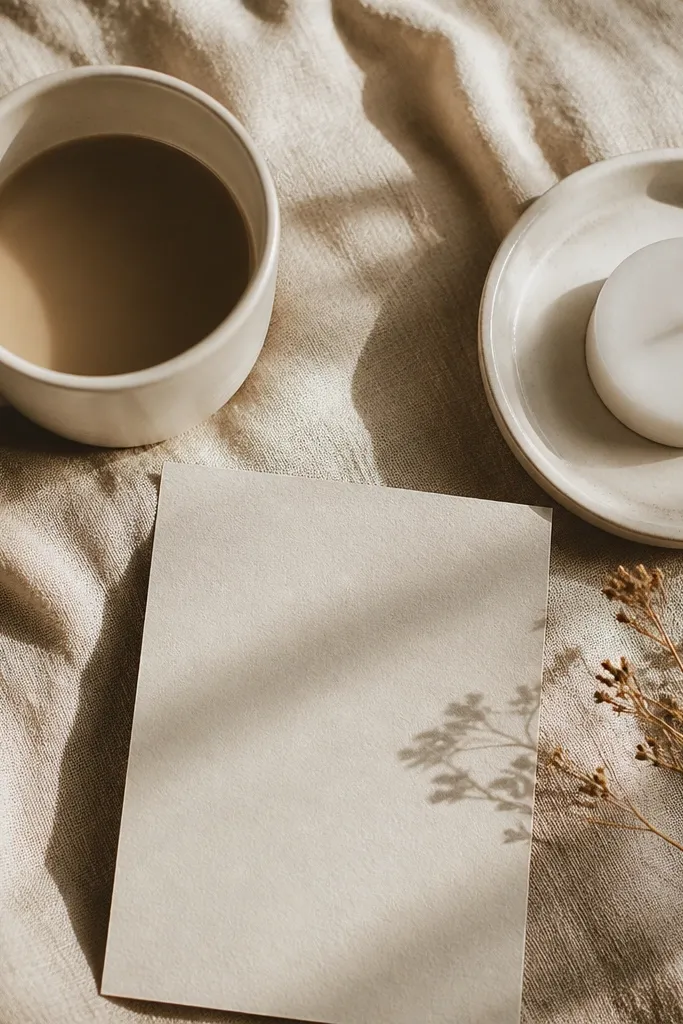
Still life photos look premium, and premium-looking boards are easier to keep modern. Build this around a white ceramic object (mug, vase, candle holder) and keep the rest minimal. Add one centered intention card with warm gray handwriting or printed text. The cozy effect comes from soft shadows and warm lighting in the still life. This is ideal if you like clean aesthetics and want self-care to feel like a calm ritual.
Editor's noteUse warm gray text, not pure black, so the board feels softer.
Pick a white ceramic still life photo and print it as the main element in 4:5 portrait. Create a plain white base or very light warm gray base. Add a smaller photo of a linen cloth or matchbook as a 2x3 rectangle on one side. Place an intention card sized 3x4 centered under the main photo, then seal edges with matte medium.
Skip thisAvoid including colorful clutter objects in the still life — keep it monochrome.
17. Sage and Cream Habit Tracker Cards
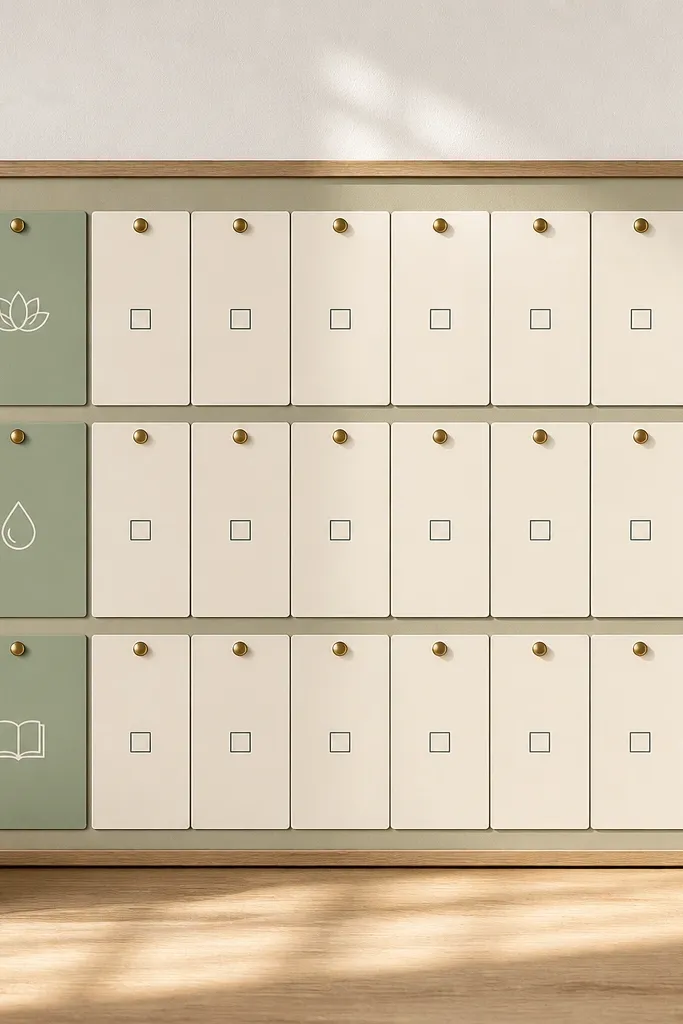
This is self-care that looks like a plan, not a poster. Use sage and cream cards, then add a simple habit tracker grid with 3 habits. Include one cozy photo — like a candle or tea — as the only image element. The modern look comes from the clean grid lines and limited palette. It feels cozy because sage is soft, and the single warm photo keeps it human. Great for a fridge-adjacent board or a small wall display.
Editor's noteUse a ruler for grid lines; crooked habit trackers read sloppy in photos.
Cut a sage card as the background and mount it to your base. Print one cozy main photo at 4x5 and place it at the top. Draw a habit tracker grid on cream paper with 3 columns and 7 rows, leaving a header row for days. Glue the tracker under the photo and finish by adding small labels in a fine marker.
Skip thisAvoid adding decorative icons on every row — keep the grid clean.
18. Terracotta Shelf Styling Vision Board
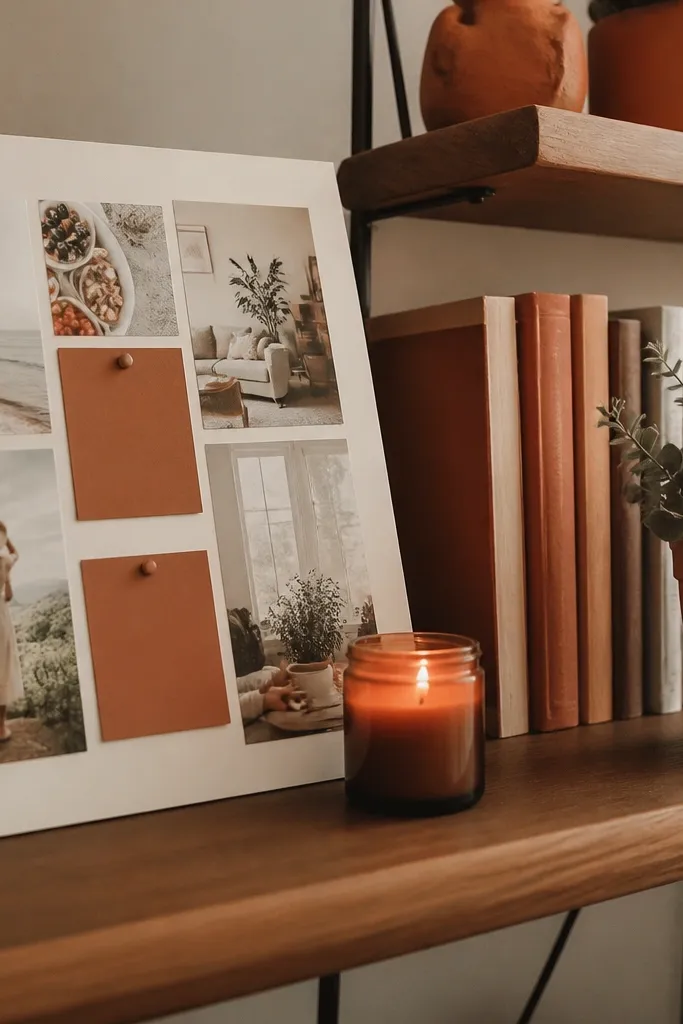
Shelf styling looks cozy because it feels lived-in, and it looks modern when you keep the styling consistent. Use a main shelf photo with warm books, a candle, and one small plant. Then add two smaller cards with self-care intentions in the same terracotta color as the shelf accent. This board is photogenic because shelves create natural layers and depth. It suits entryways, bedrooms, and any space where you want a calm “home” vibe.
Editor's noteCrop the shelf photo so the edges of shelves are visible; it makes the board look intentional.
Print the shelf photo at 8x10 or 4:5 portrait and mount it as your main element. Cut two terracotta intention cards sized 3x4 and place them on either side of the main photo, aligned at the same height. Add one small square photo (plant close-up or candle) under the main photo, centered. Keep spacing uniform using a ruler, then seal with matte spray if the base is paper.
Skip thisAvoid adding random cutouts that don’t match the shelf photo’s warm tones.
19. Mocha Coffee and Journal Corner
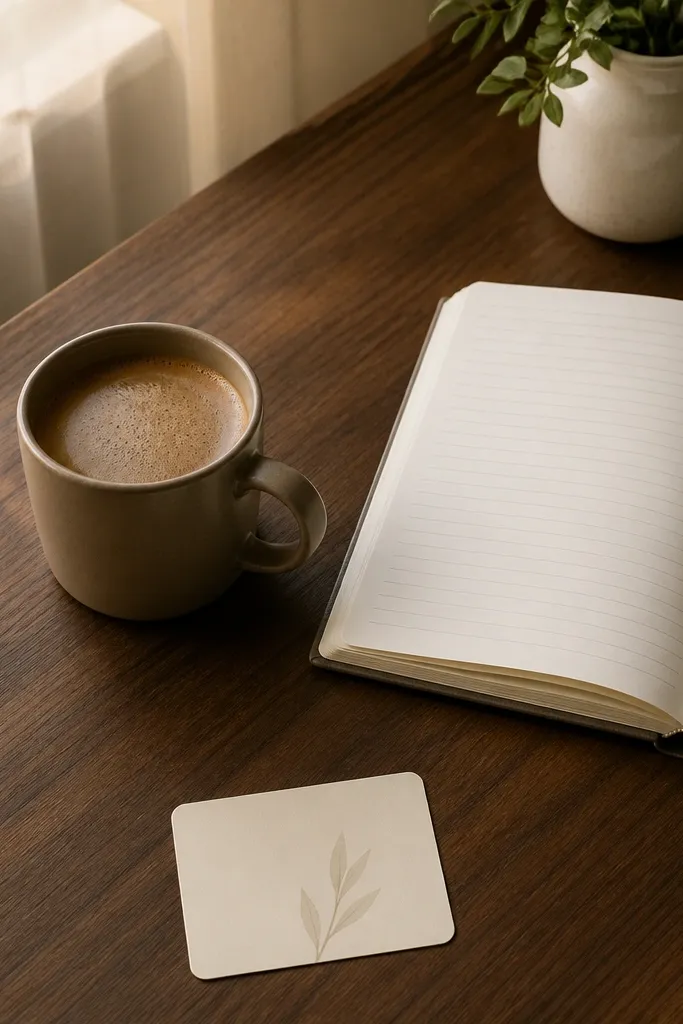
This is a classic cozy corner, but you keep it modern by limiting to one corner composition. Use a main image where coffee and journal sit together, then add one small card with a single intention. Keep everything aligned to one side so the board looks clean and photo-ready. The cozy feel comes from warm mocha tones and the tactile journal texture. This works well for desk boards and small frames.
Editor's noteUse a matte pen for the intention card so it doesn’t smear or shine under light.
Choose a neutral base in warm white. Print the coffee-journal corner image at 4:5 portrait and mount it slightly off-center toward the top-left. Add one intention card sized 3x4 below it and center it with the main image. Add a tiny strip of washi-style paper (about 1 inch tall) as an accent at the bottom edge.
Skip thisAvoid adding more than one extra photo; corners get crowded fast.
20. Soft Grey Checklist With Candle Accent
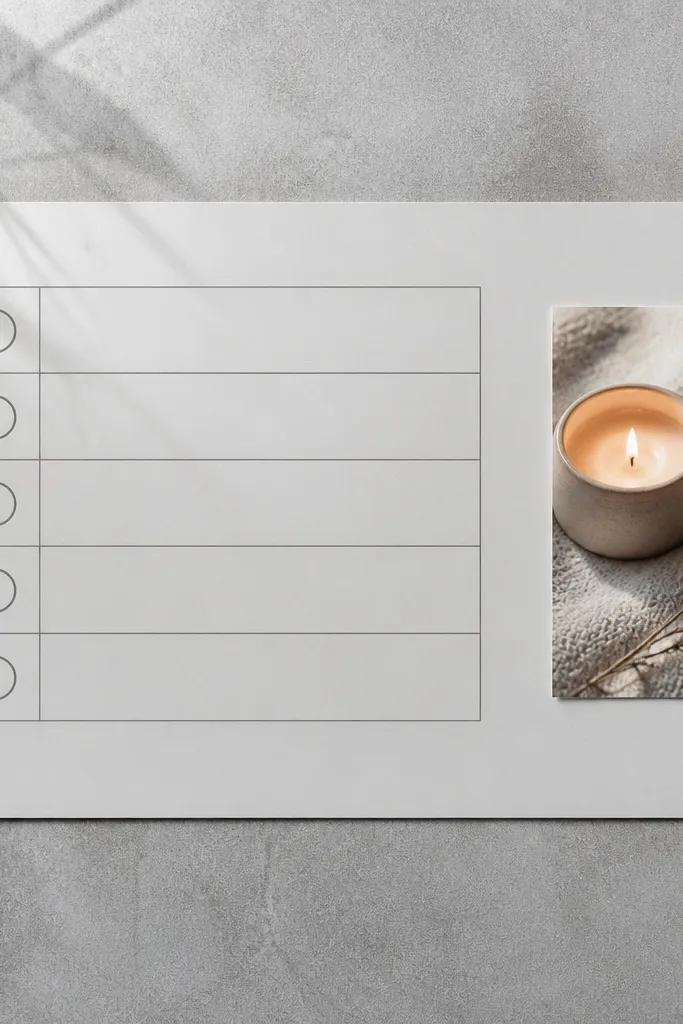
This layout is for people who like structure but still want cozy. Keep most of the board soft grey and use one small candle photo as the warm accent. Add a checklist grid with 5 lines max — keep it simple and readable. The modern look comes from the clean grid and the limited color palette. It’s practical too, so the board gets used rather than ignored.
Cut your base from soft grey cardstock or cover it with matte grey paper. Print or crop a candle photo into a small square (about 3x3) and place it at the top-left. Draw a checklist grid on light cream paper sized 6x8, leaving space around the edges. Glue the checklist under the candle photo and seal the paper edges with matte medium.
Use a ruler and label each line with short phrases that fit in one sentence.
Avoid using multiple accent colors; one candle photo is enough warmth.
21. Warm Beige and Gold Foil Calm Cards
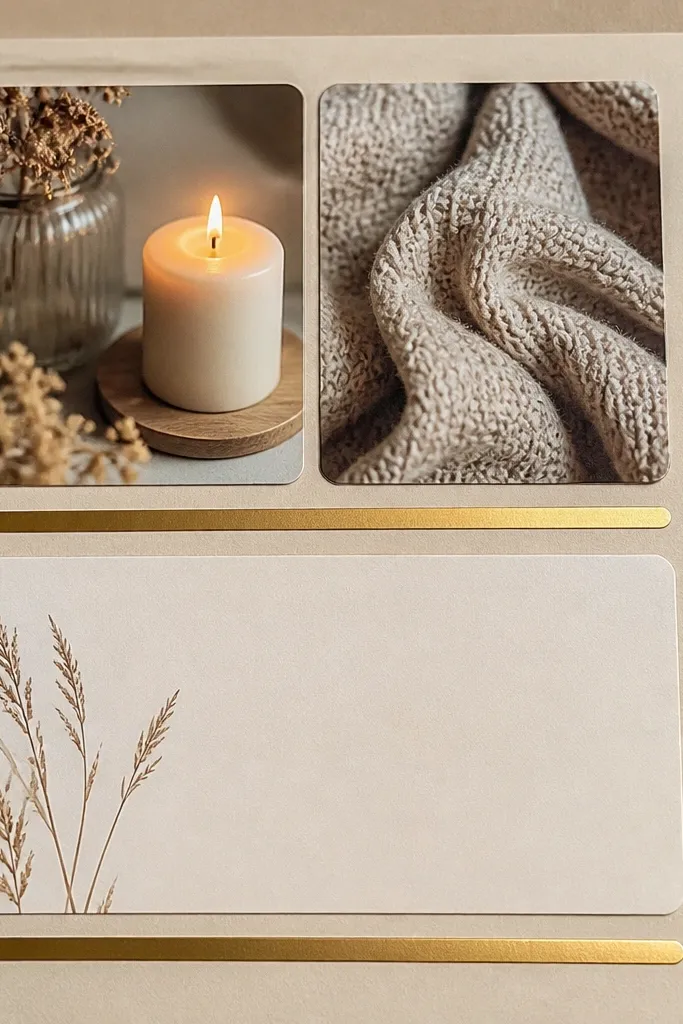
Gold foil lines make a board feel polished without adding clutter. Use warm beige cards as the base and add thin gold foil strips as dividers between photos and text. Place two small cozy images — candle and knit — then add one calm intention card. This looks modern because the foil is minimal and the layout is structured. It’s a great choice if you want self-care to look “put together” in photos.
Create a warm beige base using cardstock. Cut two photo cards sized 3x4 and mount them with thin foam tape so they lift slightly. Add a gold foil strip (thin, about 1/4 inch) horizontally across the middle and another strip near the bottom as a divider. Add an intention card sized 3x5 and keep all text centered.
Press foil strips with a burnishing tool or the edge of a credit card for clean adhesion.
Avoid heavy gold shapes; thick foil makes it look flashy, not cozy.
22. Sage Circle Frames With One Main Photo
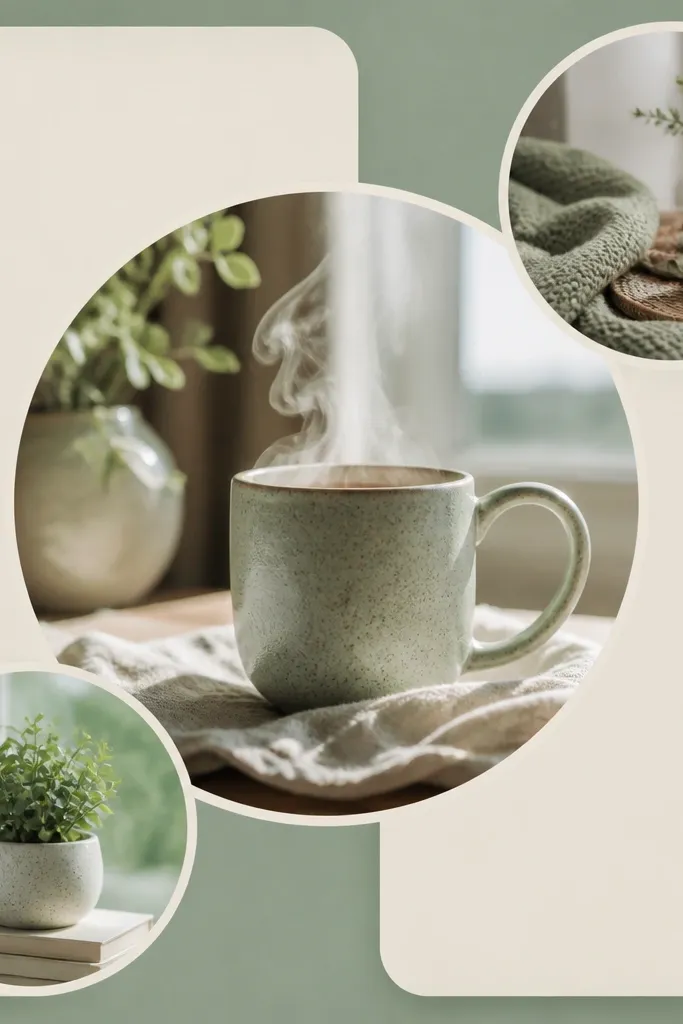
Circle frames are a cheat code for modern coziness. They soften edges and keep the board from looking boxy, while the limited number of frames keeps it clean. Use one larger main photo (mug, candle, or journal) and surround it with two or three smaller circle-framed photos. Keep everything in sage + cream so the circles look intentional rather than decorative. This board feels cozy because the images are warm; it looks modern because the framing repeats.
Editor's noteIf your circles look uneven, trace them with a compass template once and cut carefully with a sharp blade.
Cut three sage circles at two sizes using a craft punch or template. Print one main photo at 4:5 portrait and mount it centered. Print three smaller images as squares, then glue each square behind a circle frame. Arrange the circles around the main photo with equal spacing and add one small intention card at the bottom.
Skip thisAvoid random circle sizes; use only two sizes for a clean modern look.
23. Minimal White Quote Card Over Soft Photo
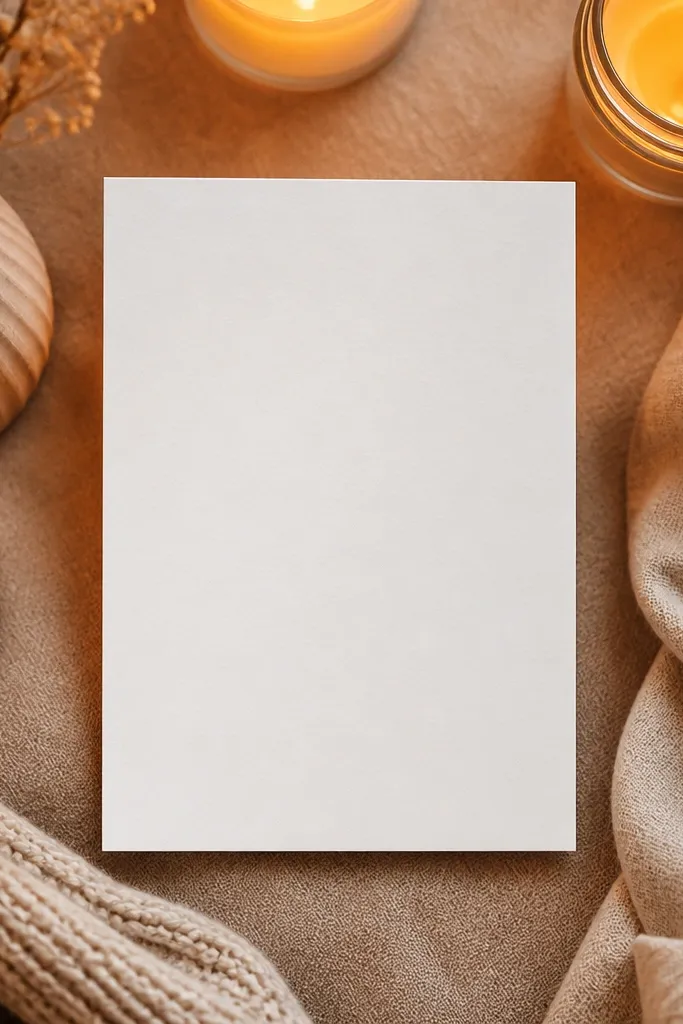
This layout is clean because it uses one quote card as the design element. Pick a soft photo background — candlelight, a blanket, or a window with warm light — then place a white quote card on top with short text. Keep the quote card width consistent and align it to the center. The cozy feel is in the photo softness; the modern feel is in the typography and negative space. It’s ideal for people who want a board that looks good even when you only have a couple of photos.
Editor's noteUse a matte white card so it doesn’t glare against warm light photos.
Choose a warm photo and print it as 8x10 or 4:5 portrait. Mount it to your base. Cut a white quote card sized 3x5 and place it centered over the photo, slightly overlapping the image by about 1/2 inch. Write your intention in warm gray, then add a thin border line around the quote card with a fine pen.
Skip thisAvoid stacking multiple quote cards — one card keeps it modern.
24. Coffee Table Book Stack Vision Board
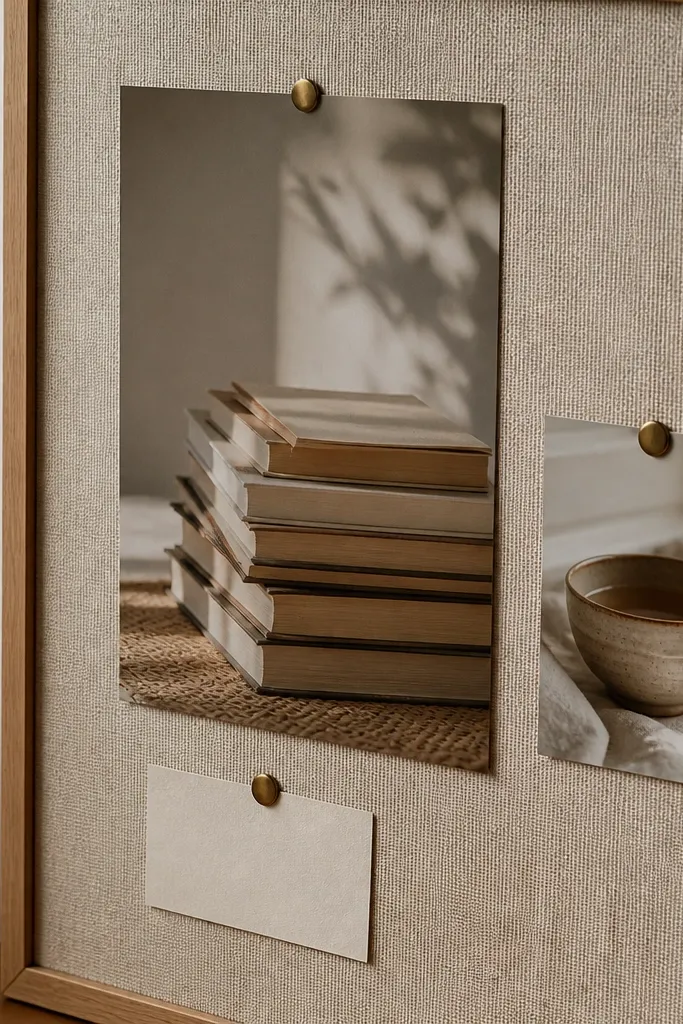
Books look cozy and modern at the same time, especially when the spines are neutral. Use a main image of a book stack on a warm surface, then add a small candle or tea photo as the only second element. Keep the intention card minimal and place it near the bottom so the board reads like a calm “corner” display. This is a strong choice for people who like self-care that feels like home aesthetics, not motivational posters.
Editor's noteChoose book covers in beige, cream, taupe, or warm grey to keep the palette consistent.
Print the book stack image as your main element in portrait 4:5. Mount it on the left side with a 1-inch margin. Print one small candle or tea photo as a 2x3 rectangle and place it on the right, aligned to the top edge. Add an intention card sized 3x4 at the bottom center and finish with matte seal.
Skip thisAvoid colorful book spines if you want the board to stay clean.
25. Satin Sleep Ritual Sleep Mask Layout
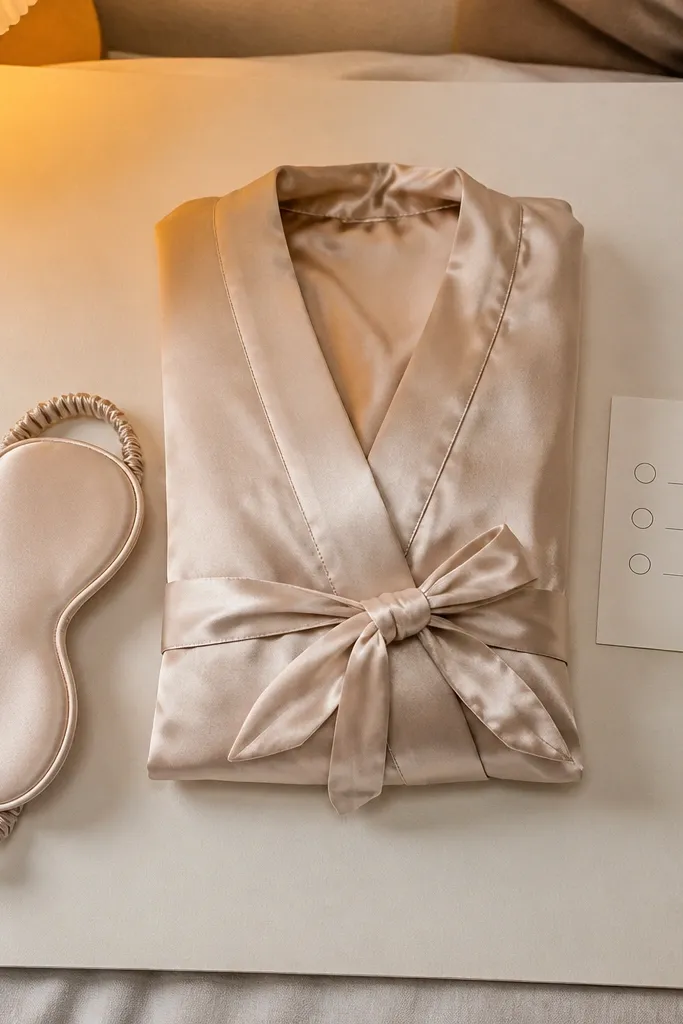
Sleep ritual boards look cozy when you use soft fabric objects and keep the layout minimal. Use a main image of a sleep mask or folded robe, then add a small checklist card with three steps like “dim lights,” “stretch,” “sleep.” The modern look comes from the tidy card sizing and calm palette. This board is photogenic because satin catches light in a gentle way. Put it by your bed or near where you keep your evening routine items.
Editor's noteUse a fine-tip marker for the checklist so lines stay crisp in photos.
Choose a neutral base in warm white or light beige. Print the sleep mask/robe photo at 4:5 portrait and mount it near the top with a 1-inch border. Cut a cream checklist card sized 3x5 and draw three lines with a ruler. Write the three steps in warm gray and glue the checklist under the photo.
Skip thisAvoid adding extra icons or stickers; the checklist is the only graphic element.



