
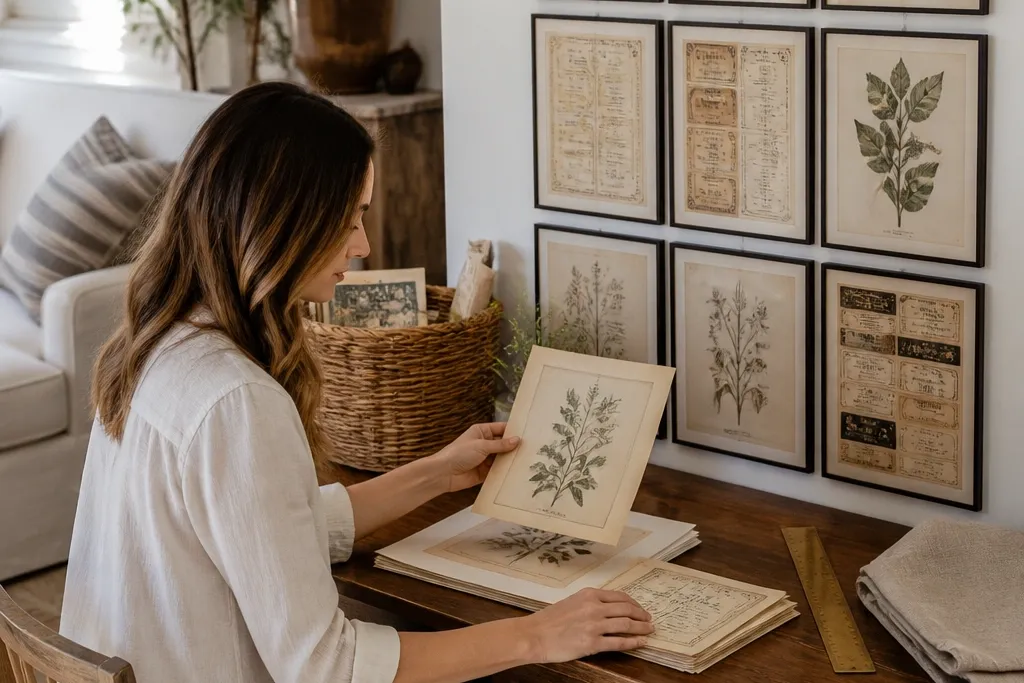
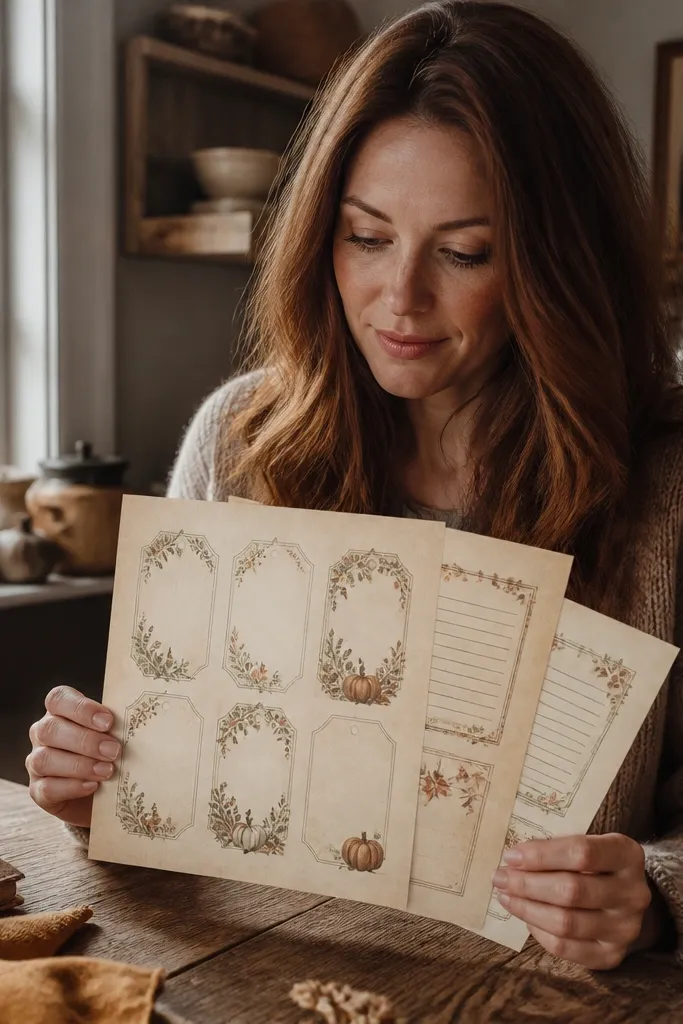
1. Aged Botanical Label Strip Set
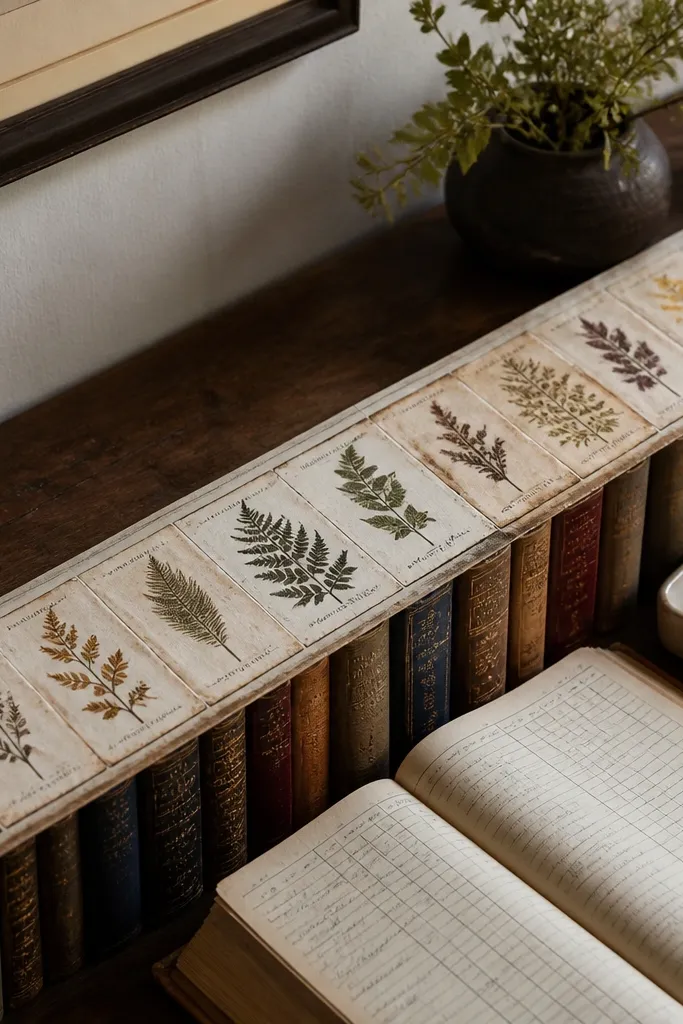
This is the kind of modern Vintage Paper Printable that instantly makes your space look collected, not decorated. The long strip format lets you place it across a frame backing, a tray, or a book spine display without fighting awkward proportions. The aging effect reads believable because the text is crisp while the background stays softly mottled. Print it as a set of two strips so you can mirror them on either side of a shelf for symmetry. It’s a great beginner project because you don’t need perfect alignment to make it look intentional.
Start by printing the strip on 32 lb matte paper at 100% scale, then let it sit for 5 minutes so ink settles. Trim along the outer border using a metal ruler and craft knife so the edges stay straight. Then mount the strip onto a coordinating cardstock strip 1/4 in wider on each side, and tuck it into a narrow frame or glue it to a foam board backing with a thin line of adhesive.
Print one test copy first and check that your printer margins don’t cut off the border.
Avoid glossy photo paper — the “aged ink” effect looks fake under glare.
2. Antique Ticket Stub Wall Pair
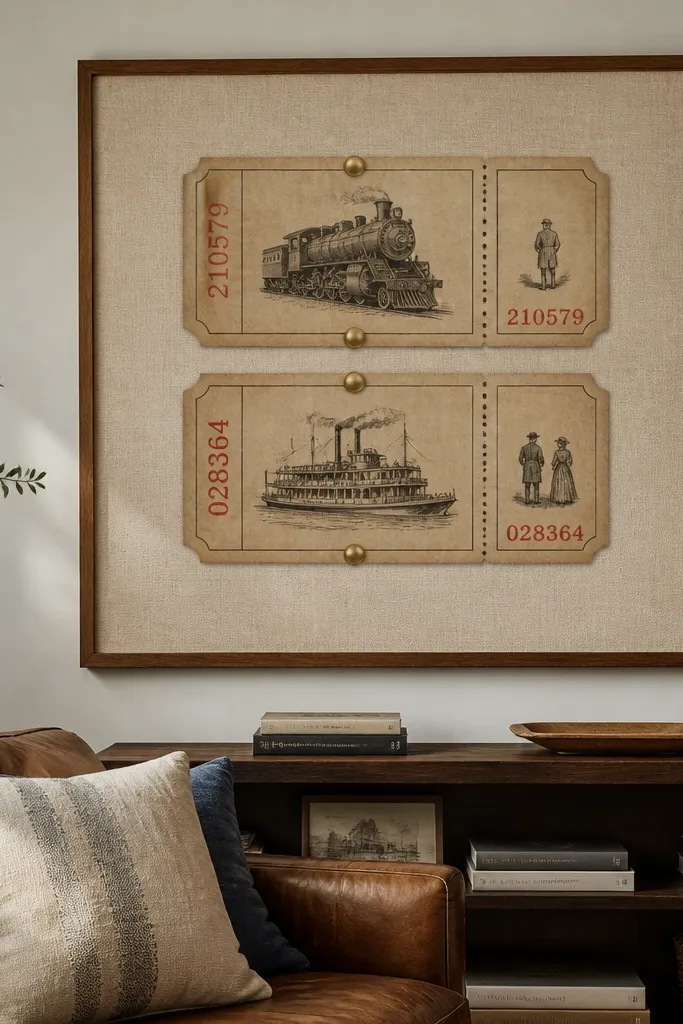
Ticket stubs look vintage because they already have a built-in graphic structure: perforation lines, numbering, and a clear focal center. This modern Vintage Paper Printable works because the design usually has enough white space to feel airy while the ink still looks old. Pairing two tickets makes the wall feel balanced, especially above a console or in a hallway. You can also cut the ticket into a single “entry” piece and use the rest as small labels for shelves. This is one of the fastest ways to get a gallery-wall vibe without hunting for actual ephemera.
Print both tickets on cream cardstock and choose either 5x7 or 8x10 output depending on how wide you want the ticket to read. Trim the ticket to its border, then cut a second mat backing piece from cardstock so the ticket sits centered with a 1/2 in margin. Finally, either frame them side-by-side or mount one ticket flat and cut the other into a top and bottom section for a layered look.
Use a foam board backing for the frame — it adds a little lift and makes the aging texture pop.
Don’t scale the ticket down too far; tiny perforation lines turn into blobs.
3. Faded Postcard Corner Cutouts
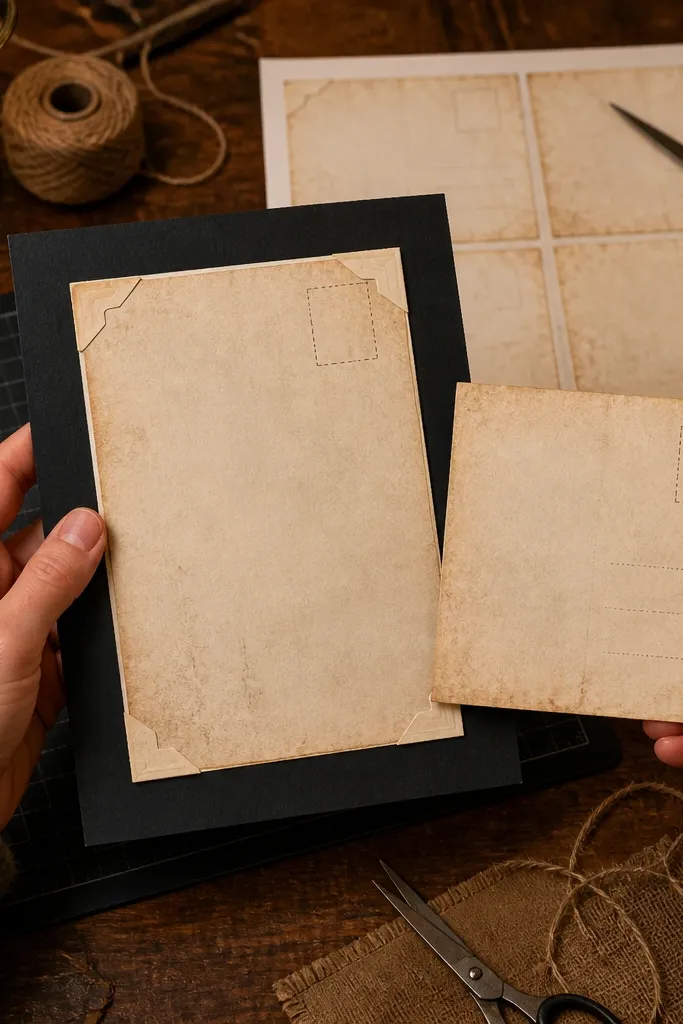
This printable is worth saving because it gives you multiple projects from one sheet: a full postcard, plus corner stamps you can use as accents. Modern Vintage Paper Printable files often include a stamp box and a decorative corner that looks great when cropped. You can use the full postcard in a small frame, then use the corner bits to label jars, decorate a notebook, or line a drawer organizer. The aged texture feels authentic because it’s usually built with layered grayscale and muted reds. It’s also easy to rotate — you can change the vibe just by flipping it upside down for a different composition.
Print on matte cream paper and set the printer to “matte” or “plain paper” so the ink stays dry and soft. Cut out the postcard along the outer edge, then save the corner stamp pieces by trimming them with a small craft blade. Mount the full postcard in a 4x6 or 5x7 frame, and glue the corner cutouts to a plain cardstock label background to make mini tags.
Lightly score the back of the postcard corners before mounting so they lie flat after trimming.
Don’t use heavy glue that squeezes out; it makes the stamp edges look messy.
4. Library Card Catalog Mini Frames
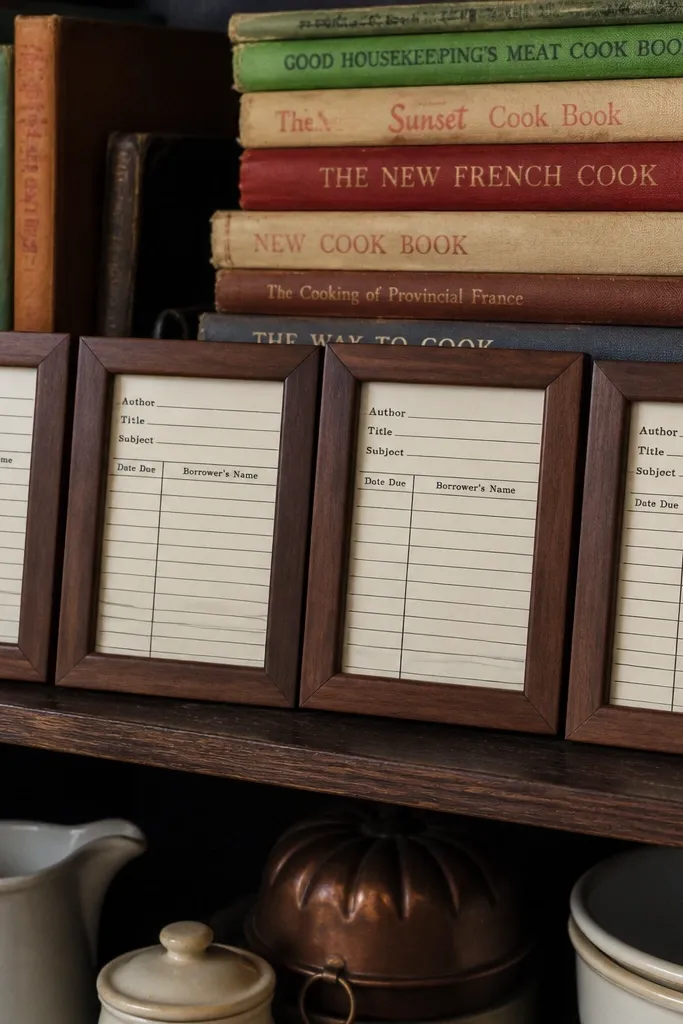
Library cards are a cheat code for vintage decor because they look like real paperwork. This modern Vintage Paper Printable keeps the typography readable while the background has a subtle paper grain. Use it as a set of mini frames or as a stacked arrangement on a shelf. The look is photogenic because the card format has clear edges and typographic hierarchy — your eye knows where to land. If you’re building a small wall vignette, these cards add structure without needing a lot of color.
Print the cards on 110 lb cardstock for rigidity, then cut with a paper trimmer for clean edges. Choose a consistent size like 3x5 cards, then build a backing mat that’s 1/2 in wider on all sides. Place each card in a small frame or use a clip frame so you can swap cards later. Finish by sealing the card surface with a light matte spray if your ink smudges.
Editor's noteAlign all card text directions the same way in your grouping so the wall looks deliberate.
Skip thisAvoid lining up cards by eye only — use a measuring guide so spacing stays even.
5. Rusty Map Legend and Compass Overlay
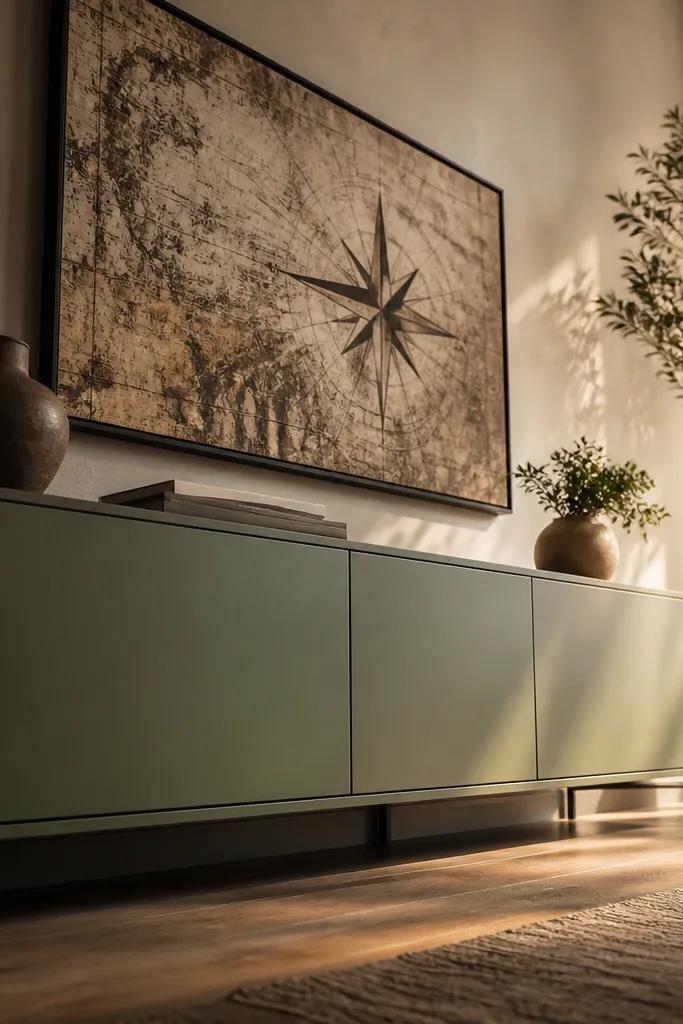
A legend panel with a compass rose reads vintage because it has technical markings and a clear layout. This modern Vintage Paper Printable is especially good for modern homes because the colors usually stay muted — browns, grays, and faded greens — so it doesn’t clash with clean furniture. Print it larger and let the compass rose become the focal point. You can also cut out the legend box and paste it onto a plain tray or a wooden sign for a quick decor upgrade. It’s a strong “statement” piece without needing heavy ornamentation.
Print the map panel at 8x10 or 11x14 size so the compass lines stay crisp. Trim to the outer border, then mount it onto dark neutral cardstock so the faded inks look deeper. If you want a more layered look, add a second mat layer that’s 1/2 in wider, then frame. For a tray version, spray the back with thin adhesive and press onto a sealed wood surface.
Use a dark mat like charcoal or deep brown; it makes the compass stand out fast.
Don’t print at “fit to page” if it shifts the compass — keep 100% scale.
6. Vintage Recipe Card Typography Set
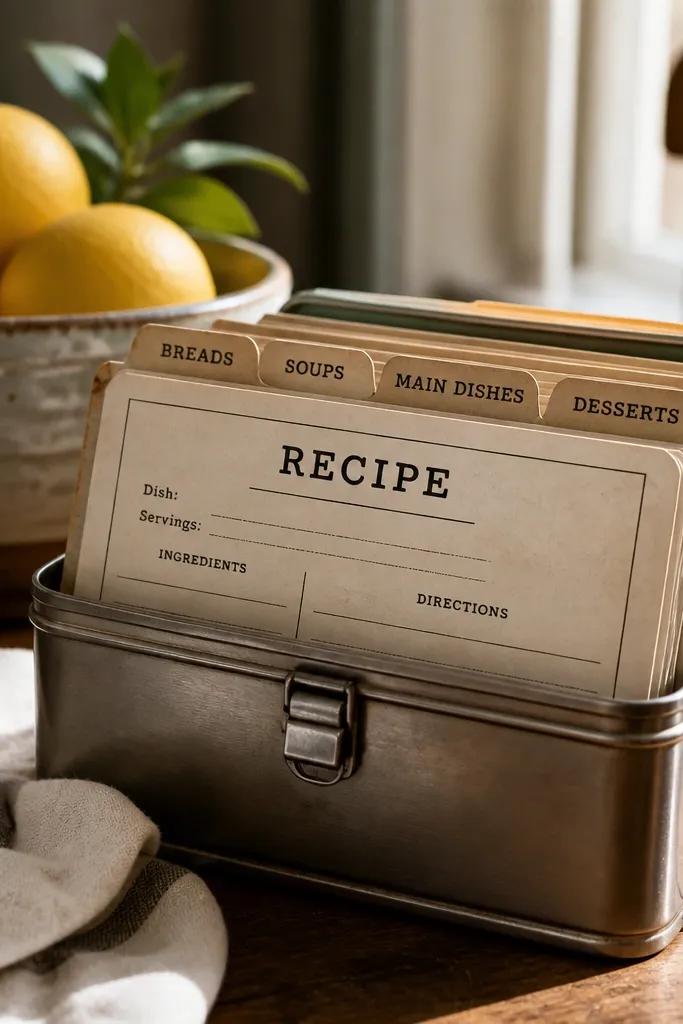
Recipe cards look vintage because they’re practical and graphic. This modern Vintage Paper Printable keeps the typography sharp, so it reads like something you’d actually file away. Use the set in a kitchen or dining room where you want warmth without clutter. The best versions include multiple cards with different headings and ingredient layouts, so you can build a cohesive wall or a countertop card holder. It photographs well because the text creates texture and the borders frame the story. You also get an easy storage angle: print a few and keep your favorites in a binder sleeve.
Print on 32 lb matte paper, then trim each card to a consistent size like 4x6. Mount the cards onto a matching cardstock backing with a 1/4 in border so edges don’t look thin. Arrange three cards in one frame grid or mount them individually in clip frames. If you plan to use them for real recipes, laminate a single copy and keep the rest for wall display.
Editor's noteChoose a single font tone across your set by sticking to one printable family instead of mixing styles.
Skip thisSkip ink-heavy settings; thick black text smears on matte paper.
7. Sepia Botanical Frame Backing Sheet
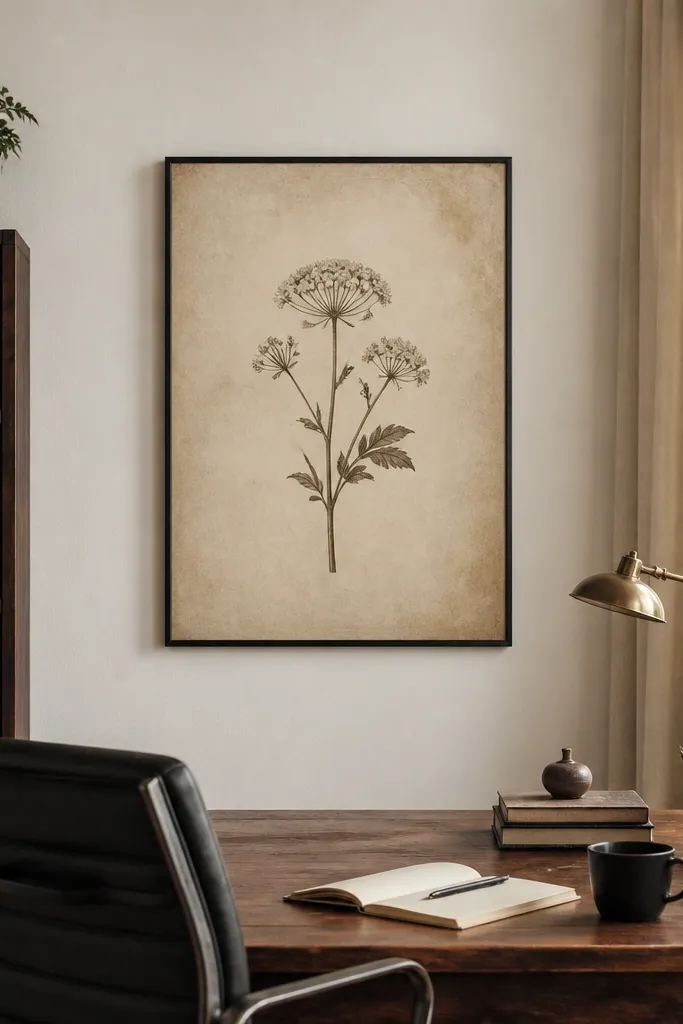
This one is for when you want the frame to do the work, not the craft. A modern Vintage Paper Printable that’s designed as a backing sheet usually has a centered motif and generous margins, which makes it easier to frame cleanly. The sepia tones look old without turning everything muddy. Print it and you’ll get a ready-made background for small photos, a dried-flower press, or a simple monogram overlay on top. It’s a great option if you hate trimming tiny pieces because the layout is built for straight cuts and centered mounting.
Print on cream matte paper at 100% scale and let it dry fully before trimming. Cut a single centered window if the design includes a frame-ready border, or trim to the outer border if it’s a full sheet. Mount to foam board so the paper stays flat and crisp. Place it in an 8x10 frame with a glass insert if you want protection from fingerprints.
Editor's noteUse a foam board mount for flatness; paper warps less and looks cleaner under glass.
Skip thisDon’t use double-sided tape across the whole back; it can buckle thin paper.
8. Vintage Envelope Seal Labels
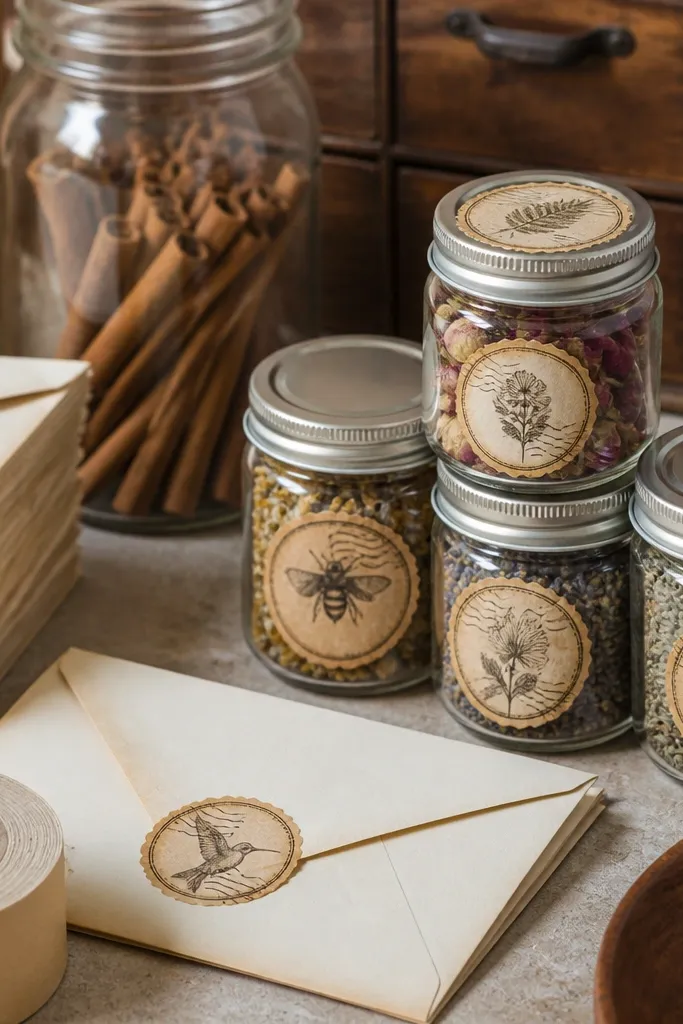
These seal labels are a modern Vintage Paper Printable you’ll actually use, not just hang. The designs are built to look like they belong on envelopes, jars, or gift wrap, and the aged edges make them feel hand-touched. Print them on sticker paper if you want the quickest result, or print on regular paper and glue to kraft tags for a softer feel. They’re photogenic because seals have a strong silhouette and a clear border, which stands out in close-up product photos. Use them to dress up plain brown packaging so it looks intentional.
Print on matte sticker paper if you want peel-and-stick, otherwise print on 65-80 lb cardstock. Cut out the seals with a circle cutter or a sharp craft knife for clean edges. If you’re applying to tags, cut a kraft tag first and glue the seal centered using a thin line of glue stick. Let it set for 10 minutes before handling so the edges don’t lift.
For best edge control, cut on a cutting mat and rotate the paper as you follow the border.
Avoid glossy sticker paper; it creates a plastic shine that clashes with the vintage look.
9. French Market Price Tag Sheet
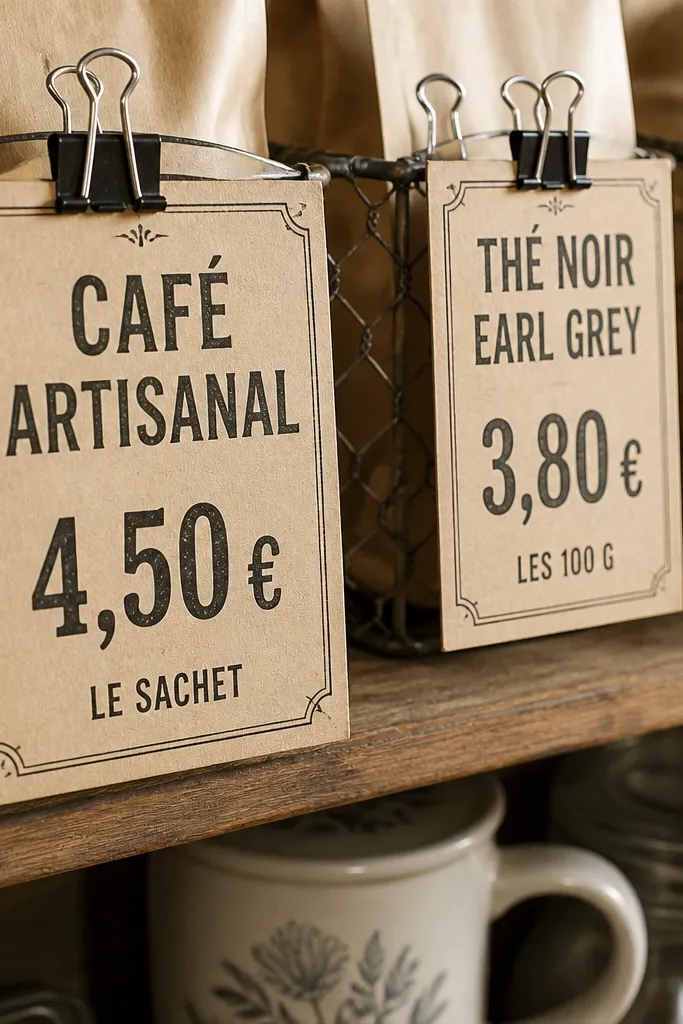
Price tags look vintage because they’re instantly recognizable — and this modern Vintage Paper Printable makes that graphic style look polished. The typography is usually bold enough to read from a short distance, which matters for decor. Use the sheet to label pantry shelves, a coffee station, or a small display wall in your entryway. Because the designs are small, you can print only one sheet and still get a full set of labels. It’s also easy to photograph: tags create a pattern and texture that looks good in flat-lay shots.
Print on matte cardstock and cut the tags with a trimmer for consistent size. Punch a hole at the top edge if the tags are meant to tie, or skip punching and use mini binder clips. Arrange tags on a string across a shelf or attach to small jars with twine. Seal the paper with a light matte spray if you’re using it in a humid kitchen area.
Use a consistent hole position so the whole tag set lines up when tied.
Don’t print on thin printer paper; the tags curl and look cheap fast.
10. Vintage Advertisement Header Banners
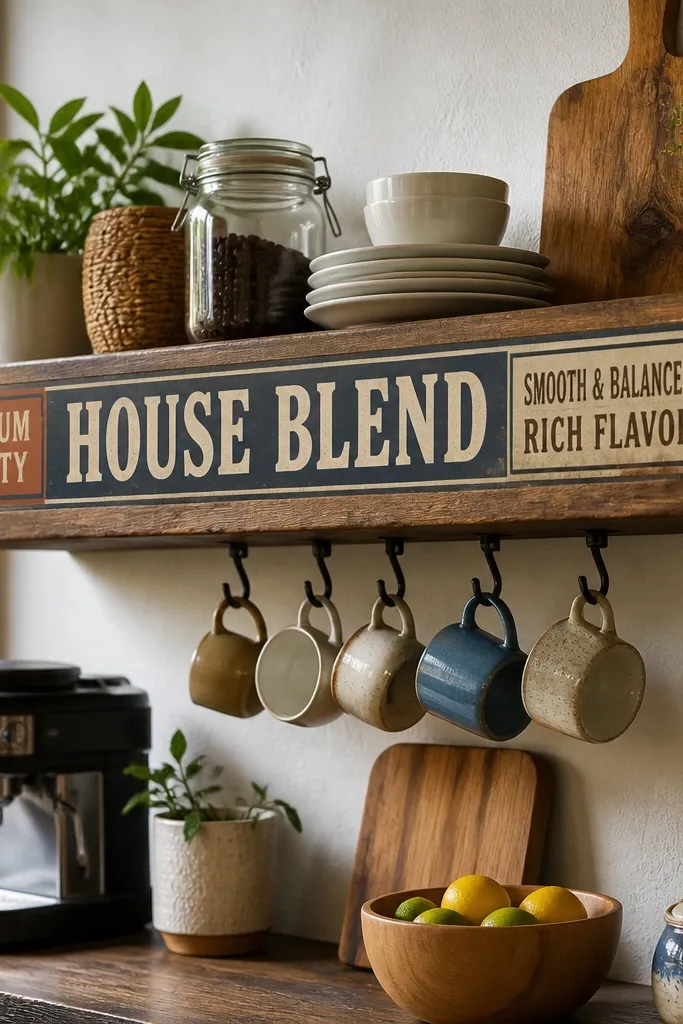
Advertisement headers give you that vintage shop feel without needing an entire poster. This modern Vintage Paper Printable is made for banner-style use: hang it across a wall, paste it onto a wood shelf face, or use it as a backdrop behind a small sign. The best sheets have a big headline area with smaller subtext blocks, which reads clearly once printed. It’s photogenic because the layout has layers and the borders create a clean frame for your display. Great for entry tables, coffee nooks, and behind open shelving.
Print the banner at 100% scale on matte paper, then trim straight along the outer border. Mount onto thin cardstock with a 1/2 in overlap on each side so it stays flat. Hang using small picture hooks or attach to a wood board with a clean spray adhesive. If you want a softer look, distress the edges lightly with sandpaper before mounting.
Distress only the very outer edge; keep the printed ink untouched for crisp readability.
Avoid bending the banner while mounting; it creates creases that show through glass.
11. Antique Ledger Page With Tear-Off Tabs
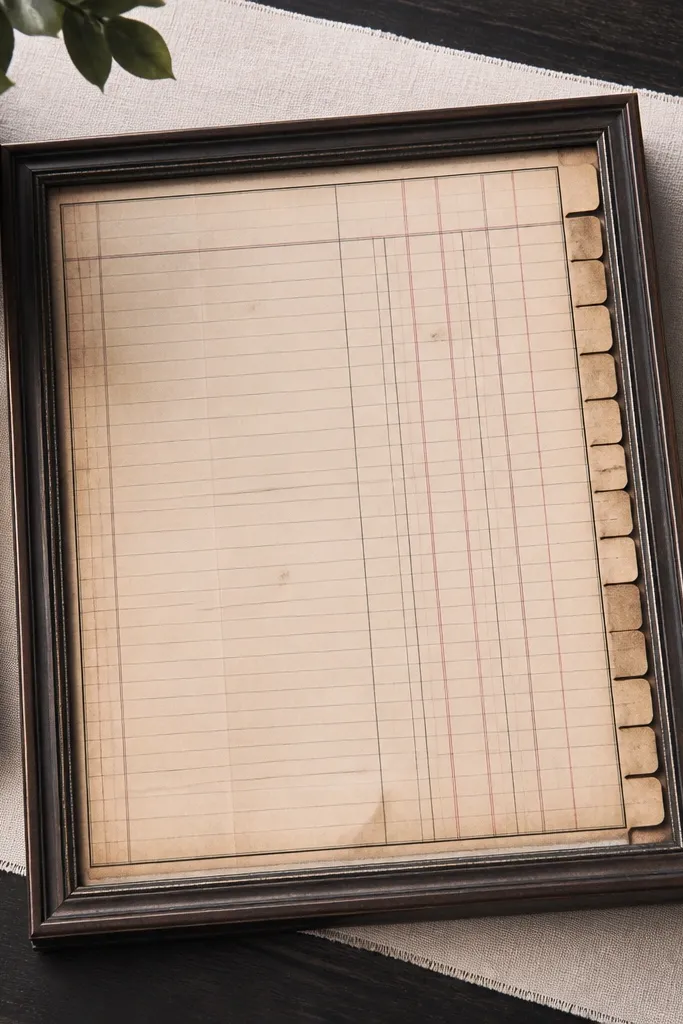
Ledger pages are one of the best modern Vintage Paper Printable themes because the pattern does the decorating for you. The rows and tabs create visual rhythm, and the slightly irregular ink makes it feel aged. This is a good choice if you want a larger piece for an 11x14 frame that still looks interesting up close. Use it behind a desk or in an office nook to add texture without adding color. It also works well as a single framed print or as a background for a small shadow box.
Print on 110 lb cardstock so the paper doesn’t curl in the frame. Trim to 11x14 size, then mount to foam board with even pressure so corners stay square. If the design has tear-off tabs, cut them out cleanly and leave them as a layered element on top of the main page. Finish with a matte seal so the ink looks consistent under lighting.
Check your printer’s alignment by printing a test on plain paper first; ledger lines reveal misalignment fast.
Don’t use thick glossy sealant; it turns the ledger into a reflective sheet.
12. Vintage Illustration Label Medallions
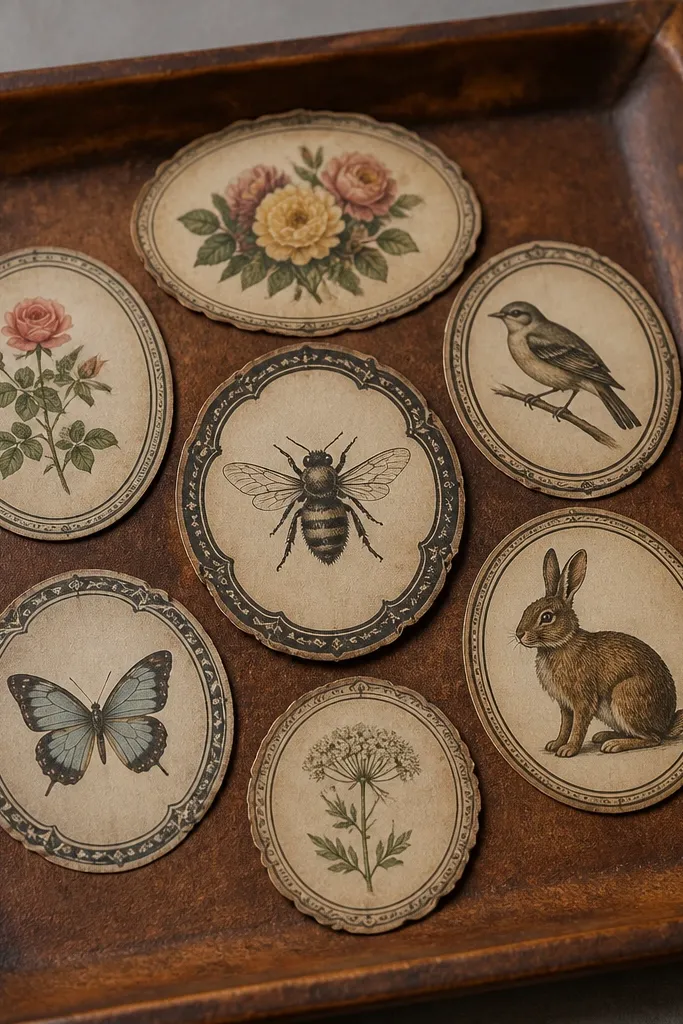
Medallions are photogenic because they’re self-contained shapes. This modern Vintage Paper Printable usually includes multiple medallions on one sheet, which lets you create a matching set for a gallery wall or a grouping on a tray. The vintage illustration inside the border gives you that worn-paper feel, while the circular frame keeps the design neat. It’s great for small spaces because each medallion reads clearly even at a modest size. If you like the look of vintage French labels, this is the cleanest way to get it.
Print on matte paper, then use a hole punch or circle cutter to cut each medallion. Mount each medallion onto a slightly darker cardstock circle that’s 1/8 in bigger for a subtle halo. Arrange them in a grid frame or glue onto a board as a layered collage. Seal with matte spray if you’re using adhesive mounting so the ink stays crisp.
Keep the medallions at least 2.5 in wide; smaller ones lose details when framed.
Avoid cutting too close to the border; leave a thin paper ring so edges don’t look ragged.
13. Old Map Border Corner Set
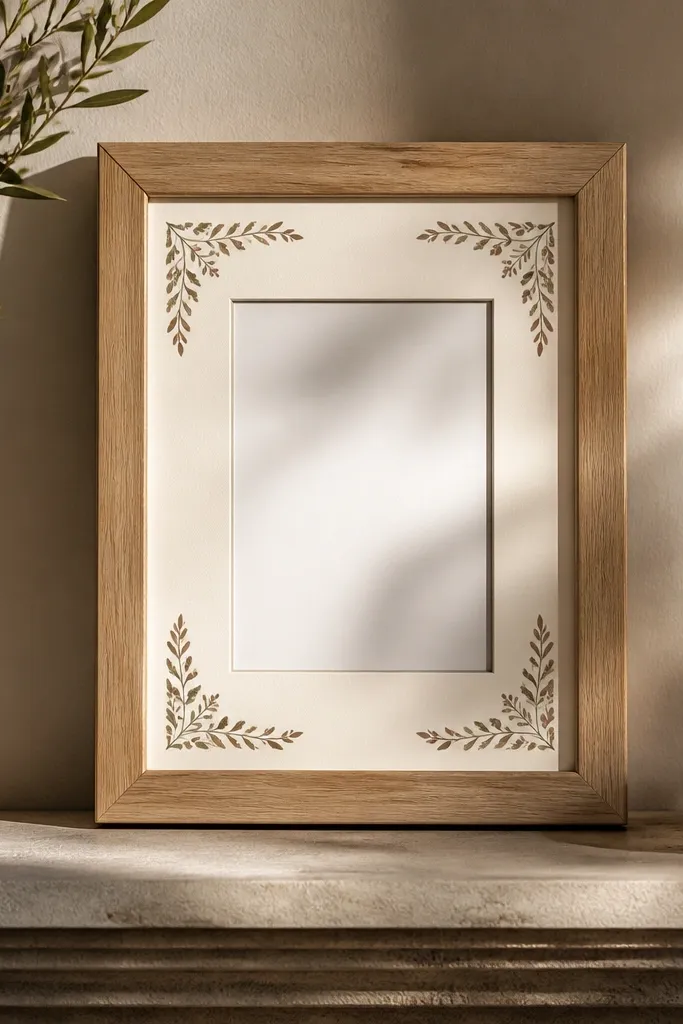
Corner borders make any modern Vintage Paper Printable look more intentional because you can frame your own center piece. Print the corners, then use them to decorate a plain sheet you already like — like a photo, a pressed leaf, or a quote card. This is ideal if you want a vintage edge without committing to a fully designed poster. The look is clean under glass because corners don’t require perfect interior trimming. It also makes your decor feel custom, even when you’re using free printables.
Print the corner set on matte paper and trim each corner along its outer border. Dry-fit the corners on a blank sheet to check spacing, then glue corners to the edges using a glue stick or thin double-sided tape. Add your center piece, then mount the full layout onto cardstock. Frame in a size that matches your final assembled dimensions.
Use a ruler and mark tiny pencil ticks for corner placement so glue doesn’t go on crooked.
Don’t overlap corners; it makes the border look thick and messy.
14. Sepia Botanicals With Soft Wash Background
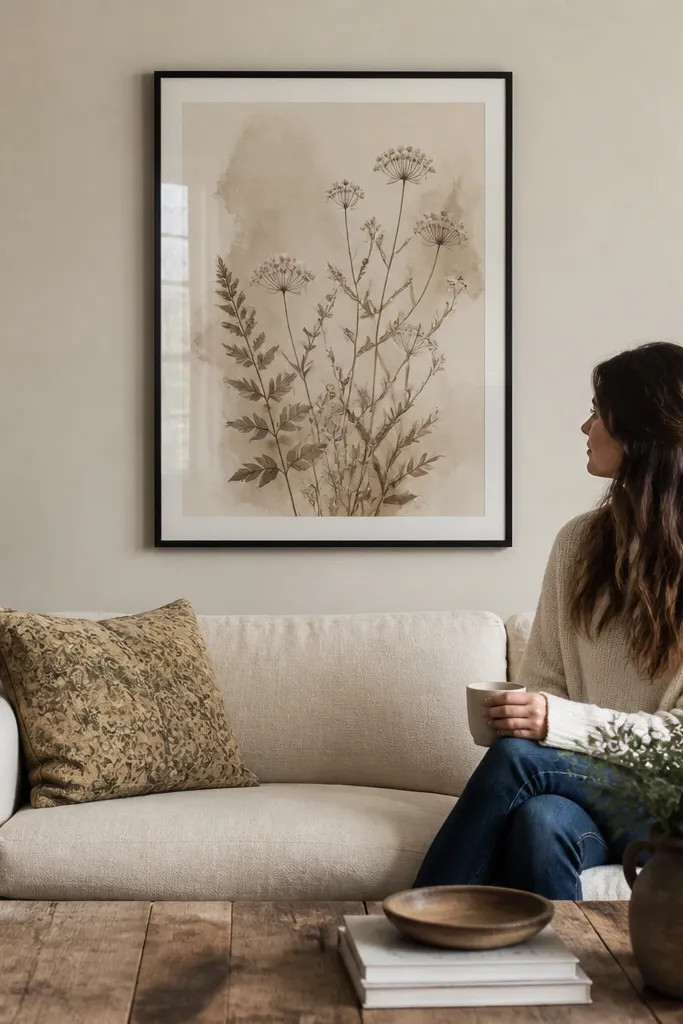
This printable hits the sweet spot between vintage and modern because the background wash is soft, not muddy. Modern Vintage Paper Printable files like this keep the botanical linework crisp so the print still looks sharp on matte paper. It’s a strong choice for a neutral living room where you want warmth without heavy color. Frame it alone for a calm look, or pair it with a ticket stub for contrast. The wash background also hides minor paper texture differences, so it stays forgiving if your printer isn’t perfect.
Print on cream matte paper and set color to “neutral” or “standard,” not high saturation. Trim to your chosen frame size like 8x10, then mount to foam board for flatness. If you want extra depth, add a charcoal mat and keep at least 1/2 in visible around the print. Seal lightly with matte spray if the background rubs off when you handle it.
Use a clean microfiber cloth when you trim; dusty edges show more on sepia prints.
Avoid bright white paper — the wash turns harsh and the vintage effect disappears.
15. Vintage French Labels for Pantry Jars
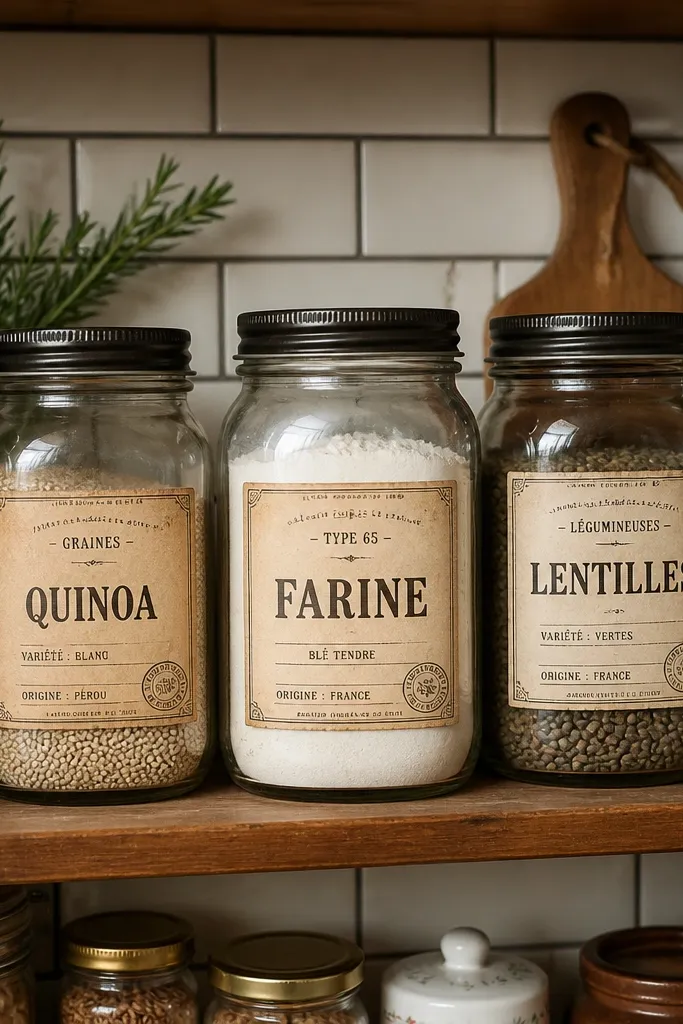
Pantry labels are functional decor, and this modern Vintage Paper Printable makes them look like they came from a vintage shop. The designs are usually built for small surfaces, with clear text blocks and decorative stamp marks that read well at a glance. Print them, cut them into rectangles, and you get a matching set that turns a messy shelf into a styled display. This is also a good way to use multiple designs from one sheet without committing to a whole wall print. It photographs well because labels create pattern and repetition.
Print on matte sticker paper for easiest application, or print on cardstock and glue to jar labels. Cut rectangles with 1/16 in border around the printed area so edges don’t look thin. Wrap labels around jars and secure with a small strip of clear tape on the back side. Let labels fully dry before you stack jars so the edges don’t peel.
If your jars are glossy, use a label transfer tape so the label doesn’t wrinkle on curved glass.
Don’t use thick gel medium as adhesive; it warps thin label paper.
16. Vintage Photo Mat With Frame-Ready Typography
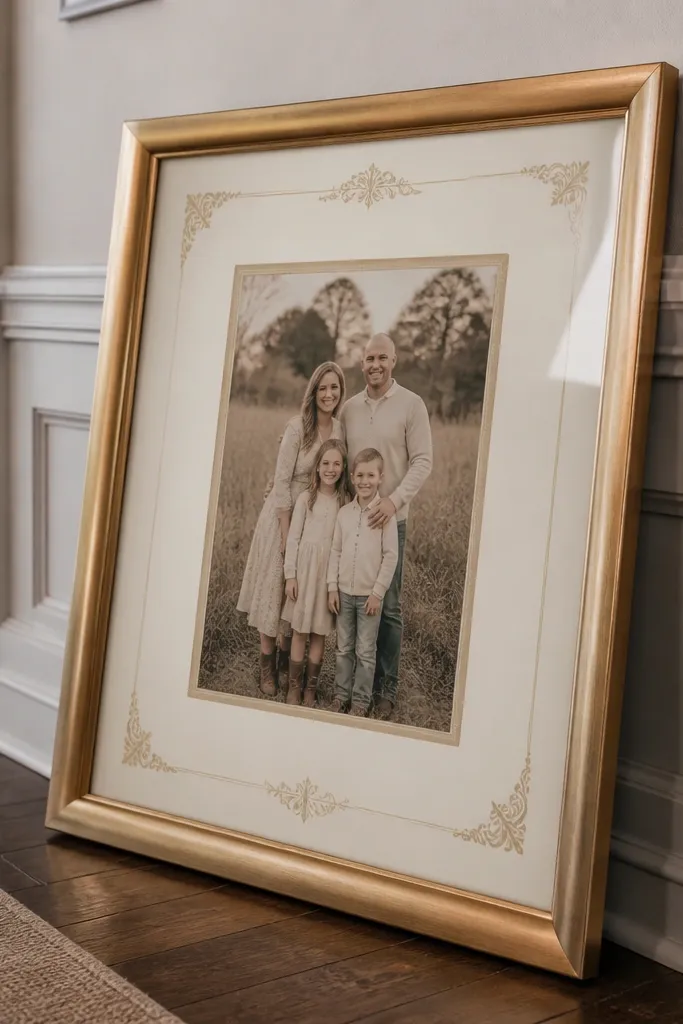
This printable is made for framing with a photo or print you already have. The vintage border and typography create a cohesive look even if your photo is modern. Modern Vintage Paper Printable designs like this help you avoid awkward mat cutting because the file already has the right proportions. It’s perfect for family photo walls where you want some pieces to feel vintage while the rest stay clean. The typography border gives you that aged paper vibe without needing distressed fonts to do the heavy lifting.
Print the mat on matte paper and trim to the outer border exactly. Place your photo behind the mat window and check alignment before gluing. Use double-sided archival tape on the back edges only so you can swap photos later. Frame with glass if you’re using it on a frequently handled display.
Do a dry fit with the frame lid first — some frames have narrow inner channels.
Avoid cheap tape that leaves residue; it shows through thin paper mats.
17. Antique Botanical Press Card Set
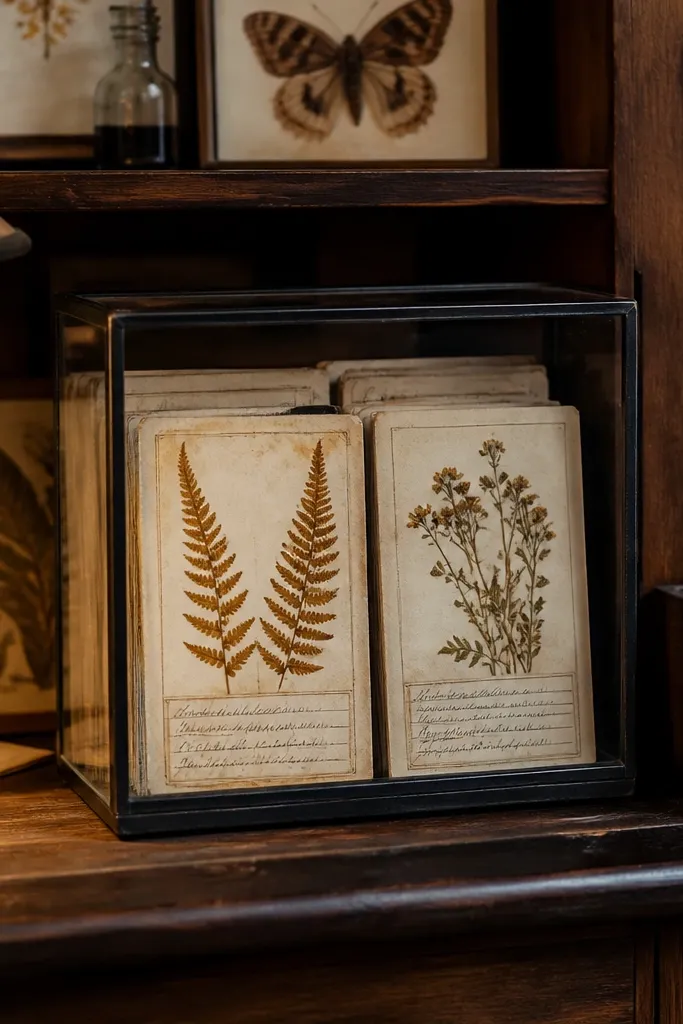
Botanical press cards look vintage because they combine a specimen label with a record-keeping vibe. This modern Vintage Paper Printable gives you that “found in a drawer” feeling, and the handwritten-style notes make it feel real. Use it as a set of cards you can tuck into shadow boxes, display on a small shelf, or slide into a binder for later. The paper texture effect is what makes it photogenic; it reads like old stock, not a flat digital print. It’s also a fun way to personalize without needing to actually press plants.
Print on textured matte paper if your printer supports it; otherwise use 110 lb cardstock. Trim each card to a consistent size like 4x6, then mount onto a slightly darker cardstock to create contrast. Arrange in a shadow box or frame with spacers so the cards don’t flatten against glass. Seal with matte spray if you use adhesive mounting so ink doesn’t rub off during assembly.
Editor's noteUse spacers inside the frame to keep the card edges visible and crisp.
Skip thisDon’t over-distress; too much edge wear makes the cards look damaged instead of aged.
18. Vintage Almanac Page With Section Lines
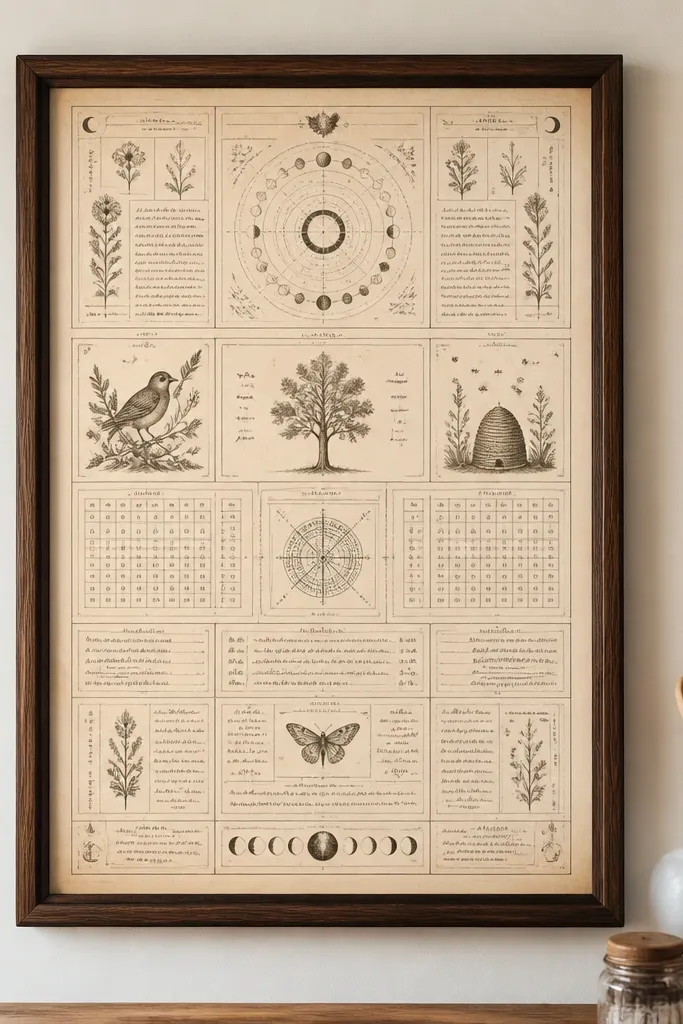
Almanac pages feel vintage because they look like organized information. This modern Vintage Paper Printable usually has multiple sections, which creates visual interest even when the color palette stays muted. Print it larger for a bold wall look, or cut it into sections for smaller frames. The section lines make it easy to arrange on a gallery wall without needing extra decor. It’s especially good in a home office because the layout reads as “paperwork,” which pairs well with shelves and desks.
Print at 11x14 on matte cardstock and check that headings stay fully visible. Trim straight to the outer border, then mount onto foam board with a thin adhesive layer. If you want a two-piece look, cut along the section line between top and bottom and frame them separately. Finish with a matte seal for consistent tone and to reduce handling marks.
Keep the frame color neutral like black, walnut, or antique brass — it won’t fight the paper tones.
Avoid framing without glass if you touch it often; fingerprints ruin faded inks.
19. Victorian Ornate Corner Flourish Sheet
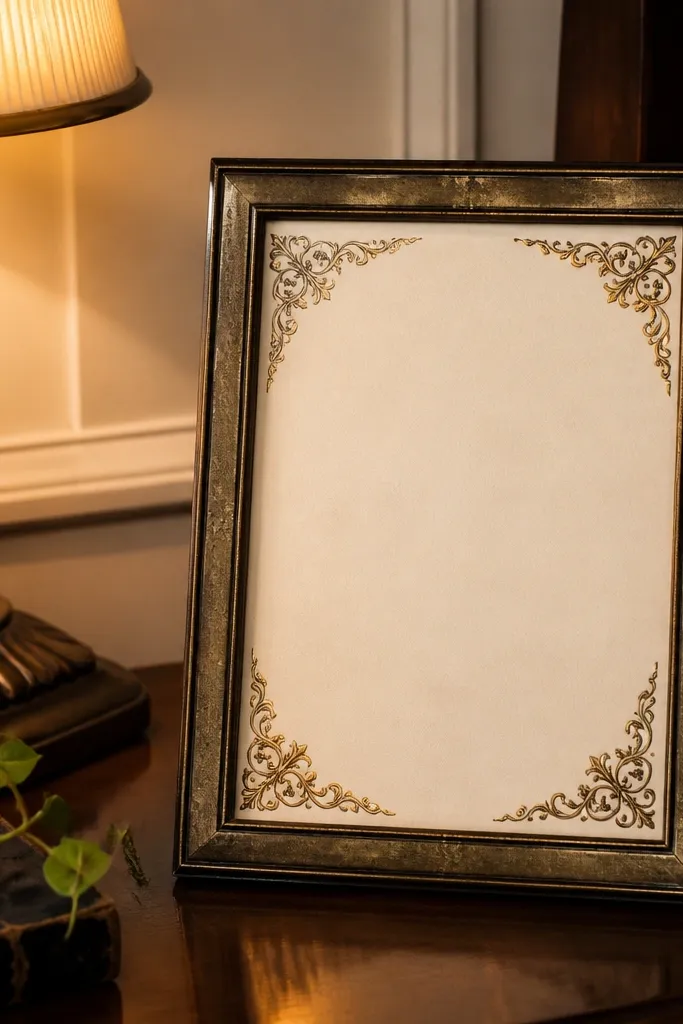
Ornate corner flourishes work because they add structure without overpowering the rest of your decor. This modern Vintage Paper Printable is made for framing or for decorating a plain print you already like. The detail is usually concentrated in the corners, so you don’t need to trim a complicated center. It’s a strong choice if you want a vintage look that still feels clean and modern. The flourishes also photograph well because they create contrast and crisp edges that show clearly at small sizes.
Print on matte paper and let it dry fully to prevent smearing when trimming. Cut out the full flourishes sheet or just the corner sections depending on your project. Mount the corners to a blank cardstock base using a glue stick, then add your center element with tape. Frame the finished layout in an 8x10 or 11x14 frame so the corners sit just inside the mat opening.
If your printer has trouble with fine lines, print at slightly higher quality mode and keep paper matte.
Don’t use a thick mat that covers the flourish edges; keep the corners visible.
20. Vintage Botanical Monogram Frame Accent
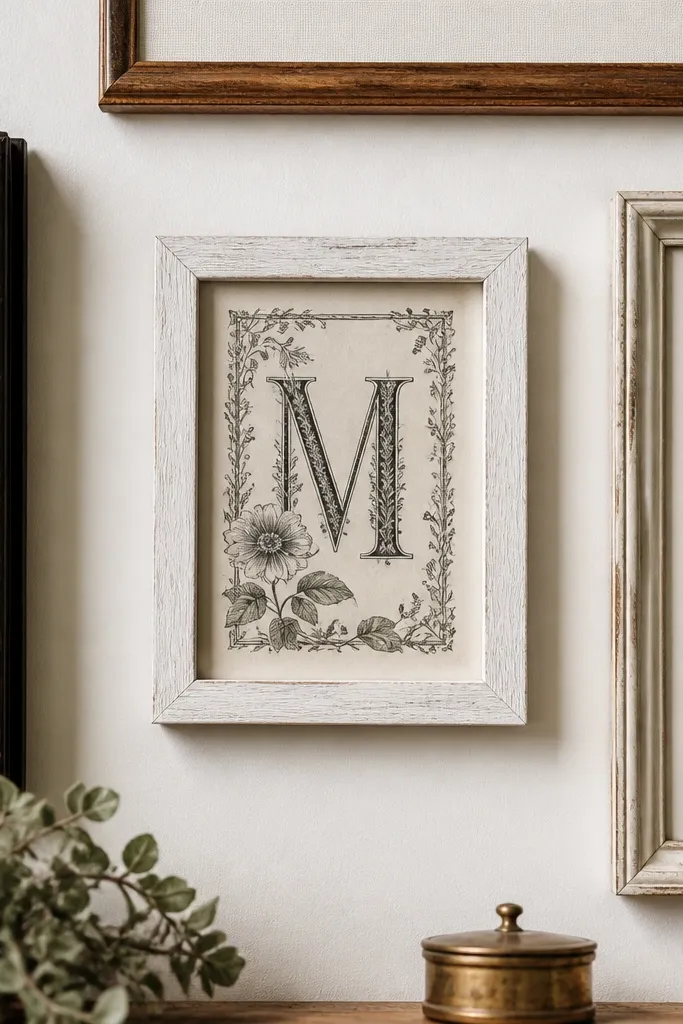
Monograms instantly make a printable feel like a real keepsake. This modern Vintage Paper Printable combines a letter style with botanical vines, so you get a vintage look without needing a full poster. Use it as a corner accent on a larger frame, or print it as the main piece in a small 5x7 frame. The botanical linework gives it movement, while the monogram keeps it personal. It’s also a clean gift option because you can change the letter set quickly by printing a different monogram sheet.
Print the monogram sheet on 110 lb cardstock so the paper stays flat. Trim to the outer border and mount onto a neutral cardstock backing with a thin visible margin. Place it in a small frame with a mat if the border is thin. If your file includes multiple letters, cut only one and store the rest flat in a folder so edges don’t curl.
Editor's noteUse a dark mat like espresso or deep olive to make the vines pop.
Skip thisAvoid cutting tiny leaf tips too close; leave a hairline border for clean edges.
21. Antique Receipt Number Strip
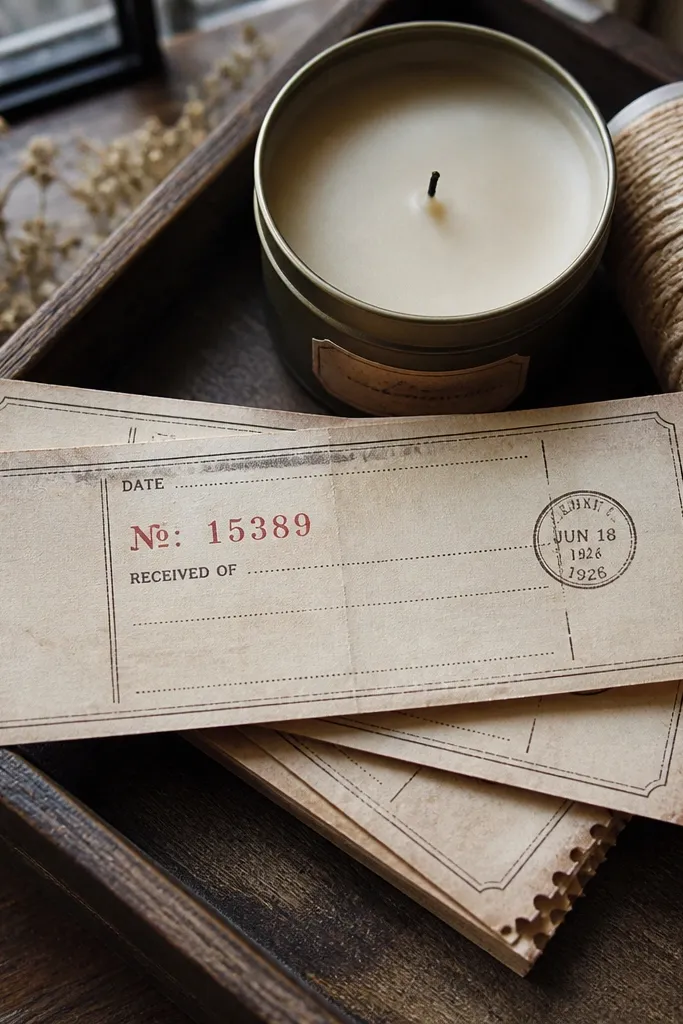
Number strips look vintage because receipts already carry a sense of time and record-keeping. This modern Vintage Paper Printable is great for creating a small decor moment on top of something plain: a tray, a candle box, or a shelf label. The best versions include a date line and a stamp mark, which gives you multiple text anchors. Print it and you can cut it into short segments for smaller accents. It’s a good choice when you want vintage texture but you don’t want heavy illustrations.
Print on matte paper and set the printer to “draft off” or “normal” quality so text stays crisp. Trim the strip into sections like 2 in or 3 in depending on your label needs. Glue sections onto kraft tag bases or onto a thin wood board with spray adhesive. Seal the finished piece with matte spray if the strip rubs when handled.
Use a ruler and cut in one direction; receipt strips show jagged cuts more than framed prints.
Don’t laminate without testing; some laminates warp thin paper and dull the ink.
22. Vintage Botanical Chapter Divider Cards
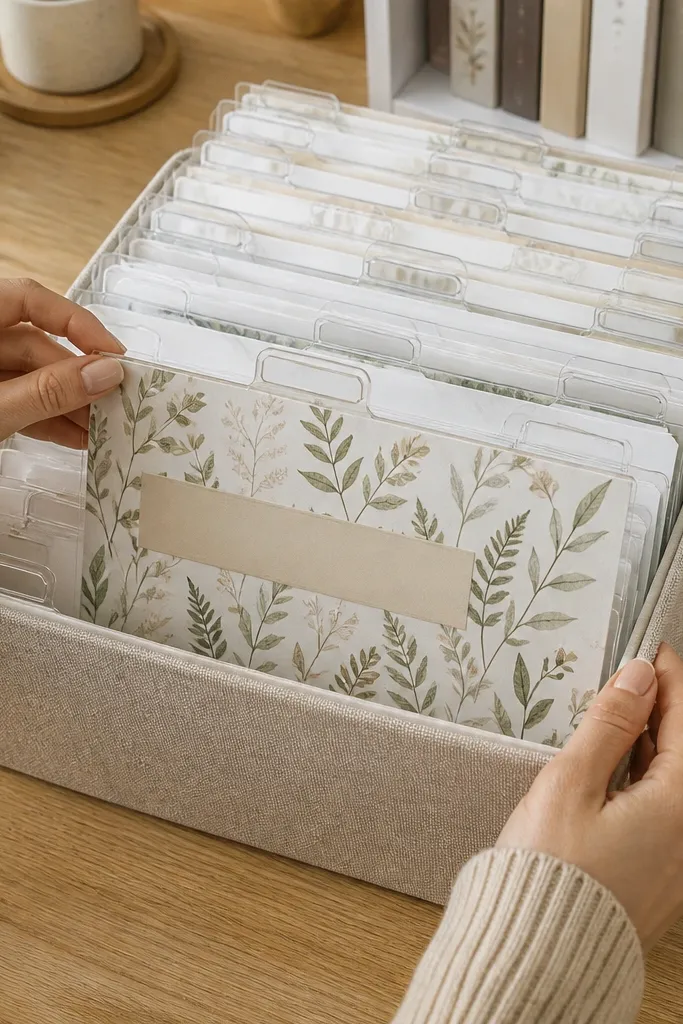
These divider cards are made for organizers and shelf styling. This modern Vintage Paper Printable creates a vintage paper vibe that looks clean in binders, on book shelves, and inside box organizers. The divider format usually has a title strip and a botanical motif, which makes it easy to keep your categories looking consistent. It’s also photogenic because dividers create a neat, repeated pattern. If you’re trying to make your home office feel calmer, this is a cheap way to add visual order.
Print on cardstock, then cut each divider to a standard binder size like A5 or letter width. Use a paper trimmer for straight edges so the dividers stack evenly. Insert into plastic binder sleeves or attach to folder tabs with adhesive tabs. If you want a framed version, mount one divider into a 5x7 frame and add a simple mat behind it.
Measure your binder sleeve window area first — some sleeves eat the top edge.
Avoid cutting dividers with scissors; uneven edges show immediately in stacks.
23. Old Post Stamp Row Labels
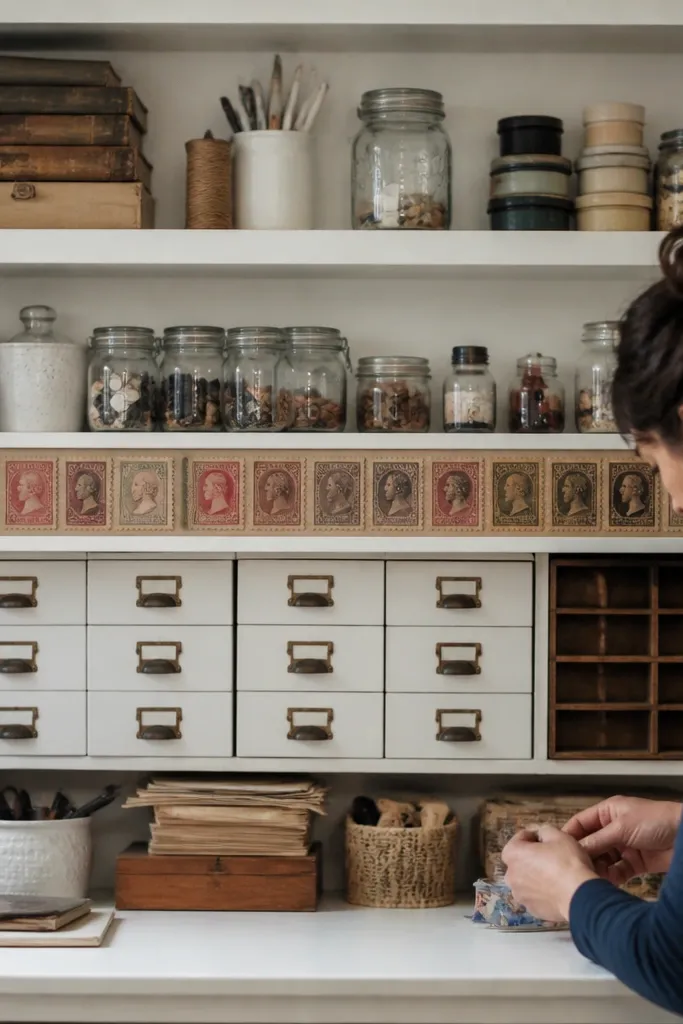
Stamp rows are a strong decor move because they create repeating color blocks and a clear “collection” look. This modern Vintage Paper Printable is best when you print the whole row and frame or mount it as a single band. The stamp borders usually include perforation styling, which reads as vintage without needing any distressing. You can also cut each stamp and use them as small tags around your house. The row format makes it easy to make a coordinated set across multiple prints.
Print on matte paper and cut out the full stamp row as one strip if the design supports it. Mount onto a darker cardstock backing so the stamps look separated and crisp. Place the strip in a narrow frame or glue it onto a board for a shelf display. If you want individual stamps, cut them after mounting so edges stay aligned.
Use a narrow mat so the stamp perforation lines stay visible.
Don’t oversaturate colors by using “photo” mode; muted stamps look older.
24. Vintage Map Coordinate Cards
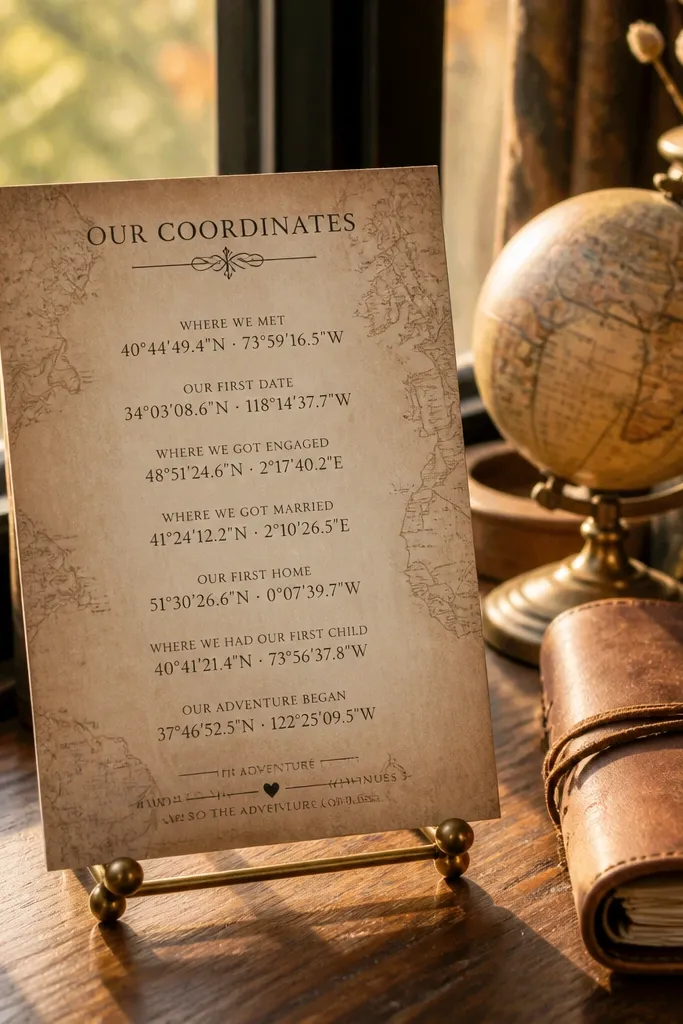
Coordinate cards feel modern and vintage at the same time because they look like real data with an old-paper background. This modern Vintage Paper Printable is great for love notes, travel memory displays, and anniversary gifts. The text-driven design looks good on both light and dark paper, so you can match your decor easily. Print a set and use them as tags on a string garland, or frame a single card as a minimalist statement piece. It’s photogenic because coordinates are dense and structured, which adds texture even with muted colors.
Print on cream matte paper at 100% scale and choose a consistent card size like 4x6. Trim with a trimmer and punch a hole in the top corner if you plan to hang them. Mount onto a slightly darker cardstock so the coordinates stand out. Seal if you’re using them on a string display that might get handled often.
Editor's noteUse a single dark ink color in your printer settings to avoid gray text turning blotchy.
Skip thisAvoid mixing multiple coordinate styles on one string; it looks random.
25. Vintage Botanical Frame Labels for Shelves
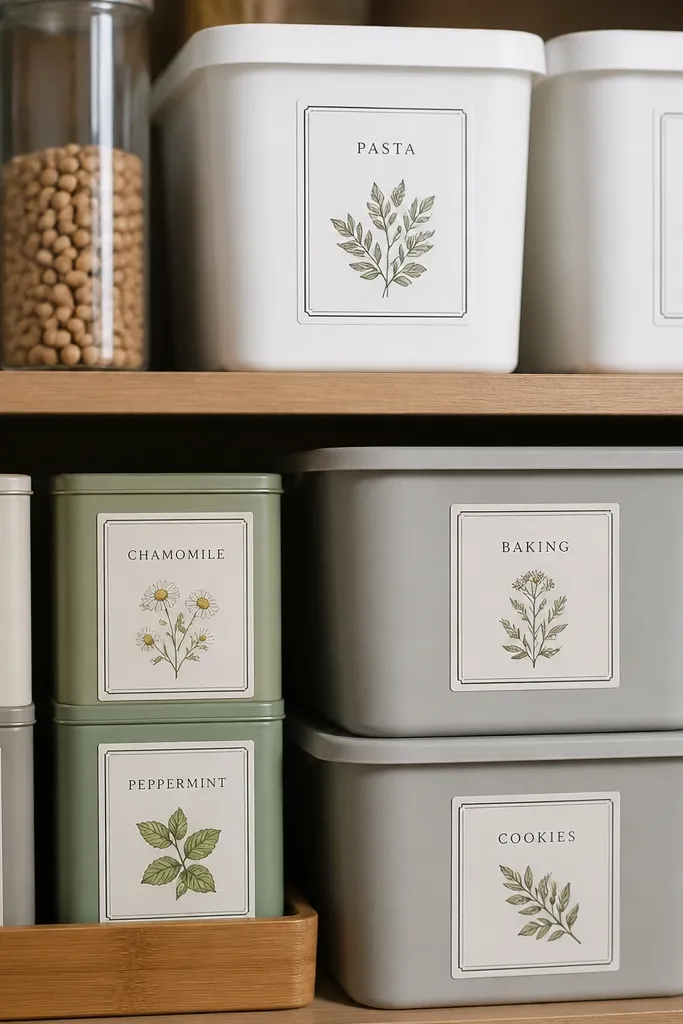
Shelf labels are where modern Vintage Paper Printable ideas get real. This type of printable has compact label designs that look like they belong on jars, bins, or shelf fronts. The botanical drawings add warmth, but the layout stays simple so it doesn’t clutter. Print a set, and you can label everything from tea tins to craft supplies. It’s also easy to photograph because labels create organized blocks of information. Once you have the set, you can keep reprinting for seasonal swaps.
Print on matte cardstock and cut each label to a consistent rectangle size. Apply labels to shelf bins using a removable adhesive strip if you want to update later. If you want a firmer look, mount labels onto thin foam board and attach with small clips. Finish by spraying a light matte coat if the labels rub during handling.
Editor's noteKeep label corners rounded with a corner punch; it makes the vintage look feel softer.
Skip thisAvoid placing labels over textured surfaces without checking adhesion.
26. Antique Bookplate With Decorative Title Bar
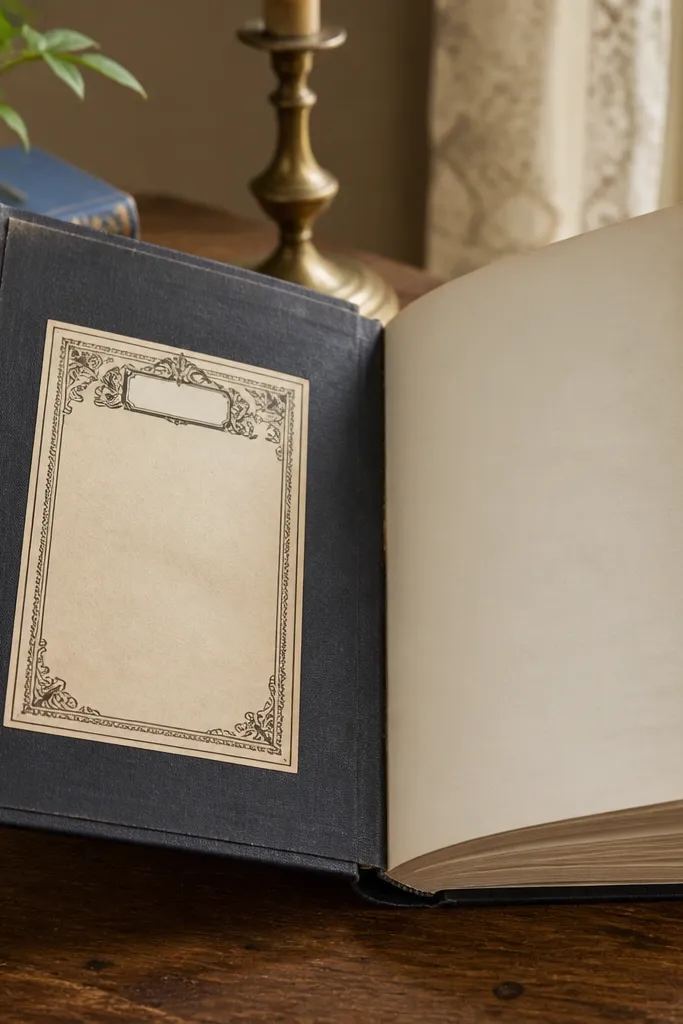
Bookplates are a classic vintage decor move, and the printable version is practical. This modern Vintage Paper Printable typically has an ornate border and a title bar where you can place a name or category. It looks great on the inside cover of a journal, as a label on a storage box, or as a framed accent. The reason it looks good is the border does the framing, while the title bar creates a clean focal line. It’s also a smart way to unify mismatched notebooks and binders into one visual system.
Print on 110 lb cardstock so the bookplate stays firm. Trim to the outer border carefully, then mount using a glue stick on the back. If you’re using it on a book, apply it to the inside cover and press flat under a heavy book for 30 minutes. For a frame version, mount to foam board and place in a small 5x7 frame with a neutral mat.
Editor's noteUse a bone folder to press the bookplate down without bubbles.
Skip thisDon’t apply bookplates on glossy covers; the adhesive may not bond well.
27. Vintage Linen Paper Background With Label Overlay
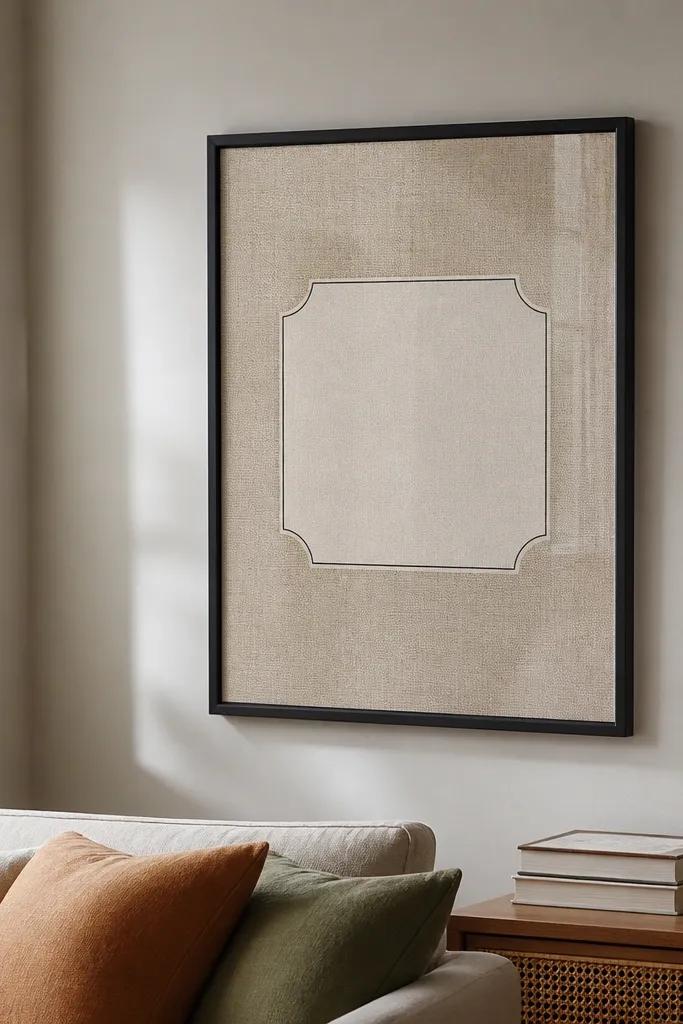
This is a modern Vintage Paper Printable approach that makes any label look vintage without extra work. The linen-like background texture gives you a tactile feel, while the centered label area gives you a clean place to add a stamp, date, or short text. Print it and you can use it as a framed print, a card backing, or a backdrop for small objects in shadow boxes. It’s especially good if you want the vintage look but your decor is modern and clean. The texture stays subtle, so it doesn’t overpower your room.
Print on matte paper and choose a slightly warm paper tone like cream so the linen effect looks natural. Trim to your frame size like 8x10, then mount to foam board. If the file has a label overlay area, cut out a separate label strip and layer it on top for depth. Finish with a matte spray to keep the texture consistent under light.
Editor's noteLayering works best when the top label is 1/8 in smaller than the label window.
Skip thisAvoid heavy gloss finishes; linen texture gets lost under shine.
28. Vintage Botanical Timeline Strip
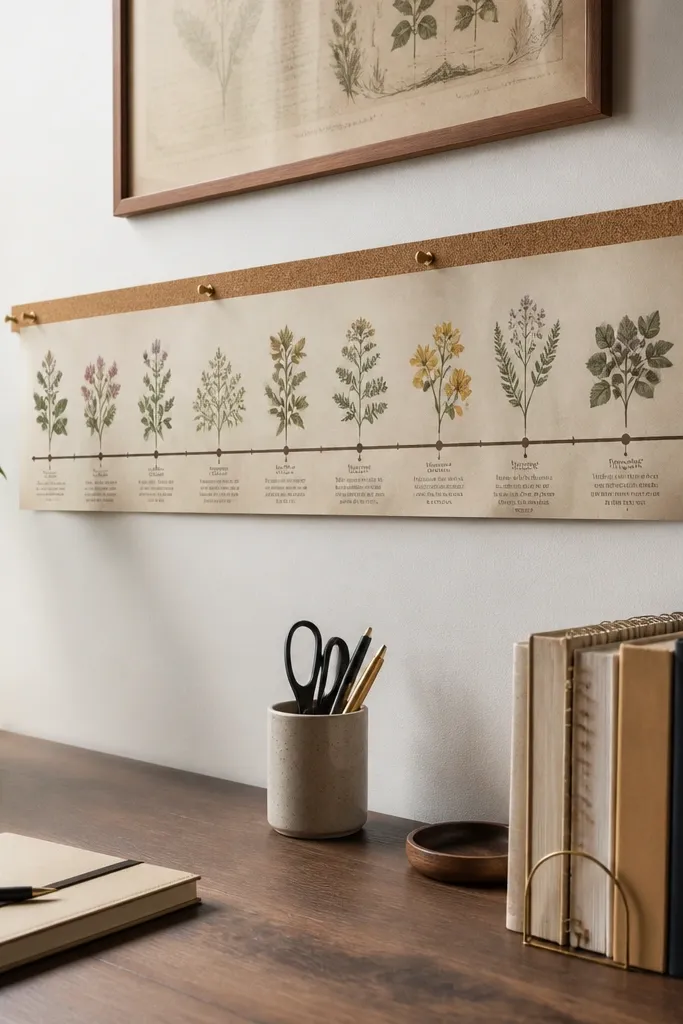
Timeline strips are a clever way to make vintage decor feel modern. This modern Vintage Paper Printable has a long horizontal layout that reads clean and organized, which looks good above a desk or in a craft room. The botanical icons keep the theme warm, while the timeline structure gives it a practical feel. Print it as a single strip for a frame, or cut it into sections to label items by date. It’s photogenic because the line structure creates a strong visual rhythm.
Print the strip on matte paper and trim to the outer border with a ruler. Mount onto a darker cardstock backing so the timeline line stands out. Frame it in a long narrow frame, or glue onto a thin board and hang with two hooks. If you’re customizing dates, use a fine-tip archival pen on the blank date lines after printing.
Use archival ink pens if you plan to write on it; regular pens can smear on matte paper.
Don’t write on it before it’s fully dry; ink can bleed into the background.
29. Vintage Botanical Corner Tags for Gift Wrap
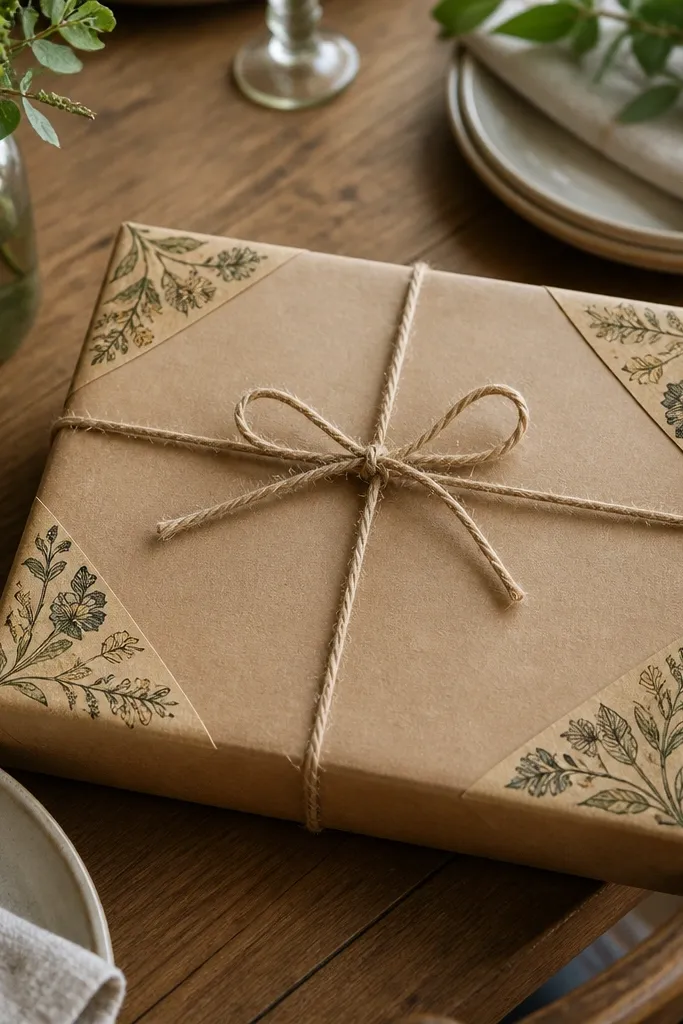
These corner-tag printables are for people who like their home to look styled even when it’s not a “project day.” This modern Vintage Paper Printable makes tags that look vintage but still clean and readable. The corner botanical design is easy to cut and it holds up well as a small accent. Use them on gifts, on pantry jars, or as small labels for storage boxes. They’re also great for photographing because tags create a neat cluster and the aged border adds texture at close range.
Print on matte cardstock and cut along each tag outline. Punch a hole at the top center and thread twine or ribbon. If you want them sturdier, mount the tags onto a thin kraft cardstock before punching. Seal with matte spray only if the tags get handled a lot; sealing can slightly darken ink.
Use a consistent twine color like natural jute so the tags look cohesive across multiple prints.
Avoid thick marker borders; handwriting marks the edges and makes the vintage frame look rough.
30. Antique Map Phrase Labels
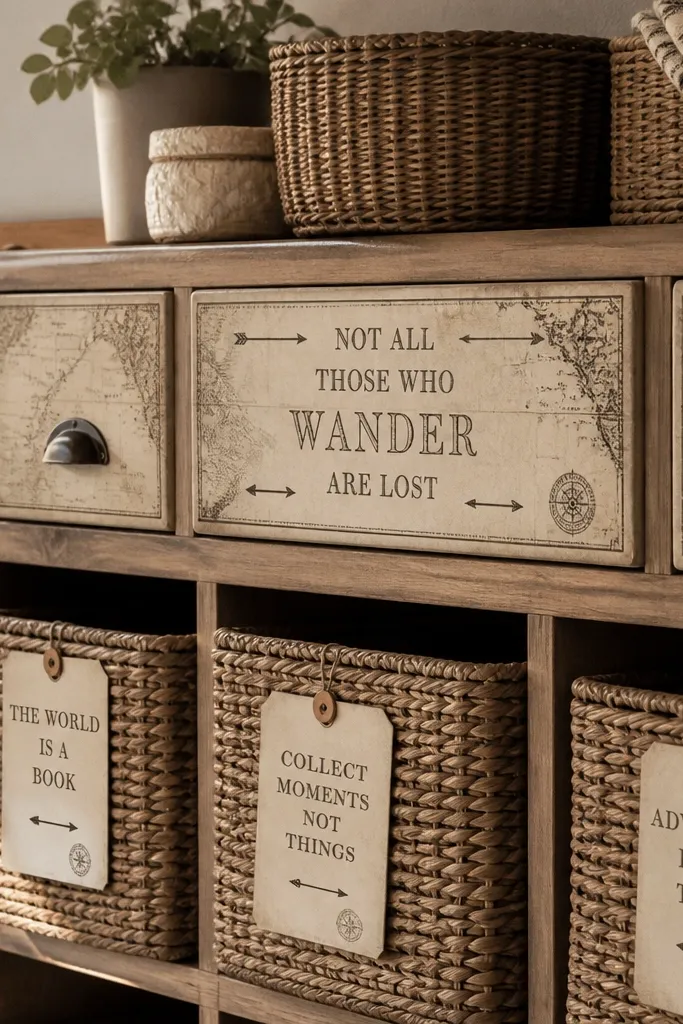
Phrase labels give you vintage language on demand. This modern Vintage Paper Printable often includes directional arrows, “east/west” type text, and small map stamps, which makes the labels feel like they belong on old travel gear. Use them on baskets, storage drawers, or as accents on a gallery wall where you don’t want more botanical imagery. The reason this works is the text is short, so it stays legible in small sizes. It’s also easy to coordinate with neutral decor because the palette is usually browns and grays.
Print on matte paper and cut labels with a small craft knife for clean edges. Apply to kraft tags or directly to bins using removable adhesive if you want to swap later. For a framed look, mount a few labels in a grid on a larger background sheet and frame together. Seal if you plan to handle them often.
Editor's notePick one phrase set and keep the arrow direction consistent when arranging multiple labels.
Skip thisDon’t mix fonts across different printable families; it breaks the vintage uniformity.



