
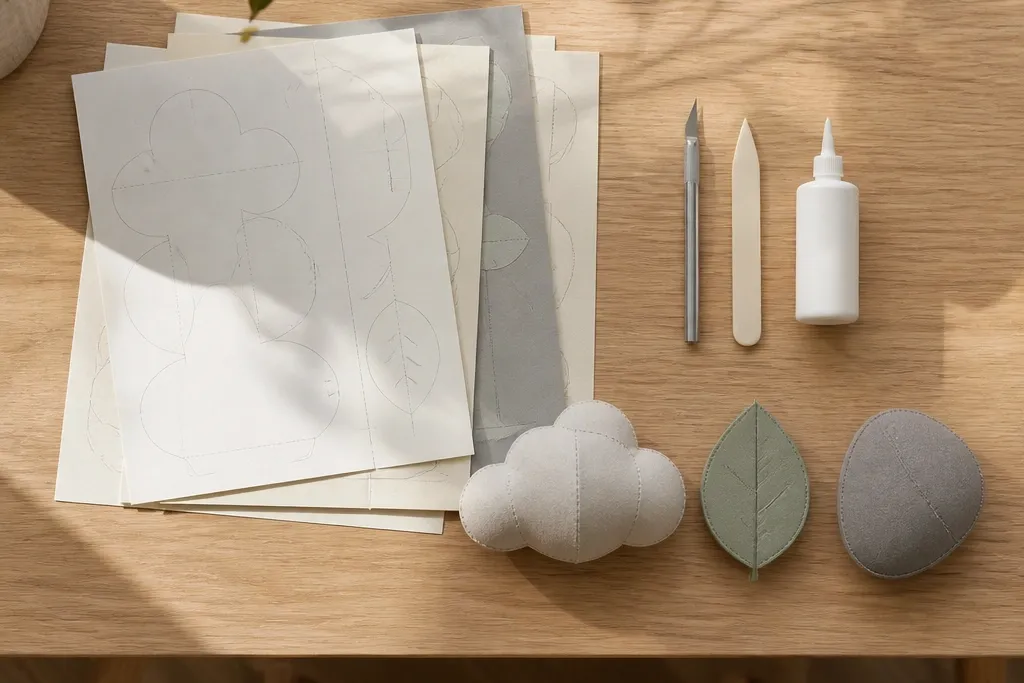
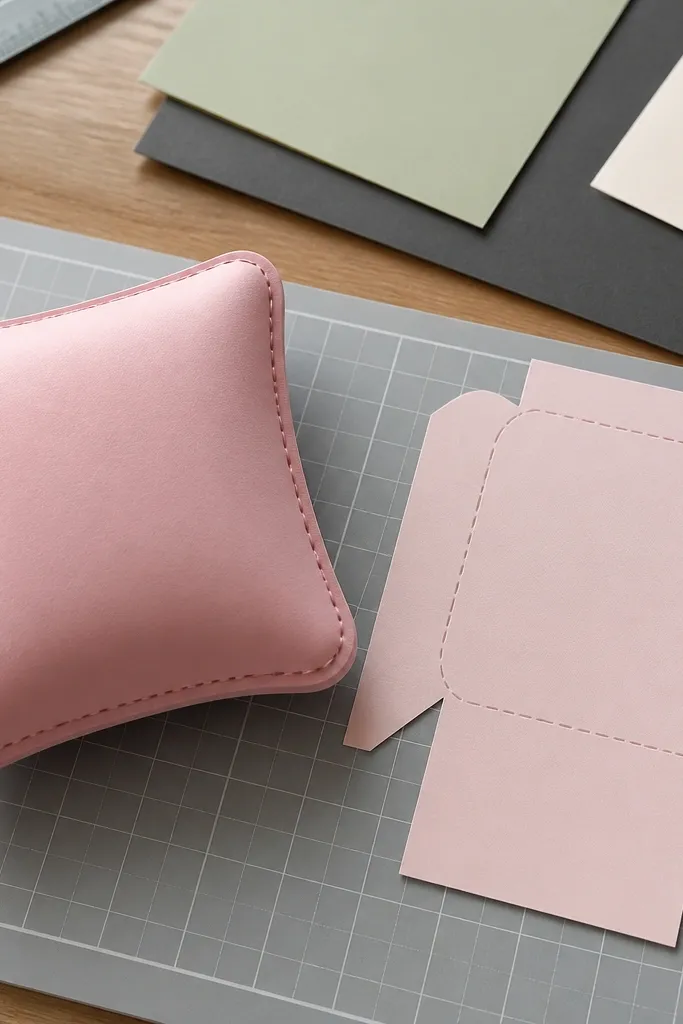
1. Matte Cream Mini Donut Squishy (Single Puff Rim)
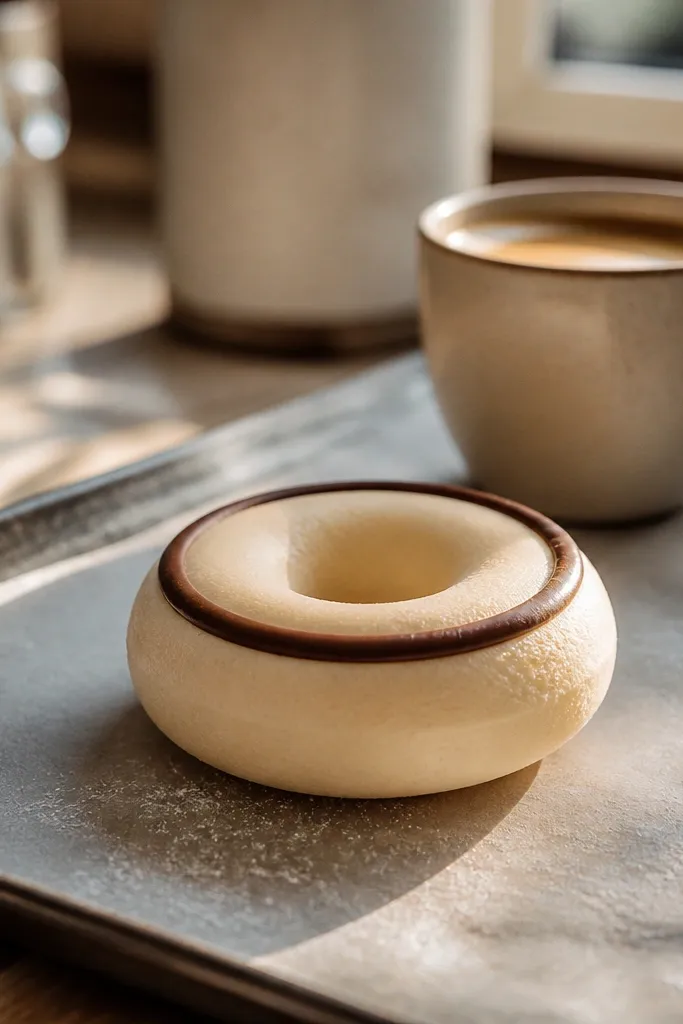
This donut template is built for that “toy squishy” look without loud colors. The design uses a donut face layer plus a narrow rim puff, so the center opening stays clean and the outer edge looks rounded. Matte cream cardstock reduces glare, and the thin chocolate ring gives a realistic contrast that reads as filling. Make it small for modern decor — around 5-6 cm across — so it looks intentional next to candles, books, or a minimalist tray.
First, cut the donut face and rim pieces from 180-200 gsm matte cream cardstock. Then add a 3-4 mm wide strip of foam tape to the back of the rim layer only, aligning it so the inner hole stays open and crisp. Finally, glue the rim to the face, add a short curved highlight with a white gel pen on the upper right, and darken the lower left edge with a gray-brown pencil.
Use a bone folder to sharpen the inner hole crease line so the opening doesn’t warp after gluing.
Don’t glue foam tape across the inner hole — it blurs the clean donut cut.
2. Gray Cloud Squishy with Stacked Petal Folds
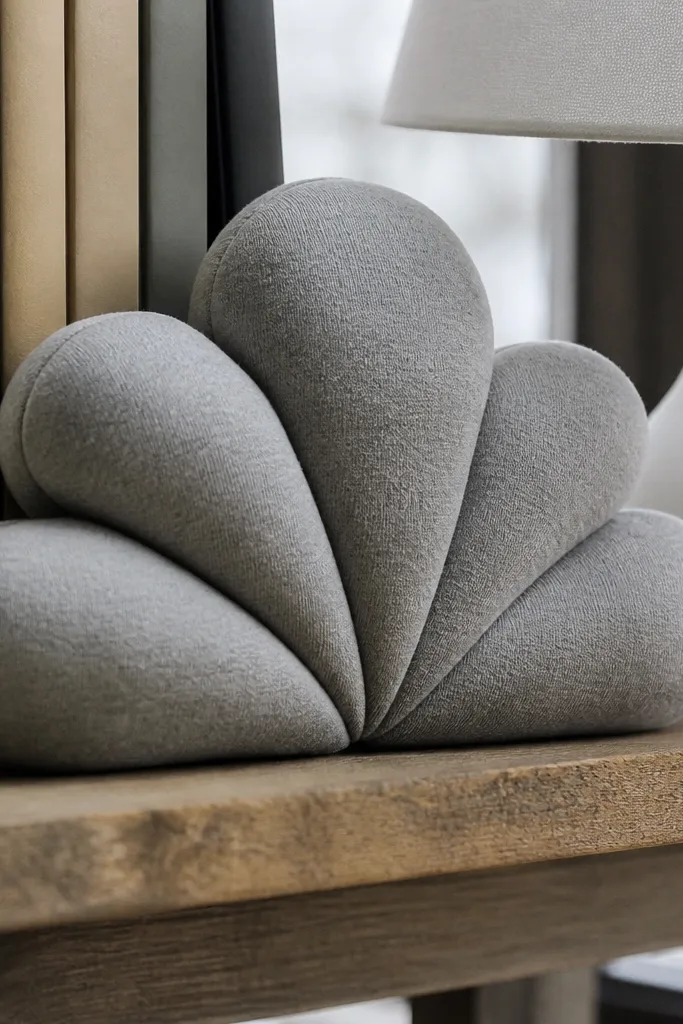
This cloud template looks real because it builds volume through stacked folds, not thick stuffing. The template gives you petal-like segments that overlap slightly, creating a plush edge that catches light gently. A medium gray base stays modern, and the highlight is placed in a narrow band so it looks like soft fabric, not glitter. It’s a great choice for nurseries, calm corner decor, or as a photo prop that still fits a minimalist palette.
Start by cutting the cloud outline and each petal segment from 160-180 gsm gray cardstock. Fold along the template’s segment lines inward, then test-fit the overlaps so the top edge stays smooth. Next, glue the segments onto the base starting from the center and working outward. Finish by adding a thin white dry-brush on the upper curve and a soft shadow at the underside with a pencil.
Editor's noteDry-fit all petals before glue — a 1-2 mm misalignment shows up immediately on clouds.
Skip thisSkip glossy paper for this one; glare makes the overlapping folds look cheap.
3. Sage Leaf Squishy with Vein Highlight Stripe
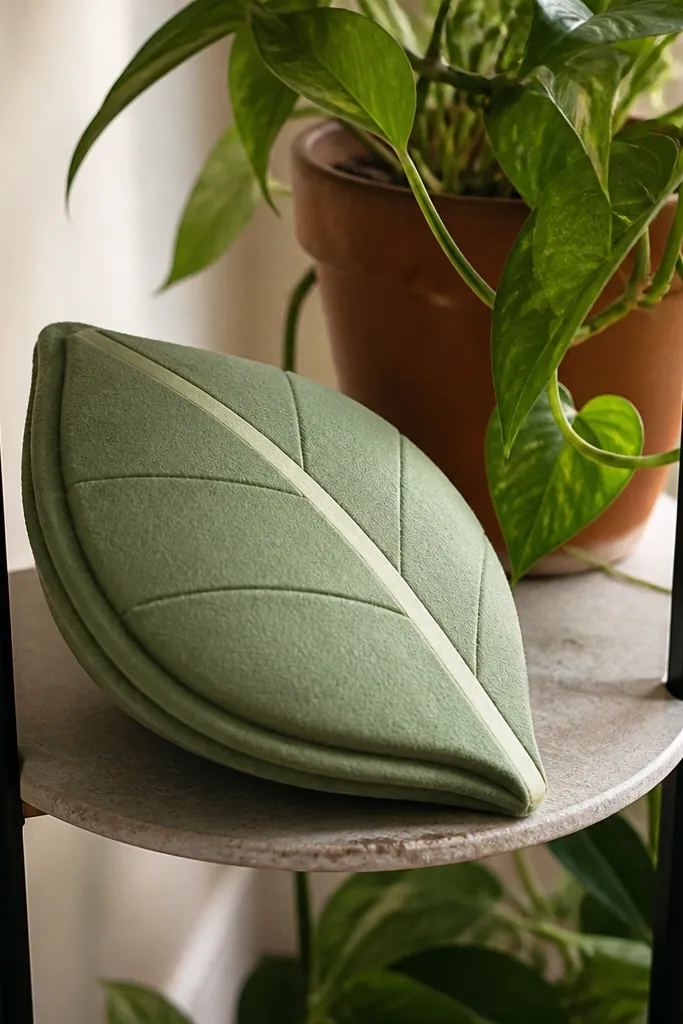
Leaves look surprisingly plush when you treat the vein like a highlight, not a drawing detail. This template includes a center highlight stripe mask area so you can keep the design minimal while still reading as “soft.” The squish comes from a layered backer that lifts the leaf edge, giving that rounded, padded look. Sage green is the move for modern minimal — it plays well with wood, linen, and neutral walls.
Cut the leaf face and the back puff layer from 200 gsm sage cardstock. Apply thin foam tape only along the outer perimeter, about 6-8 mm wide, leaving the center vein area flat. Assemble by gluing the puff layer behind the face, then press under a flat book for 10 minutes. Add the vein highlight by coloring the stripe with a light cream pencil and blending with a tissue.
Blend the highlight with a tissue, not a finger; fingers add waxy smears.
Don’t add multiple vein lines — one clean stripe reads more realistic.
4. Sandstone Pebble Squishy (Rounded Edge Puff)
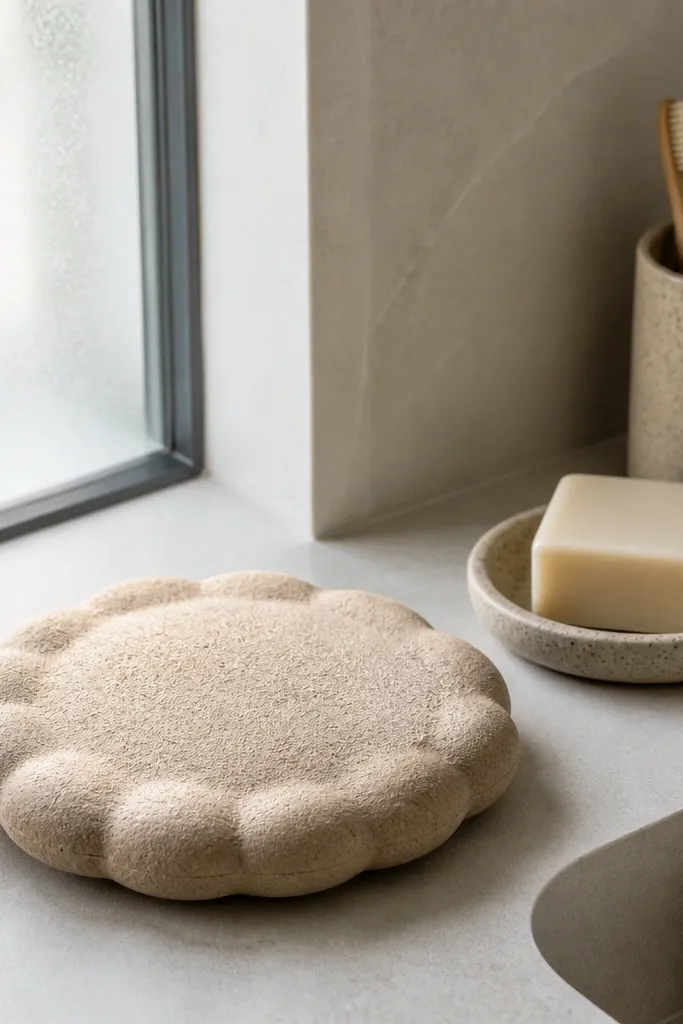
Pebbles are perfect for modern minimalist because they look calm, sculptural, and slightly abstract. This template shapes the squish by adding a perimeter puff layer that follows the pebble outline, so the edges look rounded and tactile. A sandstone base with a single shadow edge makes it feel like a soft stone, not a flat cutout. It’s ideal for desk decor where you want something that looks designed but doesn’t scream theme.
Cut the pebble face from 220 gsm cardstock and the back puff from 160-180 gsm paper. Trace the template’s perimeter guide and apply thin foam tape in a continuous ring, leaving a 5 mm margin from the outer edge. Glue the back puff behind the face, then glue the face onto the puff ring so the outline stays smooth. Add a darker pencil line along the bottom edge and a tiny highlight dot on the top right.
Editor's noteKeep the foam tape ring even thickness; uneven tape makes pebbles look lumpy.
Skip thisDon’t use thick craft foam — it turns the pebble into a blocky prop.
5. Navy Micro Bean Squishy with Tip Curl
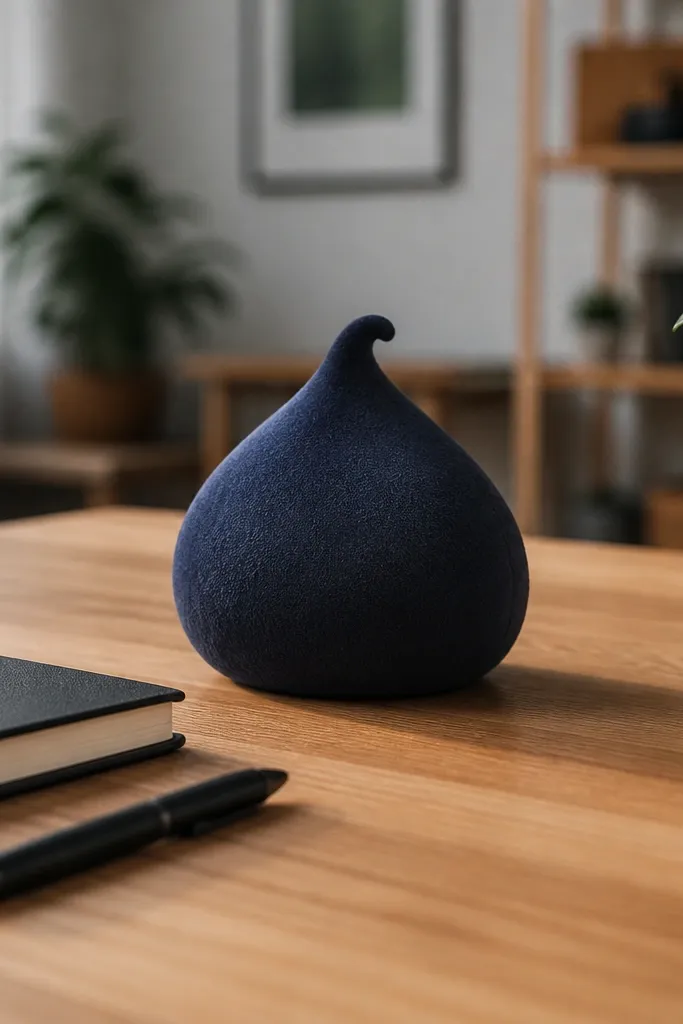
This bean template nails the “soft food” look using two asymmetrical folds and a small foam spacer at the center. The curled tip gives that natural organic silhouette, while the highlight placement keeps it minimal. Navy looks modern and hides paper seams better than bright colors. This one is great for shelves, desk trays, or a set of three to mimic a small collection.
Cut the bean face from 180-200 gsm navy cardstock and the inner fold piece from 160-170 gsm. Score the fold lines with a bone folder, then curl the tip piece inward to form the bean’s shape. Add a narrow strip of foam tape at the widest center point on the back, then glue the inner fold to the face. Finish with a thin white gel highlight near the top fold and a gray pencil shadow on the opposite side.
Editor's noteUse a ruler edge for scoring — bean folds look cleanest with straight pressure.
Skip thisDon’t over-glue the tip; excess glue stiffens the curl.
6. Blush Square Puff Squishy with Soft Corners
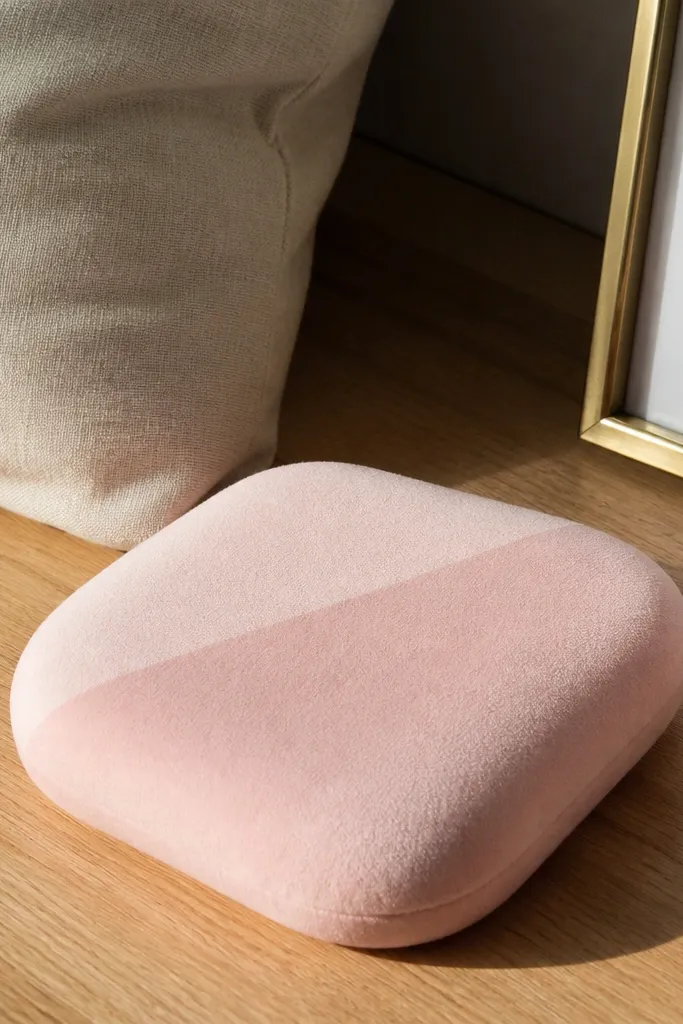
Squares can look surprisingly plush if the corners are rounded and the highlight is graded. This template gives you a square face with pre-shaped corner panels that lift slightly, so the piece reads as padded foam. Blush pink keeps it modern, and the highlight is a simple diagonal gradient made with pencil layering. It’s a strong choice for minimal wall decor or as a cute desk weight beside stationery.
Cut the square face and the corner puff pieces from 200 gsm blush cardstock. Fold the corner panels inward along the template’s score lines, then glue them behind the main face. Add a foam tape strip along the back edges, 8-10 mm wide, staying away from the center so the front stays flat and smooth. Blend a highlight from upper left to mid using a cream pencil, then add a thin darker edge line on lower right.
Editor's notePress with a flat board and cloth for 30 seconds per side so corners set without creasing the front.
Skip thisDon’t leave raw paper fibers on edges; trim with a sharp craft knife for a clean look.
7. Chocolate Truffle Squishy with Dimple Detail
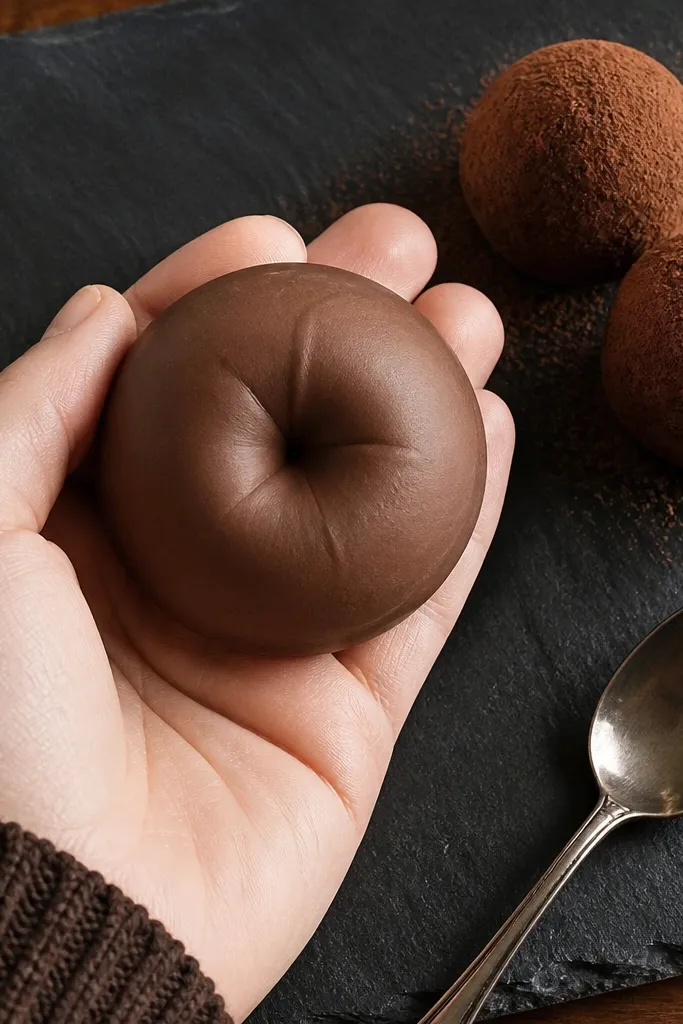
Truffles look like real candy when the dimple is placed and the surface texture stays subtle. This template includes a shallow center depression guide, so you can crease slightly and create a believable indentation. The squish comes from a layered dome backer that rounds the shape without bulk. Dark chocolate brown hides minor paper lines, making it forgiving for beginners while still looking premium.
Cut the truffle face dome and the back layer from 220 gsm chocolate cardstock. Score the dimple guide lightly so it dents inward, then glue the back layer behind the face. Add thin foam tape only around the perimeter, about 10 mm wide, leaving the center dimple area free. Finish by adding a curved highlight on the upper right with a white gel pen and a gentle shadow around the dimple edge using a soft pencil.
Use a light touch when scoring the dimple; too much pressure creates a hard crease line.
Don’t add speckle texture everywhere — one controlled shadow reads more realistic.
8. Ice Cube Squishy with Frosted Edge Layer
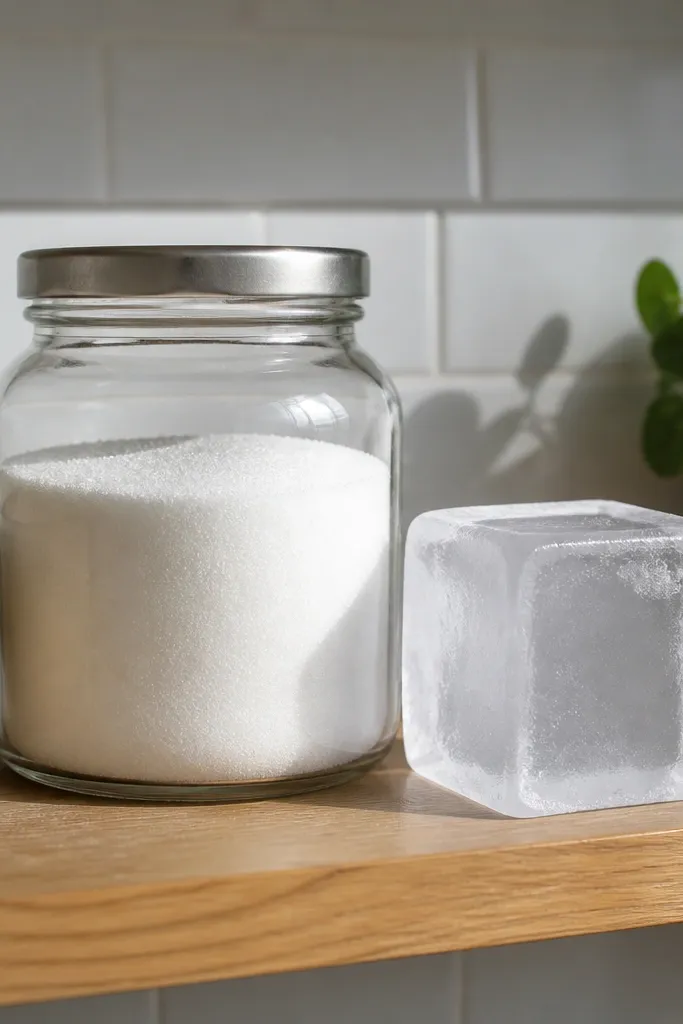
This ice cube template is modern because it looks clean, geometric, and slightly translucent — without using actual plastic. The trick is a frosted edge layer: a lighter paper band that frames the cube and makes the corners look “chilled.” The squish effect comes from a thin spacer layer so the cube has depth when photographed. It’s a perfect decor piece for minimal kitchens and a good test if you want sharper, more architectural shapes.
Cut the cube face from 200 gsm pale gray or translucent-look paper and the frosted edge from 160-180 gsm white paper. Apply foam tape to the back of the cube face around the perimeter, keeping a 3-4 mm gap from the edges so lines don’t show through. Glue the frosted edge layer onto the front or just inside the cube outline depending on your template guides. Add a thin highlight strip across the top face with a white gel pen and a faint shadow line along the bottom right edge.
Dry-brush the frosted edge lightly with gray pencil so it looks like diffusion, not a solid band.
Avoid thick glue near edges; it ruins the crisp cube look.
9. Off-White Mushroom Squishy with Rounded Cap
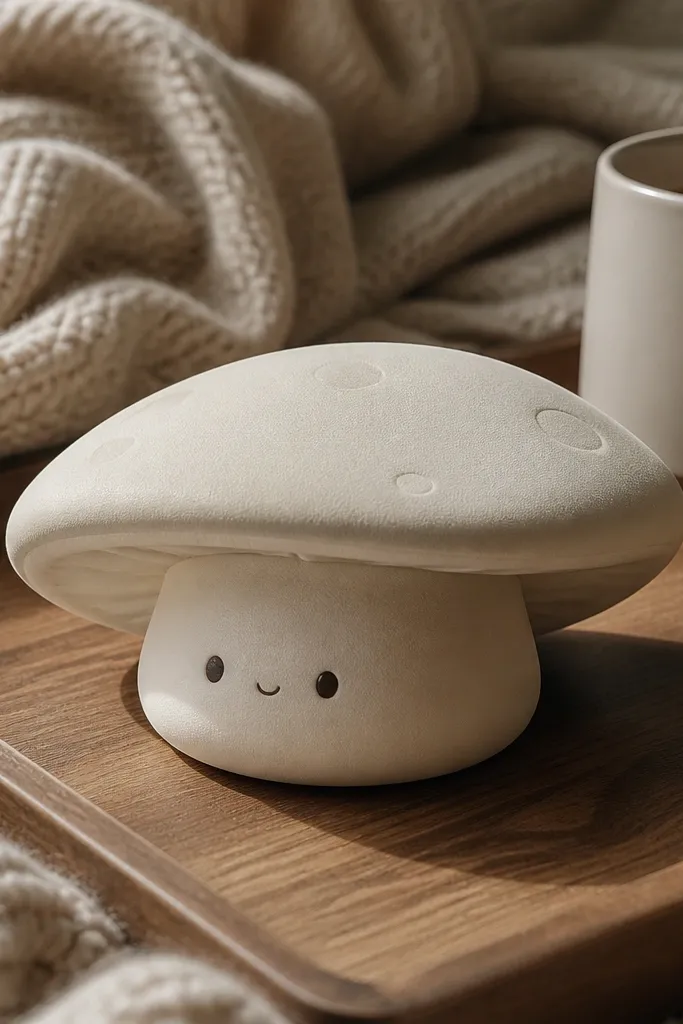
Mushrooms look cute without becoming cartoon when the cap brim is softly rounded and the underside shadow is clear. This template creates a cap dome plus a stem that sits slightly in front, giving layered depth. The squish comes from a back spacer under the cap brim, so the brim lifts like soft foam. Off-white also photographs well and matches modern interiors.
Cut cap and stem pieces from 200-220 gsm off-white cardstock and the brim spacer from 160-180 gsm paper. Fold the brim dome along scored lines and glue the cap layers first. Then add foam tape under the brim edge only, glue the stem behind it, and align so the stem hides the seam. Finish with a gray pencil shadow under the brim and a small highlight curve on the cap top.
Use a kneaded eraser to lift pencil marks if you over-darken the brim shadow.
Don’t outline everything in black; keep shadows gray-brown for realism.
10. Minimal Strawberry Squishy with Leafy Top Puff
This strawberry template is intentionally restrained. The leaf top is built with a puff layer so it looks like soft leaves, not flat paper leaves, and the body uses a simple highlight curve with minimal seed dots. You get the recognizable shape without the messy, busy look that kills modern minimal decor. Red plus muted green gives contrast that reads even from a distance.
Cut the strawberry body and leaf pieces from 200 gsm red cardstock and muted green cardstock. Fold the body along the template’s creases to form the curved shape, then glue the leaf cluster on top with small foam tape pads at the leaf bases. Add a perimeter foam ring behind the body to create the squish thickness. Add 6-8 seed dots with a fine pen and keep them small, then shade the lower side with a gray-brown pencil.
Seed dots look more realistic when they are slightly offset, not perfectly aligned.
Don’t add a ton of seeds; sparse dots look cleaner and more real.
11. Terracotta Heart Squishy with Center Bulge
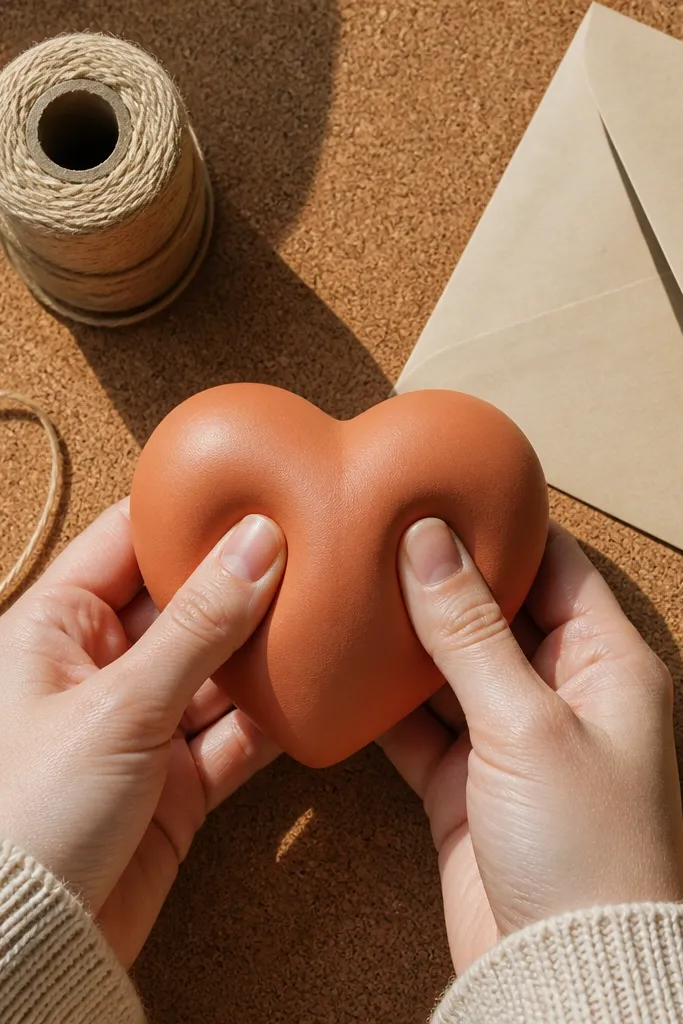
Hearts usually look like paper crafts. This one looks like a soft plush because the template includes a center bulge piece that pushes the middle forward while keeping the outer edges smooth. Terracotta is warm and modern, and it hides minor edge imperfections better than pale pink. The highlight is a short curved stroke near the top center, paired with a soft shadow on the lower curve.
Cut the heart face from 220 gsm terracotta cardstock and the center bulge from 160-180 gsm. Score the heart fold lines so the top dips inward slightly, then glue the bulge behind the center area only. Use foam tape strips along the lower outer edges to maintain thickness while keeping the center smooth. Finish with a curved white gel highlight near the top center and a darker pencil shadow following the lower curve.
If your heart looks lopsided, trim the bulge piece to match the center outline before gluing.
Skip foam tape on the top point; it makes the heart tip look warped.
12. Black Peppercorn Squishy Dot with Depth Ring
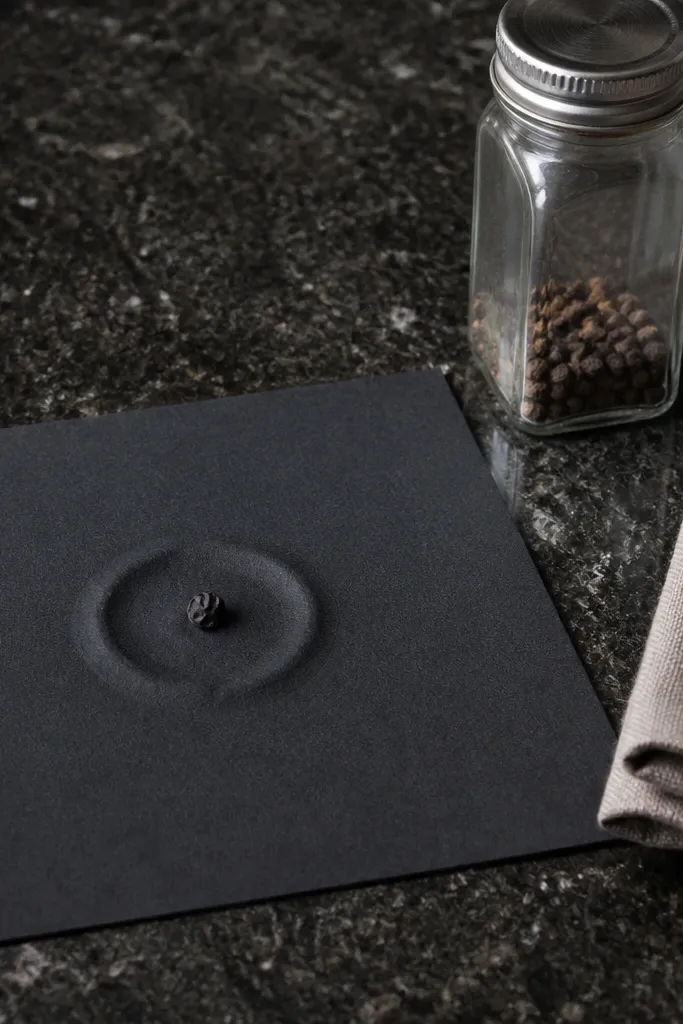
Tiny squishies are where modern minimal really shines. This peppercorn template is basically a controlled depth illusion: a dot face plus a thin ring spacer that makes the dot look like a rounded bead. Use black or near-black cardstock with a matte finish so highlights don’t glare. It’s great for forming a set on a tray, or for spacing between larger squishies like punctuation.
Cut dot faces from 200 gsm black cardstock and cut a ring spacer from 160-170 gsm paper. Glue the ring spacer behind the dot so it shows as a subtle raised edge all around. Add a thin foam tape pad only in the exact center to create the squish bulge. Finish with one small white gel dot highlight and a faint gray pencil ring shadow.
Editor's noteMake the highlight tiny and placed consistently — it’s what makes dots look like domes.
Skip thisDon’t use glossy black; it reflects light and kills the soft look.
13. Turquoise Capsule Squishy with Side Seam Highlight
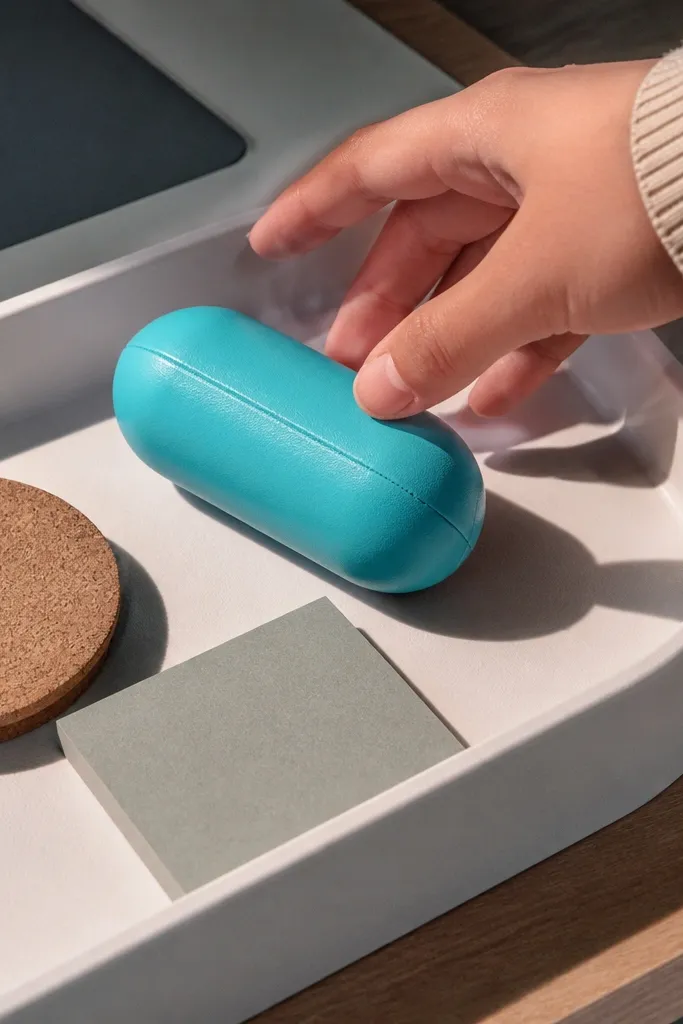
This capsule template looks modern because it’s clean and minimal, but the squish is real because the ends are domed. The template includes a side seam line guide that you can highlight rather than draw sharply. Turquoise reads playful yet still decor-friendly, especially with a white seam highlight. It works as a desk charm or a minimalist cluster piece.
Cut capsule body pieces from 200-220 gsm turquoise cardstock and a thin back spacer from 160-180 gsm paper. Fold the capsule along the center score line to form the rounded shape, then glue the seam edges. Apply foam tape only behind the center seam line area so the capsule looks padded, not flat. Add a white gel highlight along the seam guide and a gray pencil shadow under the lower curve.
Editor's noteUse a fine-tip gel pen for the seam highlight; thick lines look like marker art.
Skip thisDon’t over-emphasize the seam with dark ink; keep it light and subtle.
14. Cream Scallop Shell Squishy with Shadow Lip
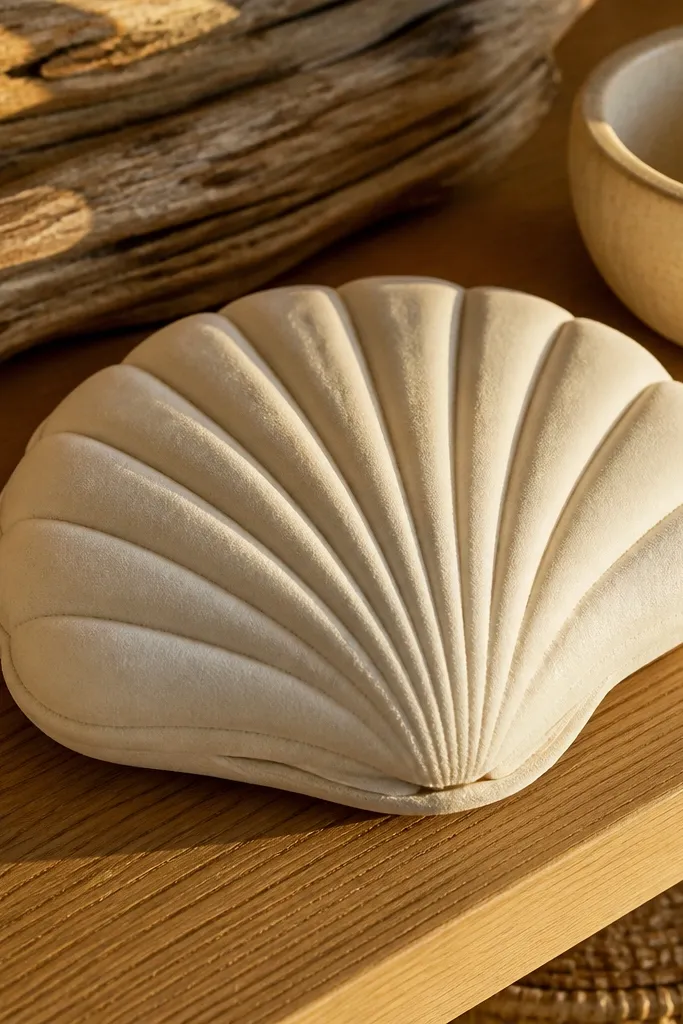
Shells look expensive when you treat the ridges like shadows. This scallop template gives you ridged panels that you fold into gentle arcs, then lifts the edge lip with a spacer so the shell has a padded rim. A cream base keeps it modern and lets the shadow lip do the work. It’s a good choice for coastal minimal decor without turning into beach kitsch.
Cut the scallop ridges from 200 gsm cream cardstock and cut a rim spacer from 160-180 gsm. Fold ridges along the template’s score lines so each scallop arc curves upward slightly. Glue the ridges onto the base, then add foam tape under the outer rim only. Finish by shading the underside of each ridge with a light gray-brown pencil and adding a thin highlight at the top of the ridges with a white gel pen.
Editor's noteShade in one direction per ridge; it keeps the look consistent and clean.
Skip thisDon’t flood pencil over the top; too much shading turns it muddy.
15. Olive Oval Squishy with Center Band Puff
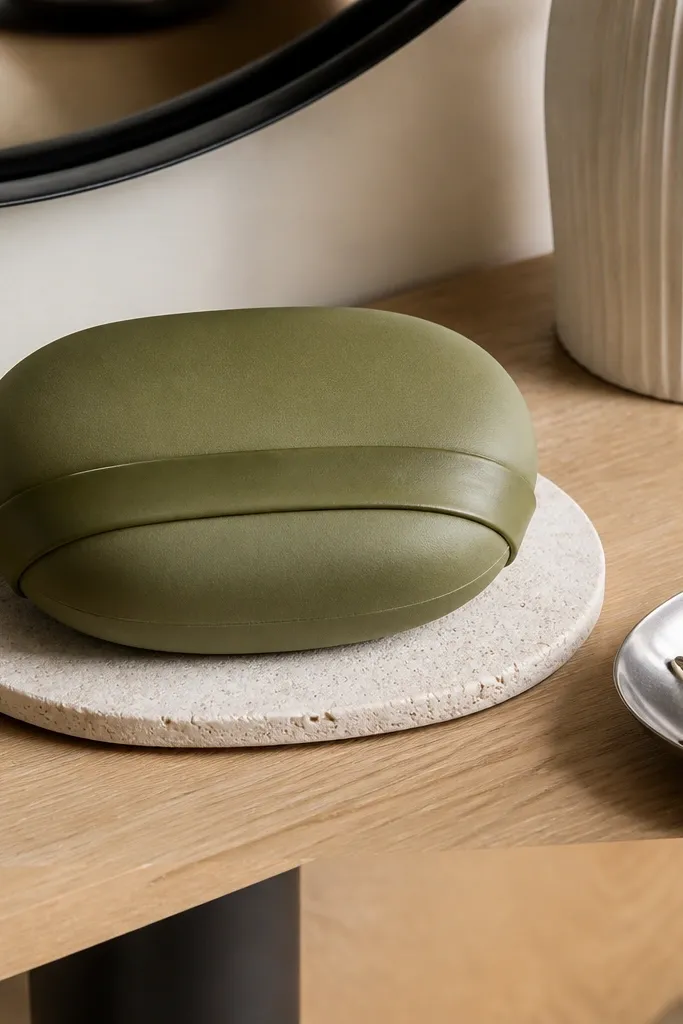
Ovals are the hardest shapes to fake because they show every seam. This template fixes that by using a center band puff — it creates depth where the eye expects it, while keeping the outer edge smooth. Olive green looks modern and hides paper thickness variations. The highlight is placed as a soft band so it reads as rounded fabric.
Cut the oval face from 220 gsm olive cardstock and the band puff from 160-180 gsm paper. Score the oval fold lines and glue the face layers first so seams sit on the back. Apply foam tape behind the center band area only, then glue the band puff in place. Finish by adding a light pencil highlight band across the upper center and a darker pencil shadow along the lower edge.
If your oval seam shows, hide it on the back side and rotate the piece so the highlight covers the seam edge.
Don’t add foam tape to the entire perimeter; it makes the oval look like a thick sticker.
16. Marble White Mini Stone Squishy with Vein Lines
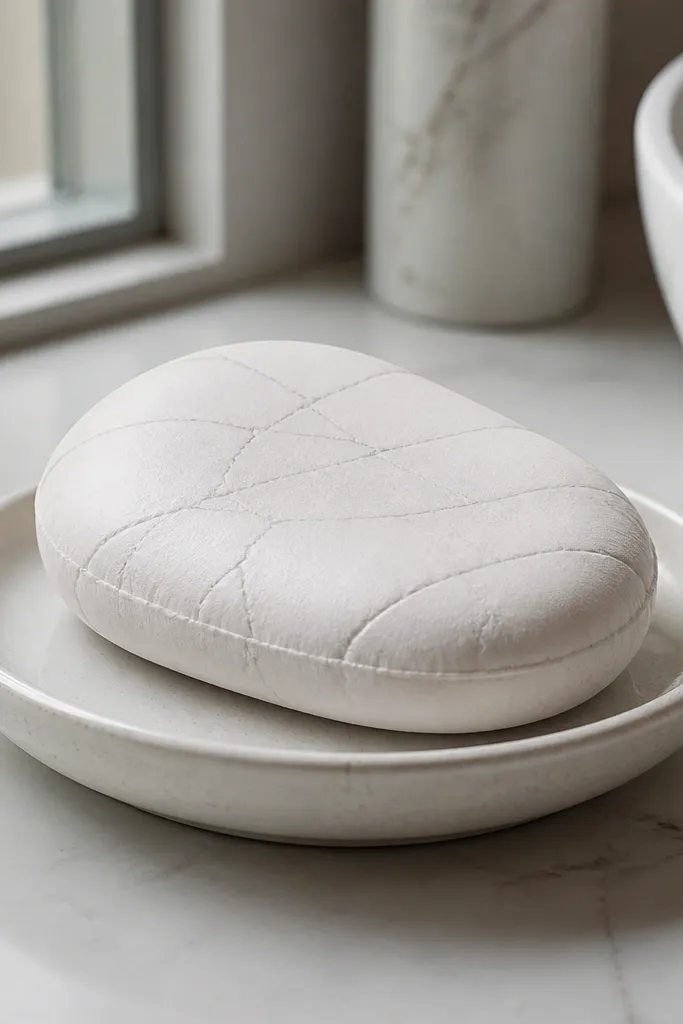
This is a marble-style squishy that stays modern because the veins are thin and sparse. The stone shape is rounded, and the template includes a subtle edge lift so it looks like a smooth, padded pebble. The finish uses pencil veining instead of heavy paint, which keeps the texture looking like paper, not craft foam. It’s a great shelf accent and a strong match for neutral rooms.
Cut the stone face from 220 gsm off-white cardstock and the back puff from 160-180 gsm paper. Apply a thin foam tape ring about 8 mm from the outer edge, then glue the puff behind the face. Add vein lines with a gray mechanical pencil — keep them short and broken, not continuous. Finish with a small white gel highlight near the top and a soft shadow along the bottom edge.
Editor's noteUse a mechanical pencil for veins; it keeps lines hair-thin and clean.
Skip thisDon’t use black for veins — gray reads more like marble and less like doodles.
17. Charcoal Folded Triangle Squishy with Soft Facet
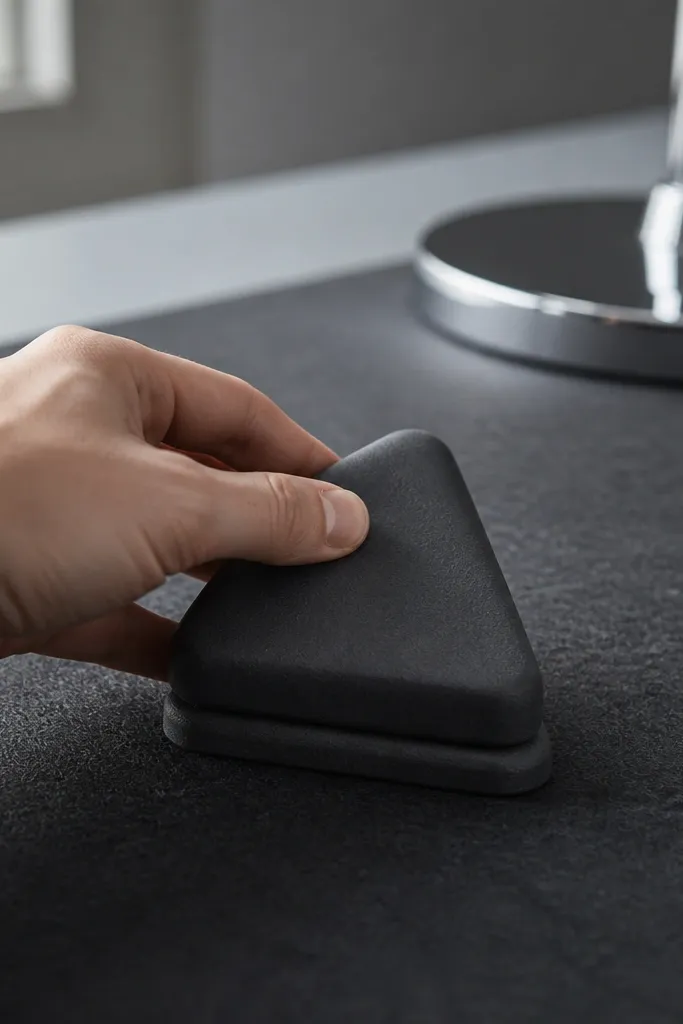
Geometric squishies look best when the facets are gentle, not sharp. This triangle template gives you a soft-folded form with a raised backer that makes edges look rounded. Charcoal hides seams and makes the highlight read like a soft material sheen. It’s perfect for modern minimalist decor because it looks like a sculptural object, not a character.
Cut the triangle front and backer from 200-220 gsm charcoal cardstock. Score along the facet lines so the triangle folds cleanly, then glue the front facets together first. Add foam tape behind one facet area only, keeping the other facets flat so the highlight stays crisp. Finish by placing a single highlight stroke across the raised facet and a thin shadow line along the lower edge with a pencil.
Editor's notePress the fold with a straight book spine or ruler edge for sharp, clean creases.
Skip thisDon’t overfill all facets with foam; too many raised areas makes it look lumpy.
18. Pastel Stripe Twisted Roll Squishy (Minimal Spiral)
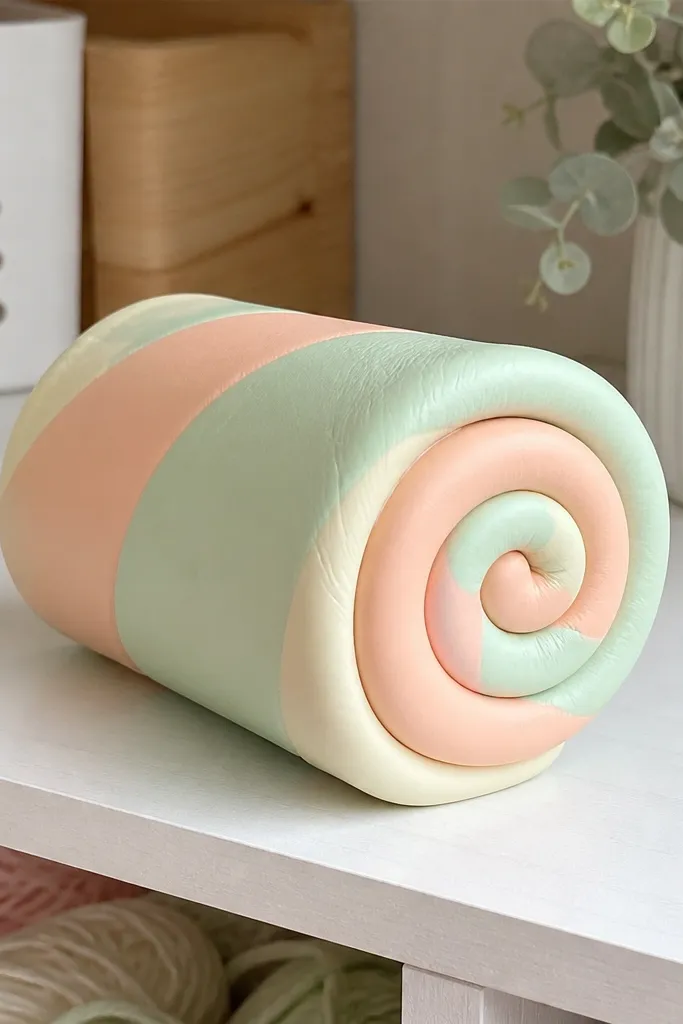
This twisted roll template gives you a squishy look using a spiral twist, but it stays modern because the stripes are minimal and the highlight is controlled. The template builds volume through layered rolled faces, so the spiral reads as a padded cylinder. Pastels work best if you pick two tones only, like pale peach and soft cream. It looks amazing in a pair — one slightly rotated makes it feel designed instead of patterned.
Cut the spiral roll strips from 200 gsm cardstock in two pastel colors. Roll each strip along the template’s curve and glue the seam as you go so the spiral stays tight. Add a thin foam tape strip on the back side of the spiral layers, not the front. Assemble by stacking the spiral layers onto the base disk, then add a single curved white highlight line following the spiral direction.
Use a paper clip to hold the seam while glue sets so the spiral doesn’t spring open.
Don’t add more than two pastel colors; extra stripes kill the minimalist look.
19. Cobalt Ribbon Bow Squishy with Folded Loops
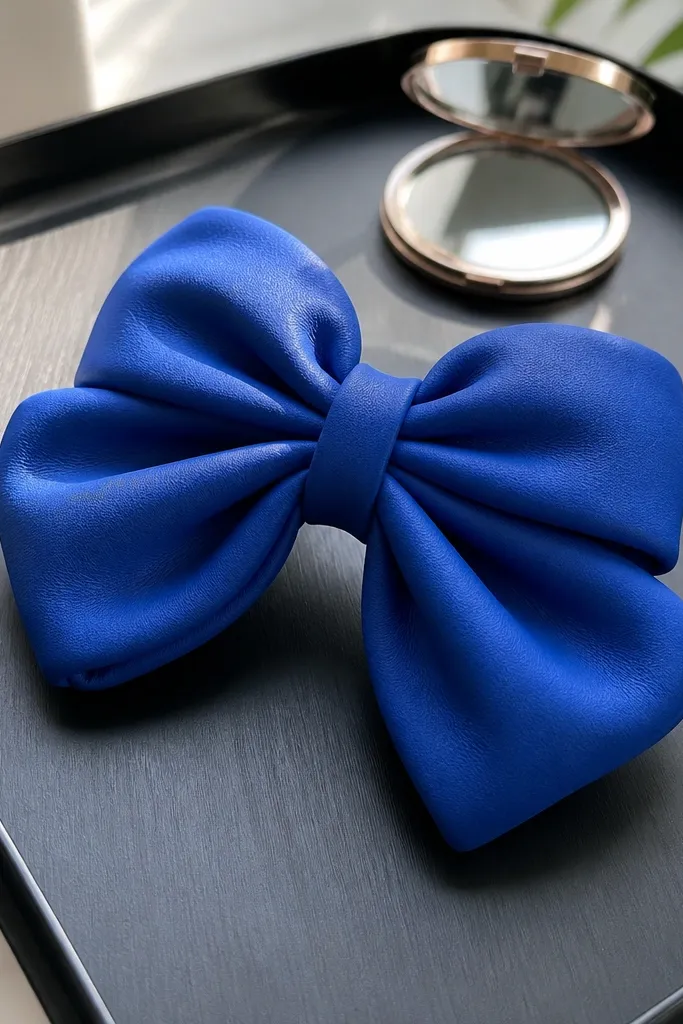
Bows can look messy fast, but this ribbon bow template stays clean because each loop is folded and padded separately. The squish is created by a small foam spacer under each loop so the bow has round, plush curves. Cobalt is high contrast and modern, and the template keeps the center knot minimal. It’s a strong photogenic piece for gift tags, small decor clusters, or a minimalist wreath accent.
Cut loop pieces from 200-220 gsm cobalt cardstock and the center knot from 180-200 gsm. Fold each loop along the score lines so the edges curve inward. Apply foam tape pads under each loop base, then glue loops to the center knot in a symmetrical layout. Finish with a white gel highlight on the top of each loop and a faint gray pencil shadow at the inner underside.
Editor's noteLet glue set 2 minutes per loop before placing the next — it prevents sliding and uneven bow tension.
Skip thisDon’t use thick glue blobs; they squeeze out and ruin the loop edges.
20. Crisp White Cotton Ball Squishy with Threaded Center
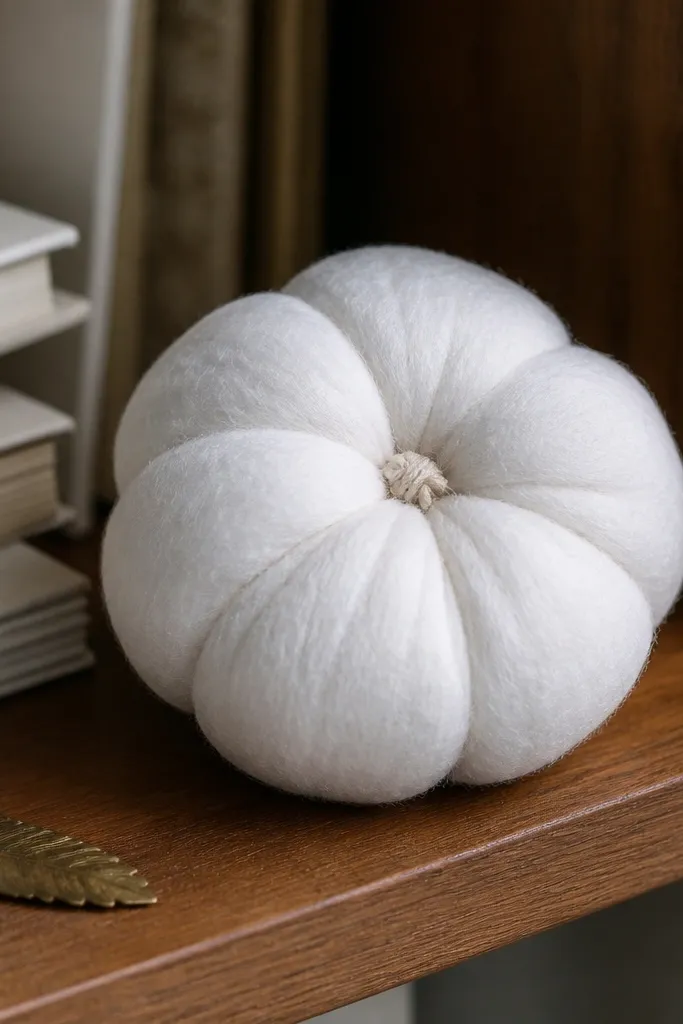
This one looks like a fluffy cotton ball that still reads as clean modern minimalist Paper Squishy. The trick is the threaded center — a tiny “knot” that catches light and makes the whole puff feel 3D instead of flat. Use matte white paper so the layers look soft, not shiny. It’s a great template for shelves, desks, and small gift cards because it’s light, round, and reads fast from across a room. The build is beginner-friendly, but you do need patience for the layered petal cuts and the center stitching effect. Time is about 60-90 minutes for one finished squishy once your templates are cut.
Cut 10-14 circles from matte white cardstock using a template set at 3.2 cm, 3.6 cm, 4.0 cm, and 4.4 cm diameters (make 2-3 of each size). For each circle, cut 6 shallow wedge slits toward the center (stop 4-5 mm short of the middle) and fold every segment upward to form a puff. Stack the layers from smallest to largest on a 5 cm base circle, using thin double-sided tape only on the outer 1 cm so the center stays airy. For the threaded center, cut a 1.5 cm strip of white paper, fringe it 2-3 mm deep on one edge, then roll it tight into a tiny coil. Glue the coil dead center and press for 20 seconds so it holds, then add one short strip of thread-look paper across the coil in a shallow “X”. Finish with a very light dusting of matte clear spray from 30 cm away to keep the folds from flattening.
Use a metal ruler and a sharp craft knife for the wedge slits — clean cuts make the cotton layers look soft instead of ragged. Glue only at the outer ring and keep the center dry so it stays puffy.
Don’t use glossy paper or heavy glue in the center — it kills the cotton look and makes the squishy collapse flat.



