
1. Cloud Dome Paper Squishy
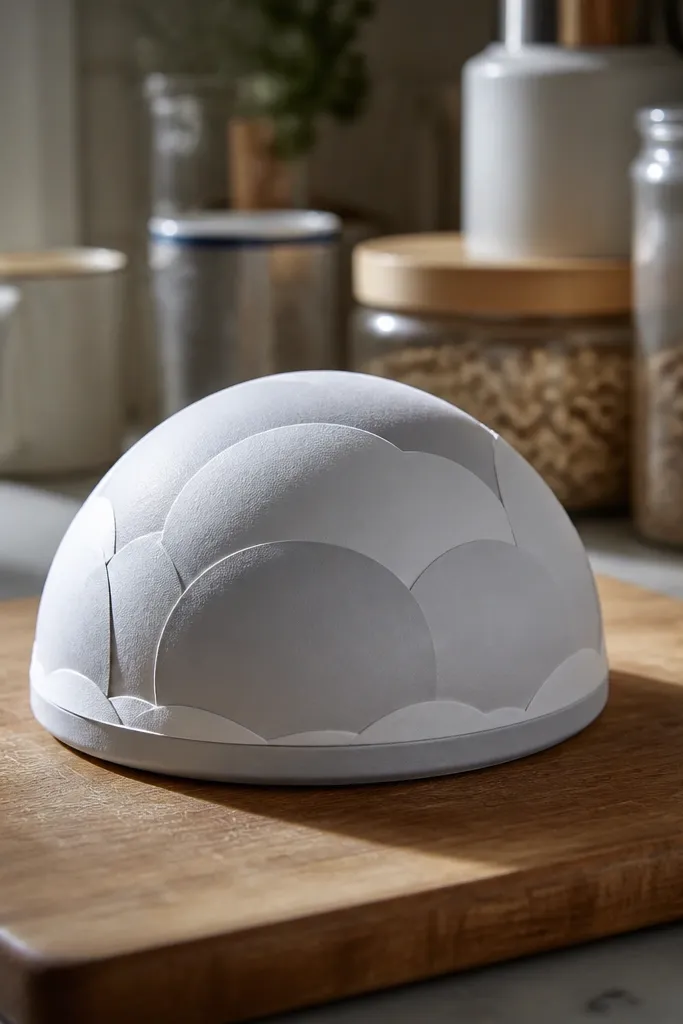
This one delivers a full, plush dome because the cloud outline naturally hides tiny seam gaps. It’s photogenic from every angle since the silhouette is rounded, not jagged, so the puff reads clearly even when the lighting hits from the side. You’ll use layered paper and a controlled glue strip, so the center stays open and airy. It’s a low-maintenance Paper Squishy because the cloud shape tolerates slight misalignment without looking “off.”
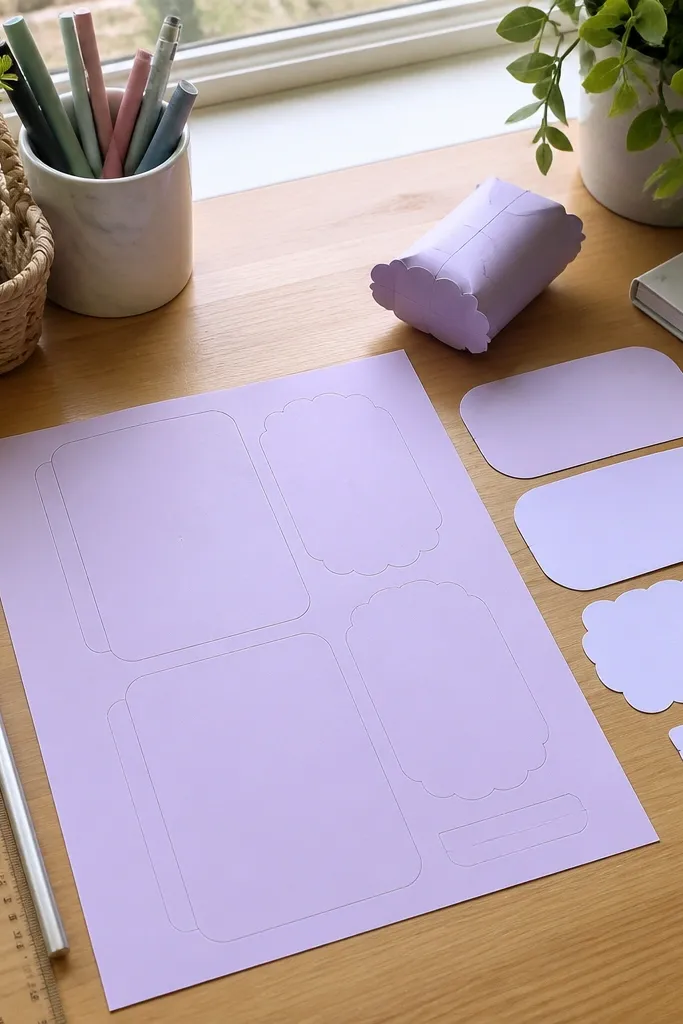
Start by tracing and cutting a cloud template with 4-5 bulb bumps on one sheet of cardstock and the same shape on a second sheet. Mark a glue strip about 6-8 mm from the perimeter and keep the middle panel free of glue. Apply glue only on the strip, press the edges together, and leave the center slightly loose before sealing the last section. Then dry it flat under a book for 20-30 minutes so the dome holds.
Use a glue stick for the glue strip, not liquid glue — it spreads less and keeps the puff from squeezing.
Avoid gluing all the way to the edge; it leaks into the seam and makes the shape look flat.
2. Scallop Cookie Puff Squishy
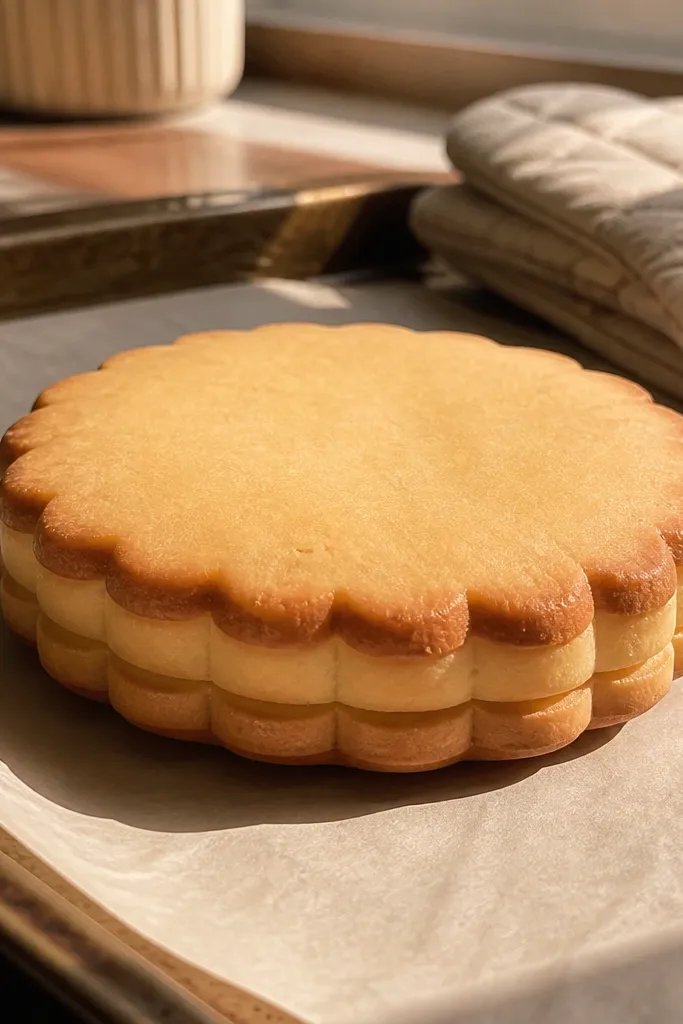
Scallops create a “stuffed” look because each rounded edge catches light differently, making the volume obvious in photos. This squishy reads like a cookie or macaron shell without needing foam. The ring border gives you a clean, finished edge so it doesn’t look like a craft cutout. It’s low-maintenance because the scallop pattern hides minor unevenness at the seam.
Cut two identical scalloped circles using a template with 16-20 scallops. On the top piece, draw a glue ring 8-10 mm inside the scalloped edge and keep the center area dry. Glue only the ring, then layer a thin paper “filler” circle (about 1-2 layers of scrap paper) loosely in the middle to trap air. Seal the bottom piece on top and press gently, then dry flat with light weight.
Lightly crinkle the filler circle once before placing it — it increases air pockets and boosts puff.
Skip thick filler stacks; they push the seam out and create lumpy bulges.
3. Rounded Heart With Center Puff
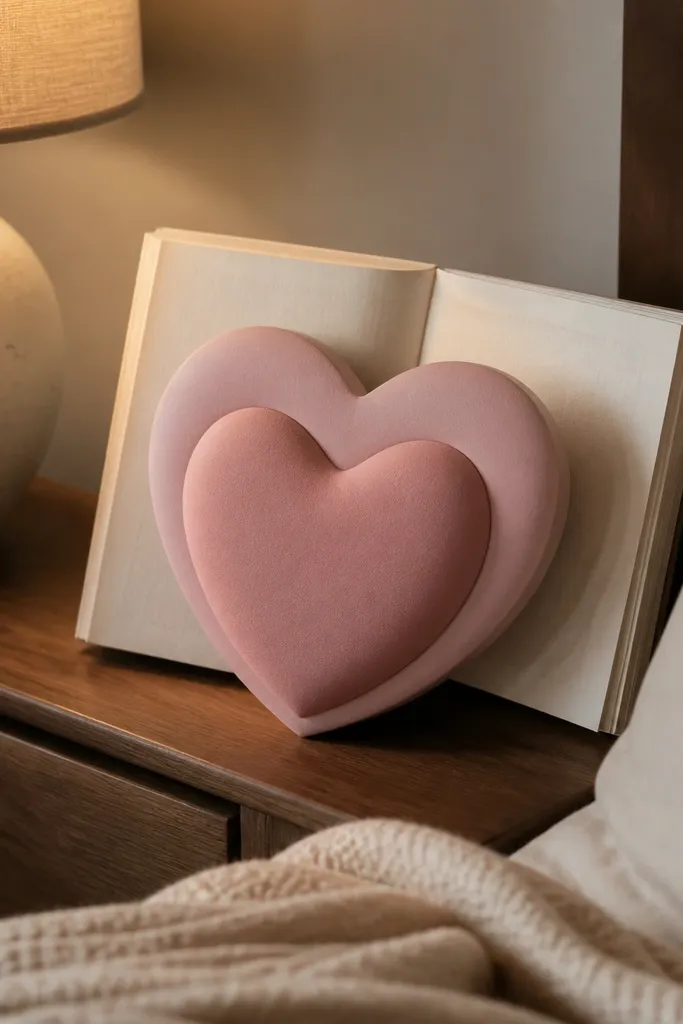
A rounded heart looks sweet and stays readable in close-up because the top curves are forgiving. The trick for a puffy finish is adding a center puff panel that lifts the middle while the outer edges stay smooth. This gives you that “squish” look without complicated folding. It’s also low-maintenance because heart shapes hide small glue dots better than sharp corners do.
Use a heart template with a wide top notch and rounded lobes, then cut two matching hearts from cardstock. Cut a third heart from thinner paper for the center puff, sized about 10 mm smaller than the outer heart. Glue a strip around the inner edge of the outer heart, place the center puff panel loosely, then seal the second outer heart on top. Dry flat under a book for 25 minutes.
Bias-cut the center puff paper by rotating it 45 degrees before cutting; it flexes and holds volume longer.
Don’t add glue to the center puff; it flattens the puff instantly.
4. Mini Donut Hole Squishy
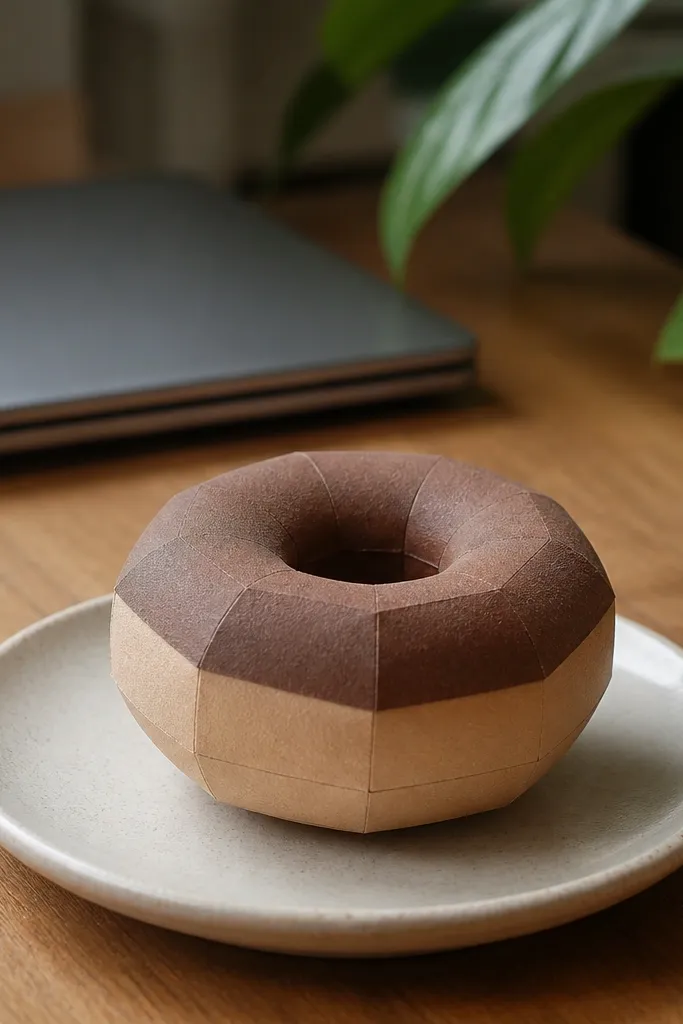
Donut shapes are great for a low-maintenance Paper Squishy because the hole makes the silhouette obvious and hides slight thickness differences. The puffy look comes from layering a base ring and letting the inside stay mostly air-filled. It also photographs well since the rim can be colored darker and the center can be lighter for contrast. This is a fast project that still looks designed, not homemade.
Cut two donut rings with an inner hole diameter about 40-50% of the outer diameter. Glue a band on the inner rim area (about 6-8 mm wide) rather than the outer edge so the rim lifts. Add one loose paper ring inside the hole to keep air trapped, then close the second donut ring. Press edges together and dry flat for 20 minutes.
Use a slightly darker paper for the outer rim — it makes the puff read even if the volume varies a bit.
Avoid fully sealing the inner hole; leave it lightly open so the donut stays domed.
5. Watermelon Slice Paper Squishy
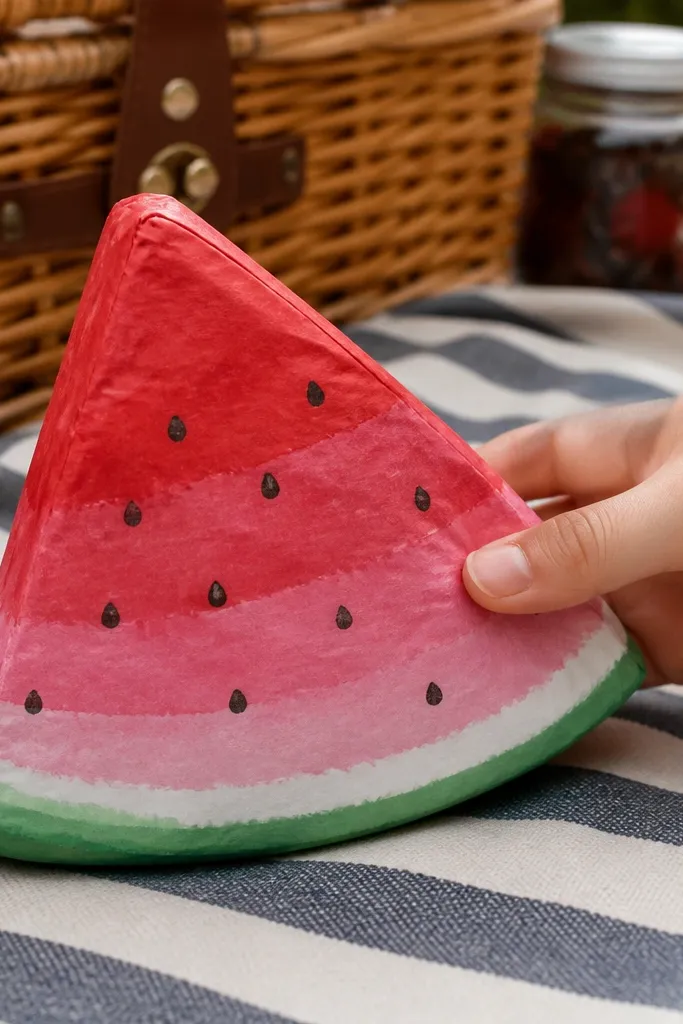
A watermelon slice is photogenic because the color bands create depth, and the triangular outline makes the puff easy to spot. You’ll get a thick-looking center without heavy materials by building volume in the red panel area. It’s low-maintenance because the banding hides small seam irregularities and the seeds can cover tiny imperfections. This sits well on shelves and desk trays.
Cut two identical triangles from cardstock, with a rind border about 20-25 mm thick. On one triangle, glue only a strip along the perimeter and a second strip just under the rind band to support a lifted center. Cut a smaller red triangle from thinner paper and place it loosely in the center before sealing. Seal the second triangle, then dry flat under a book for 30 minutes.
Add seeds after assembly using a fine-tip marker; you can place them over any minor seam spots.
Don’t paint the paper after gluing — wet paint warps the puff.
6. Rounded Rectangle Minimal Squishy
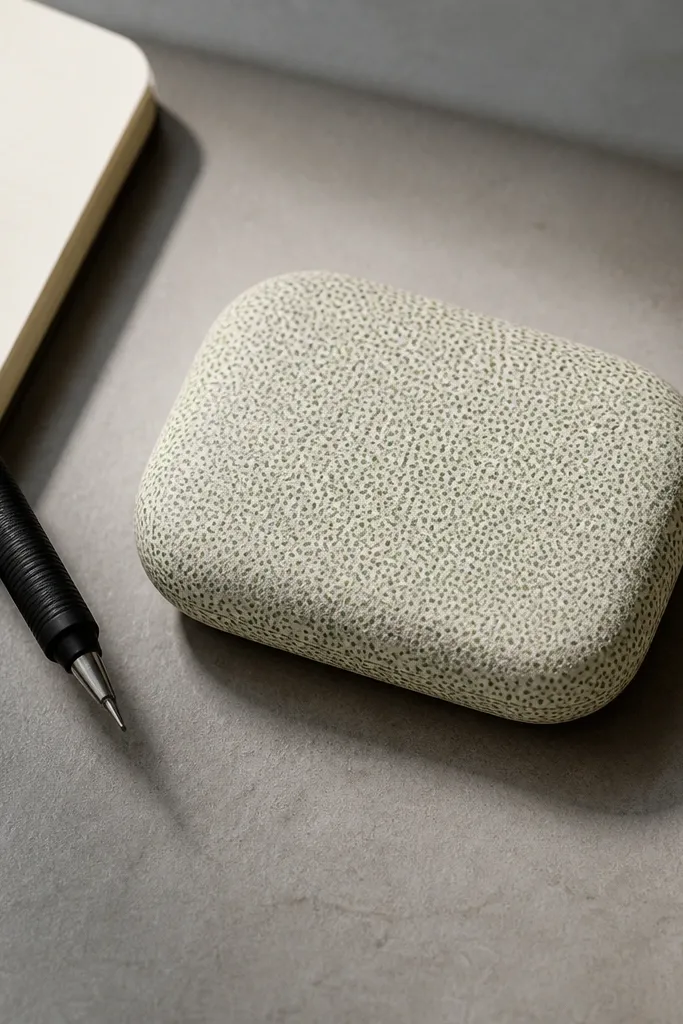
This is the clean, modern option for people who want a puffy finish without cartoon shapes. Rounded rectangles look polished because the edges are smooth and the surface stays flat-looking even when it’s airy inside. You can use patterned paper for a designer vibe while the puff stays consistent. It’s low-maintenance because the geometry hides wobble better than sharp corners.
Cut two identical rounded rectangles (example: 10 cm by 7 cm) from cardstock. Mark a glue strip 7-9 mm from the edges on the back side of the top piece. Place a thin paper insert in the center that’s slightly smaller by 5-8 mm on each side. Glue the strip, close the shape, and dry flat with a single book for 20-25 minutes.
Editor's notePress the seam with a ruler wrapped in paper — it keeps the edge straight without crushing the puff.
Skip thisAvoid thin paper inserts that tear; use cardstock scraps for the center insert.
7. Starburst Puffy Paper Squishy
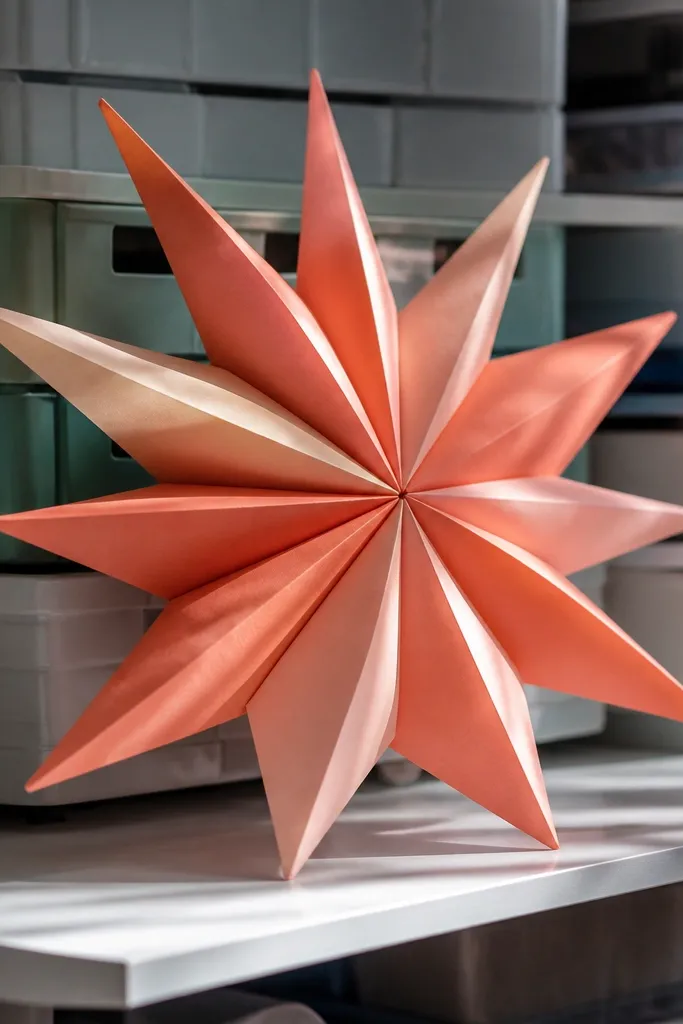
Starbursts are dramatic in photos because the points create strong highlights that emphasize volume. The puff is controlled by how you build the points: you need a template with thick point bases so the folds don’t buckle. This is low-maintenance when you keep the number of points limited (8 or 10) and avoid tiny spikes that show glue mistakes. The final look is bold and graphic.
Cut two identical starburst templates from cardstock with 8 points and rounded point tips. Glue only along a perimeter strip 8 mm in from the edge; leave the center unglued. Add a folded paper “fan” insert in the center made from two layers of thin paper, then close the back piece. Dry flat under a book for 25-30 minutes to lock the point shape.
Editor's noteScore the point bases lightly with a craft knife tip on the fold line; it prevents point cracking.
Skip thisDon’t glue the point tips; it makes them flatten and look blunt.
8. Boba Cup Squishy With Side Puff
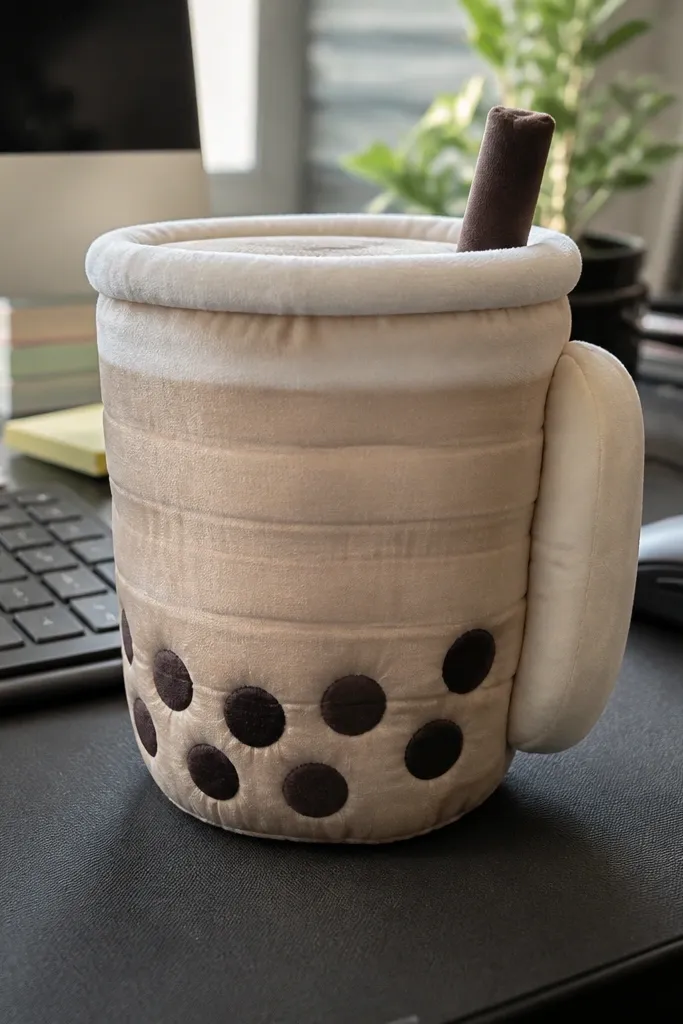
Boba cups look cute and have instant depth because you can stack “liquid” layers behind a domed rim. The side puff trick keeps the cup from collapsing while still letting you show boba dots inside. This is low-maintenance because the cup outline and straw hide small seam shifts. It also works great as a desk accessory that still looks clean from above.
Cut two cup outlines with a slightly flared top rim from cardstock. Glue a perimeter strip around the outside edge and a second strip under the rim line so the rim lifts. Create a boba insert using a rectangle of thin paper with circles punched out and glued behind the boba area, then place it inside before sealing. Dry flat for 30 minutes and then add the straw as a separate thin strip after the puff sets.
Editor's noteUse a darker paper for the boba layer and a lighter one for the cup — contrast makes the puff visible.
Skip thisAvoid liquid glue on the straw area; it wicks and makes warped paper.
9. Paper Squishy Bow Tie
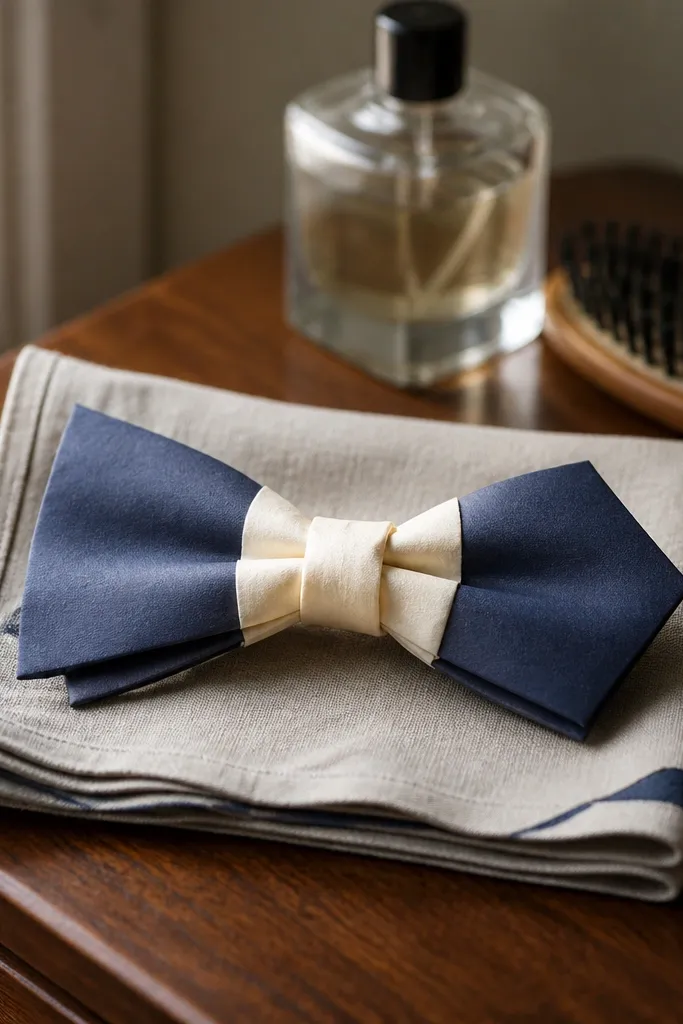
A bow tie gives you a high-impact look with almost no extra bulk, because the knot area reads as “the puff.” You’ll build volume only where the knot sits and keep the tails flatter for a crisp shape. This makes it low-maintenance: fewer glued surfaces, fewer chances to warp. The contrast in the bow fabric colors makes the puff obvious in a photo.
Cut two bow tie shapes from cardstock, then cut two extra small knot pieces from thinner paper (about 1/3 the height of the bow). Glue a perimeter strip on the bow tails so they stay smooth, then place the knot pieces loosely in the center. Seal the second bow layer on top, focusing glue only on the tail edges and the outer knot perimeter. Dry flat under weight for 25 minutes.
Add a thin strip of paper between knot layers like a spacer; it lifts the knot without making the bow too thick.
Don’t overfill the knot; too much insert makes the bow look crooked.
10. Layered Blossom Squishy
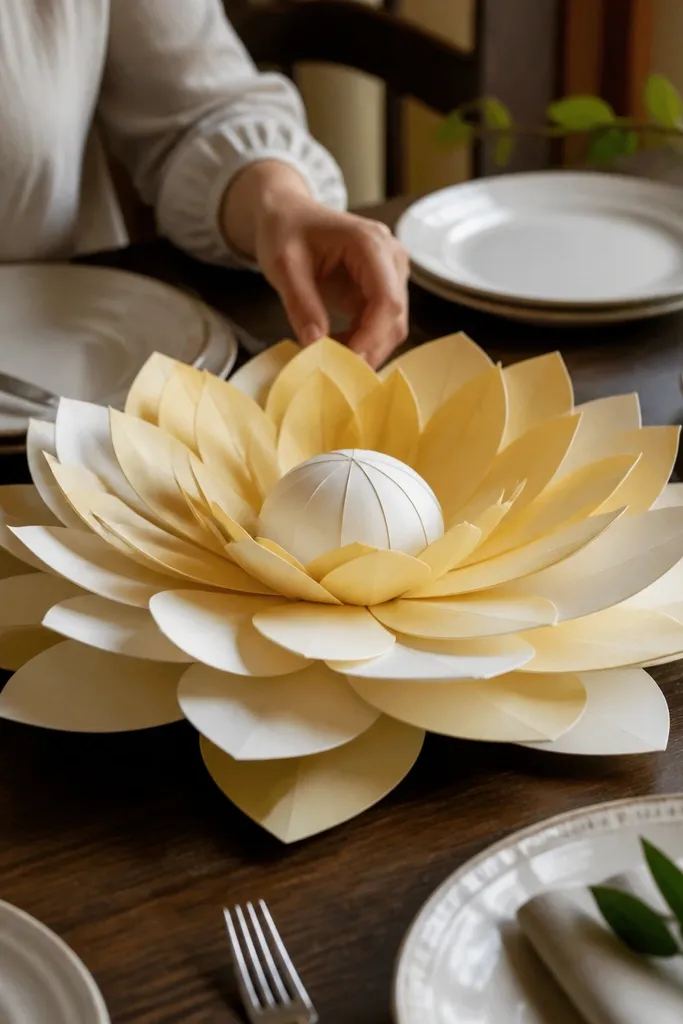
Blossom shapes look soft and stuffed because petals create a natural shadow gradient. The puffy finish comes from stacking a center dome and letting petals sit slightly lifted at the edges. This is low-maintenance because you can simplify petal count and still get a “full bloom” look. It’s also forgiving for beginners — even if petals are a little uneven, the center puff stays the visual anchor.
Cut two identical flower bases from cardstock with 8-10 rounded petals. Glue a perimeter strip and a small ring around the center, leaving the petal area mostly free of glue. Add a folded paper dome for the center using two layers of thin paper shaped like a shallow cone. Seal the second base, then dry flat for 30 minutes.
Use a slightly thicker cardstock for the base and thinner paper for the dome; it keeps the dome airy instead of stiff.
Don’t glue the entire petal surface; it flattens the flower into a flat cutout.
11. Geometric Hex Puff Squishy
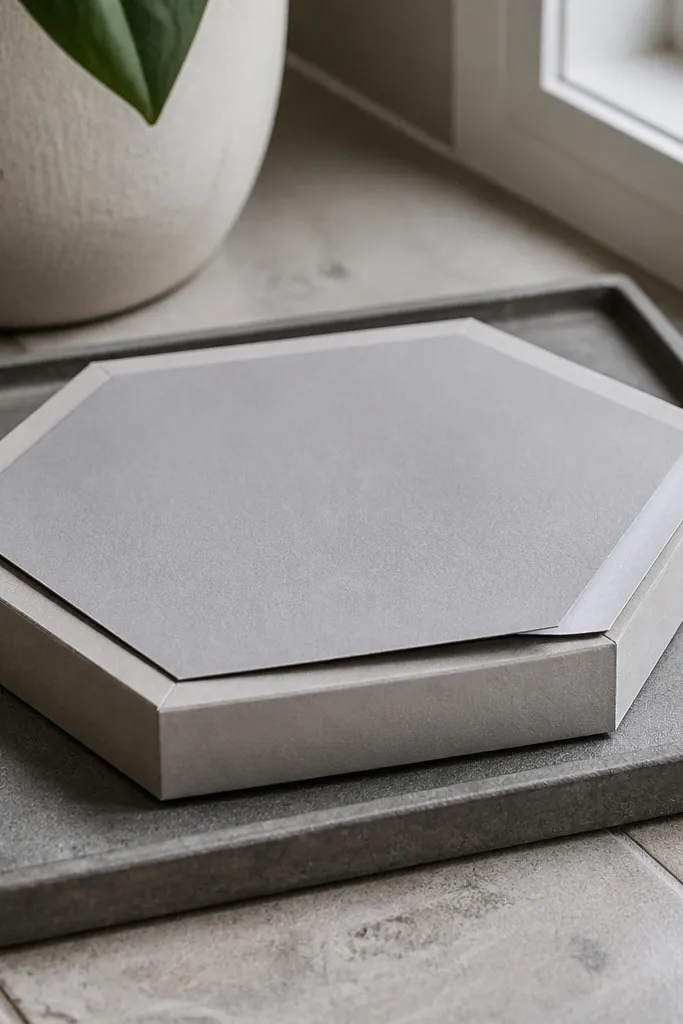
Geometric squishies look modern and crisp, and the hexagon silhouette makes the puff read clearly because it creates strong edge lines. The puffy effect is controlled by an inner panel that lifts slightly inside the outer hex. This one is low-maintenance because you’re working with straight edges and a simple glue strip, so it’s easier to keep symmetry. It’s perfect for a wall shelf row or a desk set.
Cut two identical hexagons from cardstock using a template with flat sides (not rounded). Mark a glue strip 8 mm inside the perimeter and glue only that strip. Cut an inner hex from thin paper that sits 3-5 mm away from the glue strip, then place it to trap air. Close the shape with the second hex and dry flat for 20-25 minutes.
Editor's noteDry with the hex between two flat scrap boards to keep it perfectly straight while glue sets.
Skip thisAvoid rounded hex templates; they hide the symmetry you want for a clean geometric look.
12. Rainbow Layer Puff Squishy
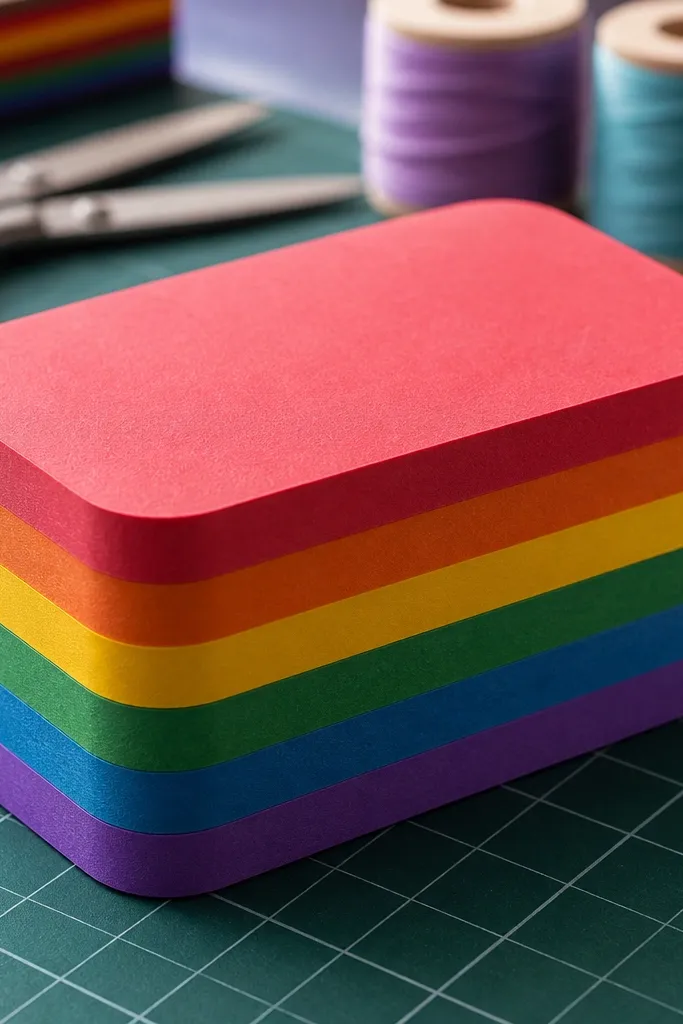
Rainbow stripes make puff look intentional because each band becomes a highlight and shadow layer. You’re building volume in steps: the top layer sits slightly higher, so the squishy reads as layered candy. This is low-maintenance because you can keep the shape simple (a rectangle with rounded corners) and let the stripes do the visual work. A bright color palette also hides small seam imperfections.
Cut two rounded rectangles from cardstock. On the front piece, glue thin vertical stripe bands only on the backs where they meet the glue strip, not across the center. Add a single thick paper insert under the center to create lift, then seal with the second rectangle. Dry flat for 30 minutes, then trim any stripe that overhangs the perimeter.
Use colored cardstock for stripes, not patterned paper; it stays flat and keeps band edges sharp.
Don’t use very thin craft paper for the insert; it collapses and kills the dome.
13. Dumpling Fold Puff Squishy
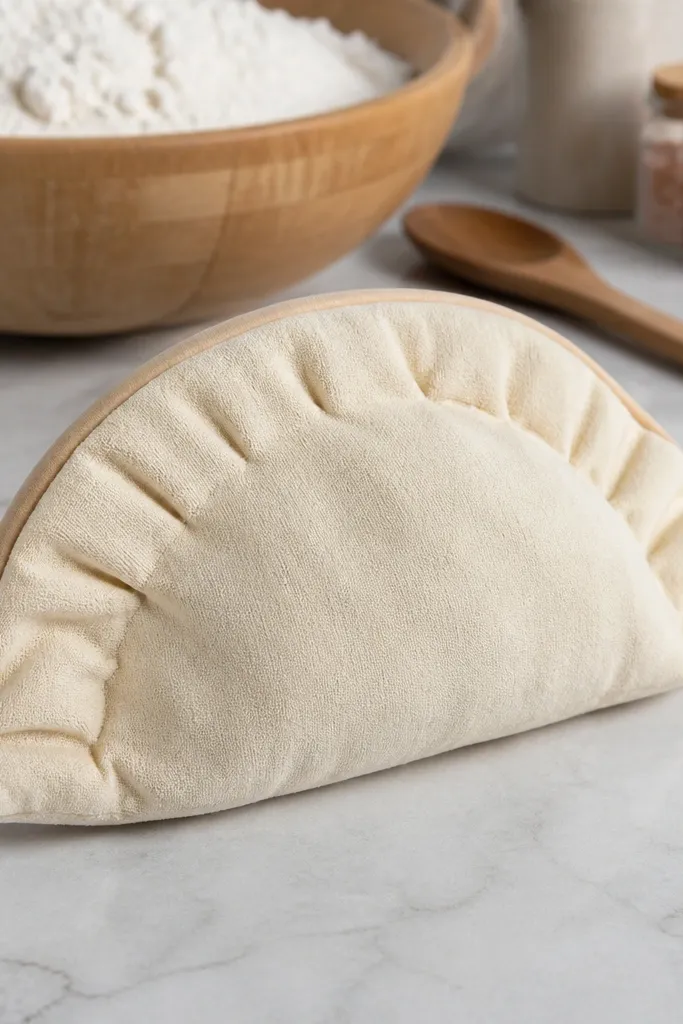
A dumpling look feels stuffed because pleats create texture and the center stays domed. You get a puffy finish by controlling the pleat folds and keeping glue on the outer seam only. This is low-maintenance because you can make the pleats slightly imperfect and still get the dumpling vibe. The shape also photographs well from above because the pleats form a clear radial pattern.
Cut two dumpling outlines with a rounded base and a narrower top. On one piece, lightly score 6-8 pleat lines on the side areas (stop at a glue margin about 8 mm from the perimeter). Fold pleats outward, apply glue only on the outer seam margin, then close with the second dumpling piece. Dry flat under weight for 25-30 minutes.
Editor's noteUse a bone folder for the pleat scores so they hold crisp edges instead of springing back.
Skip thisDon’t glue over pleat folds; glue makes pleats stiff and kills the puffed texture.
14. Pearl Dot Bubble Squishy
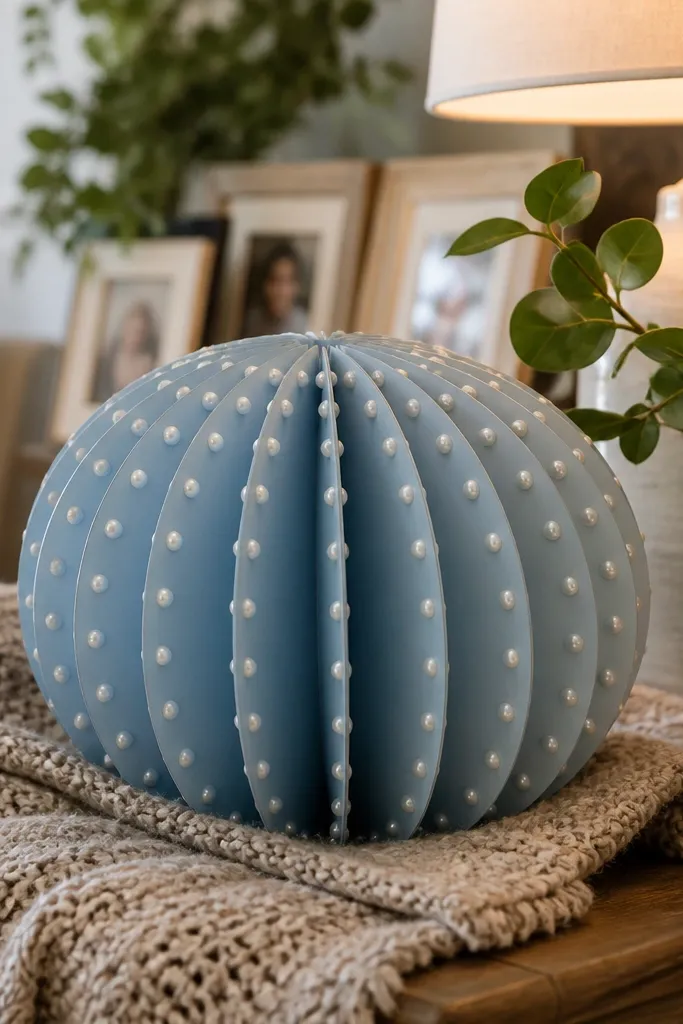
This is the soft, cozy option that still looks polished. The bubble silhouette reads as squishy, and the pearl dots create a tactile illusion that hides tiny seam variations. It’s low-maintenance because you build volume with a simple oval template and then decorate afterward. The dot pattern looks great under warm light and stays clean in photos because you’re not relying on micro-details.
Cut two identical ovals from cardstock (example: 12 cm by 9 cm). Glue a perimeter strip around the back piece, leaving the center open for air. Insert one loose oval of thin paper slightly smaller than the opening, then seal the second oval on top. After drying flat for 30 minutes, add pearl dots using a white gel pen or small sticker dots.
Editor's noteAdd dots after assembly so they cover any seam edge where color might shift.
Skip thisAvoid wet paint for the dots; it warps the oval and flattens the puff.
15. Cat Face Puff Paper Squishy
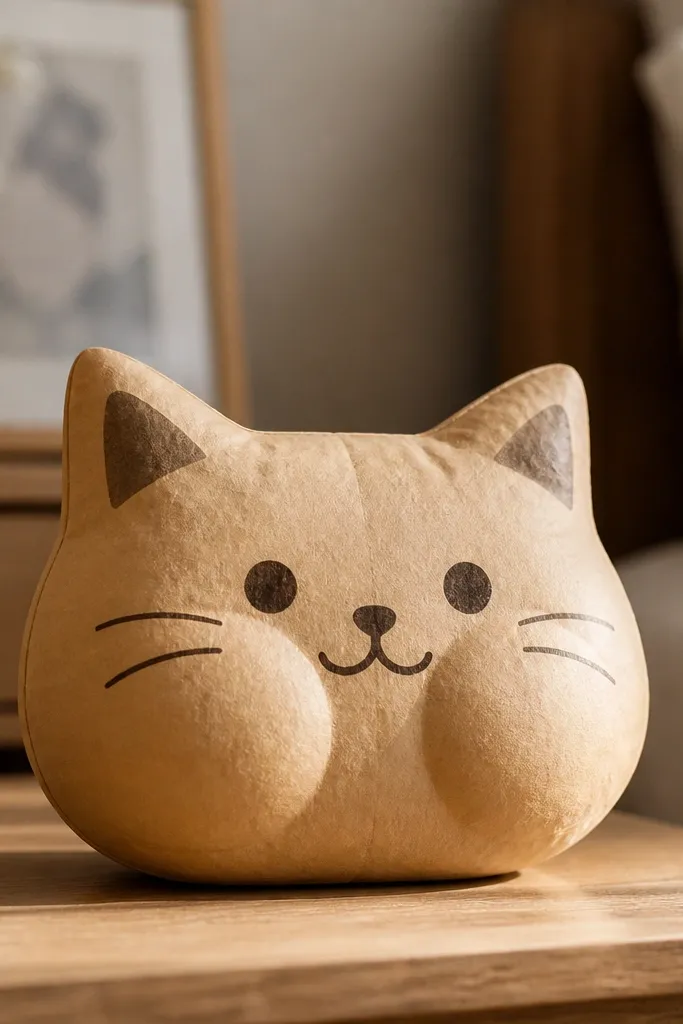
Cat faces are a cheat code for aesthetic because the viewer’s eye goes straight to the cheeks and whisker lines. For a low-maintenance Paper Squishy, build volume in the cheek area only, keeping the rest flat-ish so the face stays clean. This prevents the whole head from sagging and makes the puff look intentional. It’s also easy to customize with different ear shapes and eye colors without changing the structure.
Cut two cat face bases from cardstock with rounded cheeks and simple ear shapes. Glue a perimeter strip and a small cheek glue zone about 10 mm wide on each side, leaving the forehead and chin mostly unglued. Add two thin cheek inserts made from folded paper rectangles, then close the second base on top. Dry flat under weight for 25 minutes, then draw whiskers and eyes after assembly.
Editor's noteUse a darker outline paper for the face base; it makes the puffed cheeks stand out in photos.
Skip thisSkip tiny whisker cutouts; lines drawn with a marker look cleaner and don’t snag.



