
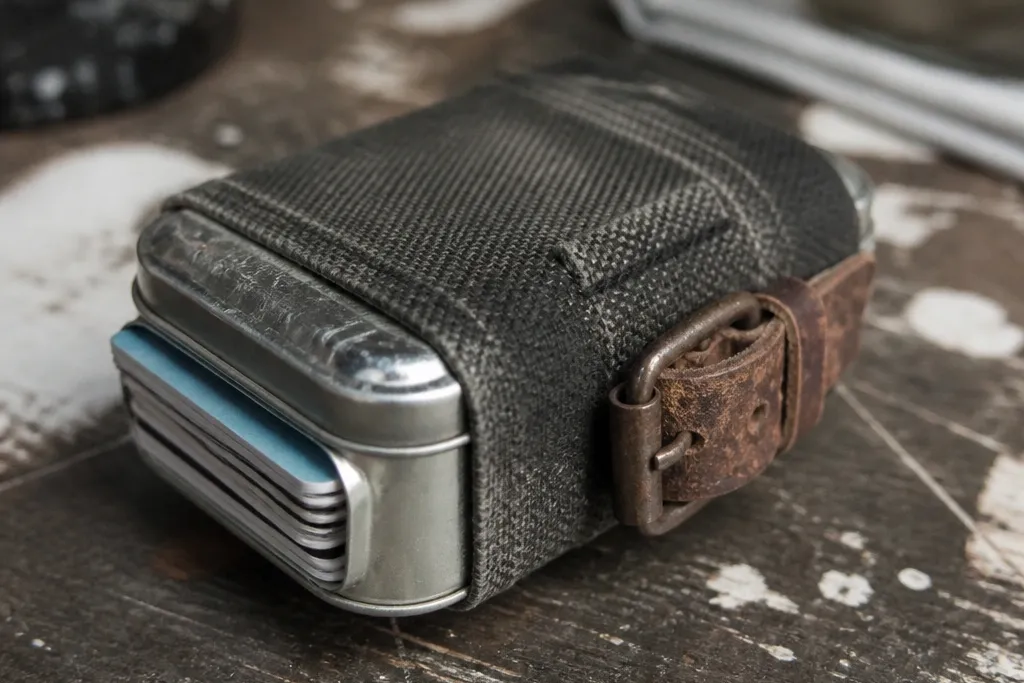
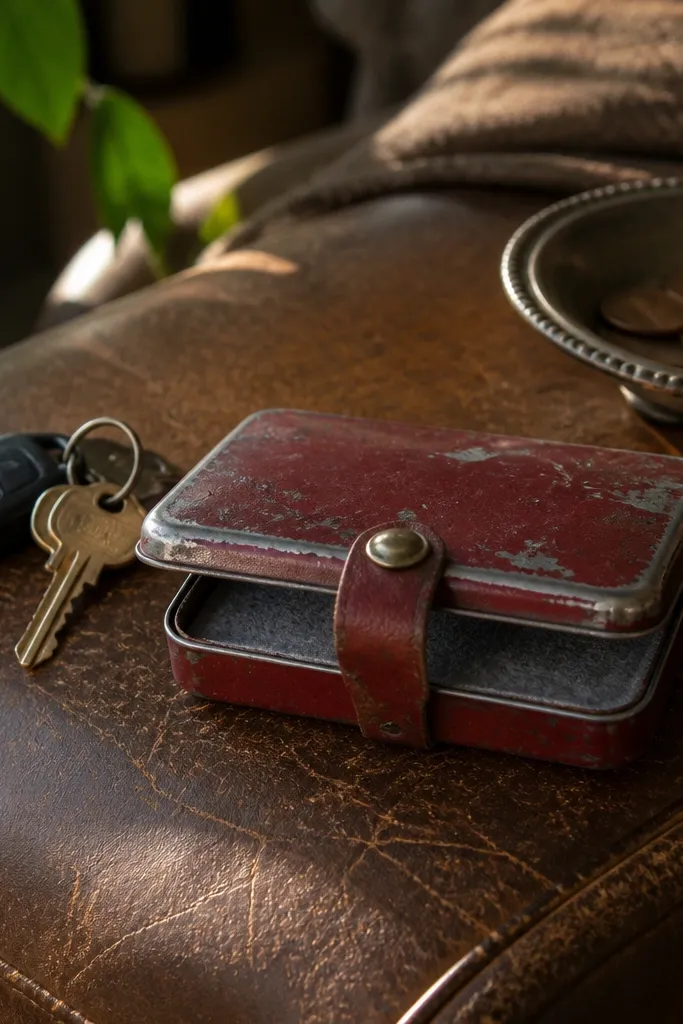
1. Charcoal Denim Wrap With Overdyed Edges
This is the grunge look that reads clean, not chaotic. The denim wrap gives you a soft surface that still hides wear, and the overdyed edges make the whole thing look intentionally distressed. I like it for everyday carry because denim holds its structure better than most thin cottons, so the wallet stays flat when you slide it in and out. Inside, you can keep it simple with a felt insert that wipes down easily.
Cut a denim rectangle that wraps the tin with a 1/2 inch overlap on the long side. Dye the edges first — use diluted black fabric dye or black acrylic mixed with a fabric medium — then let it dry fully before gluing. Wrap the tin, glue the overlap to the underside, and stitch the front panel with a straight stitch or hand whip stitch using heavy thread. Finish by sealing the outside with matte clear spray so the dye doesn’t shed.
Press the wrap flat under a heavy book for 20 minutes before sealing so it doesn’t ripple.
Don’t glue over damp dye — it will bubble and make the wrap look uneven.
2. Rust-Stained Waxed Canvas With Leather Latch
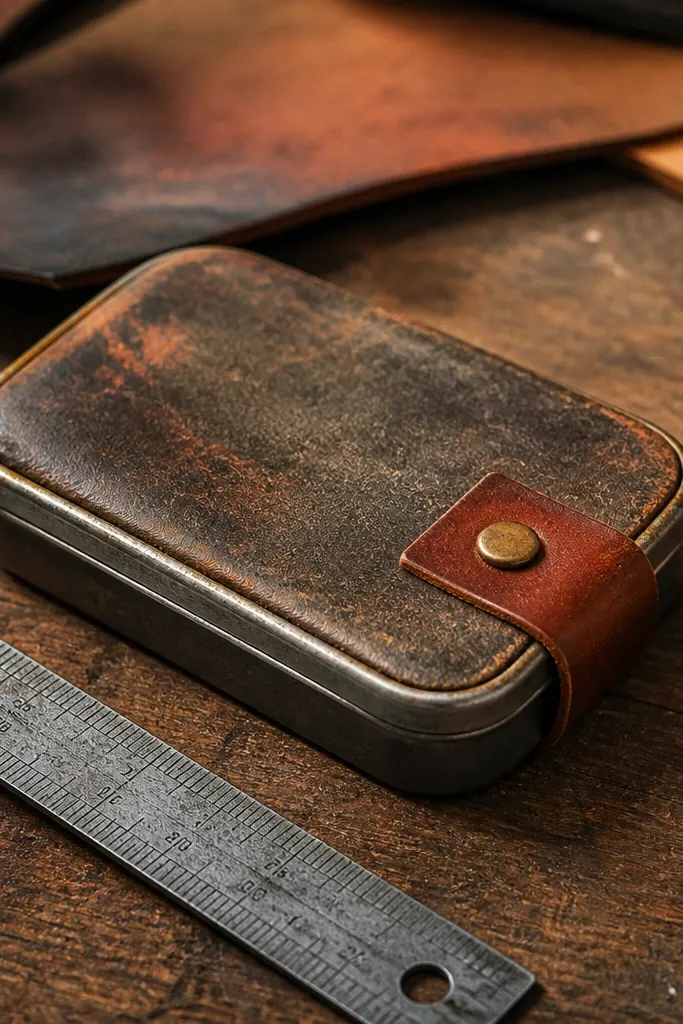
Waxed canvas gives you that tough grunge vibe while still feeling smooth enough to carry. The rust-stained finish looks like old industrial hardware, and the leather latch adds a practical closure that keeps cards from migrating. This build is ideal if you hate fiddly clasps. It also hides scuffs well because the canvas texture stays visible under the stain.
Editor's noteUse a cotton swab to place small “drip” dots at the edges for more realistic rust patterns.
Wrap the tin with waxed canvas, trimming so the lid clears without scraping. Create rust marks using a sponge and diluted brown-orange paint plus a tiny bit of dish soap for spread; dab, don’t smear. Glue the leather latch strap to the back and add a small snap or button to the front so it closes in one motion. Seal the whole outside with satin clear coat, then let it cure overnight before you carry it.
Skip thisSkip glossy sealers — they make waxed canvas look plastic and kill the grunge texture.
3. Olive Felt With Burnt Edge Paint
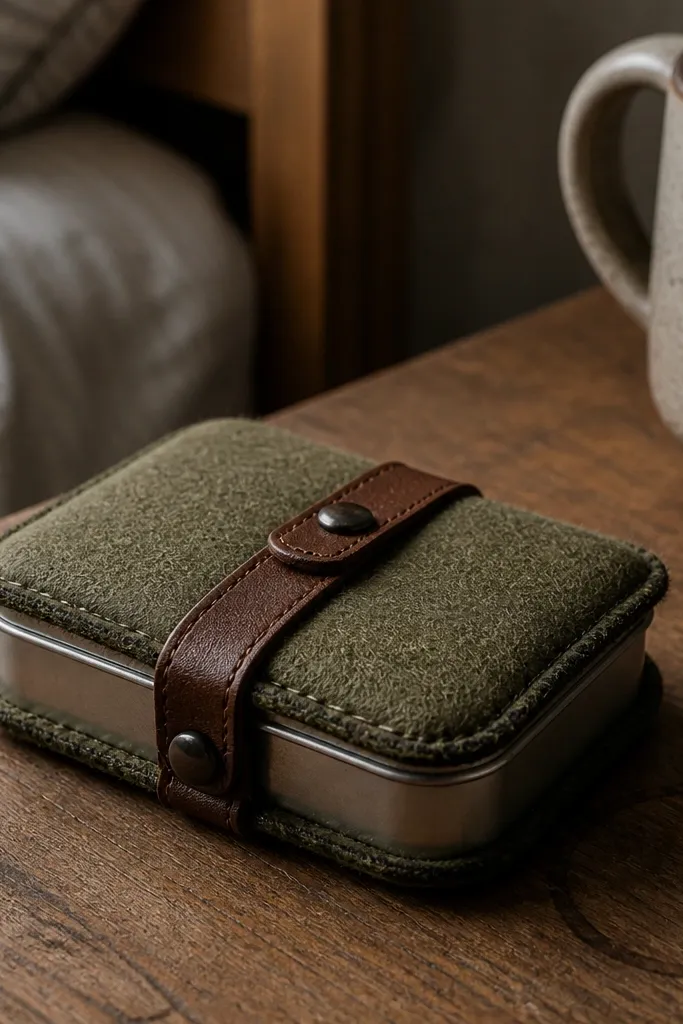
Felt is the low-maintenance cheat code. It doesn’t fray, it hides mess, and it cushions the tin so it doesn’t clack in your pocket. The burnt edge paint gives you a controlled distressed look that reads grunge without staining your clothes. This one is great if you want a quiet, soft wallet that still looks rugged.
Editor's noteIf the felt sheds, rub it once with a lint roller before you glue — cleaner edges look sharper.
Cut felt panels for the front and back wrap, then add a felt liner insert that slides into the tin. Paint the outer edges with a mix of black and brown acrylic using a dry brush; keep it on the edges only. For closure, add a small elastic loop on one side and a button or snap on the other. Use hot glue or contact cement for felt, then seal only the outside with matte clear so the paint doesn’t rub off.
Skip thisDon’t paint the flat faces — the felt will get stiff and look crusty.
4. Black Leatherette With White Chalk Splatter
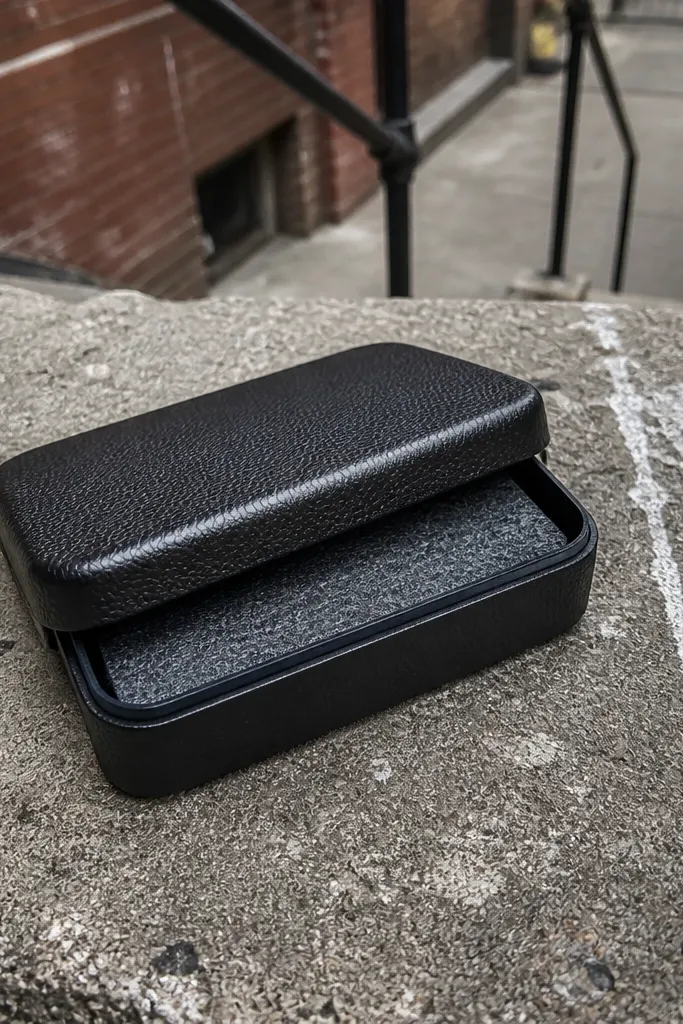
This design looks like street gear without being loud. Leatherette takes stains well, and chalk splatter gives that scuffed, graphic grunge effect that photographs well. The inside stays low-maintenance if you use a removable felt insert. I recommend this for people who like a darker aesthetic and want the wallet to look good even when it’s not perfectly clean.
Wrap the tin in black leatherette and glue the seams on the underside. Lightly dust white chalk onto a toothbrush and flick it over the front panel; do a second pass for denser splatter near the corners. Add a wide elastic band across the back — attach ends to the inside with strong fabric adhesive. Seal the leatherette with a matte clear spray made for plastics/leather finishes.
Tap off excess chalk on scrap paper first so the splatter stays speckled, not chunky.
Don’t overdo the splatter — too much chalk makes the surface powdery.
5. Torn Bandana Patchwork Front
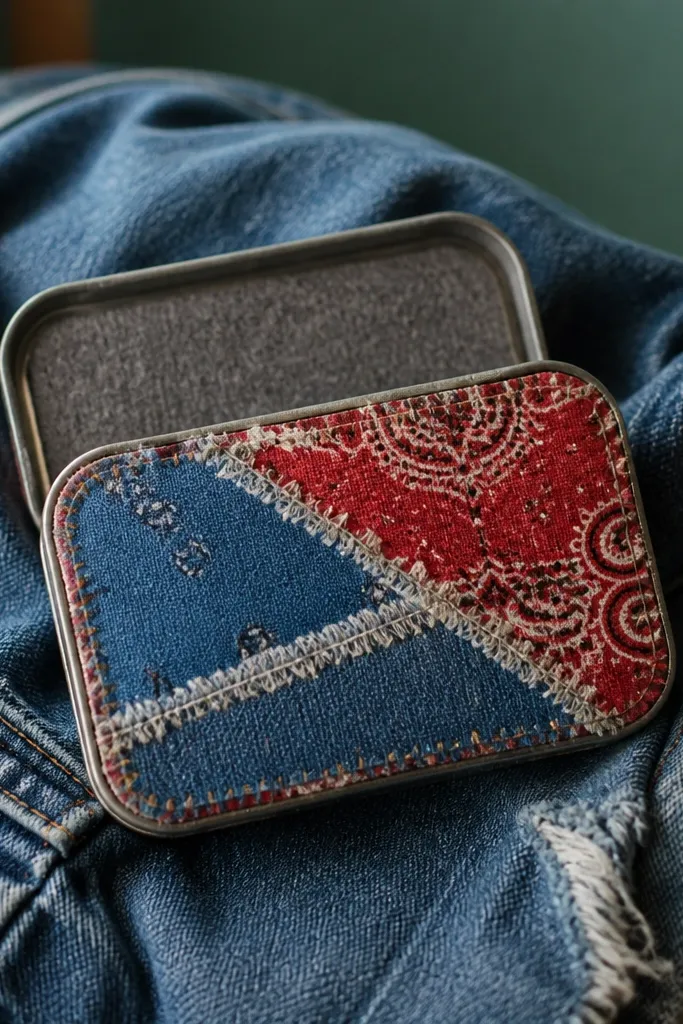
Patchwork is grunge that looks intentional when you control the edges. A bandana front gives you strong color contrast, and the torn edge treatment makes it look like it’s been through it. This is one of the best options if you want something photogenic without adding complex closures. Keep the inside simple and removable so the exterior can take the style hit.
Cut two or three bandana strips and tear the edges by hand so the fray looks organic. Darken the torn edges with black fabric dye or watered-down acrylic so everything ties together. Glue the patches to the tin front with contact cement, then wrap the sides with a solid fabric backing. Add a snap closure using a small metal snap or a magnetic snap, then seal the exterior with matte clear.
Stagger patch seams at different heights — it looks more worn than perfectly aligned squares.
Don’t use glossy clear coat on bandana — it looks like plastic and flattens the fabric texture.
6. Camo Print With Dry-Brush Black Fade
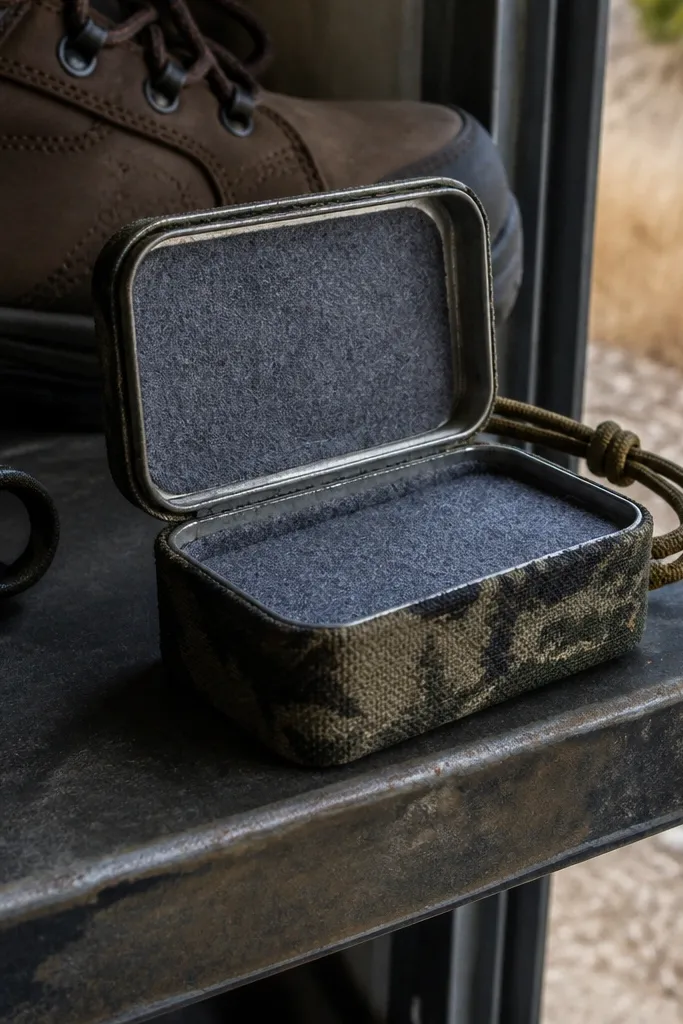
Camo already reads outdoorsy and rugged. Dry-brushing black over the raised pattern makes it look faded and used, not like a brand-new print. This wallet is low-maintenance because the camouflage hides small scuffs and lint, and the inside can be a plain gray felt insert you can wipe clean. It’s a strong pick for a pocket carry style that still looks good in photos.
Wrap the tin with camo fabric, then secure corners with glue on the underside. Mix black acrylic with a lot of water so it brushes dry, not wet. Use a stiff bristle brush to drag paint lightly across the pattern — focus on edges and high spots. Add a simple card insert using felt and a cash band using elastic; seal exterior with matte clear.
Do one test brush on scrap camo to dial in how dusty the finish looks.
Avoid wet paint — it will soak and turn the camo blotchy.
7. Denim Pocket Insert With Distressed Stitch Lines
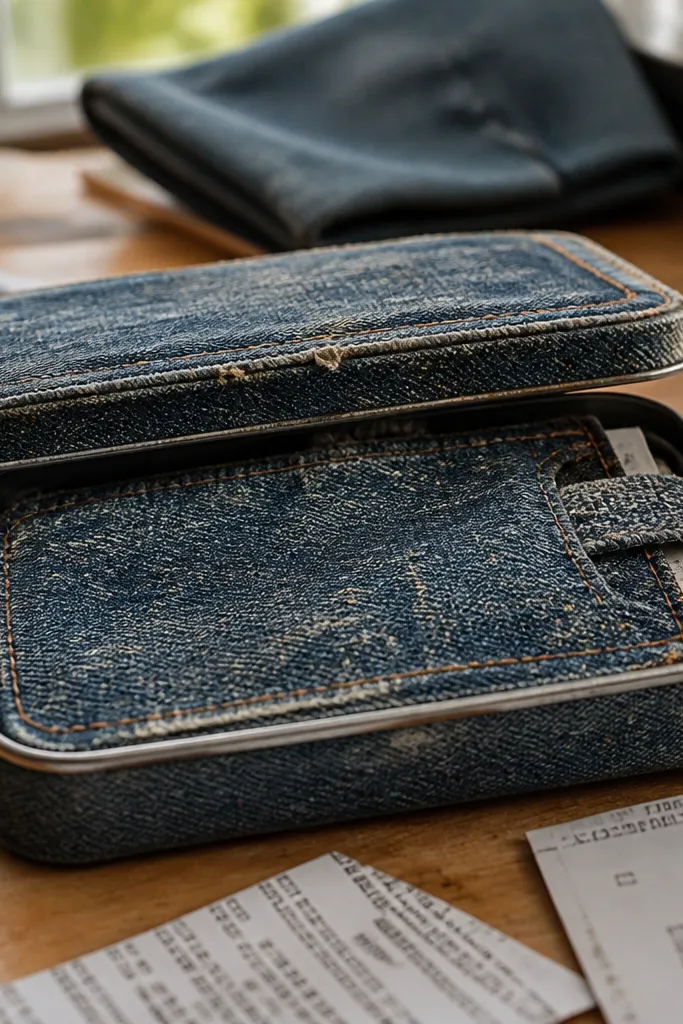
This one makes the grunge feel practical. You get a denim pocket inside for receipts or a spare card, and distressed stitch lines on the outside create that “made by hand” look. It stays low-maintenance because the inner pocket fabric can be removed and replaced without rebuilding the whole wrap. The result is a wallet that looks more interesting than plain wraps, but still holds up to daily friction.
Editor's noteUse waxed thread — it grips fabric and keeps the stitch lines crisp.
Wrap the tin in sturdy denim and leave the front panel smooth. Cut a denim pocket insert sized to the inside depth, then glue it to a felt backing so it stays flat. For the distressed stitch look, mark straight lines with a fabric pen and then hand-stitch over them using waxed thread; pull a few stitches looser so they look worn. Finish with a clear matte seal on the outside only.
Skip thisDon’t skip a backing for the pocket — loose fabric will sag and snag.
8. Concrete Gray Spray Paint With Sand Texture
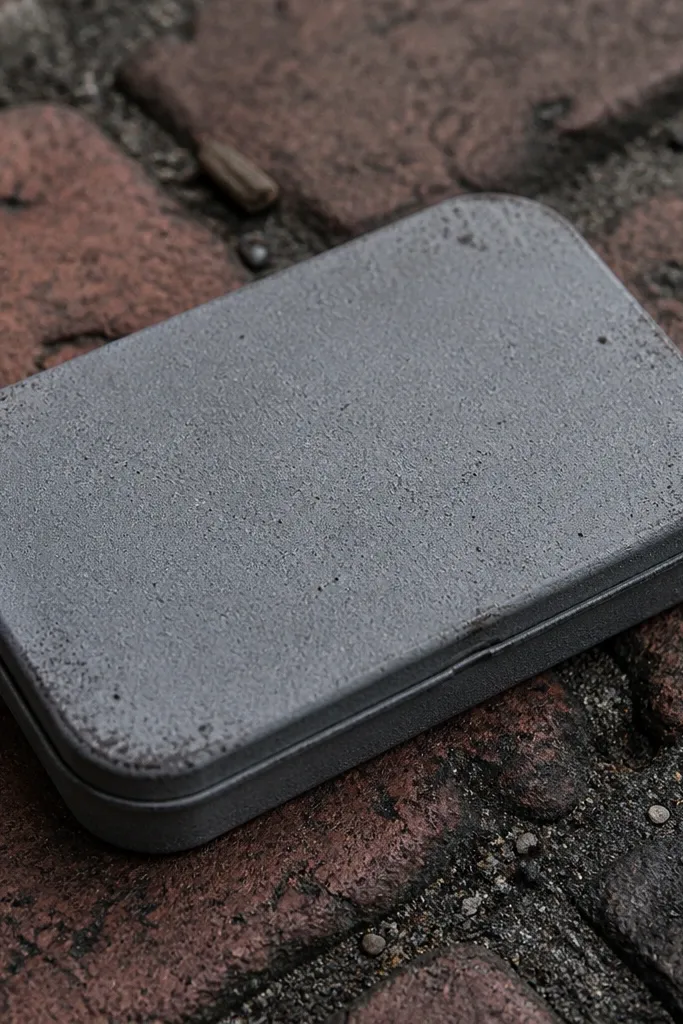
This gives you a raw, urban texture that photographs like real material. The trick is controlling the grit so it looks like concrete dust, not sandpaper. The low-maintenance angle is the matte seal — it locks the sand in so it doesn’t shed into your pocket. This is best for people who want a strong grunge look and don’t mind a slightly rough outer feel.
Wrap the tin with fabric or craft paper that you can seal well, then spray a base coat of concrete gray. While the paint is still tacky, sprinkle fine sand or aquarium sand lightly and tap off the excess. Let it cure fully, then seal with 2-3 thin coats of matte clear, waiting 10 minutes between coats. Build a felt liner insert and add an elastic closure band.
Use fine sand, not coarse — coarse sand feels abrasive and rubs through fabric.
Don’t skip sealing — unsealed sand will fall off fast.
9. Chain-Link Embossed Sticker Grunge Overlay
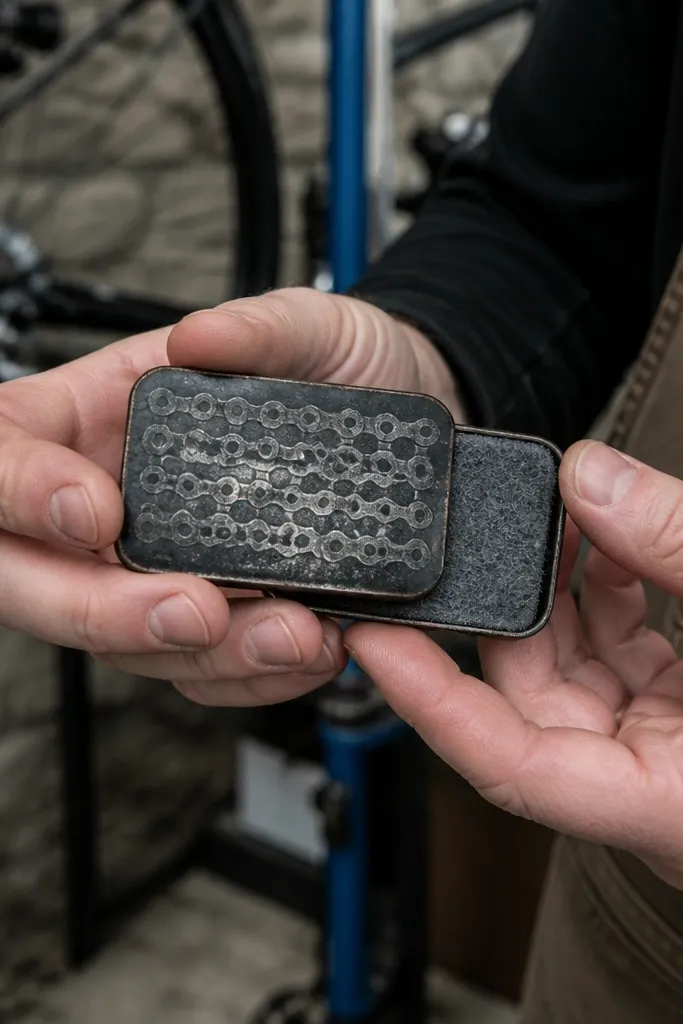
If you want grunge with minimal build time, this is the move. An embossed chain-link sticker overlay creates instant texture, and blackened edges make it look like it’s been on a bike rack for years. It stays low-maintenance because the sticker film is easy to wipe, and the tin interior can be a removable felt insert. This is a great pick when you want the exterior to be the star without complicated stitching.
Editor's noteUse a craft knife to trim sticker edges along the tin seam for a sharp border.
Wrap the tin in a plain dark fabric or matte paper, then seal it with matte clear. Apply a chain-link embossed sticker to the front panel, smoothing from the center outward. Stipple black paint around the edges where the sticker meets the base so it looks blended, then seal over the sticker with matte clear. Add a simple closure — elastic band across the back works cleanly.
Skip thisDon’t use glossy base paint — reflections make the grunge pattern look shiny instead of worn.
10. Candle-Wax Resist Marbled Grunge
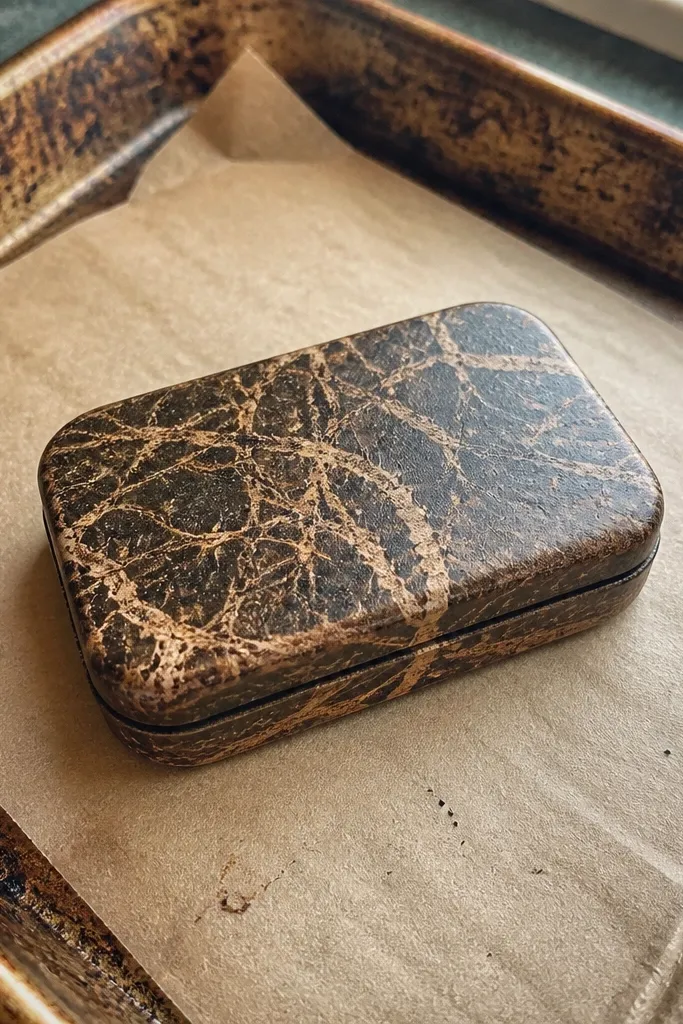
Wax-resist is one of the few grunge techniques that looks artistic but still controllable. You draw your “cracks” or highlights with candle wax, then dye or paint over it — the wax blocks the color and leaves pale lines that look like old grime. The result is photogenic and unique every time, and it’s low-maintenance because sealing locks the pattern in place.
Wrap the tin with a fabric that takes dye, like cotton canvas. Rub candle wax over spots where you want lighter lines, then paint over the whole outside with diluted black or deep gray dye. Heat gently with a hairdryer to melt and set the wax, then wipe off residue after it cools. Seal with matte clear, then add a felt liner and elastic closure.
Use a cheap candle and press hard — faint wax marks look accidental rather than intentional.
Don’t saturate the fabric — soaking will blur your resist lines.
11. Scuffed Metal Look With Gunmetal Acrylic
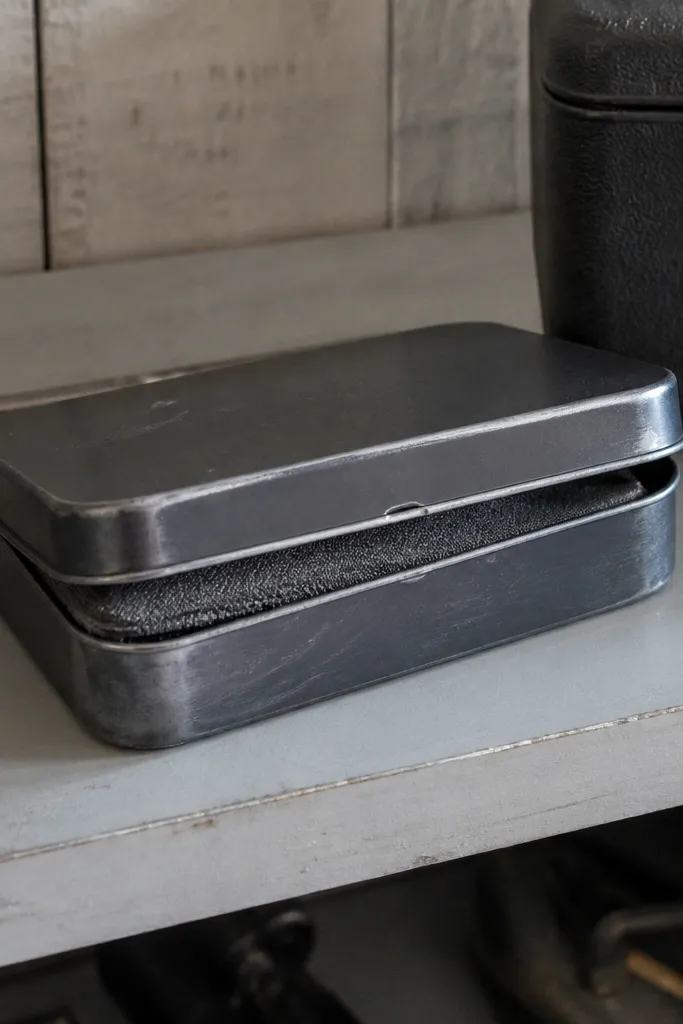
This design leans into the grunge-metal aesthetic without actually using heavy metal parts. Gunmetal acrylic plus scuffing creates that “handled too much” look, and it’s surprisingly low-maintenance once sealed. Inside, use a light gray felt liner so you can find cards fast. It’s also a clean look for people who don’t want fabric texture on the outside.
Editor's noteScuff corners first — the eye reads wear there immediately.
Wrap the tin with craft foam or thin cardstock covered with fabric, then prime lightly if needed. Paint the outside with gunmetal acrylic and let it dry. Use sandpaper or a sanding sponge to scuff edges and corners, then add tiny highlight spots with a lighter gray dry brush. Seal with satin clear coat and attach an elastic strap closure to the underside.
Skip thisDon’t seal before scuffing — you’ll lose the roughness.
12. Soot Stencil Grime Over Kraft Paper
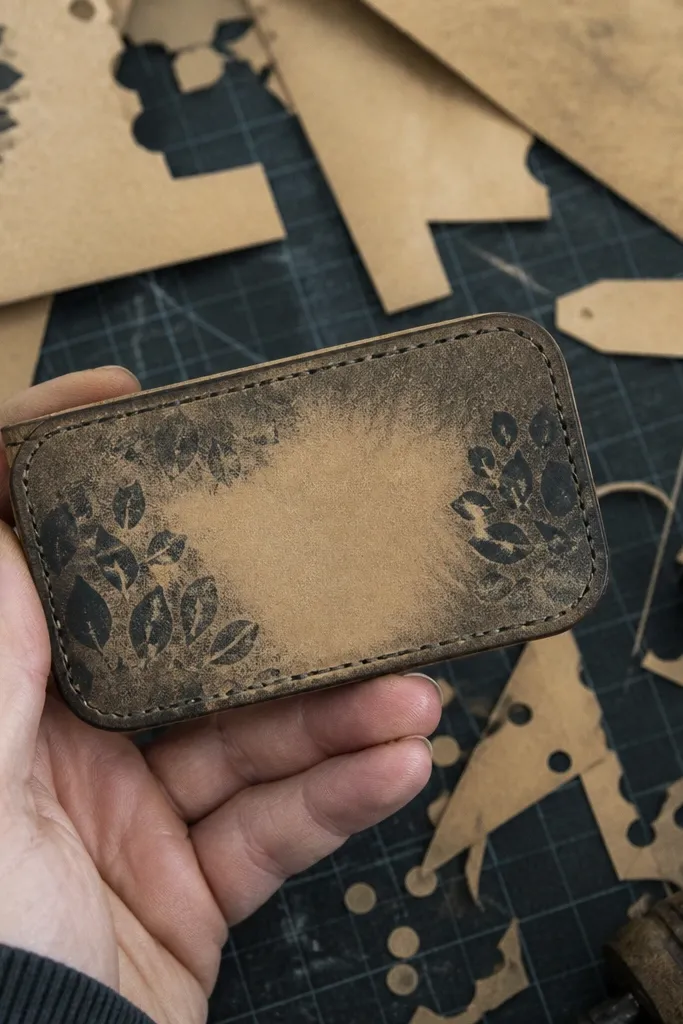
Kraft paper is plain, but it takes grime textures beautifully. A soot stencil makes your wallet look like it has a story, and the stitched border gives it structure so it doesn’t look like a craft project that fell apart. This one stays low-maintenance because kraft paper gets sealed hard, and the interior can be a simple removable felt insert. It’s also cheap to rebuild if you mess up the outer layer.
Editor's noteUse a stiff stencil brush so the soot edges stay soft, not streaky.
Cover the tin with kraft paper, using glue on the underside only so edges stay crisp. Make a stencil from cardstock and dab black acrylic or charcoal powder with a sponge for the soot look. Layer 2-3 passes, keeping the center lighter than the edges. Seal with matte clear in thin coats, then add a stitched fabric band across the seam for reinforcement and a faster-grab closure.
Skip thisDon’t use water-heavy paint on kraft — it will warp and wrinkle the surface.
13. Distressed Patch With Safety Pin Closure
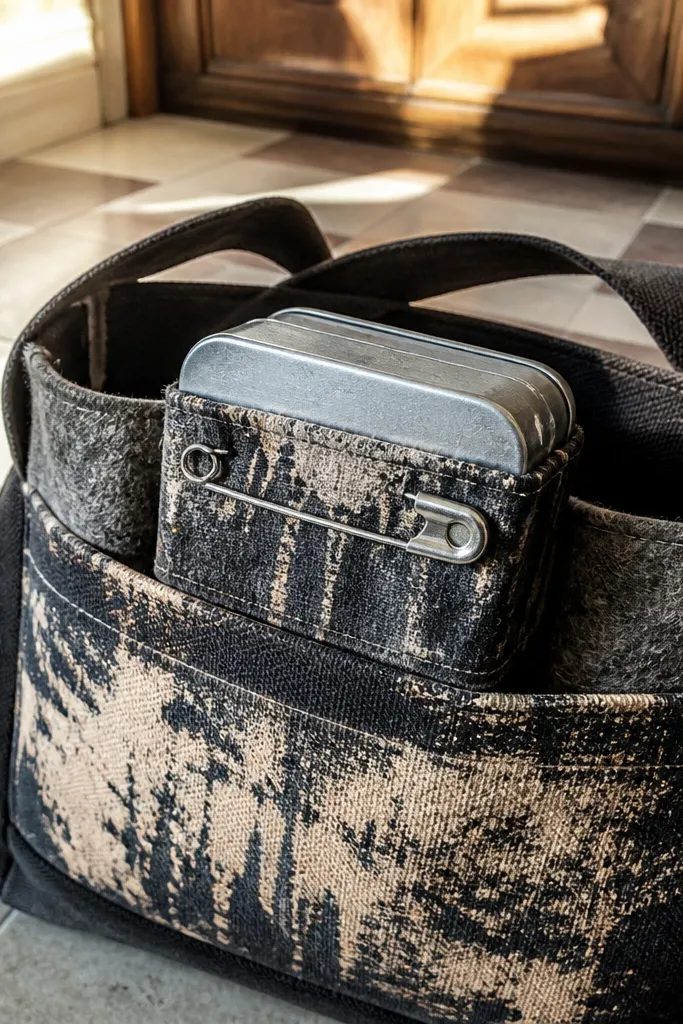
Safety pin closures look punk and they work fast, which is the whole point for everyday carry. You get instant grunge with a patch that can be distressed using dye or dry brushing. The pin also lets you adjust tightness without sewing a complex clasp. Keep the inside tidy with felt so you don’t end up with fuzz and thread catching in your pocket.
Wrap the tin in solid black or olive fabric, then glue a patch panel on the front. Distress the patch by dry brushing brown and black paint where you want worn spots. Attach two small fabric loops or a metal strap behind the patch so the safety pin catches securely. Finish by sealing the outside and adding a felt insert with a card slot and a cash band.
Use two small loops instead of one — the pin sits flatter and doesn’t twist.
Skip loose pins with sharp ends — cover the pin’s contact area with fabric so it won’t snag.
14. Embroidered Barcode Lines With Bleached Highlights
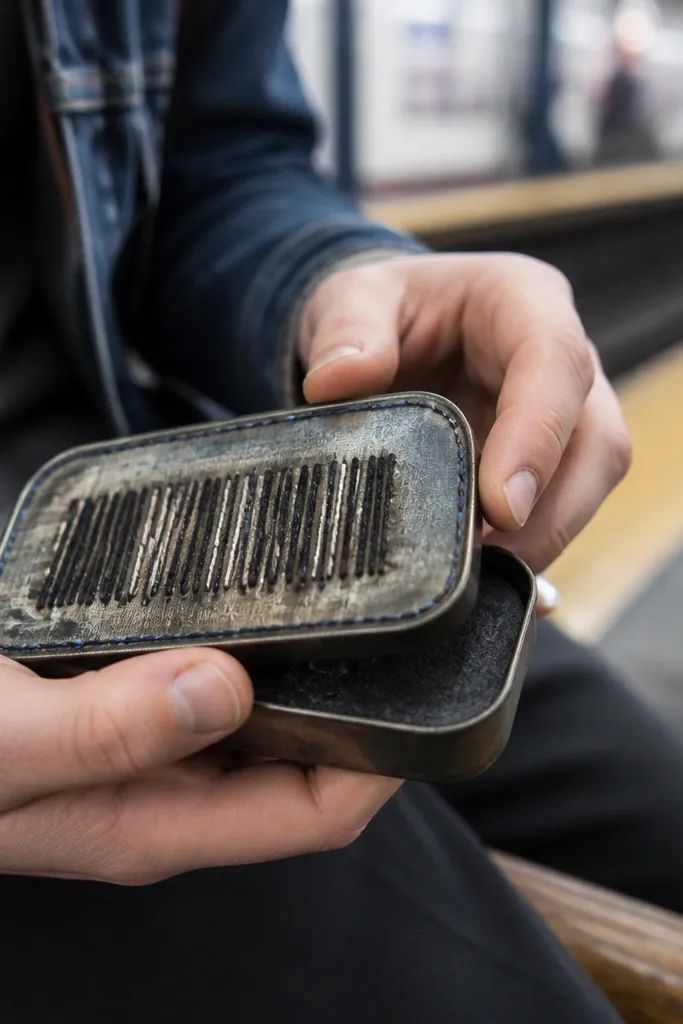
This gives you grunge that reads like design, not random distress. Embroidered barcode lines add crisp texture, and bleached highlights make it look like the ink has been attacked by time. It’s low-maintenance because the embroidery is raised and sealed under matte clear, so it doesn’t smear. This one is best if you like a controlled look with a little chaos.
Editor's noteUse a stitch length around 3-4mm so the barcode lines look solid in photos.
Wrap the tin in dark fabric like black cotton canvas. Mark a simple barcode pattern with a fabric pen and stitch straight lines using thick embroidery thread. Add bleached highlights using a cotton swab with diluted bleach gel or a fabric bleach pen, keeping it limited to the areas between lines. Seal carefully with matte clear after it’s fully dry.
Skip thisDon’t bleach too wide — big patches turn into stains rather than highlights.
15. Aged Map Print With Ink Wash Corners
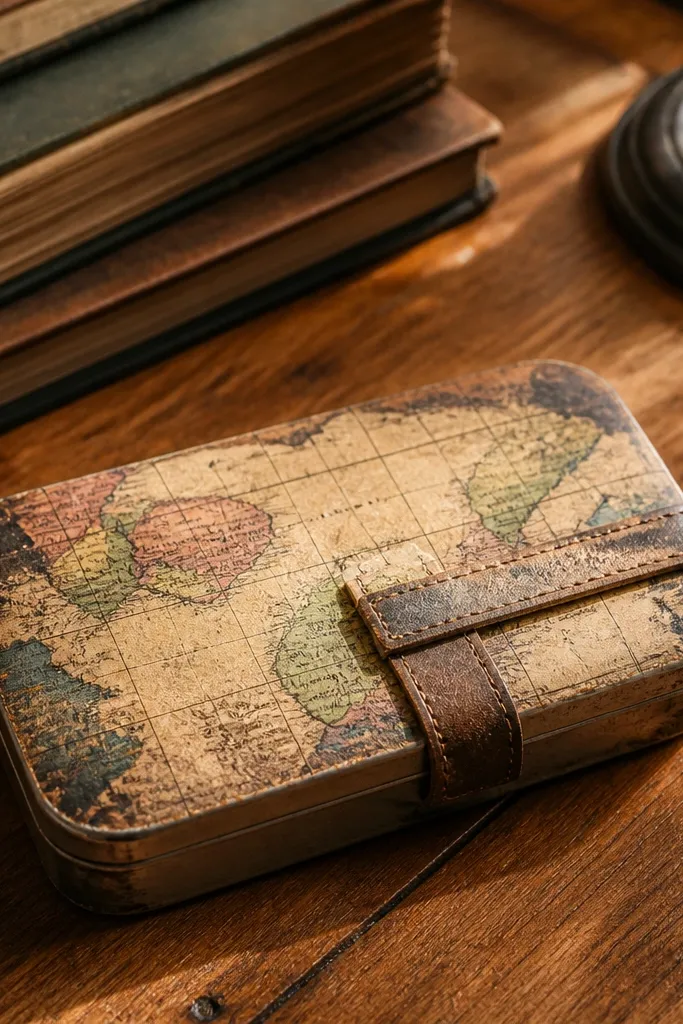
Map prints look great in grunge because the details already feel historical. Ink-wash corners create the worn-edge effect and keep the center readable. I like this build because the printed base hides tiny scuffs, and the sealed finish wipes clean. Add a strap closure and you get a wallet that looks like an artifact but stays practical in daily carry.
Wrap the tin with map print paper or thin fabric printed like a map, then seal it once with a thin matte coat. Mix black ink or diluted acrylic and wash it only at the corners and around the seam lines using a small brush. Let the wash dry, then add a second lighter pass for depth. Insert a felt card holder and attach an elastic strap across the back.
Use a blotting paper for ink edges so the wash stays feathered, not harsh.
Don’t soak the paper — it will sag and lift from the tin.
16. Knit Sweater Wrap With Frayed Edge Topcoat
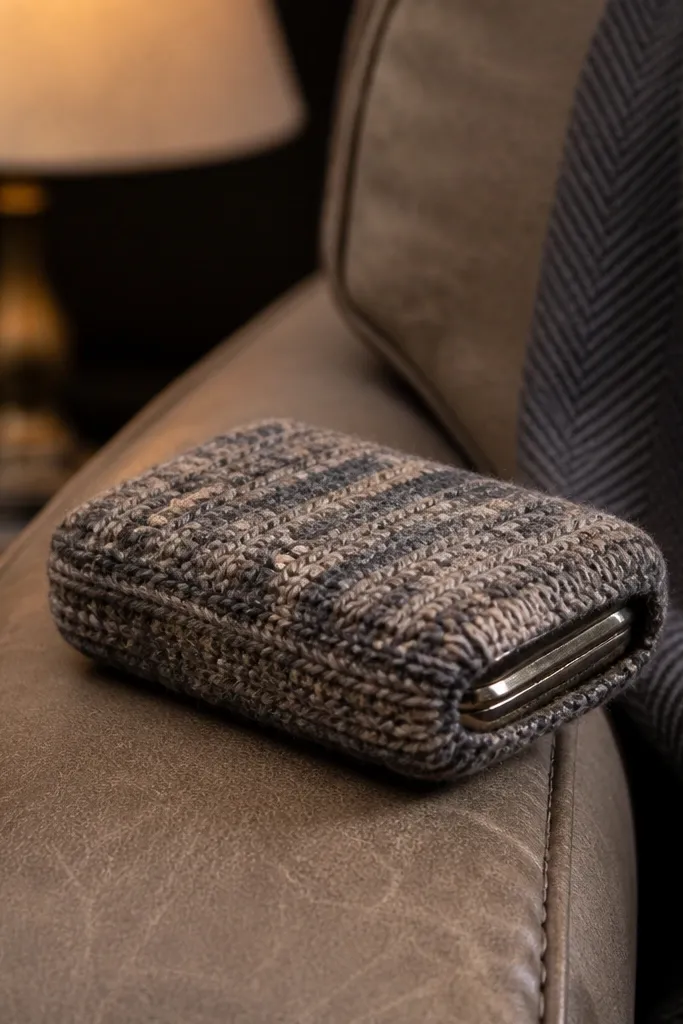
A knit sweater wrap is grunge that looks cozy, not sloppy. The texture is naturally irregular, so you don’t need heavy distressing, and it photographs with soft shadow. The low-maintenance win is sealing — you control fray so it doesn’t keep shedding. This build works best for people who want a wallet that feels warm and tactile while still looking worn-in.
Cut sweater fabric so the wrap seam lands on the underside. Glue it to the tin, then trim the edge so it sits slightly inside the tin seam. For the grunge look, rough up the outer edge with scissors and then brush a thin layer of matte fabric sealant over it. Let it cure fully, then add a removable felt insert and a button closure.
Trim the knit edge at a slight angle — it gives a cleaner fray line without gaps.
Don’t skip edge sealing — sweater fibers will keep shedding into your pocket.
17. Red Flannel With Black Splatter and Pinstripe Stitch
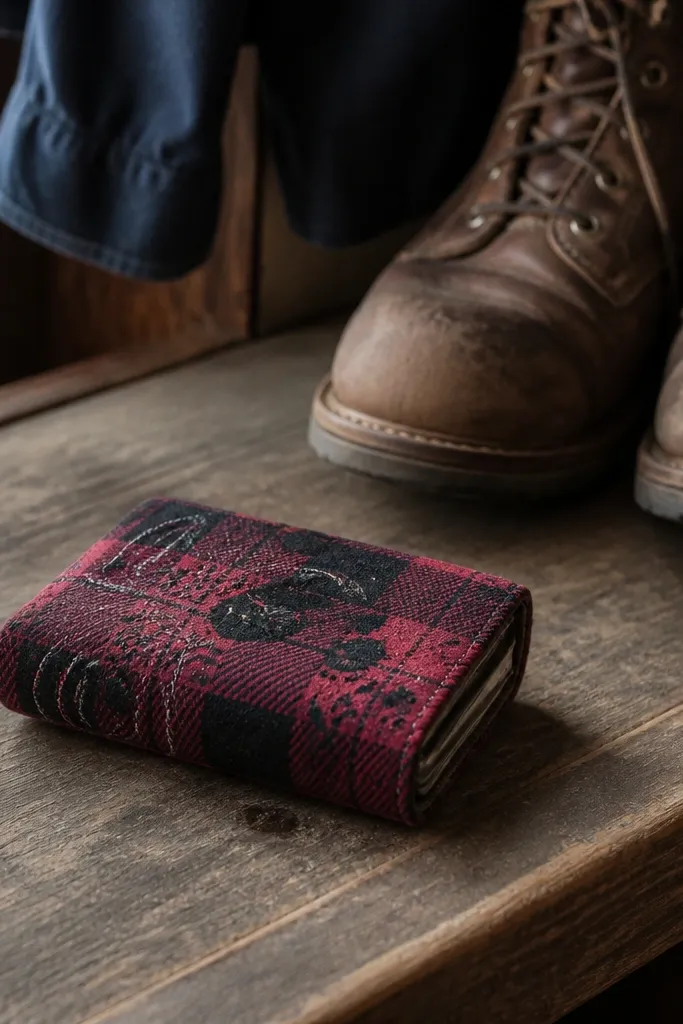
Flannel looks instantly aged because it has built-in softness and micro-wear. Black splatter on red is high contrast, and pinstripe stitching makes the grunge look intentional instead of random. This is a great everyday carry wallet because flannel grips cards and reduces sliding inside the tin. Seal it and the splatter stays put.
Editor's noteUse a toothpick to place a few larger splatters — it adds dimension and looks less uniform.
Wrap the tin in red flannel and glue seams underneath. Flick black paint using a toothbrush for splatter, but keep it light on the corners so it doesn’t look muddy. Add a thin pinstripe stitch around the front panel using contrasting thread. Seal with matte clear in 2 coats, then insert a felt card holder with a small elastic cash band.
Skip thisAvoid thick paint lines — they crack and peel when the wallet flexes.
18. Black Canvas With White Thread X-Cross Closure
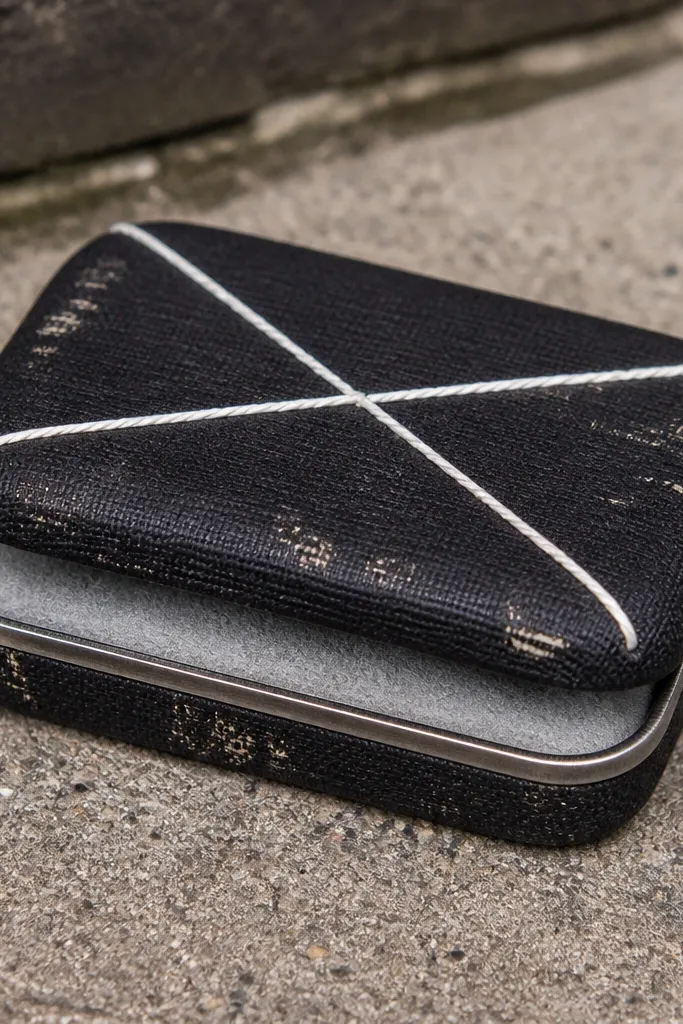
This one is all about grip and speed. The X-cross closure uses white thread that visually pops on black canvas, and it keeps the wallet shut without bulky hardware. It’s low-maintenance because the closure is easy to re-tension and the inside liner can be swapped. The grunge look comes from scuffed paint rubbed into the canvas texture.
Editor's notePre-tension your thread before tying so the closure stays tight after a few days of use.
Wrap the tin with black canvas and glue it flat without wrinkles. Add a felt liner that covers the inside base and includes a card slot. Stitch an X-cross closure on the outside — use long stitches from one side to the other, then tie off with a knot that you can redo. For grunge, dry brush a little gray paint into the canvas weave and seal the outside lightly.
Skip thisDon’t tie knots on the edge — they create bulk that catches pocket fabric.
19. Sage Canvas With Charcoal Smudge Panels
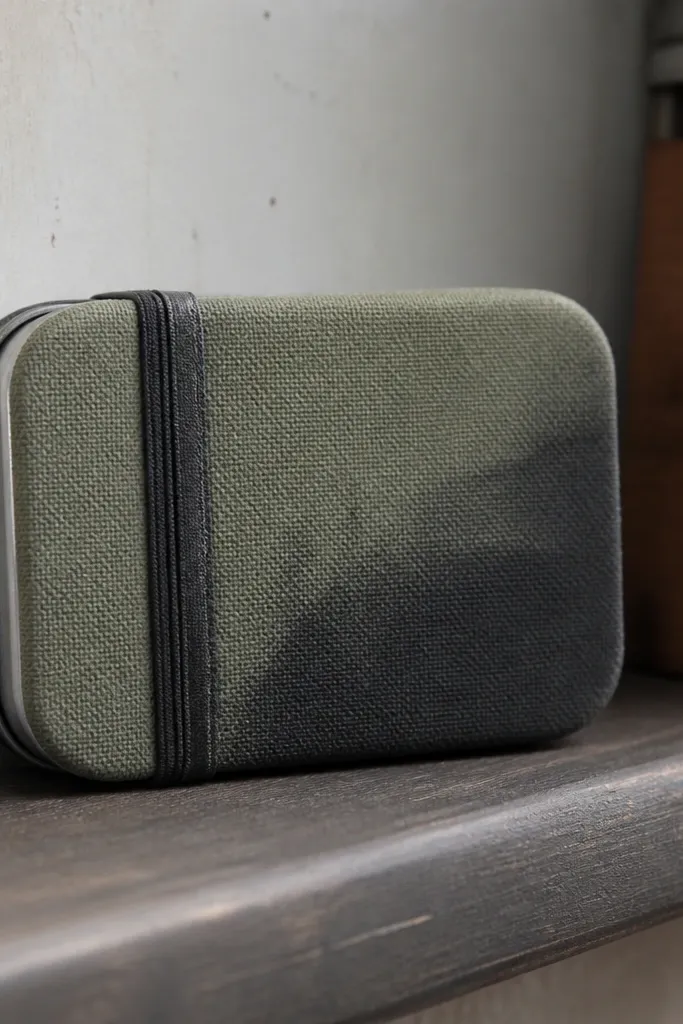
Sage canvas gives you a calmer base, then charcoal smudges create grunge depth without looking messy. Smudging is photogenic because it creates gradients, not blobs. This design is low-maintenance because the canvas texture hides tiny scuffs, and a sealed finish keeps the charcoal from transferring. If you want grunge that still reads “clean enough,” this is the one.
Editor's noteUse paper towel to blend in one direction so the smudges look like controlled grime.
Wrap the tin with sage canvas and glue it smooth. Smudge charcoal or charcoal pencil over the front in soft panel shapes, then buff lightly with a paper towel to blend. Fix the smudges with a matte clear spray in thin coats so the charcoal doesn’t rub off. Add a simple strap closure using elastic and attach it to the inside edges.
Skip thisDon’t use wet charcoal — it will smear and stain the whole front.
20. Distressed Patchwork Spine With Side Card Slot
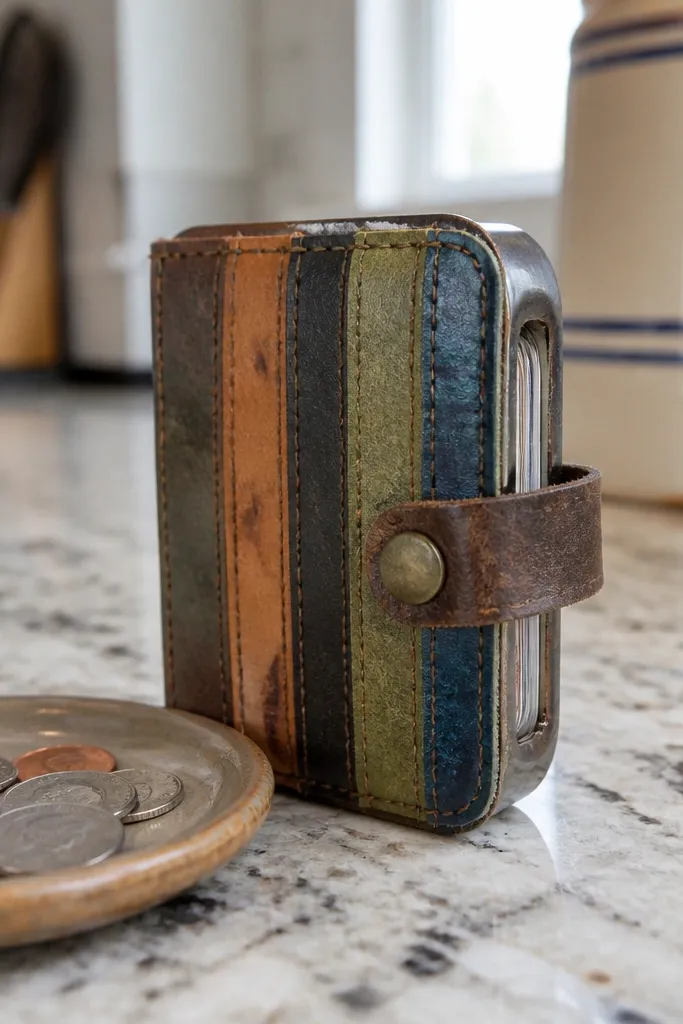
This layout is practical and looks sharp. A patchwork spine creates a strong vertical grunge focal point, while a side card slot keeps your everyday card accessible without opening the lid every time. It stays low-maintenance because the side slot liner is removable and the rest of the exterior is sealed. The darkened seams make everything look stitched together instead of slapped on.
Cut small fabric strips for a spine panel, then glue it to the tin front centered vertically. Wrap the rest of the tin in a solid dark fabric so the patchwork stands out. Add side card slot by lining the inside edge with felt and leaving an opening that matches card thickness. Darken seams with black dye or paint, then seal the exterior with matte clear.
Measure card thickness with a caliper or ruler and set the opening 1mm wider so cards slide without scraping.
Don’t skip a solid backing behind the side slot — weak fabric will stretch and loosen.



