

1. Step 1: Clean and Degrease the Mug
Everything starts with a grease-free surface, because paint slides off oils and fingerprints on smooth glaze. This step takes two minutes and is the single biggest factor in whether your design lasts. Skip it and even the best paint will peel.
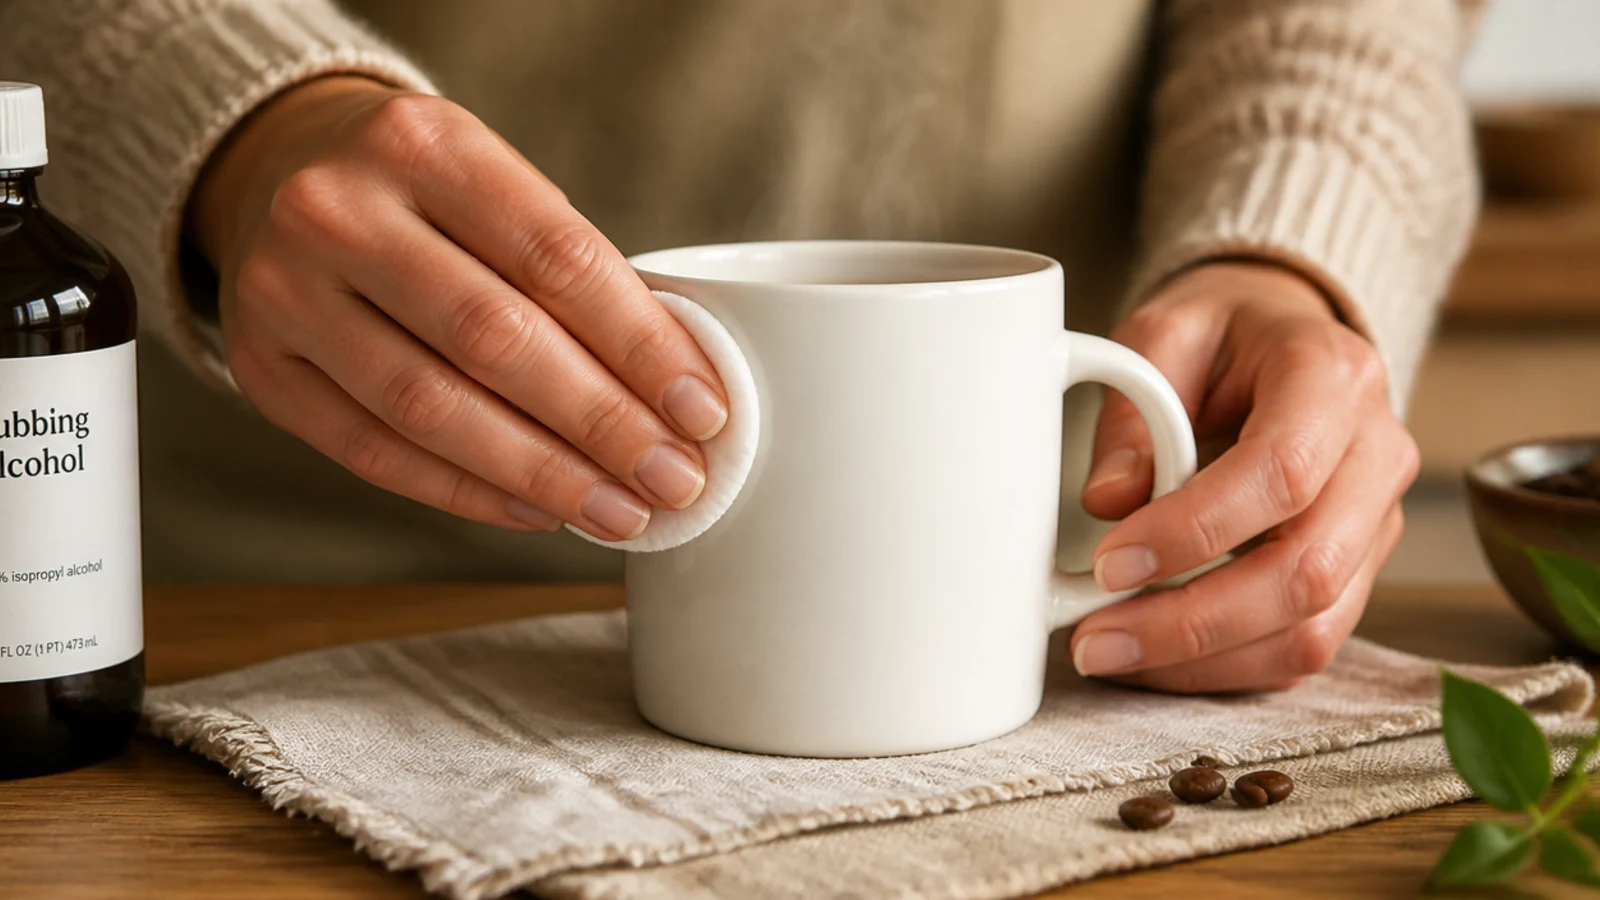
Wash the mug in hot soapy water and dry it completely. Wipe the entire outside with rubbing alcohol on a paper towel or cotton pad to strip off oils, soap film, and dishwasher residue. Let the alcohol flash off for a minute, and from here on handle the mug by the rim or inside so you don’t leave new fingerprints on the painting area.
Give the exact spots you’ll paint one final alcohol wipe right before you start, in case you touched them while setting up.
Don’t touch the painting area with bare fingers after degreasing; a single fingerprint’s oil is enough to make paint lift there.
2. Step 2: Sketch and Plan Your Design
Planning on the mug first turns a risky freehand attempt into a confident trace. It lets you fix spacing and placement while it’s still erasable. This is where a design goes from homemade to intentional.
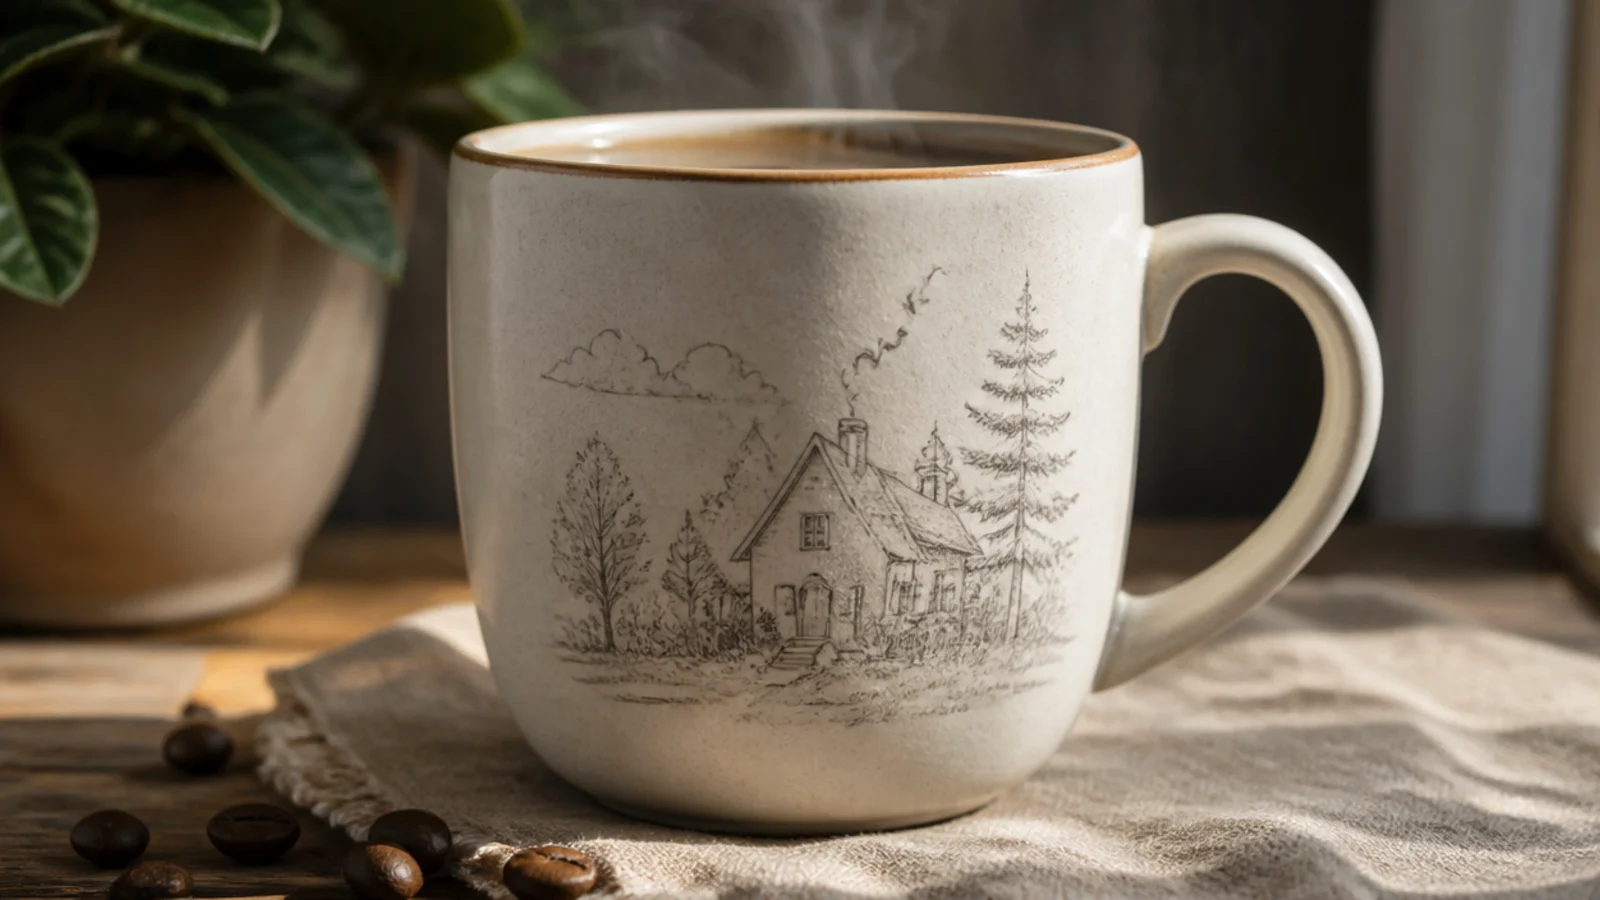
Sketch your design lightly on the glaze with a pencil or a washable marker, both of which wipe off with alcohol. Check that everything sits at least a half-inch below the rim and reads well from the front. Adjust spacing now — centered lettering, level dot rows, balanced motifs — because once you switch to permanent paint, changes get much harder.
Step back and look at the mug from arm’s length before painting; spacing problems are obvious from a distance and invisible up close.
Don’t plan a design that runs up to the lip; keep the whole layout below the rim so no paint ever reaches your mouth.
3. Step 3: Paint in Thin Coats
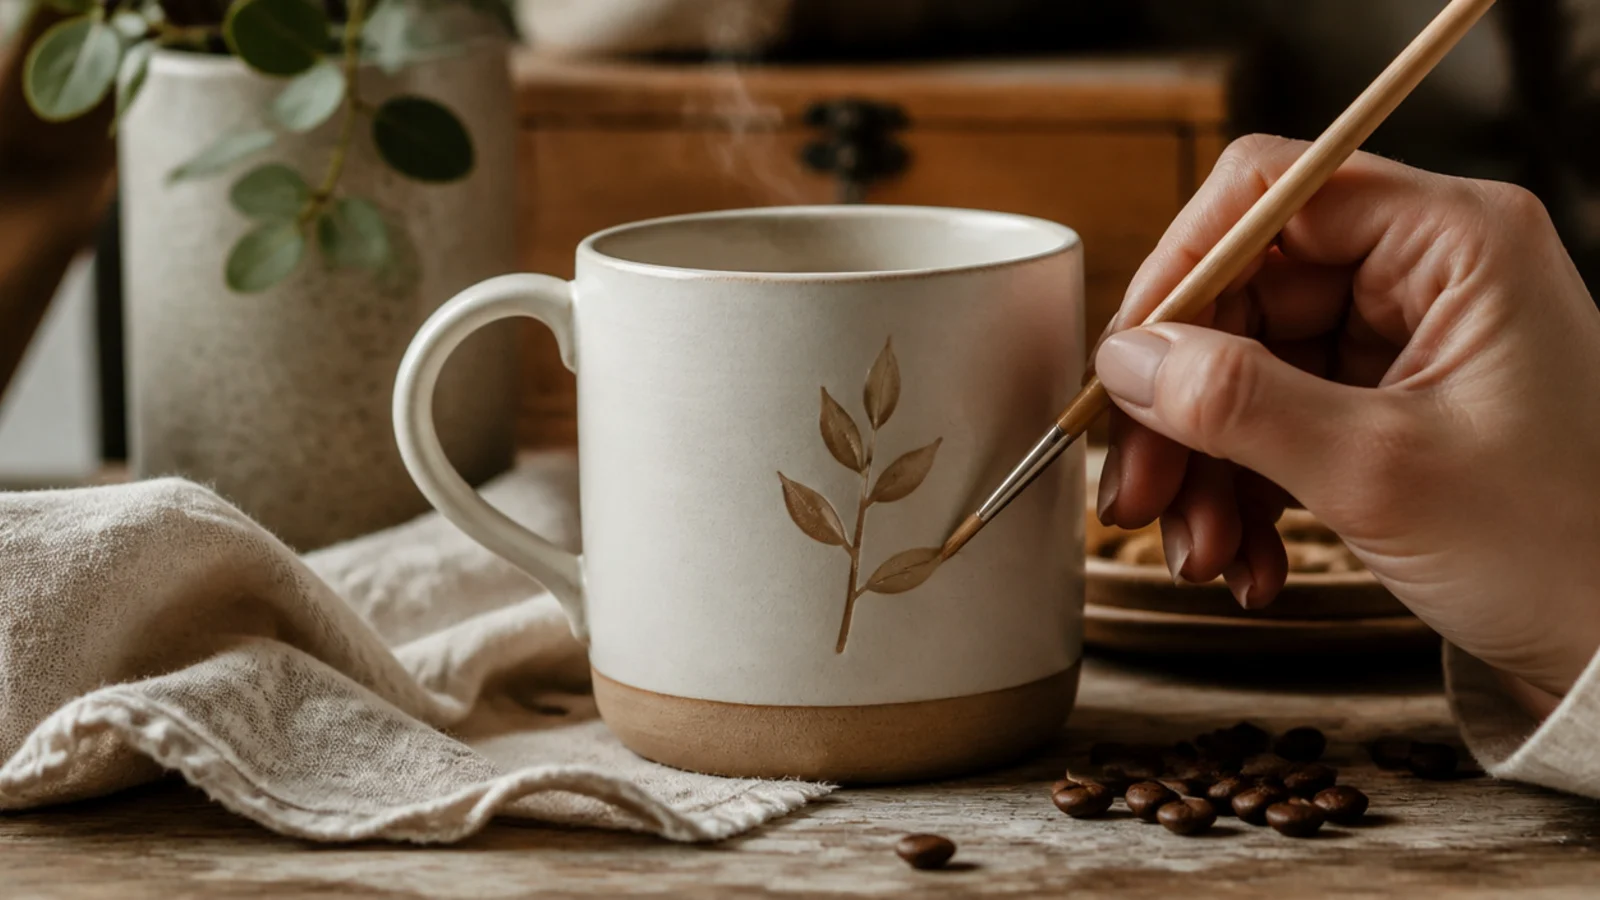
Using oil-based porcelain paint or a paint pen, trace your design in a first thin coat and let it dry to the touch, then add a second coat for solid color. Use painter’s tape for any straight lines or color blocks, burnishing the edges so paint can’t bleed under. Fix slips with an alcohol swab as you go. Keep all paint below the rim and off the inside.
Now you commit, painting over your plan with dishware-safe porcelain paint. Thin coats are the rule, because thick paint chips on slick ceramic as the mug flexes with temperature. Two thin coats always beat one heavy one.
Skip thisDon’t glob on one thick coat to save time; it stays gummy, cures unevenly, and chips at the edges.
Editor's noteRest the mug on a lazy Susan so you can rotate it into the light and paint every side without smudging your work.
4. Step 4: Let It Air-Dry Fully
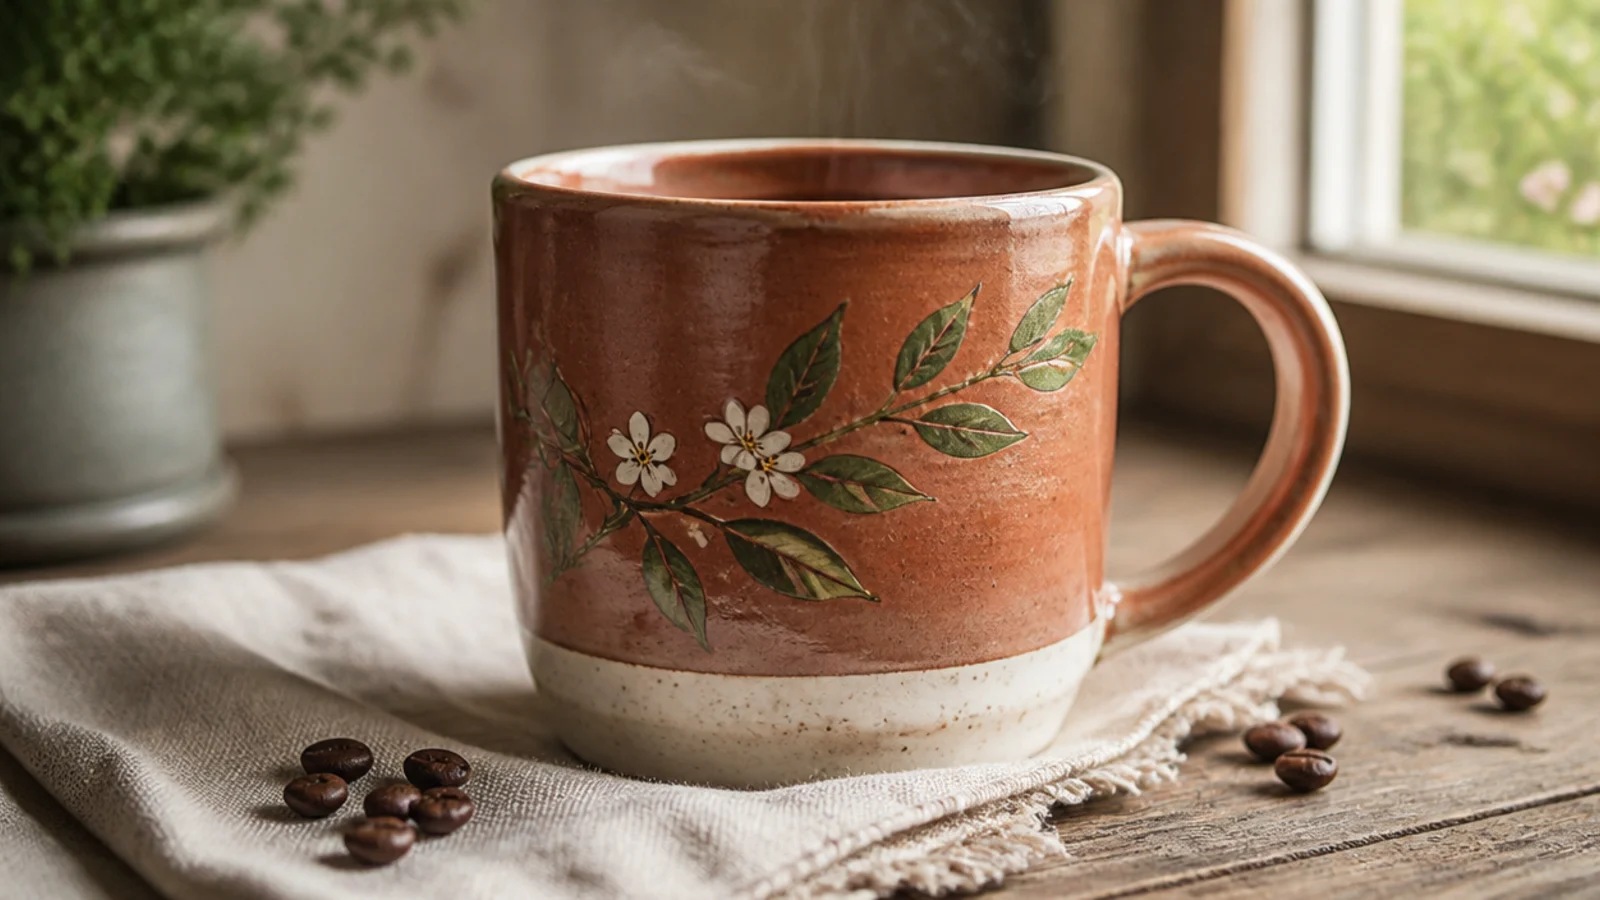
Drying is the step people skip, and it’s the one that ruins the bake. Fresh paint holds solvents that must evaporate, or they’ll bubble and cloud in the oven. Patience here is what protects all your work.
Set the finished mug somewhere dust-free and let the paint air-dry for a full 24 hours, or as long as your paint’s label specifies. Don’t shortcut it with a hairdryer, which can skin over the surface while the paint underneath stays wet. When it’s fully dry to the touch with no tackiness anywhere, it’s ready for the oven.
Press a fingernail gently on a hidden painted spot after 24 hours; if it leaves no mark or tack, the paint is ready to cure.
Don’t bake before it’s fully dry; trapped solvents bubble the paint and leave a cloudy, ruined finish.
5. Step 5: Oven-Cure and Care for It
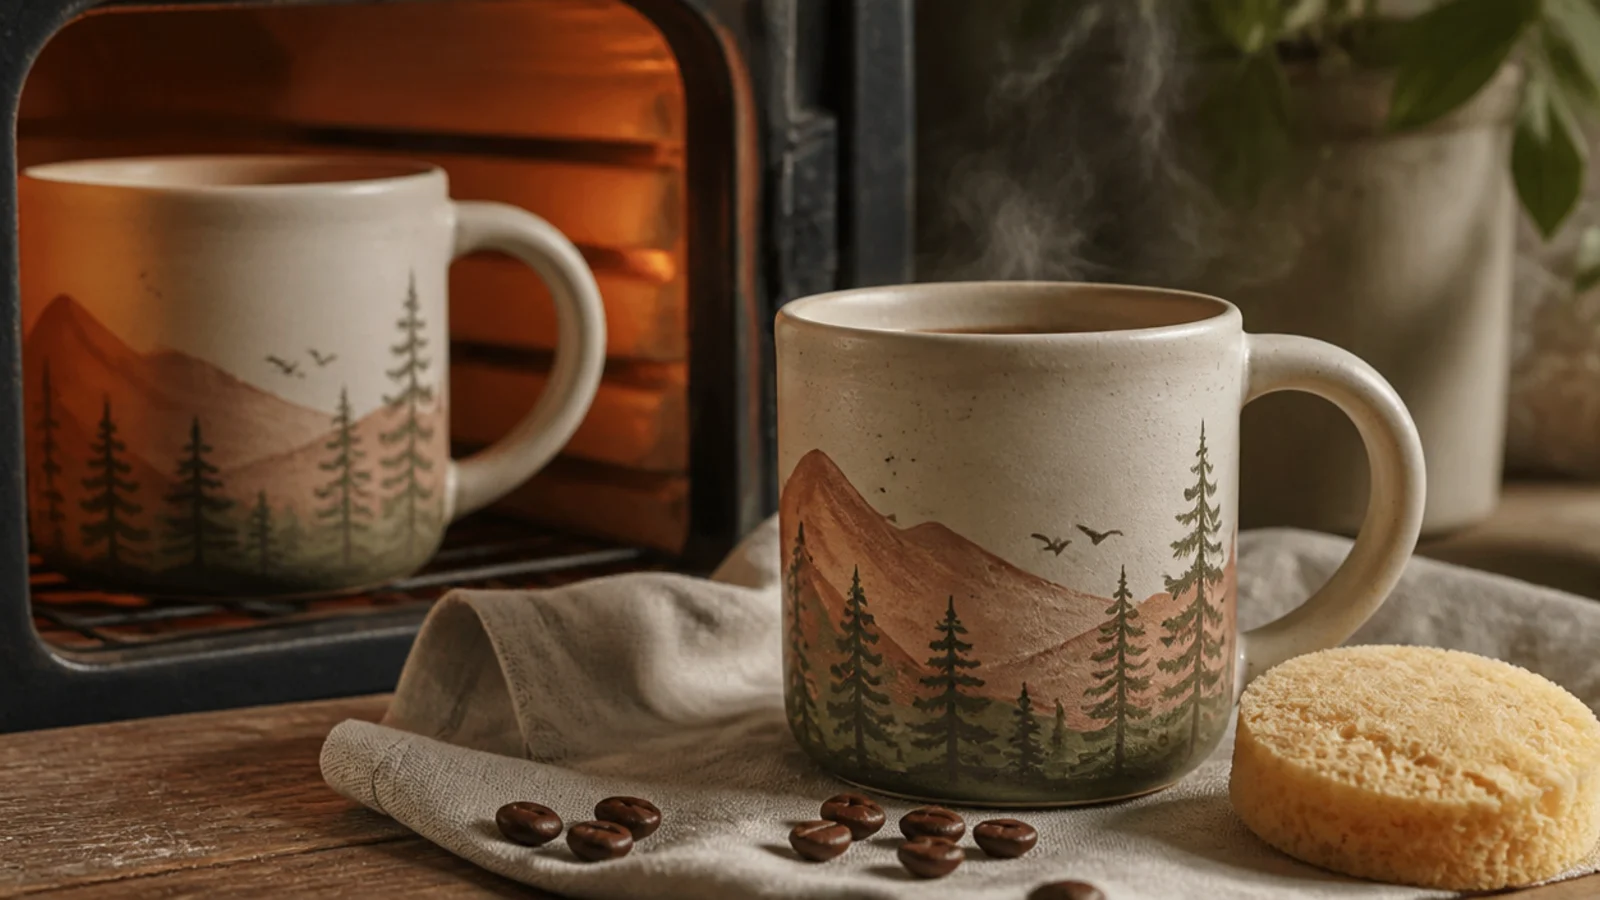
Place the mug in a cold oven, then heat to 300F/150C and bake for 30-35 minutes; starting cold prevents thermal shock. Turn the oven off and leave the mug inside until it’s completely cool. Wait 72 hours before first use to let it fully harden, then hand-wash it to keep the design bright for years.
Curing is what makes the paint permanent, washable, and food-safe on the surfaces it covers. Done right, it turns soft paint into a hard finish that survives real use. This final step is what separates a mug that lasts from one that flakes.
Skip thisDon’t put a cold mug into a hot oven or pull a hot mug out to cool fast; sudden temperature changes crack ceramic.
Editor's noteCure a whole batch of mugs at once in the cold oven; it’s the same energy and time whether you bake one or six.



