
1. Chocolate Truffle Heart Squishy
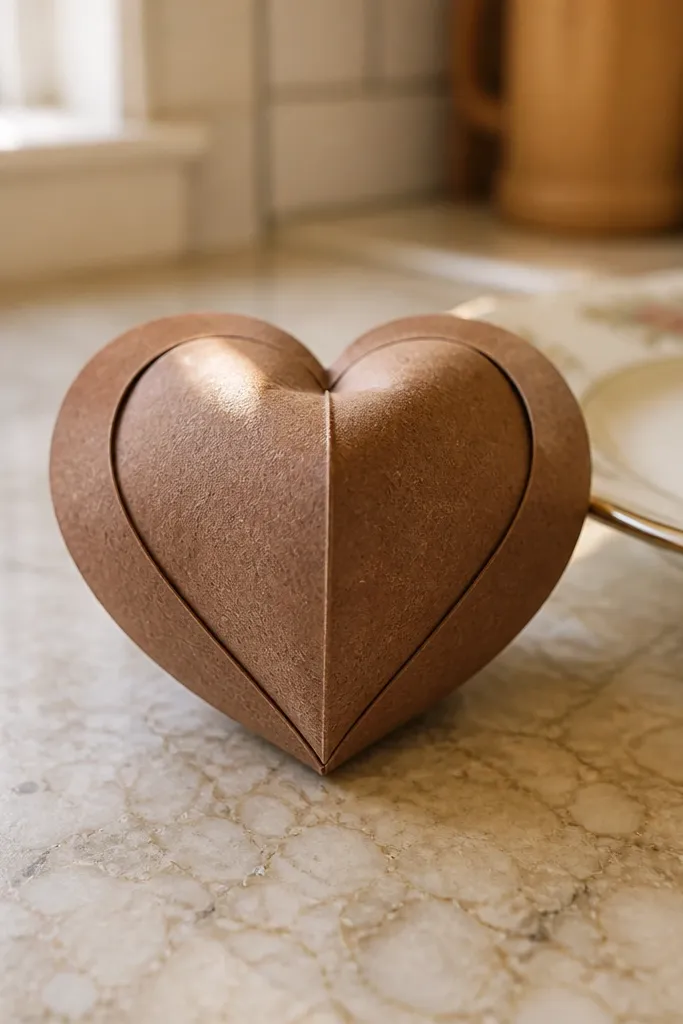
This template makes a heart that looks like a truffle — smooth outer curves, a slightly domed center seam, and a tiny “shine” detail. The trick is using two outer heart layers that mirror each other perfectly, then adding a thinner inner volume piece so the center pops forward when you press. Brown paper with a subtle warm tone reads expensive, especially if you add one small gold circle sticker at the top. It’s a great choice for gifts because it’s instantly recognizable and still has that plush, high-end feel.
Editor's noteUse a bone folder on the score lines — even slight waviness shows up in photos.
Start by tracing the outer heart onto 160-220 gsm cardstock and cut two identical halves. Score a gentle line about 6-8 mm in from the outer edge on both halves so they fold cleanly into a dome. Cut one inner heart volume layer from 120-160 gsm paper, then glue it only around the perimeter, leaving the center unglued so it compresses. Finish by sealing the edges and adding one small gold dot at the peak.
Skip thisDon’t glue the inner volume flat across the whole center or it will look stiff instead of squishy.
2. Cream Puff Mini With Paper Ruffles
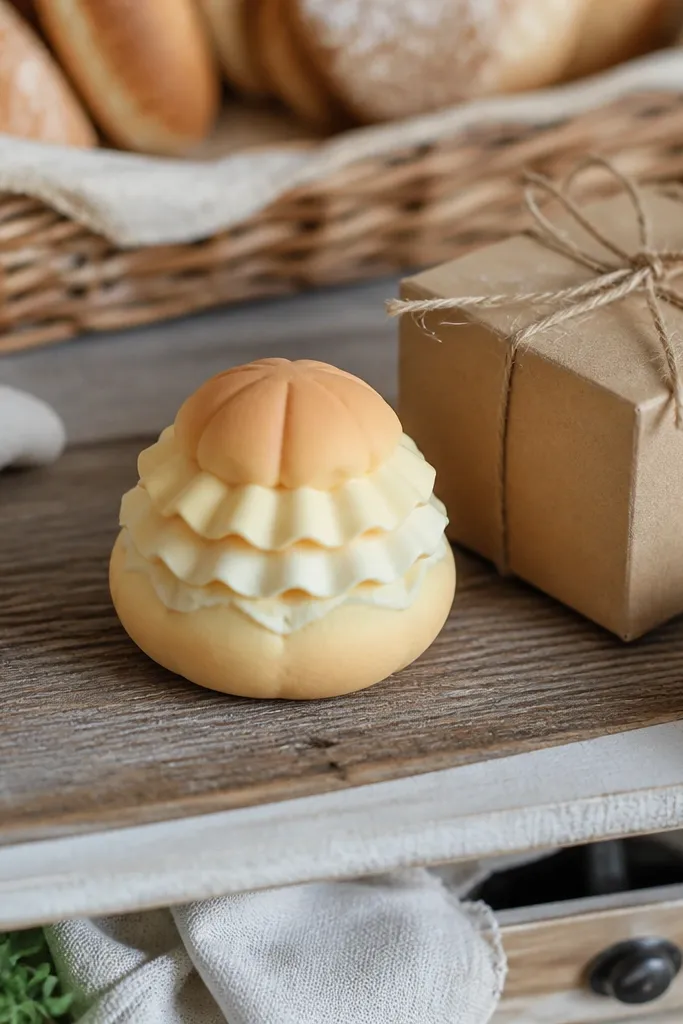
This one looks high-end because the top has a ruffled crown, like a real cream puff. You’re not drawing texture — you’re building it with layered scallops that cast tiny shadows. The outer shell stays smooth so the puff reads plush, while the ruffles add dimension without bulk. Stick to pastel cream and warm beige, then use one light brown marker edge to make the folds visible on camera. It’s ideal for a set of small desk charms where each piece needs to look good from across the room.
Cut the main puff base as a rounded dome shape from cardstock and make two outer layers. Create the ruffle strip by cutting a long strip with half-moon scallops, then fold each scallop inward so the top becomes three-dimensional. Glue the ruffle strip between the two outer layers, then insert a thin inner volume piece that follows the dome outline. Close the sides last, pressing the seam flat with a ruler so it doesn’t warp.
Color the ruffle edges lightly with a beige-brown pencil so the shadows show even under bright lighting.
Don’t make the scallops too deep; deep cuts create bulk and kill the squishy press.
3. Matcha Latte Cup Squishy
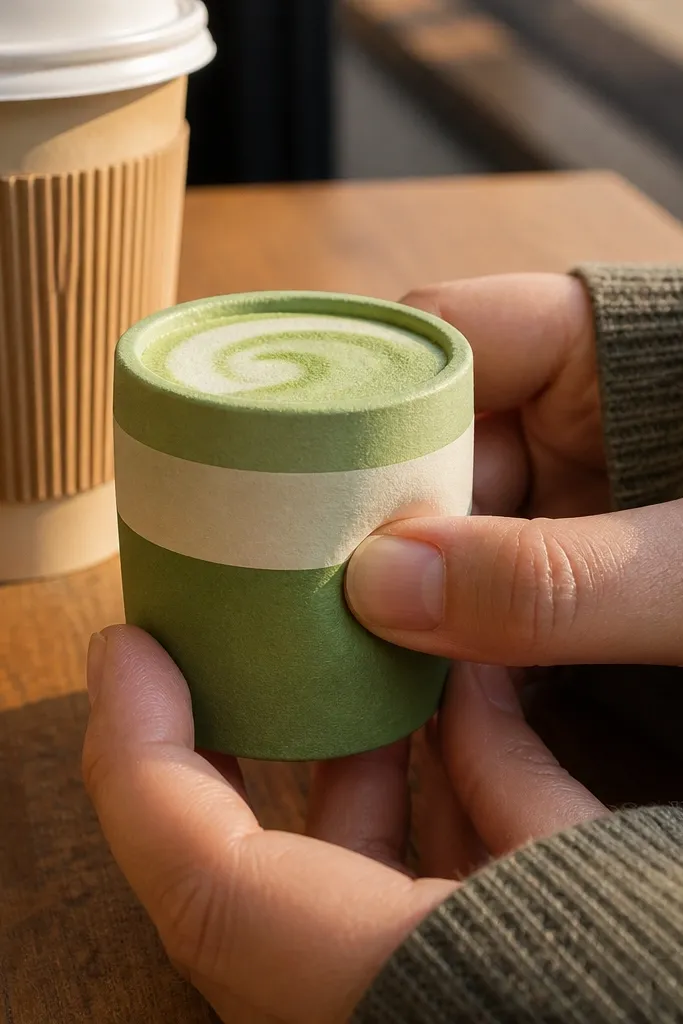
A latte squishy looks polished because it has clear horizontal bands — cup rim, foam, and drink layer. This template uses those bands to hide the seams and make the shape read cleanly. The inner volume is shaped like a shallow cylinder, so when you press it, the foam ring holds its outline instead of collapsing. Use matte green paper for the drink and off-white for the foam, then add one thin dark-green line near the bottom to ground the look. It’s a perfect choice for kitchen-themed decor or a cute keychain set.
Editor's noteMeasure the rim thickness so the foam ring doesn’t buckle; keep it under 3 mm folded height.
Cut two cup outer panels from 160-220 gsm cardstock, including a slightly flared rim. Make a foam ring layer in off-white paper and glue it around the top edge only, leaving the center free. Cut an inner volume cylinder from softer paper and glue it around the perimeter so it compresses. Add a straw slot by leaving a 6-8 mm opening in one outer layer, then close the back panel so the slot stays straight.
Skip thisDon’t use glossy paper — reflections make your seam lines look messy in photos.
4. Berry Macaron Sandwich Squishy
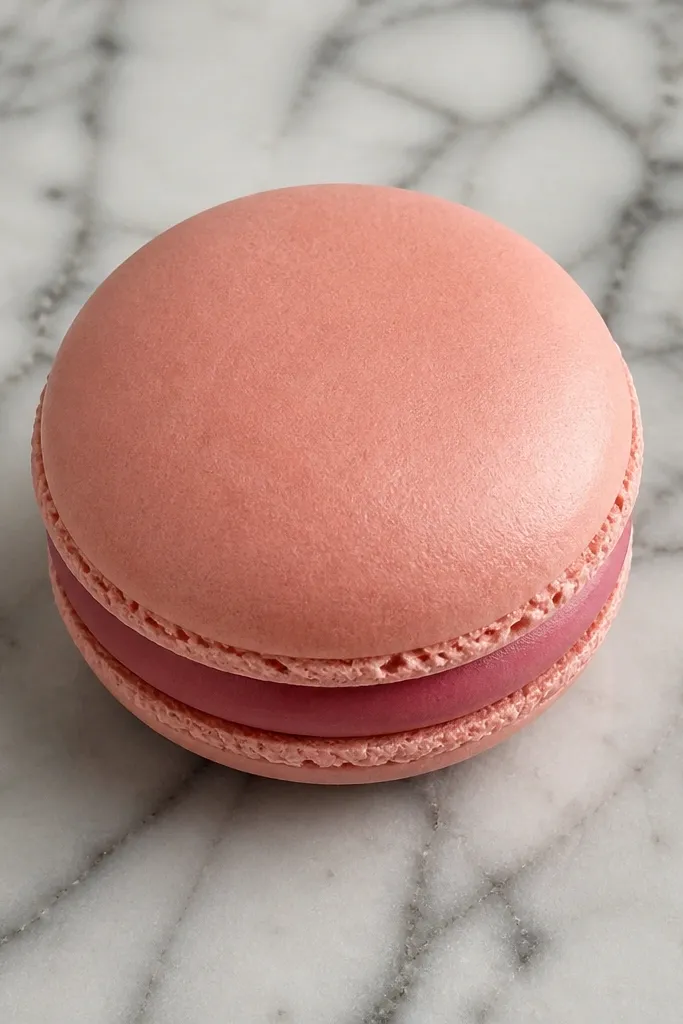
Macarons look high-end because the silhouette is simple, but the details are everything — a clean edge, a defined filling band, and a subtle gradient. This template builds two shell circles that fold into a gentle dome, with a filling layer that sits slightly thicker in the center. Use two shell colors like dusty pink and pale lavender, then add a thin berry band in fuchsia or deep magenta. The result is a squishy that reads like dessert even without extra props.
Editor's noteUse a colored pencil to trace the edge seam — a 1 mm dark line makes it look store-bought.
Cut two outer shell circles and two inner shell circles, if your template uses a layered edge; otherwise keep it simple with two outer layers. Score a shallow circle around each shell at about 10-12 mm from the edge so the dome forms evenly. Cut the filling strip as a ring that’s thicker at the center by using a slightly wavy inner edge. Glue the filling to one shell, then sandwich with the other shell and seal the perimeter.
Skip thisDon’t overfill the center; thick filling makes the macaron look like a lump, not a sandwich.
5. Pearl Bow Keychain Squishy
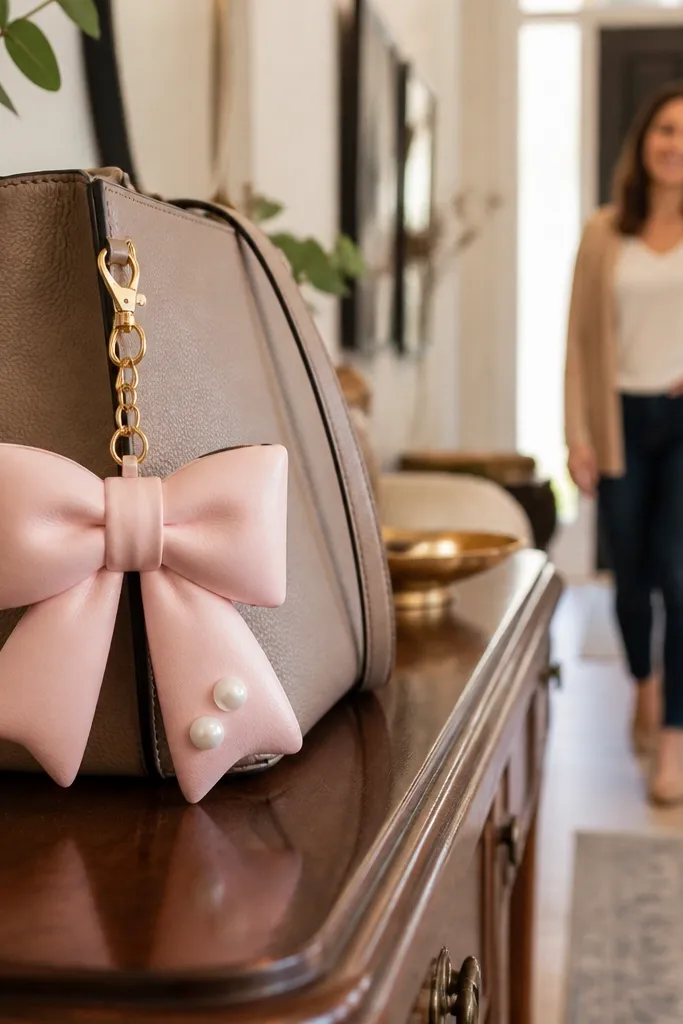
This design looks expensive because it’s all about proportion — crisp bow loops, a narrow knot, and two pearl-like dots. The squishy part is subtle: the bow has a soft inner volume so it presses without losing its outline. White paper can look flat, but the template includes a faint shadow fold line so it still reads dimensional. Add two tiny pearl dots for that high-end finish, and keep the rest clean. It’s a great bag charm because it’s light and still photogenic.
Editor's noteUse a matte white paper for the bow, then add pearl dots with a glue dot — glossy glue smears show up fast.
Cut two bow outer layers with a slightly thicker knot center from 160-220 gsm cardstock. Create an inner volume piece from 120-160 gsm paper that matches the bow shape but is trimmed 3-4 mm smaller all around. Glue the inner volume only on the knot area and outer loops perimeter so it compresses when squeezed. Punch a small hole through the knot for the keychain loop and reinforce with a small scrap patch on the inside.
Skip thisDon’t place the keychain hole too close to the seam or the bow will tear when you move it.
6. Vanilla Sprinkle Donut Squishy
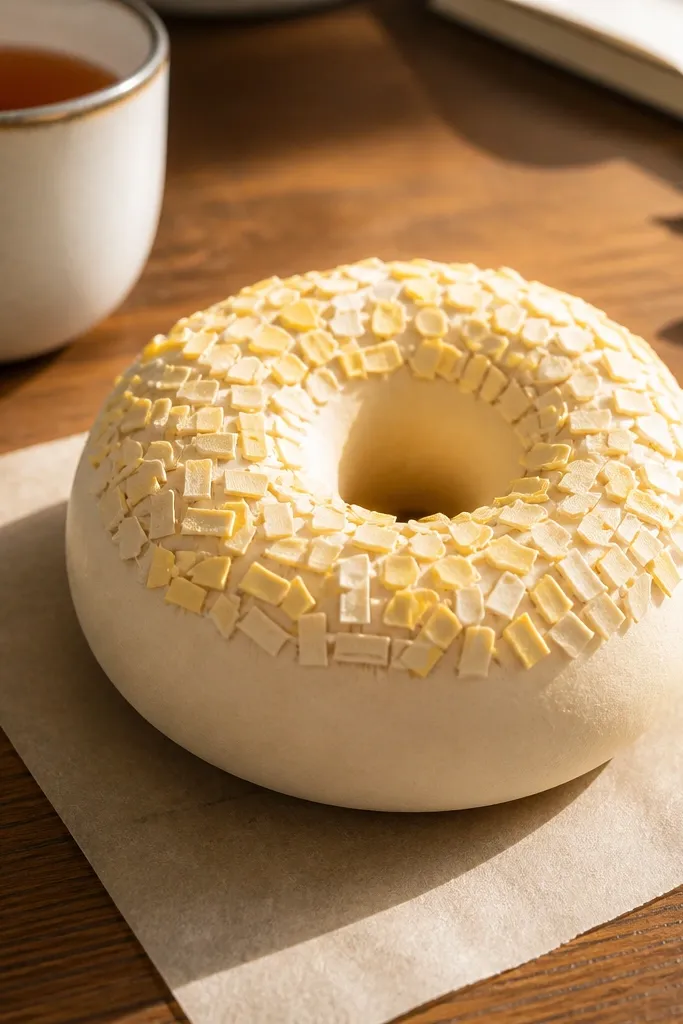
Donuts are photogenic because the ring shape makes the squishy volume obvious. This template adds a raised sprinkle band that creates tiny highlights and makes the center hole look deeper. Keep the outer donut ring smooth so it catches light, then place sprinkles as cut paper tabs or tiny dots that sit on top. Vanilla tones look high-end when you use one warm brown outline line to define the edge. It’s a fun desk piece that also works as a party favor.
Editor's noteAdd sprinkles after assembly so you can press the donut without smearing glue.
Cut two identical donut rings from cardstock, including the outer diameter and inner hole. Score a ring line about 8-10 mm from the outer edge so the shell domes slightly. Create the sprinkle band by cutting a thin strip with small triangular tabs and folding them outward. Glue the band onto the front shell, insert an inner volume ring, then close with the second shell and seal the outer edge.
Skip thisDon’t cut the inner hole too small; it makes the donut look like a dough blob.
7. Rose Soap Slice With Cold Marble Swirls
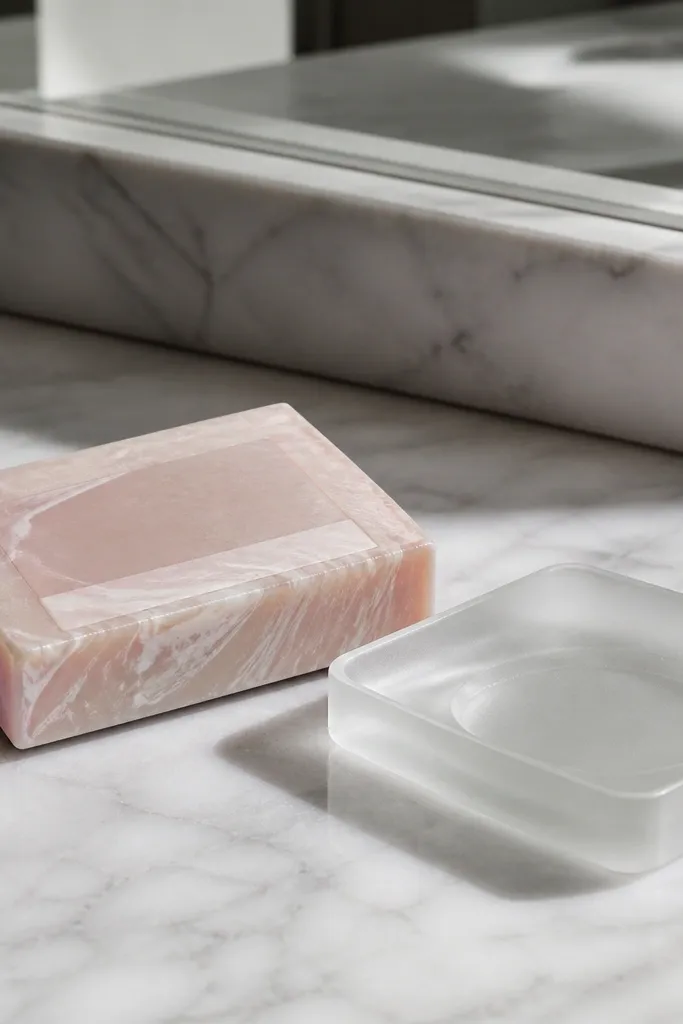
Soap slices look high-end because they look like product packaging — clean edges, controlled marbling, and a glossy-looking highlight. This template uses a layered slab shape with a thin inner volume panel, so it presses but stays rectangular. The marble effect is built with thin white strips over a tinted base, which photographs better than drawn swirls. Use blush pink outer paper, then add a narrow pale gray line along the edge to make the slab look dimensional. It’s perfect for bathroom decor or shelf styling.
Editor's noteUse a straightedge for the slab edges; angled folds make the marble look crooked.
Cut two outer slab panels and one inner volume slab panel, all the same rectangle with rounded corners. Score fold lines along the long sides so the slab forms a gentle box shape, not a flat fold. Create marble swirls by cutting thin white strips (3-5 mm) and laying them diagonally on the front panel before gluing. Assemble by gluing inner volume to the back panel perimeter, then sandwich the front panel and seal side edges.
Skip thisDon’t use thick glitter paper — it creates texture lumps that ruin the clean product look.
8. Sakura Jelly Cloud Squishy
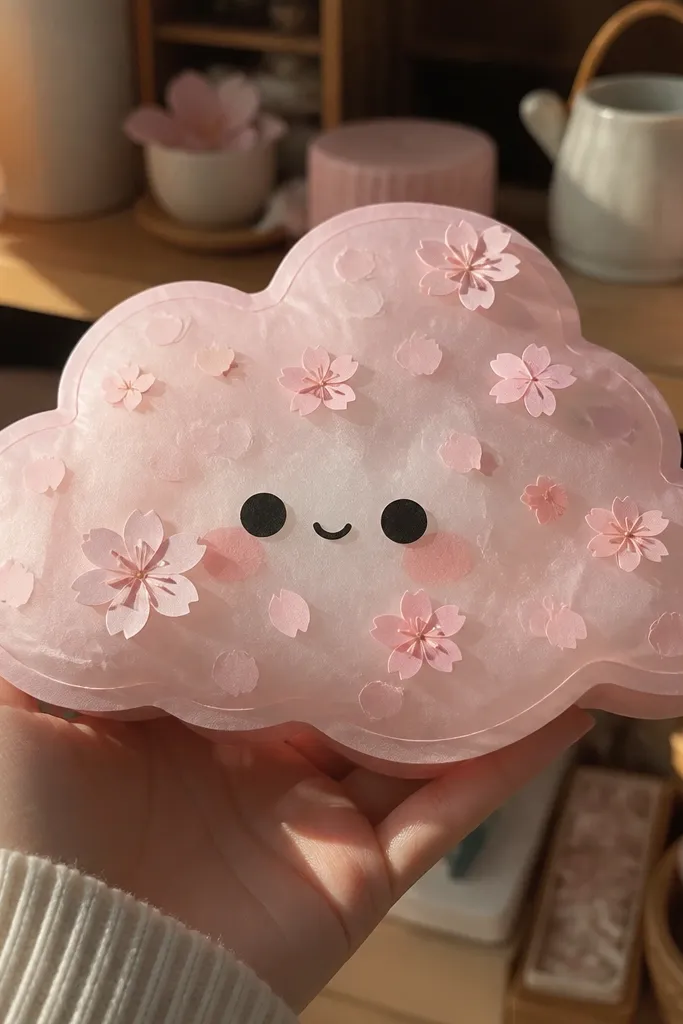
This squishy looks premium because it has a jelly effect — a semi-transparent layer over the squishy body. The template includes a cloud outline with a slightly irregular edge so it looks like jelly, not a sticker. Add tiny petal cutouts as layered paper tabs so they cast micro-shadows. Keep the palette to pale pink, white, and one muted mauve so it stays clean in photos. It’s a great choice for spring decor and for gift tags on presents.
Editor's noteSeal the jelly edges with narrow strips of matte tape on the inside so glue doesn’t fog the surface.
Cut two cloud outer layers from 160-220 gsm cardstock with rounded scallops. Cut a jelly layer from translucent vellum or thin clear plastic sheet, sized to sit inside the front outline. Add petal tabs by cutting small teardrop shapes from mauve paper and gluing them lightly under the jelly layer. Insert a softer inner volume cloud piece and assemble by sealing edges carefully so the jelly layer stays flat.
Skip thisDon’t stack too many petals; thick layers make the cloud look uneven.
9. Cinnamon Roll Swirl Squishy
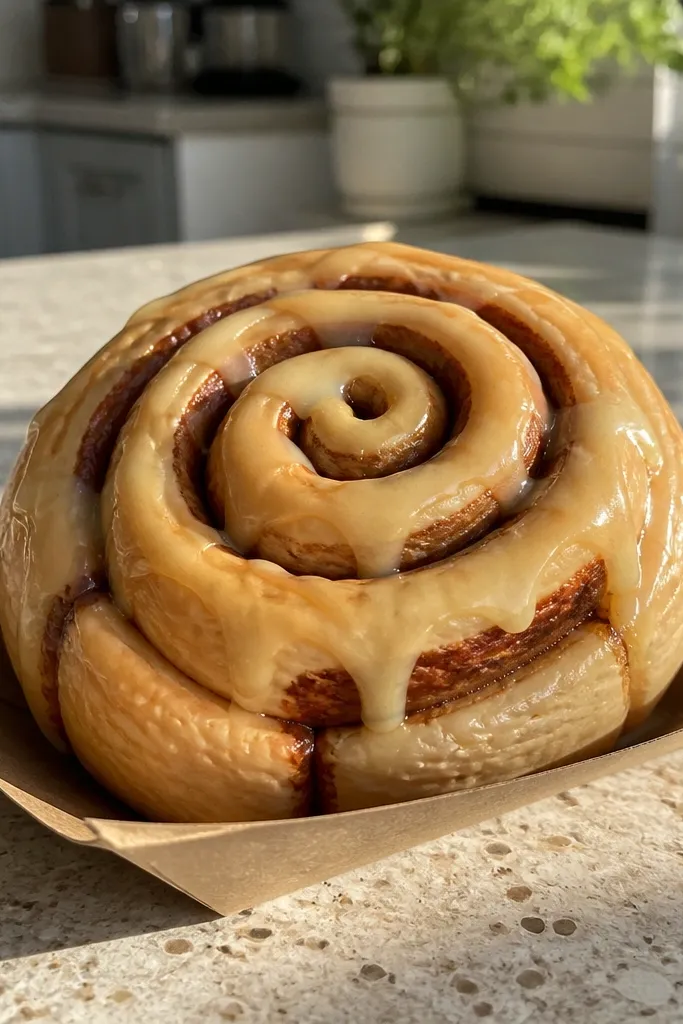
Cinnamon rolls photograph well because the spiral reads instantly and the glaze detail makes it look like a real food photo prop. This template builds a spiral coil with a layered edge so the squish has depth along the coil. Use warm tan paper for the roll, darker brown for the spiral shadow, and a pale yellow for glaze. The inner volume is shaped to follow the coil footprint, so pressing still keeps the spiral recognizable.
Editor's noteUse a fine-tip gel pen to add a 1 mm “glaze shine” line on the spiral for a store-bought look.
Trace the spiral outline onto two outer cardstock layers, keeping the spiral spacing consistent. Cut a matching shadow spiral layer from darker brown paper and glue it only along the inner curves. Create the glaze by cutting a thin spiral strip from pale yellow paper and attaching it on top of the front layer before assembly. Add an inner volume piece shaped like the spiral footprint, then sandwich the back layer and seal the edges.
Skip thisDon’t make the spiral too tight; tight spirals turn into a blob when you press.
10. Midnight Chocolate Bar With Gold Edges
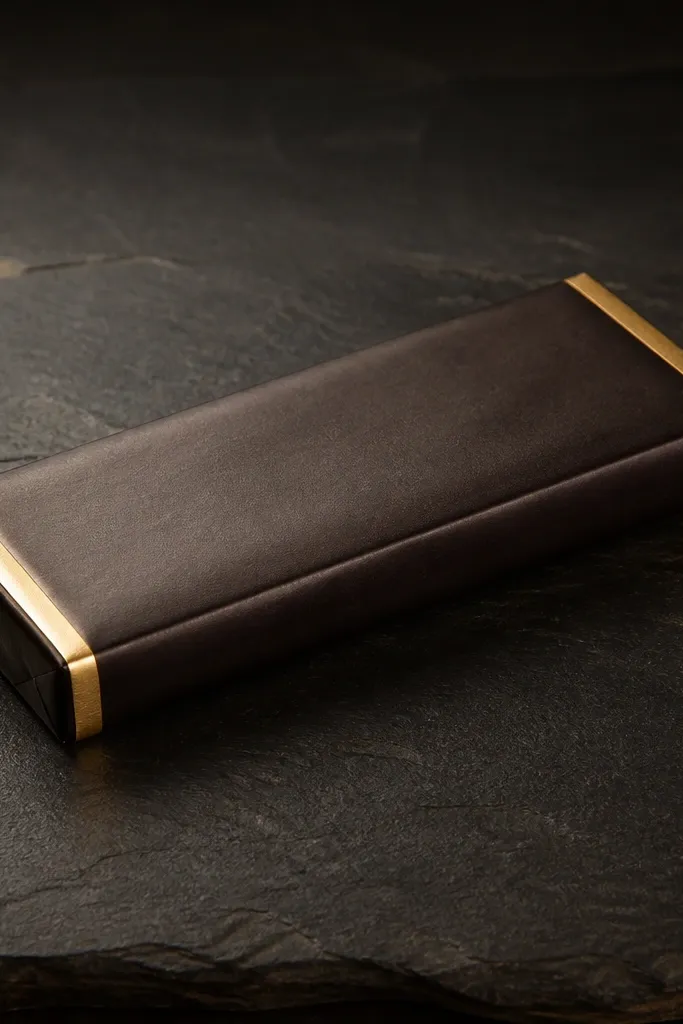
This one screams high-end because it mimics packaging. The template makes a rectangular bar with a crisp seam line and thin gold strips that frame the edges. The squishy volume is kept low so it looks like a product bar, not a pillow. Dark brown and near-black paper create a luxury look, especially with gold edge accents. It also makes a good drawer or shelf decor piece because it lays flat and still squishes.
Editor's noteBurnish the score lines hard so the bar stays sharp under pressure.
Cut two bar outer panels from near-black cardstock with clean straight edges. Score fold lines along the long edges to form a shallow box, then cut an inner volume panel from softer paper sized slightly smaller. Add gold foil strips on the front and back edges using narrow strips — keep them only 2-3 mm wide. Assemble by gluing inner volume perimeter first, then sandwich panels and reinforce seam corners with small internal patches.
Skip thisDon’t over-glue the corners; excess glue creates thick spots that ruin the crisp packaging look.
11. Ocean Starfish With Sea Glass Panels
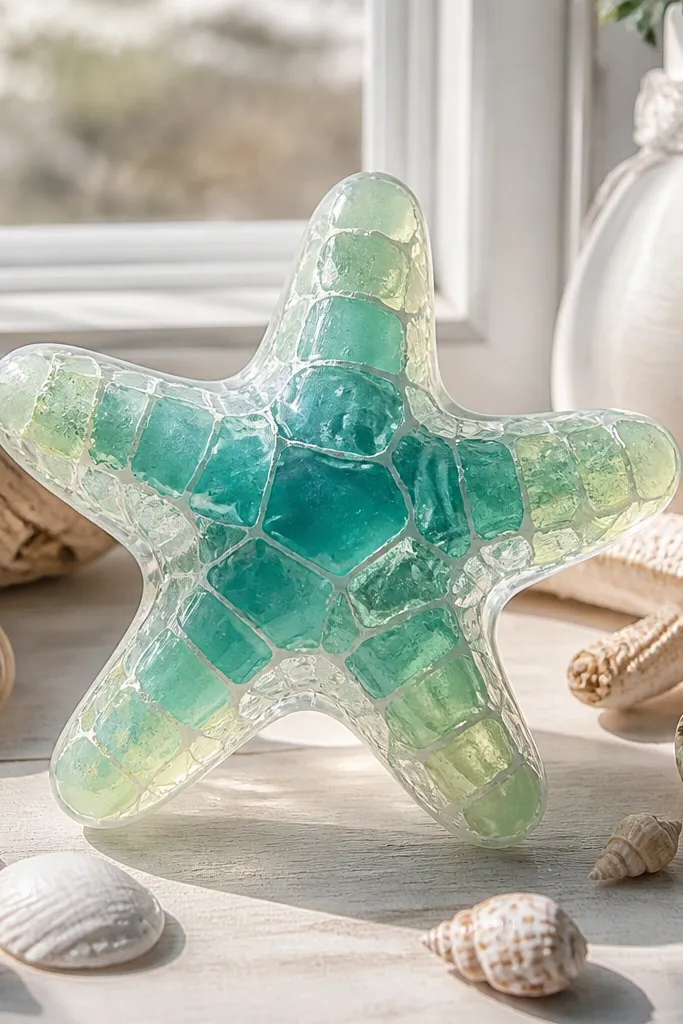
Starfish look premium because the shape has natural symmetry and the edges can be rounded for a soft look. This template uses sea-glass colored panels inside the star points, so the center reads deeper and more layered. The inner volume is shaped so each arm keeps its outline when pressed. Use a gradient of blues — light aqua to deeper teal — and add a pale outline line to keep it from blending into itself. It’s a great shelf piece for coastal decor that still feels modern.
Editor's noteLet the sea-glass panels dry flat under a book for 10-15 minutes so they don’t ripple in photos.
Cut two starfish outer layers from 160-220 gsm cardstock, making the arm tips slightly rounded. Cut sea-glass panel pieces from translucent vellum in 2-3 blue tones and glue them inside each arm, not across the whole star. Add a softer inner volume star piece sized just under the outer outline so it compresses evenly. Assemble by sealing the outer edge perimeter and checking that the arms align before the glue sets.
Skip thisDon’t cover the entire star with vellum; full coverage flattens the depth effect.
12. Peach Cat Face Squishy Sticker-Style
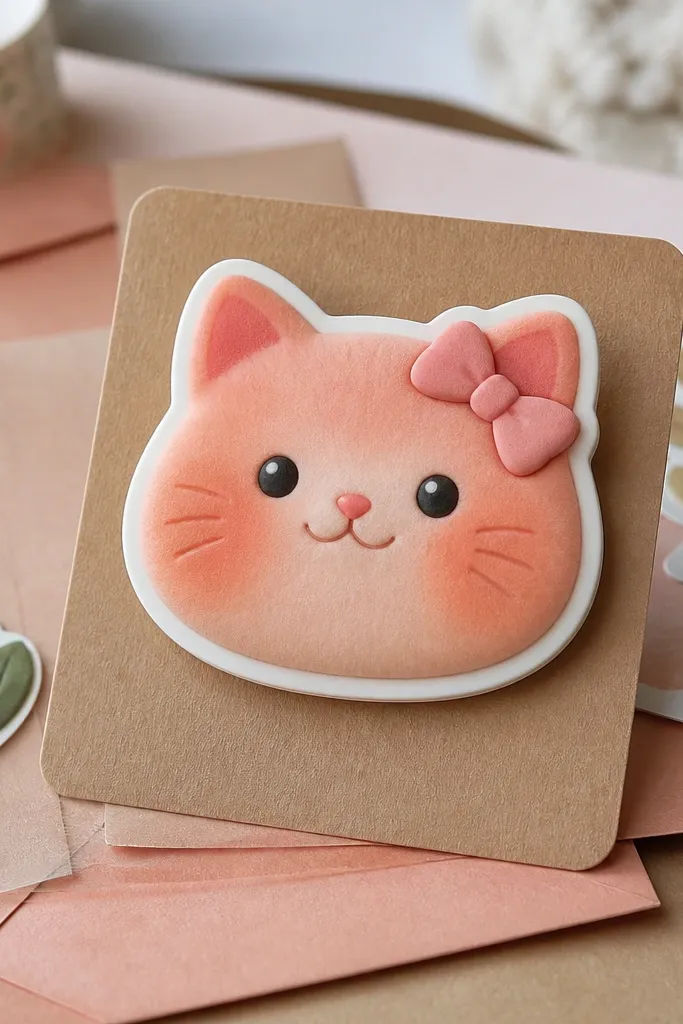
This is a high-end take on the cute cat face because it’s built as a squishy sticker with depth only where it matters. The template gives you raised cheeks and a slightly domed forehead, so the face looks like it’s sitting forward. Use peach for the base, darker apricot for cheek shading, and a tiny bow cut from matte cream paper. Keep the eyes simple and clean so the squishy texture doesn’t turn them blurry. Great for laptops, notebooks, and shelf styling.
Editor's noteUse a 0.5 mm foam tape strip behind the cheeks if you want extra puff without thick paper layers.
Cut two cat face outer layers from cardstock and one inner volume layer from softer paper. Score a shallow line under the forehead area and glue inner volume only behind the cheeks and forehead so those areas puff forward. Add bow pieces on the front panel before assembly so it stays crisp. Seal the edges around the chin first, then finish the top edges so the silhouette stays smooth.
Skip thisDon’t add too much volume under the eyes; it makes the facial features look misaligned.
13. Gold Foil Star Night Sky Squishy
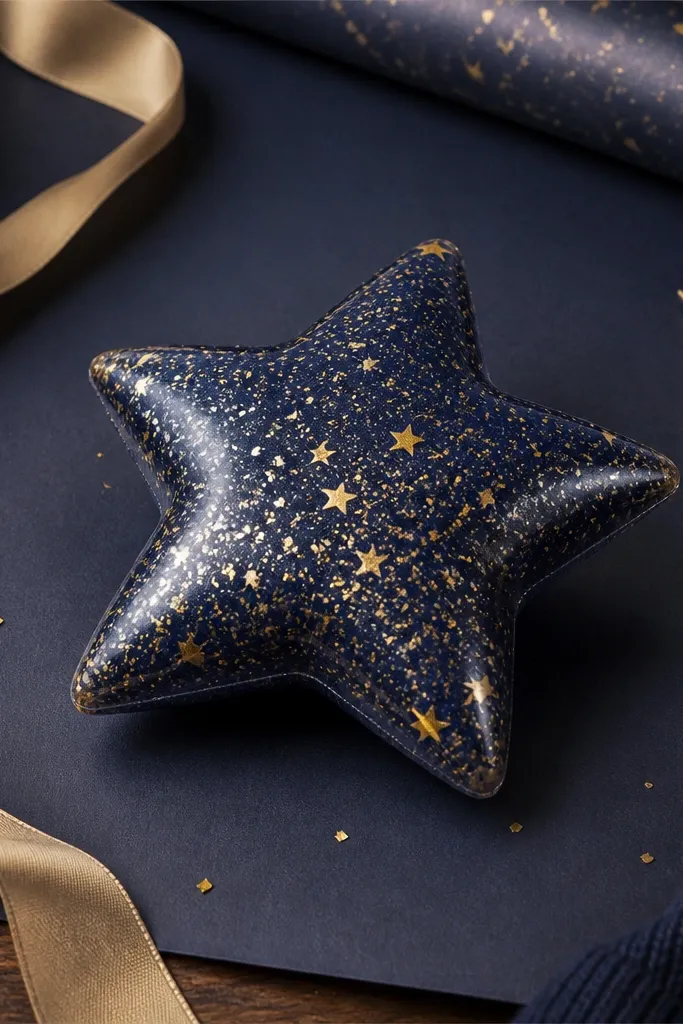
A star squishy looks expensive when it has a deep color base and controlled gold sparkle. This template uses a navy outer shell with a thin inner volume panel that keeps the star points crisp when you press. Add gold foil speckles as tiny cut paper dots or foil flakes under a clear top layer so they don’t smear. Keep the center slightly lighter to create depth. It’s a great decor piece for night-themed rooms or as a gift add-on.
Editor's notePress the star under a flat weight for 20 minutes after assembly so the points stay defined.
Cut two star outer layers from navy cardstock with matching points. Add a clear top layer if you want the speckles protected, then glue gold speckles onto the inside of the clear layer. Insert a softer inner volume star piece that’s trimmed 3-4 mm smaller than the outer. Assemble by sealing the star perimeter and trimming any excess so points look sharp.
Skip thisDon’t use loose glitter; it sheds and makes the star look messy fast.
14. Lemon Tart Slice With Glossy Edge Line
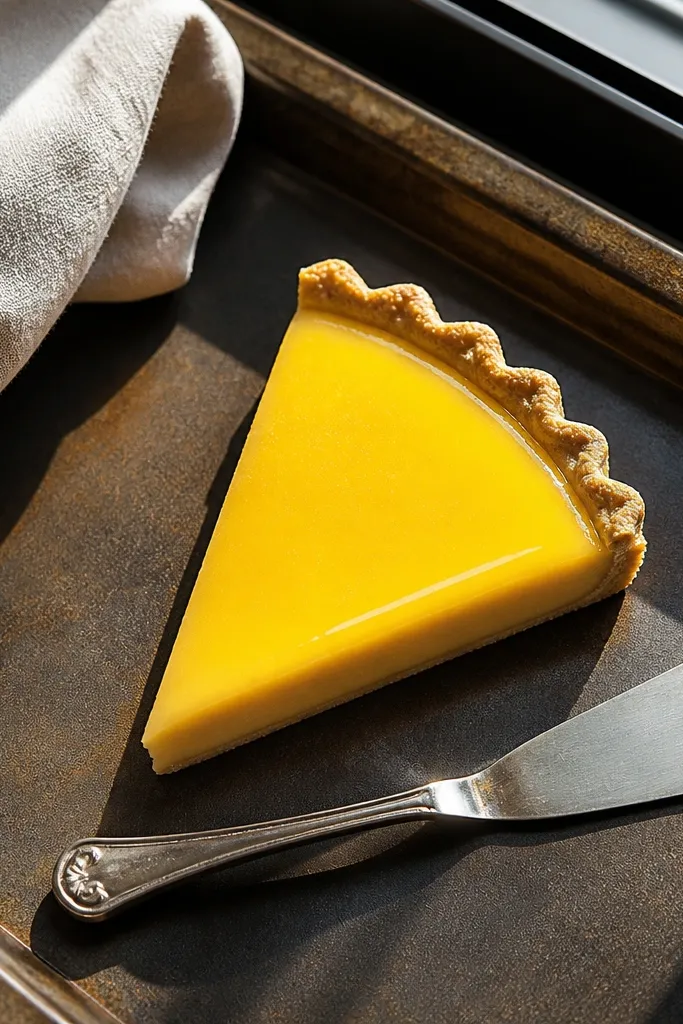
Lemon tart slices look high-end because you can fake bakery realism with edge contrast. This template makes a triangular slice with a crust border and a glossy-looking highlight line along the filling surface. The inner volume is a shallow wedge so the slice holds its triangle shape and still compresses. Use sunny yellow for filling, warm tan for crust, and add one thin white line for shine. It’s photogenic on a tray or grouped with other “pastry” squishies.
Editor's noteUse a ruler to keep the crust edge straight; slanted crust reads sloppy in photos.
Cut two outer triangular shells from cardstock, including the crust edge band. Score a line about 8-10 mm in from the outer crust so the filling domes slightly. Cut a softer inner volume wedge and glue it around the perimeter only. Add a thin white highlight line on the front filling before sealing, then close the sides and press flat along the crust edge.
Skip thisDon’t add multiple shine lines; one clean highlight looks more premium.
15. Rose Gold Heart With Clean Side Seam
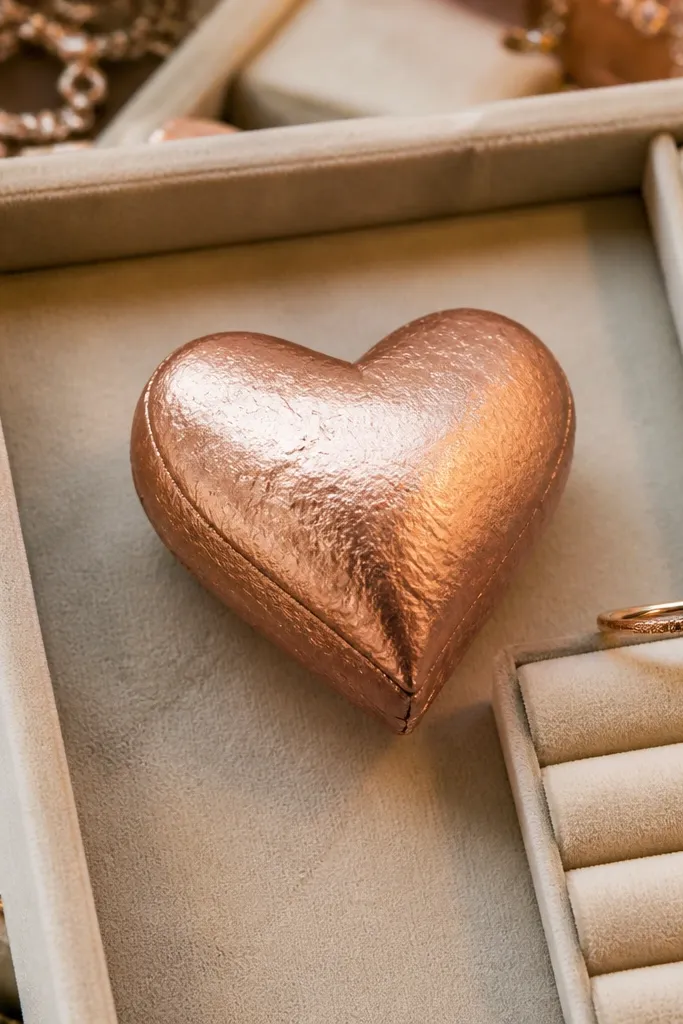
This is for people who care about finish. The template puts the seam exactly where your eye expects it, so the heart looks intentional instead of handmade-chaotic. Rose gold paper looks luxe, but only if the seam is straight and the edges are burnished. The inner volume is trimmed so the heart holds a smooth outline when squeezed. Add a tiny metallic dot at the top for a subtle highlight. Great for valentine decor that still looks modern.
Editor's noteBurnish the seam flap with a plastic card so it locks flat and stays crisp.
Cut two heart outer layers with one side designated as the seam edge. Score and fold so the seam line stays straight, then cut an inner volume heart piece 3-5 mm smaller than the outer. Glue the inner volume to the seam-free side first, then close using the seam flap. Reinforce the seam from inside with a narrow strip so pressing doesn’t pop it open.
Skip thisDon’t glue the seam edge too thick; thick glue creates a visible ridge.
16. Iced Strawberry With Seed Speckles
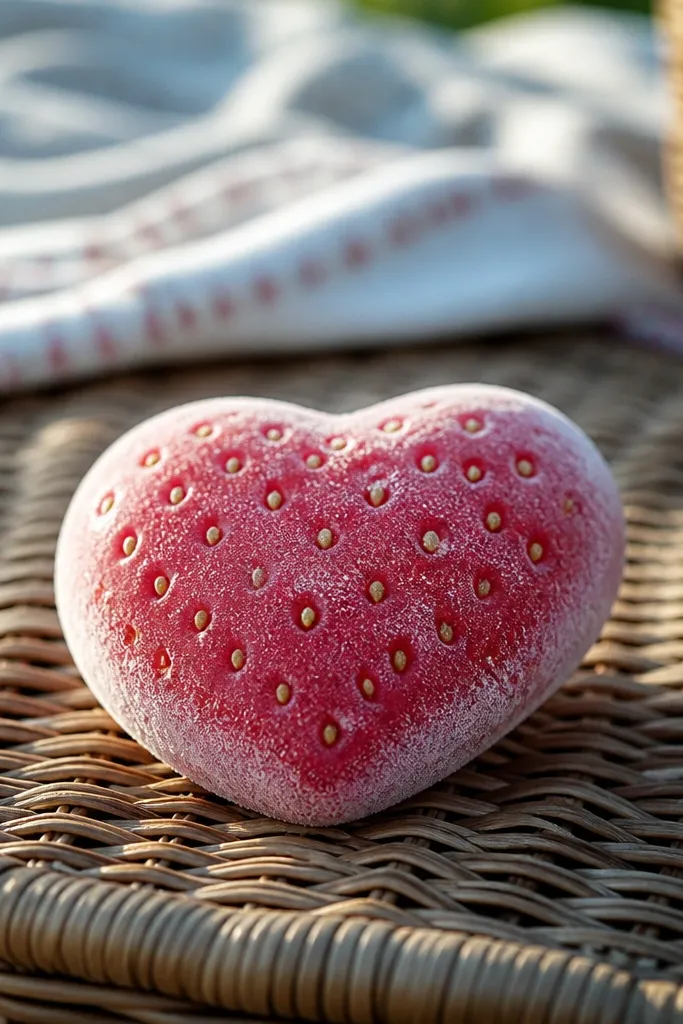
This template looks high-end because it uses tiny seed dots and a frosty rim to create a “iced” look. The strawberry shape has gentle curves so it reads sweet, while the rim gives a clean boundary that makes the seeds pop in photos. The inner volume is shaped like a shallow strawberry — not a full ball — so the top stays defined. Use matte red paper for the body, pale pink for the frosty rim, and off-white for seed dots. It’s great for summer tables or a set of fruit squishies.
Cut two strawberry outer layers from 160-220 gsm cardstock, including the pointed top. Add a frosty rim by gluing a thin pale pink band along the outer edge on the front layer. Create seeds by punching or cutting tiny off-white dots and placing them on the front only. Insert a softer inner volume strawberry piece, then sandwich the back layer and seal the perimeter carefully around the seed area.
Place seeds after the rim dries so the dots don’t smear into the frosty edge.
Don’t overdo the seeds; too many makes the strawberry look grainy instead of crisp.
17. Chocolate Chip Cookie With Crinkle Edges
A cookie squishy reads premium when the edge looks like baked crinkle. This template uses a textured outer edge technique: you create a subtle wave along the circumference, then keep the center smooth for a clean dome. Chocolate chip details are built as small paper circles glued lightly so they sit on top of the dome. Use kraft brown or warm tan for the cookie and darker brown for chips. It’s a great “neutral” decor piece that still looks fun and photogenic.
Cut two identical cookie circles with a slightly wavy outer edge. Score a gentle inner ring line so the dome forms evenly and doesn’t buckle. Cut small chocolate chip circles and glue them only on the front panel, near the center and upper half. Add a softer inner volume circle and assemble by sealing edges, then press flat with a book weight.
Lightly sand or crinkle the outer edge paper before cutting to create a baked texture effect.
Don’t glue chips all the way to the edge; they’ll distort when the cookie compresses.
18. Teal Geode Egg Squishy With Facet Cuts
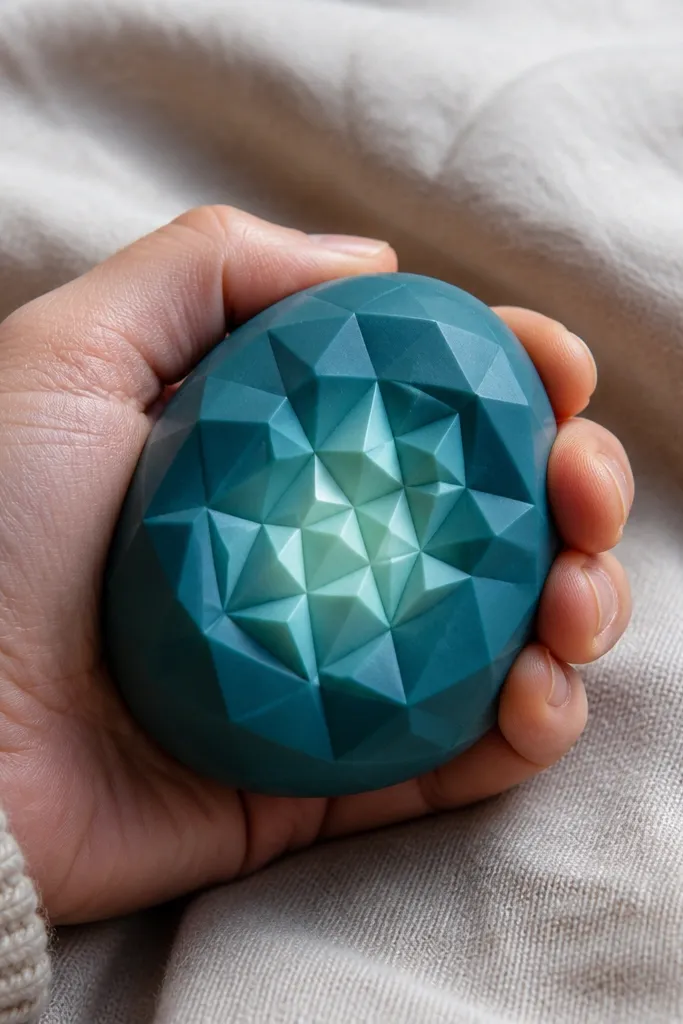
Geode shapes look high-end because faceting creates sharp highlights even with paper. This template builds a rounded egg outline with triangular facet panels inside the shell so it looks like crystals. Keep the outer egg matte teal, then add pale “glow” panels at the center for depth. The inner volume is trimmed to follow the egg silhouette, so pressing doesn’t collapse the facets. It’s a statement piece for shelves and a strong photo subject because it has clear angles and depth.
Cut two outer egg shells from 160-220 gsm cardstock. Cut 6-10 facet triangles from lighter teal and off-white paper, then glue them to the inside of the front shell with a small gap between facets for shadow lines. Add a softer inner volume egg piece sized slightly smaller than the outer outline. Assemble by sealing the egg perimeter and trimming any facet overhang so the shell stays smooth.
Use a dark teal pencil to outline facet edges — it makes the angles read under indoor lighting.
Don’t overfill the center with too many facets; it turns into a flat patch.
19. Lavender Soap Foam With Bubble Dot Layer
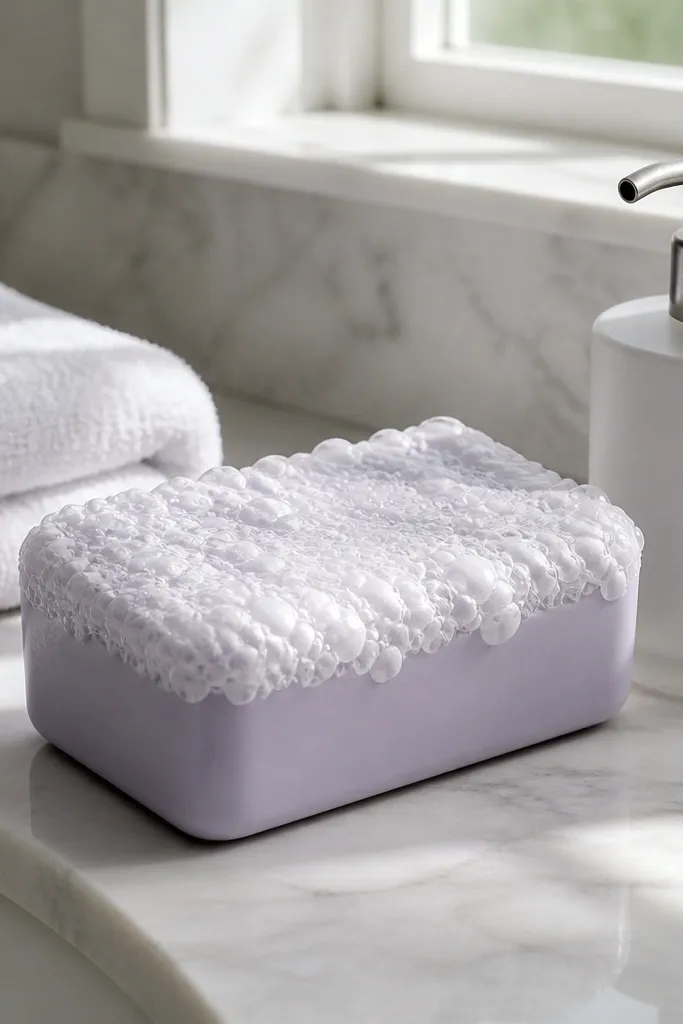
This template looks luxurious because the foam texture is made from raised bubble dots, not drawn circles. The body stays simple and rectangular with rounded corners, while the bubble layer adds a soft, playful depth. Lavender paper plus white bubbles reads clean, and the squishy volume keeps the foam from looking pasted-on. It’s great for bathroom decor and for gift boxes where you want something that looks like a mini product.
Cut two outer soap bars from 160-220 gsm cardstock and score the long sides for a shallow box shape. Create a foam top layer by cutting a front panel and gluing a row of small white circles as raised dots. Insert a softer inner volume bar piece that’s trimmed 3-4 mm smaller than the outer so it compresses. Seal the edges and check that the bubble dots don’t touch the back panel when pressed.
Make bubble dots from thicker paper or cardstock so they hold height without sagging.
Don’t glue bubble dots across the entire surface; clusters look more intentional and expensive.
20. Peachy Marble Egg With Inner Glow Strip
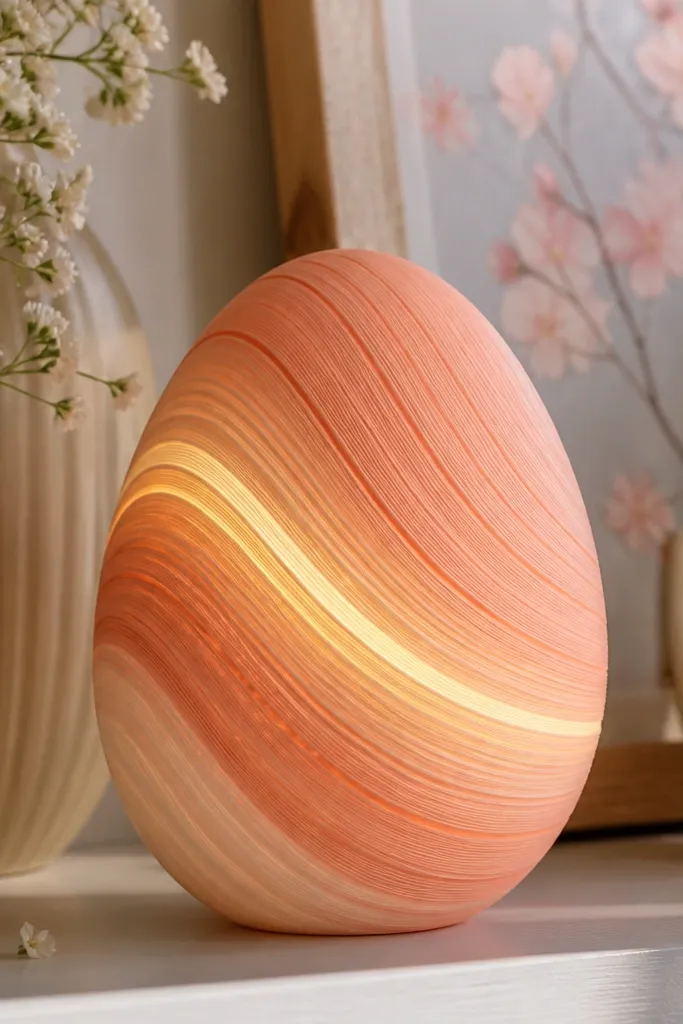
This egg squishy is high-end because it uses one controlled glow strip to create depth. The outer egg has marble-like bands made from thin paper layers, not scribbles, so it looks crisp and designed. The glow strip sits under the front layer and creates a subtle highlight effect when light hits. Keep the palette peach, cream, and one muted coral line so it stays clean rather than busy. It’s a good choice if you want something photogenic but still soft and neutral.
Editor's noteUse a craft knife and metal ruler for the thin strips; uneven width reads cheap fast.
Cut two egg outer shells from cardstock. Build the marble look by layering thin peach and cream strips on the front panel, keeping the strips narrow and evenly spaced. Cut an inner volume egg piece from softer paper and glue it behind a cream “glow” strip that runs along the upper third. Assemble by sealing the perimeter and smoothing the egg surface so the strips don’t ripple.
Skip thisDon’t use marker-heavy marble; ink bleeds into paper fibers and dulls the look.
21. Cherry Blossom Fan Squishy Panel
A fan-shaped squishy looks fancy because it has a layered silhouette and lots of visible edges. This template creates a squishy panel with fold pleats and blossom cutouts that cast real shadows. The center dome makes it feel plush, while the pleats keep it structured so it doesn’t collapse. Use blush paper for the fan and pale green for a subtle leaf layer behind blossoms. It looks great as wall decor or as a centerpiece on a shelf.
Cut two fan outer panels with pleat lines marked at equal intervals, then score and fold pleats before assembly. Cut blossom shapes and glue them to the front panel, leaving space behind for a leaf layer if desired. Insert a softer inner volume piece shaped like a shallow dome beneath the blossoms. Sandwich with the second outer panel and glue along the base edge only, so the pleats stay flexible.
Pre-fold pleats with a ruler so every crease matches; mismatched pleats show up instantly.
Don’t glue the pleats all the way through or the fan loses its dimensional movement.
22. Mini Macaron Trio With Color-Blocked Bands
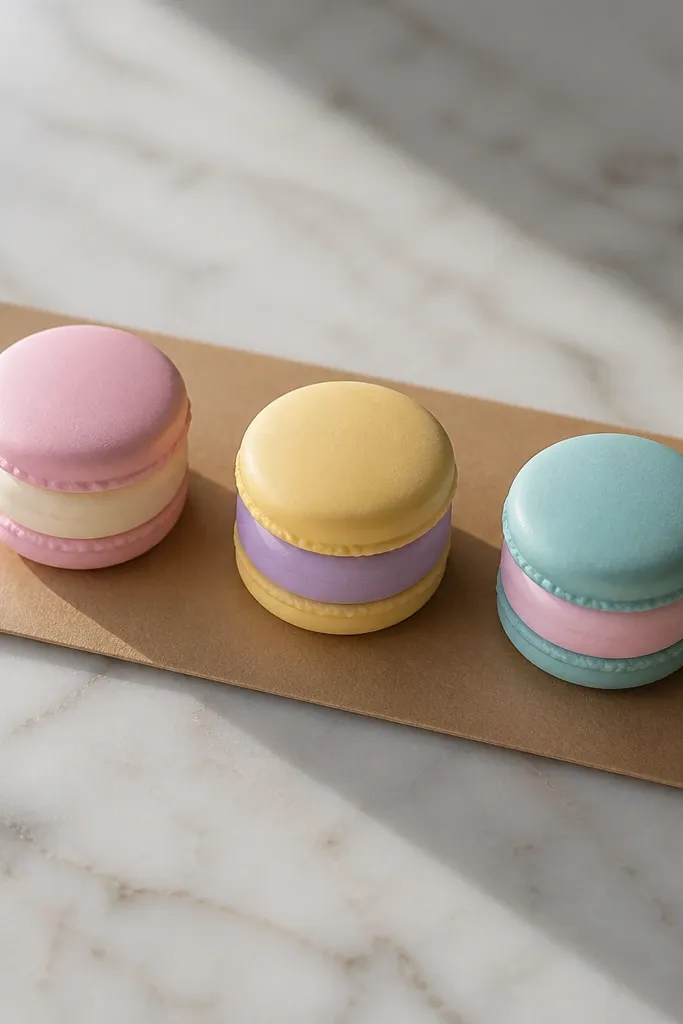
This template is high-end because it’s designed as a set, not a single item. Each mini macaron uses a different color-block band so the trio reads like a coordinated product display. The consistent dome shape across all three makes them look like they belong together. Use three pastel shells and one filling style repeated across the set, like a thin ring band. It’s perfect for desk styling because you can place them in a line and they look intentional from a photo angle.
Editor's noteKeep filling band width the same for all three; consistency is what reads 'high-end.'
Cut three sets of macaron outer circles with the same dimensions, one per color. Score each shell at the same ring distance so the dome height matches across the trio. Cut filling rings with identical inner diameter so the filling band sits evenly. Assemble each macaron separately, then add a small alignment mark on the base so you can stack them neatly in a display tray.
Skip thisDon’t mix different dome sizes; mismatched domes make the set look random.
23. Black & Blush Side-Laced Shoe Squishy
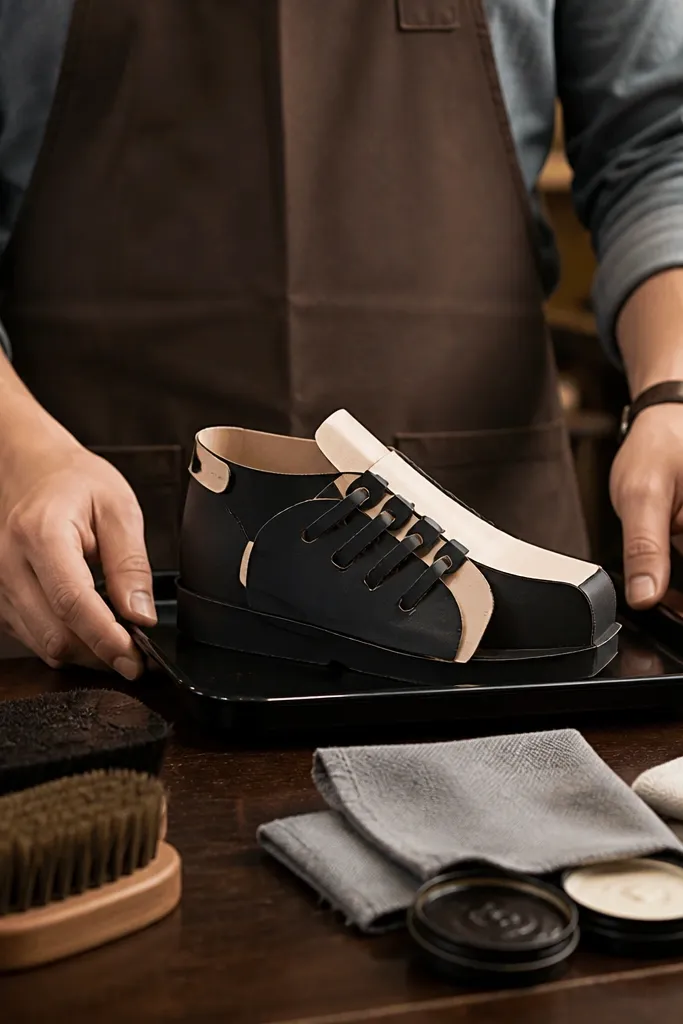
Shoes look premium when the design is graphic and crisp. This template uses a side-laced pattern built from paper strips, so the “lace” has real thickness and catches light. The outer shell is black for contrast, with blush panels on the top edge and tongue area. The inner volume is thin and shaped so the shoe keeps its outline when you press it. It’s a fun gift add-on and a strong photo subject because the laces create a clear texture.
Editor's noteUse a hole punch for lace channels; clean holes keep the lace pattern straight.
Cut two shoe outer layers from 160-220 gsm cardstock, including the lace holes or lace channels. Cut a blush tongue panel and glue it under the top edge of the front layer. Create laces by cutting narrow strips and weaving them through the channels in a simple crisscross pattern. Add a thin inner volume piece shaped like the shoe footprint, then sandwich the back layer and seal the perimeter.
Skip thisDon’t glue the lace strips flat across the surface; weaving should stand slightly above the shoe.
24. Pistachio Gelato Cone Squishy
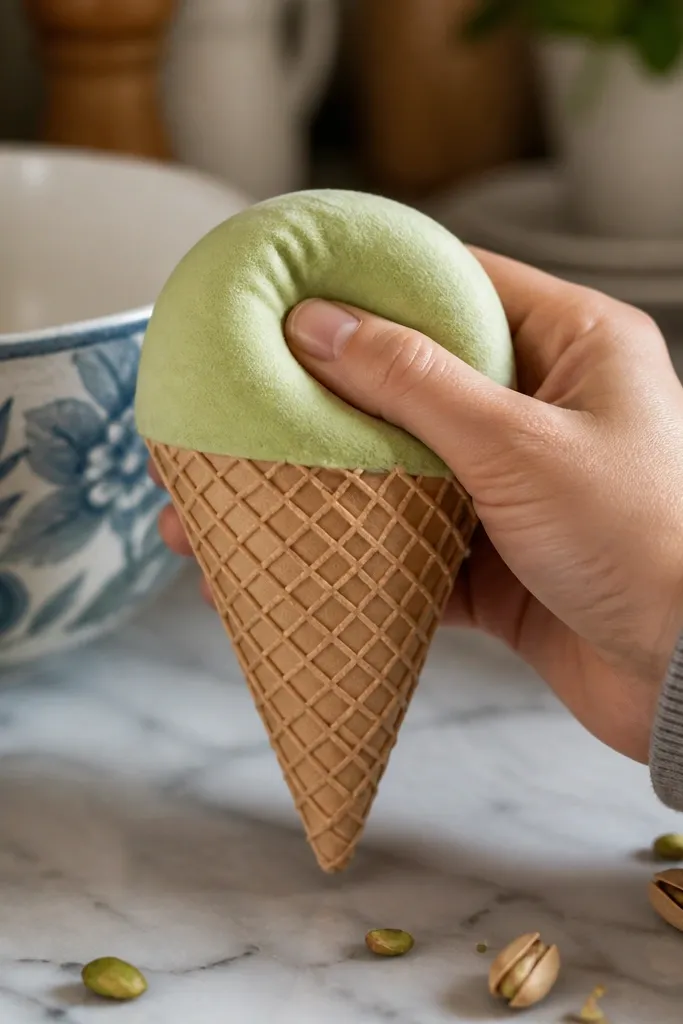
A gelato cone looks high-end because it has a clear top-to-bottom structure: waffle cone texture, then a rounded scoop. This template makes the cone lines by scoring and folding thin texture strips so they look like waffle ridges. The scoop has a plush dome from inner volume that compresses without flattening the cone shape. Use pistachio green for the scoop, cream for the cone base, and a darker green for the scoop outline. It’s photogenic and works on a mini stand or in a row of desserts.
Editor's noteKeep cone ridges shallow; deep ridges make the cone look chunky instead of waffle.
Cut two cone outer layers and one inner cone layer from softer paper. Score diagonal texture lines on the cone front layer, then fold along those lines to create shallow ridges before assembly. Cut two scoop outer domes and one inner scoop volume piece from softer paper. Glue scoop to the cone top, then assemble cone layers and seal the seam with a thin internal strip.
Skip thisDon’t let glue seep into the scored ridges; it kills the texture.
25. Rose Quartz Heart With Two-Tone Inner Panel
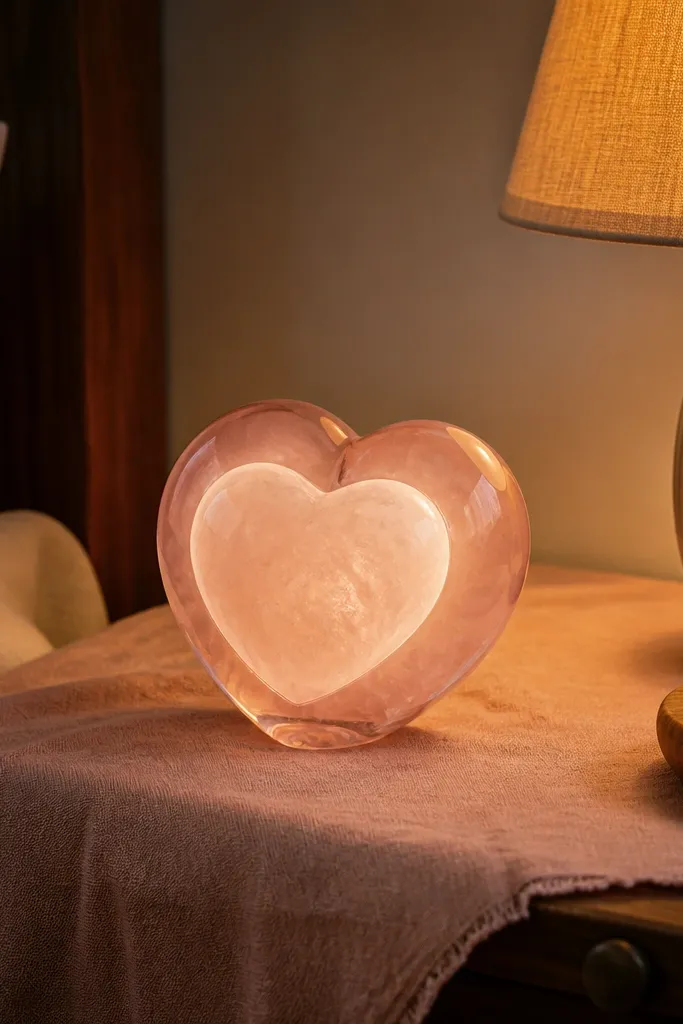
Rose quartz looks premium because it has a soft glow and layered tone. This template uses a two-tone inner panel so the heart looks deeper even without glitter or complex art. The outer heart is a darker blush for structure, while the inner panel is lighter and sits behind a subtle outline ridge. The inner volume is trimmed so it compresses evenly and doesn’t distort the glow. It’s a great choice if you want a romantic look that still reads clean and modern.
Cut two outer hearts from 160-220 gsm cardstock in a darker blush. Cut one inner two-tone panel from lighter pink paper and glue it to the front layer with a small border gap around the edges. Add a softer inner volume heart piece behind the inner panel so it domes forward. Seal with the second outer layer and trim any inner edges that peek out.
Use a pencil to shade a 1-2 mm border around the inner panel; it makes the glow edge visible.
Don’t center the inner panel perfectly; a tiny offset makes the glow feel more natural.



