


1. Sheer Tinted Wash
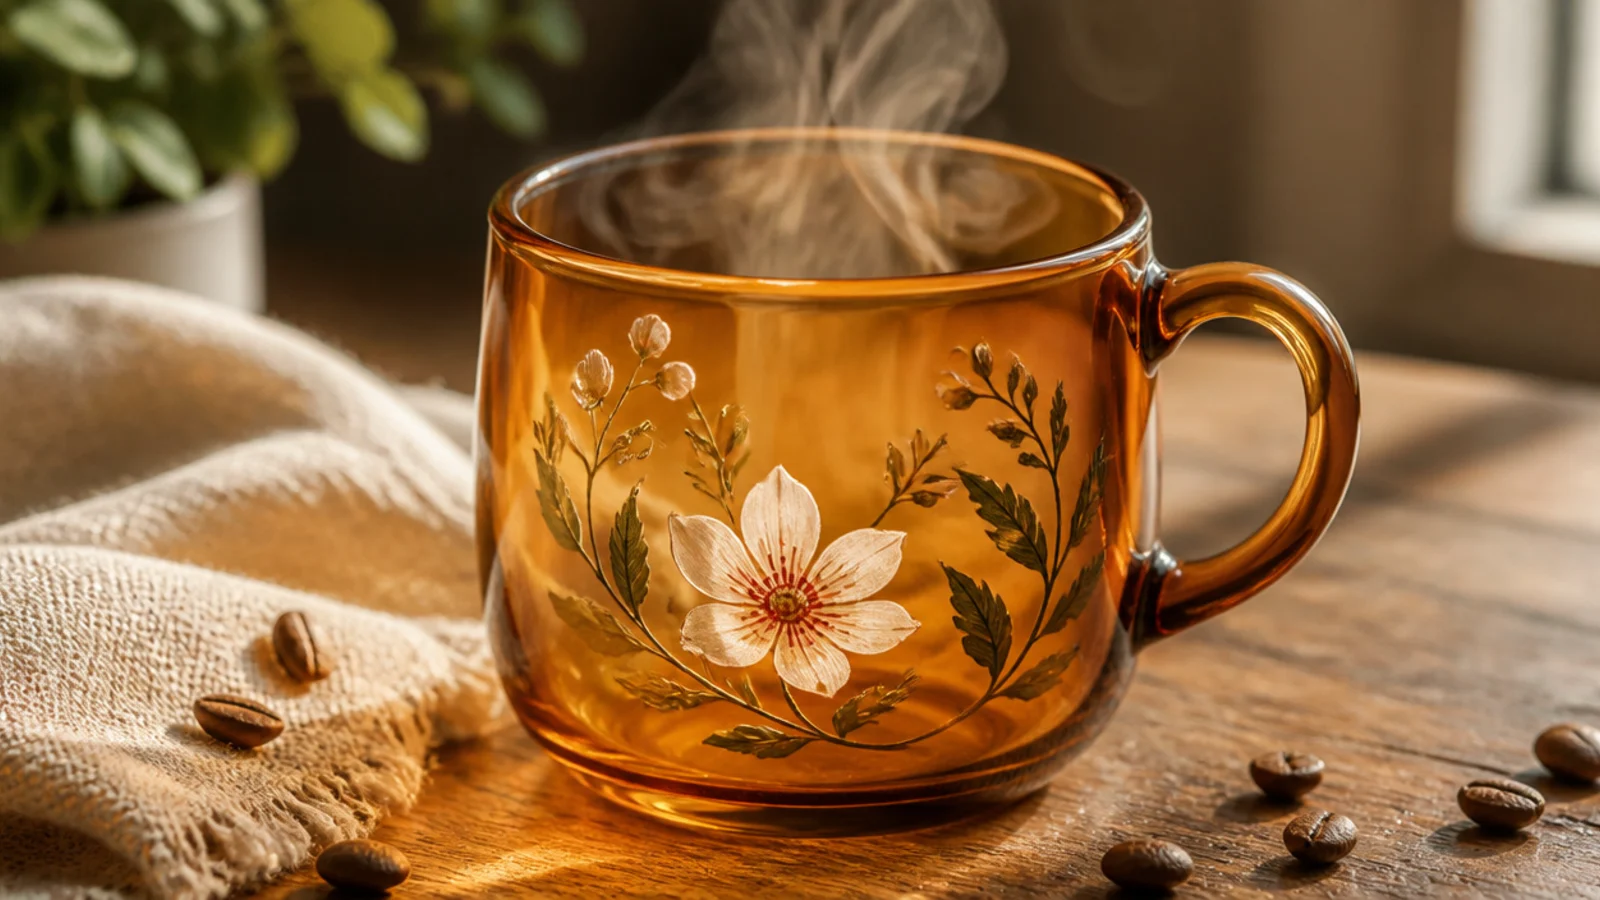
A thin translucent wash over the whole mug gives it a soft stained-glass tint while staying see-through. It is the easiest glass design because there is no pattern and brush marks disappear in the transparency. Amber, sea green, and blush all glow beautifully against light.
Clean the glass with rubbing alcohol and avoid touching it afterward. Thin translucent glass paint slightly with its medium, then brush it over the body in long even strokes below the rim, keeping the coat thin and uniform. Let it self-level and air-dry. Cure per the paint — typically a cold oven to 325F/160C for 40 minutes, then cool inside.
Brush in one direction with a soft flat brush and don’t overwork it; glass paint self-levels, so light strokes leave the smoothest tint.
Don’t apply a thick opaque coat; the whole point of a glass wash is that light still passes through the color.
2. Frosted Band
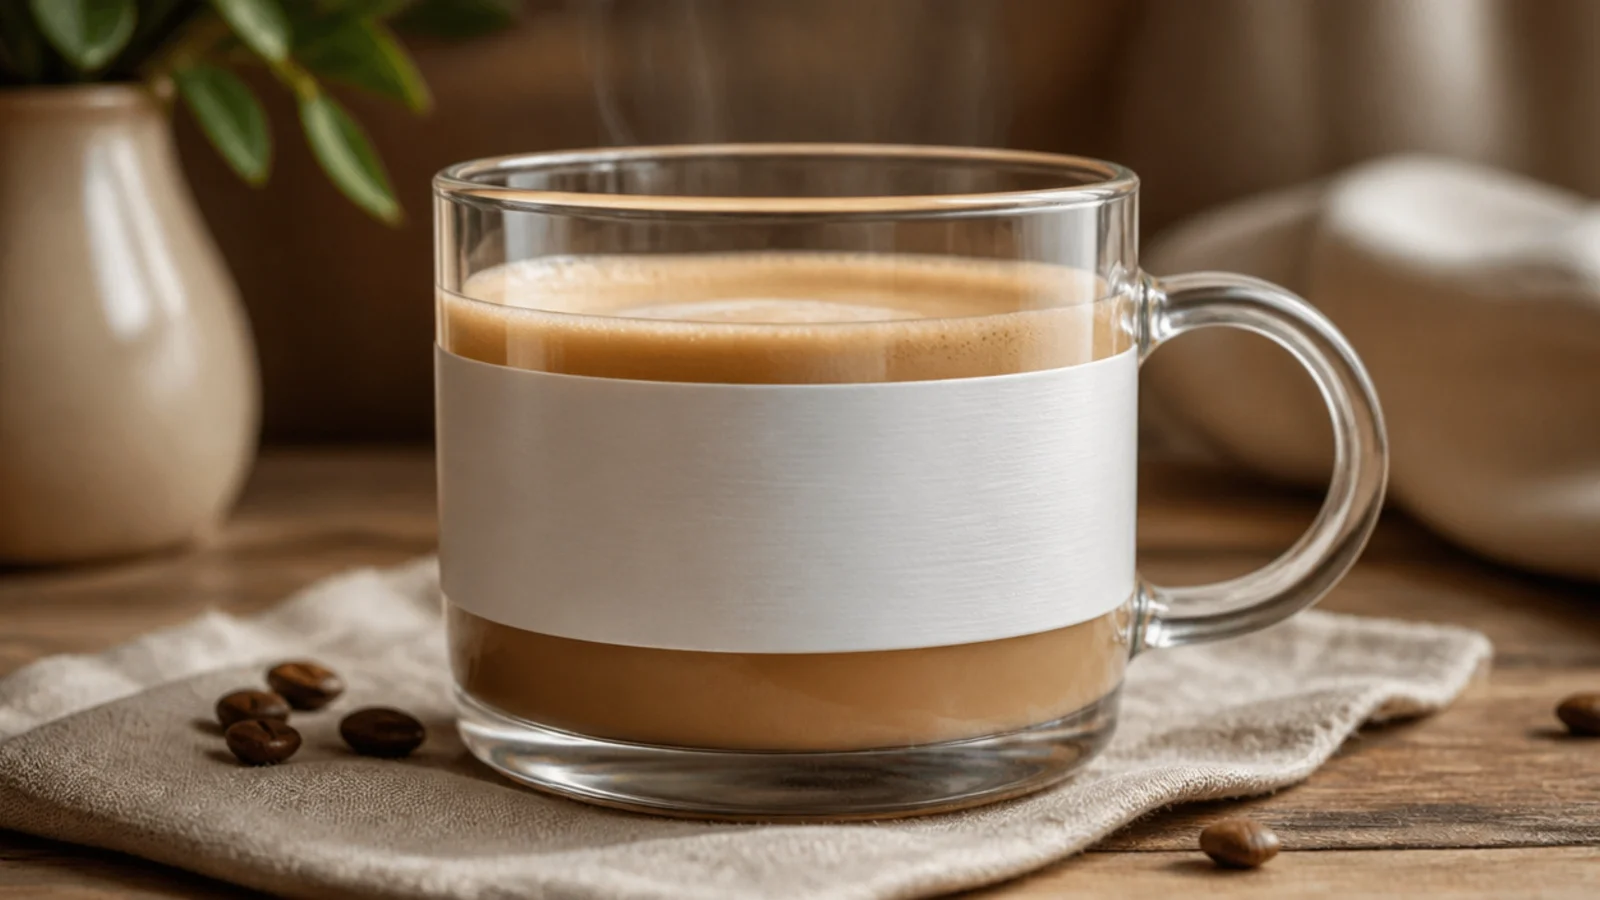
Clean the glass with alcohol and tape crisp lines for the band. Stipple a thin even coat of frosted or white glass paint between the tape lines with a sponge for a fine etched texture, then peel the tape before it sets. Keep it below the rim. Air-dry, then cure per the paint at about 325F/160C for 40 minutes in a cold oven and cool inside.
A frosted band gives a soft, etched look while keeping the glass clear top and bottom. The contrast between frosted and clear is quietly elegant. It suits a minimalist who wants texture, not color.
Skip thisDon’t apply the frosted paint heavily; a dense coat goes opaque and loses the delicate etched effect.
Editor's noteStipple with a barely loaded sponge in light dabs; a smooth thick coat looks painted, while fine stipple looks frosted.
3. Stained-Glass Panels
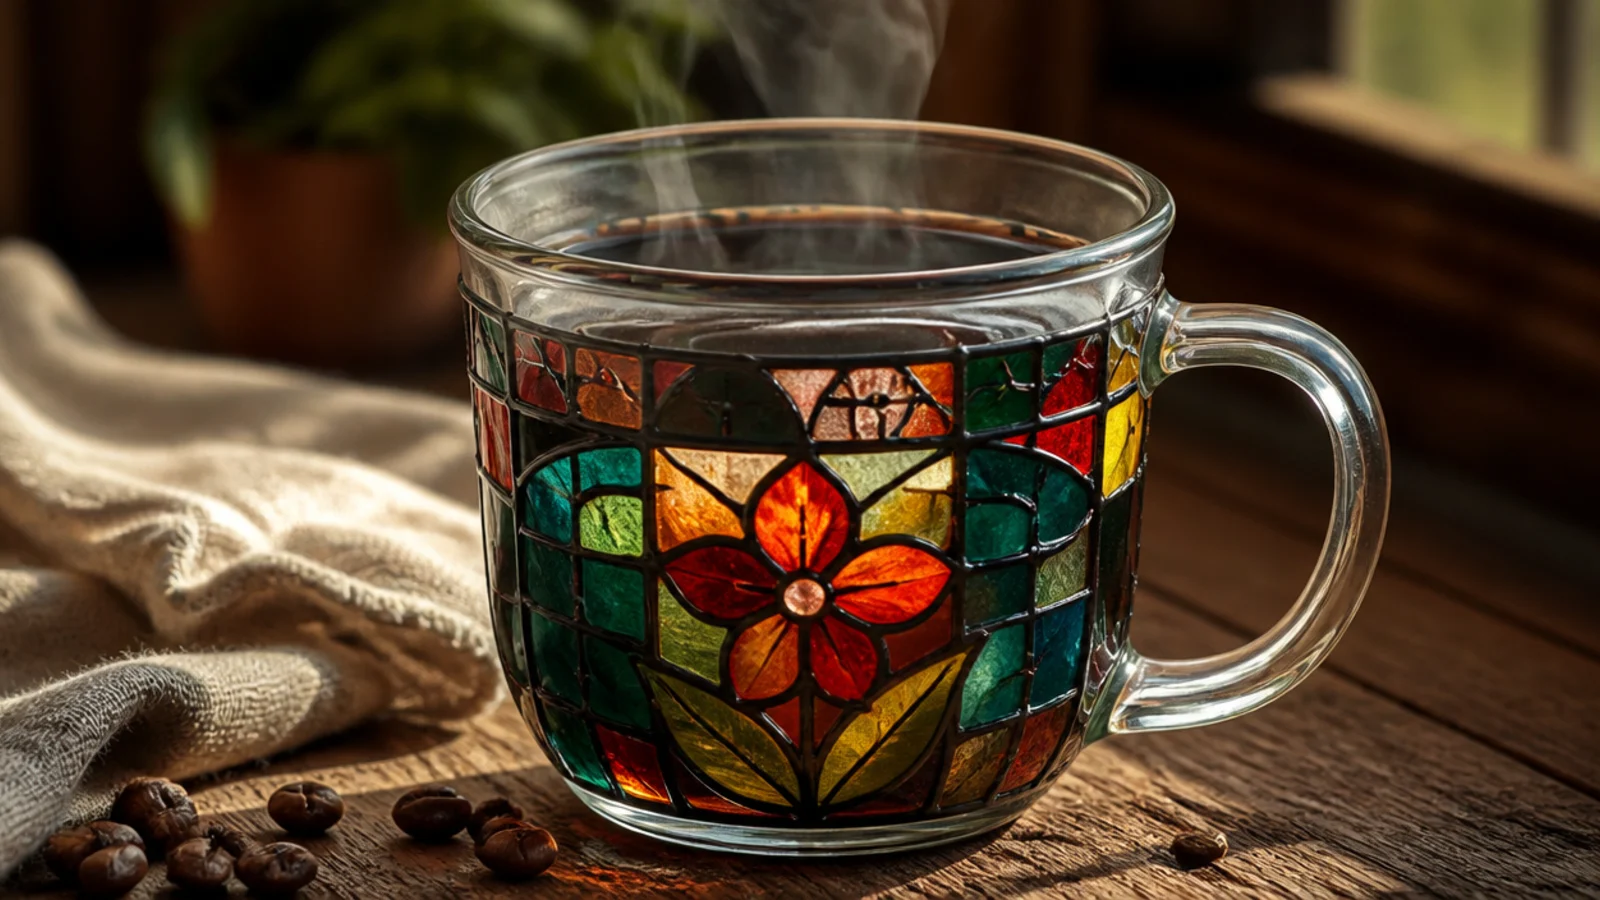
Clean the glass with alcohol and sketch panels with a washable marker. Trace the lines with black glass-relief liner and let it dry to raised leading. Fill each panel with translucent glass paint using a fine brush, letting it pool to the liner edges. Air-dry, then cure per the paint at about 325F/160C for 40 minutes in a cold oven and cool inside.
Black-outlined panels filled with jewel-tone color are the classic stained-glass effect and glow when light passes through. The leading does the structure and hides imperfect fills. It is striking and more achievable than it looks.
Skip thisDon’t fill panels before the liner sets; wet leading lets the translucent colors run together into mud.
Editor's noteLet the relief liner dry fully before filling; dried leading acts as a dam so colors can’t bleed between panels.
4. Color-Pooled Base
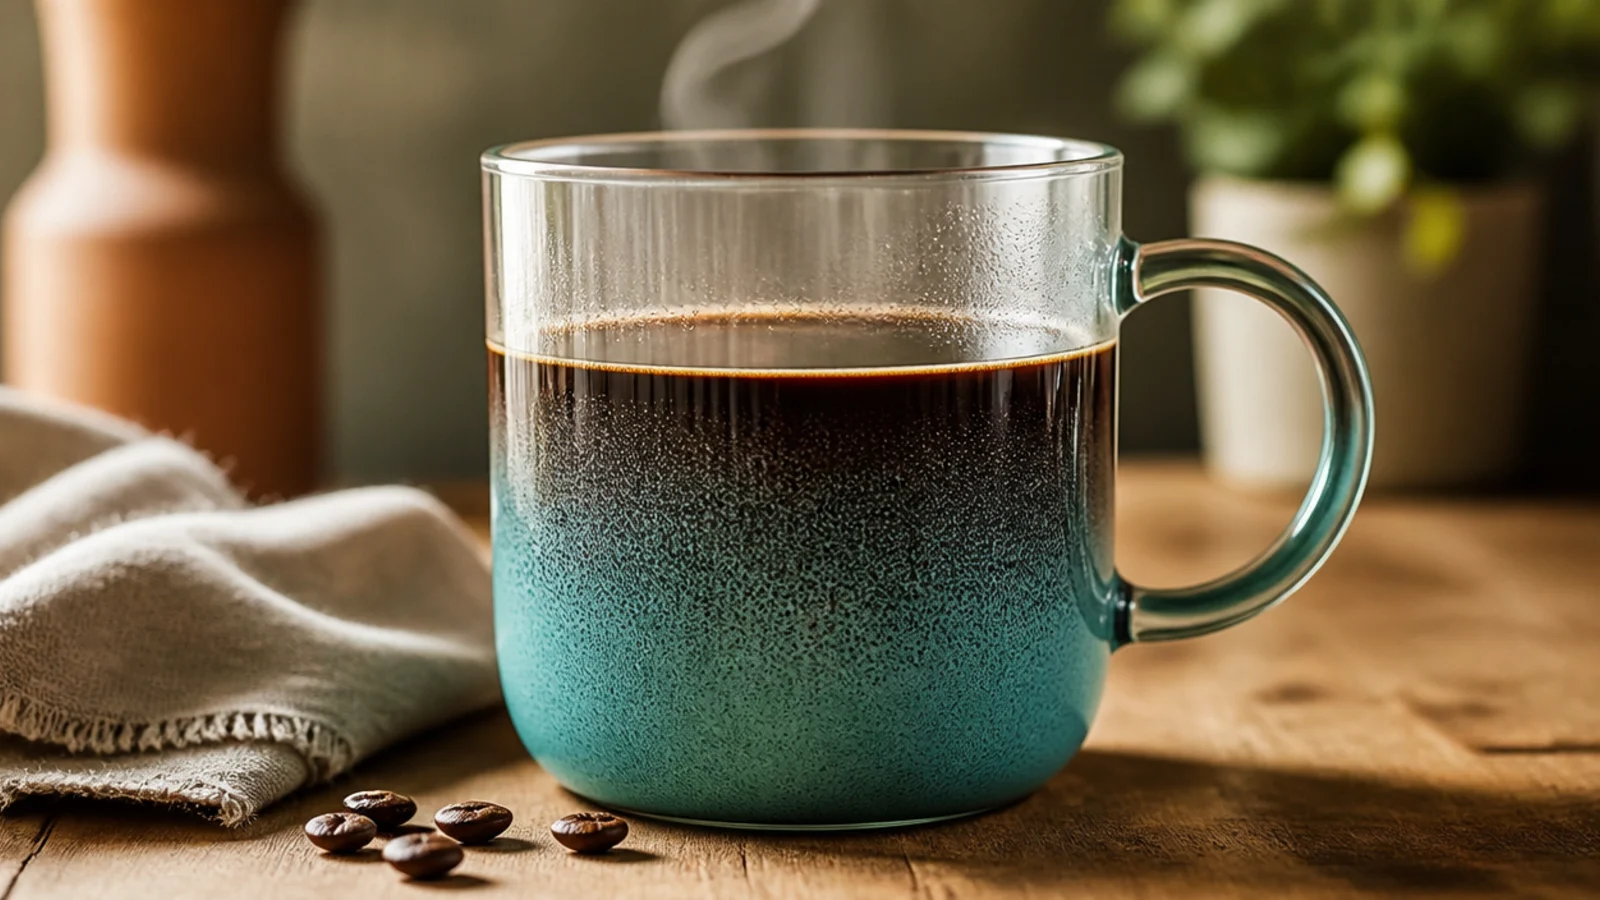
Painting a solid color at the base that fades up into clear glass is a modern, easy look. The dense color grounds the mug while the top stays airy. One saturated color — teal, cobalt, amber — reads best.
Clean the glass with alcohol. Brush an opaque coat of glass paint around the bottom third, then feather the top edge upward with a nearly dry brush so it fades into the clear glass. Add a second thin coat at the very base for depth. Air-dry, then cure per the paint at about 325F/160C for 40 minutes in a cold oven and cool inside.
Feather the upper edge with an almost-dry brush so the color melts into the clear glass instead of stopping in a hard line.
Don’t leave a sharp painted line at the top of the base unless you want a color block; feathering is what makes it fade.
5. Enamel Dot Border

A row of even dots on clear glass is crisp and beginner-proof because you stamp them. White or a bright opaque color pops against the transparency. One tidy row keeps it minimal and clean.
Clean the glass with alcohol and avoid touching the area. Dip a pencil eraser in opaque glass paint, tap off the excess, and press straight down in an even row a half-inch below the rim, re-dipping for each dot. Air-dry, then cure per the paint at about 325F/160C for 40 minutes in a cold oven and cool inside.
Mark light guide ticks with a washable marker first so the dots stay level all the way around the curve.
Don’t smear the eraser sideways as you lift; on slick glass a drag turns the dot into a streak instantly.
6. Gold Rim Line

A single thin gold line below the rim makes a plain glass mug feel elegant and finished. A glass paint marker draws it cleanly with no brush skill. The metallic catches light against the clear glass.
Clean the glass with alcohol and let it dry. Shake a metallic glass paint marker and prime it on scrap. Rest the tip a half-inch below the rim and rotate the mug against a steady hand so the line draws evenly. Air-dry, then cure per the paint at about 325F/160C for 40 minutes in a cold oven and cool inside.
Spin the mug, not the marker; turning the glass against a still tip gives a far smoother ring than drawing around it.
Don’t run the line at the very lip; keep it a half-inch down so the metallic paint never meets your mouth.
7. Negative-Space Botanical
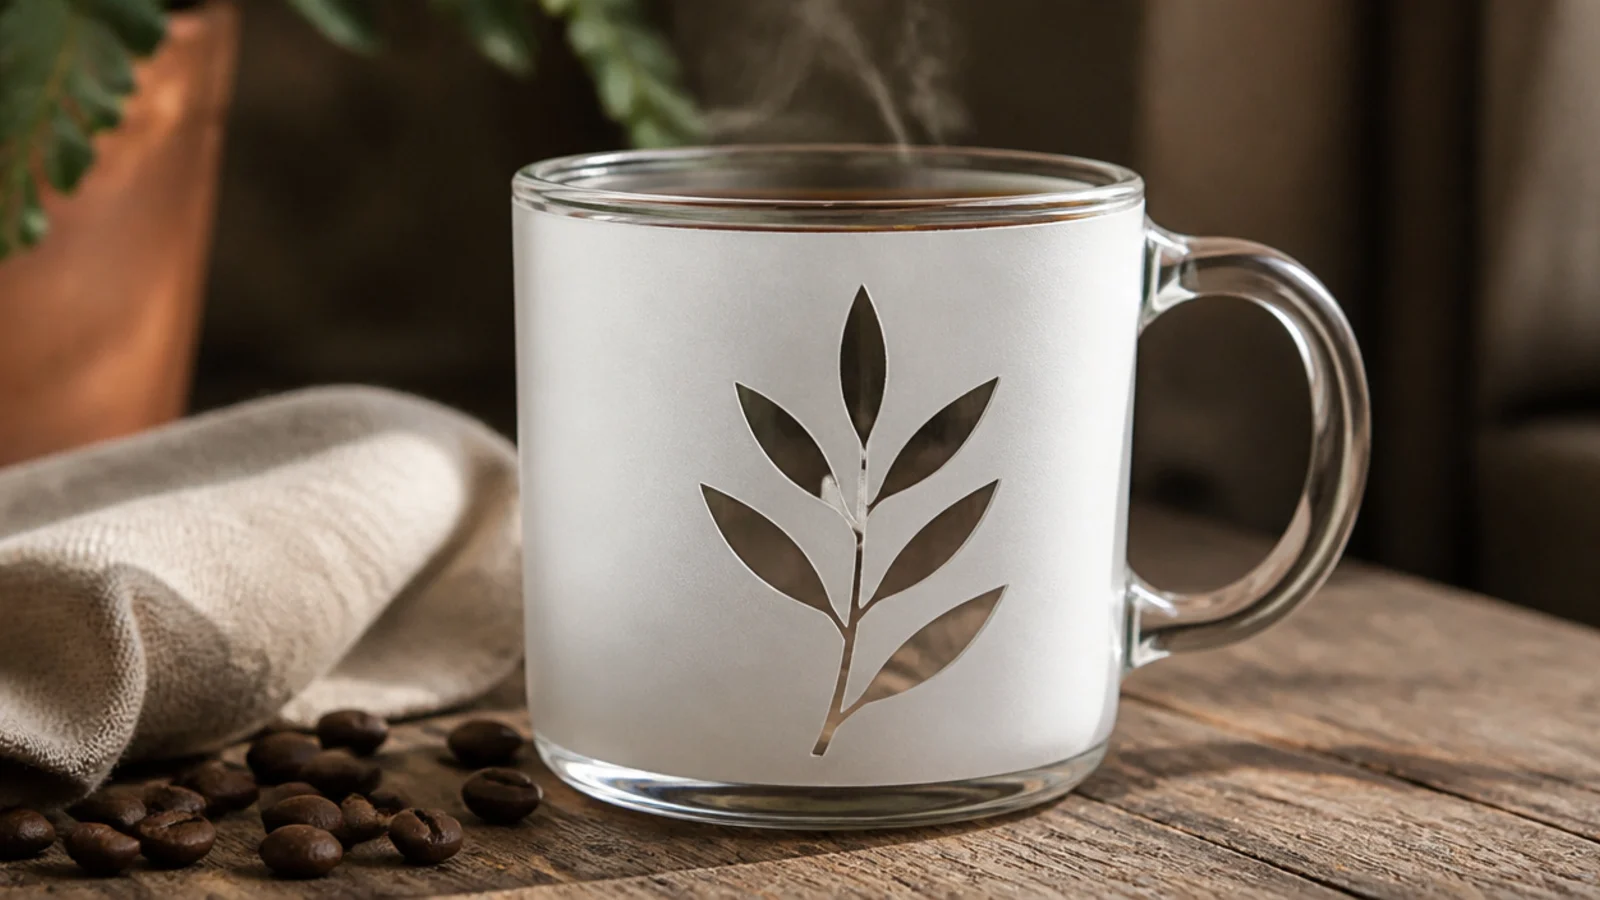
Clean the glass with alcohol and place a leaf-shaped vinyl sticker or a dab of masking fluid where you want the clear shape. Stipple frosted or tinted glass paint over the area around it, then peel the mask once dry to reveal the clear leaf. Air-dry, then cure per the paint at about 325F/160C for 40 minutes in a cold oven and cool inside.
Painting the background and leaving a leaf shape clear is a clever reverse design unique to glass. The clear silhouette reads as the subject against a frosted or tinted field. It looks sophisticated and shows off transparency.
Skip thisDon’t peel the mask after curing; lift it once the paint is dry to the touch but before baking, or it bonds down.
Editor's noteUse a cut vinyl sticker as the mask; its crisp edges give a much cleaner clear silhouette than freehand masking.
8. Geometric Facets
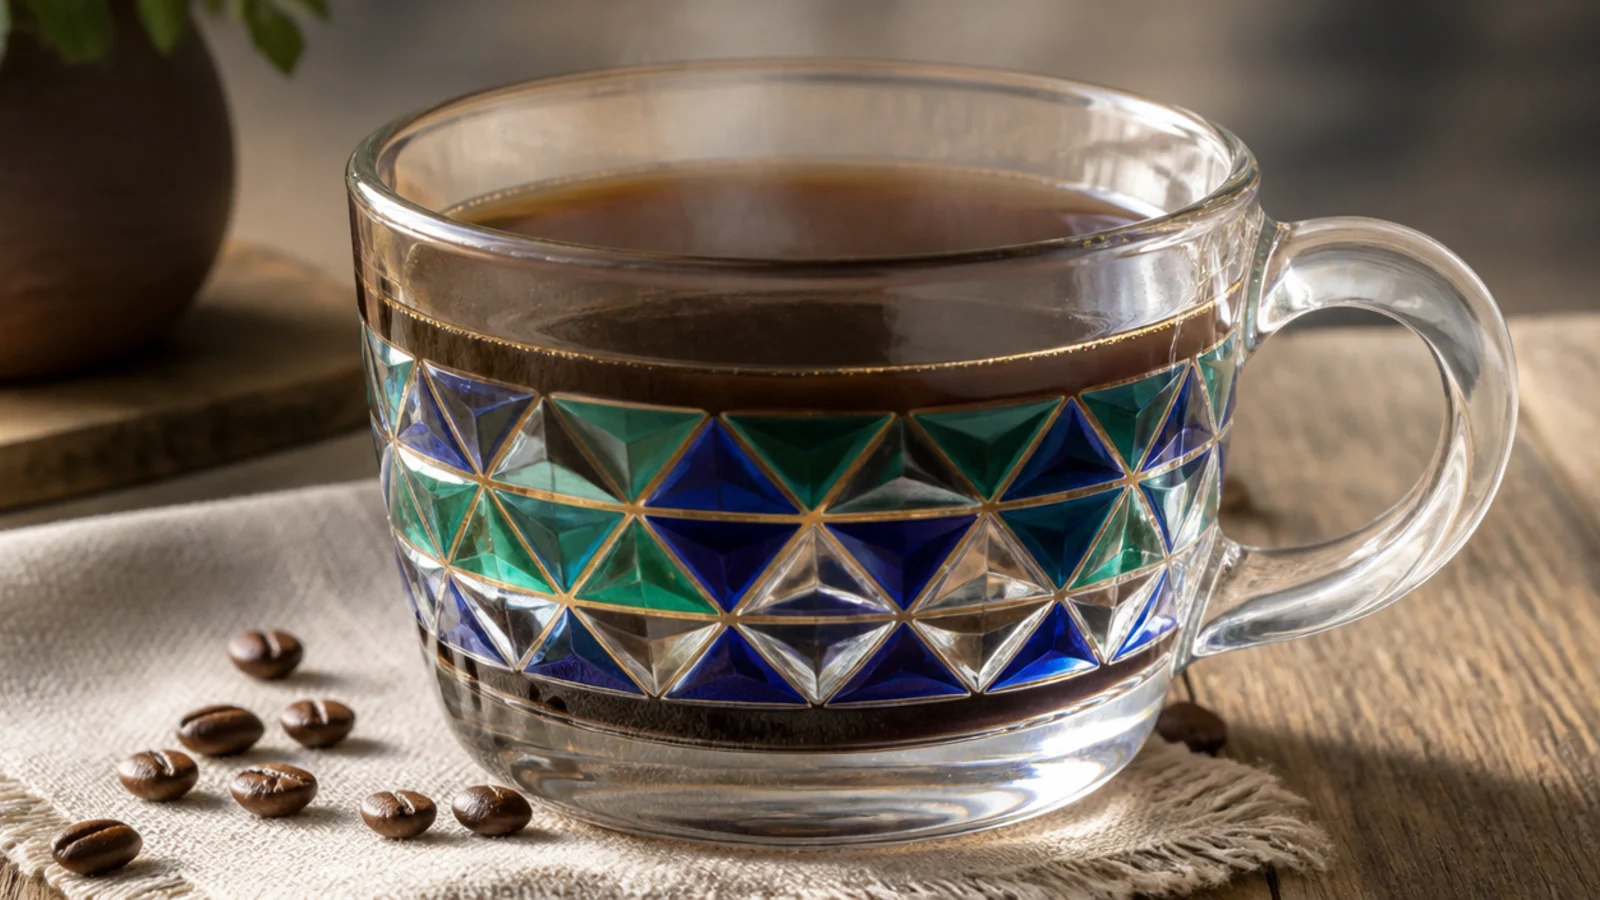
Clean the glass with alcohol and tape a zigzag of triangles around a band, burnishing the edges. Fill alternating triangles with two translucent glass colors, leaving some clear, and peel the tape while slightly wet. Air-dry, then cure per the paint at about 325F/160C for 40 minutes in a cold oven and cool inside.
A band of translucent triangles looks like faceted crystal when light passes through. Alternating two see-through colors keeps it luminous. It is a modern, gem-like effect that suits a clear mug.
Skip thisDon’t use opaque paint here; translucent color is what lets the facets glow when the mug is held to light.
Editor's noteLeave every third triangle clear glass; the mix of color and transparency is what gives the cut-crystal sparkle.
9. Color-Block Half
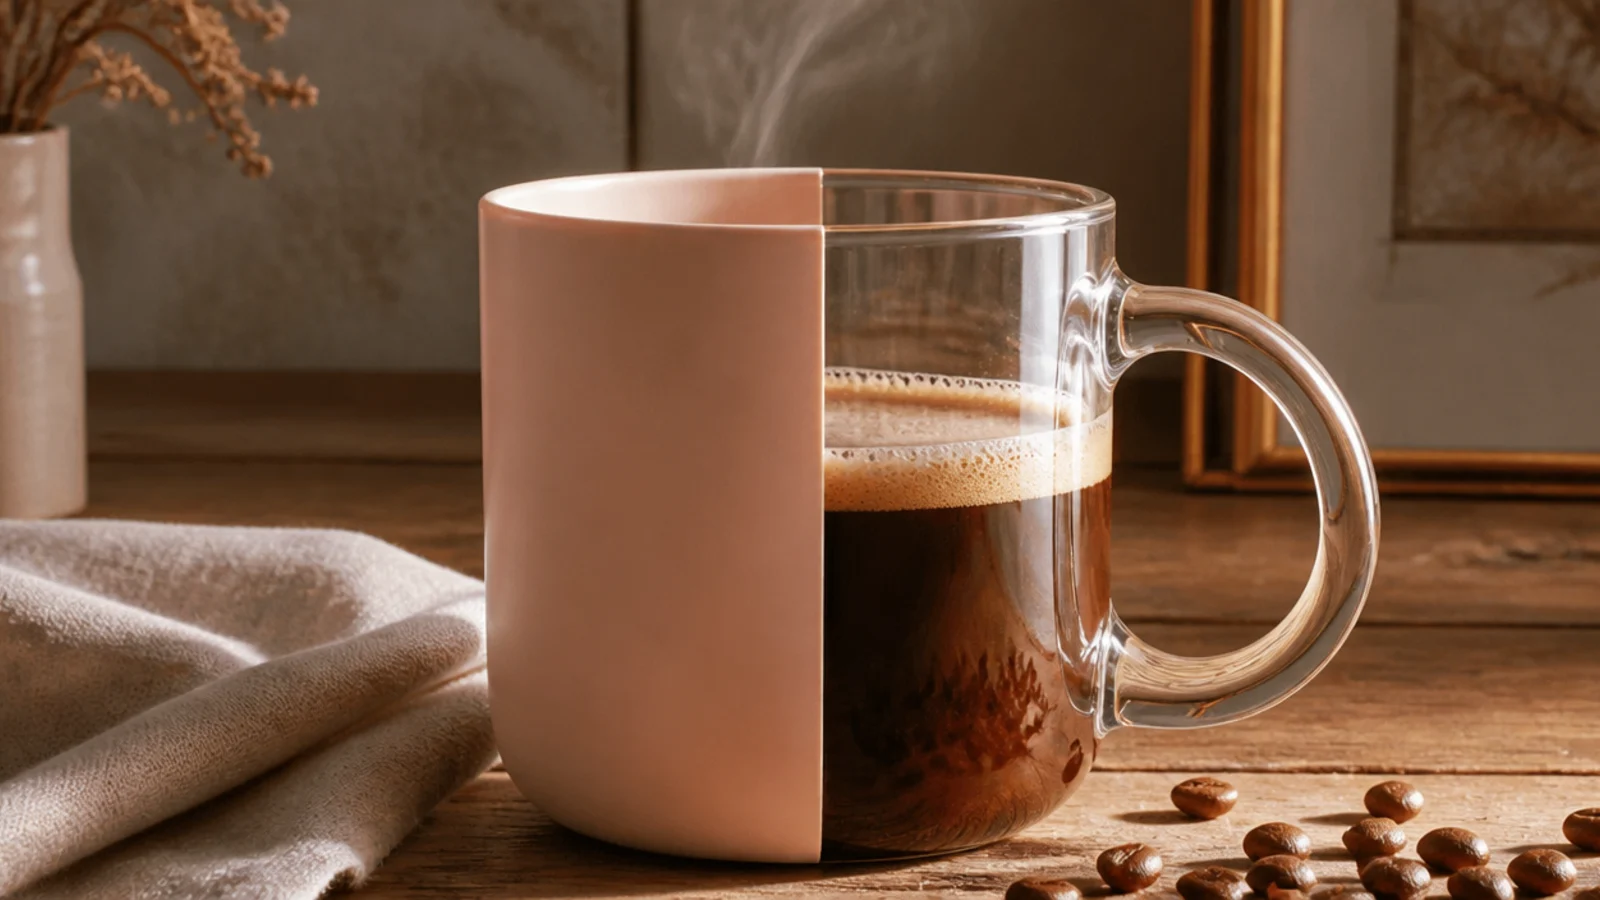
Clean the glass with alcohol and run a strip of tape vertically down the mug to mask one half. Brush the exposed half in two thin opaque coats of glass paint, then peel the tape before it sets. Keep paint below the rim. Air-dry, then cure per the paint at about 325F/160C for 40 minutes in a cold oven and cool inside.
Painting one vertical half opaque and leaving the other clear is a bold, modern split. The contrast of solid color against clear glass is graphic and easy. One saturated color does all the work.
Skip thisDon’t rush the tape on the curve; loose tape lets paint creep and the crisp half-and-half line is the whole design.
Editor's notePress the vertical tape line down hard along the curve; a firmly sealed edge is the only way to get a clean split on round glass.
10. Speckle on Clear
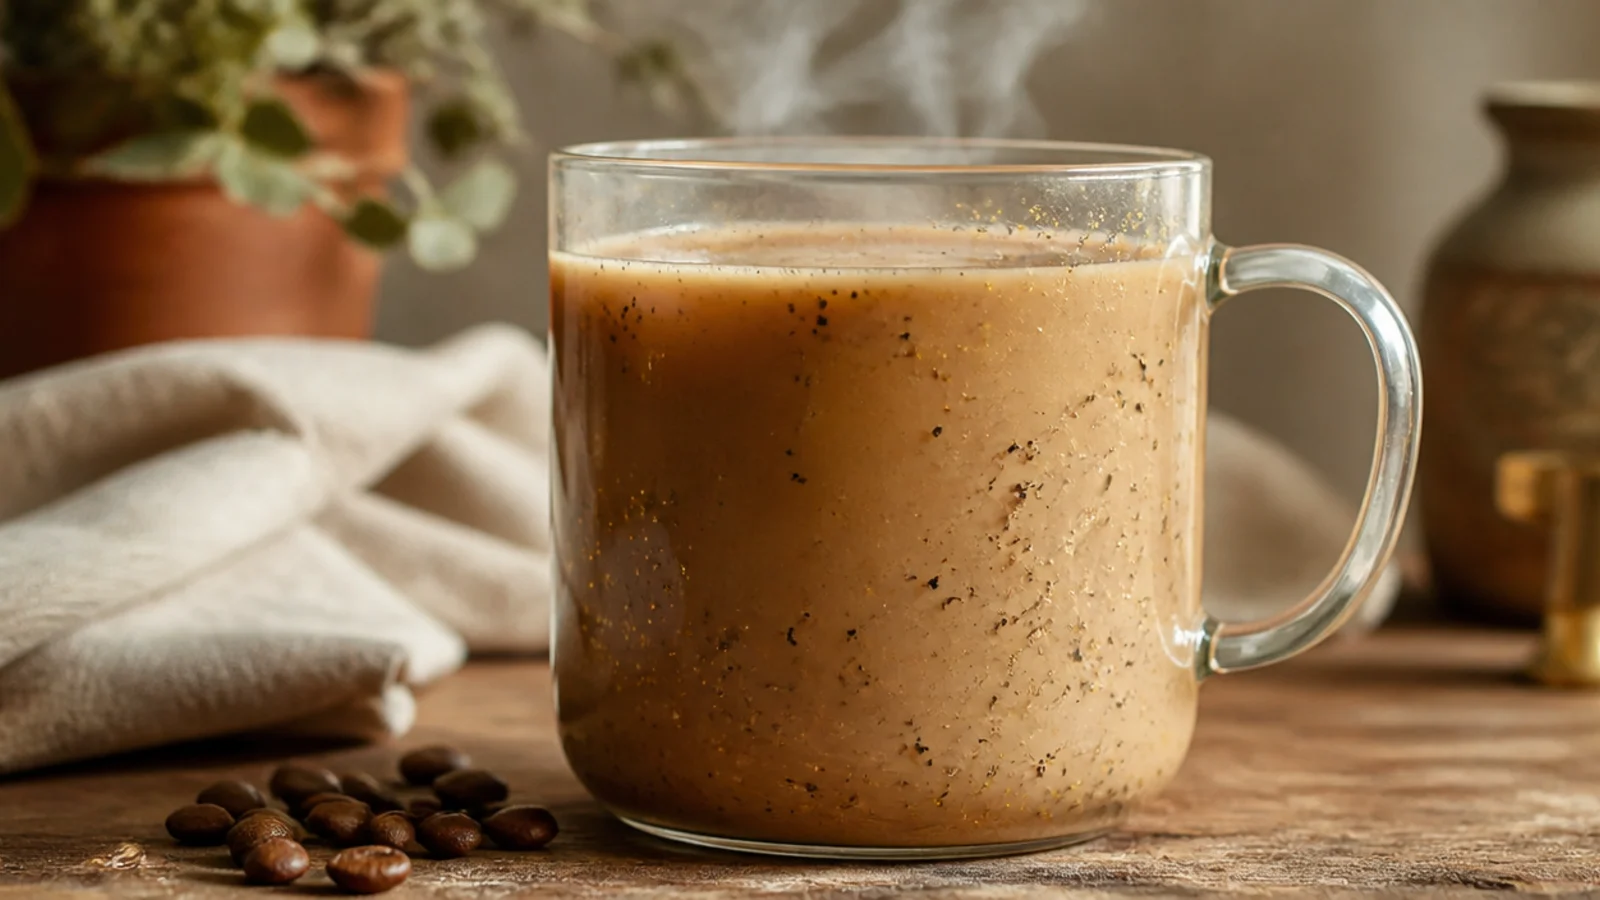
Clean the glass with alcohol. Thin black glass paint slightly, load a stiff brush, and drag your thumb across the bristles to flick fine specks, rotating the mug for even coverage; add a few gold flecks. Keep it light. Air-dry, then cure per the paint at about 325F/160C for 40 minutes in a cold oven and cool inside.
Fine speckles floating on clear glass look like a designer tumbler. You flick thinned glass paint off a stiff brush for a light, even scatter. Black plus a few gold flecks reads especially chic.
Skip thisDon’t over-thin the paint or flick too close; big wet drops run down the smooth glass and ruin the fine speckle.
Editor's noteKeep the specks sparse on clear glass; a light scatter looks intentional, while dense speckle muddies the transparency.
11. Wavy Lines
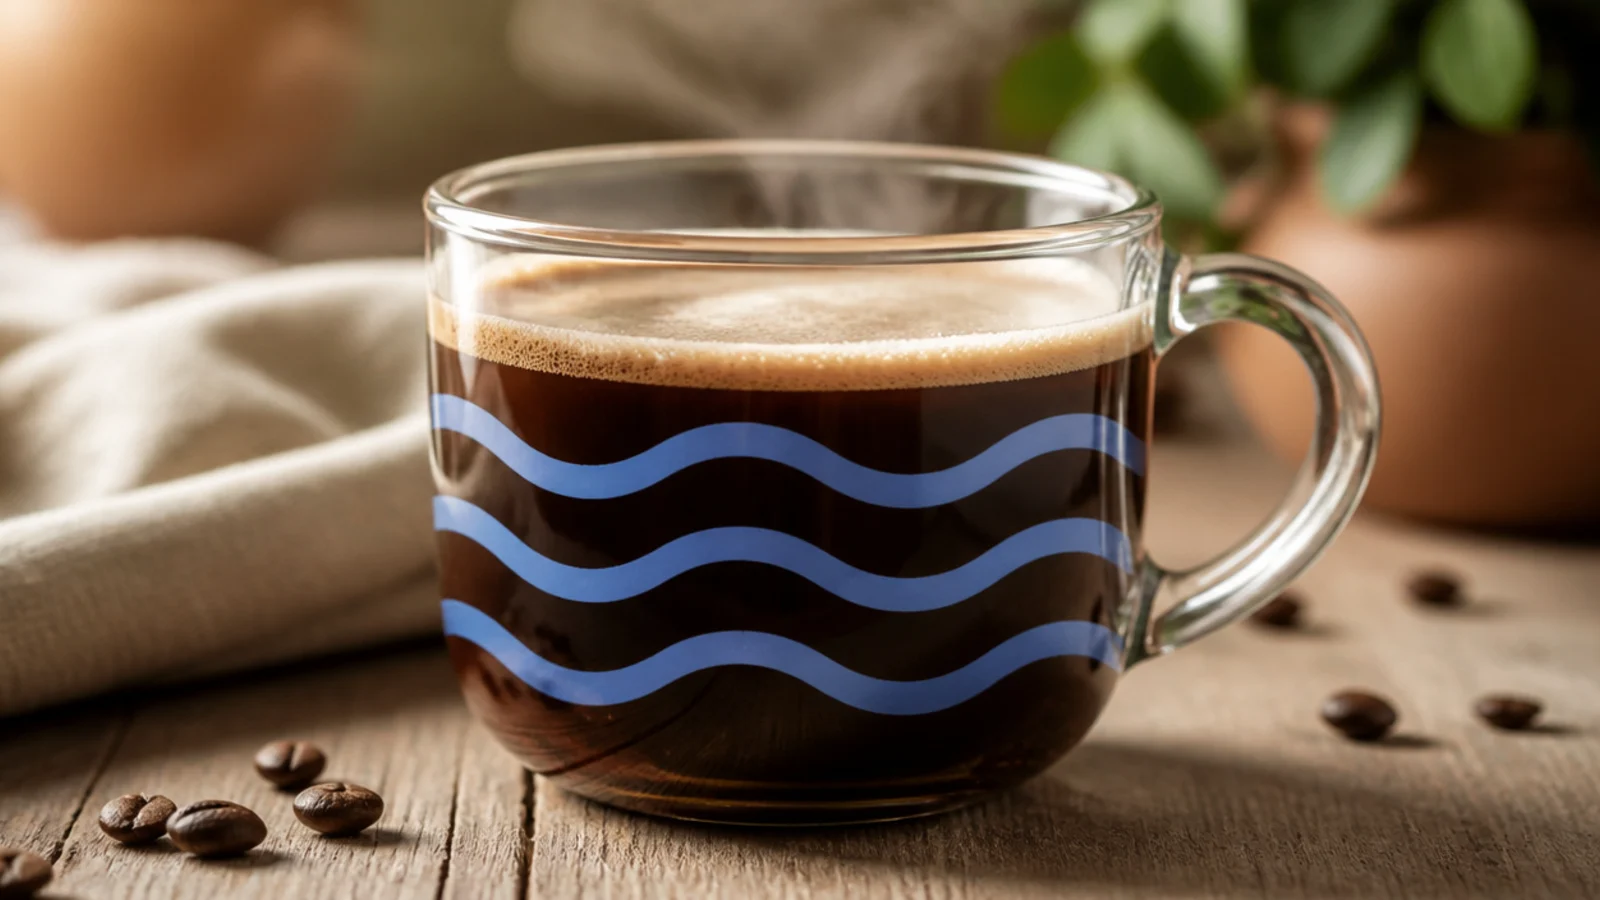
Clean the glass with alcohol. With a translucent glass paint marker, draw a relaxed wavy line around the body, then add one or two more below it, rotating the mug as you go rather than twisting your wrist. Air-dry, then cure per the paint at about 325F/160C for 40 minutes in a cold oven and cool inside.
Loose wavy lines in a translucent color are calm and modern, and imperfection reads as hand-drawn. Two or three waves wrapping the clear mug feel like flowing water. It is a forgiving, easy pattern.
Skip thisDon’t let the waves touch; a little clear space between lines keeps them distinct instead of blurring together.
Editor's noteRotate the mug at a steady speed while keeping your hand still; it gives smoother waves than moving your arm around the glass.
12. Floral on Clear
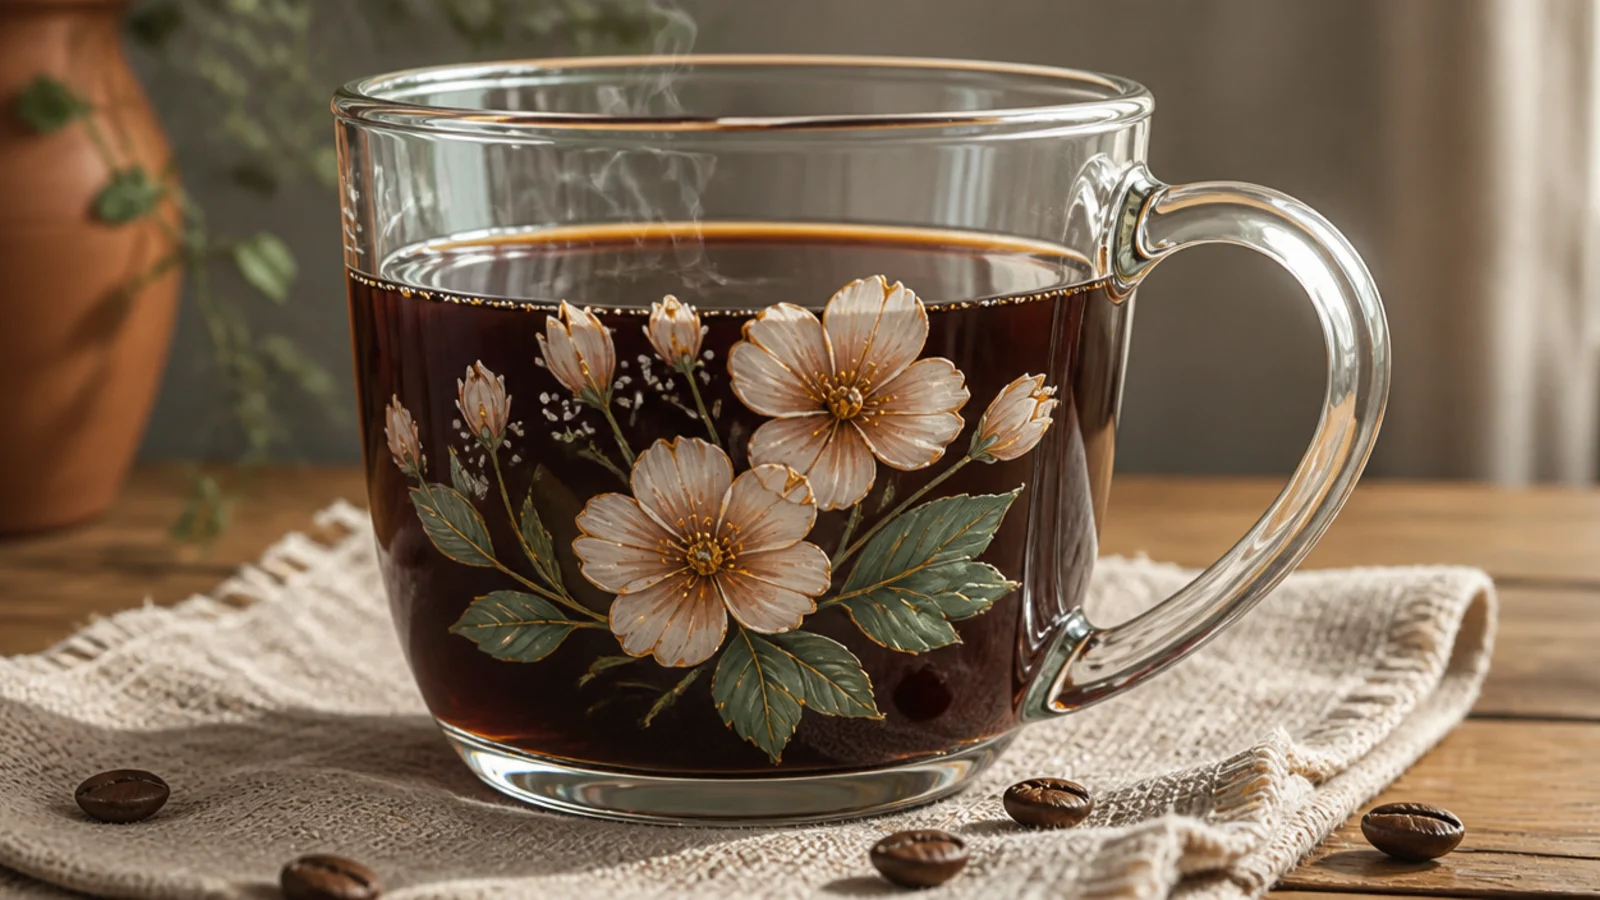
A small floral cluster on one side of a clear mug looks delicate and lets the rest stay transparent. Translucent petals glow softly with light behind them. It is pretty without covering the glass.
Clean the glass with alcohol and sketch a small flower cluster with a washable marker on one side. Paint petals and leaves in translucent glass colors with a fine brush, keeping them below the rim and to one area. Add fine detail lines once dry. Air-dry, then cure per the paint at about 325F/160C for 40 minutes in a cold oven and cool inside.
Keep the flowers to one side, not wrapped around; the contrast of a bloom cluster against clear glass is what makes it elegant.
Don’t use fully opaque paint for the petals; a translucent fill is what lets the flowers glow on glass.
13. Ombre Tint

Clean the glass with alcohol. Brush a translucent deep color at the base, then a lighter translucent color above it while wet, and blend the overlap with a soft dry brush so it graduates smoothly. Keep the top clear. Air-dry, then cure per the paint at about 325F/160C for 40 minutes in a cold oven and cool inside.
A translucent ombre tint fading up the mug looks like colored sunset glass. Because it stays see-through, it glows against light. Warm sunset tones or cool ocean tones both work beautifully.
Skip thisDon’t let either tint go opaque; the ombre only glows if light can still pass through the graduated color.
Editor's noteBlend the two tints while both are still wet; wet-on-wet is what gives a seamless translucent fade on glass.
14. Frosted Monogram
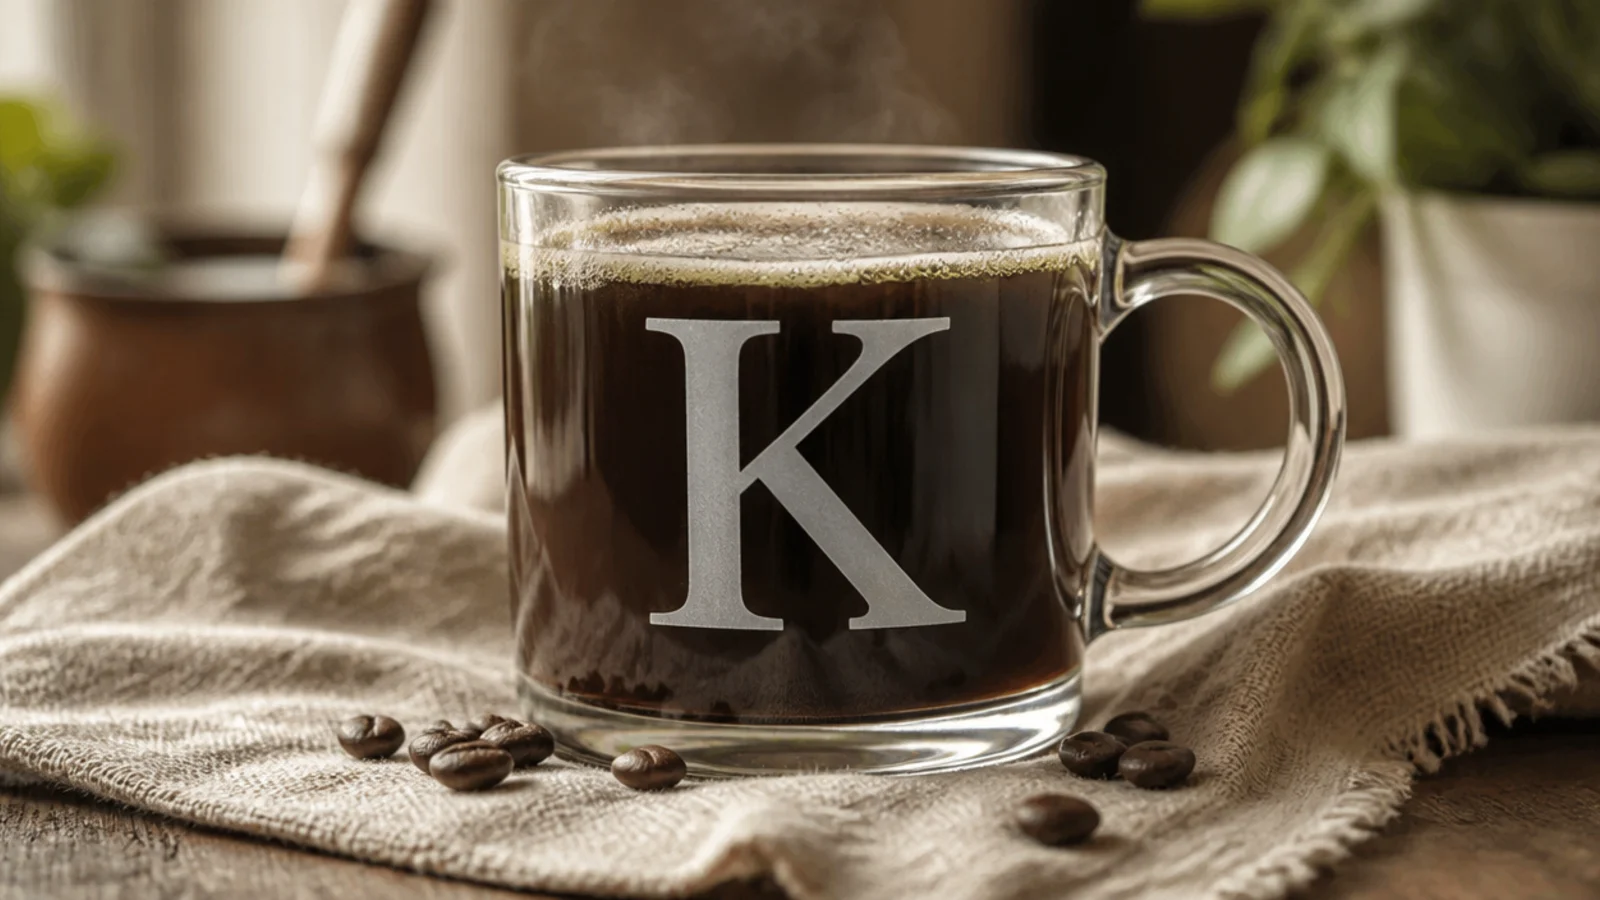
Clean the glass with alcohol and apply a letter-shaped vinyl stencil, or trace a printed letter with a washable marker. Stipple frosted or white glass paint inside the shape with a sponge, then lift the stencil once dry to the touch. Keep it below the rim. Air-dry, then cure per the paint at about 325F/160C for 40 minutes in a cold oven and cool inside.
A frosted initial on clear glass is a refined, personalized look. The soft etched letter stands out against the transparency without color. It makes a classy, gift-worthy mug.
Skip thisDon’t stipple the frost too thick; a light even texture reads etched, while a heavy coat looks like solid white paint.
Editor's noteUse a cut vinyl letter stencil for crisp edges; freehand frosting on slick glass rarely gives clean letterforms.
15. Confetti Dots
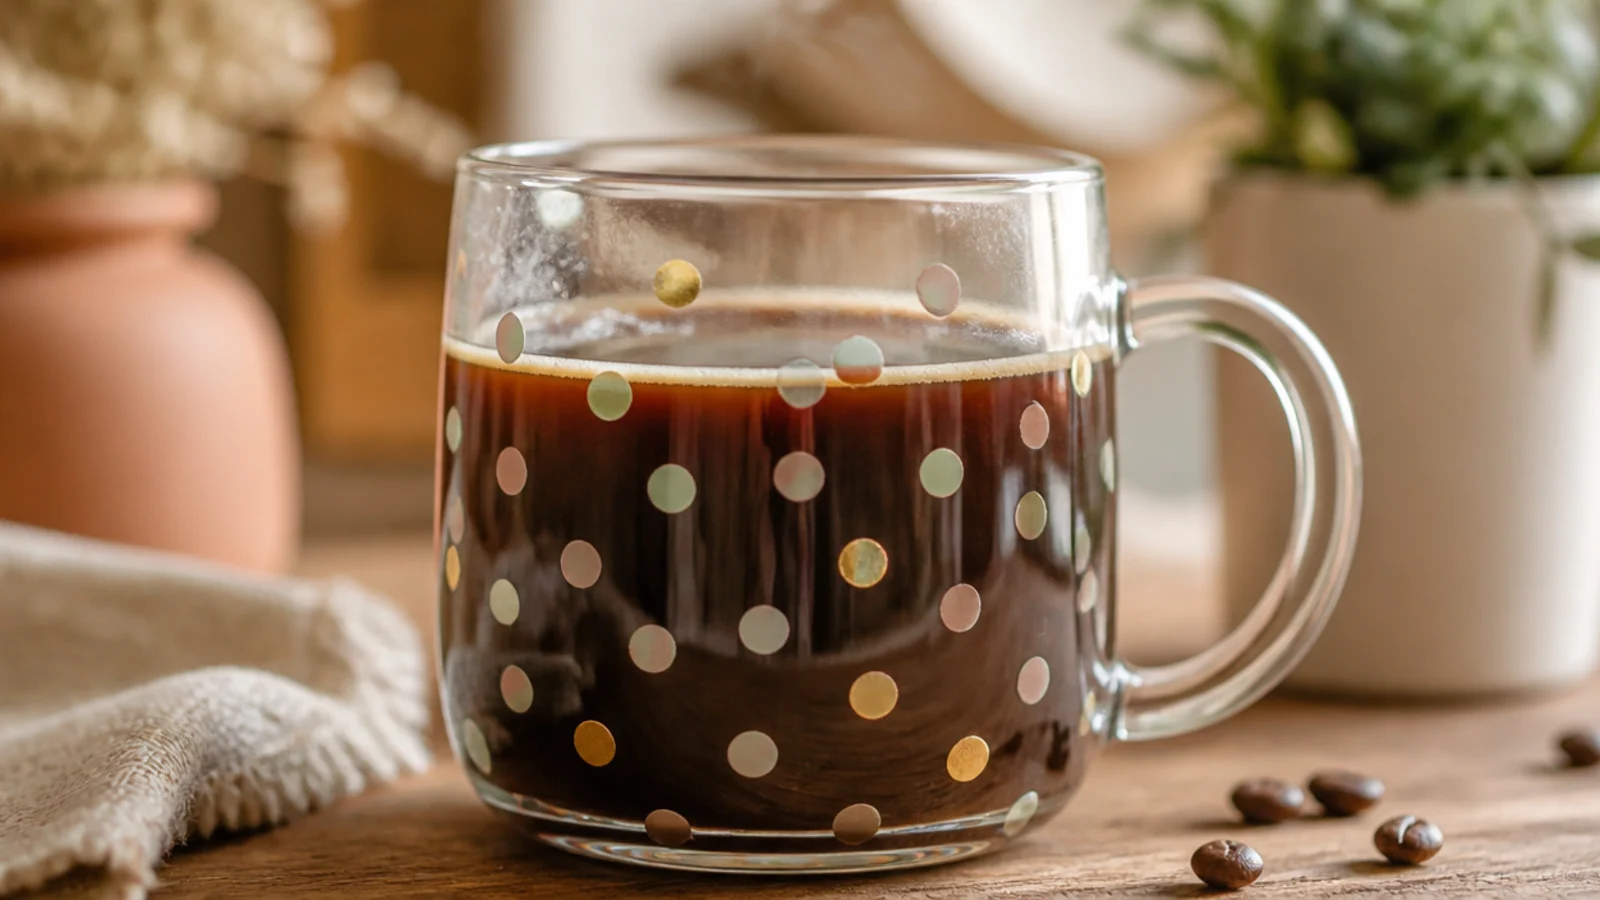
Clean the glass with alcohol. Dip a pencil eraser in one opaque glass color, stamp dots around the mug, then switch colors, filling gaps so the confetti mixes throughout. Re-dip for each dot and keep them below the rim. Air-dry, then cure per the paint at about 325F/160C for 40 minutes in a cold oven and cool inside.
A scatter of small colorful dots turns a clear mug festive and cheerful. Opaque dots in a few colors pop against the transparency. It is celebratory and completely beginner-proof.
Skip thisDon’t overload the mug with dots; leaving plenty of clear glass between them is what keeps it light and festive.
Editor's noteSpread each color evenly across the whole mug rather than clustering by color, so the confetti feels balanced.



