
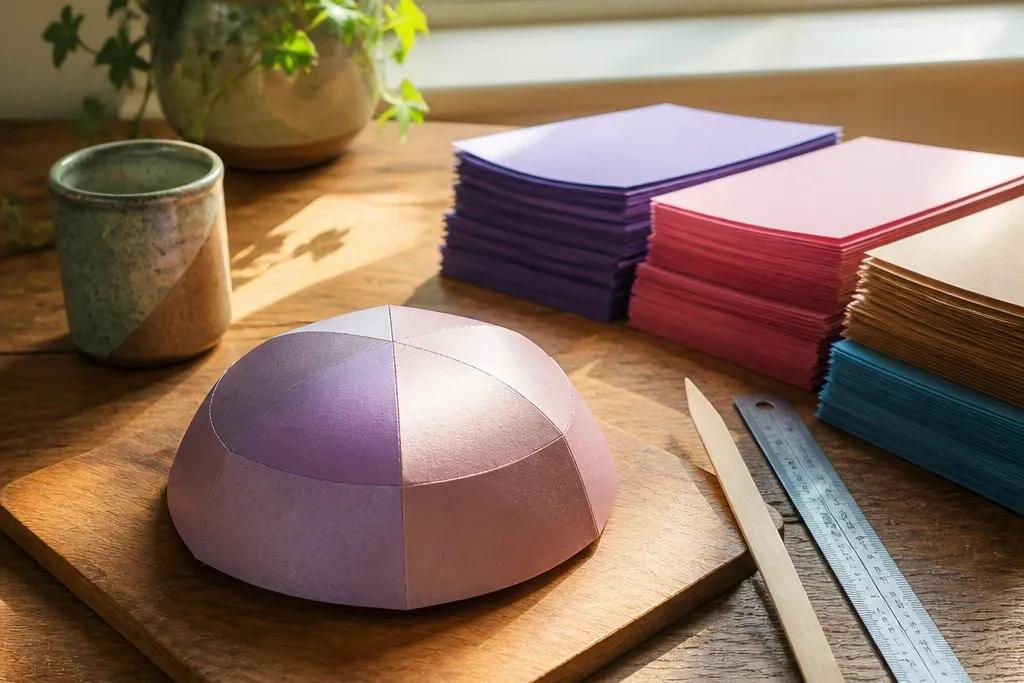
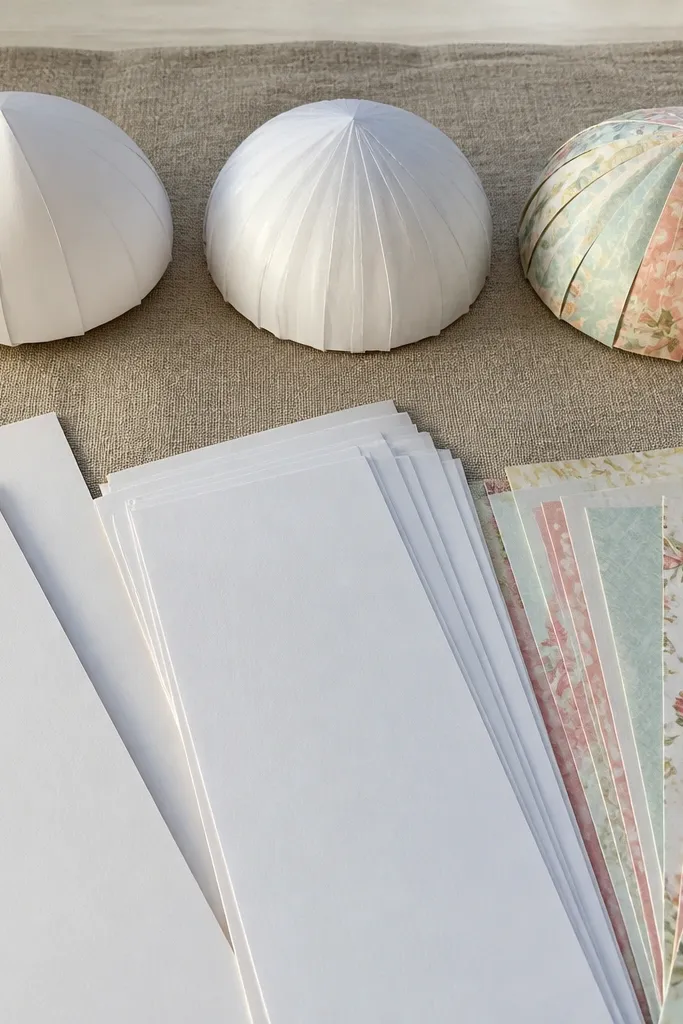
1. 200 GSM cardstock dome squishy (the beginner sweet spot)
This is the paper I’d pick when you want easy beginner-friendly Paper Squishy 2 that holds up past the first week. 200 GSM cardstock has enough body to resist permanent flattening, but it still creases without snapping like heavy bristol. Matte finishes also hide tiny fold imperfections, so your squishy looks clean even if your first creases aren’t knife-sharp. It gives a soft, controlled squeeze instead of a mushy collapse.
Start with cardstock around 200 GSM, cut your base panels, and score fold lines with a bone folder on a ruler. Build in layers: glue or tape the inner reinforcement strip along the fold lines, then fold and press each crease for 20-30 seconds. Finally, seal the outer perimeter with a thin strip of tape or glue, keeping the edges aligned so the layers don’t shift when you squeeze.
Press your score lines twice — first lightly, then firmly — so the crease forms before the paper fibers bend.
Don’t use glue only on the edges; add reinforcement along the fold lines or the squishy will split at the seams.
2. 90 GSM copy paper test squishy (fast but short-lived)
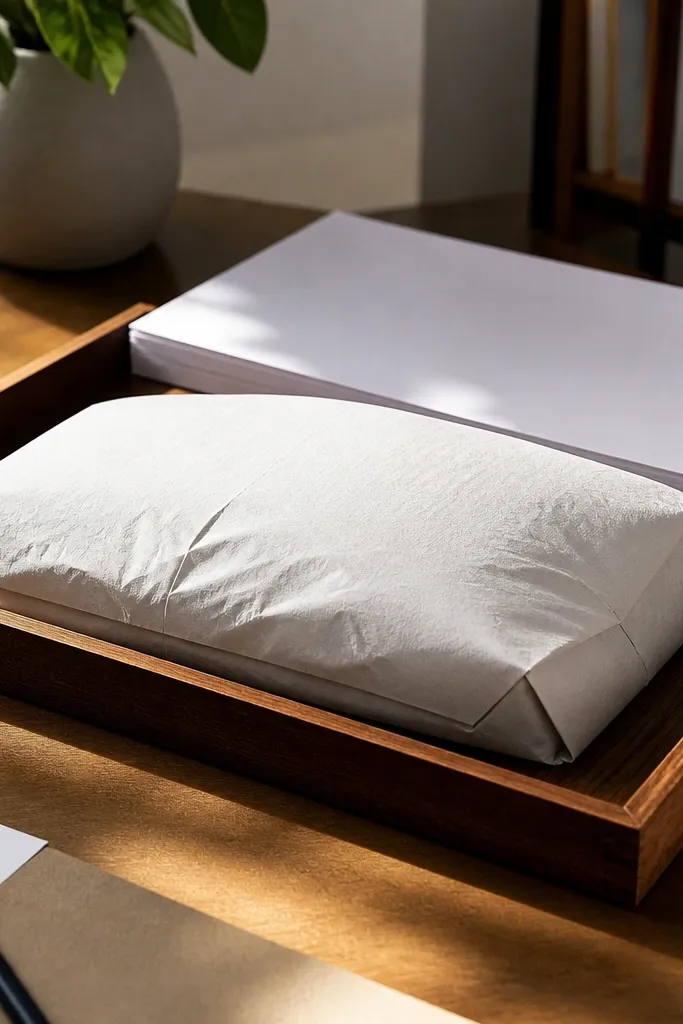
This option is for learning the mechanics, not for durability. 90 GSM copy paper folds easily and looks smooth, so it’s great for nailing your panel size and fold order. The downside is that the fibers lose spring quickly, so repeated squeezing makes the shape sag and the creases open. If you’re practicing the build or making a prototype, it’s fine. For anything you want to keep on your desk, you’ll upgrade.
Cut smaller test panels, then score fold lines gently so you don’t tear the paper. Assemble with minimal glue, and reinforce the inside with one strip of tape across each fold line. Seal the edges last and wait until the adhesive is fully dry before your first squeeze test.
Make the prototype smaller than your final size; small squishies lose shape faster, so you’ll learn what fails sooner.
Skip the full seal with no reinforcement; the fold line cracks first, and you can’t fix it after sealing.
3. 24 lb cardstock (176-200 GSM) with tape-only seams
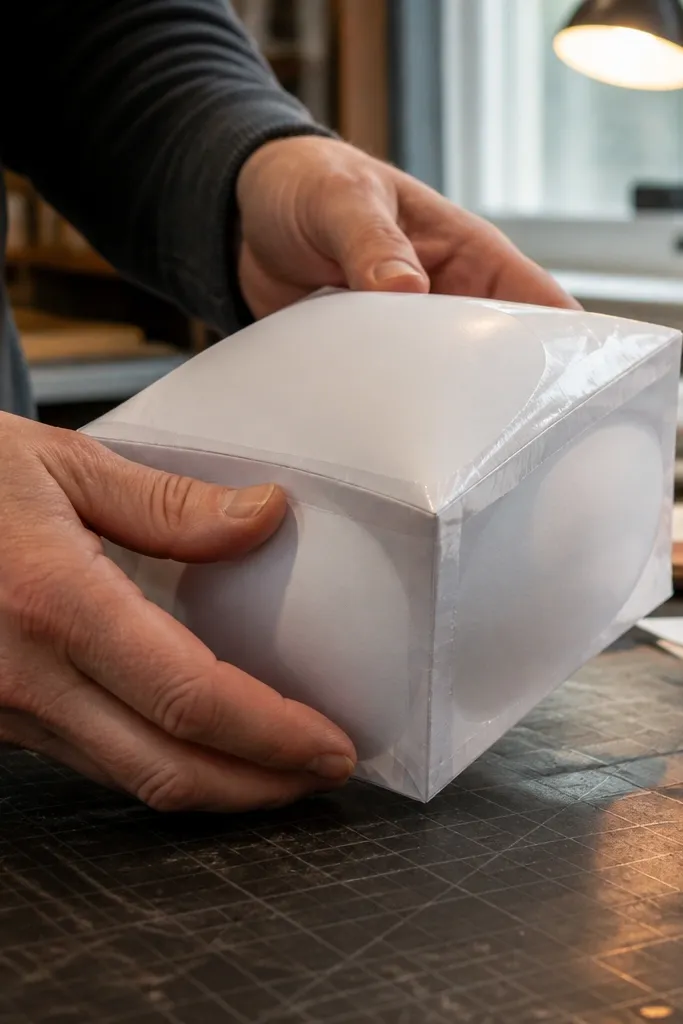
Use cardstock in the 176-200 GSM range and cut your panel pieces. Fold on scored lines, then run narrow tape strips along seams — one strip on the inside seam line and one on the outside edge if you want extra strength. Press firmly with a flat tool so the tape bonds, then check alignment before sealing the final edge.
Tape-only seams are a durability hack for beginners. 24 lb cardstock folds cleanly enough for a first build, and tape grips the paper fibers so edges don’t peel open as quickly as with some glues. You’ll still get a soft squeeze, but the perimeter stays tighter, which helps the squishy rebound. This build also avoids glue warping, which is a common reason paper squishies look lumpy.
Skip thisDon’t use glossy packaging tape; it can peel as the paper flexes.
Editor's noteUse short tape lengths rather than one long strip; you get fewer wrinkles and tighter corners.
4. Scrapbooking cardstock 250 GSM with matte finish
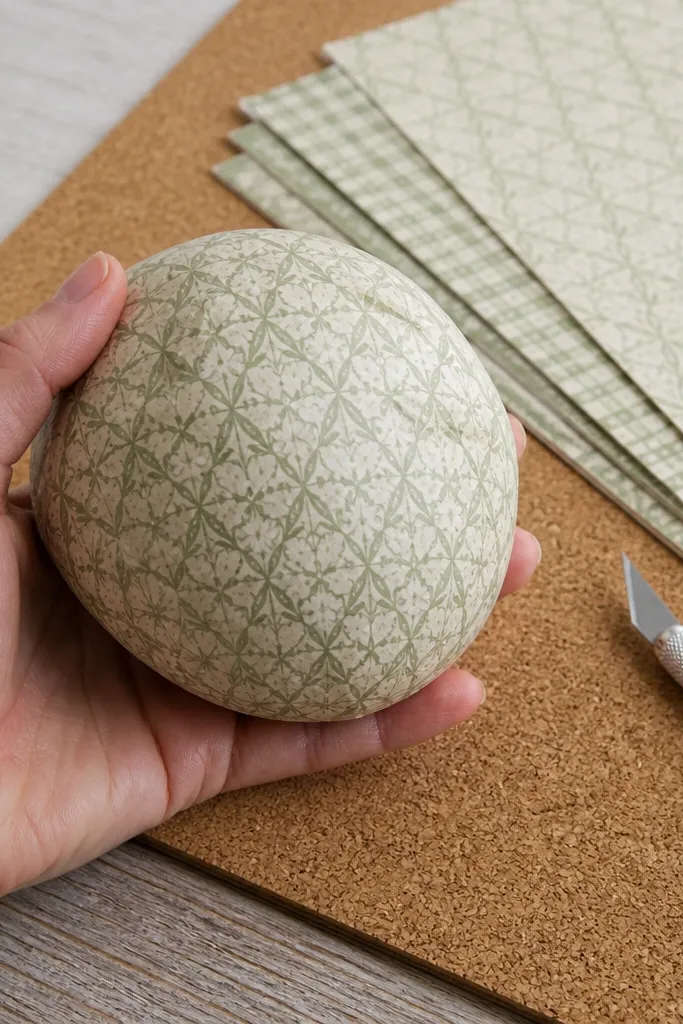
If you like the look of patterned paper but hate weak durability, go with scrapbook cardstock near 250 GSM. The heavier weight keeps the dome from flattening, and matte surfaces hide tiny scuffs from repeated squeezing. This is also a good pick if you want clean color — printed cardstock stays consistent after folds, unlike some thinner prints that show creases. The trade-off is that folding takes a bit more pressure and you need crisp scoring.
Choose cardstock around 200-250 GSM and score fold lines using a ruler and bone folder. Fold slowly, then reinforce the inside fold lines with a narrow tape strip or thin glue line plus a tape over it. Seal the outer edges and let it set flat for 10-15 minutes before you squeeze.
Press each fold with the bone folder after assembly, not just before — it tightens the layers.
Don’t skip scoring; unscored folds on 250 GSM can crack or crease unevenly.
5. Bristol board squishy (firm bounce, harder folding)
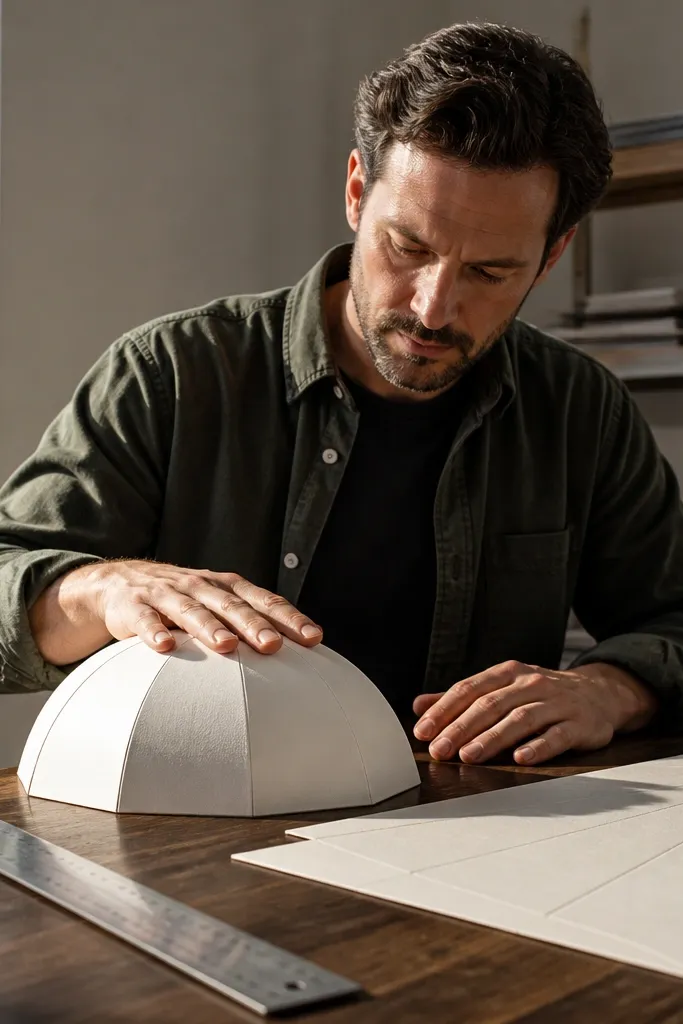
Bristol board gives a noticeably firmer bounce. It resists permanent flattening better than typical cardstock because the sheet is dense and crease-holds well. The downside is that it takes more effort to fold — you need strong scoring and careful alignment — and if you rush, you can get sharp fold fractures. For desk squishies that you squeeze daily, this paper lasts longer than most.
Cut panels and score deeply along fold lines using a bone folder and a ruler edge. Fold in stages: fold halfway, press, then fold the rest of the way so the crease forms gradually. Reinforce every fold line with tape on the inside, then seal the perimeter and press flat under a book for 20 minutes.
If you see a hairline crack, reinforce immediately with an extra tape strip across the crack line.
Don’t rely on weak spot-glue; bristol needs full fold-line reinforcement to stop stress splitting.
6. Smooth craft cardstock (220-250 GSM) for clean corners
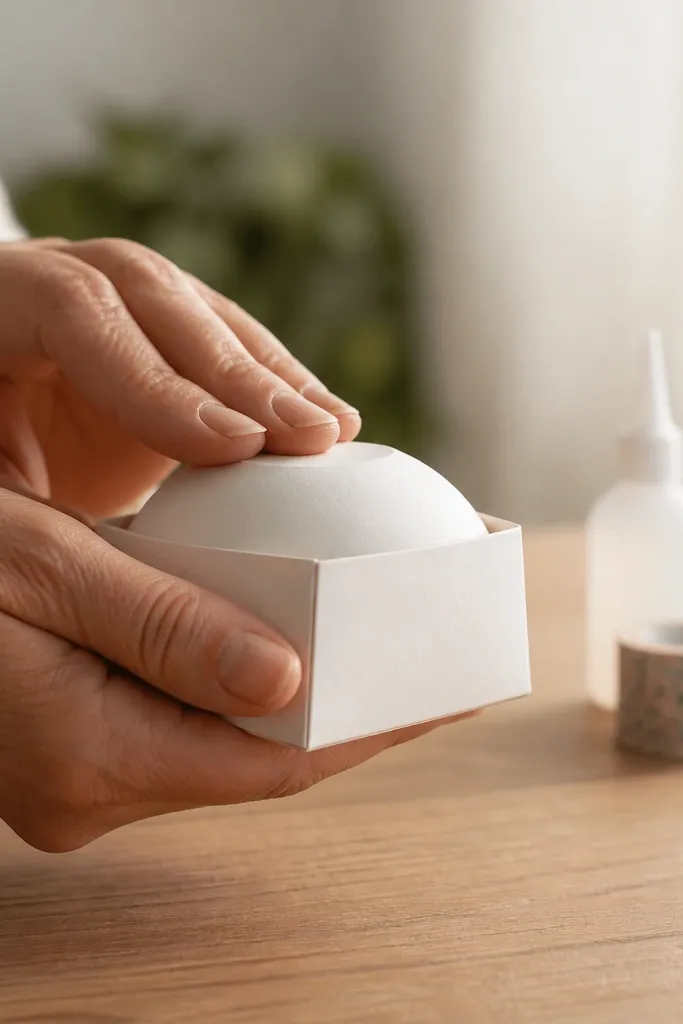
Smooth craft cardstock is underrated for squishies because it folds evenly and keeps corners from fraying. At 220-250 GSM, it has enough stiffness for rebound without feeling like you’re fighting a thick sheet. It also takes glue and tape predictably, so you get fewer weird bubbles or edge lifting. This is a good choice if you want a simple, solid color squishy that still lasts.
Pick cardstock in the 220-250 GSM range and cut the panels with clean edges. Score fold lines, fold, then run a tape strip along each seam before you seal the outside. After assembly, press the whole squishy flat for a few minutes so corners set and the layers stop shifting.
Use a sharp craft knife for cuts; ragged edges make tape lift when the squishy flexes.
Don’t glue over tape — glue can soak into tape edges and weaken the bond.
7. Kraft paper 120-160 GSM (soft feel, forgiving folds)

Kraft paper gives a softer, slightly slower rebound. It’s also forgiving if your folds aren’t perfect, since kraft fibers compress instead of cracking. The trade-off is that kraft at 120-160 GSM can still sag after repeated squeezing, especially if you don’t reinforce seams. If you want that cozy, paper-squish feel for a desk toy, it’s a good match. For maximum longevity, step up to kraft cardstock.
Use kraft paper around 120-160 GSM and score fold lines with firm pressure. Build with a reinforcement strip inside each fold line using tape, because kraft paper fibers slide under stress. Seal the perimeter and let it dry flat so the layers settle into a dome shape.
Make the reinforcement strip slightly wider than you think; kraft needs more grip at the fold line.
Avoid skipping reinforcement; kraft paper fails at the fold line long before the outer edge.
8. Kraft cardstock 200-230 GSM (stronger kraft option)
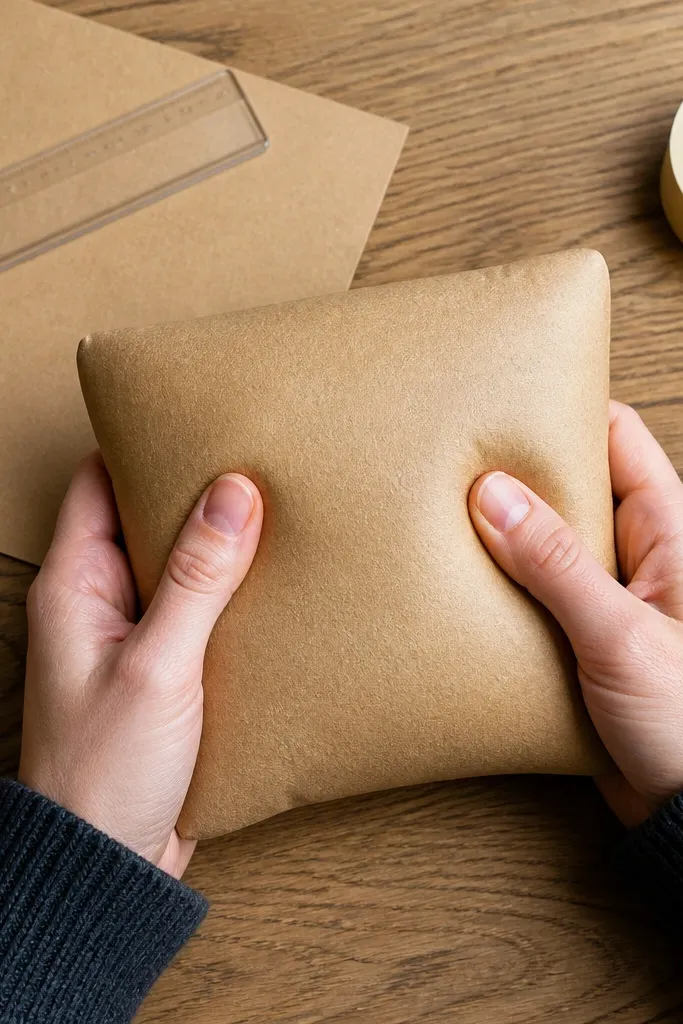
Cut panels from 200-230 GSM kraft cardstock and score fold lines with a bone folder and ruler. Fold carefully, then add tape strips along the inside fold lines before sealing the outer perimeter. Press the finished squishy flat so the dome shape sets before you handle it.
This is the kraft version that actually holds up. At 200-230 GSM, kraft cardstock resists flattening better than lighter kraft, and it still feels friendly to fold compared to bristol. The grain texture looks cool and hides tiny compression marks from squeezing. If you like the warm brown look but want something that lasts, this is the upgrade path.
Skip thisDon’t use watered-down glue; it soaks in and weakens the paper fibers.
Editor's noteSeal the outer edge with tape on the outside, not just glue; kraft fibers grip tape well.
9. Origami paper 70-90 GSM (easy to fold, average bounce)
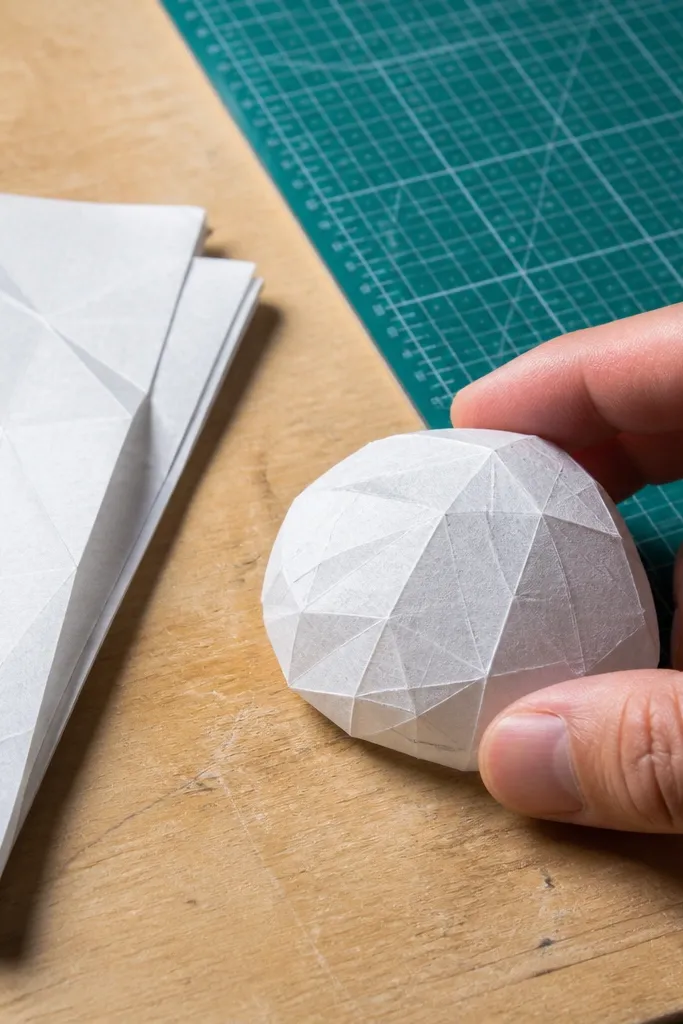
Origami paper is engineered to crease, so it’s beginner-friendly for getting clean folds quickly. At 70-90 GSM, it folds fast and makes neat panel edges. The problem is that it doesn’t have enough thickness to resist repeated compression, so longevity is middle-of-the-road. If you’re making a small squishy and you’re okay replacing it after a while, it works. For a squishy you squeeze daily, upgrade the GSM.
Use origami paper around 70-90 GSM and score fold lines lightly but deliberately. Assemble with tape along seams — especially along each fold line where stress concentrates. Seal the perimeter, then do a gentle squeeze test before full use to check for layer slip.
Keep your squishy smaller if you use origami paper; smaller builds reduce stress cycles.
Don’t rely on glue alone; origami paper can curl and separate at seams.
10. Origami paper 100-120 GSM (better bounce without bristol stiffness)
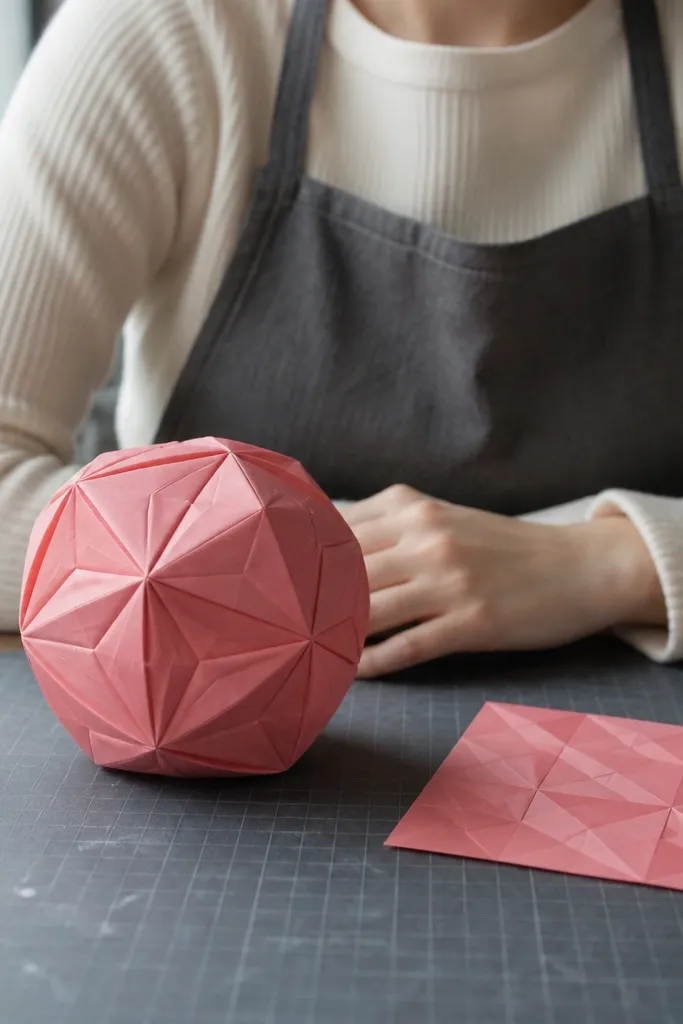
Pick origami paper around 100-120 GSM and cut panels with clean edges. Score fold lines with a bone folder, fold, then reinforce each fold line with an inside tape strip. Seal the outer edge and press flat for 10 minutes so the layers lock together.
This is the sweet spot inside the origami category. 100-120 GSM folds well and holds creases better than the thinner sheets, so it rebounds more consistently. You get a smoother dome and fewer crease openings after repeated squeezes. It’s still easier to fold than bristol board, so it stays beginner-friendly. If you want a clean look and better durability, this is a smart step up.
Skip thisDon’t stretch the paper during assembly; stretching weakens crease hold.
Editor's noteUse a ruler as a guide every time you score — slight skew makes the dome wobble when squeezed.
11. Laminated paper squishy (edge wear resistance)
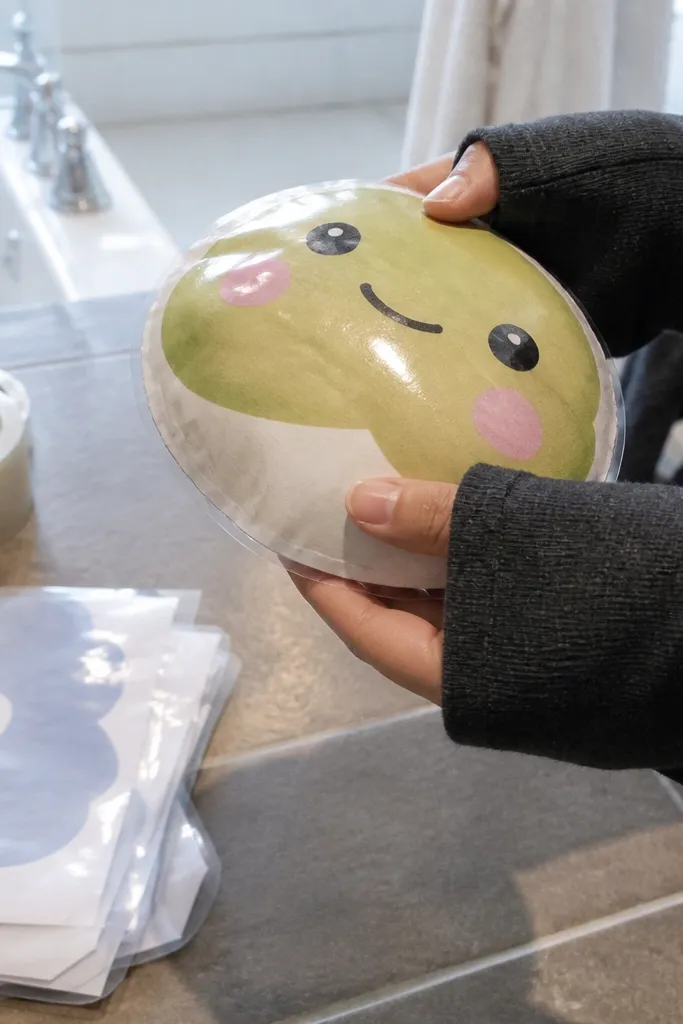
Laminated paper resists scuffs and edge wear, so it looks better longer. The outer plastic layer also slows moisture damage if your hands are a little sweaty. The trade-off is that laminated paper doesn’t bond as naturally as uncoated paper, so tape and glue choice matters. If you use the right tape and you reinforce fold lines, it can last much longer than plain cardstock.
Use laminated sheets and cut panels carefully with a sharp blade. Score fold lines gently but firmly, then reinforce fold lines on the inside with tape that grips well (test a scrap). Seal the perimeter and avoid overloading glue; too much glue makes bubbles under the laminate.
Run tape over the fold line like a hinge — it stops the laminate layer from cracking.
Don’t skip fold-line tape; laminated layers crack first at the crease.
12. Foil cardstock squishy (slippery outer, strong bounce)
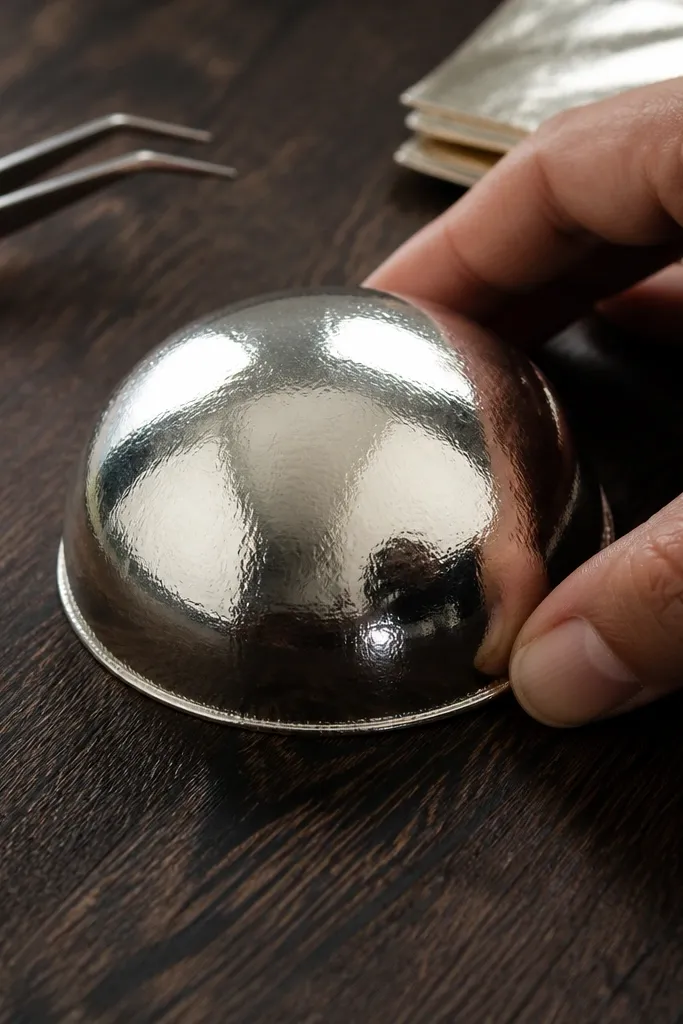
Choose foil cardstock around 200-250 GSM and cut with a clean blade. Score fold lines and fold slowly, then reinforce inside seams with tape that sticks firmly to smooth surfaces. Seal the perimeter and press under a flat weight for 15-20 minutes to lock the dome shape.
Foil cardstock holds shape well because it’s usually dense, and the metallic finish hides small surface scratches. It gives a satisfying squeeze response — not mushy, more controlled. The issue is that foil surfaces can be slick, so seams can shift if you don’t tape correctly. If you want a squishy that looks sharp and survives regular handling, foil cardstock is a strong option when reinforced.
Skip thisAvoid thin foil paper; it dents and the crease opens quickly.
Editor's noteIf tape doesn’t grip immediately, switch to a stronger paper tape rather than forcing it with glue.
13. Thin PVC sheet squishy (maximum shape memory)
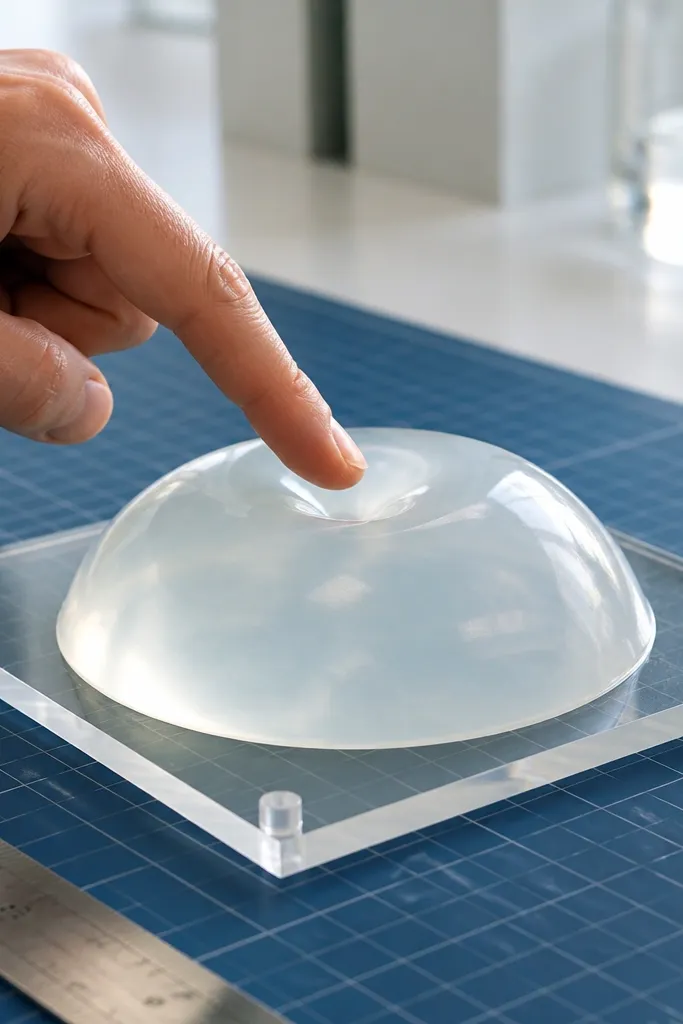
If your priority is repeated squeezing without sagging, thin PVC sheet wins. It has real shape memory compared to paper, so the dome stays intact longer. The trade-off is that it’s harder to cut and it doesn’t crease like paper; you need scoring tools and careful hinge reinforcement. This is for people who want a squishy that behaves more like a soft plastic toy than a paper craft.
Use a thin PVC sheet and cut panels with a sharp utility knife on a cutting mat. Score fold lines lightly with a ruler edge, then reinforce every fold with tape strips so the hinge doesn’t stress-split. Seal the perimeter with tape, then test squeeze gently to confirm the hinge holds before full use.
Wear eye protection when cutting PVC — it can snap and send tiny bits.
Don’t use paper glue; it won’t bond reliably to PVC.
14. Fabric-backed paper squishy (less crease cracking)
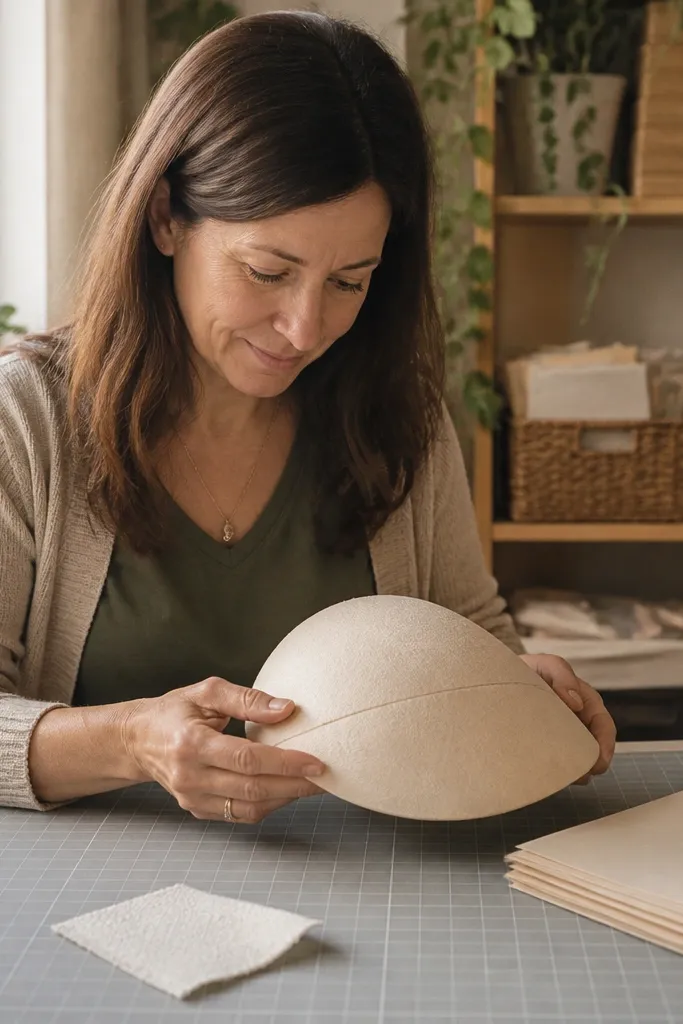
Cut panels from fabric-backed paper and score fold lines carefully so you don’t tear the fabric layer. Fold slowly, then reinforce seams with tape along the inside fold lines where stress concentrates. Seal the outer edge and press flat to help the layers settle into a dome.
Fabric-backed paper behaves like a hybrid: it folds with more forgiveness and resists cracking at the crease. You still get a squishy feel, but it holds together better than plain coated paper when you squeeze repeatedly. The texture also hides minor misalignment, so your first build looks nicer even if your panel cuts aren’t perfect. This is a great choice if your main frustration is creases splitting.
Skip thisAvoid heavy glue — it can soak into fabric and leave stiff spots.
Editor's noteUse narrower tape strips on fabric-backed paper; wide tape can create bulky corners.
15. Heat-transfer vinyl carrier-paper squishy (stays firm)
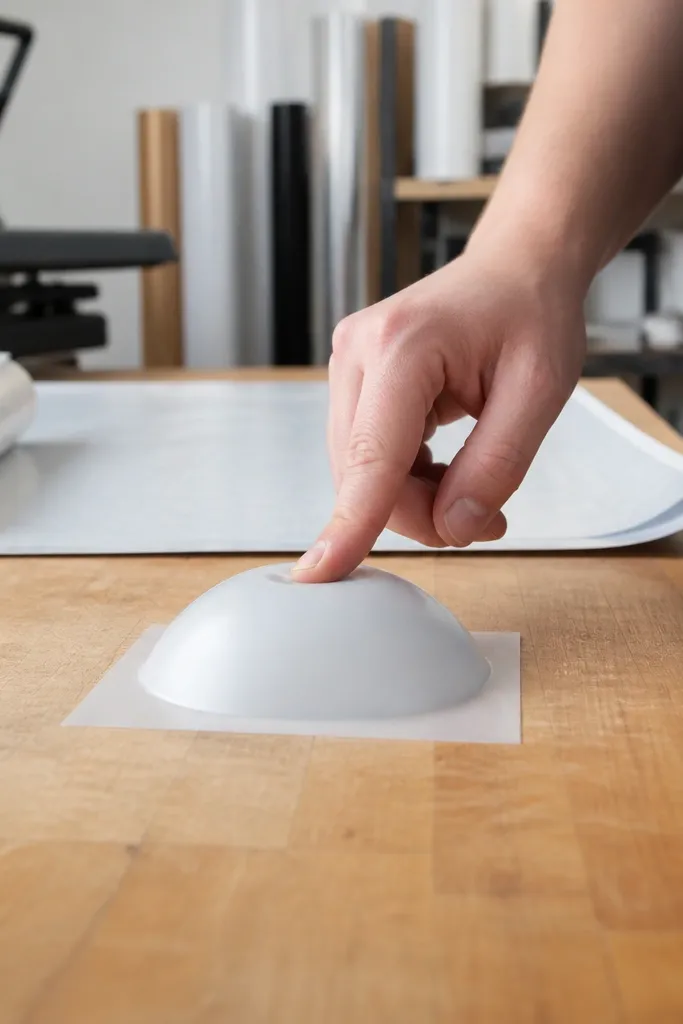
Cut the carrier sheet cleanly and score fold lines with firm pressure using a ruler. Fold in stages and immediately reinforce each fold line with tape on the inside so the hinge stays intact. Seal the perimeter, then press flat under a book for 20 minutes before use.
Heat-transfer vinyl carrier paper is stiffer than most craft papers, so it keeps a dome longer. It also tends to resist wrinkling when reinforced properly, which helps the squishy keep its bounce. The downside is folding takes more care — you need strong scoring and inside tape reinforcement because the material doesn’t behave like normal paper fibers. If you want a squishy that lasts through repeated squeezes, this is one of the best paper-like materials.
Skip thisDon’t skip the inside tape hinge; without it, the carrier layer fails at the fold line.
Editor's noteBefore you commit, test one fold on scrap and check if it springs back — that tells you how much scoring you need.



