
1. Golden-Yolk Body With Center Crease Wings
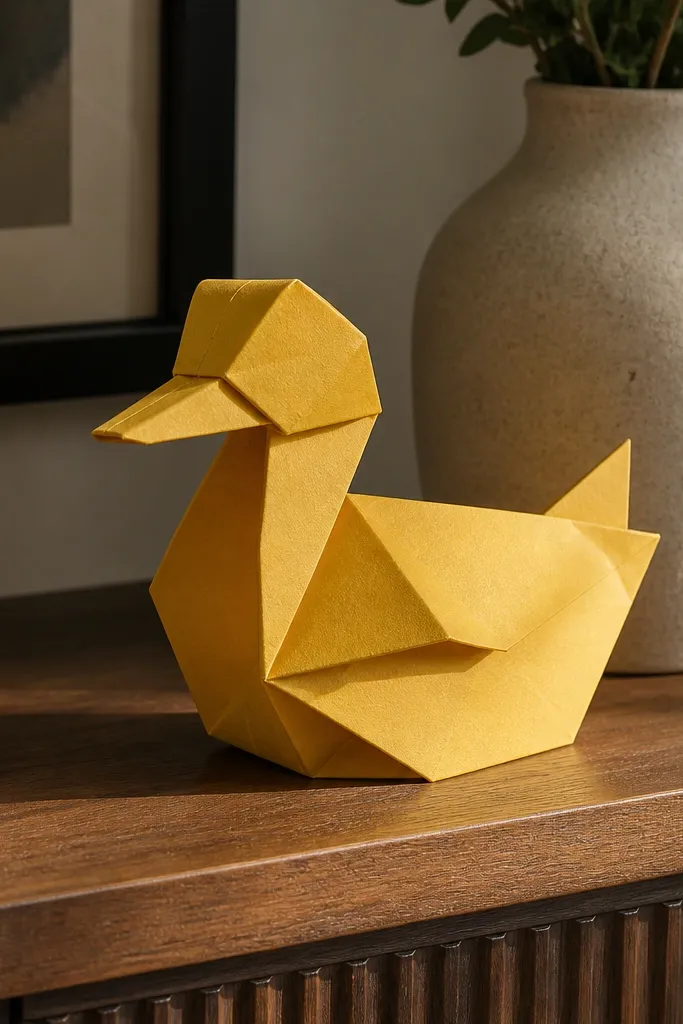
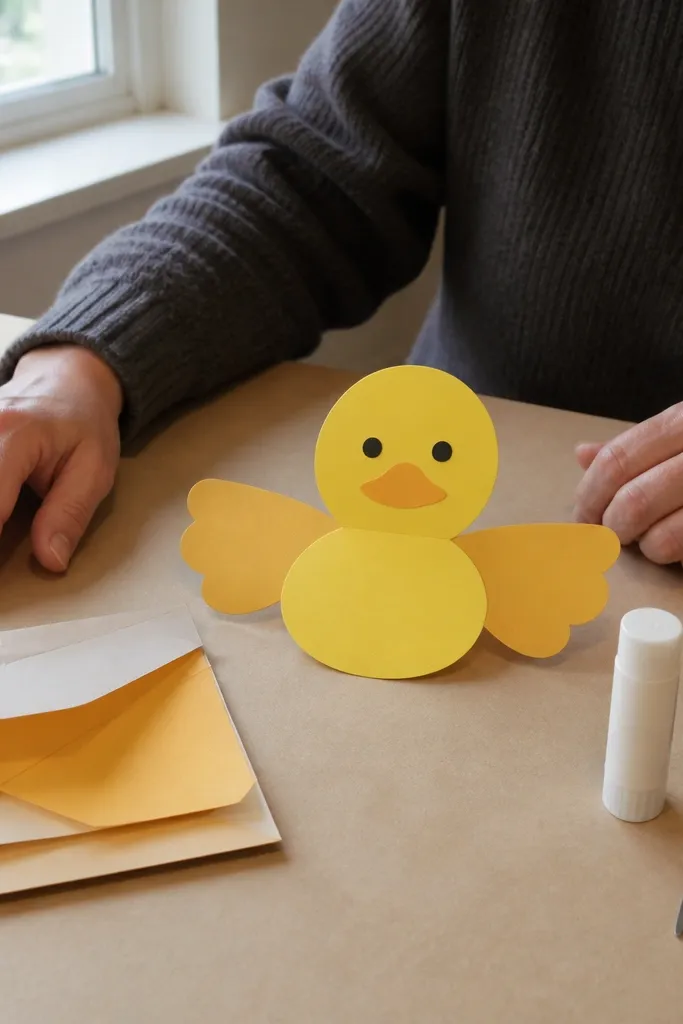
This look is the easiest way to get a “real duck” silhouette on a first try. Yellow cardstock gives you a clean, warm color that shows fold lines clearly, so you can correct symmetry early. The center crease is your anchor — wings fold from it, so both sides end up at the same angle. The final duck reads as intentional because the body shape stays smooth and the wings don’t twist.
Cut a duck body blank from 160-220 gsm yellow cardstock. Fold it along the center line, then fold the wing panels outward along their guide lines so both sides mirror each other. Add a small paper reinforcement strip (about 1 cm wide) along the underside of the center crease, then press firmly for 30 seconds. Let it sit flat under a book while you prep the head so the body doesn’t spring back.
Use a ruler to score fold lines before folding; it makes the wings look factory-made.
Don’t glue the wings until you dry-fit them, or you’ll lock in a twist.
2. Matte White Duck With Soft Gray Wing Shadows
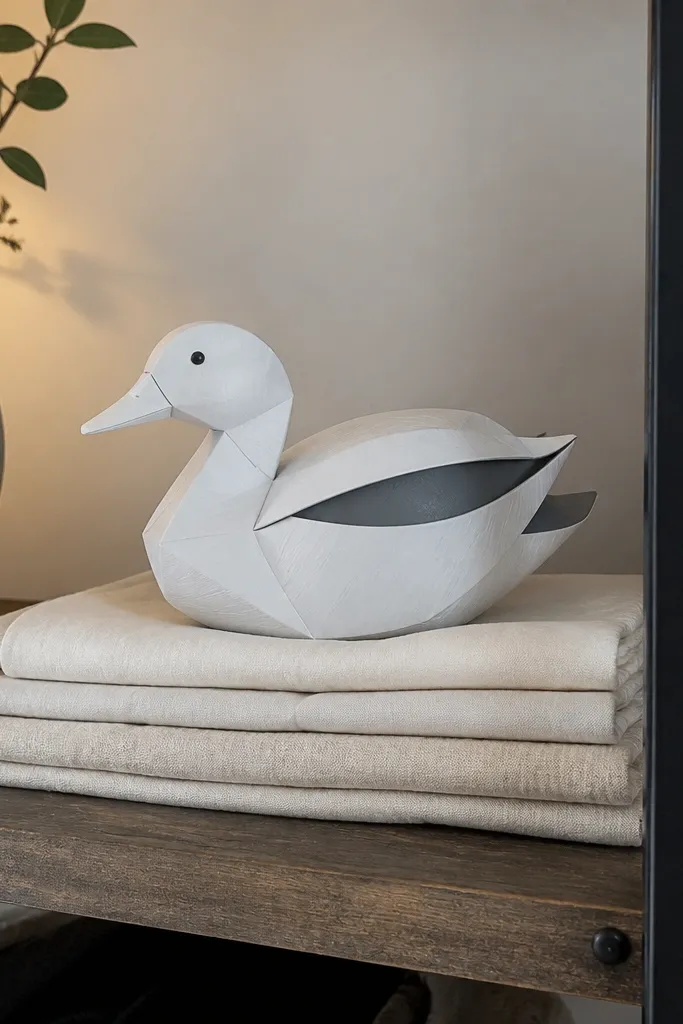
Matte white reads best in decor because it doesn’t glare under room lights. The trick is adding soft gray shadow panels where the wings tuck, so the duck looks dimensional even though it’s paper. This method also hides tiny fold imperfections — gray covers uneven edges better than bright white. It’s a photogenic option for shelves, gift tags, and centerpieces.
Cut your main body from matte white cardstock. Cut two wing shadow pieces from light gray paper and glue them to the underside of the wing panels so they show when the wings sit open. Reinforce the wing fold line with a thin strip of scrap paper on the inside. Finish by sealing the whole duck with a thin matte Mod Podge layer so the colors stay flat and smooth.
Editor's noteSeal only one thin coat at a time; thick coats warp paper and dull the edges.
Skip thisSkip glossy finishes on white — they make fold lines look messy.
3. Pastel Ombre Duck Using One Strip Wrap
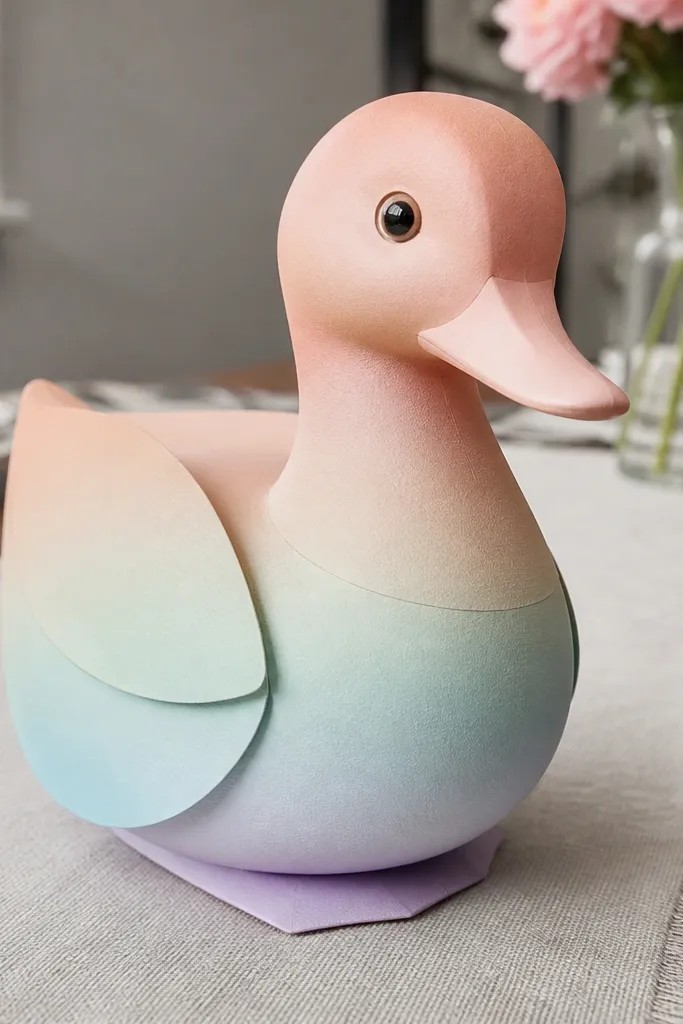
Ombre makes a paper duck look expensive because your eye reads the gradient as depth. This version uses one continuous color strip wrapped around the body, so you don’t get patchy seams. Pastels also forgive small alignment issues — the gradient flow hides minor miscuts. If you want a duck that looks good even when it’s small, this is the move.
Choose three pastel shades of cardstock and cut a long strip wide enough to wrap the body plus 1 cm overlap. Blend the colors by lining them edge-to-edge on the strip, then trim so the strip wraps cleanly. Glue the strip around the folded body, aligning the color change to the center crease. Press with clips or tape for 10 minutes, then seal the seam with a tiny inside tab of scrap paper.
Make the overlap on the underside; you’ll never see it and it stays flatter.
Don’t wrap the strip before the body crease is fully set, or the gradient seam will ripple.
4. Confetti Duck With Speckled Scrap Panels
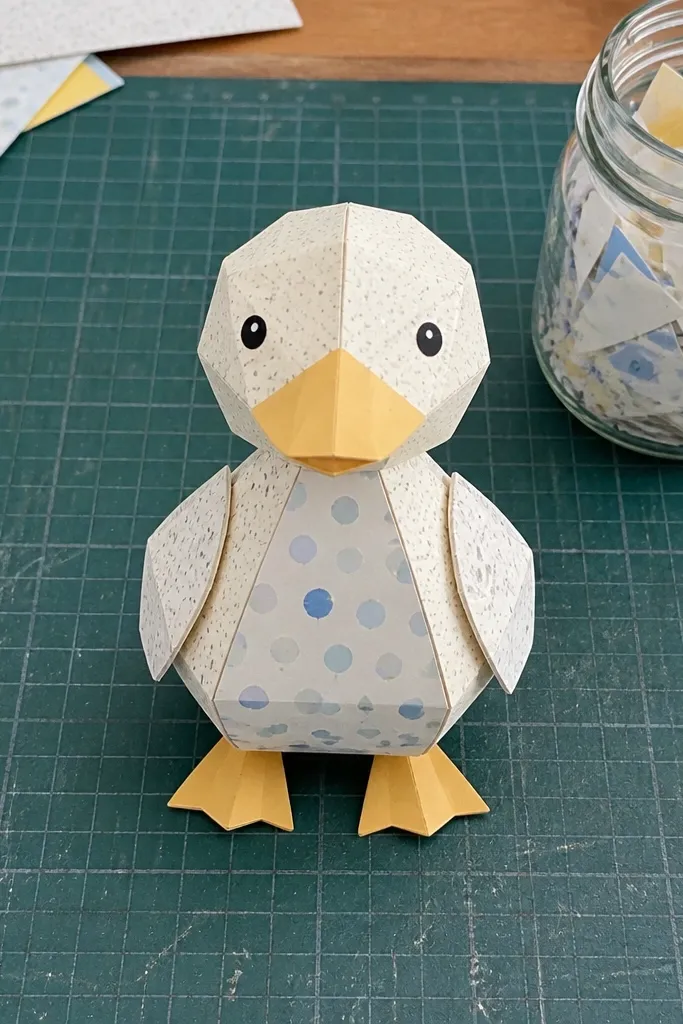
If you want a duck that looks playful and handmade in a good way, confetti panels are the fastest upgrade. Speckled scraps break up solid color blocks, so minor fold lines look like design instead of mistakes. This approach also lets you use tiny paper leftovers, which keeps the spend down. The finished duck looks great as a set of 3-5 on a wall or as party decor.
Cut your body base from plain yellow cardstock. Punch or tear small bits of colored paper, then glue them in small clusters on the wing panels and upper body area. Keep clusters away from the fold lines so the duck still opens flat. Seal with matte Mod Podge in a light coat, then let dry fully before adding the beak and eyes.
Use a dry brush to spread Mod Podge thinly over speckles so they don’t bleed together.
Don’t cover the fold lines with confetti — it stiffens the hinge and twists the wings.
5. Minimal Black-Lined Duck With Clean Marker Edges
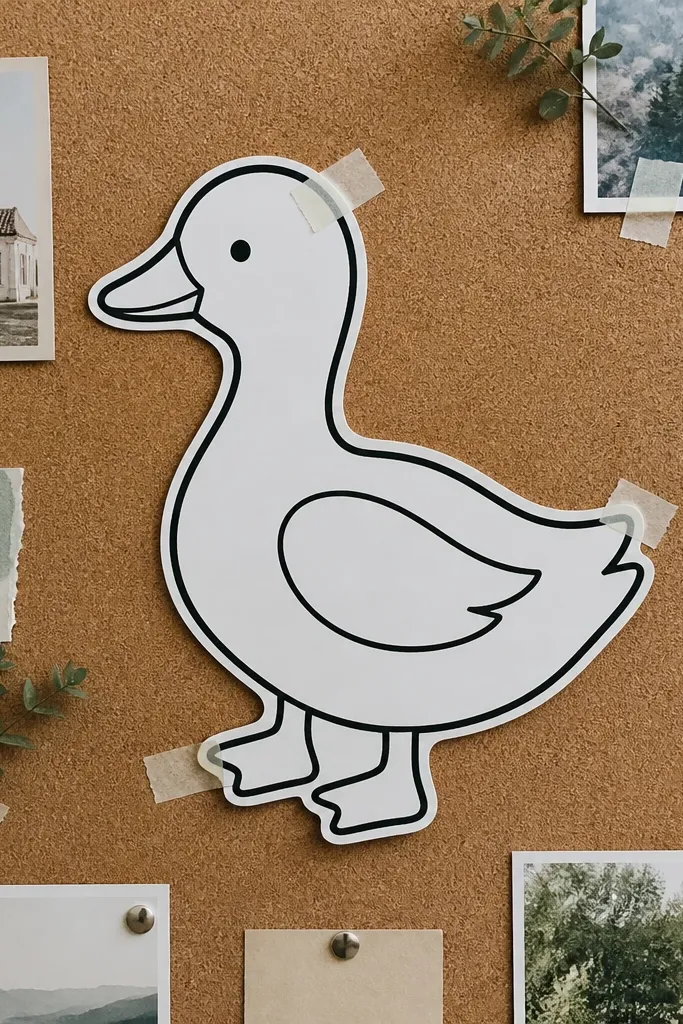
This is the “graphic print” look. Black lines make the duck instantly readable, even from a distance, and they hide slight asymmetry because your eye follows the outline. Use a steady line weight: thick on the outer contour, thinner on internal details like wing lines and beak edges. It’s also a budget-friendly approach because it uses one marker instead of extra paper layers.
Build the duck base in plain yellow cardstock with a crisp center crease. Use a ruler to draw a thin guideline for the wing split, then outline the wing edges with a fine-tip black marker. Draw the beak shape with two mirrored lines and fill it with marker or a small triangle of orange paper. Add dot eyes and a tiny cheek mark, then seal lightly with matte sealer to prevent smudging.
Editor's noteTest marker pressure on scrap first; heavy pressure can feather and ruin the edge.
Skip thisAvoid coloring over sealed areas; marker won’t grip and can smear.
6. Orange Beak Duck With Glossy Beak Finish
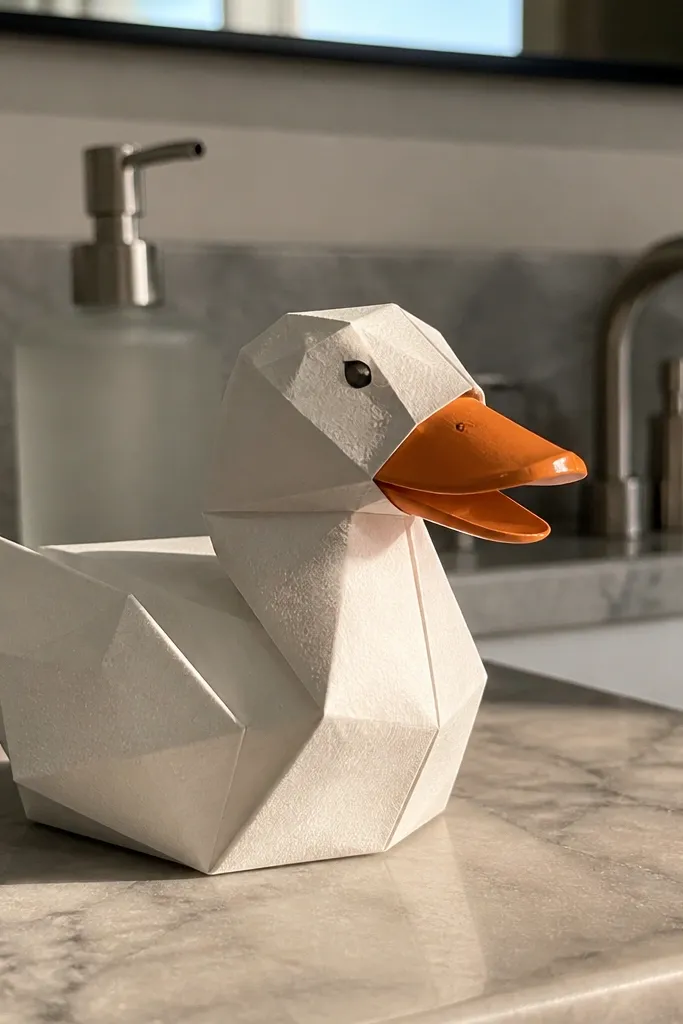
A glossy beak makes paper ducks look alive. The rest stays matte so it doesn’t glare, but the beak catches light and reads clearly in photos. This look fixes the most common first-try issue: paper ducks that look flat because everything is the same finish. You also get control — you can keep details sharp by using a small separate beak piece.
Cut the beak from orange cardstock or construction paper, then glue it to the head with the tip centered on the face fold. Seal the entire duck with matte Mod Podge, but leave the beak unsealed for now. Once the matte layer is dry, paint a thin clear gloss layer (gloss Mod Podge or clear acrylic medium) only on the beak. Let it dry flat so the shine doesn’t drip.
Brush gloss in two thin passes instead of one thick coat for a smooth surface.
Don’t gloss the whole duck; it makes fold lines look greasy.
7. Two-Tone Wing Duck With Inside-Layer Color Pop
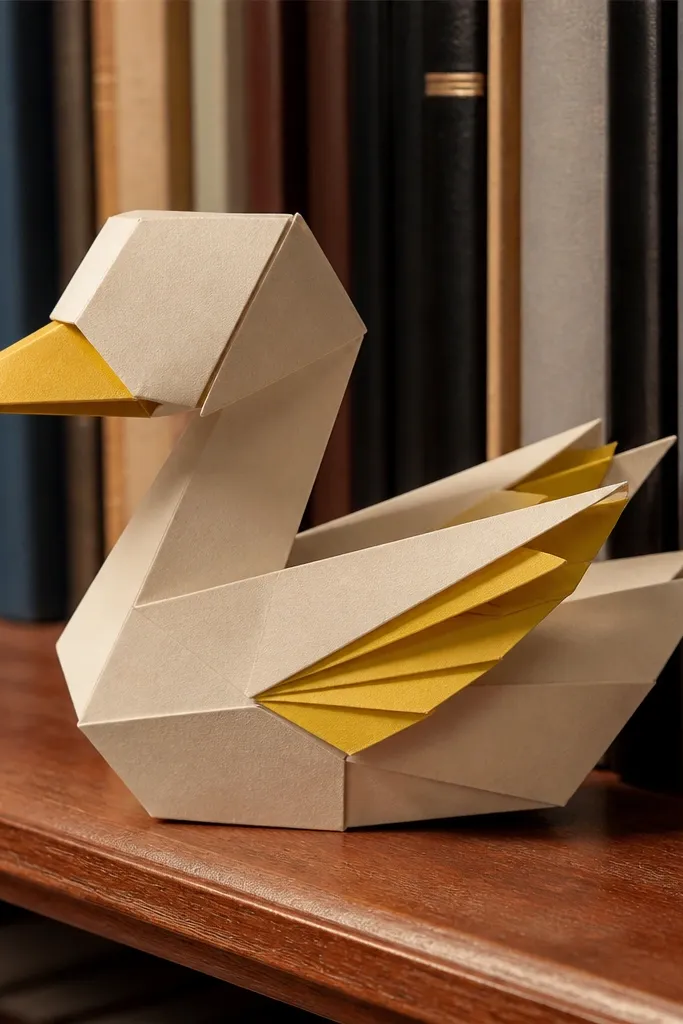
This is how you get that satisfying “surprise color” effect. The outside of the wing stays neutral so the body looks clean, while the inside has a brighter tint that shows when you pose the wings. It’s also practical: you can hide uneven glue lines on the underside. The duck looks more dimensional without adding extra bulk.
Make the body from neutral yellow or cream cardstock. Cut wing pieces in two layers: outer wings in pale color and inner wings in a brighter shade like teal or peach. Glue inner wings to the underside of outer wings along the wing edges, then assemble to the body. Seal lightly, then gently open the wings so the inner color shows.
Editor's noteUse thinner inner paper (100-140 gsm) so the wing hinge stays flexible.
Skip thisDon’t overfill glue near the hinge point; it stiffens and cracks the fold.
8. Rolled-Edge Feather Duck Using Micro-Folds
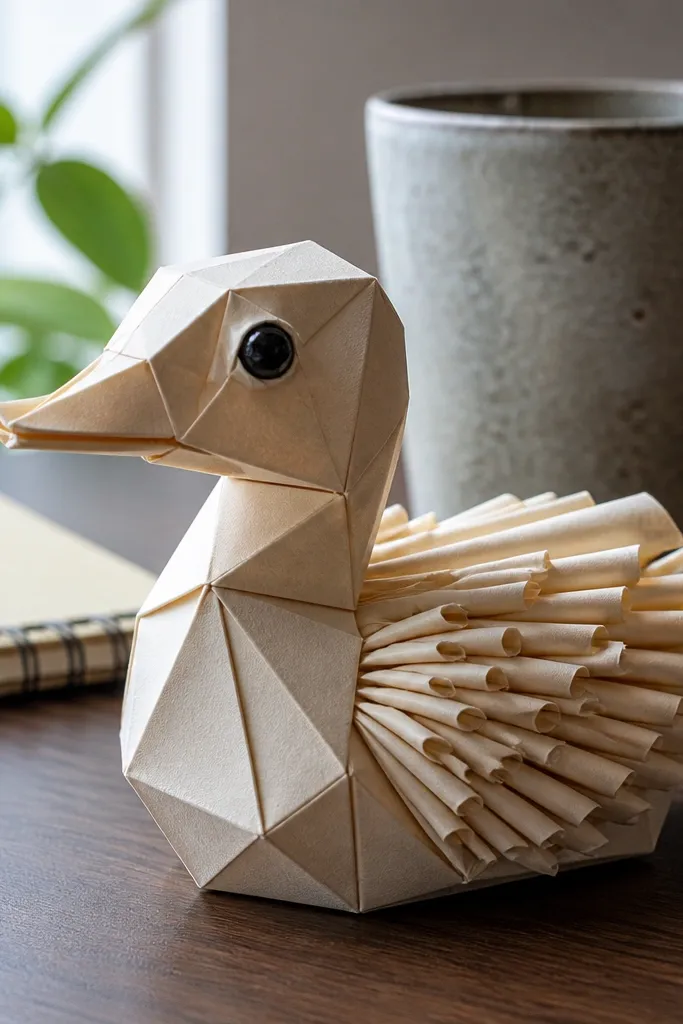
Micro-folds give paper ducks texture without extra materials. Rolled edges catch light and make the wings look like feathers instead of flat panels. This look is great when your folds are slightly off — texture distracts and makes the shape feel intentional. It takes more time than plain wings, but it’s still beginner-friendly because each roll is small and repeatable.
After cutting wing panels, score a shallow line about 3 mm from the wing edge. Fold that strip inward tightly to create a rolled edge, then press with a bone folder or ruler edge. Repeat along both wings and add a shorter rolled strip on the tail. Assemble the duck base first, then attach wings so you don’t crush the rolls while handling.
Roll edges using the ruler’s corner for consistent tightness.
Don’t roll too wide; bulky folds make the wings flare awkwardly.
9. Layered Head Duck With 3D Chin Piece
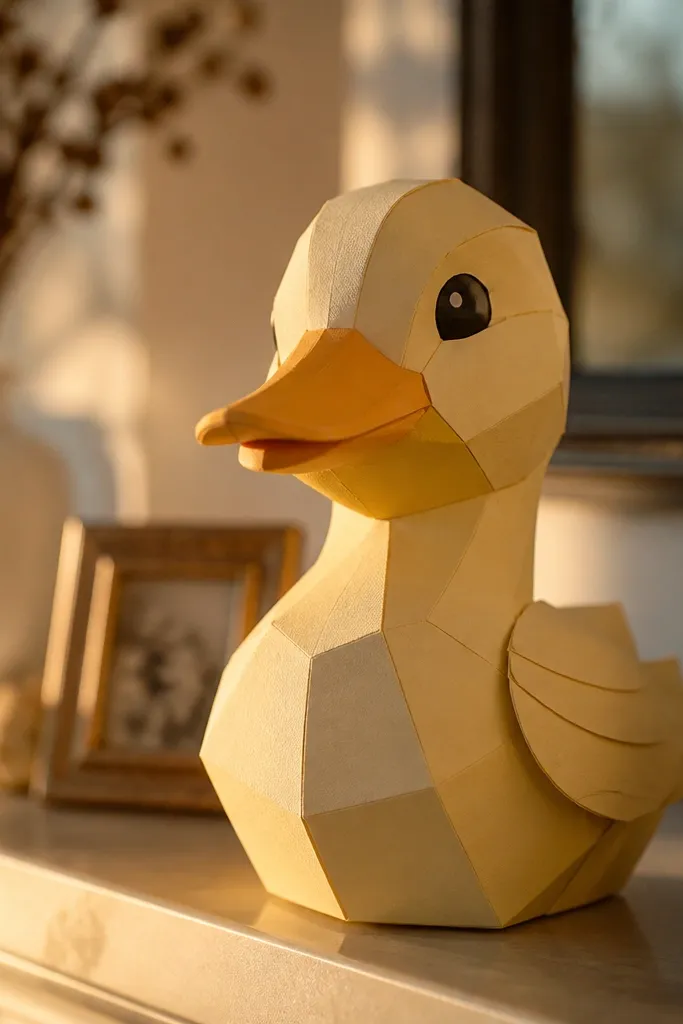
A 3D chin is the difference between flat craft and a duck that looks “made.” Layering adds depth right where you expect it — under the beak — so the face reads clearly. You also hide small gaps where the head meets the body, which is the usual first-try headache. This design is photogenic from the side, not just straight-on.
Cut the head base from cardstock and glue it to the body center crease. Cut a smaller chin insert from a matching or slightly darker shade and glue it under the beak line, leaving a small overlap gap for shadow. Use a tiny paper tab on the back of the chin insert to keep it aligned while drying. Once dry, add beak and eye details on top.
Editor's noteTrim the chin insert edges with a sharp craft knife for a crisp shadow line.
Skip thisDon’t glue the chin directly to the front face; it can buckle the head.
10. Wavy Waterline Base Duck Stand
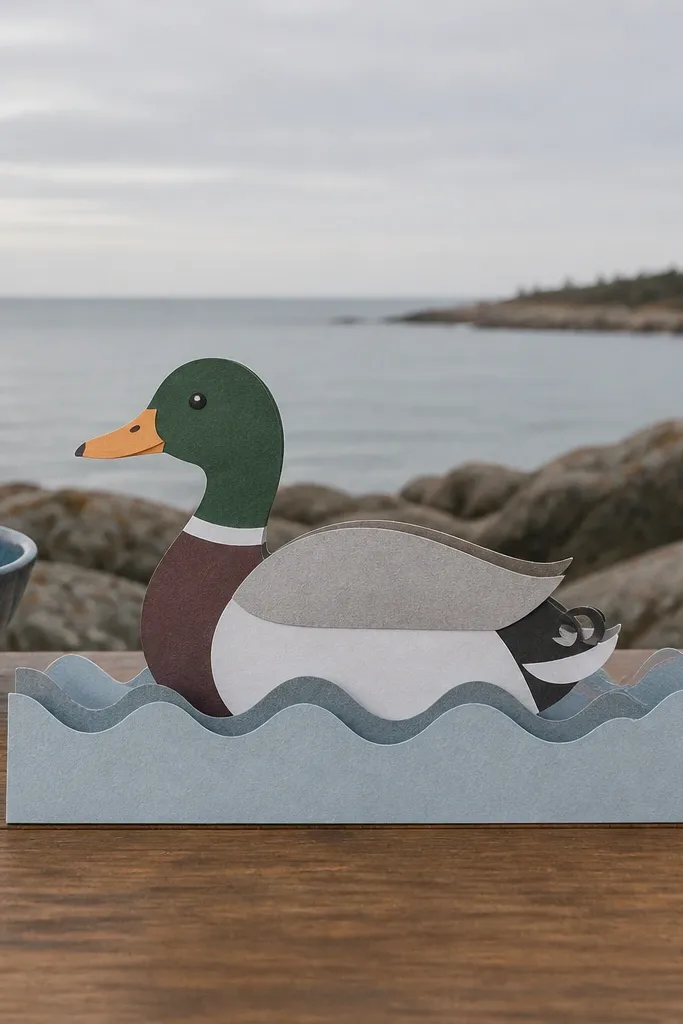
A duck looks better when it has a “where it stands” moment. A wavy waterline base gives context and makes the duck feel like decor, not a flat ornament. It also solves a common problem: wings get crushed when you store the duck. This stand lifts the duck slightly so the wings show and the beak stays visible.
Cut a base strip from cardstock about 3 cm tall and the width of your duck body plus 2 cm. Score it into a gentle wave by folding along a few evenly spaced lines, then glue the ends into a shallow arc. Attach the duck body to the top edge with a thin tab so it sits upright. Finish the base by painting or covering it with light blue paper and sealing.
Make the stand 5-10 mm wider than the body so it doesn’t tip.
Skip a stiff base if you want upright; thin paper bends and the duck leans.
11. Mini Topper Duck Using Toothpick Support
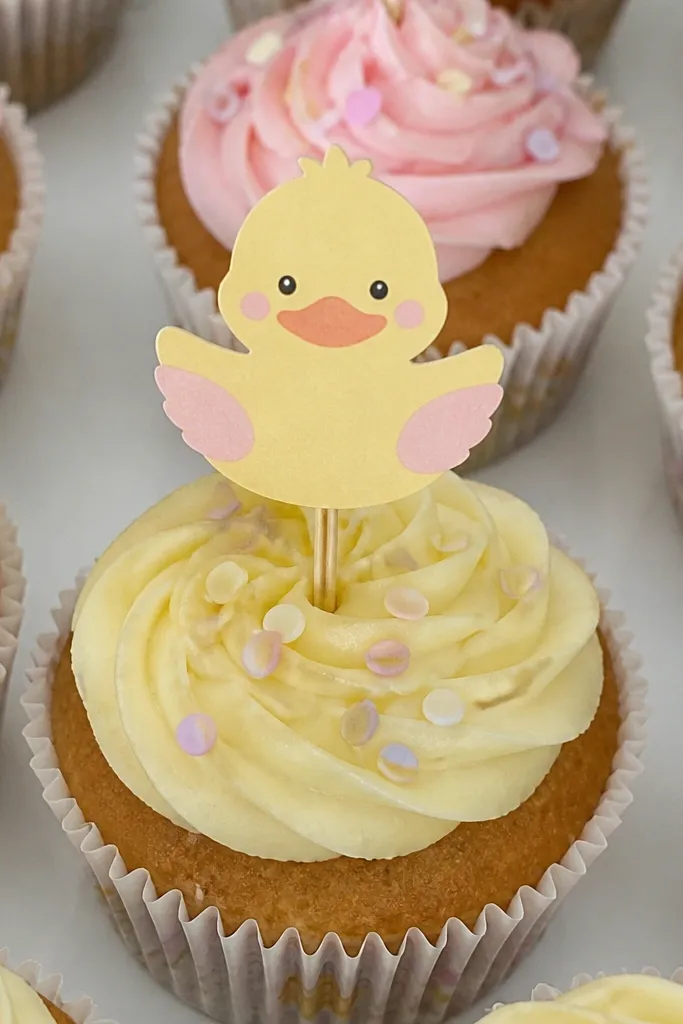
For table decor, a mini duck needs height and stability. A toothpick or wooden skewer support keeps it upright and makes it easy to place in cupcakes, gift bags, or party arrangements. This look is budget-friendly because you use cheap supplies and small scraps. It also gives you a clean silhouette from above, which is what people care about with toppers.
Make a smaller duck body and head using the same fold logic as the full-size. Glue a short toothpick to the underside with a paper collar tab so the toothpick doesn’t rip through. Reinforce the collar with a second tab around the toothpick base. Let it dry fully, then attach wings and finish details after the support is secure.
Cut the toothpick to length first so the duck sits at the exact height you want.
Don’t attach wings before the toothpick collar cures; handling snaps hinges.
12. Cut-Paper Webbed Feet Duck
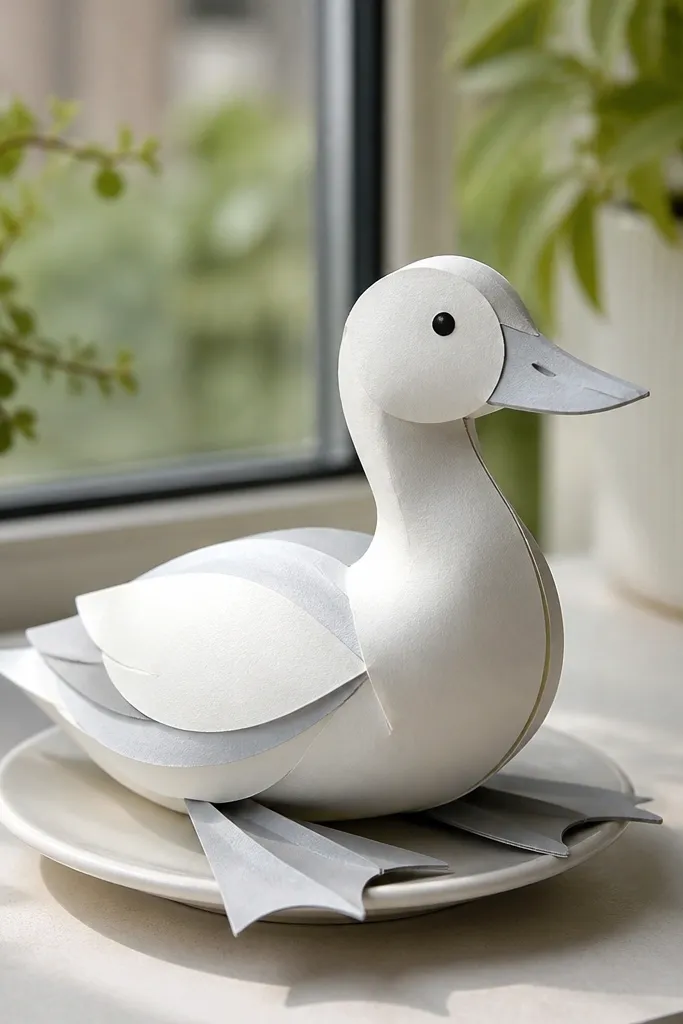
Feet make a paper duck look like it has weight. Webbed feet also add a strong visual detail that reads instantly, even in low light. This version uses cut-paper shapes instead of heavy layers, so it stays light and doesn’t sag. The duck looks better when you angle it slightly, because the feet show and balance the composition.
Cut two foot shapes from orange or coral paper, with three toe slits per foot for the webbed look. Glue feet to the underside of the body near the front edge so they peek out when upright. Add a small underside tab to keep feet from popping off under handling. Seal the duck, then lightly press feet flat with a book once the glue sets.
Use a craft knife and a cutting mat for toe slits; scissors crush the edges.
Avoid placing feet too far back, or the duck tips forward.
13. Spotty Polka Duck With Stencil Dots
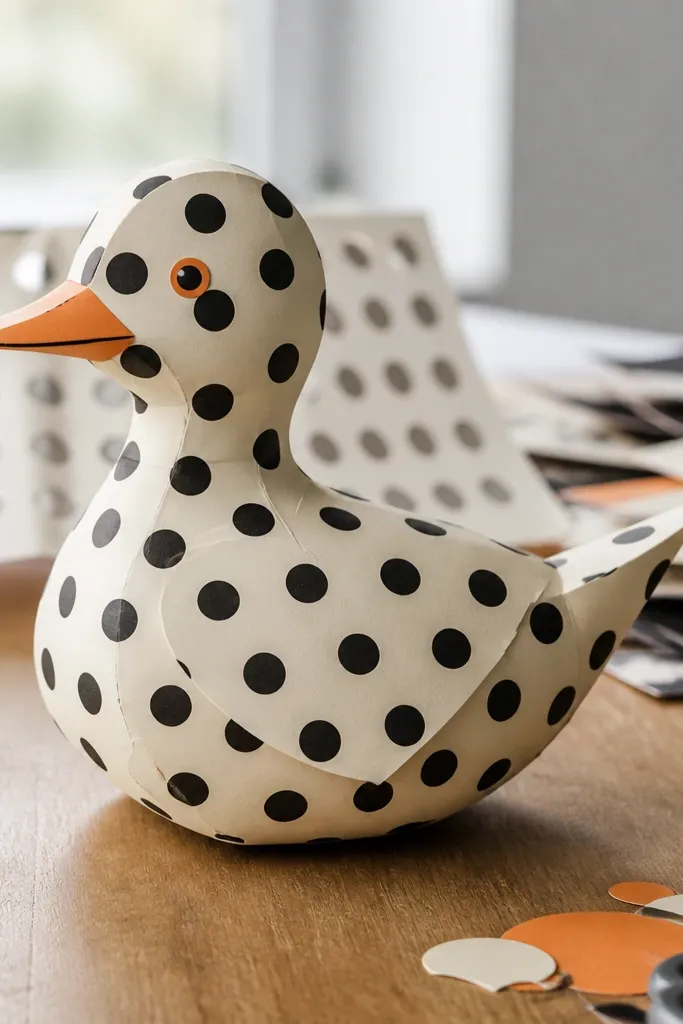
Polka dots look cute and they hide uneven coloring, but only if the dots are consistent. A simple stencil makes the pattern even and gives you that tidy, aesthetic finish. This design also helps you practice alignment: dots act like reference points, so you can spot when wings don’t match. It’s a great choice if you want a “cute” duck for gifts or kids' crafts that still looks clean.
Cut a small dot stencil from thin plastic or cardstock scrap with a hole punch. Mark the body center crease, then place the stencil and dab paint or marker ink carefully for consistent dots. Repeat on both wings, using the crease and wing fold lines as alignment guides. Seal with matte sealer once dry so dots stay crisp and don’t smear.
Editor's noteUse a sponge dabber, not a brush, for clean dot edges.
Skip thisDon’t drag ink across the paper; it turns dots into smears.
14. Textured Linen-Style Duck Using Paper Grain Wrap
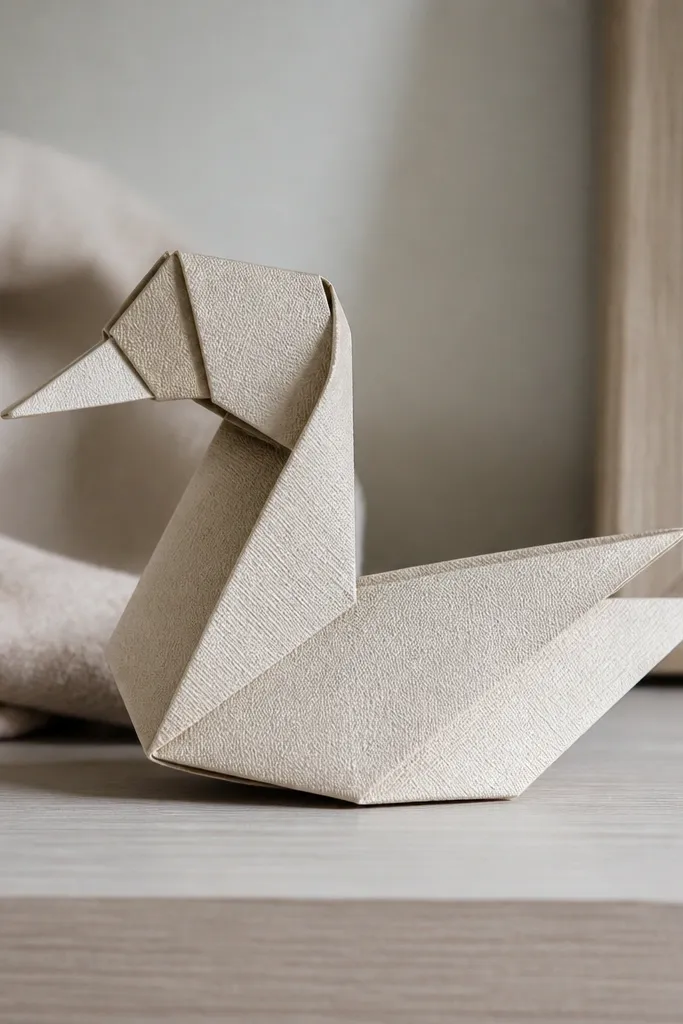
Texture is the fastest way to make a paper duck look premium without buying fancy tools. If you use paper with a visible grain (linens, artist paper, or textured craft paper), the folds look sharper and the surface hides micro-wrinkles. This look is especially good for neutral colors like cream, oatmeal, and light gray because the texture shows through softly. It also photographs well because the surface catches light evenly.
Choose a textured paper for the body and cut your duck blank so the grain runs left-to-right across the body. Fold along your scored center crease and wing lines, pressing firmly with a ruler edge. If the paper is too thick, use textured paper only on the outer body and a smoother cardstock inside for structure. Seal lightly with matte Mod Podge to lock in the texture without making it shiny.
Editor's noteRun a fingertip along the scored lines before folding; it helps you feel where the crease wants to go.
Skip thisDon’t use thick textured paper for tiny wing folds; it cracks and looks rough.
15. 3-Color Duck Using Layered Wing Tabs and Clean Seams
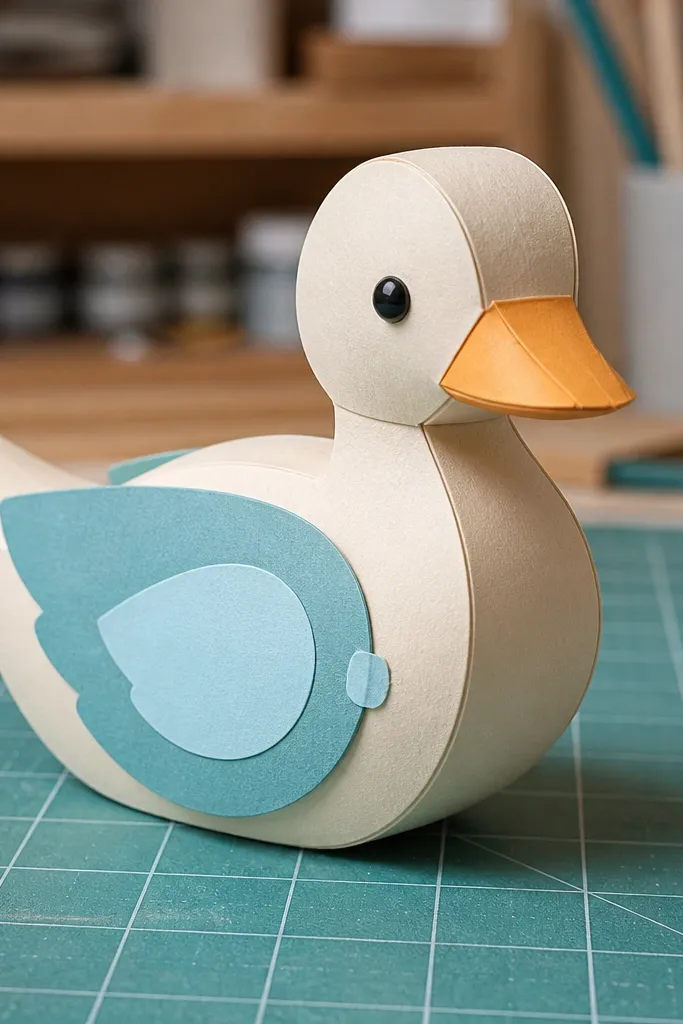
This is the “clean seams” version that looks like a designed craft. You use three colors — body, wing outer, and wing inner — and you hide the messy join points with small wing tabs. The result is a duck that looks tidy from every angle, not just the front. If your first tries always show glue blobs or gaps, tabs fix that immediately because they cover the join line.
Cut body in one color and wings in two layers using two different shades. Before assembly, glue the wing inner layer to the wing outer layer, then add a small tab of matching paper behind the wing base. Attach wings to the body using the tab so the seam sits inside the duck outline. Finish by sealing and then adding beak and eye details after the glue is fully dry.
Editor's noteCut tabs about 5 mm wide so they cover seams but don’t bulk up the wing hinge.
Skip thisDon’t put tabs in the middle of the wing fold; keep them at the attachment edge.



