
1. Pastel Rowhouse with Big Bay Windows
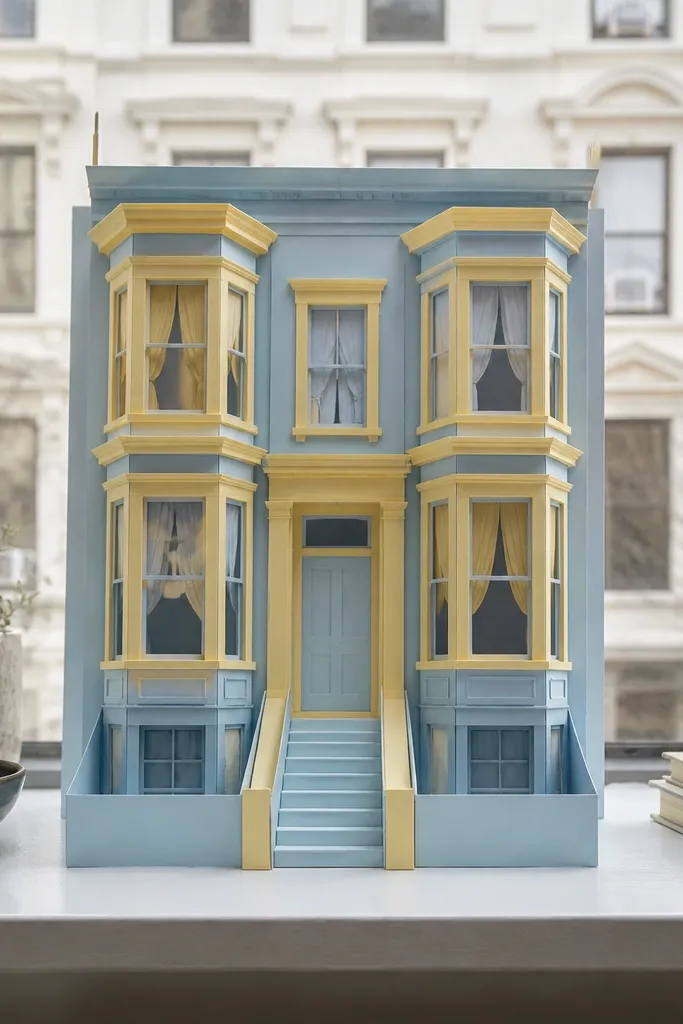
This template is all about instant charm. The bay window frames create strong shapes that read well even when your doll pieces are small. It’s also a great choice for a “neighborhood wall” photo because the front elevation looks complete from one angle. Use it if you want a house that feels bright and friendly with minimal extra styling.
Print the template on 180-200 gsm cardstock. Cut the outer house shape first, then cut the window sections and fold along the labeled lines. Assemble the shell using the tabs and reinforce the base by gluing the house onto a thin backing sheet (manila folder works). Finish by adding the door and window shutters last so they stay aligned.
Run a ruler along fold lines before assembly; it makes the folds sharper without cracking.
Don’t cut out every tiny window detail before you fold the main walls — it makes alignment harder.
2. Tiny Cottage with Curved Veranda
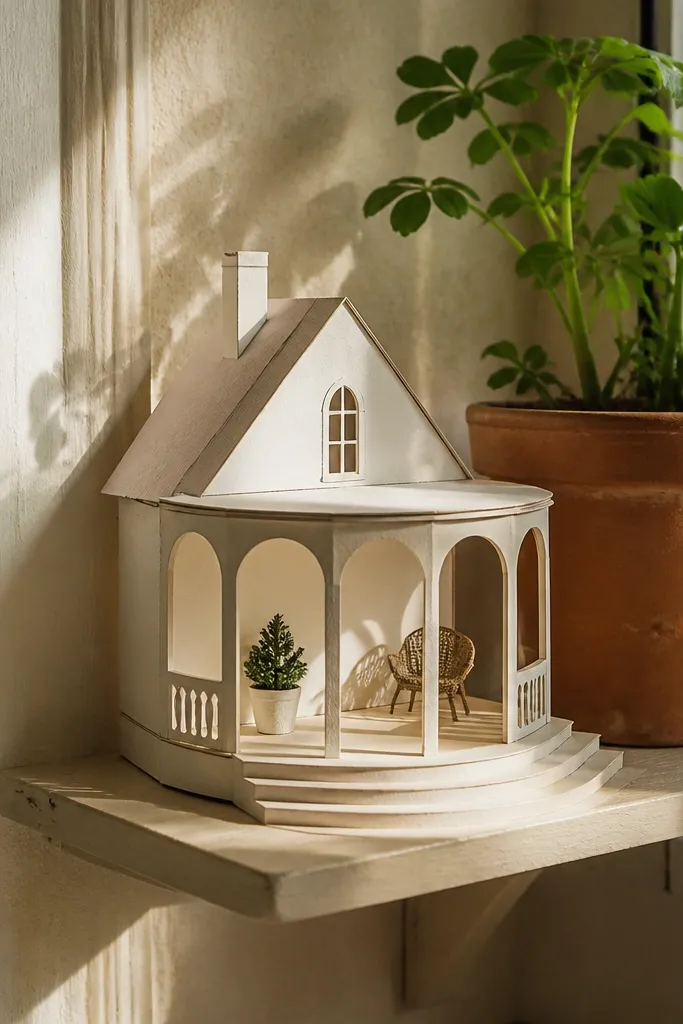
Curves make paper crafts look more expensive. This cottage template has a veranda edge that creates a soft silhouette, which is what makes it photogenic in flat photos. It also gives you a natural “stage” for miniature planters, so you can add greenery without needing extra furniture templates. If you like cozy, cottage-y vibes, this one gives you that look in fewer pieces.
Print on 160-180 gsm cardstock and cut the main cottage outline. Fold the front veranda tabs inward, then dry-fit the porch piece to check the curve lines up before gluing. Glue the porch to the front wall, then attach the door panel and any window frames. Let it dry flat under a book for 10-15 minutes so the curve doesn’t warp.
Use a glue stick for the porch — liquid glue can soak and ripple curved edges.
Avoid heavy cardstock thicker than 220 gsm; the veranda curve will fight folding.
3. Modern Minimal House with Teal Accents
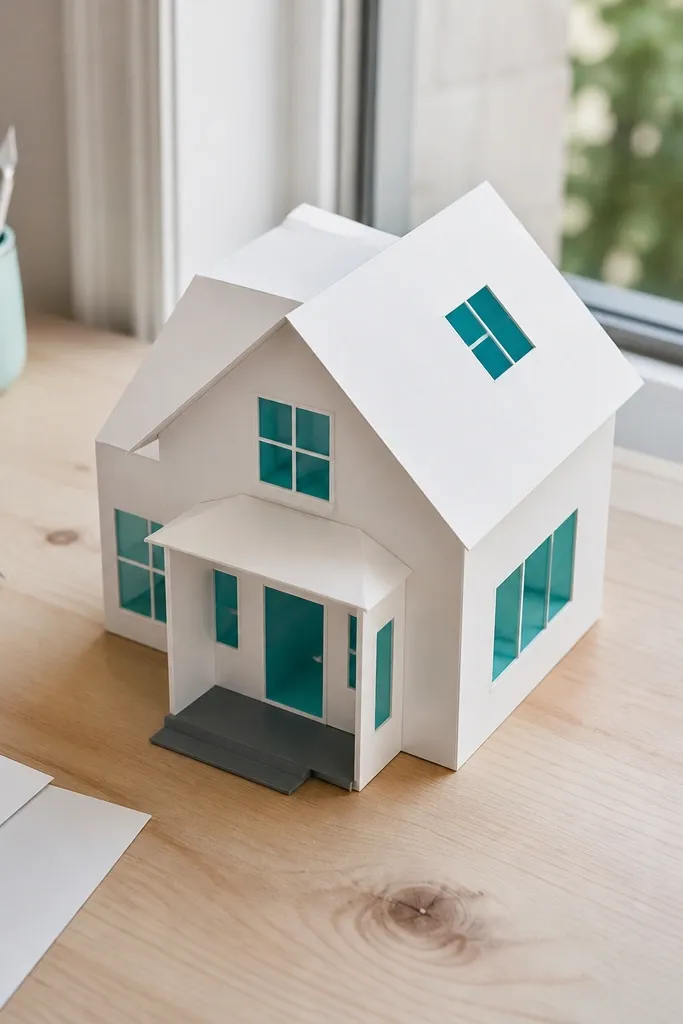
This is the template for crisp, clean photos. The geometric lines and limited color blocks make it look intentional, not messy, even if you’re new to paper folding. It’s also easy to customize: swap window cutouts for different paper colors or add a “porch mat” layer. If you want an aesthetic that looks like a mini design magazine spread, pick this one.
Print the house and cut along the outer wall lines and window openings. Fold the walls up first and assemble the base using the tabs so the structure is square. Once the shell is stable, attach the teal accent pieces behind the window cutouts for a pop of color. Finish by gluing the roof panels last to hide any minor edge gaps.
Back the window openings with colored paper to make the teal look richer without extra printing.
Don’t glue accents directly onto the front — they’ll sit uneven if the wall isn’t squared first.
4. Victorian Townhouse with Lace-Style Trim
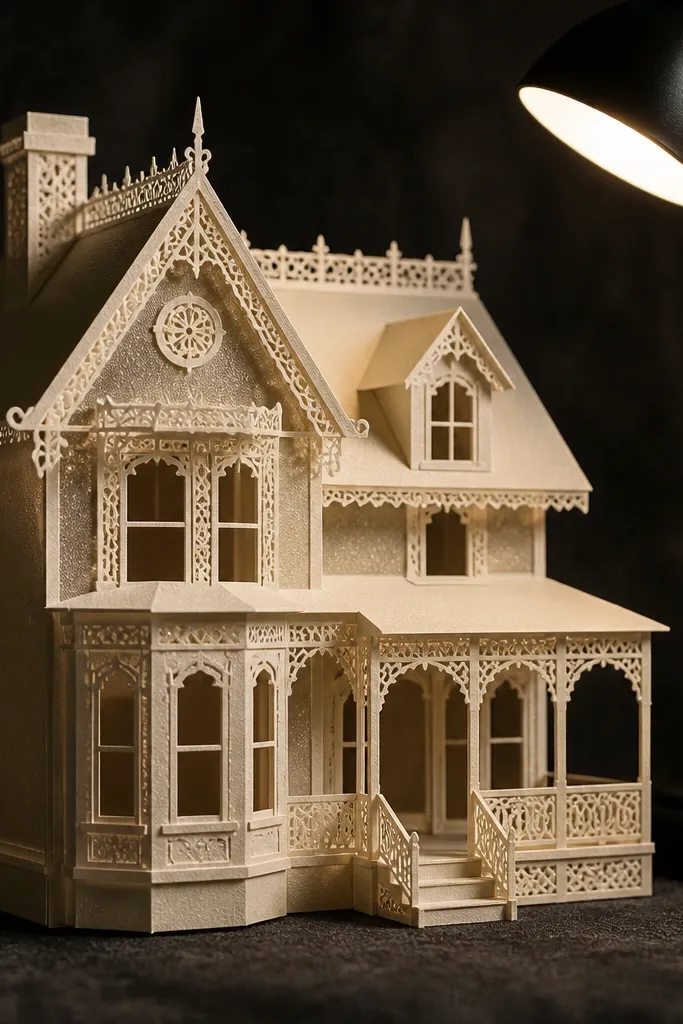
If you want dramatic, this is it. The ornate trim frames the whole house and makes it look detailed even in a small space. It’s perfect for photos with a dark background because the trim edges catch light and look crisp. This template also rewards careful cutting, which means you get a cleaner result when you take your time.
Print on 190-200 gsm cardstock for strength around the trim. Cut the trim pieces separately, then glue them onto the main wall panel in sections to avoid slipping. Assemble the house shell and let it dry flat. Add the roof and tower pieces last so the fine details don’t get crushed during assembly.
Editor's noteUse a craft knife for trim cuts and a cutting mat — scissors leave fuzz that ruins the “lace” look.
Skip thisSkip speed cutting; rushing trim lines causes jagged edges that stand out badly.
5. Sunflower Farmhouse with Patterned Walls
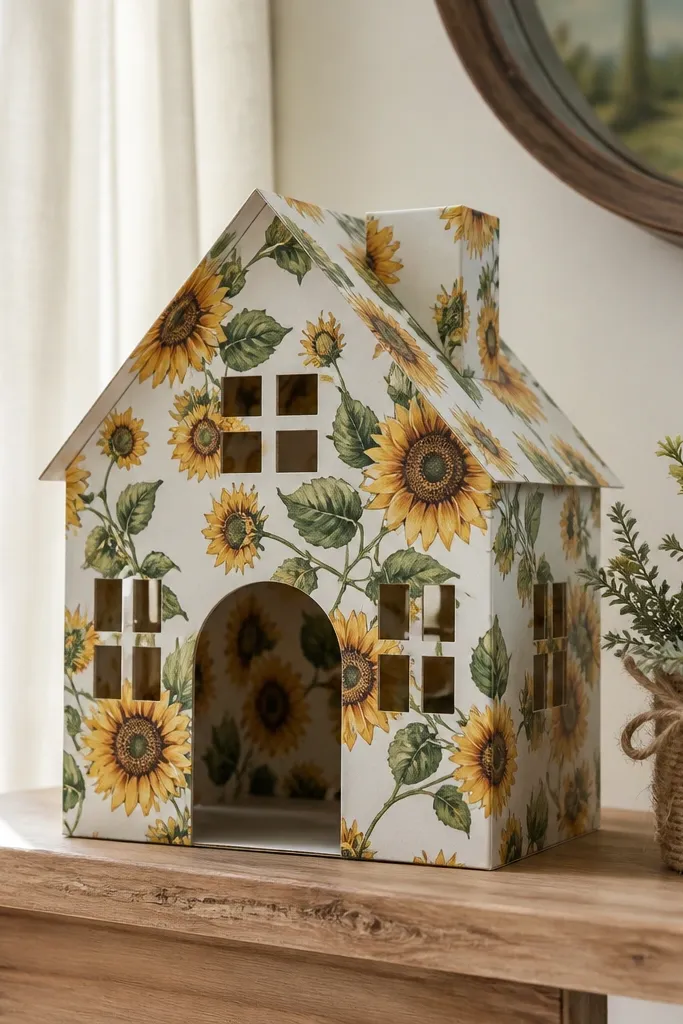
Patterned walls are the cheat code for cute. This farmhouse template uses repeating sunflower motifs so the house looks decorated even if you don’t add furniture yet. It’s also forgiving: if your window folds aren’t perfect, the pattern still reads as charming. Great for spring-themed displays and for anyone who wants a “finished” look fast.
Print on 170-200 gsm cardstock and cut the main house outline. Fold walls along the guide lines, then glue tabs to form the corners. Add porch pieces and roof panels after the walls are standing correctly. If the template includes separate wall layers, glue the patterned layer onto a plain backing sheet first to prevent curling.
Editor's noteSeal the printed side with a light matte spray only after assembly — it reduces scuffing during handling.
Skip thisAvoid placing thick glue on patterned paper; it can warp the surface and create bubbles.
6. Rainbow Kids Room House
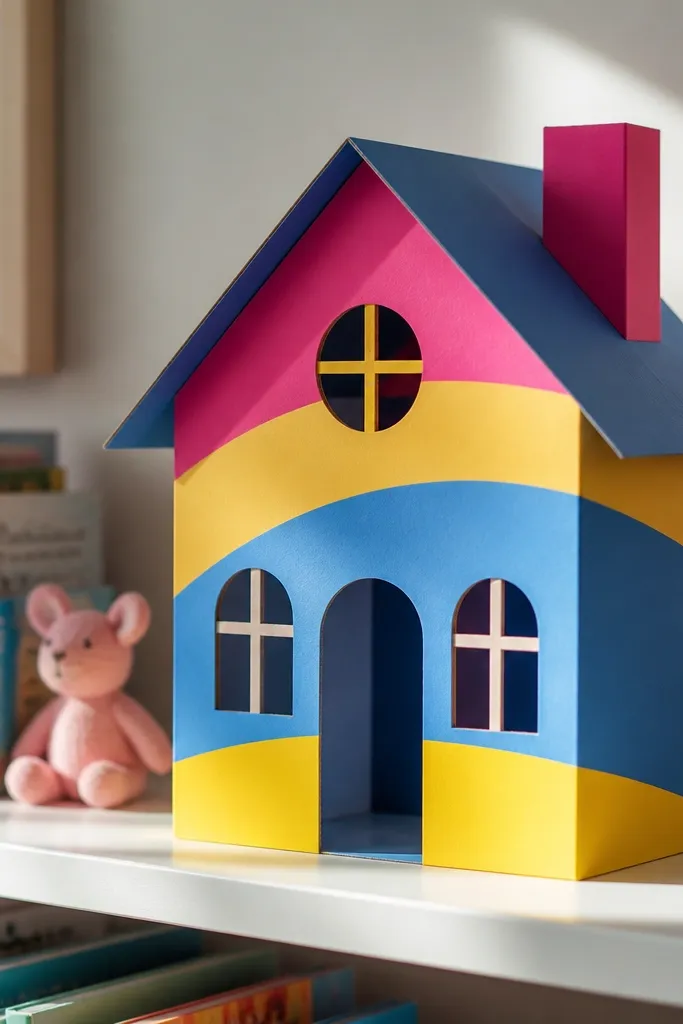
This template is made for bright, fun displays. The rainbow accents create color blocking that pops in photos, even if you use simple doll furniture. It also has clear, kid-friendly shapes that are easier to cut cleanly than ultra-fine Victorian trim. Choose it if you want a cheerful mini house for a bedroom shelf or party table.
Print the house and cut the main exterior first. Assemble the walls and base with tabs, then cut and attach the rainbow panel pieces behind window areas. Add the roof last so the colors align and you don’t cover edges with glue. If you’re adding removable room panels, glue the hinge tabs lightly so they still open for play.
Try rainbow accents on a darker backing paper to make the colors look more saturated.
Don’t glue removable panels all the way around; leave a small unglued edge for opening.
7. Coastal Beach House with Shiplap Texture
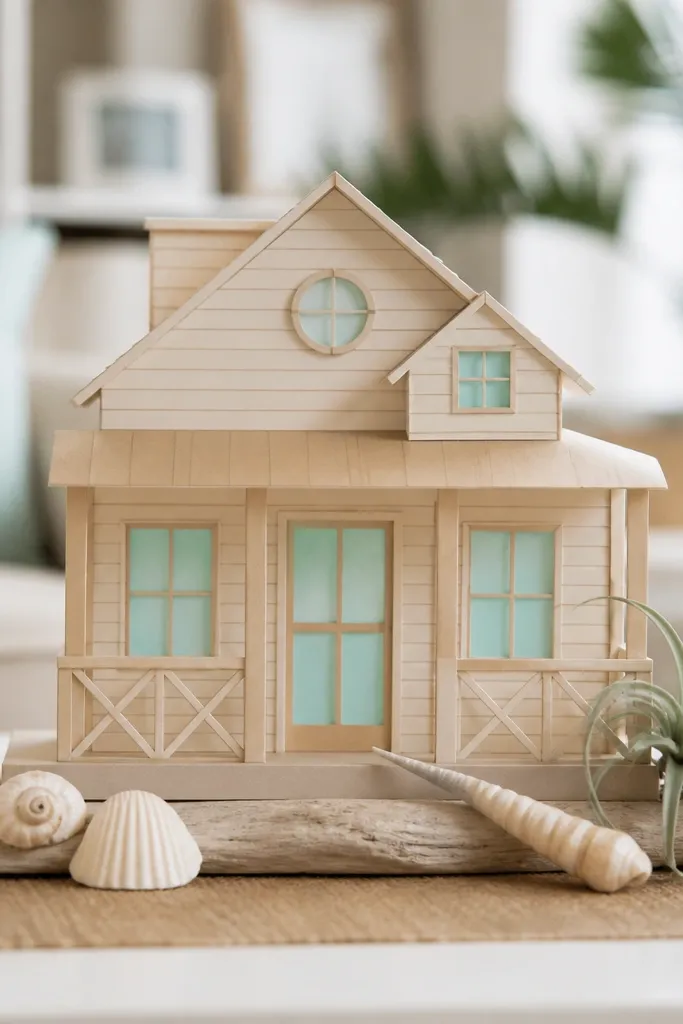
Shiplap lines give structure to flat paper. This coastal template uses wall texture that makes the house look layered and dimensional without complicated assembly. It looks especially good with real sand-colored props (tiny shells, mini paper plants) because the texture matches the theme. Pick it for a calm, beachy look that still reads as “decor,” not just a craft.
Print on 180 gsm cardstock for crisp texture lines. Cut the exterior shell, then fold walls and base tabs. If the template has layered wall inserts, mount them onto a plain cardstock backing before gluing to the shell. Assemble roof pieces last, then press the entire house under a flat weight to set the folds.
Use a sanding block lightly on foam-backed versions; it helps the roof sit flush.
Don’t use glossy paper here; texture lines lose contrast and look flat.
8. Mid-Century House with Slanted Roof
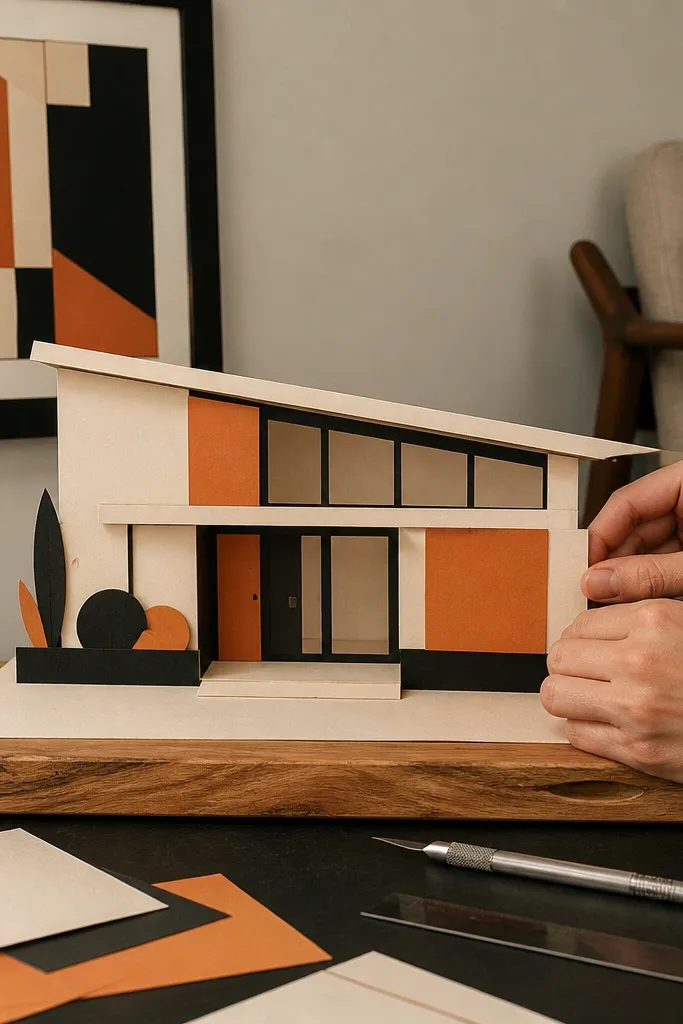
Slanted roofs look great because they create a strong silhouette. This template has bold window rectangles and a simpler build, so it’s easier to get a clean shape for photos. It also gives you a good base for adding modern accessories like tiny wall art or a minimal porch. Choose it if you want a stylish, not-too-cute house that still reads sweet at mini scale.
Print on 200 gsm cardstock and cut the roof panels carefully along the slant edges. Fold the roof and walls separately, then assemble the base so the roof angle matches the guide lines. Glue the window frames behind the openings so the rectangles stay crisp. Finish by adding the front door and any side wall details after the roof is secured.
Editor's noteDry-fit the roof before gluing — slanted roofs punish misalignment more than flat ones.
Skip thisAvoid thick glue beads along slants; they create bulges that throw off the angle.
9. Fairytale Treehouse with Rope Ladder
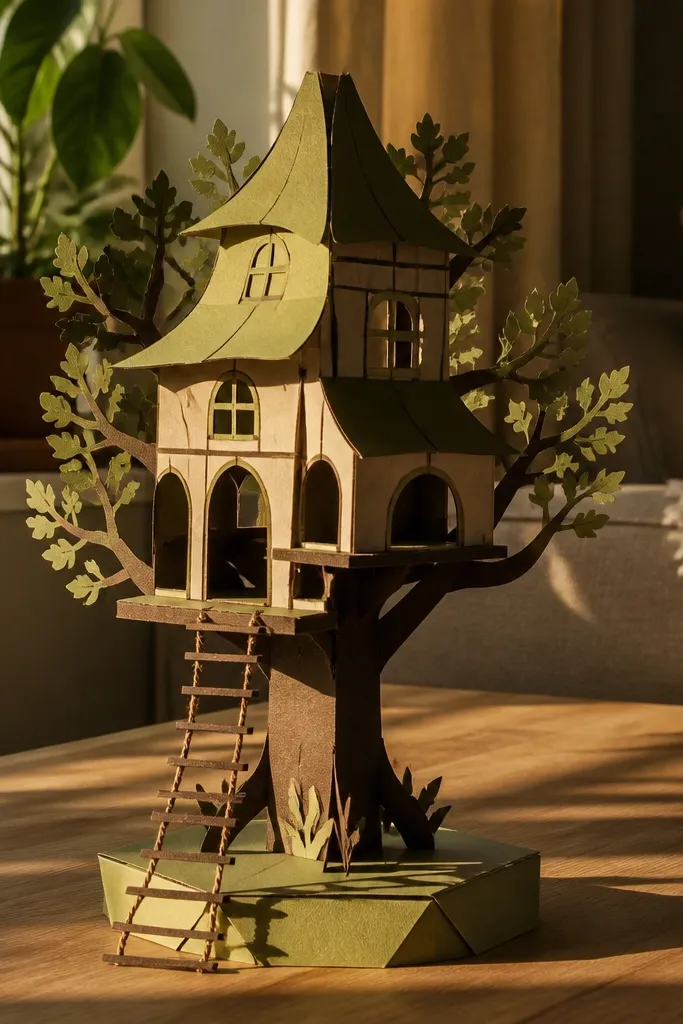
Treehouses are automatically photogenic because they feel like a scene. This template’s rope ladder and playful roof shape make it look like it belongs in a storybook display. It also works well as a hanging decoration if you add string through the top tabs. For a cute paper doll house that looks like a whole world, this is the best bet.
Print and cut the treehouse shell and ladder pieces. Assemble the main platform and walls first, then glue ladder rungs in place and attach the rope ends last. If the design includes a tree trunk, glue it behind the platform so it supports the structure. Let it set under a flat weight, then add small roof details last so they don’t bend.
If the rope pieces are thin, reinforce them with a second strip of cardstock behind the printed rope.
Don’t attach tiny roof bits before the platform is solid; they’ll snap when you handle it.
10. Halloween Candy House with Gingerbread Trim
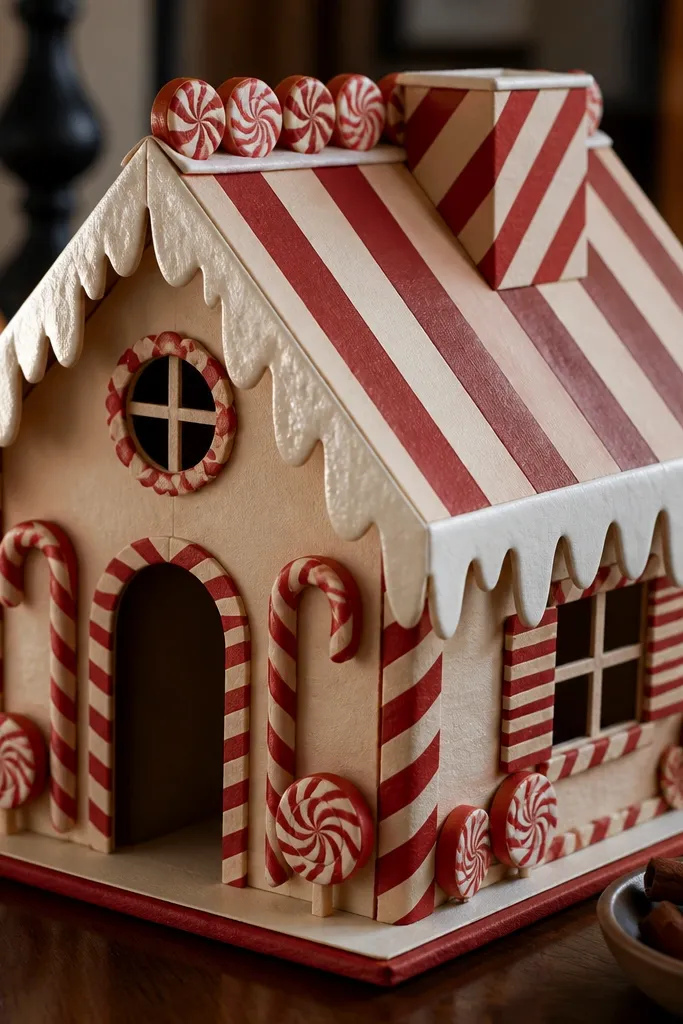
Halloween paper houses look best when they have bold, repeat patterns. This template uses candy-like stripes and trim lines that make it instantly recognizable in photos. It’s also a fun way to use leftover colored paper for windows and doors, because the base design already frames everything. If you’re building a seasonal display, this gives you a clear theme without extra drawing.
Print on 180-200 gsm cardstock and cut the outer outline. Fold the walls and assemble the base, then add the gingerbread trim panels around the edges. Cut window openings and layer colored paper behind them for a spooky glow effect. Attach the roof pieces last, then decorate with optional tiny candy dots if included.
Use a black gel pen to trace trim edges lightly; it makes the pattern pop on camera.
Avoid skipping window backing; empty window holes look unfinished and flat.
11. Winter Snow House with Frosted Window Frames
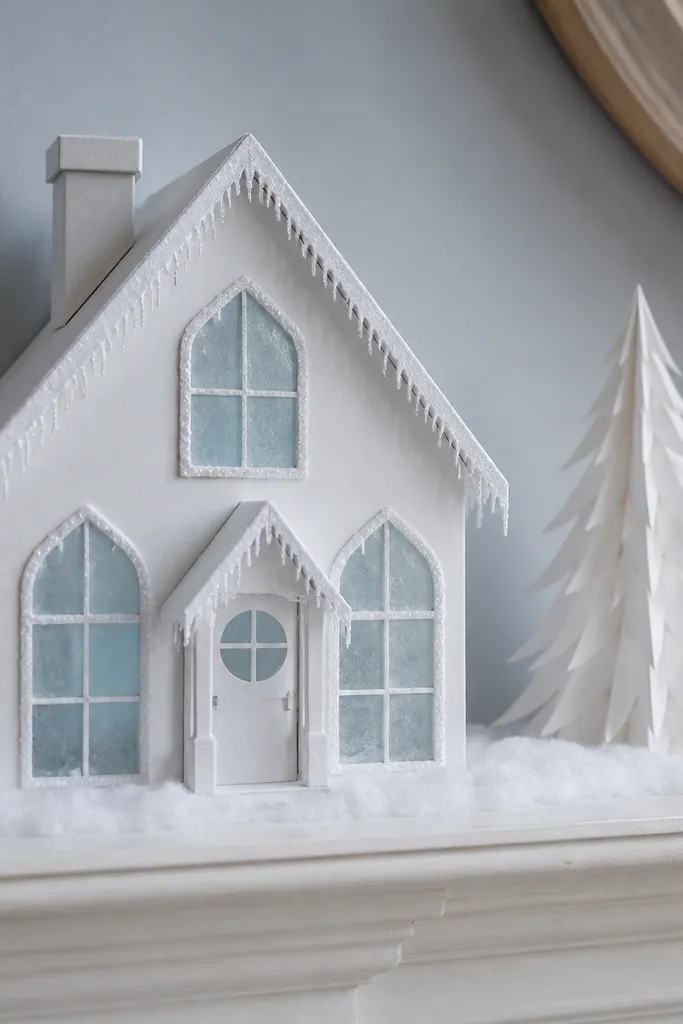
Frosted window effects make paper doll houses look crisp and winter-ready. This template has frame designs that catch light and create a “cold” look without needing glitter everywhere. It also works well with neutral doll furniture and tiny paper trees. Choose it for holiday decor that still feels clean and not overly messy.
Print on matte cardstock to keep frosted areas from looking shiny. Cut the house shell and fold up walls, then glue the base tabs. Layer the frosted window frame pieces behind the window openings so the frost sits inside the frame. Add roof edges after the front wall is aligned, then press flat to set everything.
Dust a tiny amount of white chalk on the frosted frames after assembly for a softer snow effect.
Don’t use wet glue near frosted sections; it can smear the printed finish.
12. Modern Dollhouse with Removable Rooms
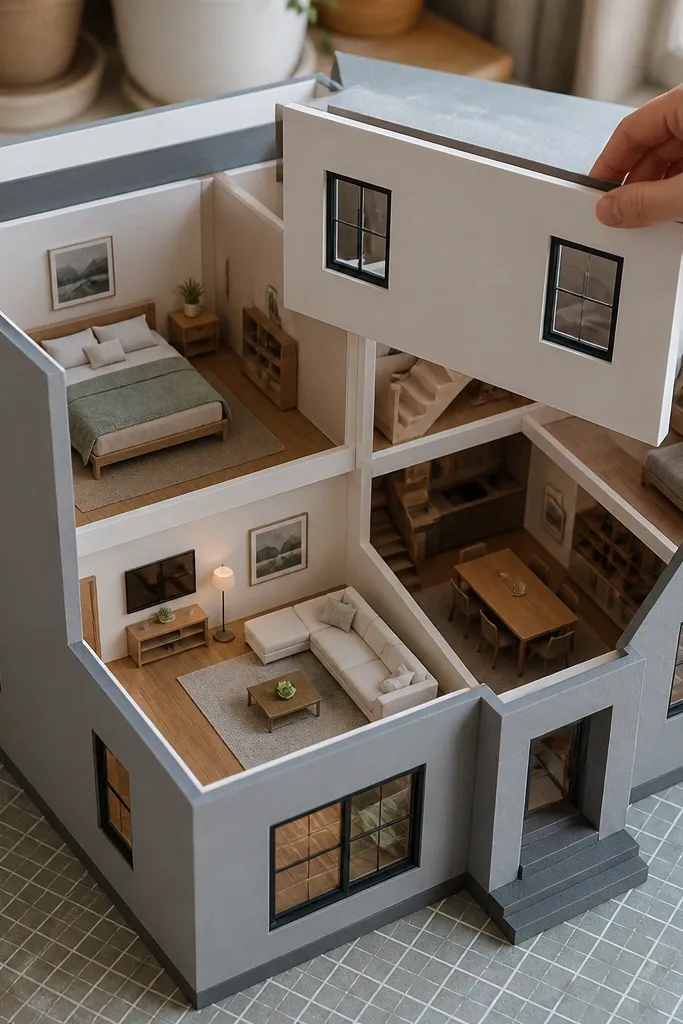
Removable rooms are the difference between a house you display and a house you play with. This template is built for layers that slide or lift out, so you can swap furniture without rebuilding the whole structure. The interior layout is simple, with clear walls and openings that photograph well from the front. Pick it if you want a longer-lasting craft that stays fun.
Print the outer shell and the room panels. Assemble the shell first and glue tabs in the base so it stands square. Then attach room rails or backing strips for the removable panels, following the template guides. Test the room panel fit before final glue so it slides cleanly without catching.
Use thin foam tape on room rails; it creates a smooth slide and prevents scuffing.
Don’t glue removable panels directly to the shell — you lose the whole swap feature.
13. French Bistro House with Balcony Rail
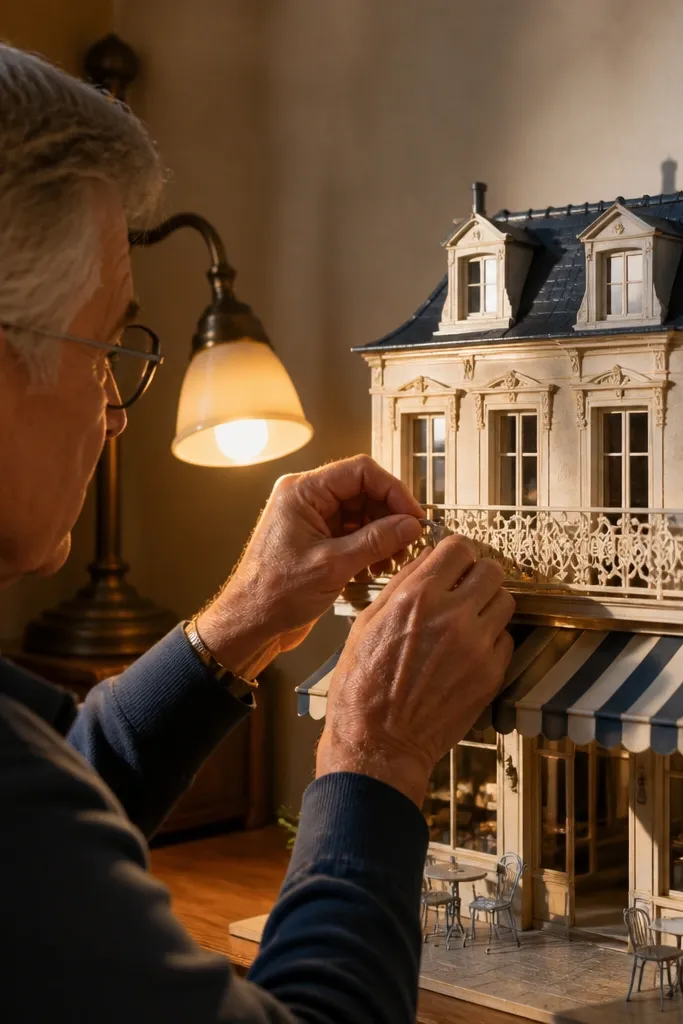
Balconies add height, and height looks good in small crafts. This template has a balcony rail design that creates a delicate, lacy look without being overly fragile. The striped awning gives you a strong color focal point, so photos don’t feel empty. It’s ideal for a mini street scene where you want one standout building.
Print on 180 gsm cardstock and cut the balcony pieces separately. Build the main house shell and let it dry flat. Glue balcony supports first, then attach the railing on top so it stays centered. Add awning pieces last and press gently so stripes align and don’t wrinkle.
Editor's noteIf railing pieces bend, crease them on a ruler line before gluing so they sit straight.
Skip thisAvoid rushing glue on supports; if they’re crooked, the balcony looks off in every photo.
14. Space Station Dollhouse with Window Portlights
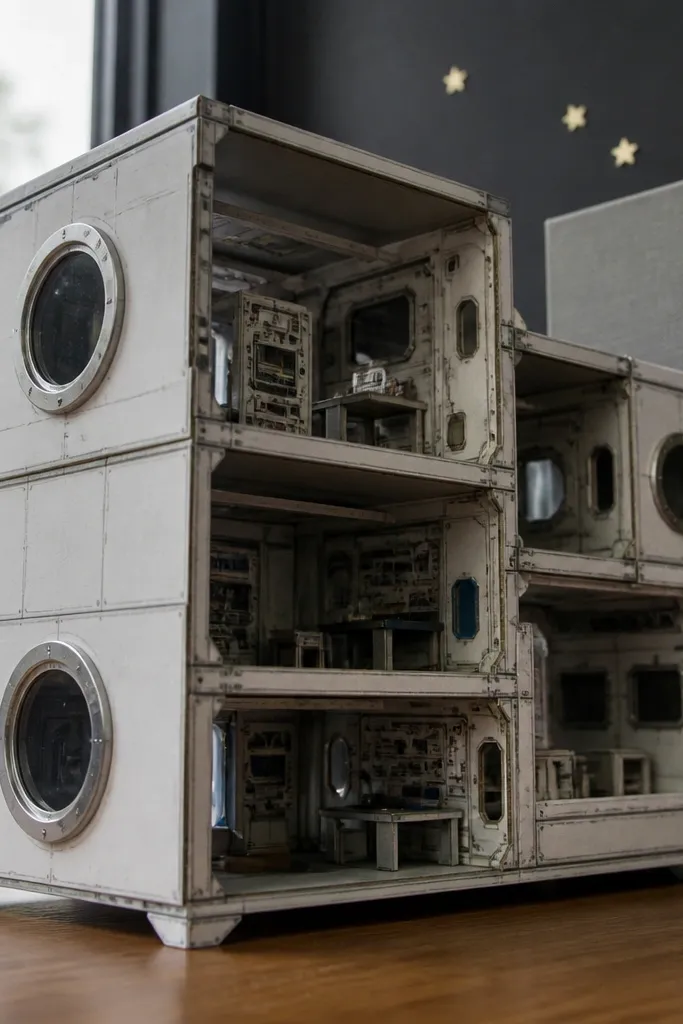
This one is pure aesthetic payoff. Round portlights are instantly recognizable and look great even with minimal doll furniture. The panel lines help the house read as a real structure, not just a box. If you like sci-fi decor, this template makes a strong display piece for shelves or desks.
Print on 200 gsm cardstock for sturdiness around the circular windows. Cut the house outline and portlight circles carefully, then fold the panels along the guide lines. Glue a colored backing behind each window opening so the portlights look deep. Assemble the roof and side panels last, then reinforce the base with a thin backing sheet.
Editor's noteUse a circle punch or a sharp craft knife for cleaner portlight edges than scissors.
Skip thisDon’t leave window holes unbacked; empty circles look like cutouts, not windows.
15. Floral Cottage with Bow Window Frames
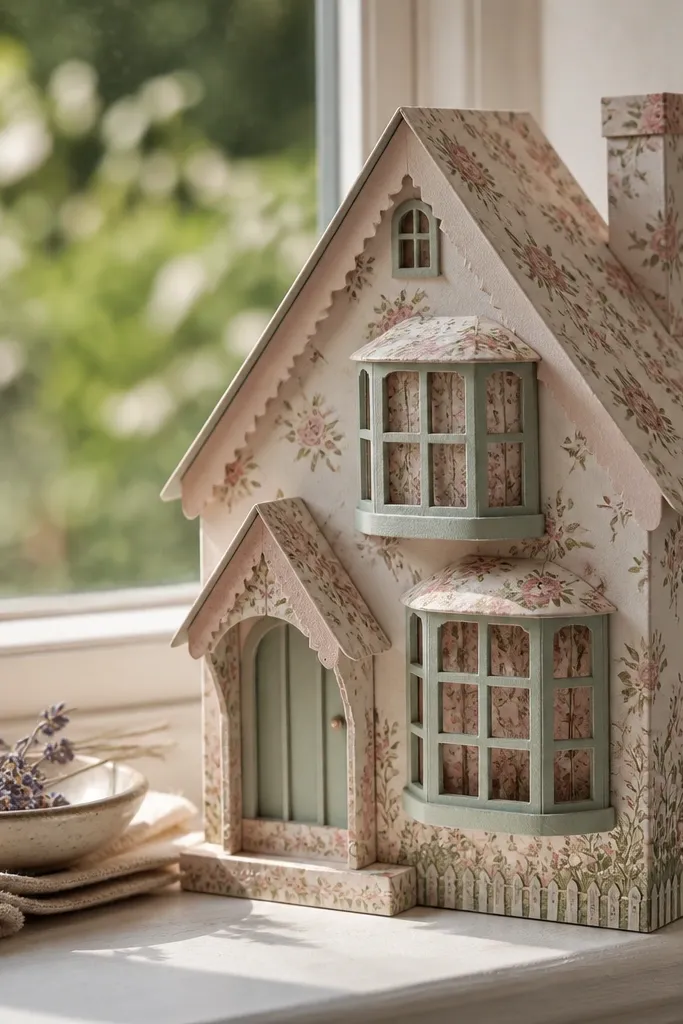
Floral prints are pretty, but bow frames are what make the house look dimensional. This template combines soft flower patterns with curved window shapes that catch light and create depth in photos. It’s a strong choice if you want a “garden house” look without adding lots of extra props. The build is straightforward, and the result looks styled even with simple furniture.
Print on 170-200 gsm cardstock and cut the main house plus separate window frames. Assemble the outer shell and glue bow window frames on the inside so they hold their curve. Add the floral wall layer to a plain backing sheet first, then attach it to the shell for flatness. Finish with roof pieces and any small porch details last.
Glue bow frames in two passes — tack the center first, then glue edges to prevent twisting.
Skip overloading glue on floral layers; it warps the print and blurs the edges.
16. Campground Cabin with Checkerboard Floor Pattern
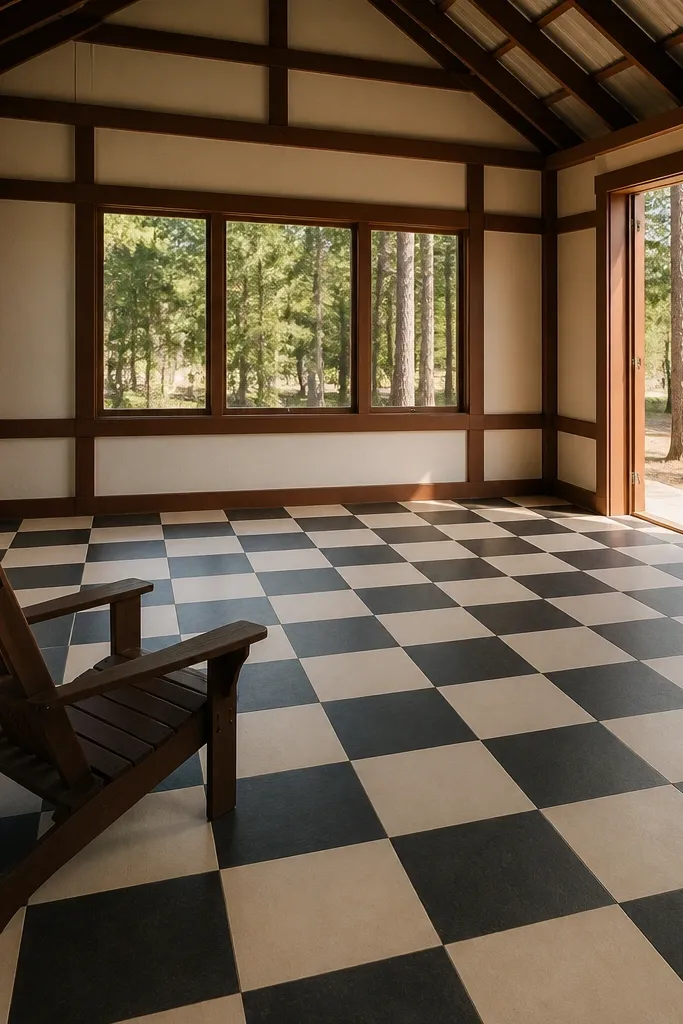
This cabin template wins because it has one clear visual anchor: the checkerboard floor. Floors make dollhouses feel real, and the pattern gives you a “finished” interior even if you only add a chair or two. It’s also a good template for learning layering, because the floor layer usually needs careful alignment. Great for cozy rustic displays.
Print the house and floor pieces on 160-180 gsm cardstock. Assemble the cabin shell and base tabs first, then glue the floor layer into place using the guide markers. Add wall panels and windows after the floor is fixed so everything lines up. Attach the roof last and press under weight to keep the interior flat.
Editor's noteUse a craft knife to trim floor edges so they fit snugly inside the walls.
Skip thisDon’t glue the floor before you check orientation; checkerboards hide mistakes until you see the pattern won’t sit straight.
17. Under-the-Sea House with Coral Door
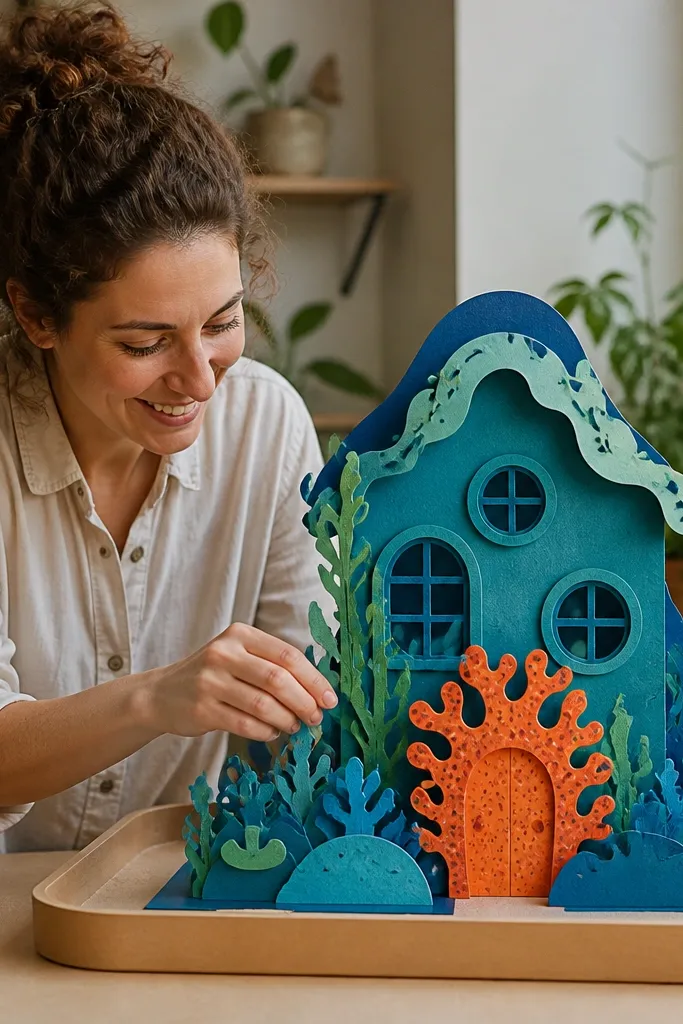
The ocean theme works best when textures and shapes look different from typical dollhouses. This template includes wave-like trim and a coral door shape that gives the whole house a distinctive silhouette. It’s especially photogenic when you add blue or teal backing behind windows. Choose it if you want something playful and not seasonal-cliche.
Print on matte cardstock and cut all wave and coral edges cleanly. Assemble the shell and glue window backing paper behind each opening. If the template includes interior layers, add them after the shell is stable so the waves don’t shift. Finish by attaching the coral door and roof pieces last, then flatten with a book.
Editor's noteAdd a thin layer of clear acetate behind windows if you want a glassy look without printing extra details.
Skip thisAvoid shiny paper backings; they glare and wash out the ocean colors in photos.
18. Loft Apartment House with Brick Wall Panel
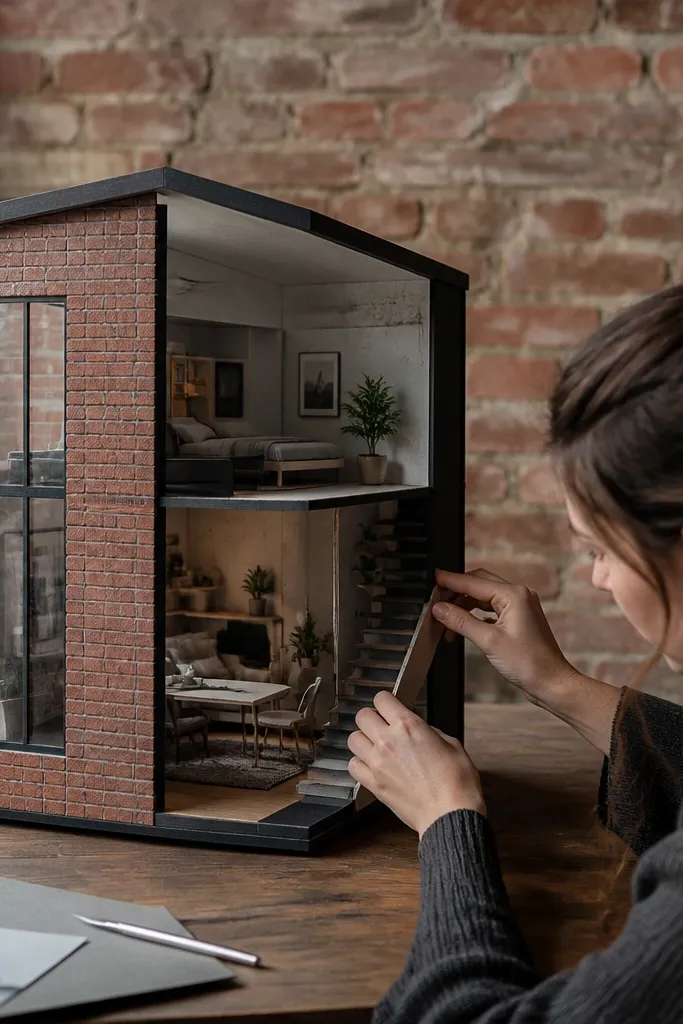
Brick texture makes paper look more tactile. This loft template has tall windows and a brick wall panel that gives you a strong backdrop for miniature art and plants. It also works well for monochrome doll furniture because the brick pattern adds the visual interest. If you want a modern, artsy look, this is the one.
Print on 180-200 gsm cardstock so brick lines don’t tear. Cut the front wall with the brick panel area and assemble the shell. Glue the brick panel layer onto the front wall first, then attach it to the base so alignment stays consistent. Add window frames and interior shelf pieces after the front is set, then close with the roof.
Editor's noteLightly rub a dry pencil over brick areas to deepen shadows without repainting.
Skip thisDon’t fold over brick textures until you’ve creased the fold line with a ruler.
19. Schoolhouse with Chalkboard Front
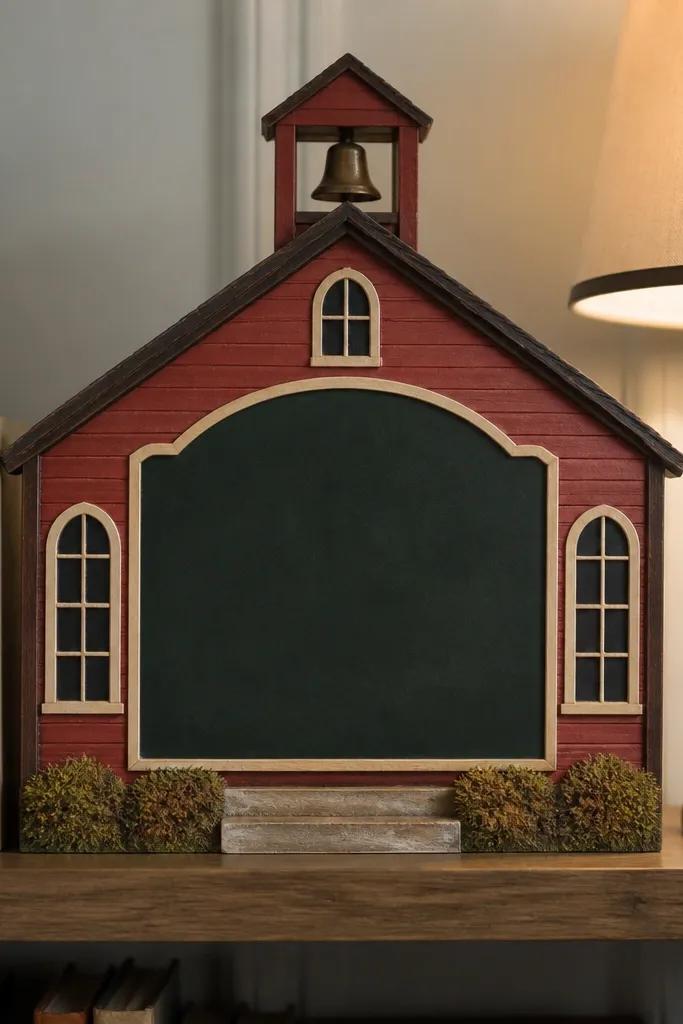
A chalkboard front makes it instantly interactive for display. This template gives you a big front panel that can hold doodles, stickers, or printed labels, which makes photos feel lively. The rounded window tops soften the shape, so it looks cute even with a classroom theme. It’s a strong option for kids crafts or a desk decoration that changes over time.
Print the template on cardstock and cut out the chalkboard area. Assemble the house shell and base tabs first so the front panel sits square. Glue the chalkboard panel onto the front and let it dry flat. Add window pieces and roof last, then write on the chalkboard with chalk markers or regular chalk.
If you’re using chalk marker, seal it with a light matte fixative spray once it dries.
Don’t glue the chalkboard panel before the shell is square; it will tilt and ruin the “classroom” look.
20. Gothic Cottage with Pointed Arches
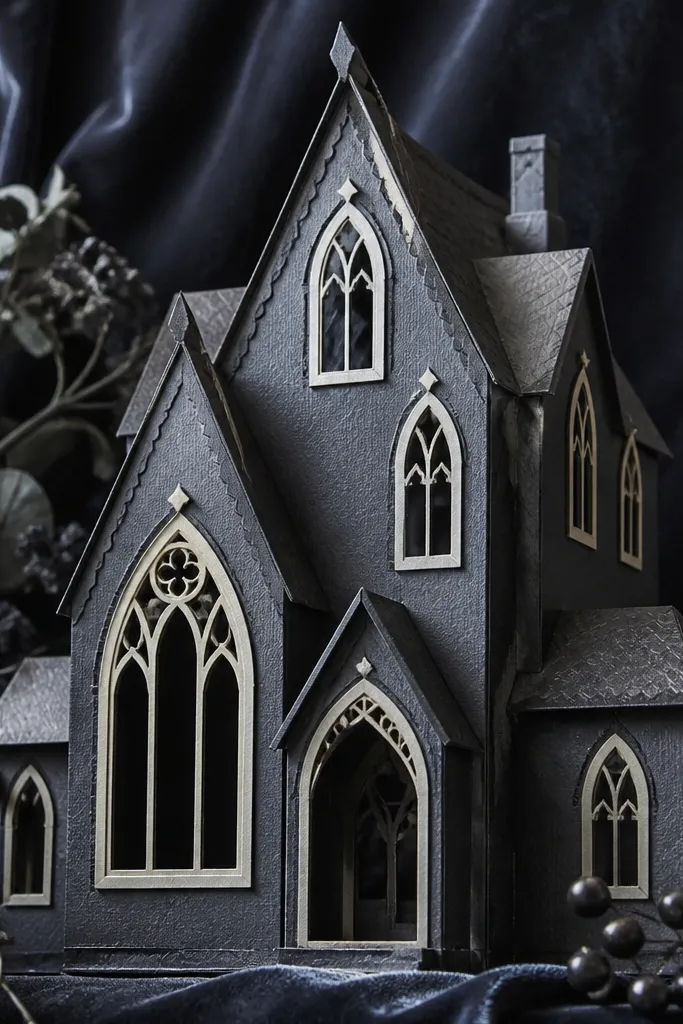
Pointed arches read Gothic fast, and the contrast makes the details show up in photos. This template is good if you want something darker without going full spooky. The window shapes create a clear focal point, so even a simple interior looks styled. Choose it for Halloween adjacent decor year-round.
Print on 190-200 gsm cardstock and cut the pointed arch window openings carefully. Assemble the walls and base, then glue window frame pieces behind the openings for a layered look. Add the roof after the front wall is aligned, then attach small trim pieces on the edges last. Press everything under a flat weight while the glue sets.
Use a black fine-tip pen to trace trim edges lightly for sharper definition.
Avoid white glue on dark printed sections; it can dry glossy and stand out.
21. Garden Greenhouse with Openable Panels
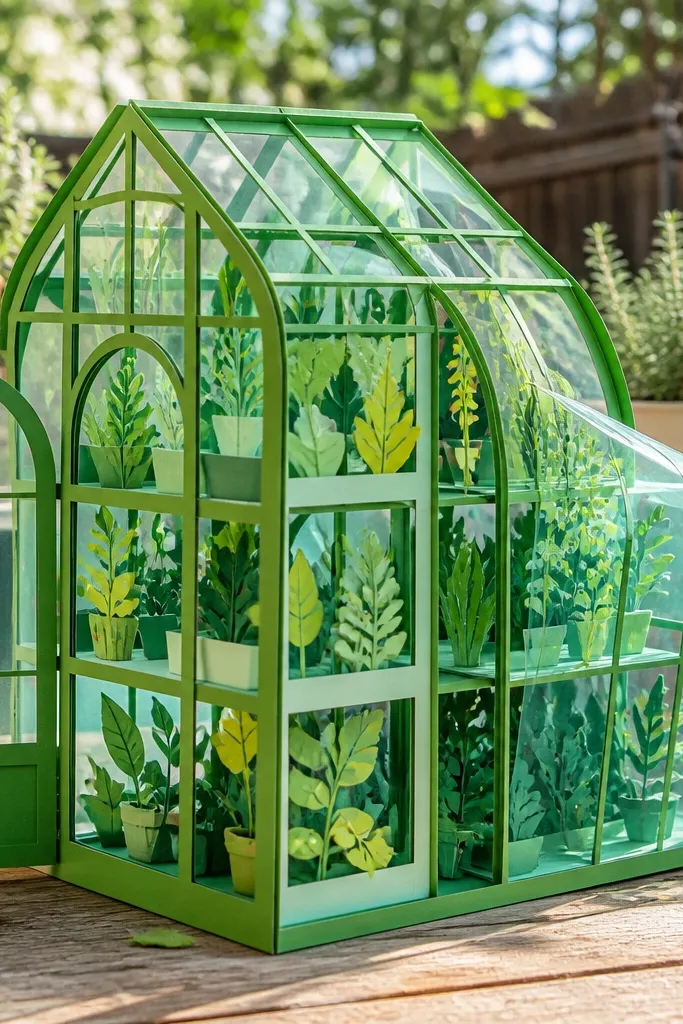
Greenhouses look great because they’re built from frames. This template has panel sections that can open or layer back, so you get depth and a “view” effect. Plant shelf lines make it easy to place miniature greenery even if you don’t have furniture templates yet. It’s a smart choice for decor that looks alive, not flat.
Print on 180 gsm cardstock and cut the frame sections. Assemble the outer greenhouse walls and base first, then attach the panel pieces with small hinge tabs if included. Add backing paper behind any window sections for a clean interior color. Finish by gluing the roof frame last so the open panels sit evenly.
For open panels, use double-sided tape instead of glue so they move without tearing.
Don’t make hinge tabs too thick with extra cardstock; they’ll stop the panel from closing.
22. Royal Castle House with Tiny Turrets
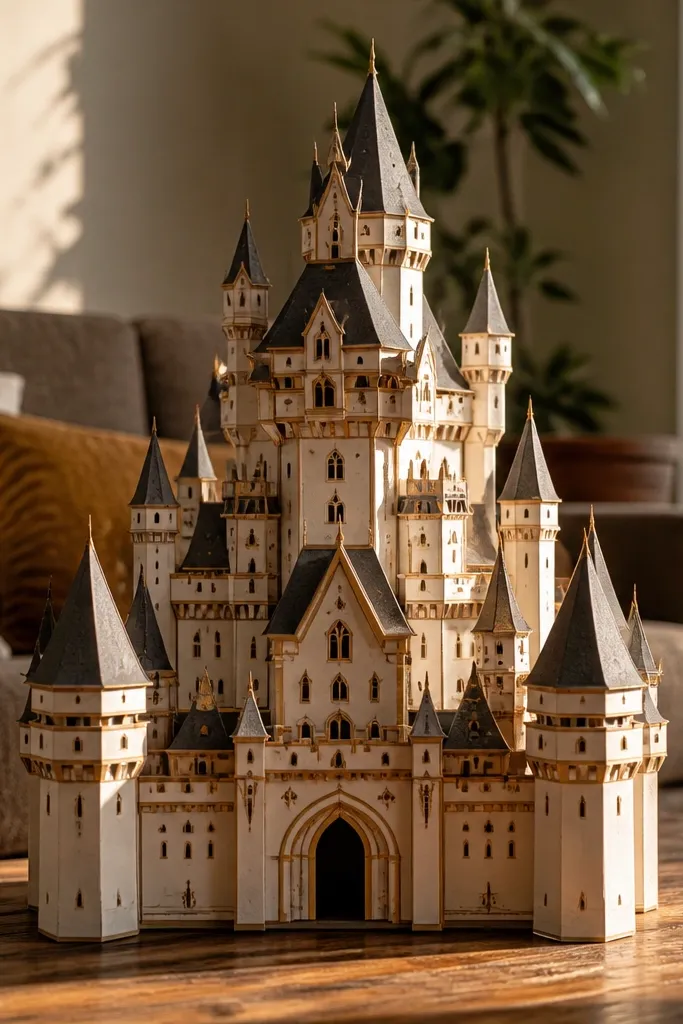
Turrets make a dollhouse look like a castle from any angle. This template includes multiple roof layers and small tower shapes that create visual interest without needing a lot of furniture. It’s ideal for a centerpiece display because the silhouette is strong. If you want maximum “wow” from paper cuts, this is a solid pick.
Print on 200 gsm cardstock so towers stay sturdy. Cut the turret pieces separately and fold along the guides before assembling the main walls. Glue turrets to the corners first, then attach roof layers in order from bottom to top. Reinforce the base with a backing sheet so the castle doesn’t sag.
Use a thin foam board backing under the base; it keeps tall towers from tipping.
Don’t glue turrets last; when you add them after the roof, edges don’t line up cleanly.
23. Cozy Cabin with Stacked Log Wall Look
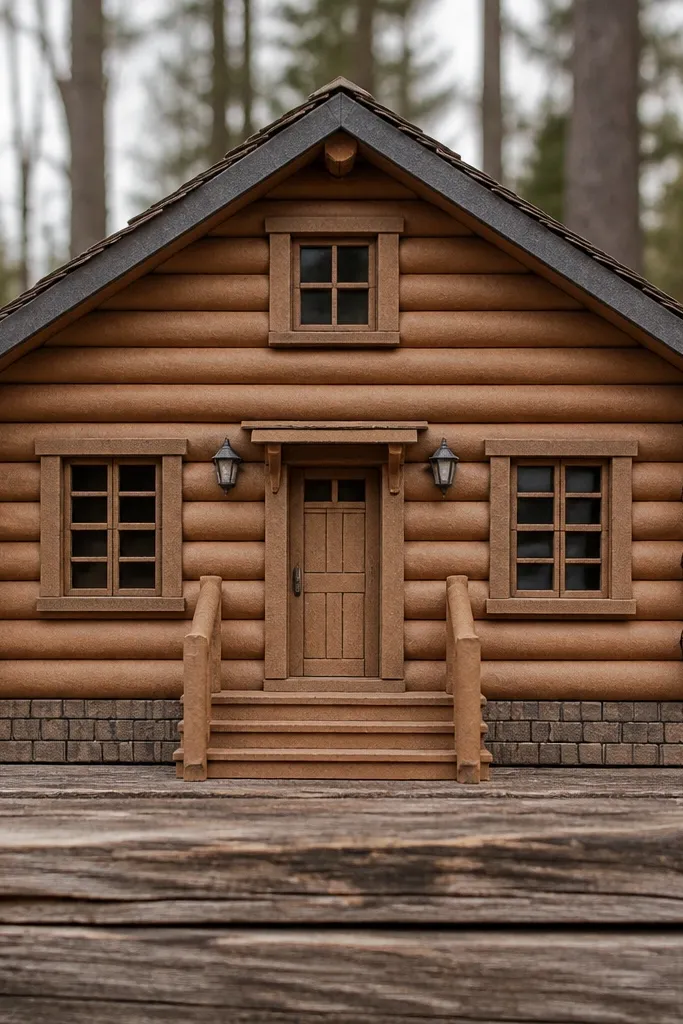
A stacked log wall print gives you texture without complicated construction. This cabin template is a great choice when you want rustic warmth but don’t want to fight tiny decorative trim. The wall pattern makes the house look detailed even before you add furniture, and the front door area gives you a natural photo focal point. Perfect for fall or winter shelves.
Print on 180-200 gsm cardstock and cut the main shell and roof pieces. Assemble the walls using tabs and keep the front straight by checking alignment against the base. If the template includes a separate log wall layer, glue it onto a backing sheet so it stays flat. Attach roof panels and press under a weight to set folds.
Score fold lines lightly with a craft knife and ruler for cleaner corners on cabin walls.
Avoid curling the walls while drying; glue needs flat pressure to keep the cabin square.
24. Snow Globe Style House with Circular Window
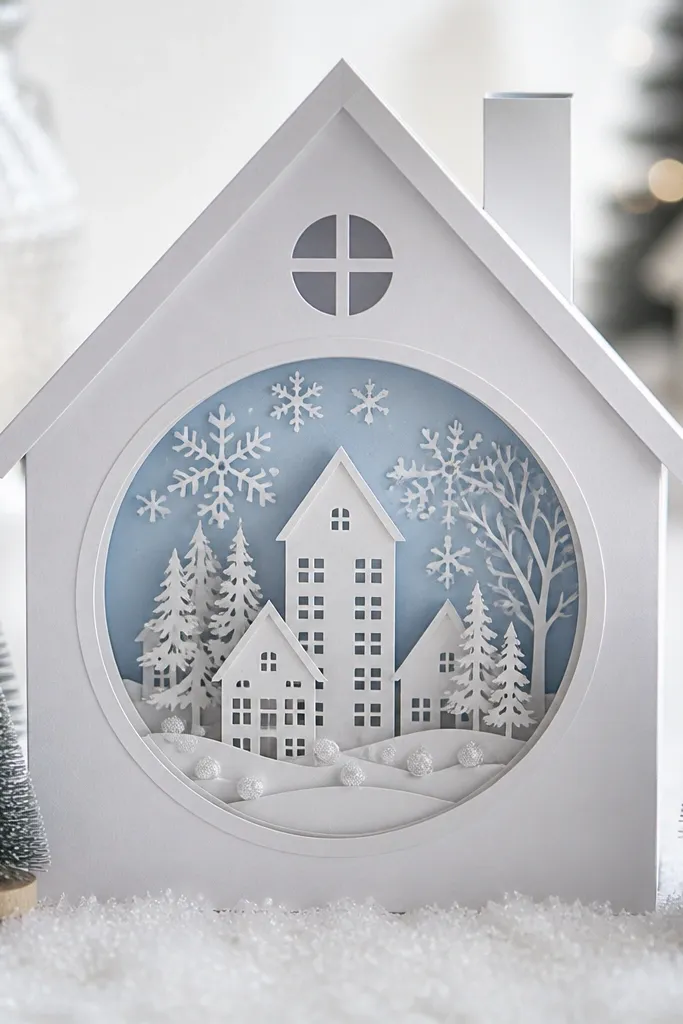
This template is built for one thing: looking magical in photos. The circular window shape feels like a snow globe scene, and it draws the eye instantly. The design usually has a simpler exterior, so it’s easier to assemble cleanly while still looking special. If you want a cute paper doll house that photographs like decor, this one delivers.
Print on 190 gsm cardstock and cut the circular window opening cleanly. Assemble the house shell and base with tabs, then add a colored backing behind the circle so it looks deep. Attach any interior “snow scene” layer if included, then seal the front with the window frame piece. Let the full house dry flat, then assemble any stand or display base.
Editor's noteUse a hole-punch for the circle window edge if the template doesn’t include a pre-cut circle guide.
Skip thisDon’t leave the circle unbacked; it looks like a cutout rather than a window.
25. Gingerbread Bakery House with Icing Drip Roof
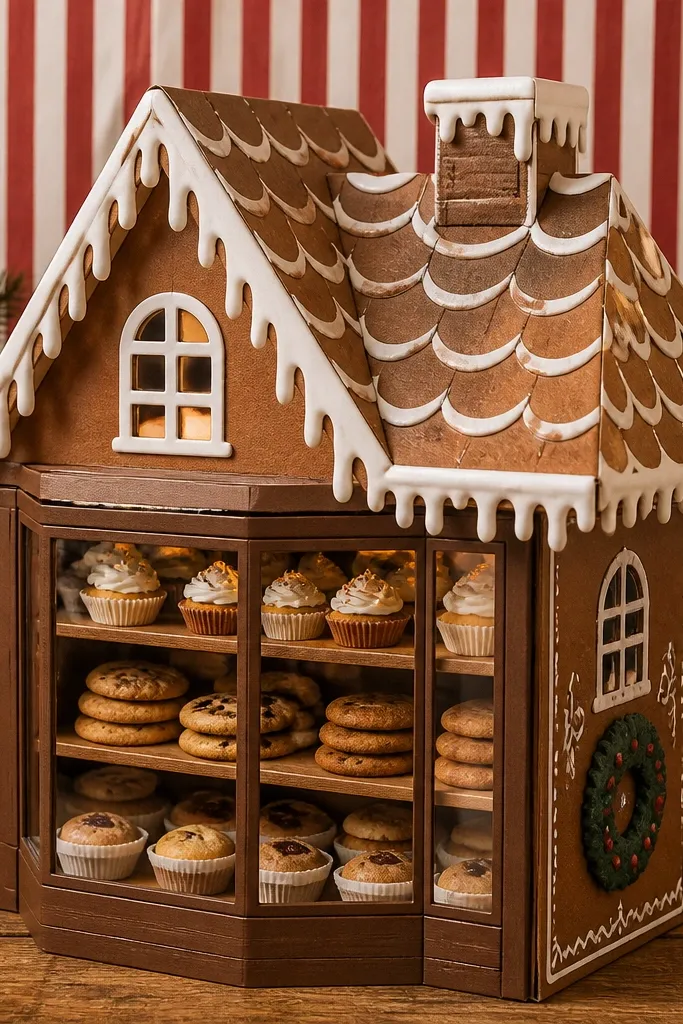
This template is cute in a very specific way: it looks like a bakery window display, with a roofline that has chunky “icing” drips and a front door that feels like it’s been decorated for a holiday market. The big bay-style bakery window gives you a lot of space to cut out tiny “shelves” and make the whole scene pop even when the house is small. Paper doll houses like this print cleanly because the shapes are bold and the details are thick enough to survive folding. It’s a good pick if you want a print-and-build project that still looks polished on a shelf or taped to a wall. Plan about 60-90 minutes for one house, plus drying time if you use glue and a light seal. It fits kids' rooms, a holiday craft table, or any spot where you want something photogenic without needing fancy crafting tools.
Print the template on 160-200 gsm cardstock so the icing-drip roof edges don’t curl. Cut out the walls, roof, and window frames, then score along every fold line with a ruler and a dull butter knife for crisp bends. Assemble the main box first using a glue stick on the tabs, then attach the roof so the icing-drip strip lines up with the roof edge. For the bakery front, glue the window frame behind the window opening, then add a second layer of “shelf” pieces (cut from a slightly different shade of paper) so you get depth. Finish by brushing a thin coat of matte Mod Podge over the outside only, letting it dry flat before you handle it. If you want extra “icing” shine, paint the drip shapes with white acrylic and keep the rest matte.
Use a craft knife for cutting the window openings and a glue stick for tabs — it dries flatter than liquid glue and keeps the edges sharp. If you seal, do two light coats instead of one thick coat so the paper doesn’t warp.
Skipping cardstock weight is the fastest way to end up with floppy walls and roof edges that don’t hold their shape.



