
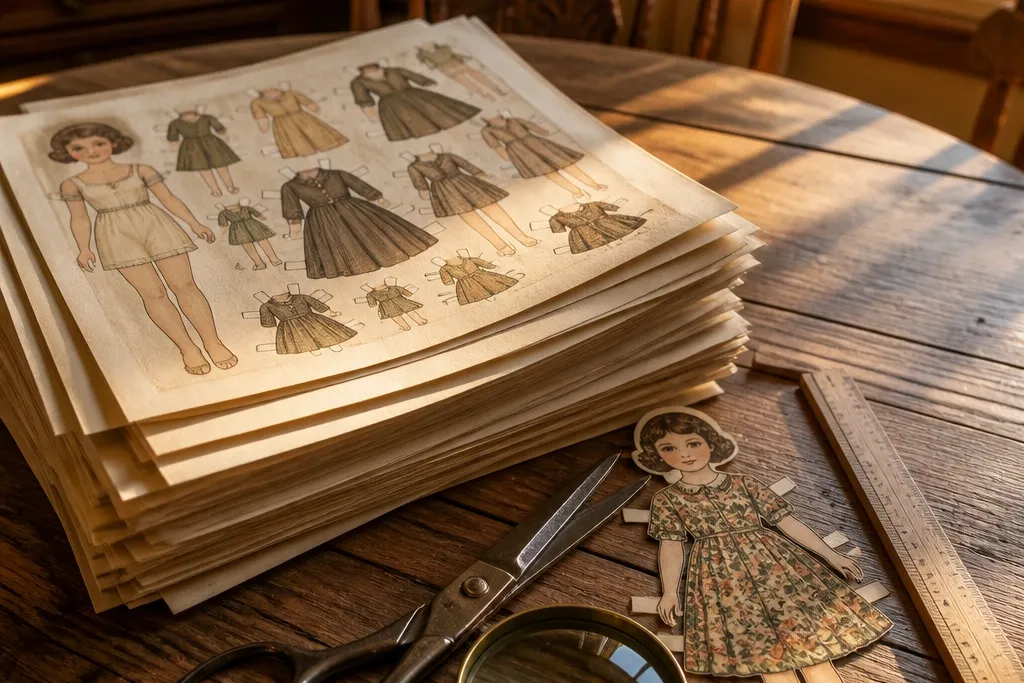
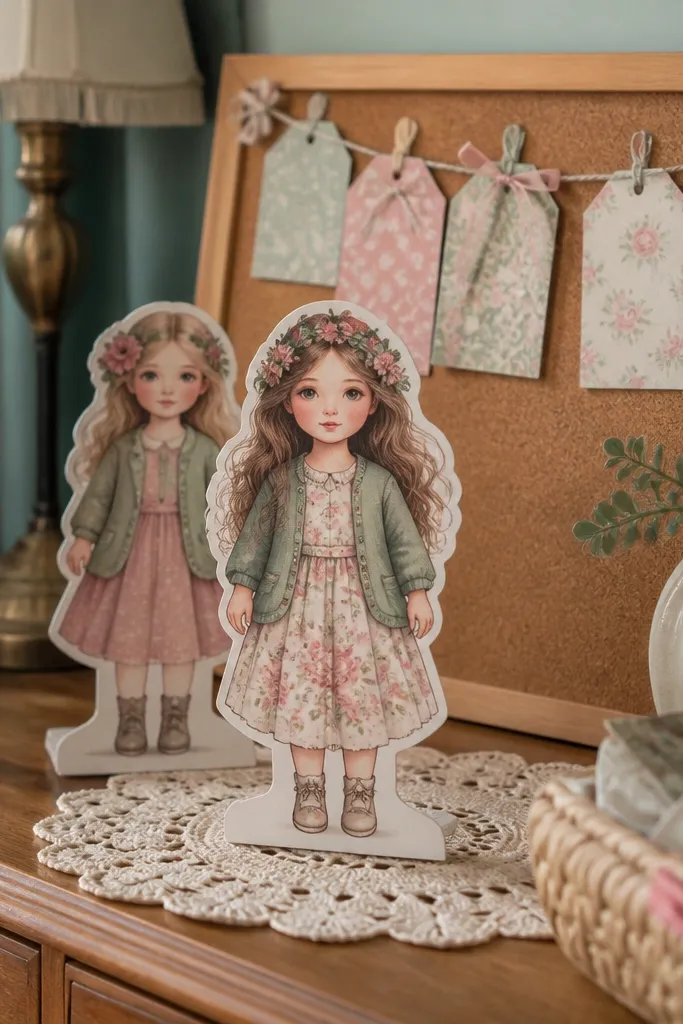
1. Tea-Time Dress Doll with Layered Apron
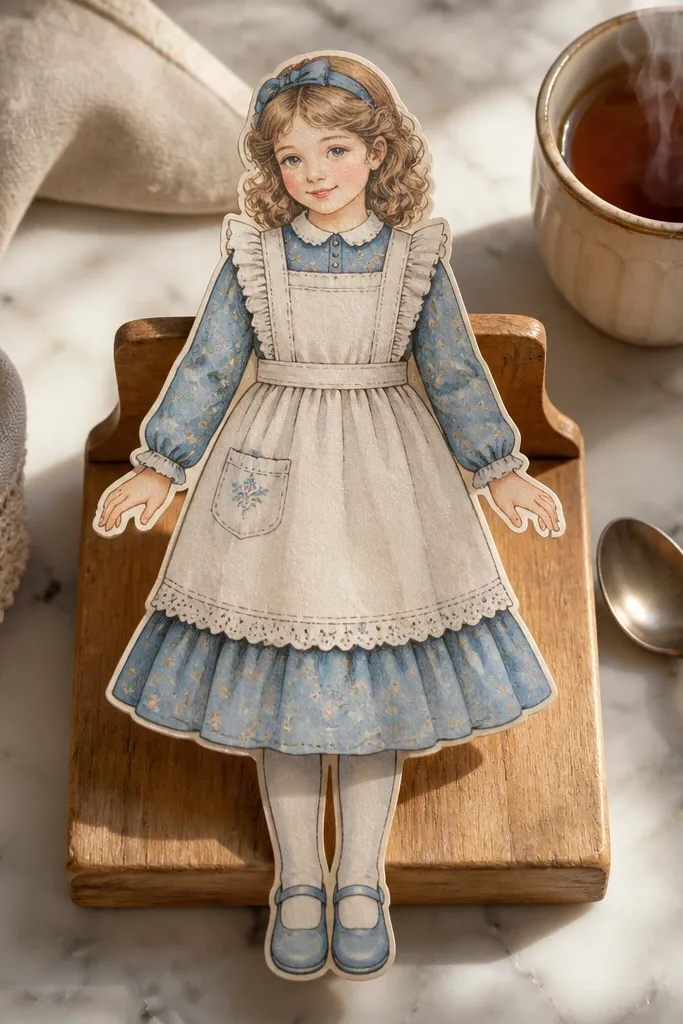
This printable set focuses on a single, cozy outfit with enough separate pieces to build depth. The apron layer creates a shadow line that makes the doll look styled, not flat. The dress shape is simple and readable, so your cuts stay clean even if your scissors aren’t perfect. It’s great for shelf decor because the silhouette reads well from a distance, especially against kraft paper or dark wood. Plan on using a matte finish and light edge distressing to keep the vintage look soft rather than harsh.
Editor's noteGlue the apron with a tiny gap at the bottom so it casts a visible shadow.
Start by printing on 90 lb cardstock and cutting only the outer outline first. Next, cut the apron piece, then glue it to the dress using a thin strip of glue at the top edge so it lifts slightly. Finally, add the head and hair layers, press under a book for 5 minutes, and trim any wispy edges with a craft knife for a crisp perimeter.
Skip thisDon’t flood the glue — it warps thin paper and ruins the clean vintage edges.
2. Cozy Knit Sweater Doll with Separate Mittens
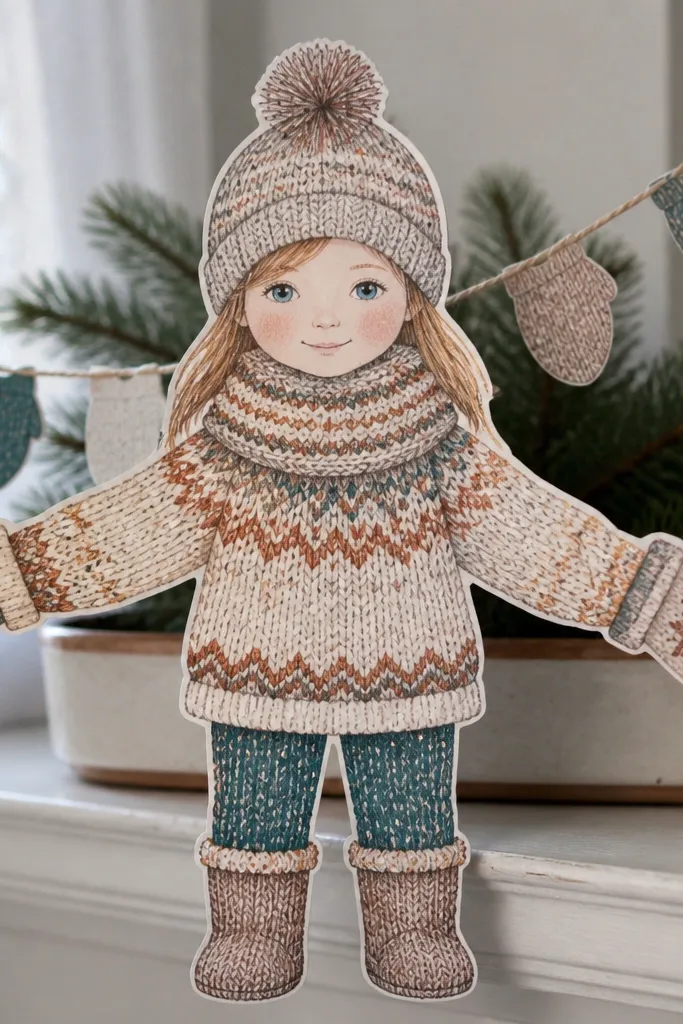
A knit sweater printable looks extra cozy because the fabric texture reads even after cutting. When the mittens are separate, you get a stronger “winter” silhouette and more movement in the pose. This set is photogenic because the sweater shape is broad and rounded, so it fills space nicely on a mini garland or scrapbook page. It also works well as a gift topper since the mittens add visual interest without adding bulk. If you want cozy without clutter, this is the one.
Print on smooth cardstock so the sweater lines stay crisp, then cut the sweater outline first. Cut the mitten pieces and glue them to the hands with a small alignment guide using the printed hand marks. Finish by layering the head and any scarf or collar piece, then seal with a matte clear spray from 10-12 inches away.
Spray the finished doll lightly with matte sealer to reduce scuffing during handling.
Don’t use glossy spray — it kills the vintage paper softness.
3. Library Cardigan Doll with Bookmark Accessories
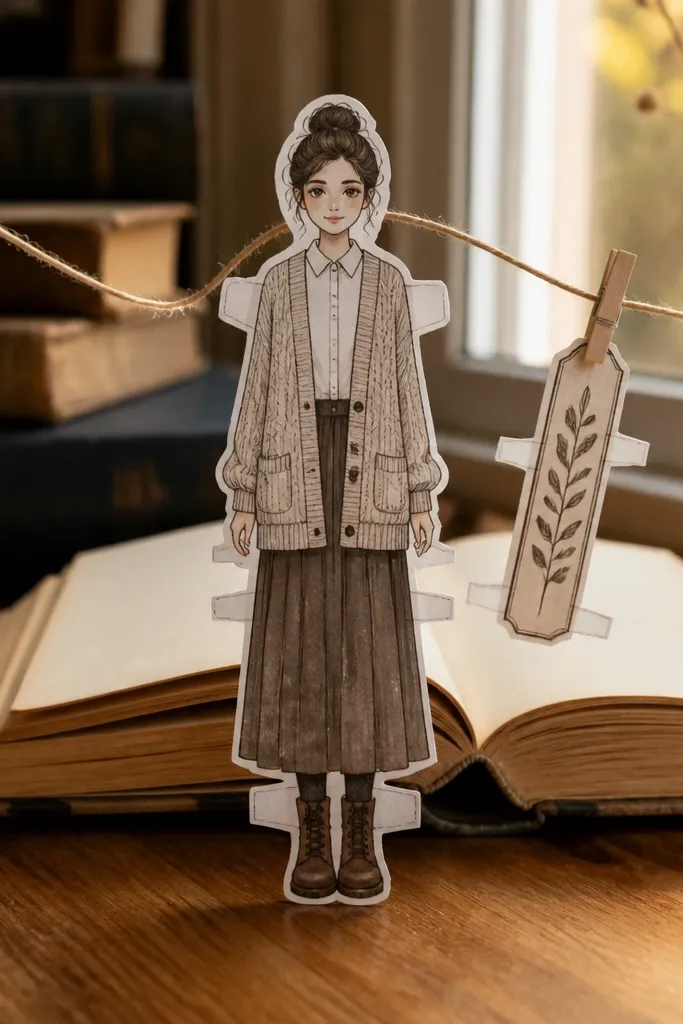
This printable set leans into cozy reading vibes with a cardigan and accessories that frame the doll. Bookmark pieces make it easy to create a themed display: tack the bookmark on a string, or glue it behind the doll for layered depth. The cardigan is designed with clear panel lines, so you can cut and reassemble without losing the outfit structure. It’s a smart choice for wall decor because the bookmark shape gives you a vertical element that balances the doll’s head. Keep it simple with minimal distressing so the typography-like details stay readable.
Editor's noteAdd a thin foam square behind the bookmark if you want a visible 3D gap.
Print the doll and accessory page at 100% scale, not “fit to page.” Cut the bookmark accessories first so you can handle them flat. Glue the bookmark behind the doll’s torso, then assemble the head and cardigan layers, pressing flat under a book for 5-10 minutes. Trim edges with a craft knife if you see any glue squeeze-out.
Skip thisDon’t scale down — bookmark text-like shapes become mushy fast.
4. Sunroom Hat Doll with Layered Hair Braid
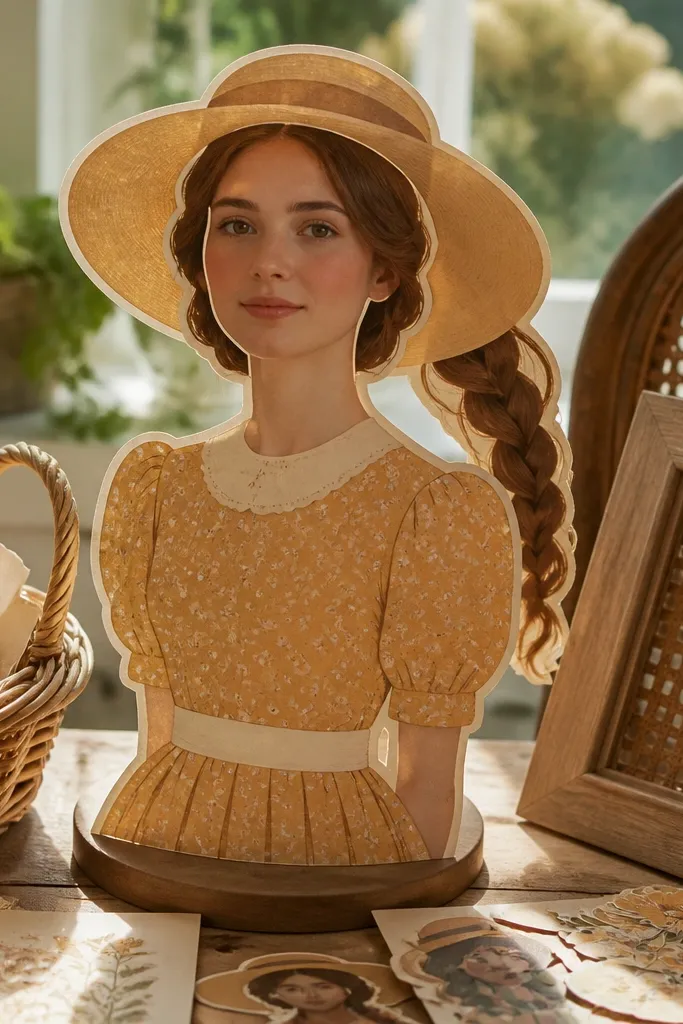
Wide-brim hat dolls photograph beautifully because the silhouette creates a strong frame around the face. This set includes a separate hair braid, which gives you a nice “floating” effect when layered. The sunroom palette usually reads warm and nostalgic, so it looks good next to vintage paper scraps and neutral frames. It’s also a good choice if you want one doll that looks finished even with minimal assembly. For best results, keep the layers clean and press them flat so the braid doesn’t curl.
Print on 100 lb cardstock for better shape control on the hat brim. Cut the hat and braid pieces carefully, then glue the braid to the head first. Next, assemble the full doll layers, making sure the hat sits centered and doesn’t overlap the face. Let everything dry under weight, then lightly sand the outer edges for a softer vintage border.
Use a bone folder to press the braid layer flat before gluing.
Don’t glue the braid edge-to-edge — a tiny overlap makes it look thick.
5. Garden Apron Doll with Separate Flower Crowns
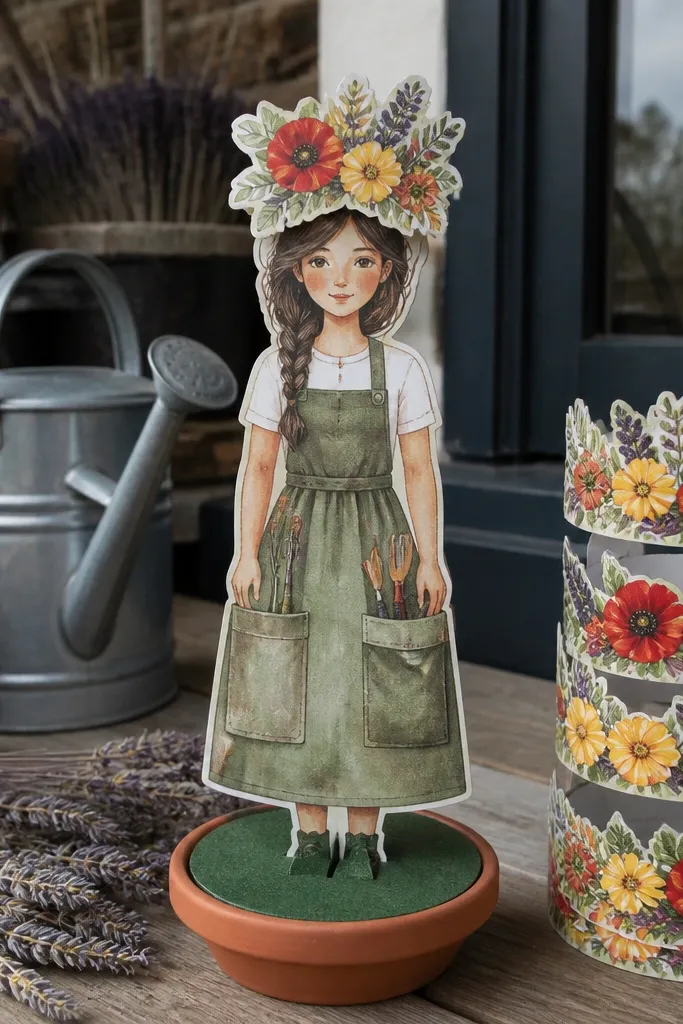
This one is visually striking because the flower crown adds color and height without needing extra props. Separate crown pieces let you build a layered look that feels playful and cozy at the same time. The apron design usually has clear folds, so the cutting lines make sense and your assembly stays tidy. It works great for tabletop decor because the crown catches light and the apron anchors the doll’s body. If you like vintage paper that still feels cheerful, this is your pick.
Print on 90 lb cardstock, then cut the crown layer separately from the main head piece. Glue the crown onto the head last so you can adjust placement and keep it centered. Assemble the apron layers with minimal glue contact so the folds stay defined. Finish by distressing only the apron edges with a brown ink sponge so the flowers stay crisp.
If your printer smears reds or yellows, let the page dry 15 minutes before cutting.
Avoid heavy ink distressing around the crown — it can blur the flower outlines.
6. Country Nightgown Doll with Layered Lace Hem
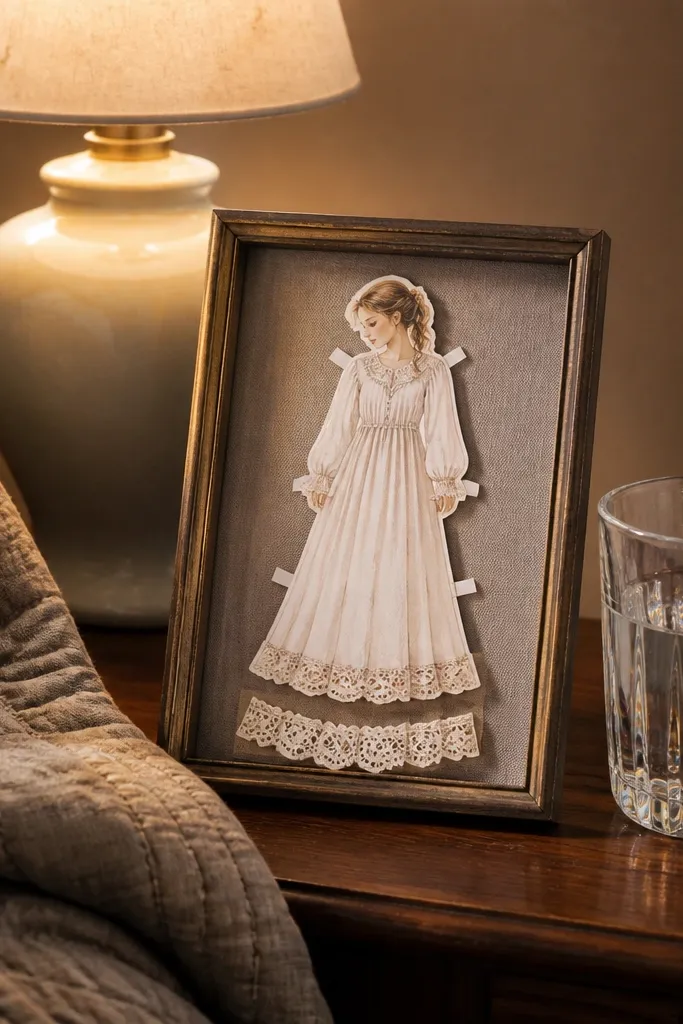
Nightgown dolls look cozy because the silhouette is soft and the hem details read like lace even on paper. This printable includes a separate lace hem piece, which adds a delicate shadow line at the bottom. It’s a strong choice for framed wall art because the lace hem gives the bottom edge visual interest. The doll also works as a topper for gift boxes since the gown shape is easy to cut and glue. Keep the assembly neat and you’ll get that “vintage bedtime” look without clutter.
Print on smooth cardstock and cut the nightgown outline first. Cut the lace hem layer and glue it under the gown edge, aligning the pattern so the hem looks continuous. Assemble the head and any sleeve layers, then press flat under a book for 10 minutes. Trim any frayed lace edges with a sharp craft blade for a clean finish.
Use a glue stick for lace — it spreads thin and reduces warping.
Don’t use thick liquid glue on lace — it soaks in and ruins the cut line.
7. Vintage Kitchen Doll with Hanging Towel Pose
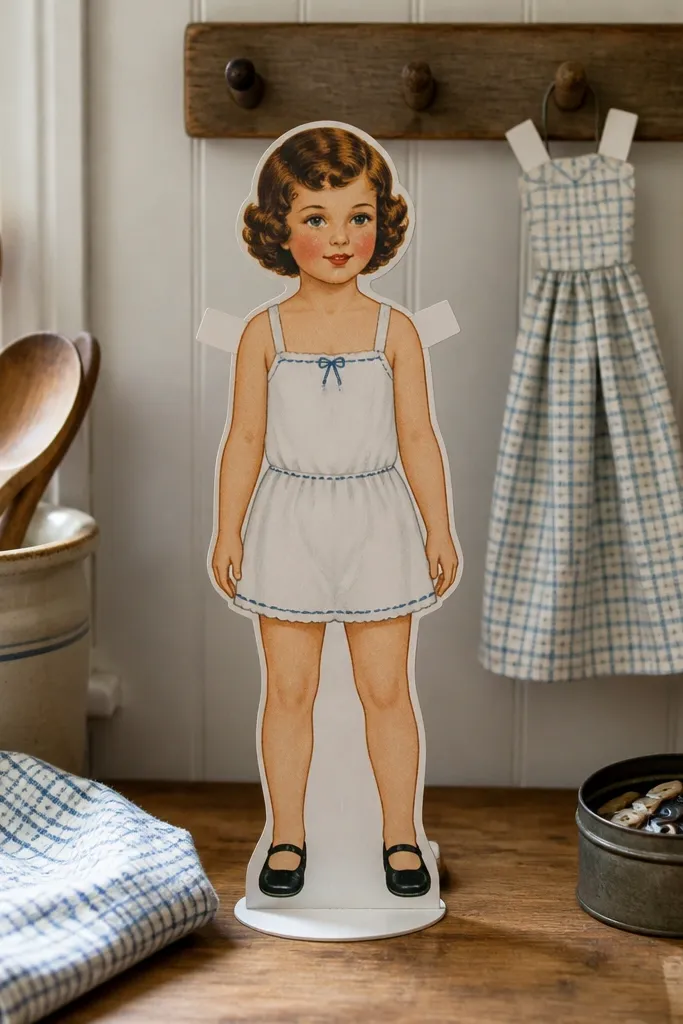
This set creates cozy home decor because the towel piece adds a practical “kitchen moment.” The best part is that the towel is separate, so you can angle it behind the doll for depth. The outfit usually has simple shapes that cut cleanly, making it beginner-friendly without looking cheap. It looks great on a small pegboard or mini wall rack because the towel reads like a hanging prop. If you want a vintage paper doll that looks like it belongs in a room, this one does it.
Print and cut the doll body and towel separately. Glue the towel behind the torso at the top attachment point so it hangs slightly outward. Assemble the head and clothing layers, then use a tiny strip of double-sided tape at the back to keep edges flat. Seal with matte spray if you plan to display it near sunlight.
Angle the towel by gluing only the top 1 cm so it doesn’t stick flat.
Don’t attach the towel at the bottom — it flattens the pose.
8. Winter Coat Doll with Button Strip Layer
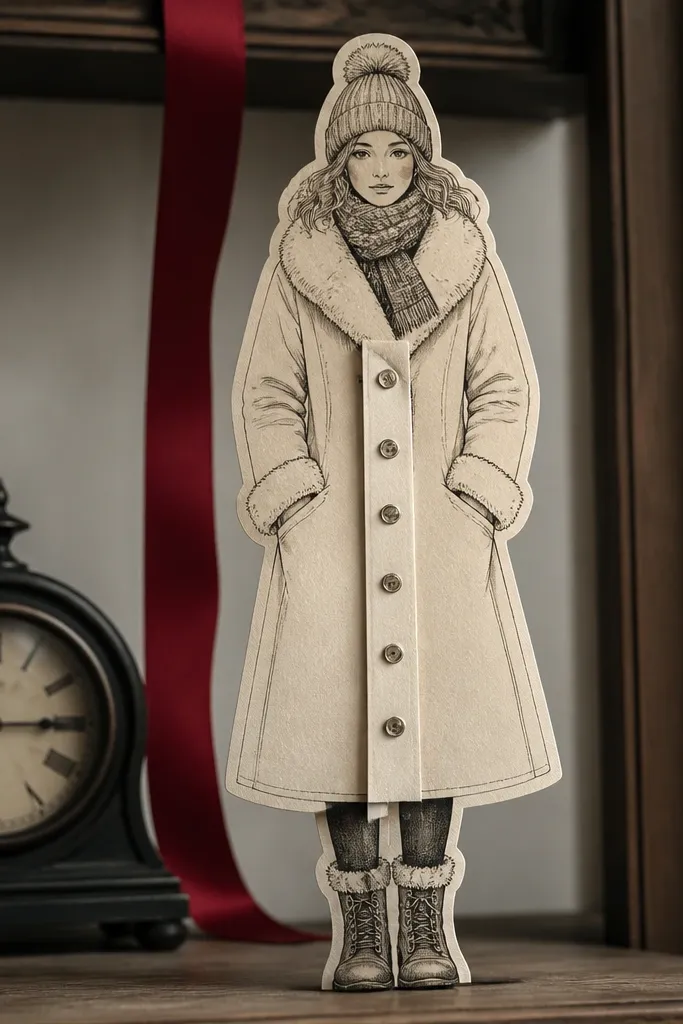
A winter coat printable is cozy because it has structure. This set’s separate button strip adds a crisp vertical detail that makes the coat look tailored instead of drawn. The coat silhouette usually fills the page nicely, so even a single doll looks substantial on a shelf or in a frame. It’s also a good choice if you want something that feels vintage but still clean and graphic. Assemble it carefully and you’ll get a strong, photogenic front-facing look.
Print on 110 lb cardstock for a stiff coat shape. Cut the coat outline and the button strip layer, then glue the button strip onto the coat front using the printed placement line. Add the head and any collar piece, pressing flat under a book. If the coat edges curl, trim and lightly sand the perimeter for a crisp border.
Use a craft knife for the button strip — scissors make uneven edges on narrow details.
Skip liquid glue — stiff cardstock plus wet glue warps the coat.
9. Old-Timey Dress Doll with Separate Collar Tabs
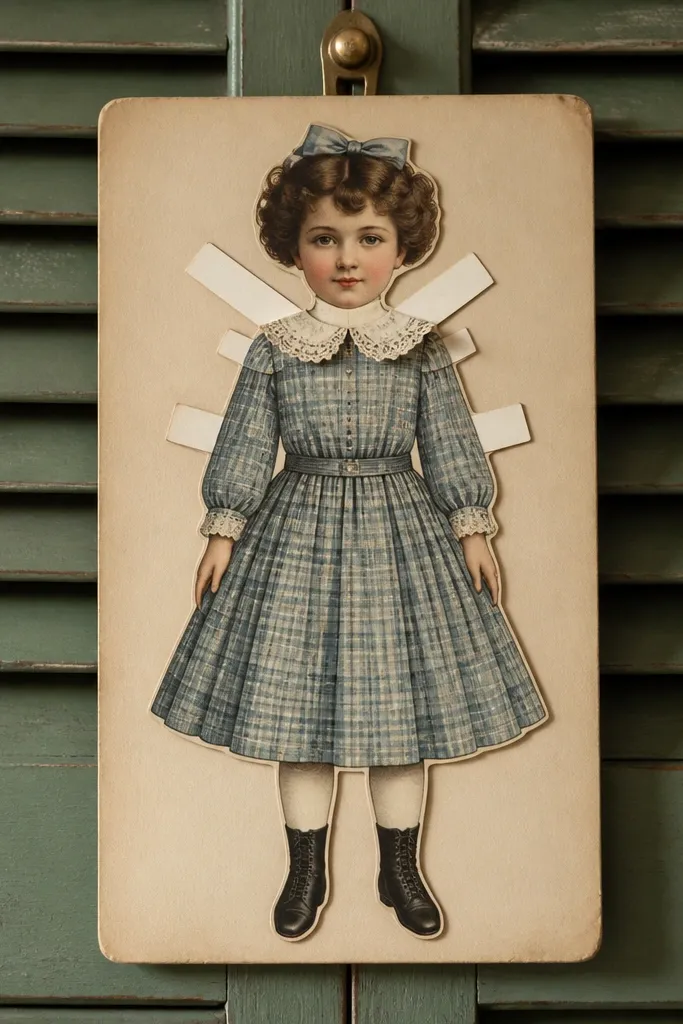
Collar details are what make vintage dolls look “designed,” not generic. This printable includes separate collar tabs, which create a crisp frame around the face and make the doll read well in photos. The dress shape is usually simple enough for tidy cutting, while the collar adds a refined touch. It’s ideal for hanging decor because the collar gives the top area structure. If you like vintage styling with a clean look, this is the best match.
Editor's noteDry-fit the collar tabs before gluing — small alignment tweaks save the whole look.
Print at 100% scale and cut the dress and head layers first. Cut the collar tabs, glue them to the neck area, then attach the head so the collar sits evenly. Assemble the remaining layers with minimal glue contact points. Finish by distressing only the dress bottom edge with a sponge so the collar stays sharp.
Skip thisDon’t glue collar tabs flat across the entire width — you lose the layered vintage effect.
10. Cozy Bedroom Doll with Quilted Blanket Layer
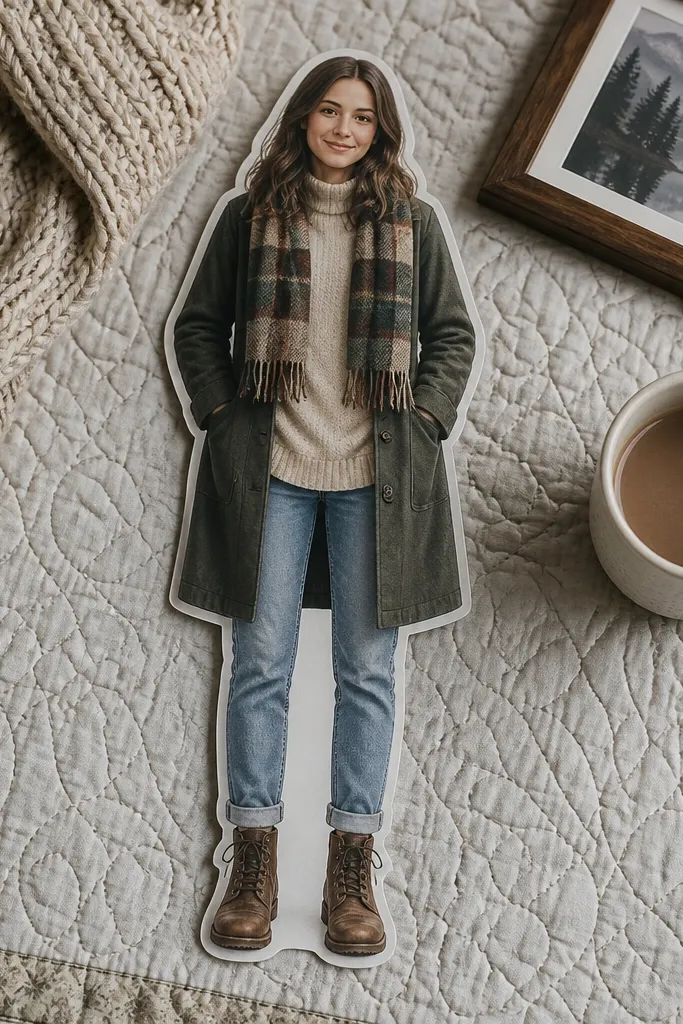
A quilted blanket layer adds coziness you can see instantly. This set usually includes a blanket piece that sits behind or under the doll, creating a soft base that makes the doll feel grounded. The quilting lines help the paper read as fabric, even though it’s flat. It’s great for decor because the blanket fills negative space and makes the composition look intentional. For best photos, display it on a neutral background like cream paper or light wood.
Editor's notePut a sheet of wax paper between layers when pressing so it doesn’t stick.
Print the doll and blanket at 100% scale, then cut the blanket first. Glue the blanket behind the doll’s body with a few small dots along the top edge. Assemble the doll layers, then press everything under a book for 10 minutes. Trim any overlap with a craft knife so the blanket edge stays clean.
Skip thisDon’t cover the blanket with heavy glue — it dulls the printed quilting lines.
11. Vintage Farm Doll with Separate Straw Hat
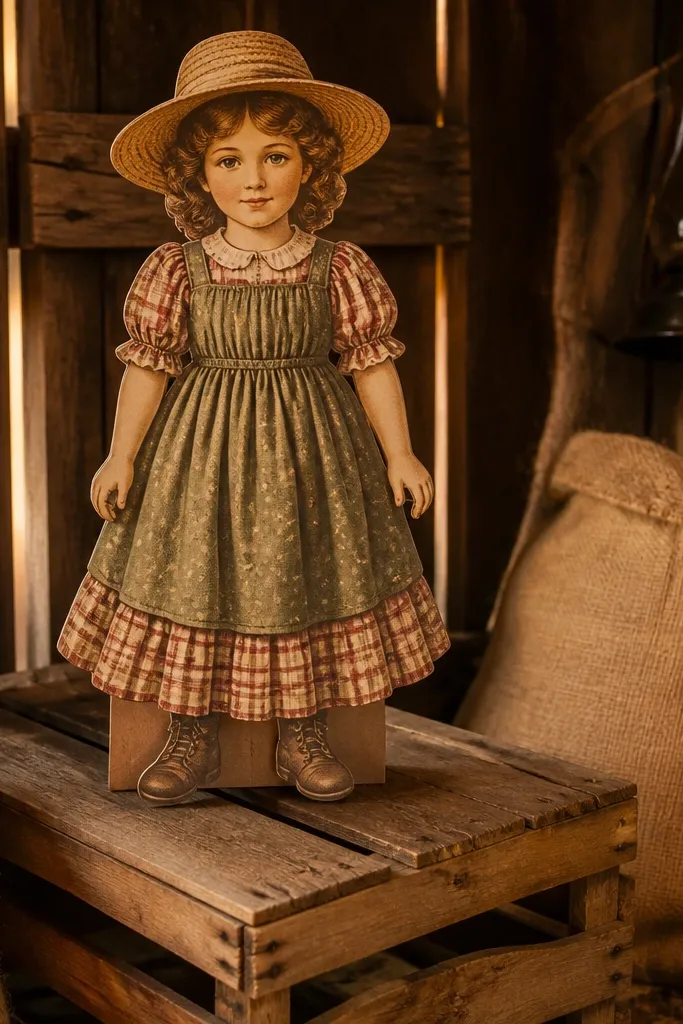
Straw hat silhouettes add instant warmth. This printable set usually includes a separate hat piece with a slightly curved brim, which makes the doll look like it’s standing outdoors. The rest of the outfit tends to have earthy tones and simple lines, so it stays readable after cutting. It’s perfect for rustic decor on a mantel or as part of a mini “farm” banner. The hat also gives you a strong focal point, so the doll looks good even when you keep the background minimal.
Print on 90-100 lb cardstock and cut the hat piece carefully along the brim edge. Glue the hat onto the head last, lining it up using the printed guide marks. Assemble the body layers, then add any small accessory like a scarf or apron with a light touch of glue. Distress the body edges slightly with brown ink, leaving the hat brim detail mostly clean.
Use tweezers to hold the hat while gluing so you don’t smear glue on the brim lines.
Don’t over-distress the hat — it makes the straw pattern look muddy.
12. Holiday Ornaments Doll with Pop-Out Shape
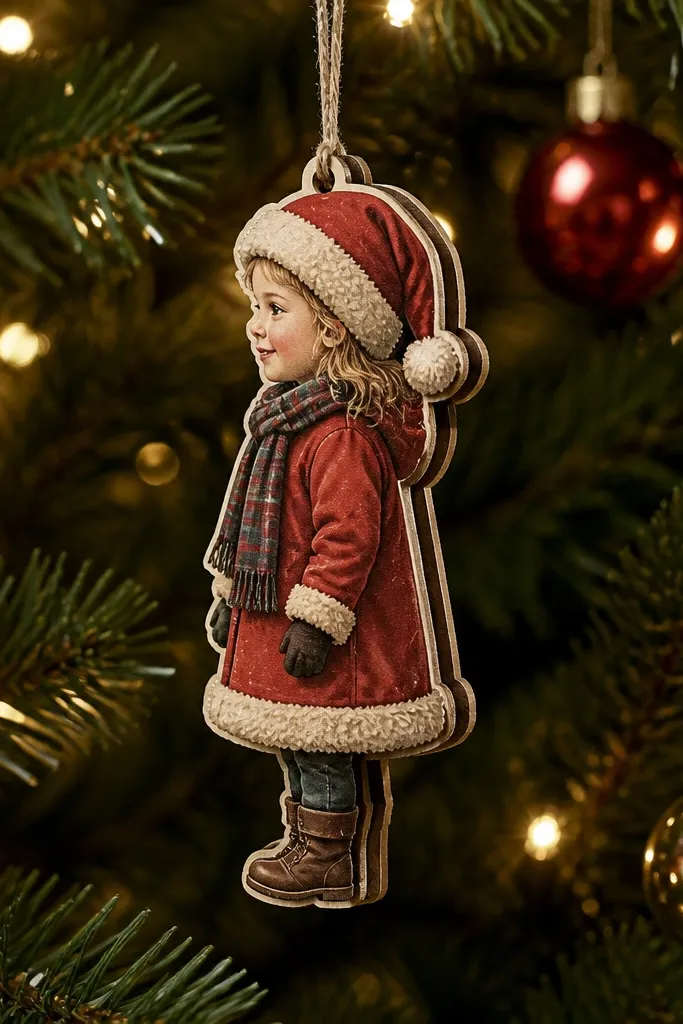
If you want cozy that’s also photogenic, make it an ornament. This set is built for hanging, with a pop-out layer that gives the doll depth even when it’s small. It’s ideal for Christmas trees, but you can hang it year-round from a string of twine because the design still reads vintage. The ornament format also keeps everything tidy: less clutter than a full wall scene. Use it when you want a quick win and a cute, warm look in photos.
Editor's notePunch the hole before gluing layers so you don’t misalign the tab.
Print on 110 lb cardstock so it holds shape, then cut out the ornament pieces. Fold any hanging tab lines if the printable includes them, then glue the pop-out layer to create depth. Punch a small hole at the top, thread twine through, and secure the knot on the back. Optional: seal with matte spray to protect ink from handling.
Skip thisDon’t use thin printer paper — ornaments sag and look flat fast.
13. Antique Pattern Dress Doll with Separate Bodice Overlay
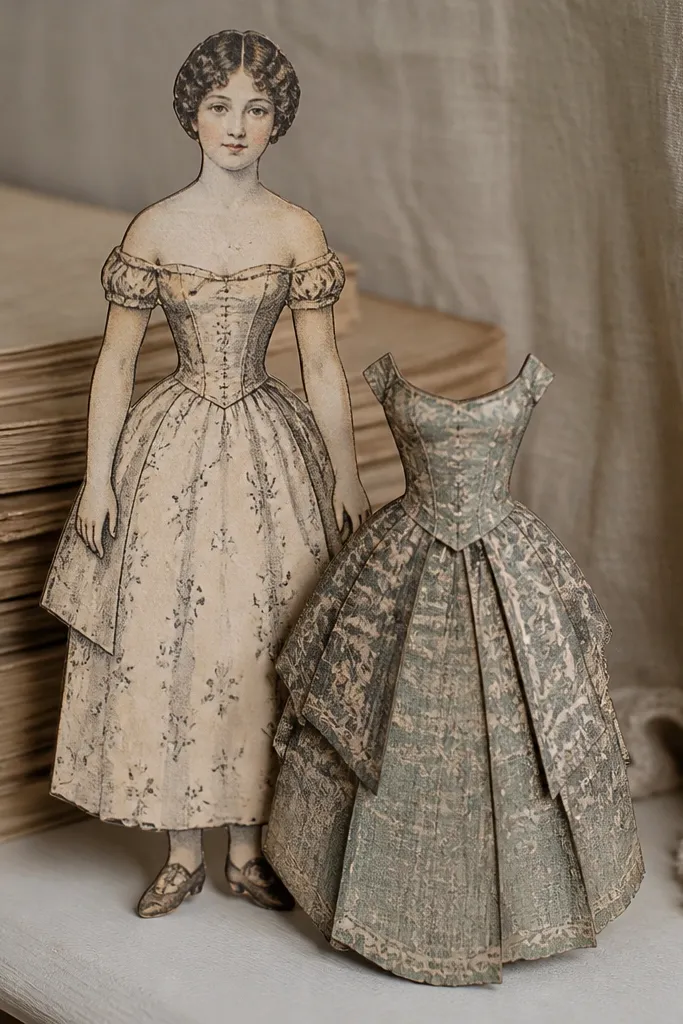
This printable is for people who want vintage pattern without messy cutting. The bodice overlay adds a second layer of detail that makes the dress look like it has fabric panels. Because the overlay is separate, you avoid cutting tiny pattern pieces all over the outfit. It’s a clean way to get that vintage “antique dress” look while keeping assembly straightforward. Display it in a frame or on cardstock with a window cut behind the doll for a museum-card vibe.
Editor's noteUse a ruler to align the bodice overlay so both sides sit evenly.
Print on 90-110 lb cardstock and cut the main dress outline first. Cut the bodice overlay and glue it centered on the dress, keeping edges aligned with the printed border line. Assemble head and any sleeves, then press flat under a book for 5-10 minutes. If you want a stronger vintage look, distress only the outer dress edge, not the overlay.
Skip thisDon’t trim the overlay too close — losing the border makes it look like a sticker.
14. Cozy Scarf Doll with Layered Scarf Tail
A layered scarf tail is one of the easiest ways to make a paper doll feel cozy and dimensional. This set usually includes a scarf piece that wraps around the neck and a separate tail that you can angle outward for depth. The scarf also adds movement, which looks great in photos against plain backgrounds. It’s especially good for beginners because the scarf is large and forgiving to cut. If you want warmth without complicated tiny accessories, this is the move.
Editor's noteAdd a tiny strip of double-sided tape at the scarf tail tip for a clean lift without extra bulk.
Print on smooth cardstock and cut the scarf tail piece separately from the main scarf wrap. Glue the wrap first around the neck area, then attach the tail slightly off-center so it hangs with a gentle curve. Add the head and any hat layer if included, pressing flat while the glue sets. Lightly sand the scarf edges if you see any paper fuzz.
Skip thisAvoid gluing the tail edge-to-edge — it flattens the shape and kills the cozy dimension.
15. Vintage Sewing Doll with Spool and Thread Reel
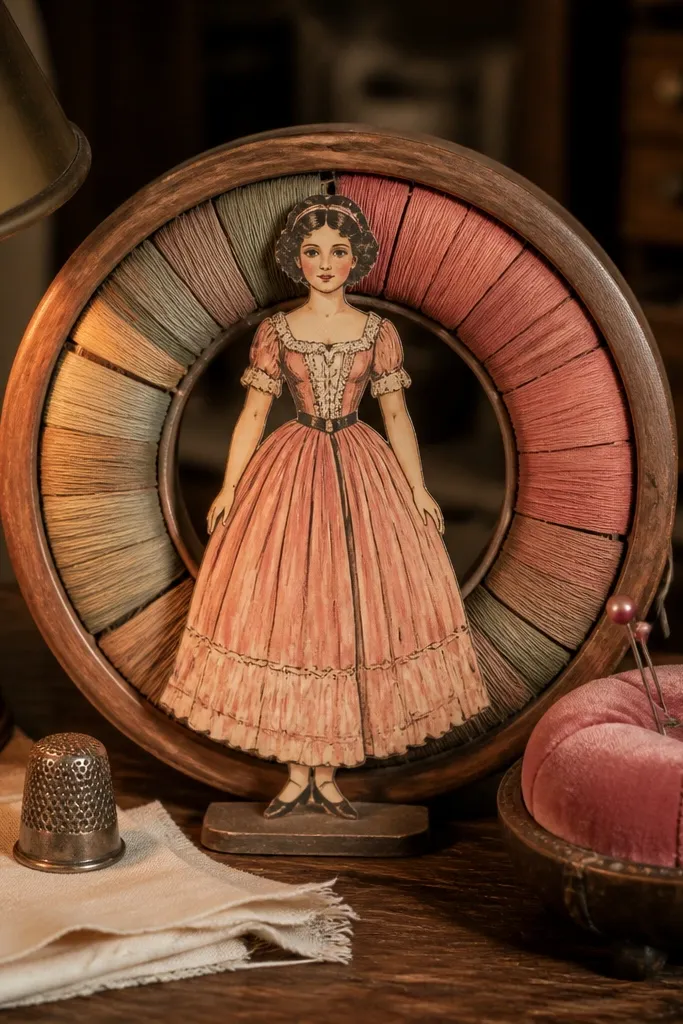
Sewing-themed dolls look cozy because the accessories feel practical and old-fashioned. This printable includes a spool or reel piece that adds a strong circular shape, which balances the doll’s body in a frame. The reel can sit behind the doll for depth without complicated layering. It’s also a great choice for decor that looks good even if you display it solo, not as part of a big scene. Keep the background warm and plain so the spool reads as the focal detail.
Print the doll and accessory pages at 100% scale. Cut the spool and thread reel pieces first, then assemble them with a small amount of glue so circles stay round. Glue the spool behind the doll’s hands, then attach the body and head layers. Press everything flat under a book and trim any string-like edges with a craft knife for clean lines.
Use a glue stick on circular pieces — it spreads thin and keeps the spool from warping.
Don’t overbuild the reel — too many glue points make it wobble.
16. Rainy Day Umbrella Doll with Weathered Border Frame
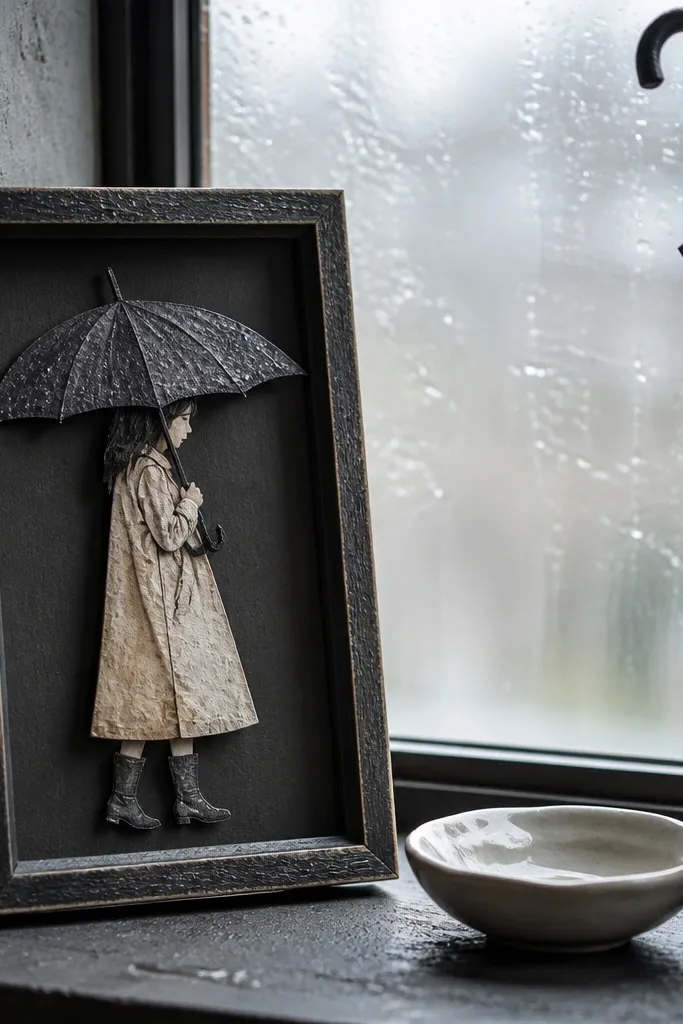
This set is cozy because it turns “weather” into a visual story. The umbrella silhouette creates a wide, protective shape that photographs well and fills space in a frame. Many of these printables include a weathered border, so you get a vintage finish without staining or extra supplies. It’s a strong choice for wall decor because the border gives you a ready-made mat. Assemble the doll and you’ll have a complete, display-ready piece.
Print on cardstock and cut the border frame pieces first so you can test fit around the doll. Cut the umbrella and doll layers separately, then glue the umbrella behind the head area for a natural overlap. Assemble the full doll, then attach it to the border using small glue dots at the corners and center. Let it dry flat, then check the border alignment before sealing.
If the border curls, weigh it down while it dries — curling ruins the frame look.
Don’t glue the umbrella flat across the whole edge — it should overlap for depth.
17. Vintage Paper Doll Banner with 3 Mini Dolls Per Page
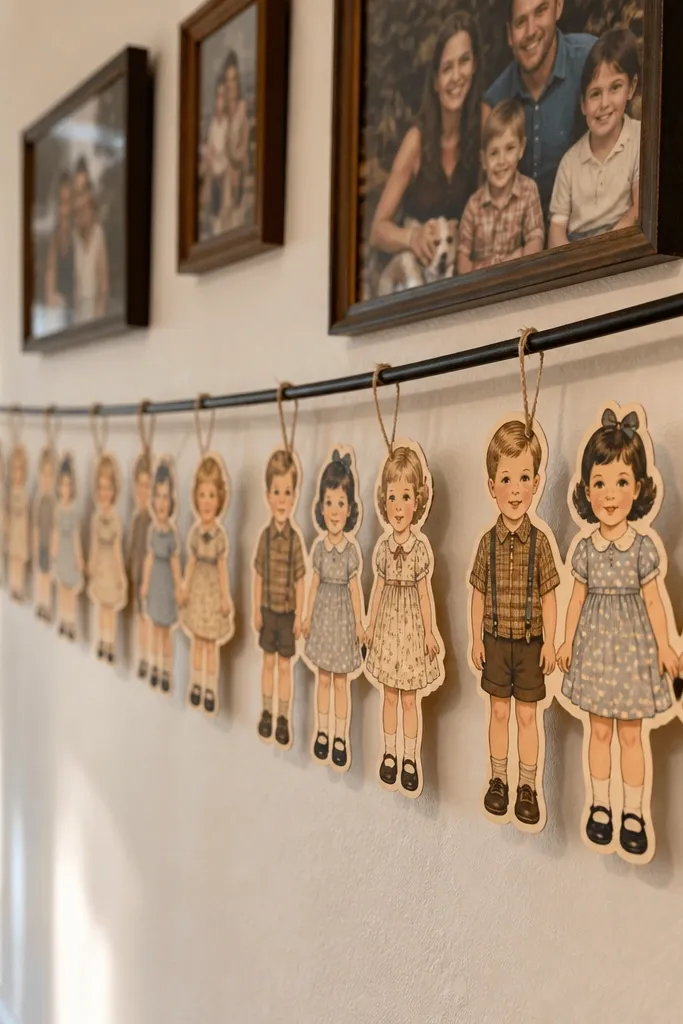
Mini dolls look extra cozy on a banner because you get a repeating pattern, like a room decoration. This printable is built for cutting in a batch: multiple dolls on one page with hanging points. The small scale makes it practical for fast results, and the repeating outfits read as a coordinated set. It also gives you an easy way to display without framing — hang it over a shelf, above a desk, or along a curtain rod. If you want cozy decor that feels playful, banner format wins.
Editor's noteUse the same twine length between dolls so the banner looks intentional, not random.
Print on 80-90 lb cardstock and cut each mini doll carefully along the outer outline. Punch the hanging holes if the design includes them, then thread twine through using a single knot per doll. Glue the layered parts quickly, then press each doll under a book while you finish the rest. Hang the banner and adjust spacing before the glue fully sets.
Skip thisDon’t mix cutouts from different print scales — one doll off-size makes the whole banner look messy.
18. Victorian-Inspired Mourning Dress Doll with Veil Layer
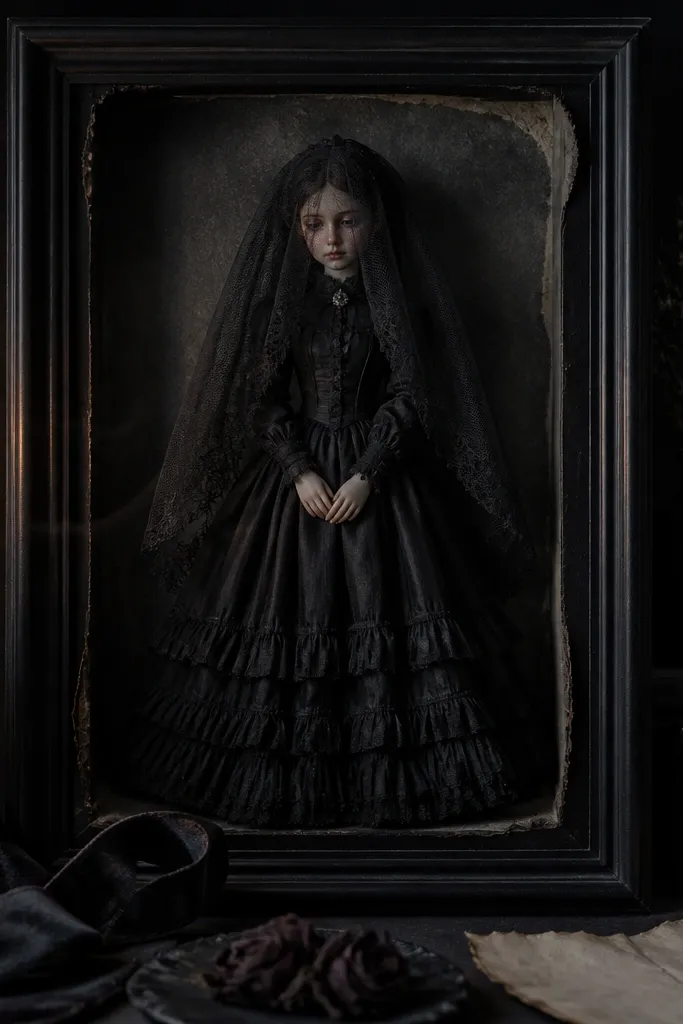
Dark, vintage dolls feel cozy in a different way — moody, candlelit, and dramatic. This printable includes a separate veil layer that softens the face and adds that vintage “portrait” look. The veil creates a gentle overlay effect that looks good even if you don’t add extra props. It’s best for shelves and frames where you want a strong focal point. Keep the background warm but subdued so the veil detail stands out.
Print on 90-110 lb cardstock so dark areas don’t look washed out. Cut the veil piece first, then glue it over the face area with a thin glue application at the top and sides only. Assemble the body and head layers, pressing flat so the veil doesn’t curl. Distress the outer edges lightly with brown ink for warmth, then seal with matte spray to protect the dark tones.
Use a dark gray ink sponge instead of black for distressing — it looks more vintage and less harsh.
Don’t use glossy seal on dark dolls — it creates shine that breaks the vintage mood.
19. Warm Neutral Robe Doll with Belt Tie Layer
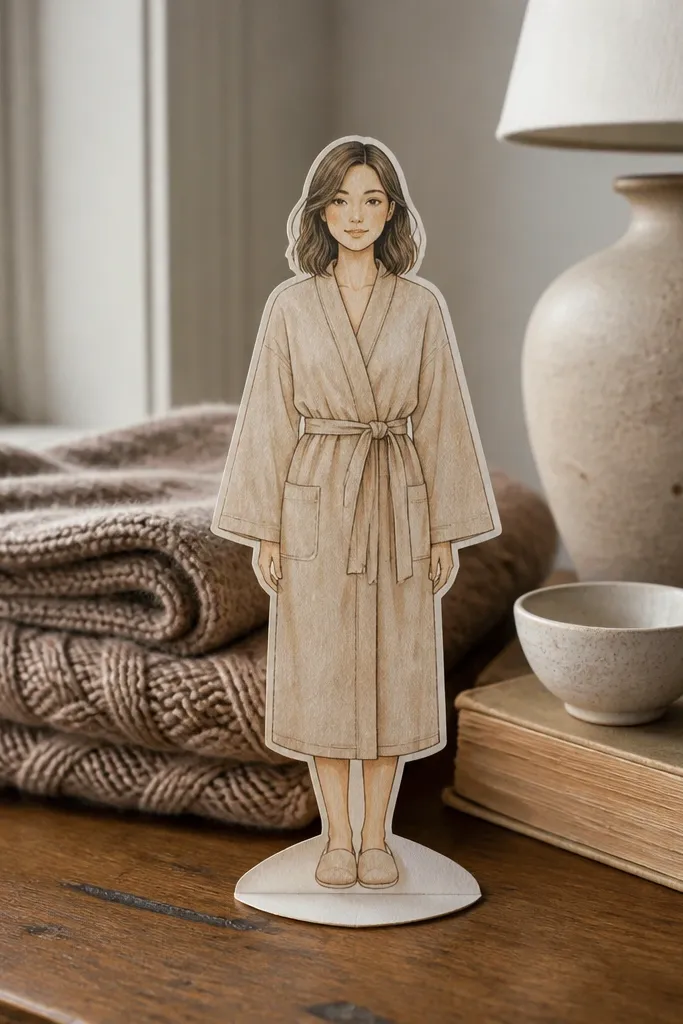
A robe doll is cozy because it reads like a comfort garment, and the belt tie gives you an easy focal point. This printable includes a separate belt tie piece so you get a layered look at the waist without cutting tiny details across the whole outfit. The warm neutral palette is very forgiving for decorating: it matches kraft, cream, and wood tones without fighting your room. It also looks great as a single framed piece because the belt tie anchors the center. Assemble carefully and it looks finished even with simple backgrounds.
Print on 90 lb cardstock and cut the robe outline first. Cut the belt tie piece and glue it at the waist with a slight lift so it casts a small shadow. Add head and any sleeve layers, then press flat under weight for 8-10 minutes. Finish by sanding the outer edges and wiping off dust so the vintage border looks soft.
Bend the belt tie over a pencil lightly before gluing if the printable allows it — it adds natural drape.
Avoid thick glue on the belt tie — it makes the paper buckle.
20. Cottage Garden Doll with Flower Pot Stand
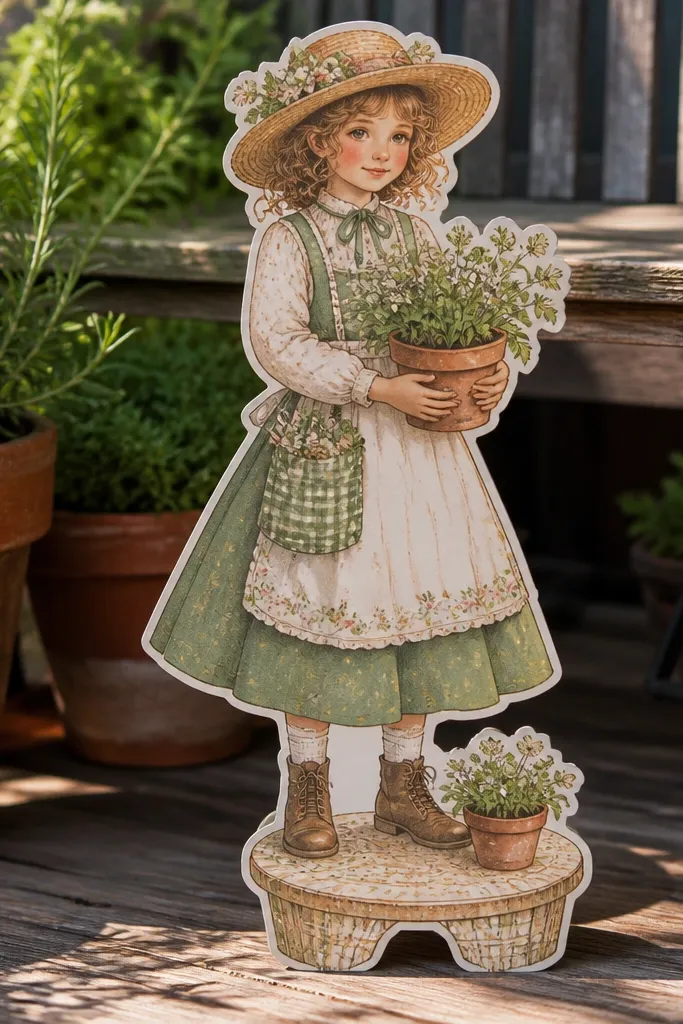
This printable makes your doll look like it belongs outdoors without needing extra decor. The flower pot stand creates a base, so the doll doesn’t feel like it’s floating. When the pot and plant pieces are separate, you get layered depth that reads like a small vignette. It’s ideal for tabletop displays because the base gives it stability and photogenic framing. If you’re building a cozy set on a shelf, this one pairs well with neutral paper, faux moss, or dried herbs.
Editor's noteAdd a tiny paper tab at the back of the stand for stronger contact and less lifting.
Print on 110 lb cardstock for stability on the stand. Cut the pot stand pieces, assemble them first, then glue the doll onto the stand at the back attachment points. Assemble any plant layer last so you can adjust height. Press under a book and check that the stand sits flat before sealing.
Skip thisDon’t skip cardstock weight — thin paper stands collapse or curl when handled.



