

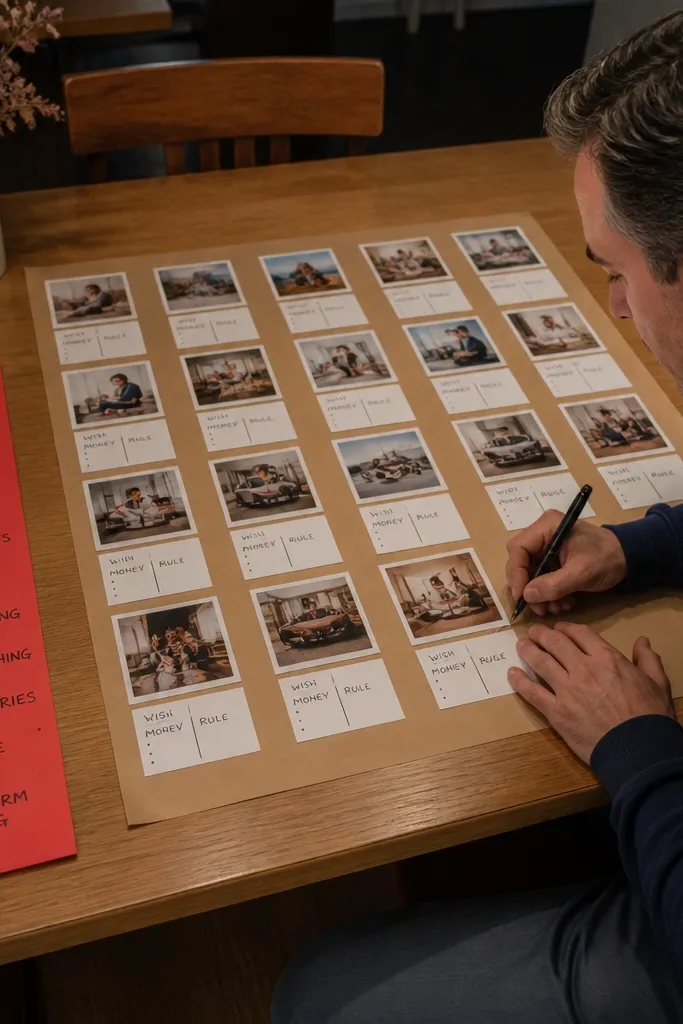
1. The 3-Box Money Pipeline Board (Income, Save, Spend)
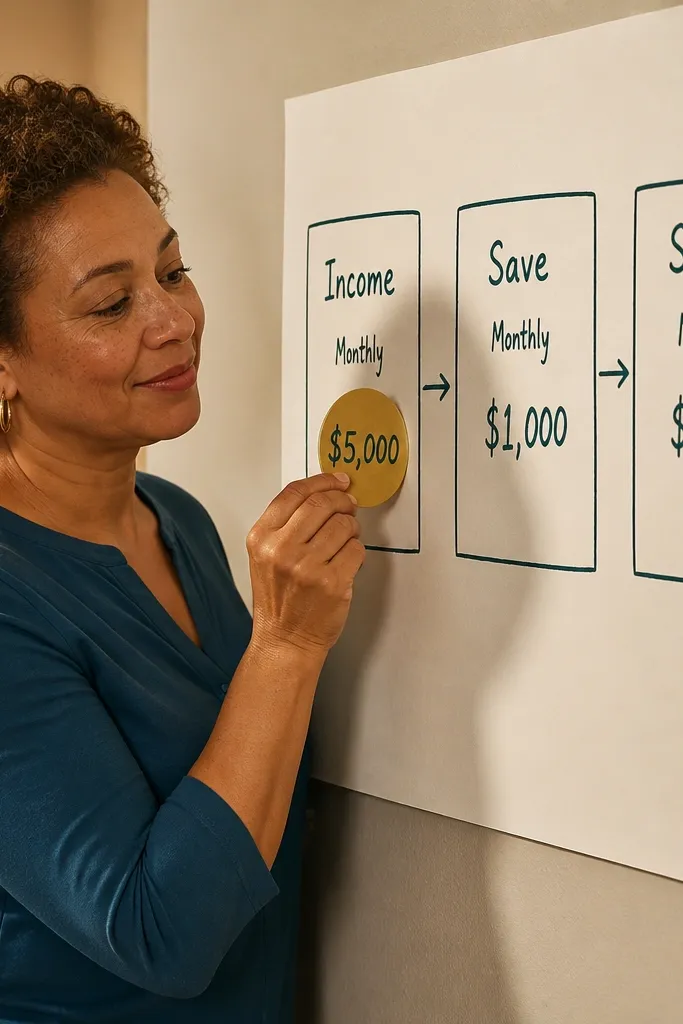
This is the board that keeps money goals grounded. You’re not just pinning “wealth vibes” — you’re building a visual pipeline: where money comes from, where it goes, and what it funds. Put a number on the income box (like a monthly target), a number on the savings box (like a monthly transfer), and a spending rule on the spend box (like a category cap). The layout works because it forces separation, so your brain doesn’t blend “wanting money” with “managing money.” It suits a desk wall, a bedroom corkboard, or a printable board you keep next to your budget app.
Start with a sheet of matte cardstock or a corkboard sized about 18x24 inches. Draw three vertical boxes with a ruler and label them in plain text: Income, Save, Spend. Print three money images that match each box: one with your income number, one with your savings number, and one with a spending rule you can follow. Glue each image inside its box, then add one handwritten line under each image with your weekly action (example: “Check balances every Sunday”). Finish by placing it where you see it during your weekly money routine.
Editor's noteUse the same font style for your labels and write the weekly actions in the same pen color each time. Consistency makes the board faster to read.
Skip thisDon’t put generic cash photos in every box. If a picture doesn’t carry a number or rule, it belongs nowhere.
2. The Debt Payoff Timeline Strip (With Dates You Can Read)

If you’re chasing money goals and you have debt, this board makes the goal feel real and scheduled. The mistake people make is copying comparison vision board ideas pictures that show big wins without the path. A timeline strip fixes that by showing your next milestone at a glance. It also reduces decision fatigue because you can see what to focus on this month, not what you’ll do someday. This works best for credit card payoff, student loans, or any debt with a payoff date you can plan around.
Cut a long strip of paper about 4 inches tall and 18 inches wide, or use poster board. Divide it into sections by month (leave 1/2 inch margins on both ends) and write month abbreviations in each section. Print or write your starting debt number on the left, then add your target remaining balance for each milestone month. Glue small icons only if they help readability, like a tiny calendar or arrow, but keep the numbers the star. Add one sticky note on the side with your monthly payment amount and due date, then mount the strip at eye level.
Editor's noteUse a bold marker for the month labels and a lighter color for the remaining balance so your eyes land on the dates first.
Skip thisAvoid “someday” dates. If you can’t say the month you’ll be at a lower balance, the timeline can’t guide you.
3. The Rent-to-Savings Swap Collage (One Rule, Two Images)
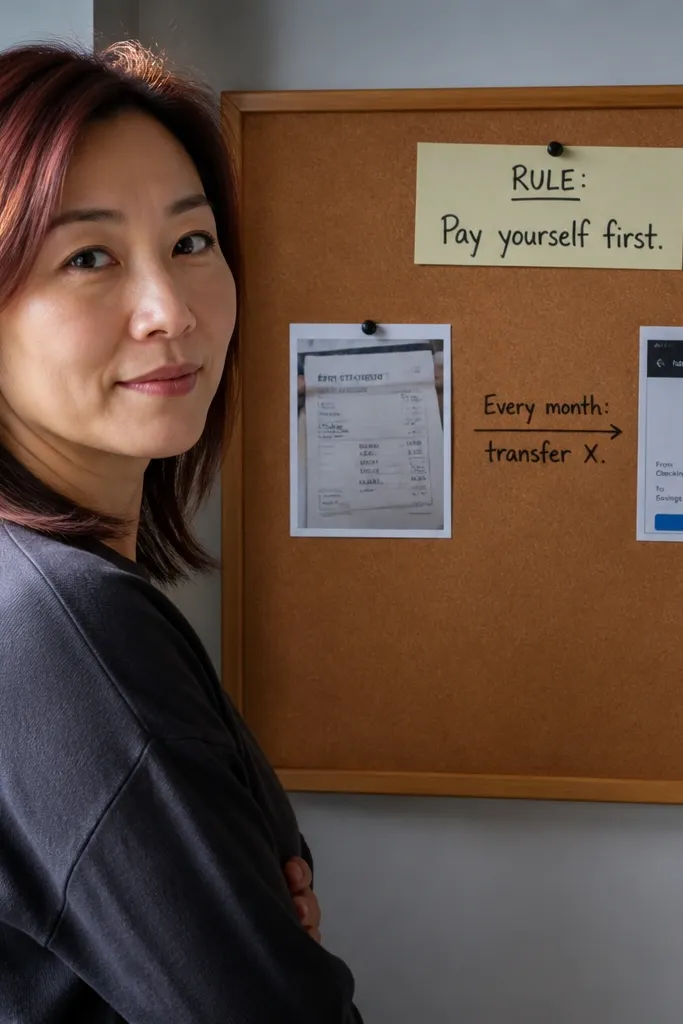
This one is for money goals that require a behavior change, not just a new dream. People copy comparison vision board ideas pictures with cars, vacations, and luxury items, then ignore the boring part: moving money from one bucket to another. A rent-to-savings swap collage forces a single rule: “every month, transfer X after rent.” You’ll feel the structure because the board visually repeats the same swap, so your brain stops treating saving like a random event. It’s great for renters, first-time savers, and anyone who needs a clear monthly ritual.
Choose two images that represent your rent amount and your savings transfer target. Print rent proof as a simple text graphic you create (monthly rent number) and print the savings transfer number as a matching text graphic. Cut both into equal-size rectangles and glue them one above the other with a small arrow between them. Write the exact timing under the arrow: “Transfer on the 2nd day after rent is paid.” Finally, add a third tiny label at the bottom: “Automate it if possible,” then put the board near your mail or budget log.
If you can automate the transfer, put the automation date on the board too. That makes the rule stick even on busy weeks.
Skip luxury images here. If the board doesn’t show the transfer rule, you’re copying vibes instead of building habits.
4. The Weekly Action Checklist Board (Money Proof Included)
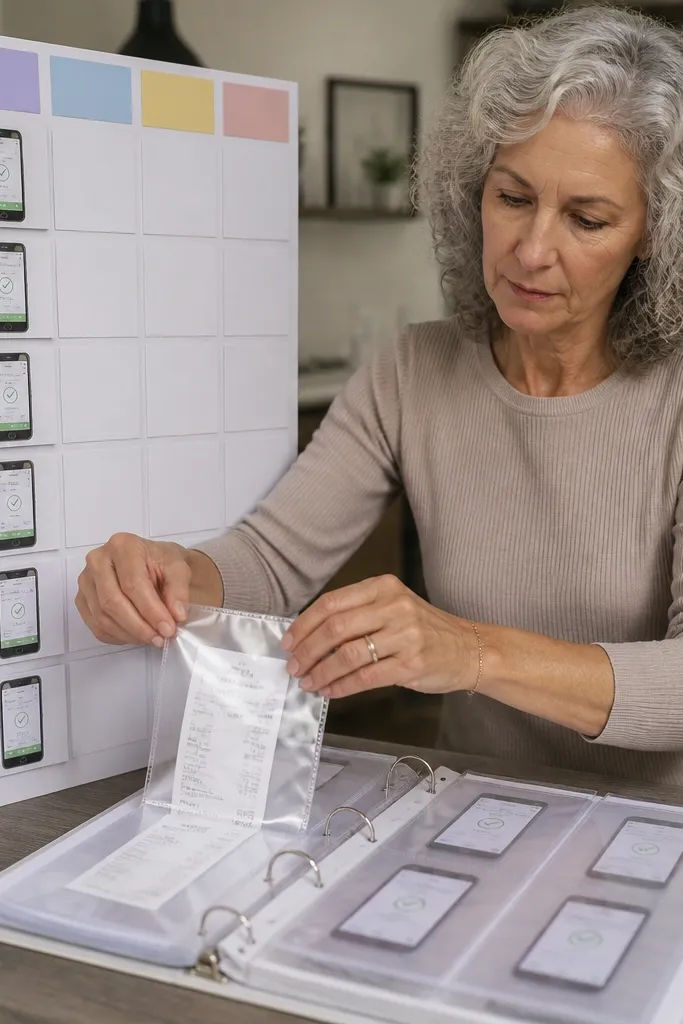
This is the board for people who get motivated for a week and then disappear. Comparison vision board ideas pictures often show only end goals. The weekly action checklist board keeps your money goal alive by pairing an action with proof. You pick one money action you can complete in under 15 minutes, then you track it visually. Proof matters because it stops you from using “I think I’m doing better” as a substitute for data. This suits desk spaces and planners, especially if your money goals depend on tracking spending or cash flow.
Create a grid with 8-12 rows of small rectangles, one per week. Label the first column with your action (example: “Log spending”), and the second column with your proof (example: “Total tracked”). Print a simple number block for your proof target, like “$0 missing entries” or “Track 7/7 days.” Glue the grid onto a board, then add a checkmark box next to each week. Use a pen you can write over, and if you want it clean, cover the grid with a sheet protector before you mark weekly progress.
Editor's notePick an action you can finish on a bad day. If the action collapses under stress, your board will teach you to quit.
Skip thisDon’t include ten actions. One action plus proof beats five actions with no proof.
5. The Budget Category Cap Board (Caps in Big Numbers)

Money goals fail when the board ignores how you actually spend. This board is built around category caps, so your visuals match your real constraints. The mistake in comparison vision board ideas pictures is that people copy “money” imagery without showing limits. Caps turn your spending into a game you can measure. Put the biggest caps where your eyes land first. This works best for anyone who overspends in one or two categories and needs a visible guardrail.
Pick 3-5 categories you want to control and choose a cap number for each category for the next month. Create simple printed cards with the category name and the cap in large font (at least 2.5 inches tall). Arrange them in a grid on a board and leave a small blank area under each card for the current week’s remaining amount. Write the cap on the board, then update the remaining amount weekly with a dry-erase marker. Seal the board with clear tape over the dry-erase areas if you’re using paper.
Use dry-erase tape labels if you want to change caps without reprinting everything.
Avoid vague categories like “misc.” If it’s on the board, you need a number you can track.
6. The Emergency Fund Ladder (Small Steps, Clear Levels)
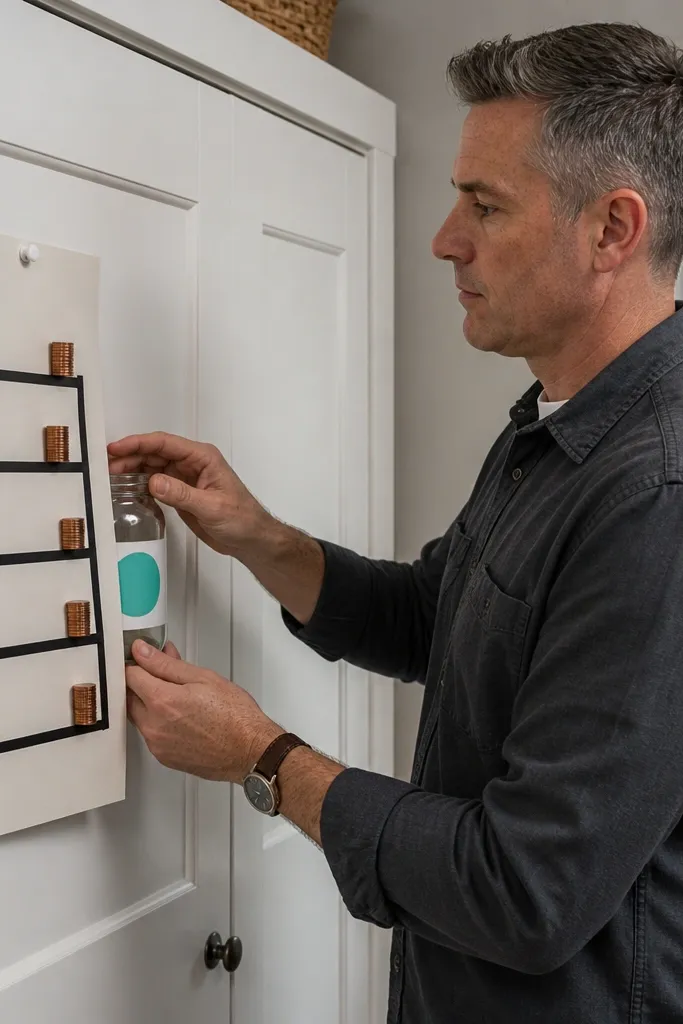
Emergency fund goals are where people sabotage themselves with unrealistic jumps. Comparison vision board ideas pictures often show the final number only. A ladder fixes that by breaking the goal into visible levels that you can reach and celebrate without drama. The board keeps you from spiraling into “I’m not there yet” thinking because you can see the next rung. This suits anyone building a safety buffer from scratch or rebuilding after an expense.
Draw a ladder shape on a poster board or use printed ladder lines. Label the rungs with your actual target levels, like $500, $1,500, and $3,000, then add a final “goal” rung if you have one. Print one small icon per rung (like a shield or house) and keep it tiny so it doesn’t steal attention from the numbers. Glue the ladder onto a board and write the transfer amount under the ladder: “Save $50 every Friday.” Put it in the spot you see before you do any money tasks, like by your keys or your budget notebook.
Editor's noteChoose rung amounts that match your real transfer size. If your transfer is $25/week, set rungs you hit in 4-12 weeks.
Skip thisAvoid one giant rung. A ladder without intermediate steps creates a board that looks motivating but doesn’t guide.
7. The Income Upgrade Board (Skill + Offer + First Client Target)

This board works when your money goal depends on changing income through a new offer or service. People copy comparison vision board ideas pictures showing “income” without the mechanism. This format is a mechanism. You pick one skill you’re building, one offer you’re selling, and one first target number that tells you what success looks like. It stays grounded because each card points to a next step you can schedule. This suits side hustles, job change planning, and anyone turning a hobby into income.
Write three headings on a board in a vertical stack: Skill, Offer, Income Target. Under Skill, glue a photo or printed text that names the skill and a weekly practice amount (like “2 sessions/week”). Under Offer, glue a simple offer description card: what you sell and who it’s for, plus a price number. Under Income Target, print a number card like “$400 by end of month” and add a due date. Finally, add a small checklist on the bottom with three tasks: outreach, create sample, refine offer.
Keep the offer card short enough to read in 5 seconds. If it takes longer, you’ll ignore it.
Skip “motivational” images. If the board doesn’t remind you what you’re selling, it won’t move money.
8. The No-Spend Trigger Board (Replace Impulse With a Script)
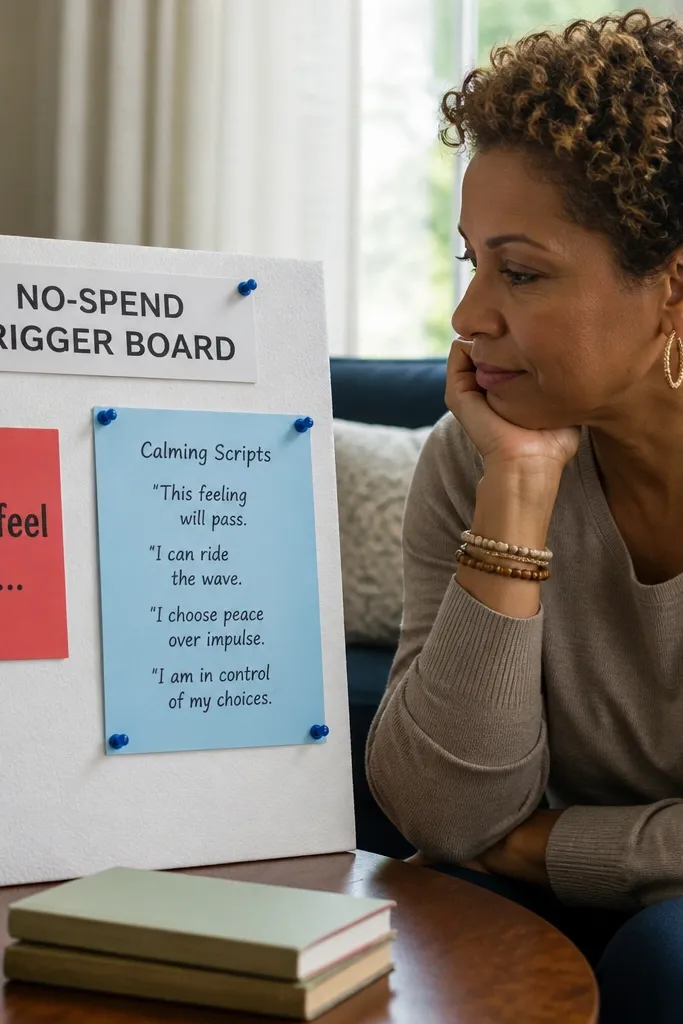
This is for people who sabotage their money goals with impulse spending. Comparison vision board ideas pictures often focus on what you want to buy later, which can make cravings worse. A no-spend trigger board instead targets the moment you reach for your wallet. You put a trigger cue (like “When I feel bored”) and a replacement script (like “Wait 24 hours, then check my category cap”). Pair it with a savings number so the replacement behavior has a payoff in your face. It’s great for kitchens, bathrooms, and entryways where impulse decisions happen fast.
Pick one impulse trigger you want to control, and write it at the top in clear text. Create a replacement script card with 2-3 steps you can do immediately, like “Check cap, wait 24 hours, choose a free alternative.” Print a savings number card that matches your goal, and glue it at the bottom as the “why.” Add a small stop icon near the trigger text and circle it in marker. Mount the board where you make the decision, then keep it simple: one trigger, one script, one number.
Editor's noteMake the script card a single sentence plus a checklist. Your eyes should understand it before you feel the urge.
Skip thisDon’t add ten triggers. One trigger with a clear script beats a cluttered board that overwhelms you.
9. The Receipt Proof Wall (Proof Beats Wishful Thinking)
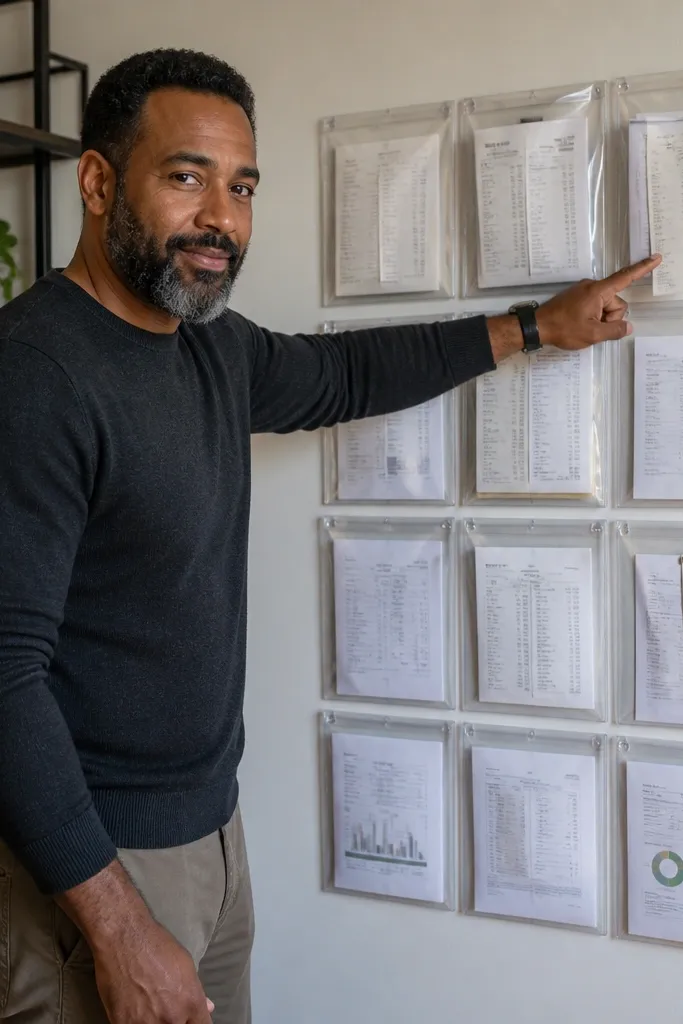
If your money goal depends on tracking, this board keeps you honest. Comparison vision board ideas pictures often show end results only, so you don’t see whether you’re building the habit. A receipt proof wall turns tracking into something you can physically see. You collect receipts or category printouts for each week and attach them to a timeline. It’s proof that you handled your money instead of guessing. This suits kitchens, offices, and anyone who needs a visual accountability system.
Use a corkboard or a bulletin board and divide it into weekly sections with masking tape. For each week, print a small label with your category targets like “Groceries $280” and “Fun $90.” Attach receipts or printed spending summaries under the week label using binder clips or small tape squares. Add a running total card at the end of the board where you update it weekly from your budget app. Keep the board near your budget routine so you can attach proof within 24 hours of the purchase.
Editor's noteUse binder clips for receipts. You can swap weeks without ripping paper or stretching tape.
Skip thisAvoid hiding receipts in a drawer. If proof isn’t visible, the board becomes decoration.
10. The Savings Auto-Transfer Screenshot Board (Visible Automation)
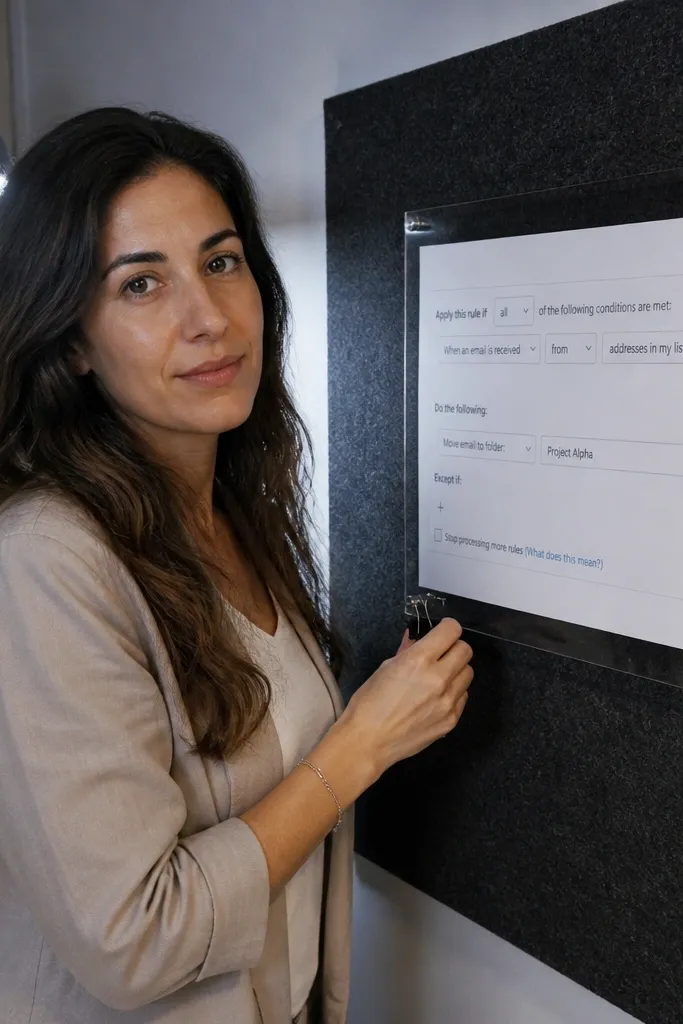
Automation is where money goals stop relying on willpower. People copy comparison vision board ideas pictures that show the fantasy account balance, then forget the setup that creates it. This board makes the automation visible so you remember the system. You place your transfer rule in front of you: the date, the amount, and the account name. It keeps the goal from feeling abstract. It fits best on a corkboard near your desk or inside a planner cover you open daily.
Create two cards using printed text: one card with the transfer amount and frequency, and another with the transfer date. If you use screenshots, mask account numbers and any personal identifiers with black marker before printing. Glue the cards onto a board and add one line under them: “Check that it completed.” Put the board where you check your banking, like next to your keyboard or by your planner. Update it if the transfer amount changes, and keep the visuals consistent so you can spot problems quickly.
Editor's noteWrite the exact day you expect the transfer to post. It makes missing transfers obvious.
Skip thisDon’t hide automation details behind pretty symbols. If you can’t read amount and date, it’s not doing the job.
11. The Big Number Focus Board (One Goal, No Clutter)

This is the opposite of the comparison trap. When you look at comparison vision board ideas pictures, you see boards packed with images, and you copy the clutter. Big Number Focus fixes that by forcing one money goal to dominate. You pick one target number, make it huge, and attach one action line. This reduces mental noise, so you actually notice when your behavior matches the goal. It suits people who get overwhelmed by too many cues and need one clear instruction.
Start with a board that’s 12x18 inches or larger. Print your single target number on a card so the digits are at least 3 inches tall. Place it dead center and add one small card under it that states your weekly action in plain language. Leave the rest of the board mostly blank so the number stays the focal point. Mount it where you can see it during your weekly planning session.
Editor's noteUse matte black or dark navy for the number. Bright colors look fun but don’t read as clearly in daily life.
Skip thisAvoid adding extra goals “just in case.” If it’s not the current focus, it becomes clutter.
12. The Money Map Board (Where It Comes From and How You Get It)

This board helps when money goals feel disconnected from your actions. People copy comparison vision board ideas pictures that look like a collage, but they don’t show the path. A money map board draws that path: source to action to outcome. You choose 1-3 income sources or income streams, then connect them to the money goal with arrows and a small task list. It’s useful because it makes your plan visible even when you’re tired. Great for anyone juggling a job plus side income or saving while paying bills.
Draw a simple diagram on paper: three circles across the top for income sources and one circle at the bottom for your money goal. Write each income source name in its circle and add a tiny weekly action under each one. Draw arrows from each source circle to the goal circle. Glue printed icons or text cards into each source circle, but keep them small so arrows are clear. Finish by adding a “next step” sticky note near the bottom circle with the one action you do first every week.
Use arrows with different thicknesses for different importance. Thicker arrow = your main income lever this month.
Don’t add five income sources. The map turns into a mess and stops guiding you.
13. The Spending Audit Board (Categories With Red Flags)
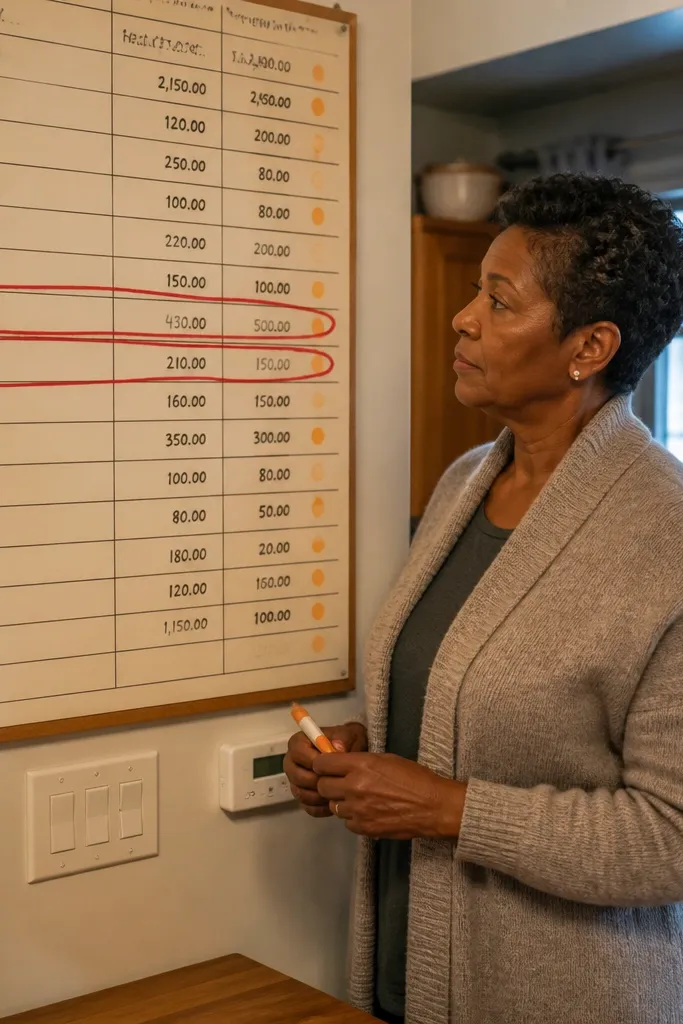
If your money goal keeps slipping, you need a board that points to the problem areas. Comparison vision board ideas pictures often show what you want, but your budget breaks in the categories you ignore. A spending audit board highlights red flag categories and pairs them with a cap and a rule. The look is direct, almost like a dashboard, which helps you act fast. It’s best for people who know they overspend but can’t keep track of which category is currently the culprit.
Start by picking the top 3 overspending categories from your last month of spending. Write the category names and your cap numbers on cards. Color the category cards with a red border or a red strip on the side. Under each card, write one rule that changes behavior, like “No delivery on weekdays” or “Gas only on Saturday.” Glue the cards onto a board and add a small weekly update line under each: “Remaining: ____.” Place it where you can see it before you shop.
Keep the rule short. If it takes two sentences, you’ll forget it.
Avoid using red for everything. One or two red categories should be obvious, or you stop noticing.
14. The Quarterly Goal Scorecard Board (Track, Don't Guess)
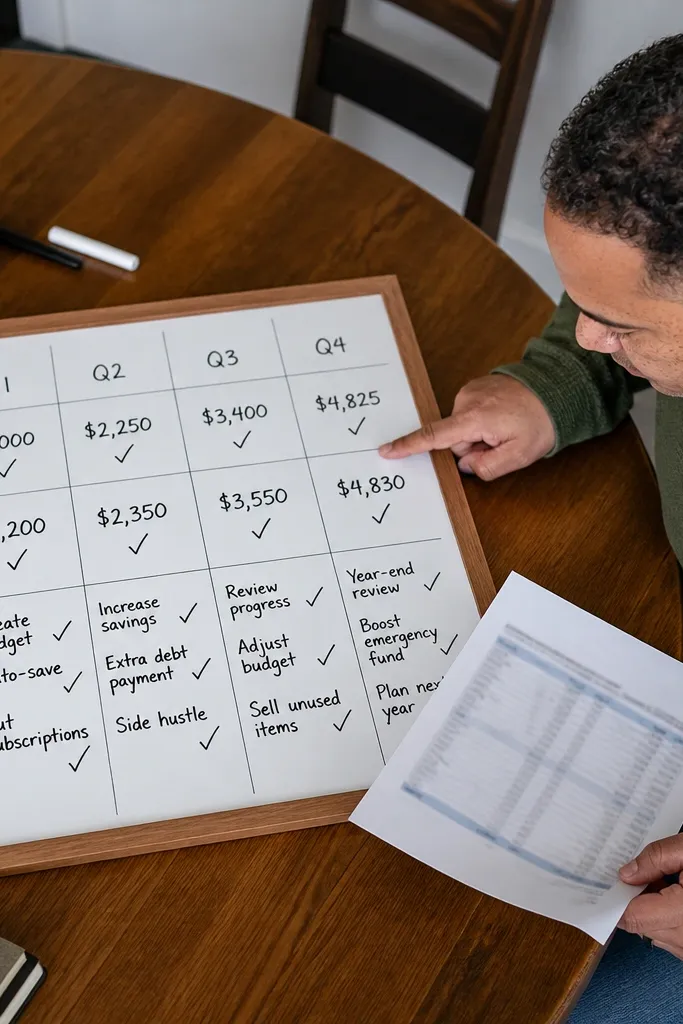
This board is for money goals that take longer than a month. Comparison vision board ideas pictures can trick you into setting only end-of-year dreams, then you lose momentum. A quarterly scorecard board turns the goal into checkpoints you update. You track progress in a simple grid: savings amount, debt payoff progress, and income progress. It keeps your board from becoming a static collage. It fits well in home offices and planners because it aligns with how budgets are reviewed.
Make a grid on cardstock with three rows labeled Savings, Debt, and Income. Divide each row into four columns for the quarter months and add a progress bar style segment for each month. Print your target numbers for the quarter and glue them to the left side of each row. Add one small “metric definition” note under the grid so you know what counts as progress (for example, “Savings = transferred amount”). Update monthly with a pen or dry-erase marker and keep the board near your budget review calendar.
Editor's noteUse the same metric definition every month. Mixing definitions makes progress look fake.
Skip thisAvoid vague progress bars with no numbers. A scorecard without numbers turns into vibes.



