
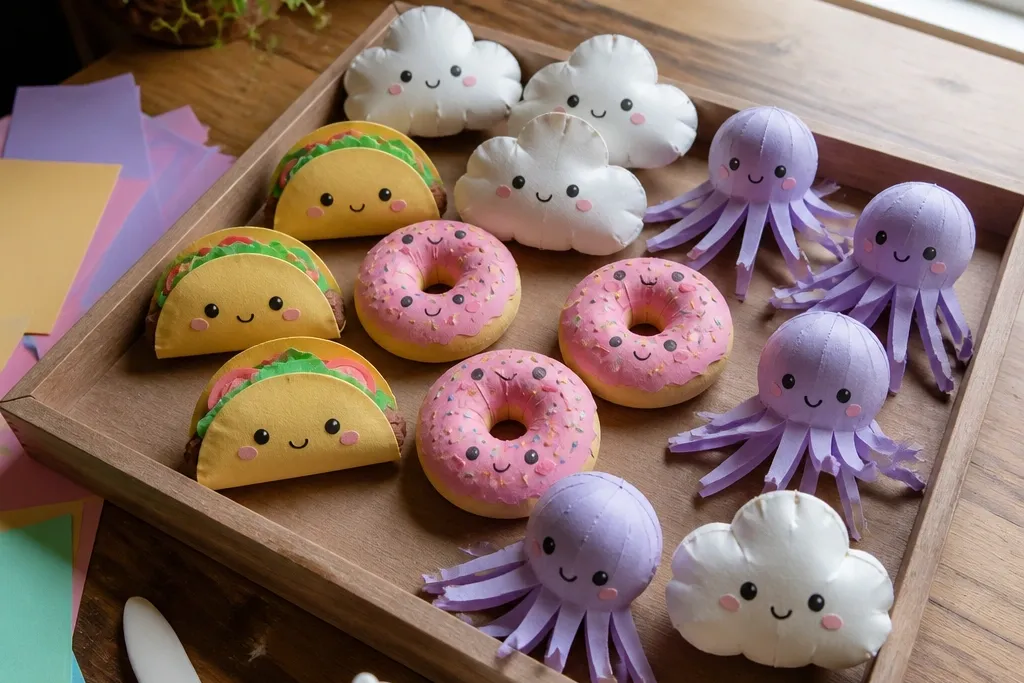
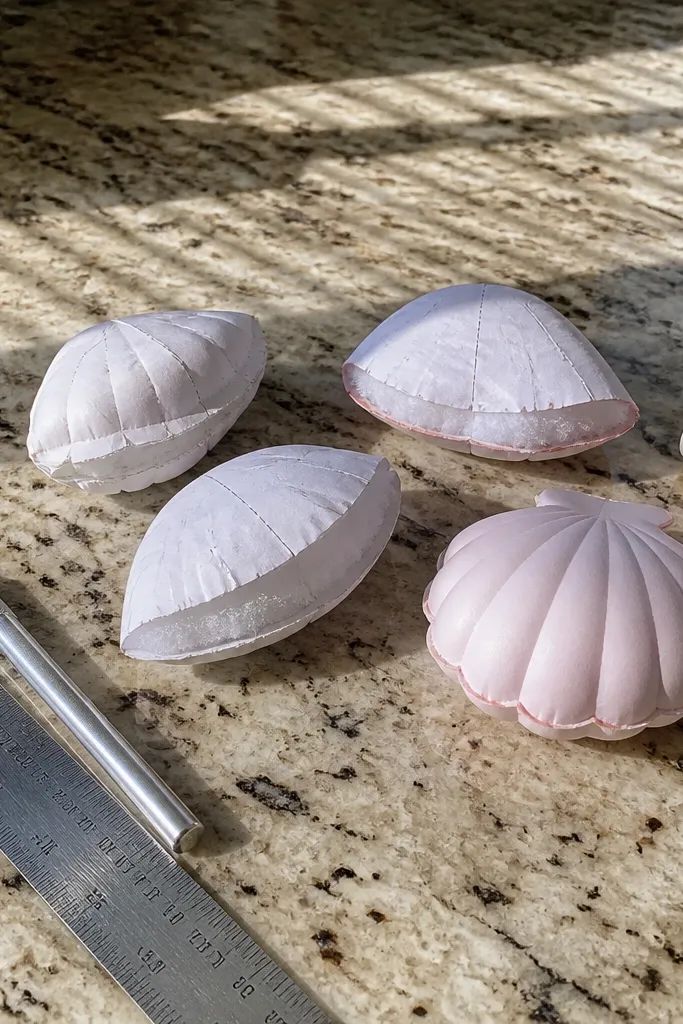
1. Cloud Pocket Squishy (Fold-Then-Seal)
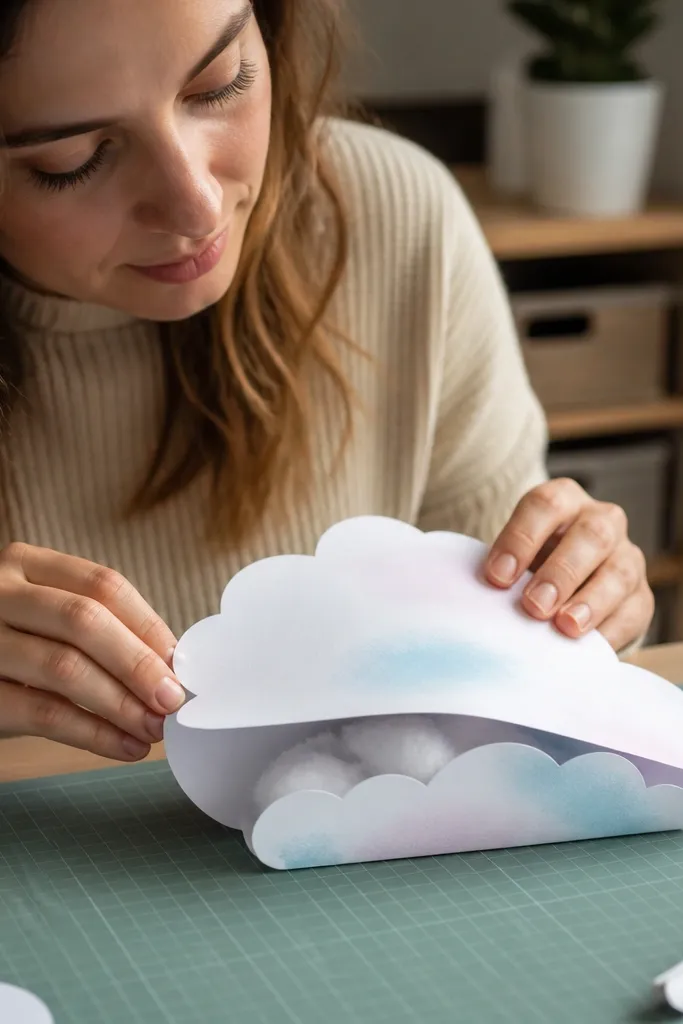
This one fixes the most common Paper Squishy problem: the seam opens because the glue is applied after the shape is already stuffed. A cloud pocket lets you stuff lightly, then seal the seam while the paper is still aligned. It also hides the filling so you get that smooth, rounded squish instead of lumpy bumps. Use it on a desk as a tiny stress helper, or hang it on a small hook in a craft corner because it looks like a little cloud charm.
Cut two identical cloud outlines from 180-220 gsm cardstock. Add a thin line of PVA along one side of the perimeter, then press the edges together but leave a small opening (about 1 cm) on the bottom for filling. Add foam beads or tiny sponge bits through the opening, then press the opening shut with a second thin glue line. Weight the cloud under a book for 20-30 minutes so the seam dries flat, then test by pressing gently at the center.
Editor's noteBefore you glue the final seam, do a dry fit and make sure the outlines match — a 2 mm mismatch shows up as a ridge.
Skip thisAvoid gluing the whole seam first and stuffing later — that’s where splits start.
2. Strawberry Cup Squishy (Cap + Pocket Top)
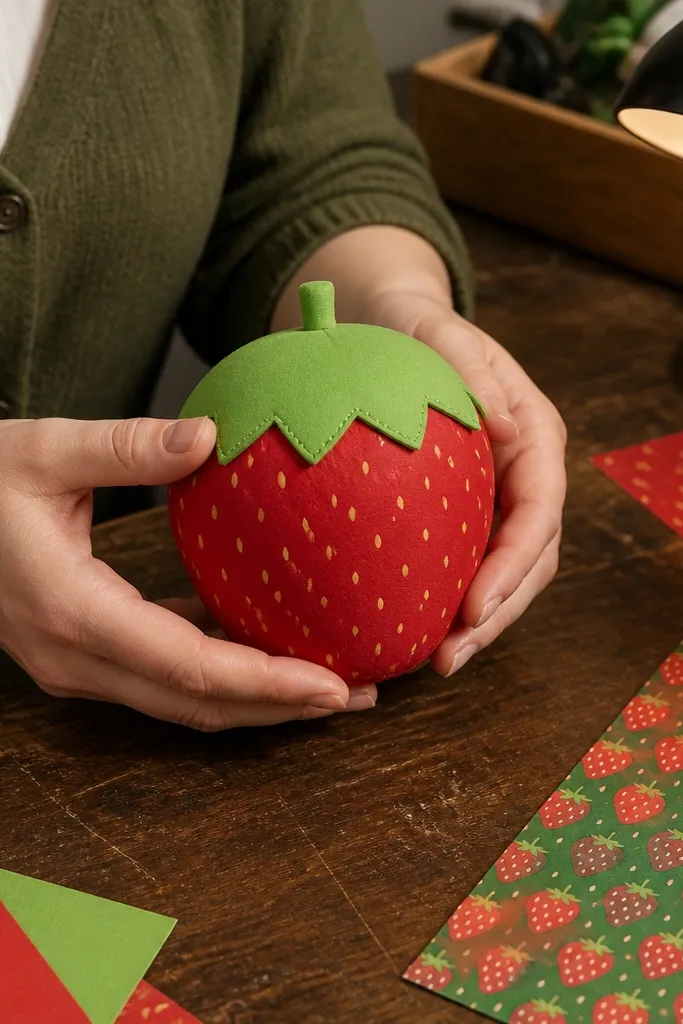
A strawberry cup shape makes filling easier because the top can be sealed after you add the squish. People mess up strawberries by stuffing too hard, then the green cap area cracks where the paper is folded. This design keeps the stress on the smooth body and uses a cap layer that hides minor imperfections. It looks great as a charm, fridge magnet craft, or a tiny gift topper.
Draw a strawberry body template in two layers: one red body and one slightly larger red body for reinforcement. Cut both bodies, then glue the reinforcement layer behind the first so the fold edge has extra strength. Make a separate green cap piece, then glue it onto the top of the body before sealing the pocket seam. Stuff the body through a small side opening, close with PVA, and weight-dry. After drying, add seeds with a fine black marker and keep paint light so the paper doesn’t warp.
Editor's noteUse a toothpick to spread glue right into the seam corners without overloading it.
Skip thisAvoid heavy paint on the red body — wet layers warp the cardstock and reduce squish.
3. Mini Donut Squishy (Ring-Only Filling)
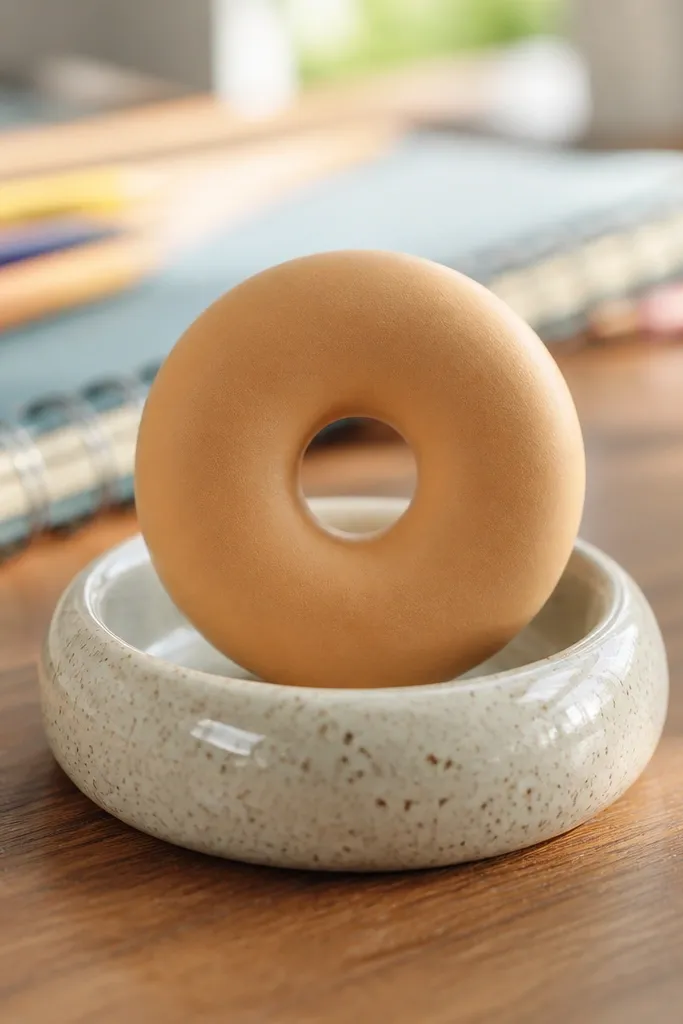
Donut squishies fail when people fill the center too much, turning it into a blob instead of a donut. This ring-only method keeps the iconic hole so the squishy reads clearly even at mini size. It also makes the squish feel springy because the filling sits where your fingers press — the outer ring. Great for desk decor, keychain-style crafts, and matching sets with tiny cups or coffee tags.
Cut two identical donut rings from 200-250 gsm cardstock, using a punch or template for the center hole. Glue around the outer perimeter only, leaving the inner hole edge dry so it stays crisp. Leave a small gap on the outer edge for filling, then add foam bits to the ring thickness until it feels plush but not stretched. Close the gap with a thin glue line and press with clothespins or clips for 15-20 minutes. Decorate the flat surfaces with marker icing swirls and a few “sprinkles” shapes cut from colored paper.
Editor's noteIf your donut hole looks ragged, trim it after gluing — clean edges make the squish look intentional.
Skip thisAvoid filling the hole area — it kills the donut shape and stresses the seam.
4. Octopus Pocket Squishy (Legs That Don't Pop)
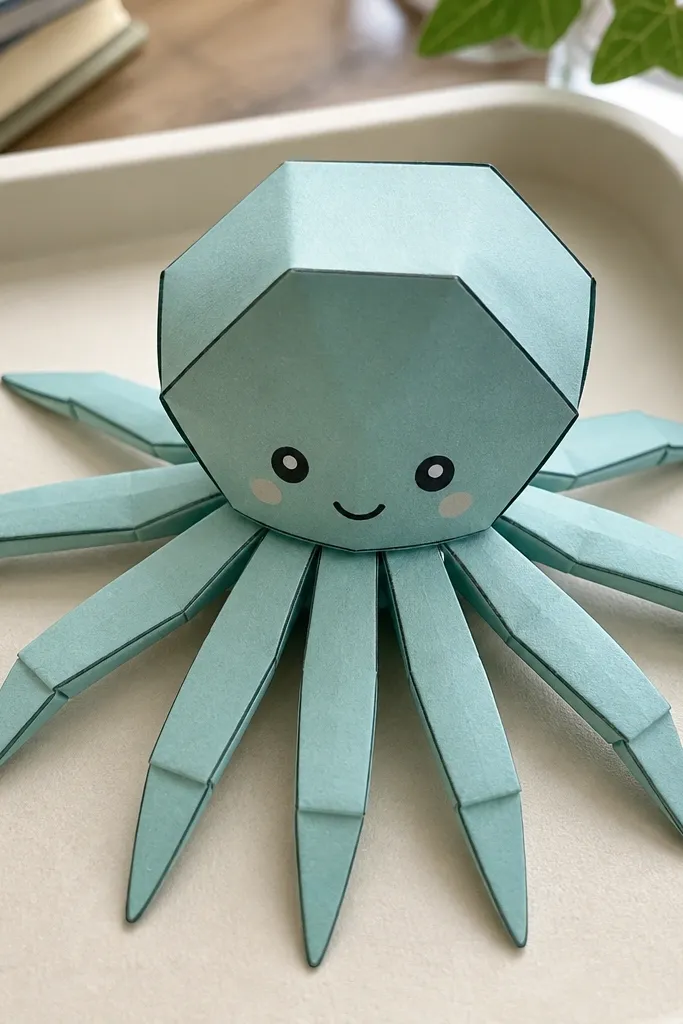
Octopus squishies look cute, but the legs are where paper tears when the seam is weak. This pocket build reinforces the body fold, so the legs can be thin and still survive pressure. You get a soft body squish while the tentacles stay cute and slightly springy. It’s ideal for kids' crafts with supervision because the steps are straightforward and the final object is small.
Cut two body outlines (about 6 cm tall) from 200 gsm cardstock. Glue a narrow reinforcement strip along the body seam area — 5 mm wide paper strip — on the inside of one half. Create legs as separate strips and glue them to the outside of the top layer before sealing the pocket seam. Stuff lightly through the opening at the bottom, close with PVA, then clip and weight-dry. Add eyes with a marker dot or tiny paper circles once fully dry.
Keep tentacle lengths consistent; uneven legs make the body look lopsided when you press it.
Avoid thin printer paper for the body — it tears around the seam once you press the legs.
5. Bunny Ears Squishy (Ear-Layer Reinforcement)
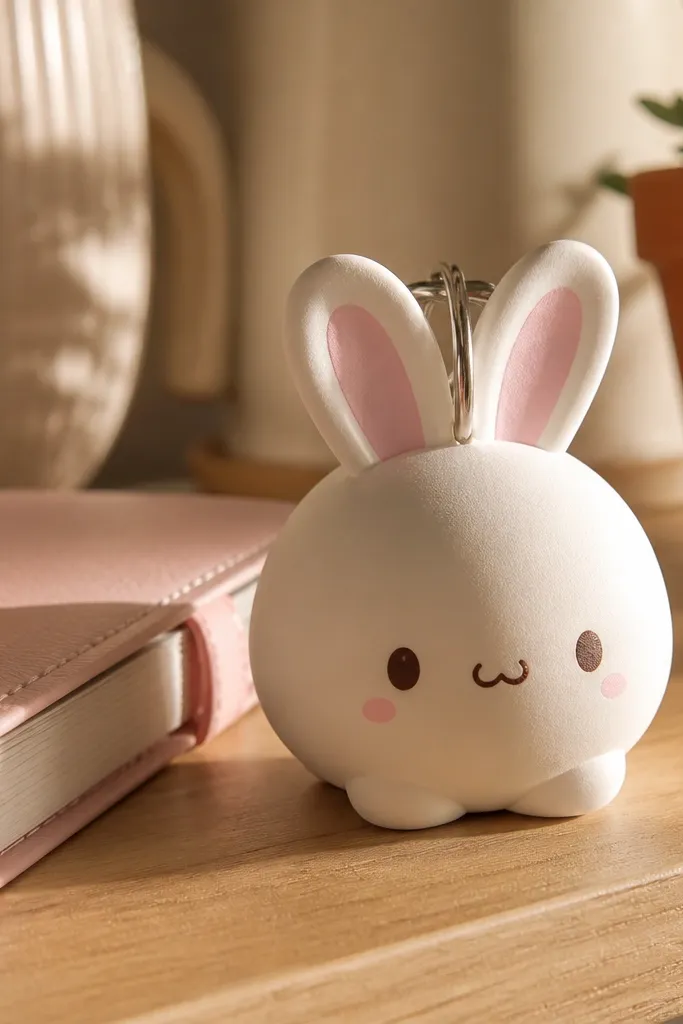
Bunny squishies fall apart when the ears bend and the glue line cracks. This design uses a two-layer ear that stays stiff enough to hold its angle, while the body stays soft. The result is a squishy that looks like a bunny even after you squeeze it. It works well as a tiny gift card holder topper or a charm on a backpack zipper pull.
Cut two body shapes and two ear shapes. Glue ear pieces together back-to-back so the ear has thickness, then glue the ear base onto one body half. Seal the pocket seam around the body, leaving an opening near the bottom. Add foam pieces until the body feels springy, then close the opening and press under a book for 20 minutes. Finish by drawing a small nose and whisker marks with a fine tip pen.
Editor's noteDry-fit the ears before gluing so the angles match and don’t fight the seam while it dries.
Skip thisAvoid gluing ears directly onto wet glue — the fibers swell and the ear edges curl.
6. Taco Squishy (Folded Shell + Side Seal)
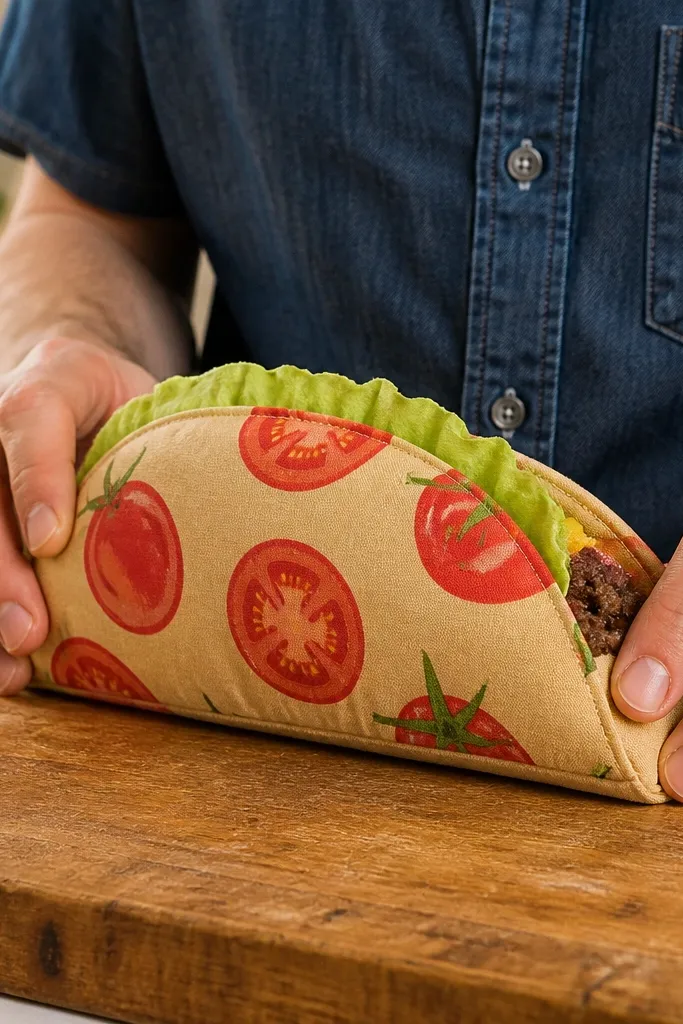
Tacos are a great way to practice paper squish folds, but the usual mistake is a weak side seal. This taco uses a folded shell shape where the seam is on the side, so finger pressure lands on layered paper rather than on a single glue line. It also keeps the filling visible enough to feel playful without leaking. Perfect for a lunch-themed craft set or a mini party favor.
Cut two taco shell pieces shaped like a curved triangle, then score lightly along the fold line if needed. Glue the taco shell edges to form a pocket shape, leaving one side opening for stuffing. Use foam shreds or tiny sponge crumbs and pack lightly so the shell keeps its curve. Close the side seam with a thin PVA line, press with clips, and let it dry flat. Add “lettuce” and “meat” layers as paper cutouts glued only on the top surface so they don’t soak the paper.
Editor's noteUse a thicker cardstock for the shell than you use for the toppings so the squish keeps its shape.
Skip thisAvoid stuffing hard enough to flatten the fold — that’s when the seam splits.
7. Ice Cream Cone Squishy (Cone Wrap, Not Flat)
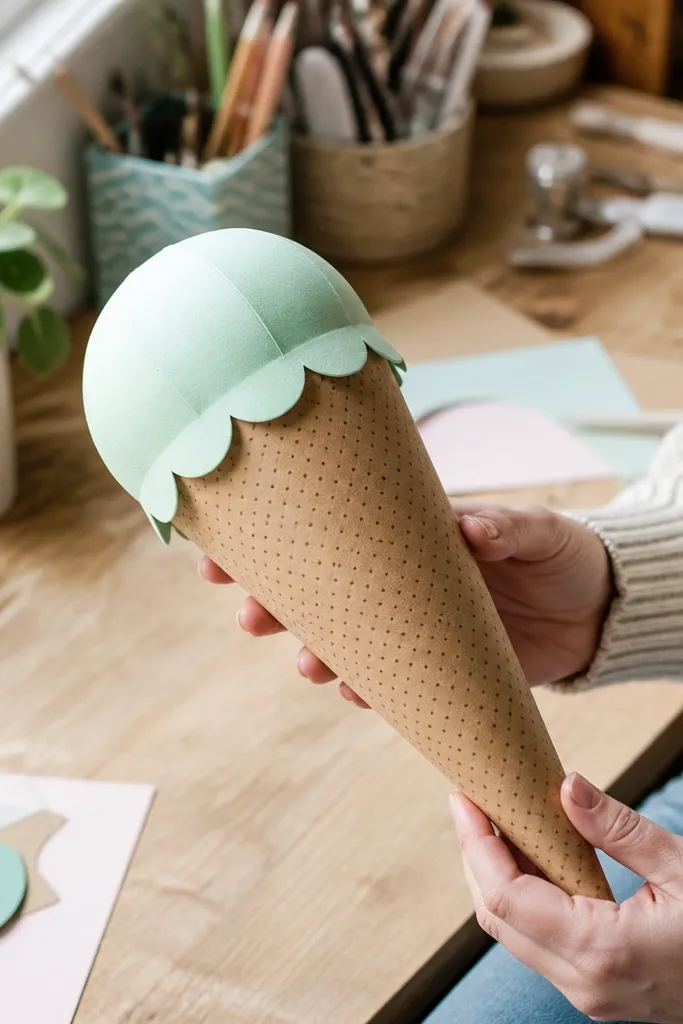
Flat cone designs look fine at first, then the paper creases split when you squeeze. Wrapping the cone into a tube gives you a stronger structure, so the scoop can be soft while the cone stays rigid. This is one of the easiest ways to stop squishy failure at the fold line. It also gives you a more realistic silhouette, which matters for mini crafts where details are small.
Cut a cone wrap strip from 220-250 gsm cardstock with a width that makes a tube (aim for about 2.5-3 cm diameter when rolled). Roll it around a pencil to shape, then glue the seam edge and let it dry. Cut two scoop halves and seal them as a pocket, then attach the scoop to the top of the cone with a small glue dot on the center. Stuff the scoop lightly, close, and weight-dry. Finish with marker drips or pastel dots on the scoop surface.
Editor's noteRoll the cone tightly while drying; a loose cone collapses and makes the scoop look droopy.
Skip thisAvoid a flat cone template — it concentrates stress on one crease and tears.
8. Heart Pocket Squishy (Double-Seam for Squeezes)
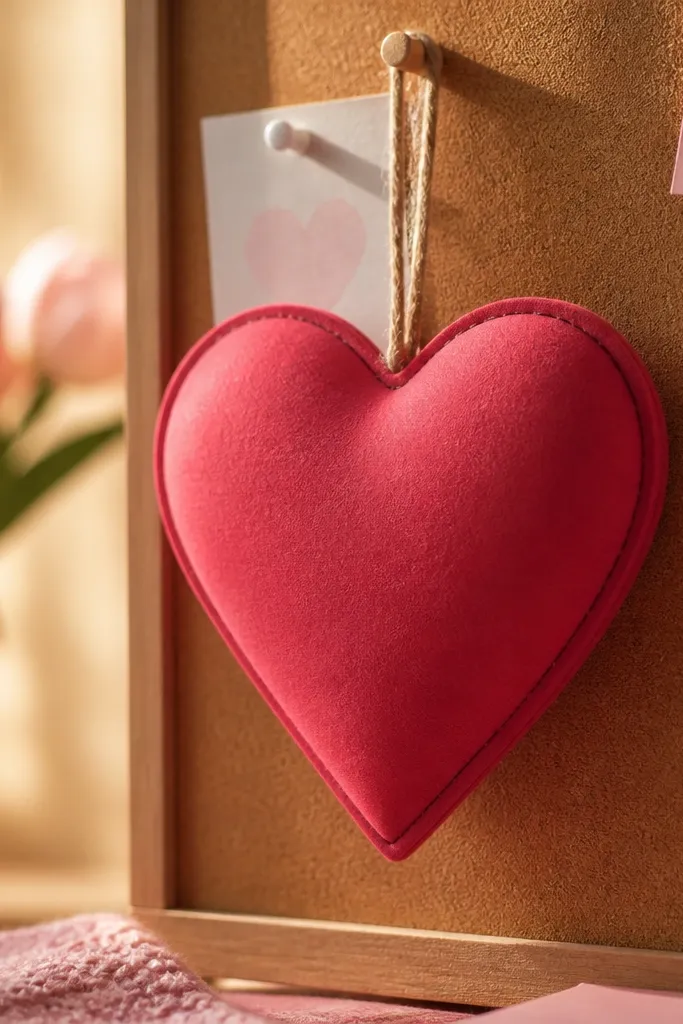
Hearts are where people overstuff because they look small and “empty.” This double-seam heart gives you extra protection in the exact place that splits — the bottom point and the side curve. You still get a soft squeeze, but the paper doesn’t pop open. It’s great for Valentine’s decor, desk gifts, and tiny hanging ornaments.
Cut two heart outlines from 200 gsm cardstock. Glue one heart half to a second reinforcement layer along the seam area only, keeping the inner edges free so it doesn’t bulk up. Seal the pocket seam with PVA leaving a small opening at the bottom point. Stuff lightly, then close and add a second thin glue strip over the seam line after the first closure. Weight-dry 30 minutes so the double seam sets solid.
Editor's noteUse foam beads instead of big sponge chunks for hearts; they spread and prevent lumps at the narrow point.
Skip thisAvoid one-pass sealing on a heart — the narrow point is where seams fail.
9. Rainbow Layer Squishy (Dry Decoration Strategy)
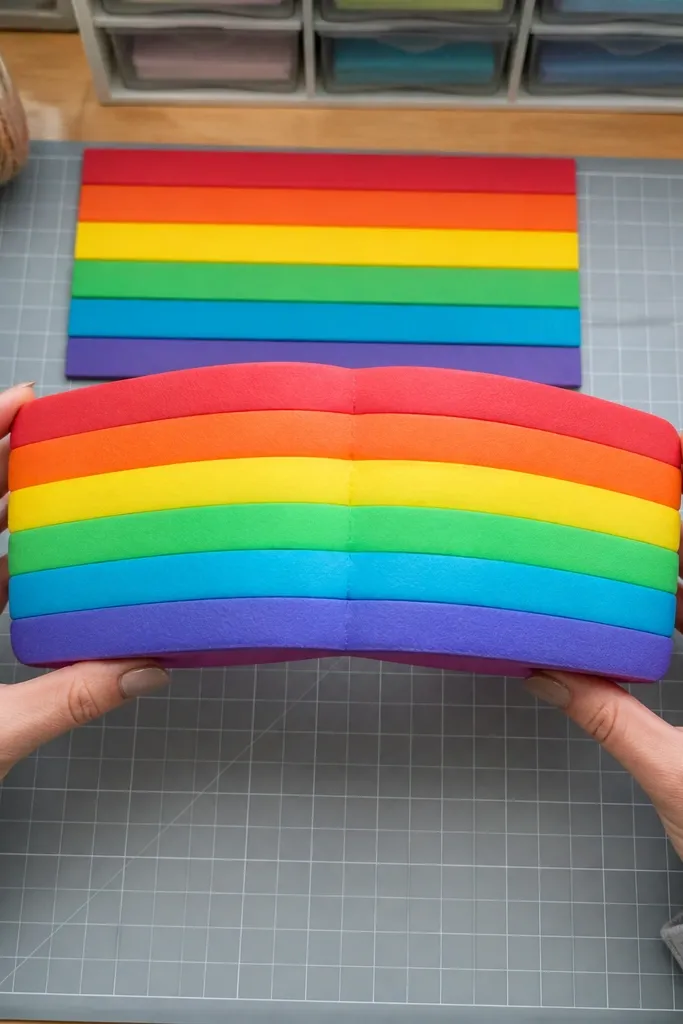
Layered rainbow squishies look amazing, then they buckle because people color with wet paint right on the fold. This build keeps the squish shape by using dry decoration first and only gluing later. You get crisp color bands and a smooth bounce. It’s a fun craft for organizing drawers, too — make a set and label each squishy with a tiny tag.
Cut two identical squishy shapes from cardstock and decorate the outside surfaces with colored marker or colored pencil before you seal. Add thin paper strips for the rainbow bands only after the coloring is fully dry to the touch. Seal the pocket seam with PVA, leave a small opening, and stuff lightly. Close the opening and weight-dry. If you want extra shine, use a tiny amount of clear matte sealant only on the outer surface, not the seam.
Editor's noteColor the seam area lightly and keep glue away from thick marker piles; thick marker resists glue adhesion.
Skip thisAvoid painting or heavy watercolor on the folds — it warps the paper and ruins the squish.
10. Mini Cat Paw Squishy (Toe Pad Inserts)
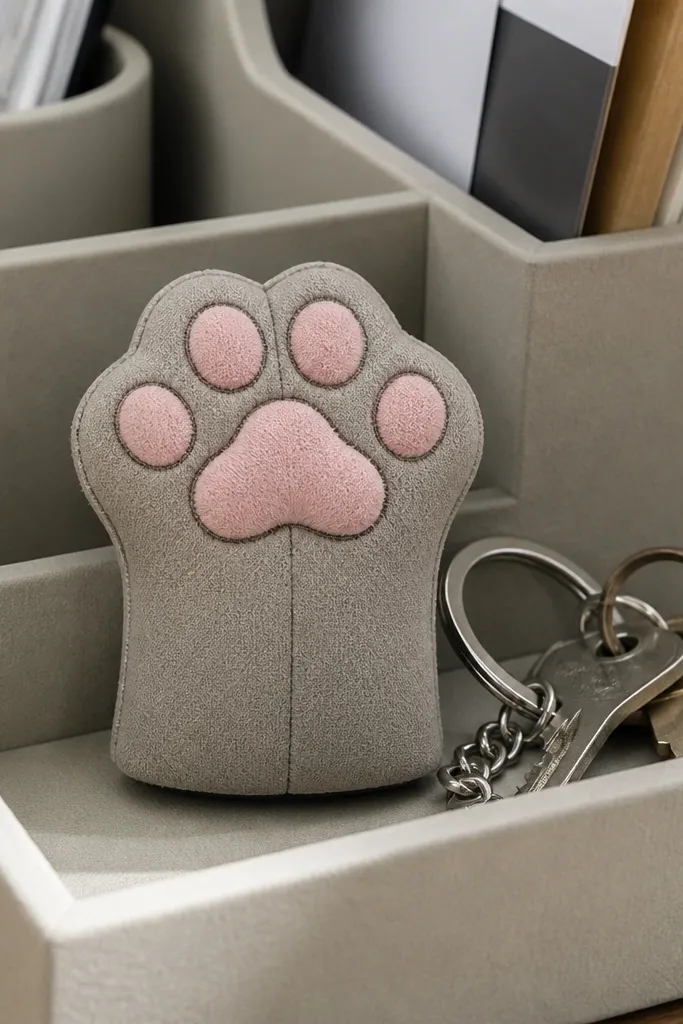
Cat paws look adorable, but they fail when the toe pads are glued too flat. This design uses separate toe pad inserts so the paw reads as plush and the seam doesn’t take all the pressure. You’ll get a squish that feels centered in the palm area, with toes that stay cute instead of collapsing. Great for bookmarks, small desk toys, or a matching set with a mini fish squishy.
Cut two paw outlines from 200-220 gsm cardstock. Cut small toe pad pieces and glue them to the inside of one paw half so they sit like inserts when the paw is closed. Seal the pocket seam around the edges, leaving a small opening at the bottom. Add foam bits into the palm area only, then close and weight-dry. Finish by drawing claws and whisker-like lines on the outer layer once the glue is fully set.
Editor's noteKeep toe pad inserts smaller than you think — if they touch the seam, the paw stiffens and squishes unevenly.
Skip thisAvoid stuffing into the toes — it makes the paw look lumpy and stresses the seam edges.
11. Rocket Ship Squishy (Panel-Safe Gluing)
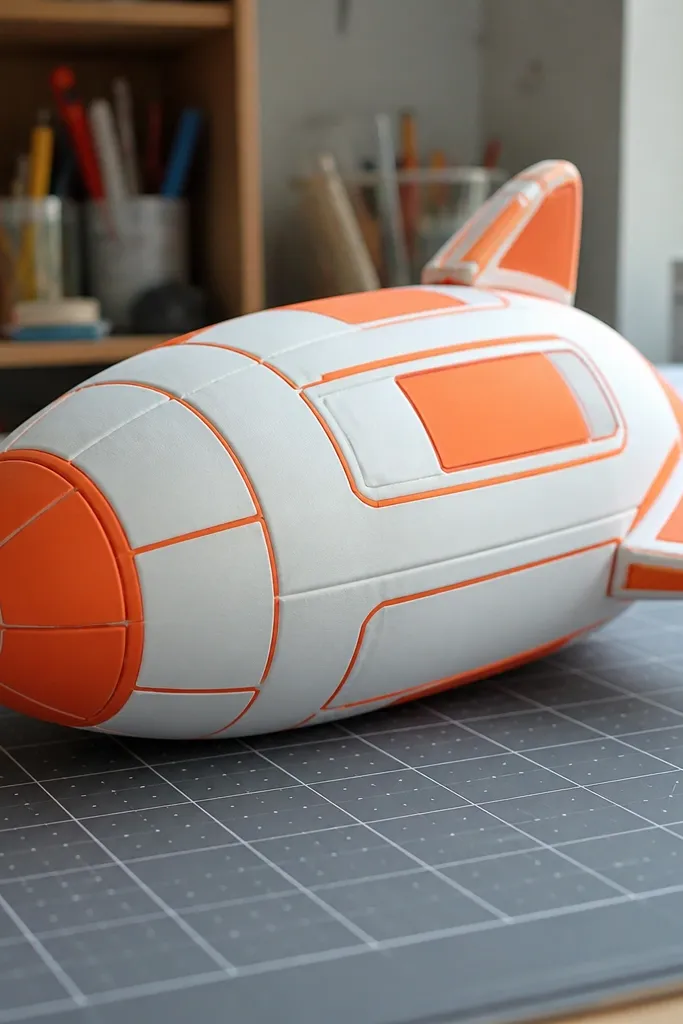
Rocket squishies are a clean way to add “detail without mess,” but the mistake is using too much glue under printed or layered panels. Panel layers make the paper thicker, and too much glue makes bubbles that show through when you squeeze. This version keeps panels on the outer surface and keeps the seam clean. It looks good on shelves and makes a surprisingly satisfying desk fidget.
Cut two rocket body halves and a top nose piece from 200-250 gsm cardstock. Seal the pocket seam on the body first, leaving an opening at the bottom, then stuff lightly and close. Glue the nose piece on top after the seam is dry. Add panel lines with a fine marker and attach small paper decals only after the pocket is fully sealed so you don’t trap moisture. If you add a paper window, glue it flat on the surface, not inside the pocket.
Editor's noteUse a ruler edge to press panel decals down; it prevents lifted corners that catch on fingers.
Skip thisAvoid gluing thick layered panels over the seam — they hide cracks until they’re already there.
12. Pearl Bead Bubble Squishy (Even Filling Trick)
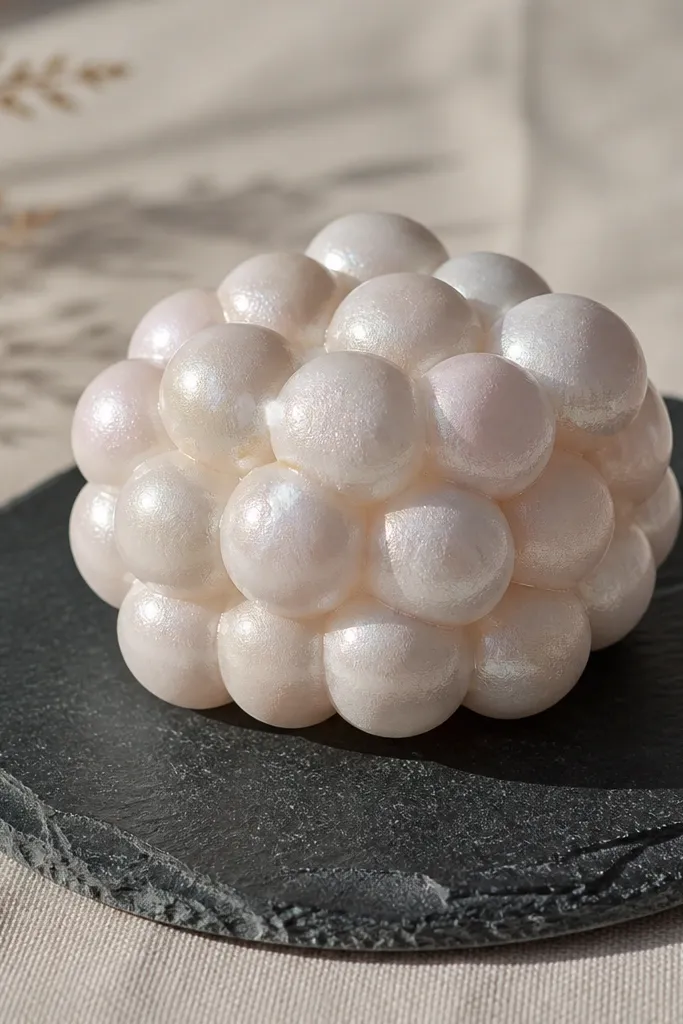
Bubble squishies are where uneven filling shows immediately. If you dump filling in one spot, you get a lopsided squish that looks bumpy and feels wrong in the hand. This build uses micro portions so the filling spreads evenly, giving you that smooth, rounded bounce. It’s also a good option if you want a squishy that looks “clean” without lots of decoration.
Cut two identical bubble shapes from 200 gsm cardstock. Seal the pocket seam with PVA leaving a small opening. Add foam beads in tiny pinches, then gently tap the shape so beads spread before you close. Close the opening with a thin glue line and weight-dry. Once dry, draw a subtle highlight arc with a light marker to make it look glossy without adding wet paint.
Tap the bubble on a flat surface while it’s open so the beads settle — you’ll feel the difference in squish texture.
Avoid one big handful of filling — it clumps and makes the squishy lopsided.
13. Sushi Roll Pocket Squishy (Tight Roll, No Gaps)
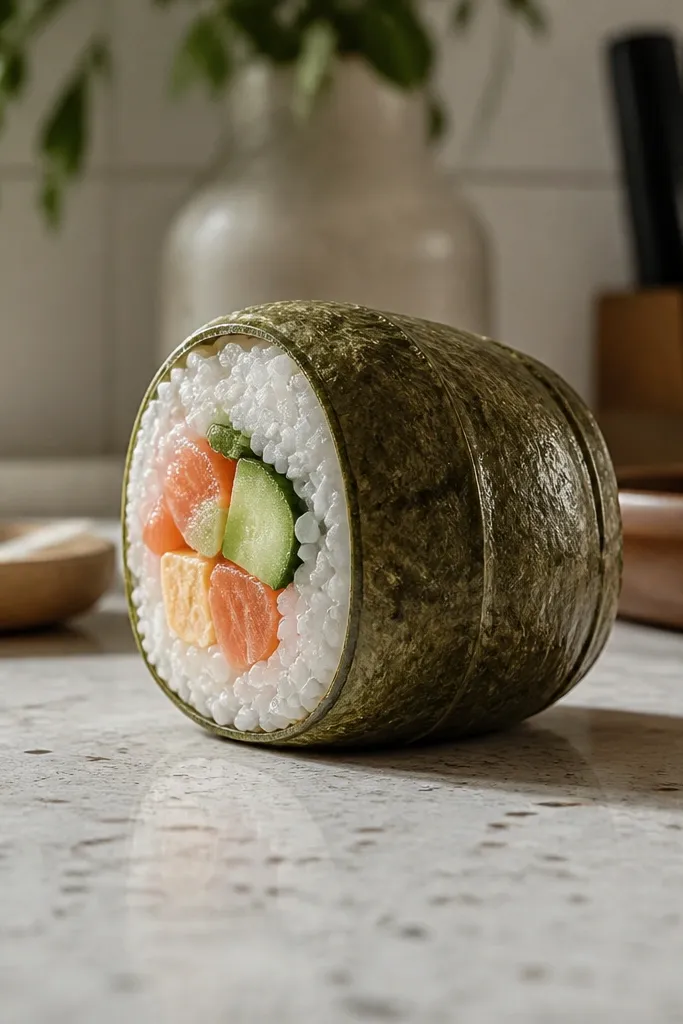
Sushi roll squishies look great, but they fail when the roll has gaps in the wrap. Those gaps let filling migrate toward the seam, and then the seam tears. A tight roll keeps the filling where it belongs and keeps the shape from collapsing. This is also a good design for using up scraps because you can cut the wrap and fillings from different paper colors.
Cut a long wrap strip from dark cardstock for the seaweed layer and a second strip for the rice layer. Roll the seaweed strip around the rice strip like a tight cylinder and glue the edge seam. Make two end caps (front and back) as pocket pieces, seal them with PVA, and leave a small opening. Stuff lightly into the cylinder through the opening, close, and weight-dry. Add faux fillings as thin paper strips glued on the top surface only.
Press the roll seam with a strip of tape temporarily while glue sets — it keeps the cylinder round.
Avoid loose rolling — gaps cause filling to shift and split the end seam.
14. Mini Flower Puff Squishy (Petal Reinforcement Strip)
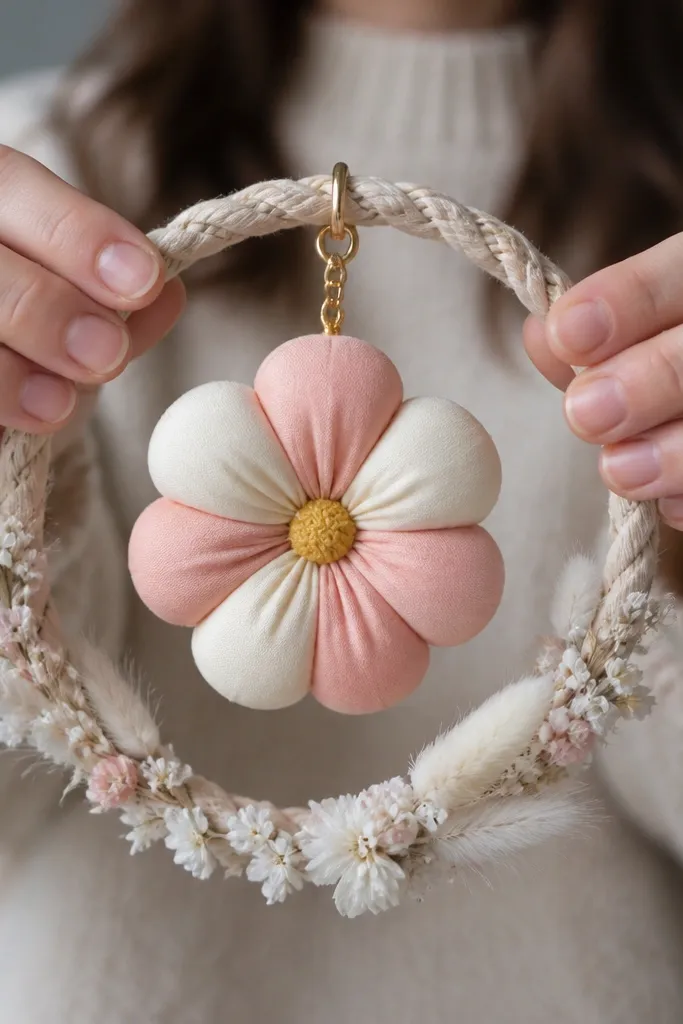
Flower squishies look delicate, and people treat them like they are. Then the petals crease wrong or the center seam opens when you squeeze. Reinforcing the fold line fixes that, so the petals can stay thin while the center holds the squish. This one is perfect for a wreath-style decor set or as a tiny charm on a phone strap.
Cut a flower outline from 220 gsm cardstock for the base and another thinner petal layer from 160-180 gsm. Glue the petal layer on the outside after the pocket is built so the petals don’t get soaked by glue. Seal the base pocket seam with PVA, leave a small opening, and stuff lightly. Add a 5 mm reinforcement strip along the inside fold area before sealing the final opening. Weight-dry 25-30 minutes, then glue petals on top with a very light glue application.
If you want more puff, add filling in the center only — petals should flex, not bulk.
Avoid stuffing under every petal — it makes petals pop off and strains the seam.
15. Snowman Pocket Squishy (Three-Section Assembly)
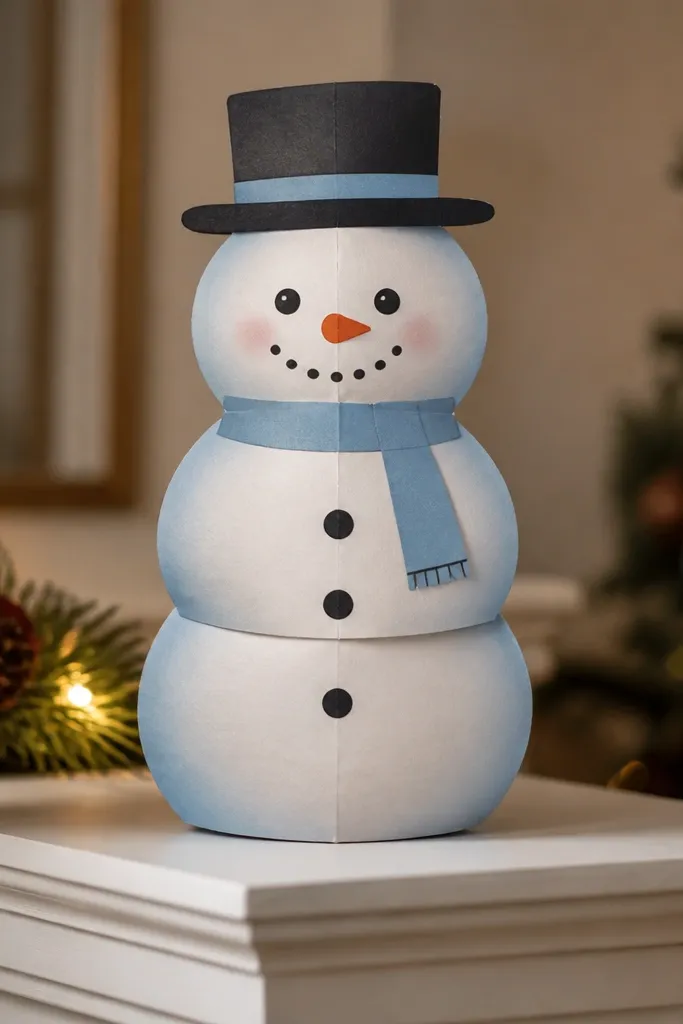
Snowmen look like they should be one piece, but that’s what causes the failure. One big pocket means uneven squish and a seam that runs across multiple curves, so it cracks. This three-section approach keeps each seam small and strong: head, middle, and base. You get a squishy that stays cute even when you press different areas.
Cut three pairs of rounded shapes from 200-220 gsm cardstock, each with a pocket opening on one side. Seal each section separately with PVA, stuff lightly, close, and weight-dry. After all three are dry, glue them together with small dots of PVA at the contact points only, so the seams don’t get stressed. Add a scarf strip and buttons with paper pieces. Let everything dry flat under a book so the stacked shape doesn’t lean.
Use smaller filling in the head than the base; head pressure is higher and needs less bulk.
Avoid one long seam across all three sections — curves increase tear risk.
16. Lemon Slice Squishy (Crisp Peel Edge)
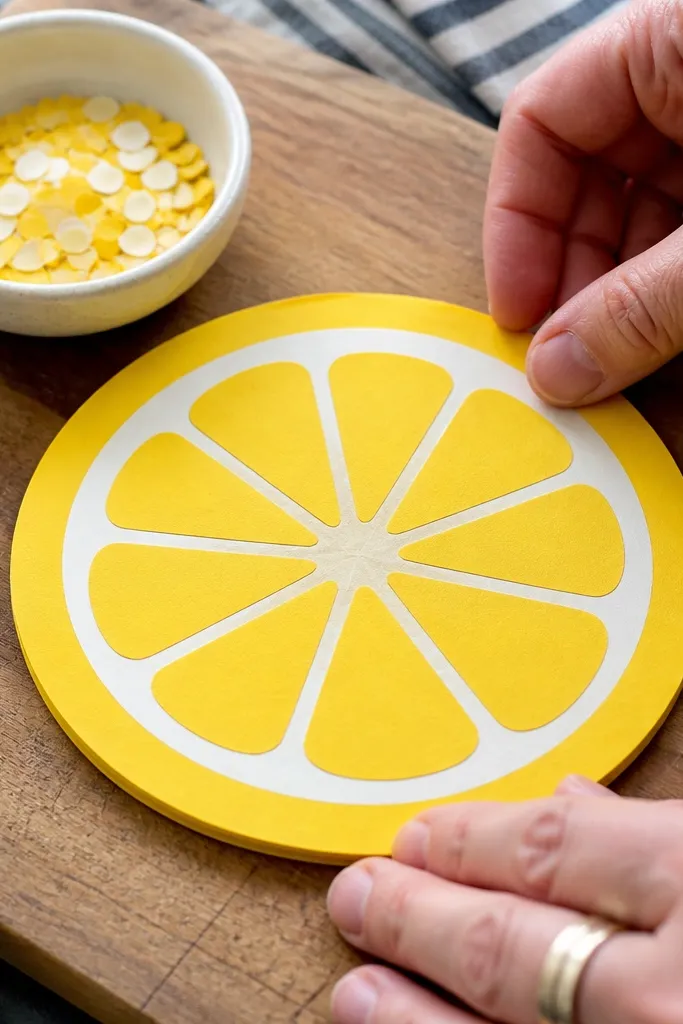
Lemon slices are a great way to get a clean look, but people ruin the peel edge by using too much wet glue or by overfilling. A crisp outline matters because the peel is a visual cue for the shape. This design keeps the peel edge thinner and the filling inside controlled so the slice stays round and doesn’t split at the perimeter. It’s a cute decor piece for kitchens and desk setups.
Cut two lemon slice outlines from 220 gsm cardstock, with a thin peel border area on the outside. Seal the pocket seam around the perimeter leaving a small opening, then stuff lightly. Close with PVA and weight-dry so the edge stays crisp. Draw peel texture with a yellow marker and add tiny darker dots with a brown pencil or marker. If you add a glossy look, use a very light matte clear coat on the outer surface only after glue is fully dry.
Editor's noteKeep the peel border area away from glue — glue thickens paper and dulls the outline.
Skip thisAvoid overfilling to make it “extra squishy” — it fattens the edges and splits the seam.



