

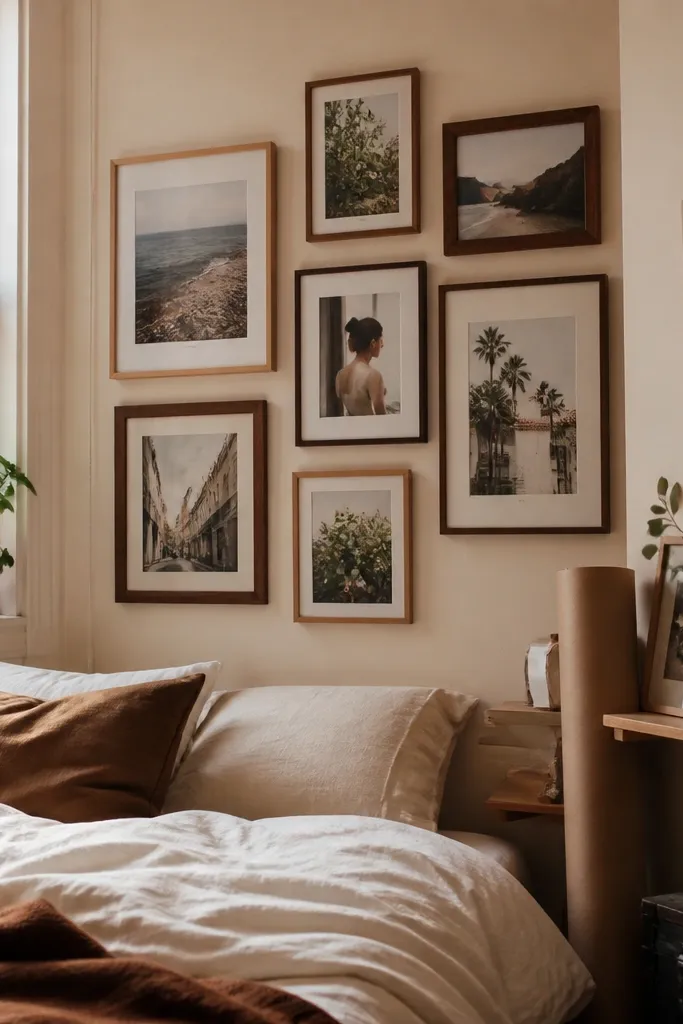
1. White paper mat strip grid with 2-inch spacing

This is the easiest way to make a budget cozy photo collage look intentional. The white paper mat strips create a consistent border, so every photo feels like part of one set instead of a pile. Use matte prints so the whites stay soft under warm lighting. The 2-inch spacing gives your eyes breathing room, which is what makes bedrooms feel calm rather than crowded. It’s great for small walls, too, because the grid reads neat even when you use mixed photo sizes.
Start by laying out your photos on the floor and deciding on a grid size, like 4x3 or 5x3. Cut paper mat strips in one width, 2 inches is a safe start, and keep the inner photo openings consistent. Tape one mat at a time to a backing sheet (foam board or thick craft cardboard), then align the next photo using a ruler edge. Finish by adding a thin line of tape or double-sided mounting tape only at the corners so the photos don’t warp.
Use a metal ruler and craft knife for straight mat openings — wonky cuts show up immediately in a grid.
Don’t mix mat widths between photos or the collage loses the cozy, unified look.
2. Linen-look fabric backing with mini clothespins
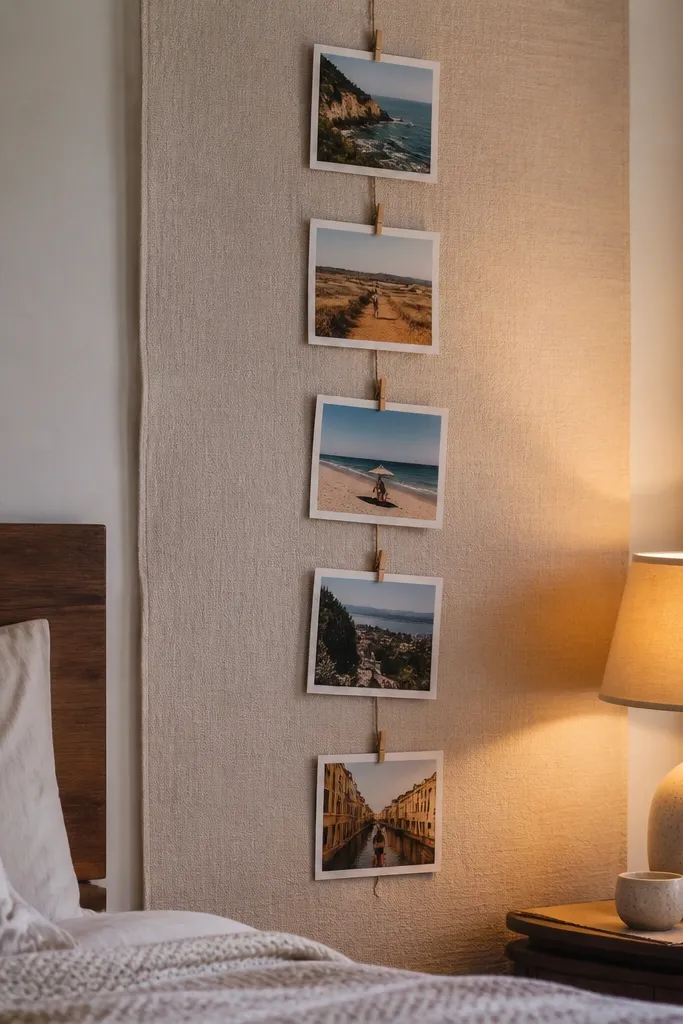
Fabric backing makes the whole collage feel softer, which is exactly what you want in a bedroom. Linen-look material also hides small imperfections in spacing and paper edges, so it forgives beginner cuts. Clothespins add a charming texture and let you swap photos later without redoing the wall. Keep the pins in a consistent color, like natural wood or black, so the look stays cohesive. This style works best when you want a warm, slightly casual vibe rather than a strict gallery.
Stretch linen-look fabric over a foam board panel or a simple wood frame, and staple or glue the edges on the back. Place your photos on top and mark where each pin will go, then clip them in place with mini clothespins. Use the same photo order across rows so the visual rhythm stays clean. Hang the panel with two hooks or a picture wire so it sits flat and doesn’t sag.
Editor's noteFold the fabric edges tightly before stapling so the front stays smooth and the photos lie flat.
Skip thisDon’t use huge clothespins — they overpower small prints and make the whole collage look heavy.
3. Staggered gallery strip with 1.5-inch photo borders

A staggered gallery strip looks cozy because it feels lived-in, not rigid. The trick is keeping one consistent border width so mixed photo sizes still look planned. This layout shines above a dresser or along the side of a bed where you want a clear horizontal focal line. The uneven photo heights create movement, but uniform borders keep it from becoming messy. It’s a good choice if you have a handful of favorite photos that don’t all match in size.
Choose a long backing strip, like 24x60 inches on foam board or a framed canvas panel. Print or trim photos so they fit within the same border size, using 1.5 inches for a cozy look. Lay photos in a staggered pattern, leaving consistent gaps between frames, then trace outlines lightly on the backing. Attach using double-sided mounting tape under each photo and add a small piece of tape at the corners only to keep them flat.
Pre-plan the stagger on the floor with painter’s tape — you’ll see the rhythm before you commit to mounting.
Don’t randomize the order — keep the stagger pattern consistent from left to right.
4. Brown kraft paper collage with torn-edge frames

Kraft paper instantly reads cozy because it has that warm, matte, handmade texture. Torn-edge borders look soft and forgiving, especially with imperfect cuts. This style works best for a cluster layout where photos overlap slightly and create a “collected” feeling. Use matte photos so the kraft paper doesn’t clash with glossy highlights. It’s ideal for bedrooms because it adds warmth without needing expensive frames.
Print photos and choose a consistent border size, like 1.25 inches of kraft paper around each photo. Cut kraft paper strips, then tear edges for each border piece so the texture stays organic. Layer photos over a backing sheet and secure the center with a small strip of double-sided tape, then fold the torn edges flat. Finish by trimming any overhang with scissors and sealing the paper edges with a light glue stick dab.
Editor's notePress the kraft paper borders under a heavy book for 20 minutes so they lie flat.
Skip thisDon’t use thick cardboard backing if you’re layering — it makes the torn edges look stiff.
5. Wooden photo ledge with mini frame lineup
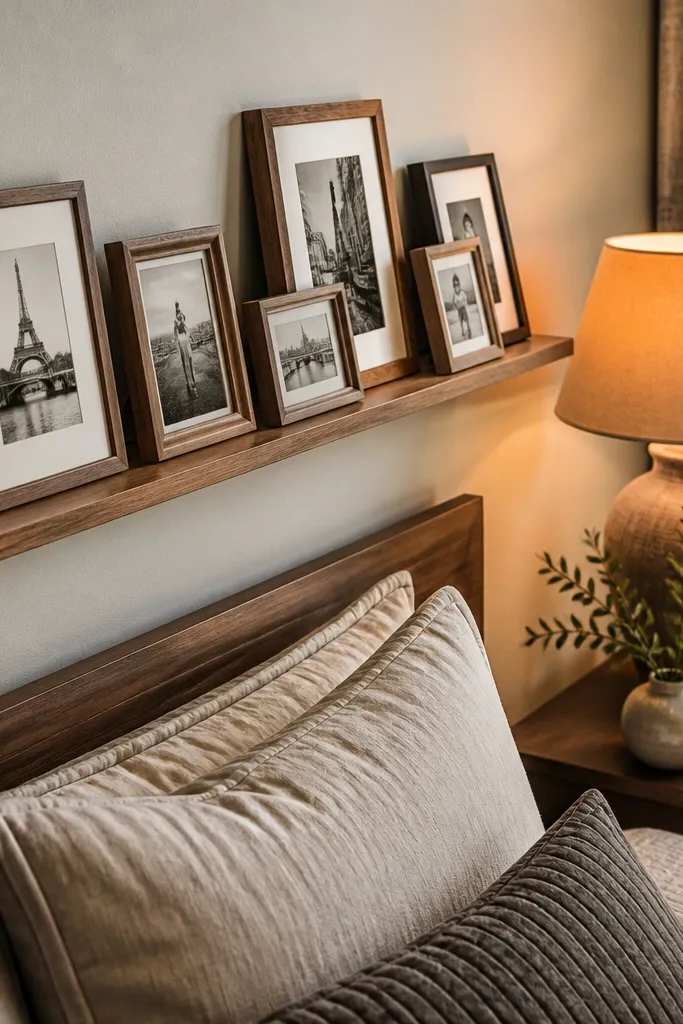
If your bedroom needs cozy but you don’t want to drill into the wall, a photo ledge is a clean fix. It keeps photos at eye level and makes the collage feel intentional, like a shelf vignette. Mini frames add structure, and wood tones keep everything warm. This style is especially good if you have a mix of photos and want them to rotate seasonally. It also works in rental rooms because you can mount the ledge with simple hardware.
Pick a ledge size that fits your wall space, like 6-8 inches deep and 30-48 inches long. Sand and stain or buy a pre-finished ledge in light oak or walnut tone. Arrange mini frames evenly along the top surface, leaving 1 inch between frames. Secure frames by placing them in small frame stands or by using museum wax on the base so they don’t slide.
Use museum wax instead of glue inside frames — it’s removable and keeps finishes clean.
Don’t crowd frames edge-to-edge — leave at least 1 inch so the photos breathe.
6. Whitewashed frame wall with staggered rectangles
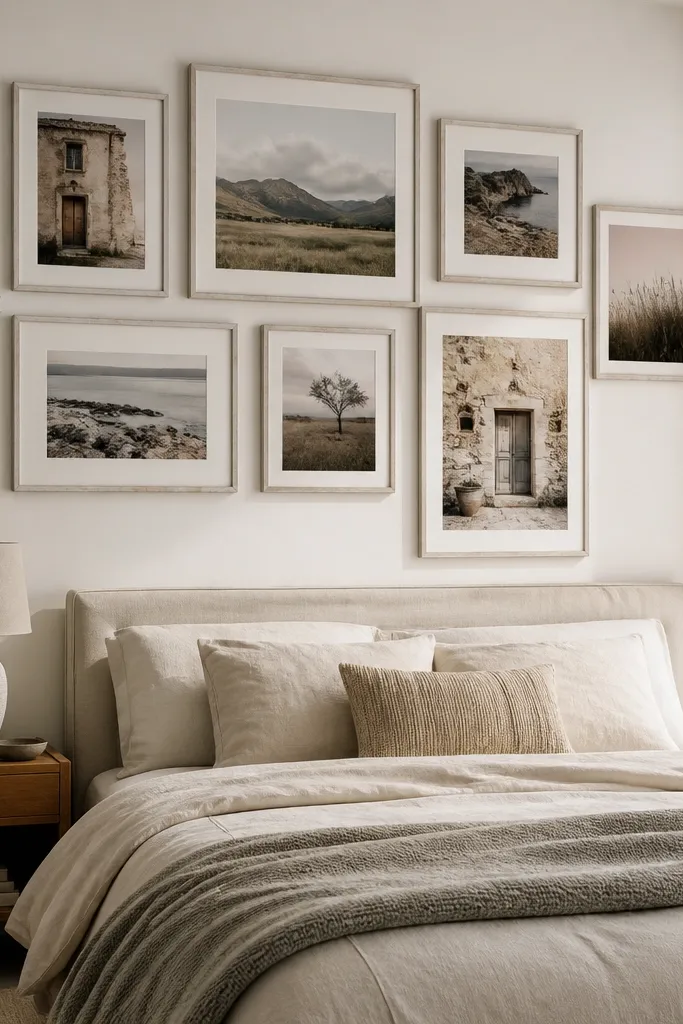
This is the “cozy hotel room” look without the hotel price tag. Whitewashed frames soften the contrast and make the whole set feel airy. Staggered rectangles give you a natural flow, and the consistent frame color keeps it cohesive even with different photo sizes. If you have prints that are slightly different tones, frames help unify them. It’s a strong choice for bedrooms because it looks calm and polished from across the room.
Choose a frame set in one color, like whitewashed wood or white metal, and mix sizes like 5x7, 4x6, and 8x10. Lay out a staggered pattern on the floor first so you can see the spacing, aim for 2-3 inches between frames. Mount the largest frame in the center, then work outward using a level. Use picture wire or D-ring hangers rated for the frame weight.
Keep all frame backs oriented the same way so the hanging hooks line up and the wall stays level.
Don’t mix frame colors and finishes — the mismatch reads chaotic in bedrooms.
7. Macramé photo string with cloth clips
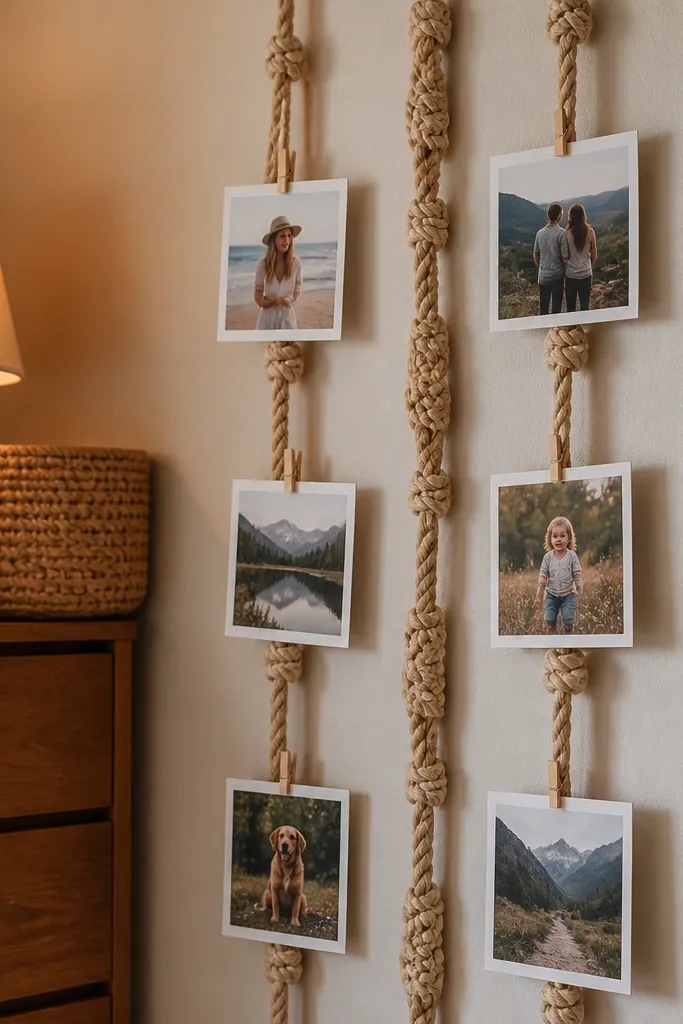
Macramé adds texture fast, which makes a budget cozy photo collage look more thoughtful. The vertical line of photos is great for narrow walls next to a bed or dresser. Cloth clips keep the setup flexible, so you can swap a few photos without taking the whole collage down. Choose neutral macramé in natural beige or cream so it matches bedding and curtains. This style is best when you want soft, handmade energy rather than a rigid grid.
Hang a macramé wall hanger or create a simple string line with jute cord attached to two hooks. Tie a consistent spacing between clips, like 4-6 inches apart, so photos hang evenly. Use clothespins or mini clips to attach photos with small tabs of cardstock behind them. Trim your photo tabs so the clips hold securely without bending the photo surface.
Use cardstock behind each photo so clips grip without leaving creases in thin prints.
Don’t hang photos directly from the photo corners — thin prints tear at the clip points.
8. Shadow box grid with matte paper backing
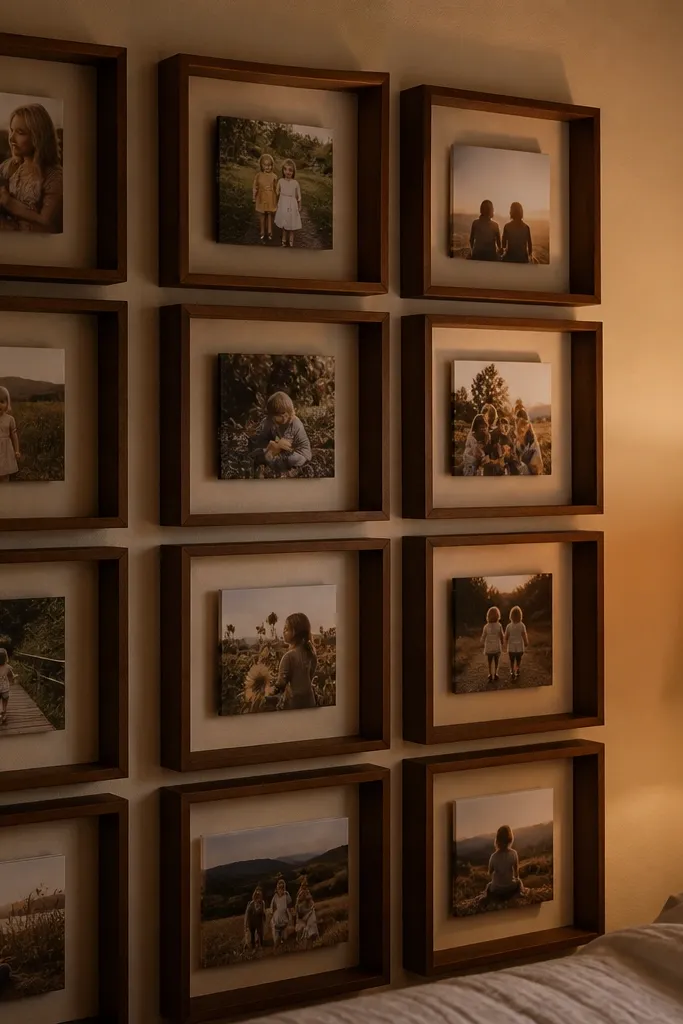
Shadow boxes give your collage depth, which reads cozy even in low light. The matte paper backing keeps colors from looking too bright or glossy. Use a grid of small shadow boxes so the layout stays structured. This is a great way to protect photos from dust while still keeping the look warm and personal. It takes a bit more effort than tape-on paper, but the result looks finished and “done.”
Pick shadow boxes in one size, like 8x8 or 10x10, and plan a grid like 3x3. Use matte cardstock backing inside each shadow box to create a consistent color field, like warm white or sand. Place photos centered and secure them with photo corners or small strips of acid-free tape. Close the box and hang with the included hardware, keeping the grid level as you go.
Choose one backing color across all boxes — it unifies mixed photo tones.
Don’t use glossy photo prints inside shadow boxes — reflections can ruin the cozy, soft look.
9. Polaroid-style collage with uniform black tape borders
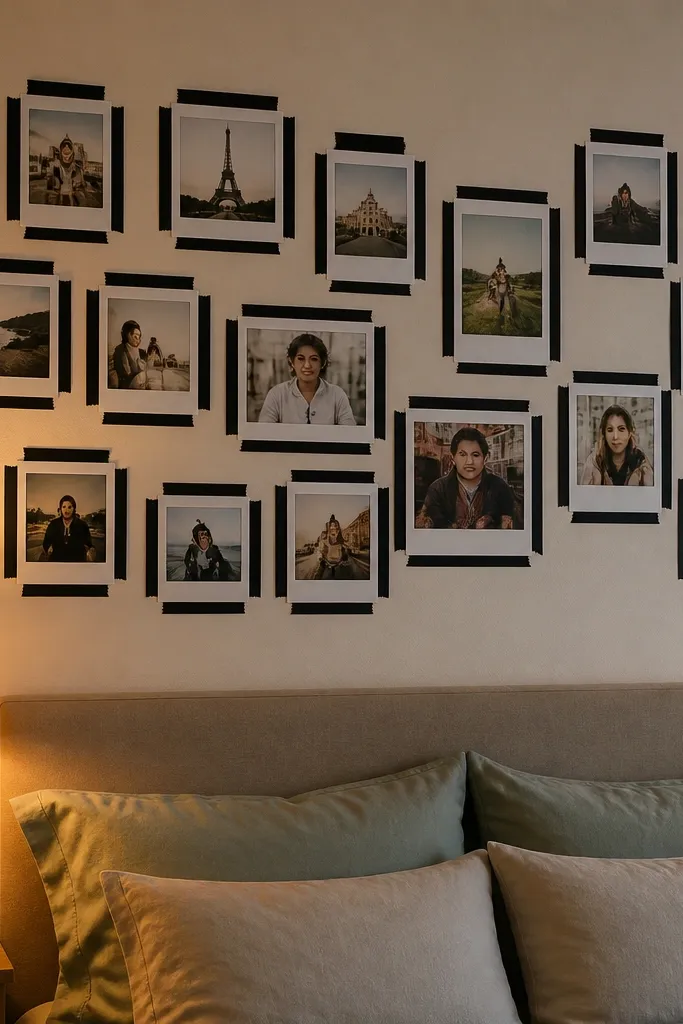
This look is cozy because it’s graphic and playful, but still controlled. Uniform black tape borders make the collage look like one design set, even when the photos differ. It works especially well when your bedroom has neutral bedding and you want contrast. Keep the tape border width consistent at about 0.5 inches so the photos don’t look uneven. This is also a good choice if you like the idea of swapping photos without buying frames.
Print your photos with a white polaroid-style border, or create the border with cardstock. Apply black washi tape or painter’s tape strips along the edges as a fake “tape border,” keeping the width the same on every photo. Arrange photos in a cluster on a backing sheet, then press tape down firmly. Mount the whole backing to the wall using picture hangers for a flat, clean look.
Use painter’s tape first to test spacing, then switch to washi once the layout is right.
Don’t vary tape widths — that inconsistency makes the collage look messy instead of cozy.
10. Round photo cluster with a fabric circle backing
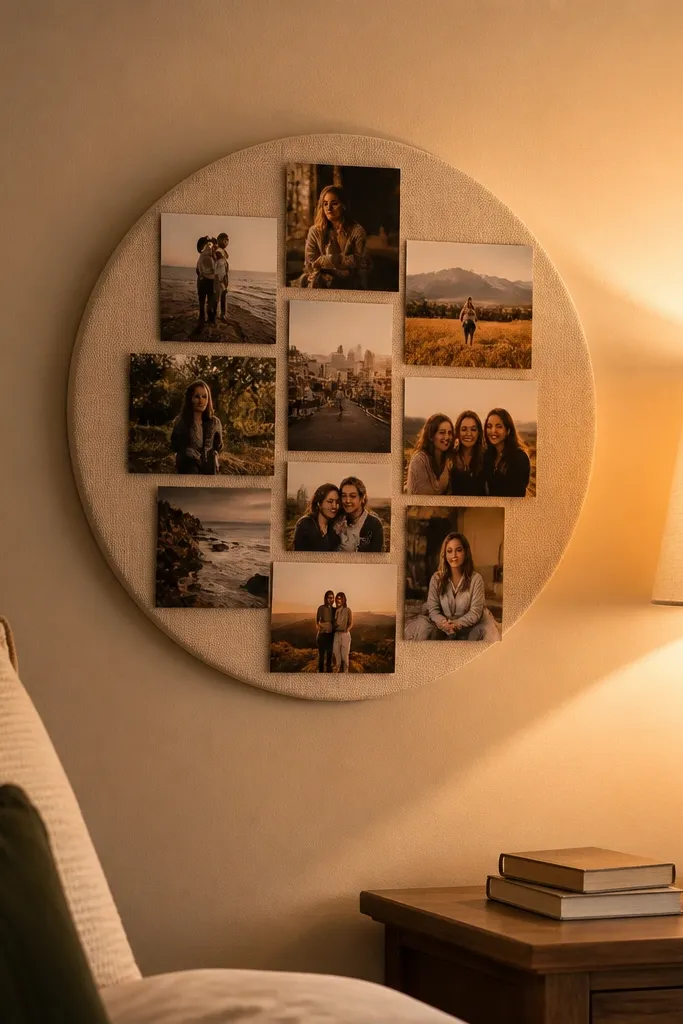
A round cluster feels extra cozy because it frames your photos like a wreath. The fabric circle backing softens the edges and hides cut lines, so you don’t need perfect straight cuts. This is a strong bedroom choice for a bedside wall where you want something softer than a rectangle. Use a warm fabric like cream cotton or tan linen-look so it stays calm. The circular layout also makes it easier to blend different photo sizes without losing balance.
Cut a fabric circle from linen-look material, about 24-28 inches across, then mount it on a circle of foam board. Trim photos so you can overlap them slightly, leaving 0.5-1 inch between pieces. Secure the photos by taping the back corners to the foam board circle, not the fabric. Hang or mount the circle using a sturdy hook and a small backer so it doesn’t sag.
Stagger photo sizes so the smallest ones sit near the center — it keeps the circle balanced.
Don’t place everything at the exact same height — slight variation makes it look cozy, not rigid.
11. Gallery wall with matching wood clips and photo cards
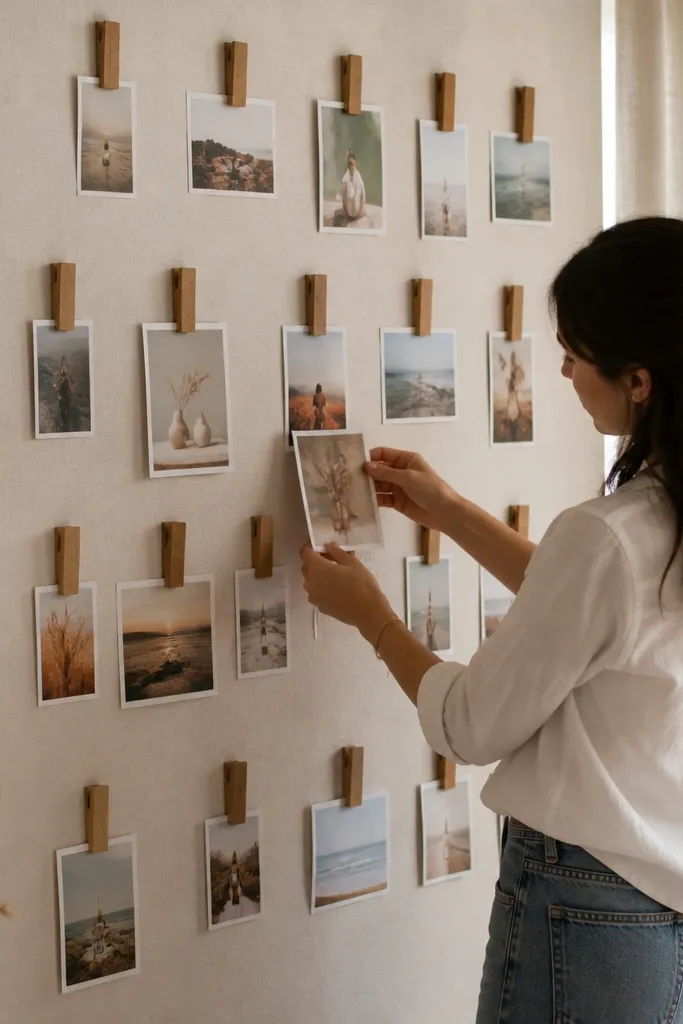
Wood clips add warmth, and small photo cards keep the collage tidy. This style is great if you have lots of mini moments and want them visible without frames. The matching clips create a repeat pattern, which is what makes a budget cozy photo collage look designed. Keep the backing color light, like warm white or beige, so the photos don’t fight with dark walls. It’s a good fit for renters because it can be hung with a single backing panel.
Cut a backing panel from foam board or thin plywood and paint it warm white. Place a line of small hooks or attach clips to the top and use twine or a rail for consistent spacing. Print or cut photos to card size, like 3x4 or 4x4, and mount each to a small cardstock backing for easy clipping. Hang the panel at eye level and adjust clip heights so the card edges align.
Editor's noteUse the same clip position on every row so the repeat pattern stays crisp.
Skip thisDon’t clip photos without card backing — thin prints curl and look messy.
12. Corner-to-corner collage with 3-inch margin

Diagonal collage placement feels cozy because it adds flow instead of sitting flat like a spreadsheet. A 3-inch margin keeps it from swallowing the wall, so it still looks airy. This works well in bedrooms where the wall has a window or headboard edge that you want to balance. The margin acts like a frame, so the collage looks intentional even if your photos are mixed sizes. It’s especially photogenic from a bed viewpoint because the diagonal lines pull the eye across the wall.
Measure your wall and decide the collage area, then draw a light pencil rectangle with a 3-inch margin from the edges. Print photos and cut them to fit within the diagonal layout, keeping one consistent border treatment, like white paper mats. Arrange photos from lower left to upper right, overlapping slightly but keeping edges visible. Mount using tape corners or removable adhesive dots so you can adjust before it’s final.
Use a projector app or grid method to scale your pencil layout accurately before mounting photos.
Don’t over-overlap — if photos cover each other too much, it turns into clutter.
13. Fabric banner strips with photo squares
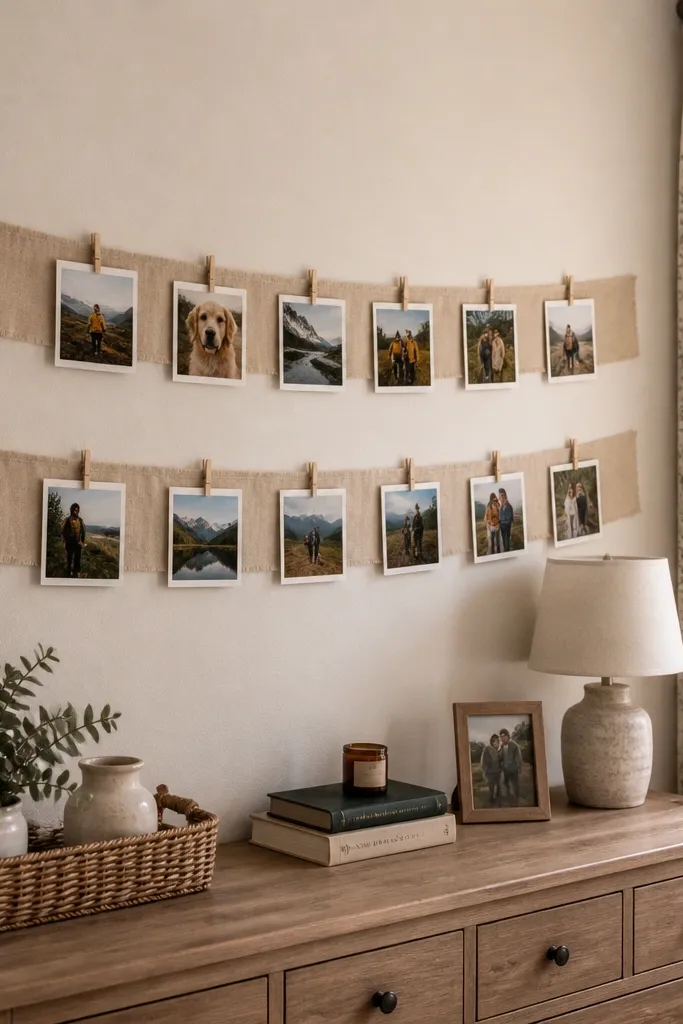
Banner strips create a cozy rhythm across a wall, and photo squares make it feel neat. This style works well above a dresser or along a blank wall near a reading chair. It’s also forgiving because fabric hides small alignment errors. Choose a single fabric color, like oatmeal or dusty rose, and keep photo borders consistent. The result looks soft and intentional, even with a budget setup.
Cut fabric into long strips, about 6 inches tall, and stretch them over a backing board or attach them with straight pins to a taut cord. Trim photos into squares, like 4x4, and add a 0.5-inch white border using cardstock. Pin or clip photos onto the fabric strips using small binder clips or mini clothes pins. Hang the banner with two wall hooks so the fabric stays straight.
Editor's notePress the fabric flat with a steam iron before attaching photos so it doesn’t ripple.
Skip thisDon’t mix fabric patterns with busy photos — pick one quiet fabric color.
14. Corner bookshelf collage with photo labels
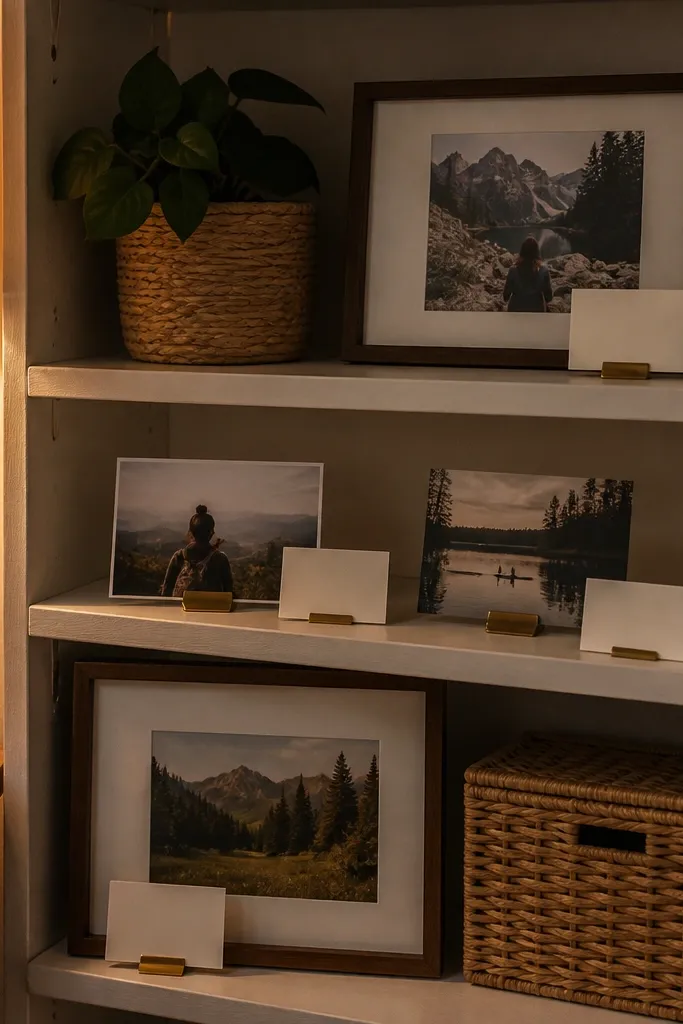
This is a cozy collage idea that doesn’t rely on a big wall space. A small shelf plus photo labels makes it look like a curated moment display. The label cards add warmth and context without needing long text. Use simple photos and keep the label design consistent in font and color. It’s great for bedrooms because it reads like decor, not like a random wall project. If you have a corner that feels empty, this fills it with personality.
Pick a small shelf, like 24-30 inches wide, and mount it securely with appropriate anchors. Print photos sized to fit label cards, then create label strips from cardstock with a consistent background color. Mount photos with photo corners on the back of small label frames or directly on the shelf liner. Arrange photos in a staggered row, then keep labels aligned under each photo.
Use matte black or dark brown label text so it stays readable on warm backgrounds.
Don’t use tiny label prints — if it’s hard to read up close, it looks sloppy.
15. Reclaimed wood frame collage with matching stain
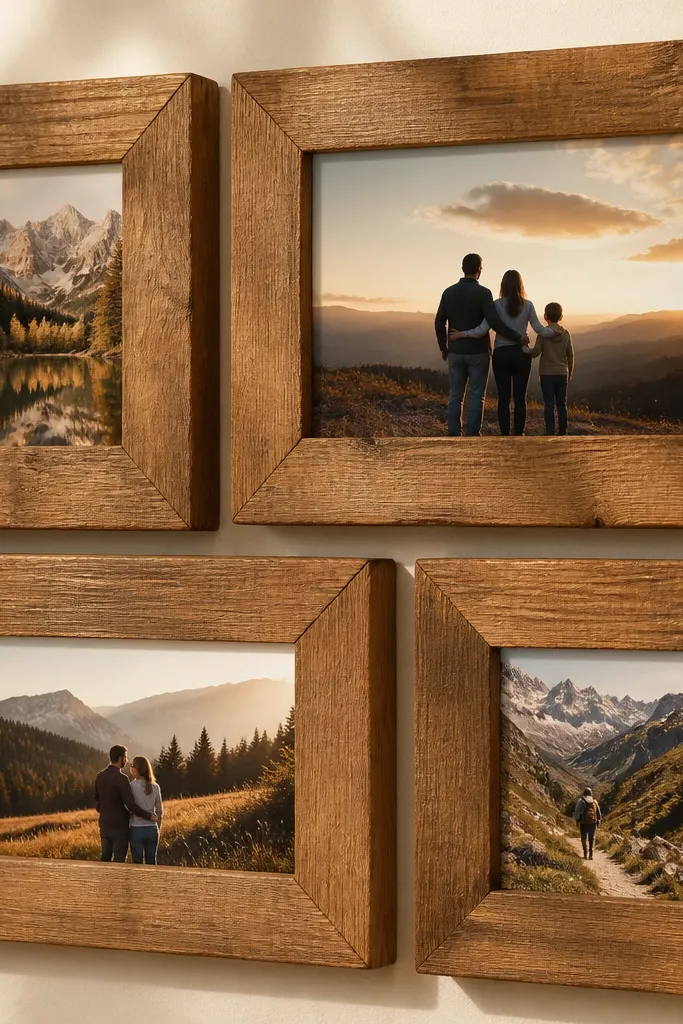
Reclaimed wood frames look cozy because the texture feels natural and warm. The key to keeping it budget-friendly is using a small number of frames and building a simple grid around them. Matching stain or paint color across frames stops the “random found objects” look. This style is photogenic because wood grain catches light softly. It’s ideal for a bedroom with wood furniture or neutral tones where you want texture without clutter.
Buy a set of thin reclaimed-style wood boards or small wood frames and sand the surfaces lightly. Apply one stain color or one paint finish across all frames so the tone matches, then let it dry fully. Arrange a grid on the wall, like 2x3, leaving 2-3 inches between frames. Add photos to the frames with acid-free backing and hang using D-rings rated for the frame weight.
Editor's noteSeal the wood with a matte clear coat so the finish doesn’t look shiny under lamp light.
Skip thisDon’t skip sanding — rough reclaimed wood creates uneven gaps and messy alignment.
16. Vintage book page backing with modern photo crop
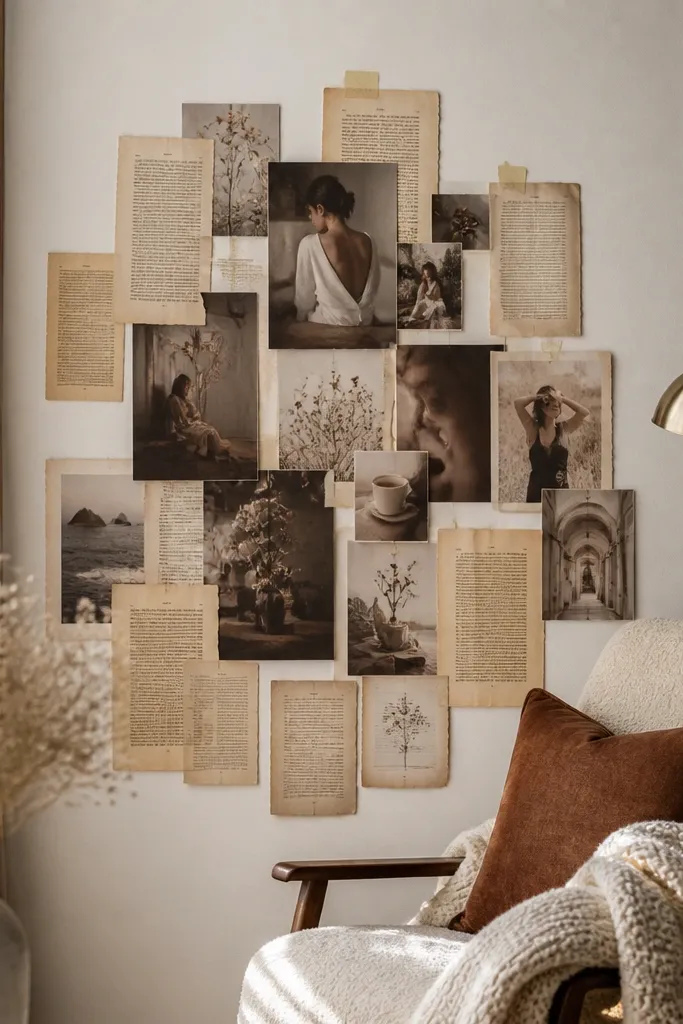
A vintage book page backing makes the collage feel instantly cozy because it adds a warm, paper texture behind everything. The trick is to keep the photos cropped clean and modern-looking so the collage doesn’t turn into a “scrapbook explosion.” Use a limited color palette in your photos, like warm skin tones and muted blues. This layout looks best as a single large piece above a bed or dresser because the page background fills the negative space. It also photographs well because the paper texture shows through.
Cut book pages to cover a large backing panel, like 18x24 inches, and glue them down with a thin layer of matte glue. Flatten the surface with a brayer or a clean plastic card so bubbles disappear. Add photo prints on top with consistent spacing and a single border treatment, like narrow white cardstock frames. Seal the whole backing with a light matte sealant so the paper doesn’t shed.
Use a matte glue and thin brush — thick glue causes ripples that show in photos.
Don’t use too many different font sizes or text-heavy photos — the background already has text.
17. Rope string grid with tiny photo tabs
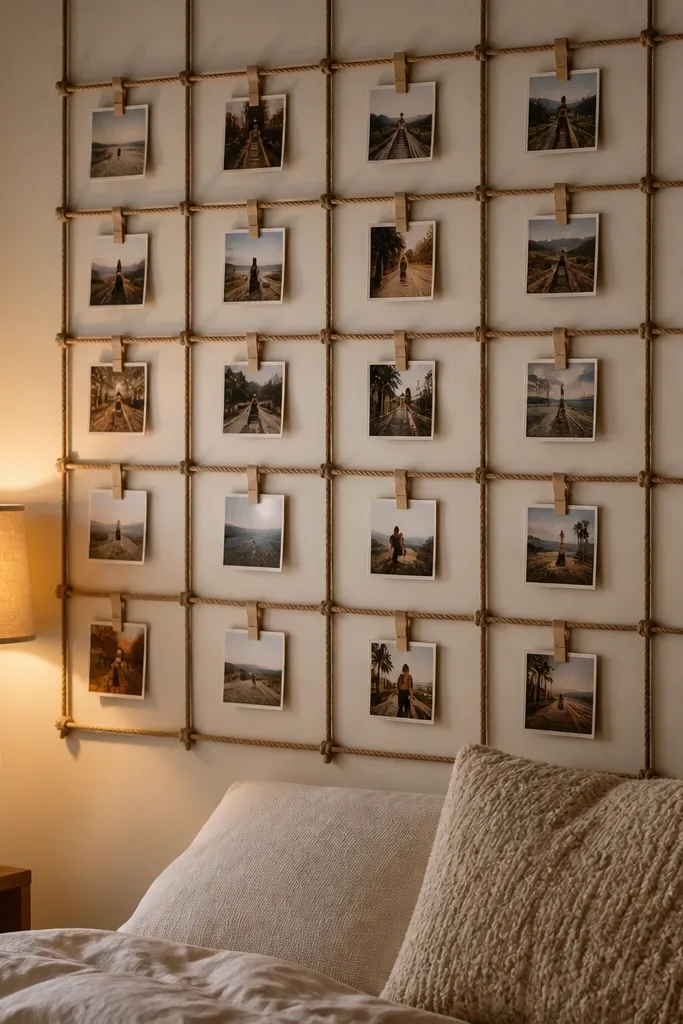
A rope string grid is cozy because it adds handmade structure without looking stiff. The small tabs keep photos light and easy to swap, and the grid keeps everything aligned. This style is perfect for bedrooms with neutral decor where you want warmth and texture. Rope also makes the collage look intentional even if you use different photo sizes. Keep the grid simple, like 3x3 or 4x3, so it doesn’t get busy.
Install two horizontal hooks and two vertical hooks on the wall, then tie rope between them to form a grid. Cut cardstock tabs, about 2x3 inches, and tape one photo to each tab. Pin the photo tabs onto the rope using mini cloth pins, keeping consistent spacing on each row. Use a level to ensure the grid is straight before you start clipping photos.
Lightly sand rope ends so they don’t fray and snag your photo tabs.
Don’t make the grid too tight — cramped rope grids make photos look crowded.
18. Matte acrylic photo blocks with soft shadows
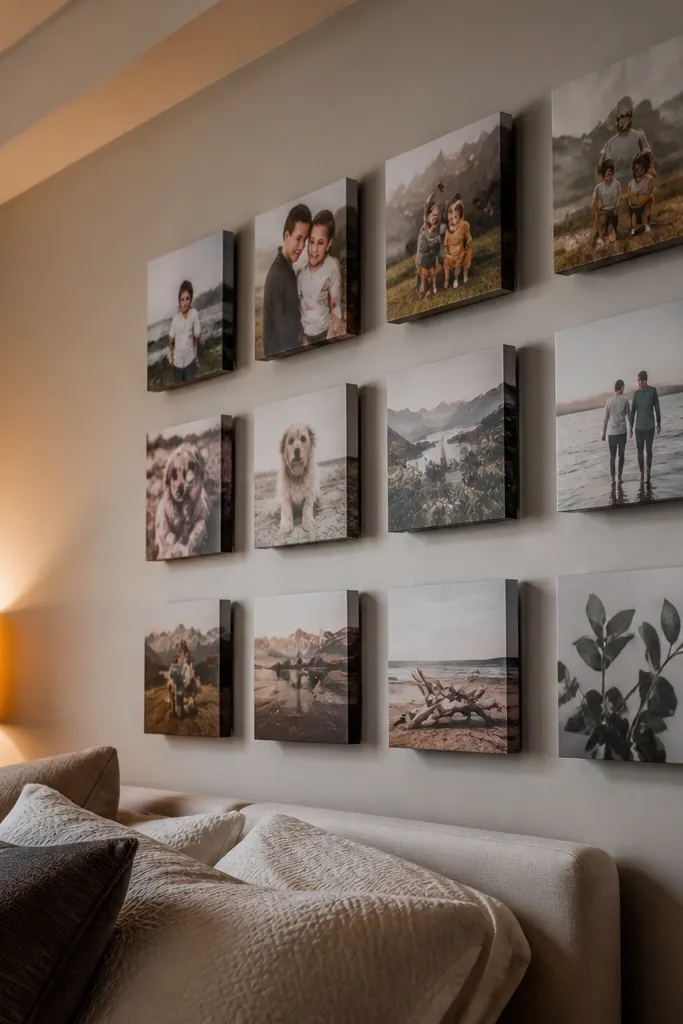
This one looks modern-cozy because the matte acrylic blocks create clean separation and soft shadows. You get a “gallery object” feel without building a full shadow box wall. The spacing between blocks makes the collage look airy, and the matte finish reduces glare. It’s a good option if your bedroom has strong light from a window because acrylic glare is the enemy of cozy. This also works well with monochrome or muted color photos.
Buy small matte acrylic blocks or photo stands and choose a consistent block size, like 4x4 inch stands. Print photos to match the visible surface area and leave a small border for neat framing. Arrange blocks in a tight cluster on a single backing board, then place photos into the stand slots. Mount the backing board to the wall with secure hangers so the blocks stay aligned.
Editor's noteTest glare by holding a photo under your bedside lamp — matte prints beat glossy when glare is harsh.
Skip thisDon’t mix acrylic finishes — shiny blocks break the cozy uniformity.
19. Tape-and-card photo collage on a foam board frame
This is the “clean and cozy” option for people who hate messy walls. Foam board gives you a flat, sturdy base, and a simple frame finish makes it look like wall art instead of crafts. Tape-and-card borders keep the spacing consistent without buying expensive frames for each photo. It also lets you build a large collage quickly. If you want your bedroom wall to look styled, this is the most reliable method on a budget.
Cut foam board to your desired size, like 24x36 inches, and add a thin border frame using craft wood strips or cardstock border strips. Print photos with a consistent size, like 4x6 or 5x7, and add a 0.75-1 inch cardstock border. Arrange photos on the board and secure them using double-sided mounting tape at corners. Finish the edges with a strip of matte tape so the board looks finished.
Use a single “photo size” for most images and only allow two sizes max — it keeps the collage from feeling chaotic.
Don’t use super-thick glue blobs — they create bumps that show through tape.
20. Magnetic strip photo wall with warm metal rails
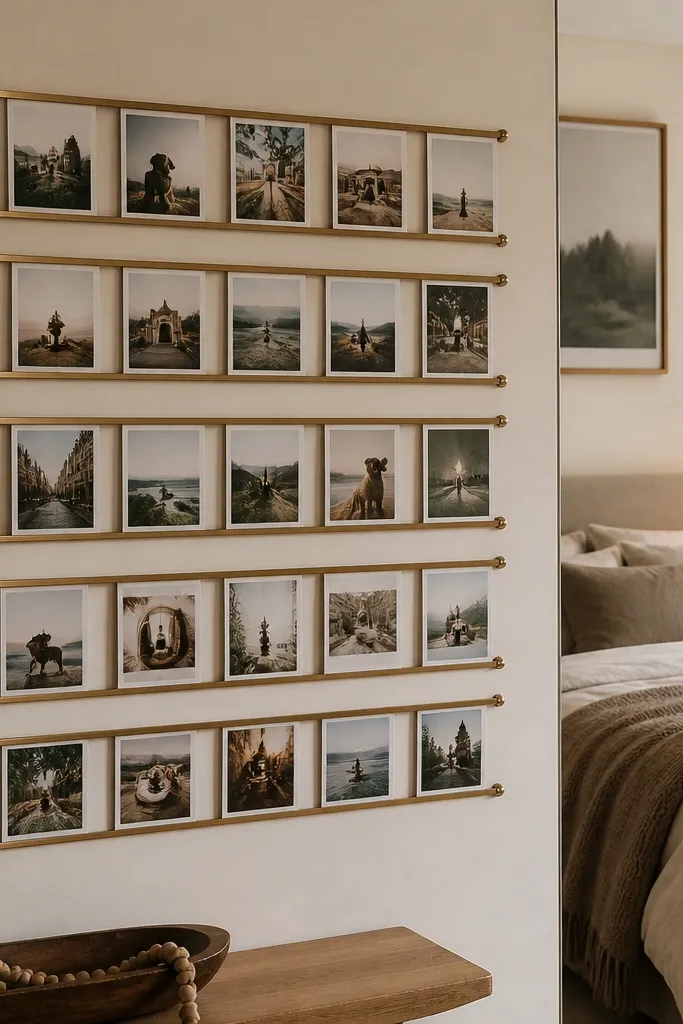
Magnetic rails are cozy because they look tidy and let you swap photos without re-adhesive. Warm metal rails in bronze or brass tone read softer than chrome and match bedroom lighting. This style works best for a structured grid, so your photos look like decor, not a storage situation. Use small photo prints with thin cardstock backing for clean edges. It’s also practical if you keep changing seasonal photos or adding new memories.
Install a warm metal magnetic rail system horizontally and vertically, using the included anchors. Add thin cardstock to the back of each photo so it holds flat against the magnet. Place photos in a grid pattern and adjust spacing by eye, aiming for 1-2 inches between prints. Keep the rail layout consistent so the collage stays symmetrical from across the room.
Label the back of each photo set with pencil so swapping later stays fast and organized.
Don’t use heavy photo paper with magnets — thick cardstock can bow and pull away.
21. Overlapping Polaroid cluster with corner tape corners
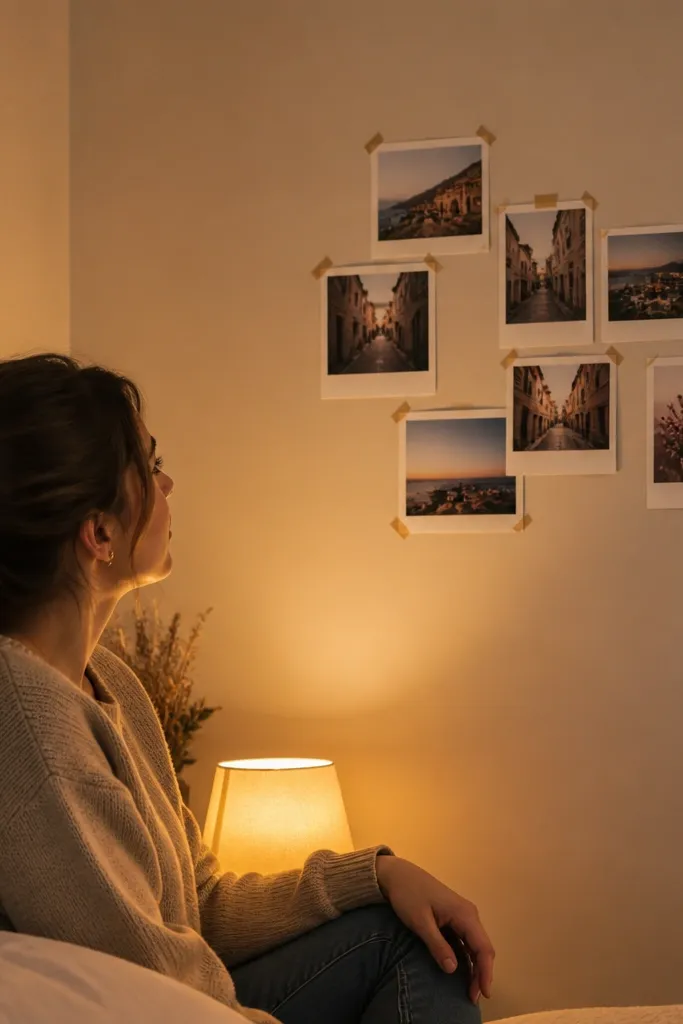
Overlapping Polaroid-style photos create cozy depth and a lived-in look that still photographs well. The key is corner tape placement — it keeps photos flat and prevents sagging in the center. Use a limited set of photos with similar color temperature so the cluster feels cohesive. Place the cluster near the bed where you can see it when you’re lying down. It’s an easy way to use mixed photo sizes without building a full frame wall.
Cut or print Polaroid-style photos with a consistent white border width, like 1 inch. Arrange 10-16 photos in a cluster, overlapping slightly at the edges but keeping the top edges readable. Use painter’s tape at the corners first to test, then switch to double-sided mounting tape at the corners only. Mount the whole cluster to a backing board so it hangs flat and doesn’t tear the wall.
Keep overlaps tight at 0.5-1 inch so the cluster looks intentional, not messy.
Don’t tape the entire back — full coverage makes the collage look stiff and can warp thin prints.
22. Shadowed frame collage using foam board layers
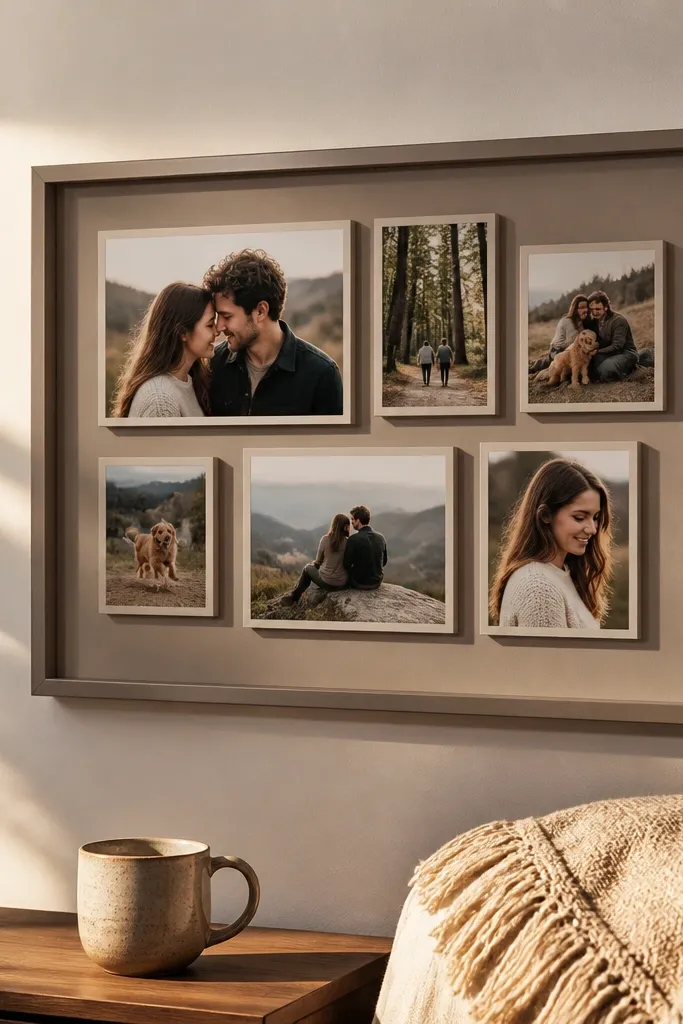
Layered foam board frames give you a shadow effect that looks expensive without expensive materials. It’s cozy because the photos sit slightly forward, so they catch light softly and separate from the wall. This style works great for a bedroom because it adds depth without clutter. Use matte paper and keep the layer thickness consistent so the shadow lines are uniform. It’s also beginner-friendly if you like measuring and cutting.
Cut foam board squares for each photo, making a frame border around the photo opening, like 1.5 inches. Cut a second layer backing piece for each frame so you can create a 0.5-inch stand-off effect. Glue or tape the layers together, then attach the photo to the inner opening. Arrange the frames on a backing board or mount them individually with spacers for a consistent floating look.
Use a craft knife with fresh blades — foam board edges look cleanest with sharp cuts.
Don’t stack uneven frame thickness — inconsistent shadows make the collage look sloppy.
23. Color-block backing with tonal photo borders

Color-block backings create cozy impact because they add a warm field behind your photos. Instead of relying on lots of frames, you use one strong background and keep photo borders tonal. This makes the collage look designed even when you have different photo subjects. Choose one warm wall-friendly color, like terracotta, sage, or oatmeal, then build 2-3 blocks with tape edges. The result is photogenic because the color blocks show up clearly in pictures.
Paint or cover a backing panel with 2-3 color blocks, using painter’s tape to create crisp edges. Print photos and add borders in a tonal shade that matches one of the blocks, like cream borders on terracotta. Arrange photos so each block has a predictable number of images, like 3 per block. Mount the finished panel to the wall using picture hardware and keep the panel level.
Use matte paint or matte paper — glossy backgrounds steal attention from the photos.
Don’t use bright, saturated colors with high-contrast photos — it stops reading cozy.
24. Headboard-height photo strip with bedside lamp glow
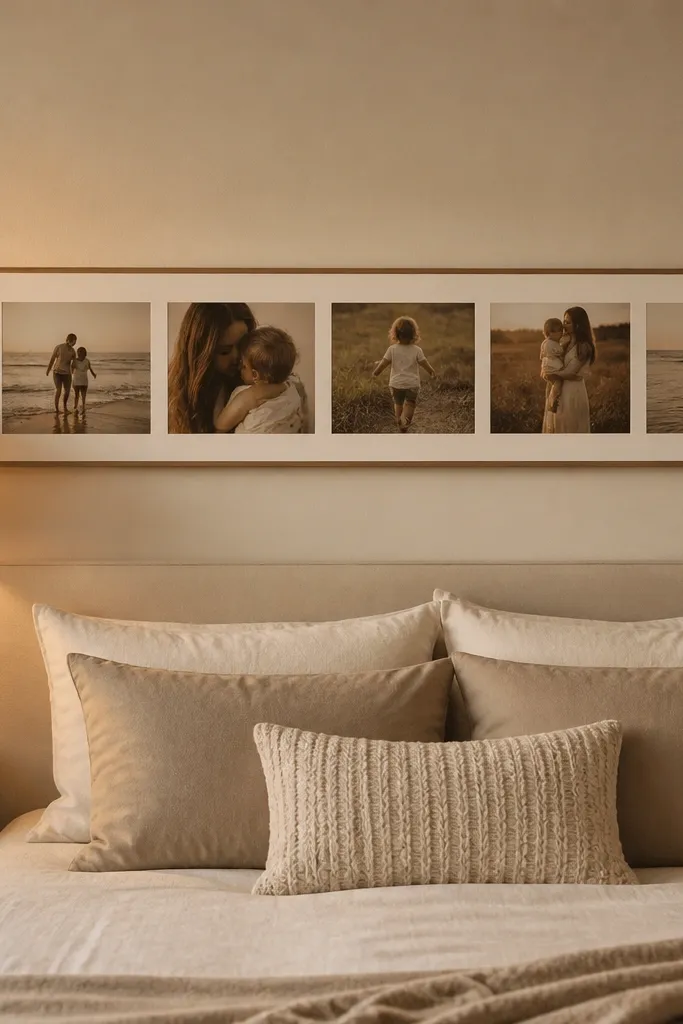
Placing a photo strip at headboard height is a bedroom cheat code. It looks cozy because it lines up with where you naturally look in bed, and it avoids wall clutter below. The strip layout also keeps the collage from feeling like it’s competing with bedding. Use warm-toned photos and add a thin border for unity. This style is best when you want a calm, low-effort decor refresh that still looks intentional.
Measure the height of your headboard and mark a line at about 8-10 inches above it. Build a backing strip panel, like 10-12 inches tall and 36-50 inches wide, and choose a consistent photo size, like 4x6. Arrange photos in a grid along the strip and mount with tape corners. Hang at your marked line and check it from bed height so it sits right.
Use matte photo prints and avoid glare by testing with your bedside lamp turned on.
Don’t place the strip too low — it looks like it’s drifting and loses the cozy focus.
25. Felt pinboard with photo frames and push pins
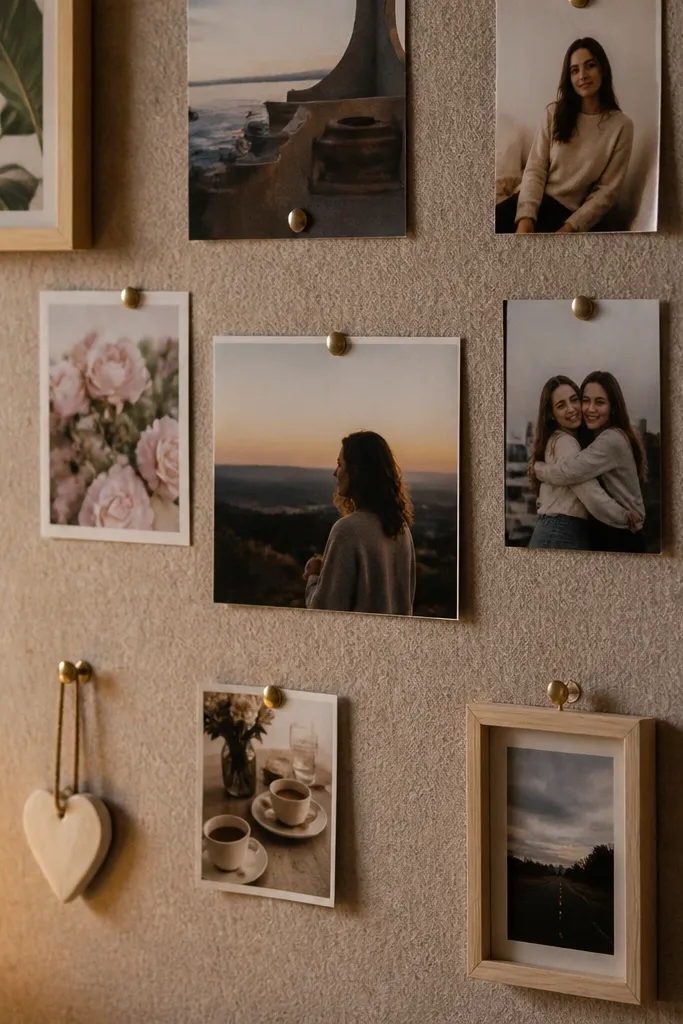
Felt pinboards make a budget cozy photo collage feel soft and plush. The felt surface hides tiny alignment issues and makes pushing pins in easy. You also get flexibility: swap photos without removing adhesive. Use small frames or photo cards with thick backing so push pins hold securely. This works well in bedrooms because felt reads warm and quiet, especially next to a reading nook or desk. It also looks great in photos because the felt texture stays gentle.
Cut felt to a size like 18x24 inches and stretch it over foam board or a wooden backing frame. Place your photos in small cardstock frames or mount them to thick backing so they don’t sag. Push pins through the frame corners into the felt, keeping consistent spacing between photos. Hang the felt pinboard with secure hooks and press the felt flat around the edges.
Use brass or wood push pins for a warmer look than bright silver.
Don’t use thin photo paper — push pins tear it and the corner edges look ragged.



