
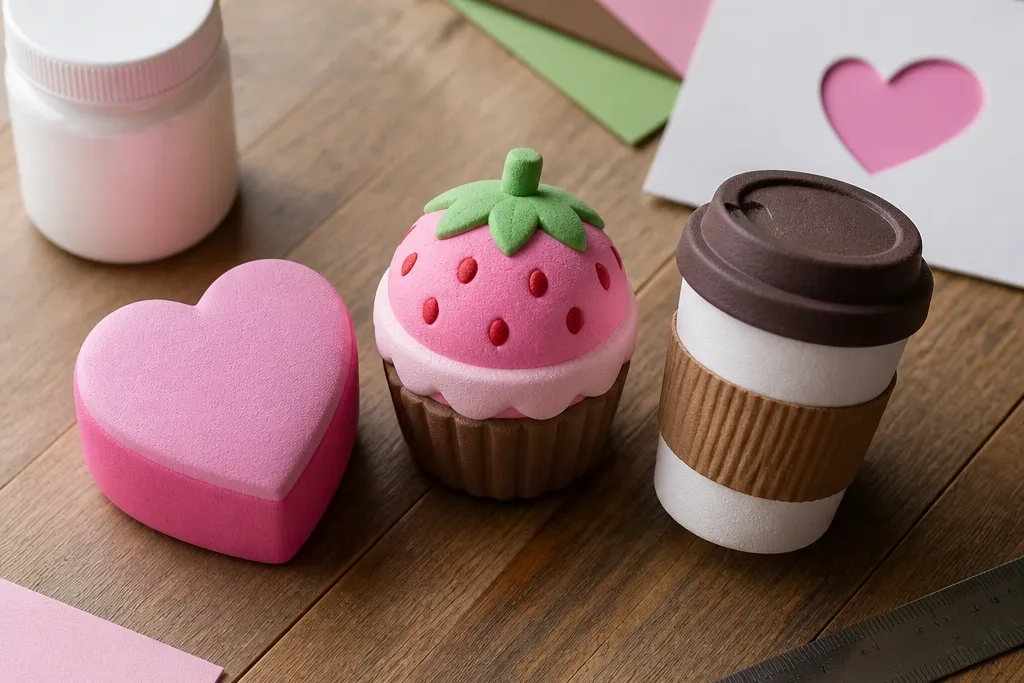
1. Strawberry Cupcake Squishy with Foam Core
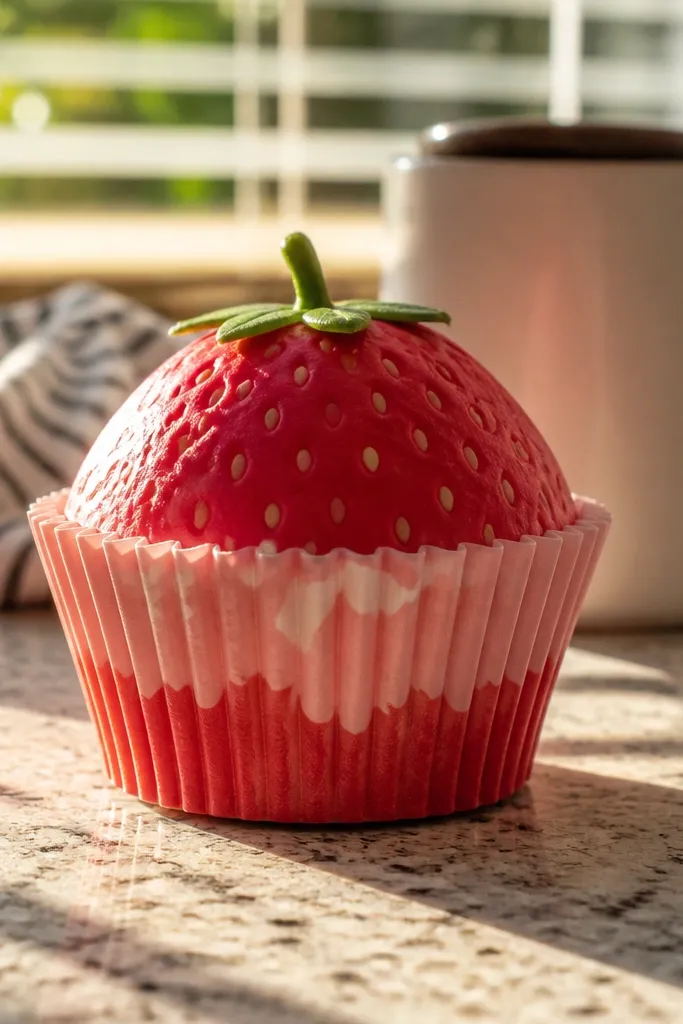
This one is a photo magnet because the cupcake shape reads clearly even from a distance. You’re building a rounded body with a slightly domed top, so the squish shows a soft indentation when pressed. Use red and pink paper for the “wrapper,” then add a tiny green top piece like a stem cap. The foam core keeps it from going flat, so it keeps the cupcake silhouette longer than fiber-only versions. Skill level is beginner-friendly, and the build time is about an evening once you have the paper cut and the filling ready.
Cut a cupcake shell from 160-220 gsm cardstock in two matching halves so the seam stays neat. Make a foam core by tracing the cupcake outline onto craft foam and cutting it slightly smaller than the shell so it doesn’t push through. Add a thin layer of polyester fiber over the foam core to smooth any edges, then glue the shell halves together around the perimeter. Close the closure last, then reinforce the seam with a strip of clear tape on the inside and a thin tape band on the outside for extra durability.
Press the shell together under a book for 10 minutes while the glue sets; it keeps the cupcake shape round.
Don’t overfill — it makes the wrapper crease and the seam splits at the top.
2. Matcha Mochi Squishy with Layered Fiber Surface
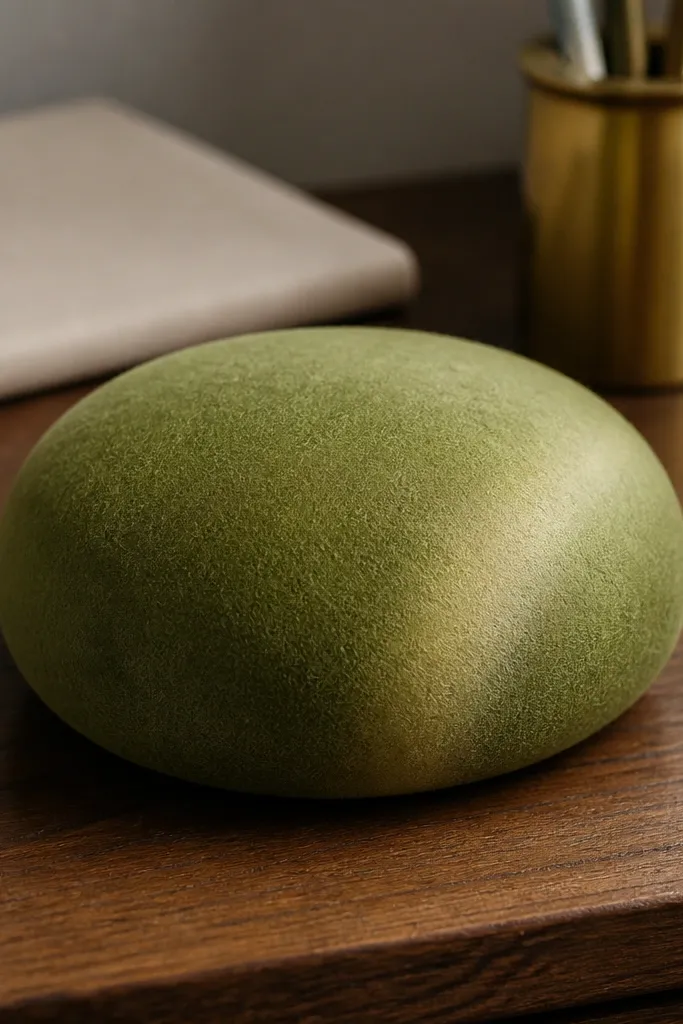
Mochi looks best when the surface looks like one smooth cushion, not lumpy stuffing. This design uses a layered approach so the outside stays even and the squish feels slow. The color combo is what makes it aesthetic: matcha green with a lighter cream highlight on one side. When you press it, the highlight area should stay smooth instead of showing the filling bumps. This project suits decor shelves, desk buddies, and keychain charms if you add a loop.
Cut a simple oval or rounded rectangle shell from thick green cardstock and add a smaller cream paper panel for the highlight. Shape a foam base disk first, then wrap it with a light layer of fiberfill — thin and even. Glue the cream highlight panel to the shell before closing so it doesn’t shift. Close the shell, then add one last smoothing layer of fiber at the opening before fully sealing and taping the seam.
Use a paintbrush to gently pat the fiber surface smooth before you seal it.
Skip hot glue on the paper face; it can warp cardstock and make the highlight panel look wavy.
3. Blueberry Bagel Squishy with Crisp Foam Edges
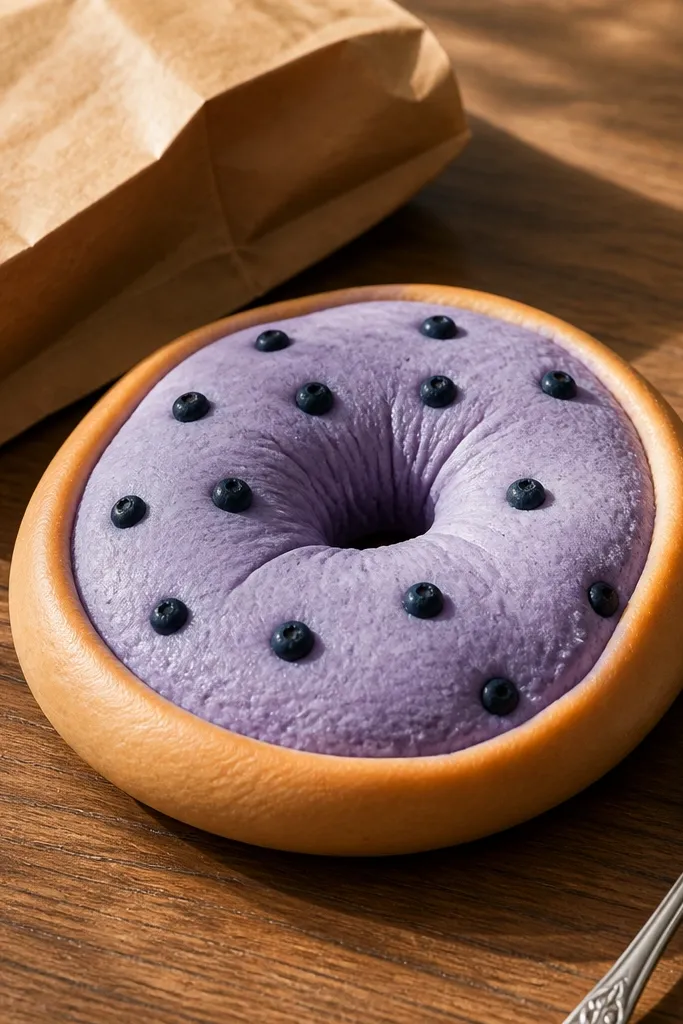
Bagel shapes look crisp in photos when the ring doesn’t collapse. That’s why this one uses a foam edge ring instead of loose stuffing. The blueberry dots give it a “sprinkled” look, and the tan paper keeps it warm and readable. You get a satisfying squish in the center while the ring stays defined. It’s a solid choice if you want your squishy to look like an actual food object, not a squishy blob.
Cut a ring-shaped shell from tan cardstock with a hole in the middle. Cut a foam ring using the same template, but make it slightly thinner so it fits inside without stretching the paper. Add fiberfill only to fill the gaps between shell and foam, keeping it light so the ring stays round. Seal the halves, then decorate with small blue paper circles or painted dots before you tape over the seam to protect the edges.
Add the fiber only in the gaps, not across the whole surface; the ring stays cleaner.
Don’t use thin paper — it creases around the ring and ruins the crisp silhouette.
4. Tiny Lemon Tart Squishy with Glossy Glaze Look
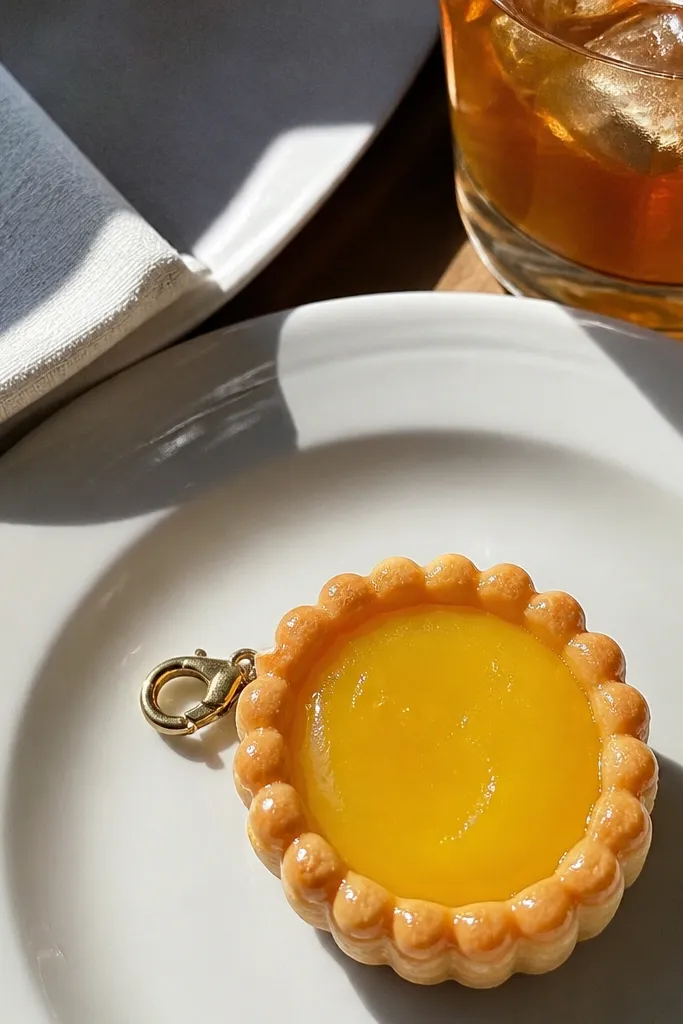
This tart design is all about the “glaze” look. The shell is built with a crust edge that frames the yellow center, so the squishy reads as dessert even in a cluttered photo. Use a foam core for a firm bite and a thin fiber layer so the top doesn’t show lumps. The best part is the glossy finish — it makes the yellow pop and gives that candy-like dessert vibe. It’s small, quick, and great for making a set.
Editor's noteUse a foam disk slightly smaller than the tart so the crust doesn’t bulge outward.
Cut a tart shell from cardstock with a scalloped crust edge and two matching halves. Make a small foam disk that fits just under the crust line, then add a thin fiber layer on top so the yellow surface is smooth. Glue the halves together, then paint or marker the yellow center and let it dry. After assembly, apply a thin coat of clear gel medium or clear craft gloss to mimic glaze and let it cure fully before pressing.
Skip thisDon’t seal with glossy medium before assembly; wet layers can soften paper and stretch edges.
5. Chocolate Bar Squishy with Foil Wrap Texture
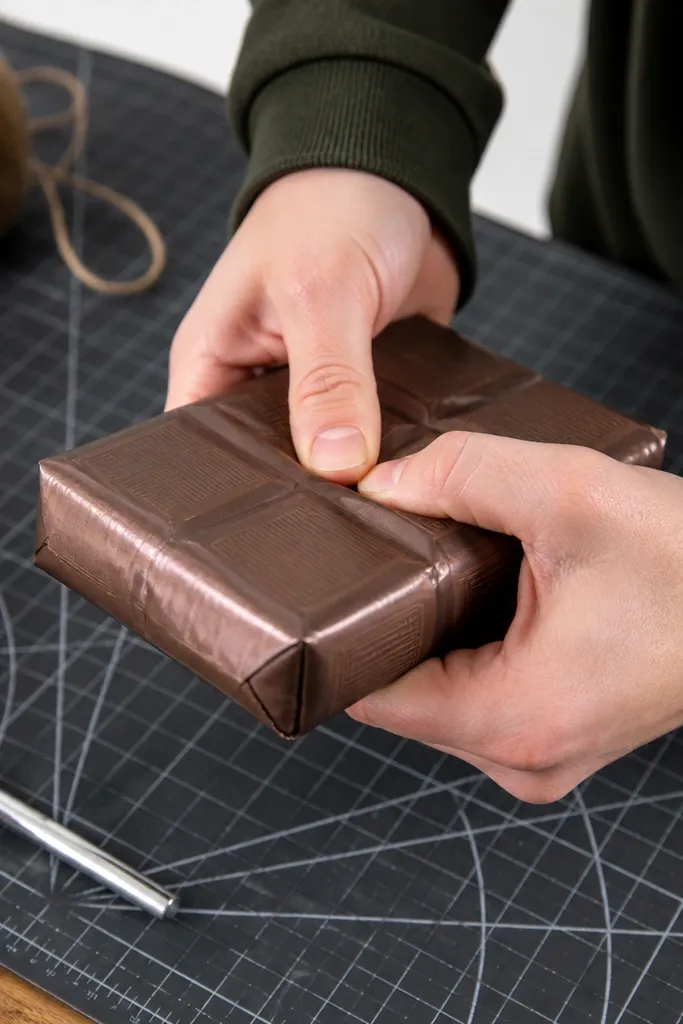
Chocolate bars look great because they have straight lines and simple geometry. This design is photogenic because the wrapper texture catches light, and the bar segments give a subtle pattern. For the filling, you want a firm center so the rectangle stays squared and doesn’t turn into a smear. A foam core does that, and a light fiber layer gives the squish without rounding the corners too much. It’s a good choice if you like clean, graphic decor.
Cut two matching rectangle shells from brown cardstock, then add a wrapper layer on one side using metallic paper or printed foil tape strips. Insert a foam core cut to the exact inner rectangle size. Add a thin fiber layer around the core for smoothness, then glue the shells together along the long edges. Reinforce the top and bottom seam with tape and add small paper “segment” lines on the front after the glue sets.
Score the paper lines for the bar segments lightly so they look crisp when the bar is squeezed.
Don’t wrap the foam too tightly; it makes the front seam bulge and shows through the wrapper.
6. Pink Donut Squishy with Sprinkles on a Raised Dome
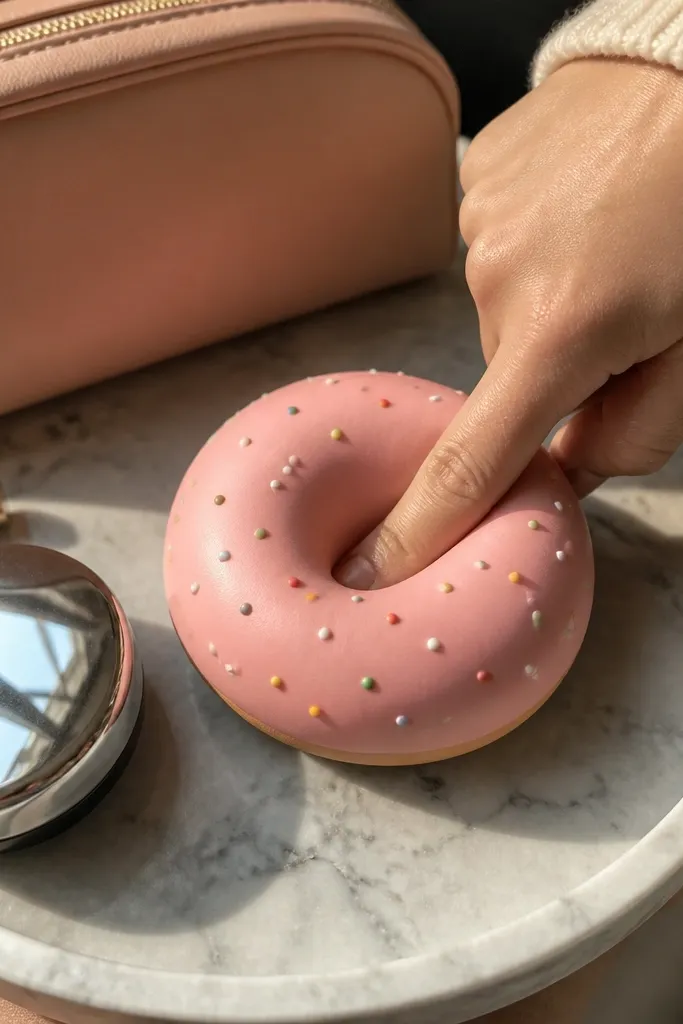
A donut is the easiest shape to make look “real” because the ring outline is recognizable. This version uses a raised dome so the squish creates a satisfying dip while the donut still looks padded. Sprinkles are what make it aesthetic: small dots scattered across the top give texture without messy sculpting. You get the best visual effect when the filling stays centered so the top doesn’t sag sideways. This is good for desk decor and charm-making.
Cut a ring shell from pink cardstock and add a matching dome top piece. Use a foam ring for structure, then place a foam dome center on top so the donut has height. Add fiberfill only around the dome edges so the top stays smooth. Glue the dome top to the ring shell, then close the back layer and reinforce the seam with tape.
Scatter sprinkle dots after assembly so you can place them where the dome stays highest.
Avoid gluing sprinkles before filling; they can shift when you squeeze the dome.
7. Rainbow Macaron Squishy with Two-Tone Shell
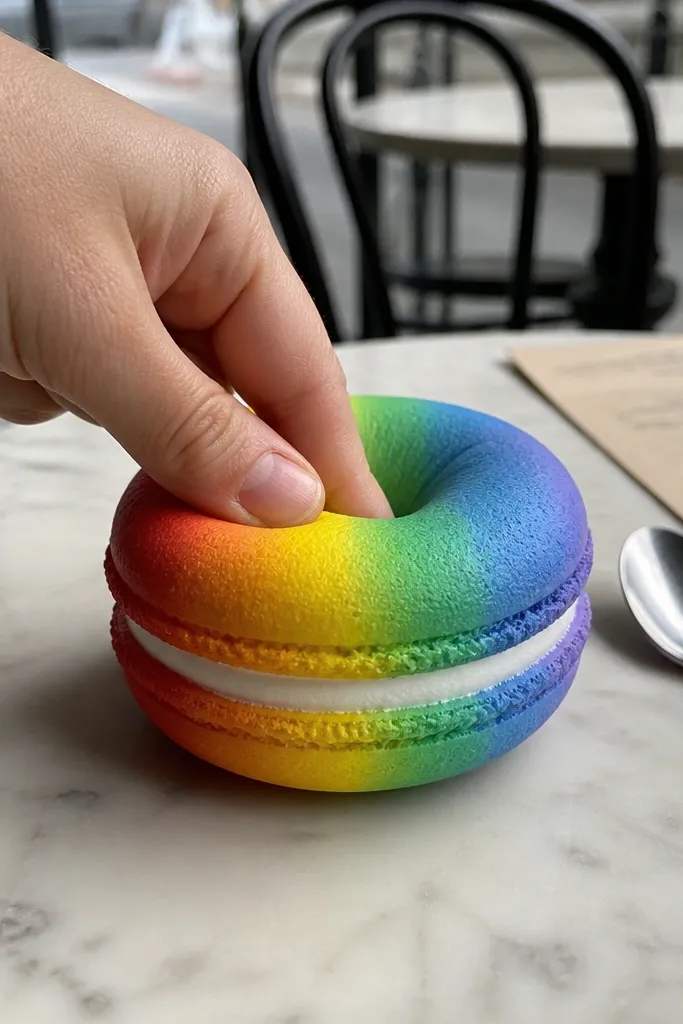
Macarons look best when the shell is symmetrical and the filling line is crisp. This design uses a two-tone shell so the color band reads like a filling seam. The squish should show a gentle compression, not a collapse, so you need a foam core sized to the macaron circle. Fiberfill goes around it for softness while keeping the circle round. It’s ideal for a set of multiple macarons on a shelf or in a gift basket.
Cut two identical macaron circles from cardstock. Trace a smaller circle for the foam core and cut it to size, then add fiberfill around it. Glue the two cardstock halves with the foam and fiber in the center, then add a ring of contrasting paper to mimic the macaron filling line. Reinforce the closure seam on the back with tape so the front stays clean.
Use a compass or a bottle cap template for perfect circles; macarons are unforgiving about symmetry.
Don’t use flimsy cardstock; it dents and ruins the smooth macaron look.
8. Unicorn Horn Squishy with Spiral Paper Twist
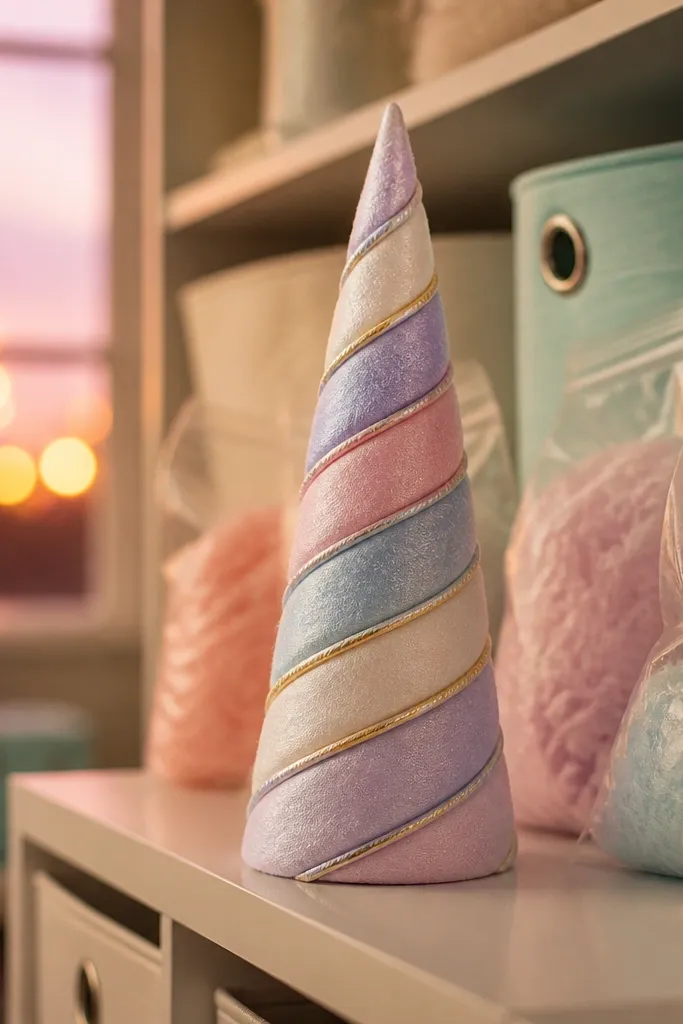
Horn shapes are tricky, but the spiral twist makes this one look intentional and magical. The trick is to keep the horn from bending — you need a firm interior. Use a foam cone or rolled foam tube as the core, then wrap fiber lightly so the paper shell doesn’t wrinkle. The spiral twist is decorative, so it should sit on top smoothly, not fold when you squeeze. This works for party decor and as a small prop for photo corners.
Editor's noteCut the spiral strip slightly narrower than you think; it wraps cleaner and looks like a real horn twist.
Create a horn shell from cardstock by using a cone template and cutting two halves. Make a foam cone core and press it into shape so it holds the point. Wrap a thin layer of fiber around the cone, then glue the shell halves together. Add the spiral twist by cutting a long strip of paper and winding it around the horn while you glue at intervals, then tape the seam inside for strength.
Skip thisSkip loose fiber inside; it makes the horn droop and the spiral looks crooked.
9. Ocean Jelly Fish Squishy with Wavy Fringe Tentacles
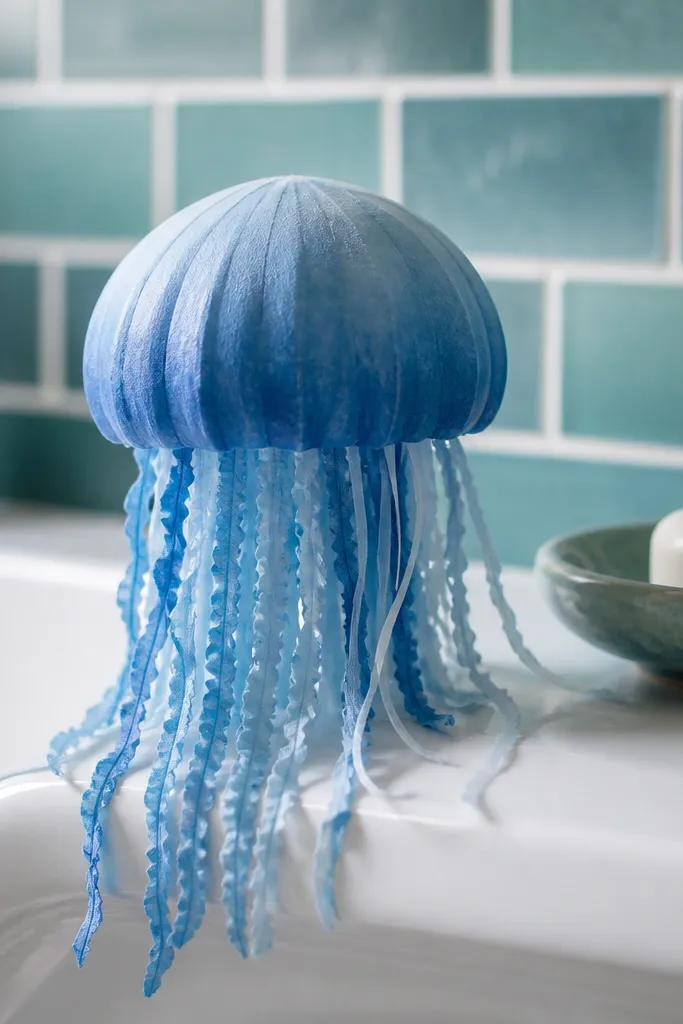
Jellyfish looks elegant because the silhouette is airy. The bell is the squishy part, while the tentacles are thin paper strips that move the eye. Use a foam core inside the bell so it holds its round shape, then keep tentacles light so they don’t weigh the piece down. This design looks best with layered blue papers and a slightly translucent effect using vellum or light tracing paper. It’s perfect for a wall-hanging mobile or a shelf display.
Editor's noteUse vellum for 2-3 tentacles; it catches light and looks more jelly-like.
Cut a rounded bell shell from blue cardstock and two matching halves. Insert a small foam disk core, then add a thin fiber layer for softness before closing the bell. For tentacles, cut multiple thin strips and glue them to the inside edge of the bell so they hang freely. Reinforce the bell seam with tape and keep glue away from tentacle attachment points so they don’t stiffen.
Skip thisDon’t glue tentacles directly to the outer bell face; it creates hard bumps on the squishy surface.
10. Space Cookie Squishy with Star Confetti Top
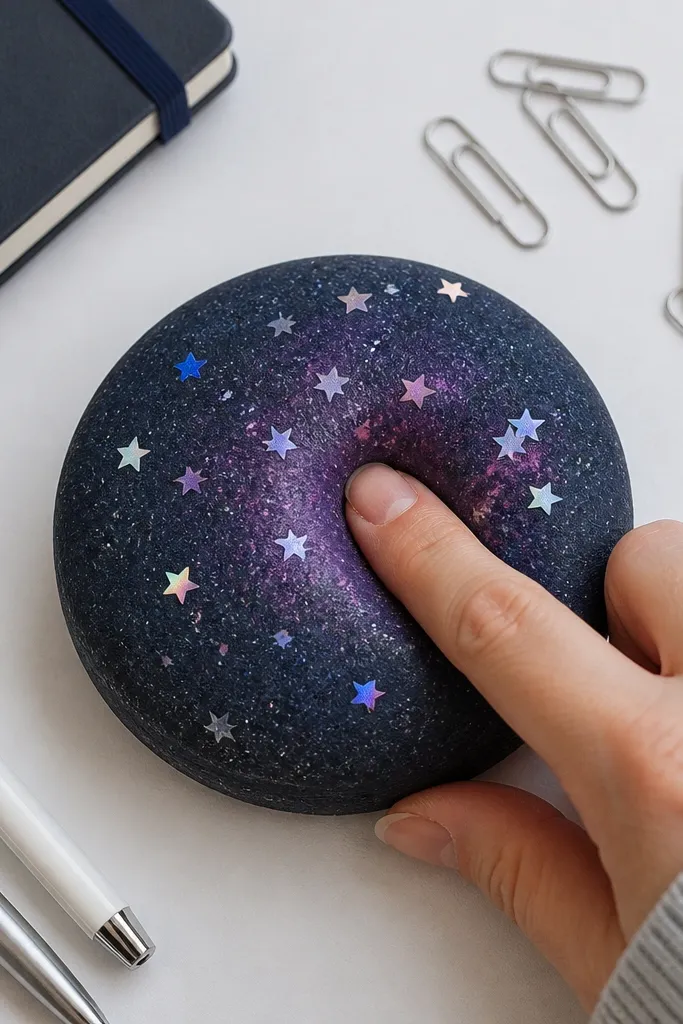
Cookies work because they’re round, and round squishies photograph well from any angle. This one adds star confetti on top for instant visual texture without complicated sculpting. The filling is firm enough to keep a cookie disk shape so the stars don’t look like they’re floating on a collapsing surface. Use foam for structure and fiber for softness, then seal the top with a matte finish so colors don’t smear. It’s a fun desk item and a great mini gift.
Editor's notePress decoration stars lightly with your finger so they stick flat and don’t curl.
Cut two cookie circles from thick brown cardstock. Cut a foam disk core slightly smaller than the circle, then wrap it with a thin fiber layer so the surface stays smooth. Glue the halves together, then decorate with star-shaped paper pieces on the top before you reinforce the back seam. If you want extra pop, add a thin layer of white gel pen to highlight some stars after glue dries.
Skip thisAvoid watery paint on the top; it soaks paper and makes stars look dull.
11. Mango Slice Squishy with Cut-Face Segments
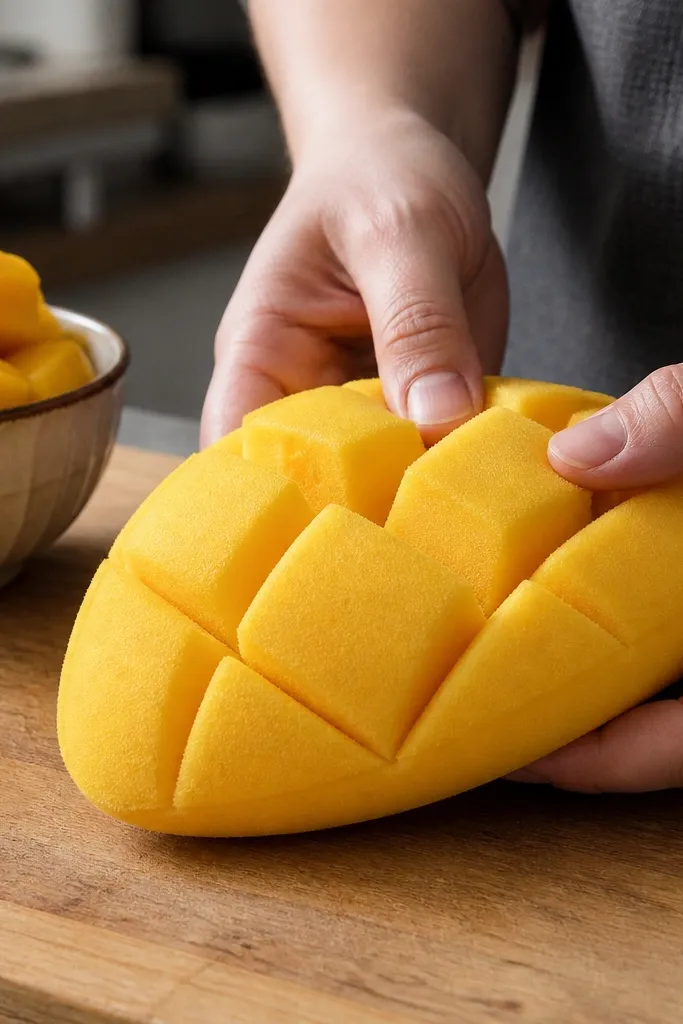
This mango slice looks realistic because the cut face is divided into segments. The squishy part is the slice thickness, but the surface stays structured so the segments read clearly. Use foam pieces cut into a wedge pattern so the surface doesn’t cave and hide the segment lines. Fiberfill fills only the tiny gaps between foam and shell. The result is a squishy fruit decor that looks like a prop from a food photo.
Draw and cut a mango slice silhouette into two shell halves from cardstock. Cut foam into wedge segments that match the segment lines you want, then stack them inside the shell. Add a light fiber layer to cover foam edges so the shell face looks smooth. Glue halves together, then draw or glue orange segment lines on the front and tape the seam on the back.
Use a ruler to keep segment lines straight; mango slices look fake when the segments wobble.
Don’t rely on marker-only segment lines over lumpy filling; texture shows through.
12. Coffee Cup Squishy with Latte Foam Top
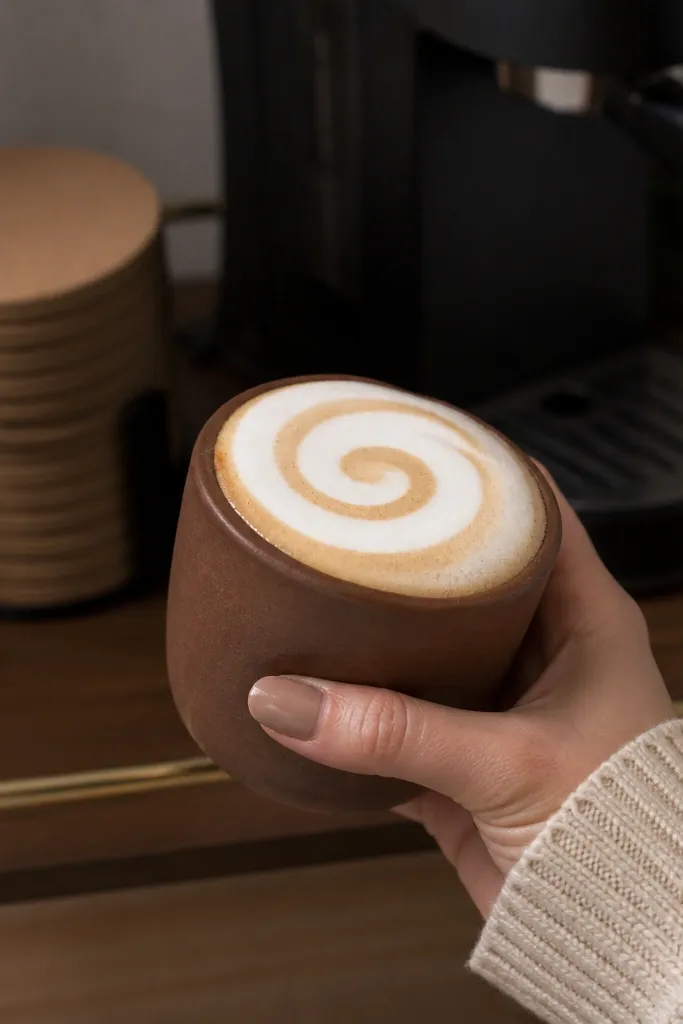
Coffee cups look clean and grown-up compared to fruit and animals, and that makes this one stand out in a squishy set. The latte foam top is what sells it: a pale white circle with a swirl line that stays crisp when the cup is squeezed. Use a foam core sized to the cup interior so the cup walls keep their shape. Add fiber only to soften the top area so the foam looks cloud-like. This is great for desk decor and for gifting because it looks like a real mini prop.
Editor's noteAdd the swirl line after the white circle is glued; it keeps the line from warping when you attach it.
Cut cup shell halves from brown cardstock, with a slightly flared rim shape. Make a foam core that matches the cup interior and insert it so the rim stays firm. Glue the halves together, then add a fiber layer around the top edge. Decorate the top with a white foam-like paper circle and a brown swirl line, then reinforce the seam with tape inside the cup base.
Skip thisDon’t overglue the rim — wet glue makes cardstock curl and the cup looks uneven.
13. Cat Paw Squishy with Soft Toe Pads
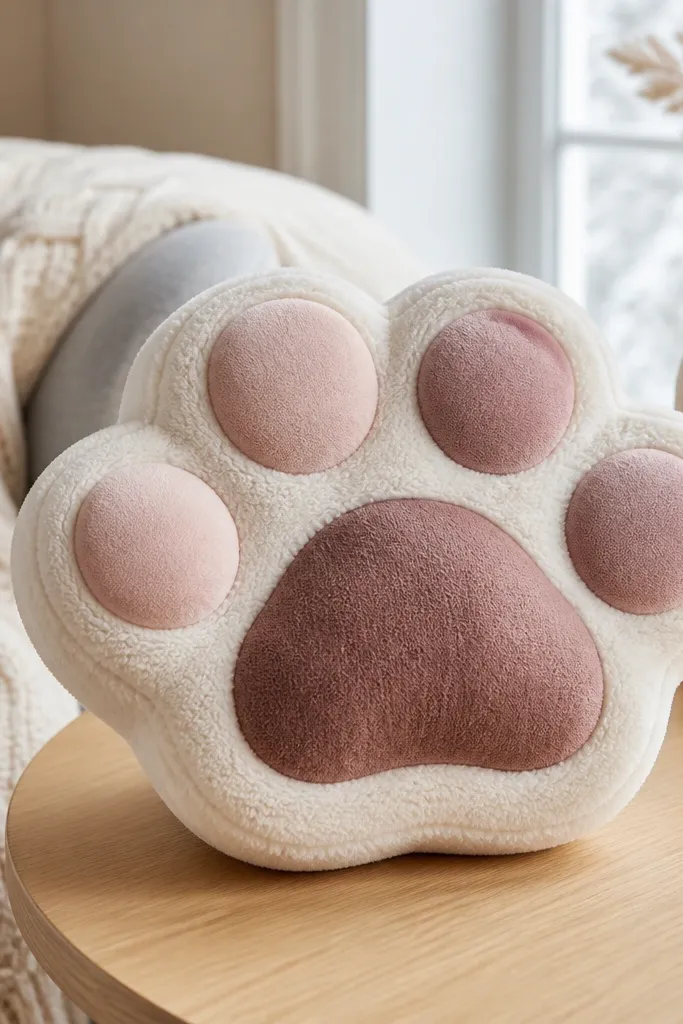
Cat paws are adorable because the toe pads create natural depth. This design uses separate toe pad pieces so the squish shows gentle “pillows” under each pad. The shell face stays smooth since you’re not carving foam — you’re layering foam and fiber behind each pad. Choose pink and mauve tones for the pads, and keep the outer paw in a neutral color like cream or tan. It’s great for shelf decor and for making a matching set with a small tail squishy.
Cut a paw outline shell from cardstock and cut three toe pad areas that sit on top. Place foam behind the toe pad zones and add small fiber layers so each toe pad compresses differently. Glue the toe pad pieces first, then close the main paw shell around the interior. Reinforce the seam on the underside with tape so the paw stays intact when you press the pads.
Make the toe pads slightly raised with extra fiber so the paw looks dimensional in photos.
Don’t glue toe pads directly to bare shell paper; fiber needs coverage so you don’t see hard edges.
14. Cherry Blossom Branch Squishy with Petal Bubbles
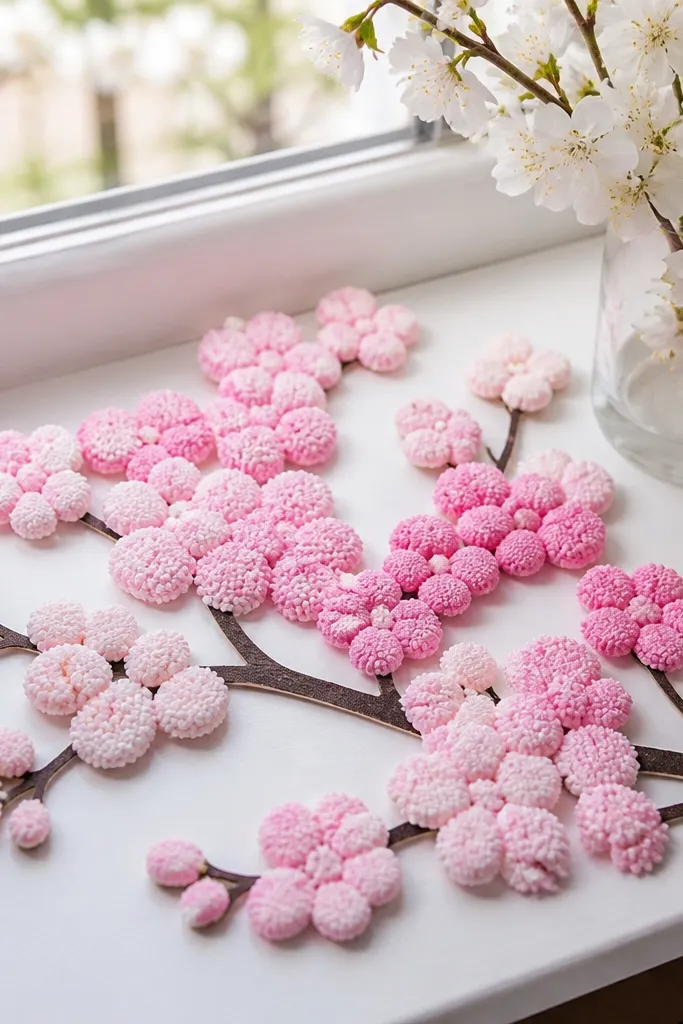
This one is decorative instead of a single object, and that’s why it’s photogenic. Petal clusters look like little squishy bubbles when each “petal” has a micro foam core. The branch is mostly flat paper, while the petal circles give the squish texture. If you want a clean aesthetic, pick two shades of pink and keep the branch lines crisp in brown. The build takes longer than a donut, but the look is worth it.
Cut a branch shape from brown cardstock and glue it to a backing sheet or the back of a larger base. For each petal cluster, cut small circular petal shells and insert tiny foam circles with a pinch of fiber on top. Glue the petal shells onto the branch so they sit like bubbles. Finally, seal the back connections with tape and keep the front glue thin so petal edges look smooth.
Use a hole punch to make consistent petal circles; uneven circles show up fast in photos.
Skip heavy glue near the petal edges; it creates shiny spots and stiffness.
15. Pink Heart Squishy with Hidden Message Pocket
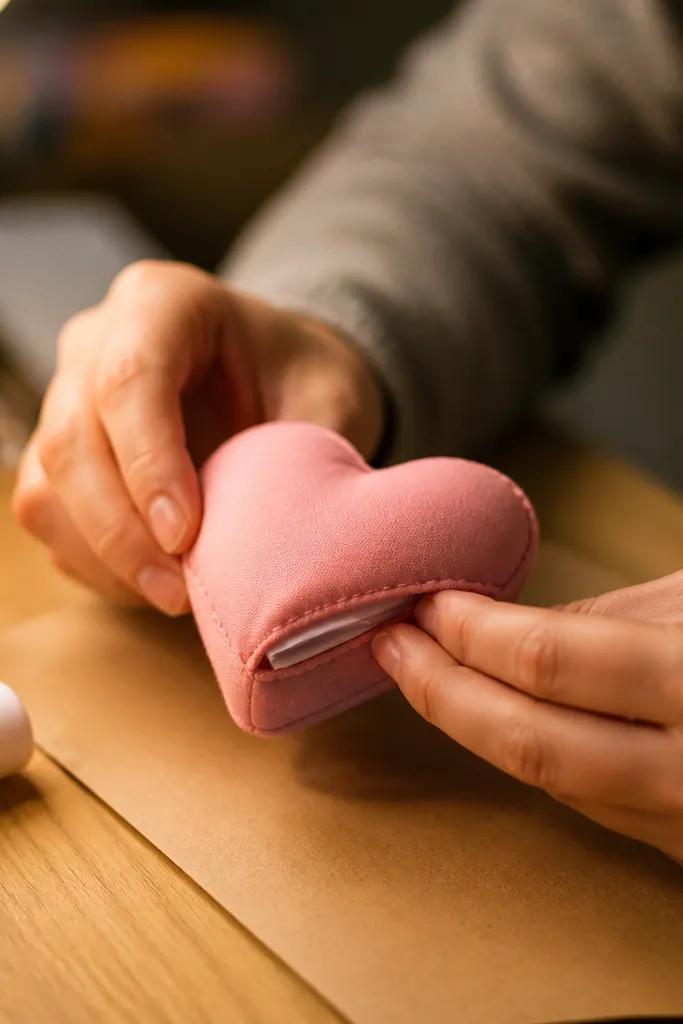
This is a heart squishy that looks cute and has a functional detail. The design uses a heart shell plus a pocket inside where you can slide a tiny note, sticker, or coupon. The filling method matters because you need the heart to stay puffy while still leaving room for the pocket. Foam core gives the heart shape, and fiberfill is kept around the pocket edges so it doesn’t collapse the opening. It’s a sweet gift idea that still looks clean on camera.
Cut two heart shell halves from thick pink cardstock. Add a pocket layer by gluing one side of a small rectangle of cardstock to the inside of one heart half, leaving the top edge open. Insert a foam core into the main cavity and add fiberfill around it, keeping the pocket area lightly filled. Seal the heart halves together, then tape the pocket opening edge on the inside so it stays strong when you slide notes in and out.
Make the pocket opening wider than you think; fingers need room to slide paper without tearing.
Don’t fill the pocket cavity with fiber; it makes the note catch and the heart front warp.
16. Shell-Shaded Mermaid Tail Squishy with Scale Pattern
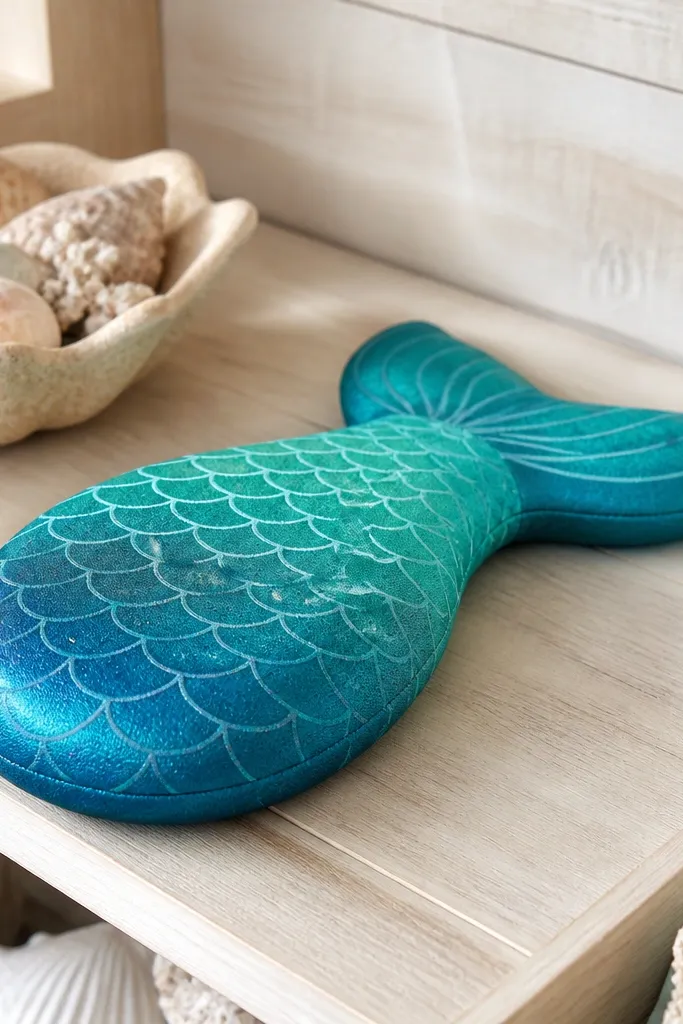
Mermaid tails look great because you can add scale patterning and gradient color. This build uses a foam core shaped like the tail for consistent squish while the scale paper stays flat on top. A fiber layer softens the surface so scales don’t appear as hard bumps. The color gradient — deep teal at the top fading to lighter aqua — makes it pop in photos. It’s a slightly more advanced project, but it’s still doable with careful cutting.
Cut tail shell halves from cardstock using a tail template, then cut matching foam core pieces in the same silhouette. Wrap the foam with a thin fiber layer so the shell face stays smooth. Add scales by layering small paper scale shapes in rows, gluing them lightly so they don’t stiffen the squish. Seal the shells together and reinforce the seam with tape along the underside where you’ll press most.
Use painter’s tape to hold scale rows in place while glue dries; it prevents sliding.
Don’t glue every scale with thick glue; heavy glue makes the tail feel stiff and less squishy.
17. Rainbow Cloud Squishy with Curved Foam Pad
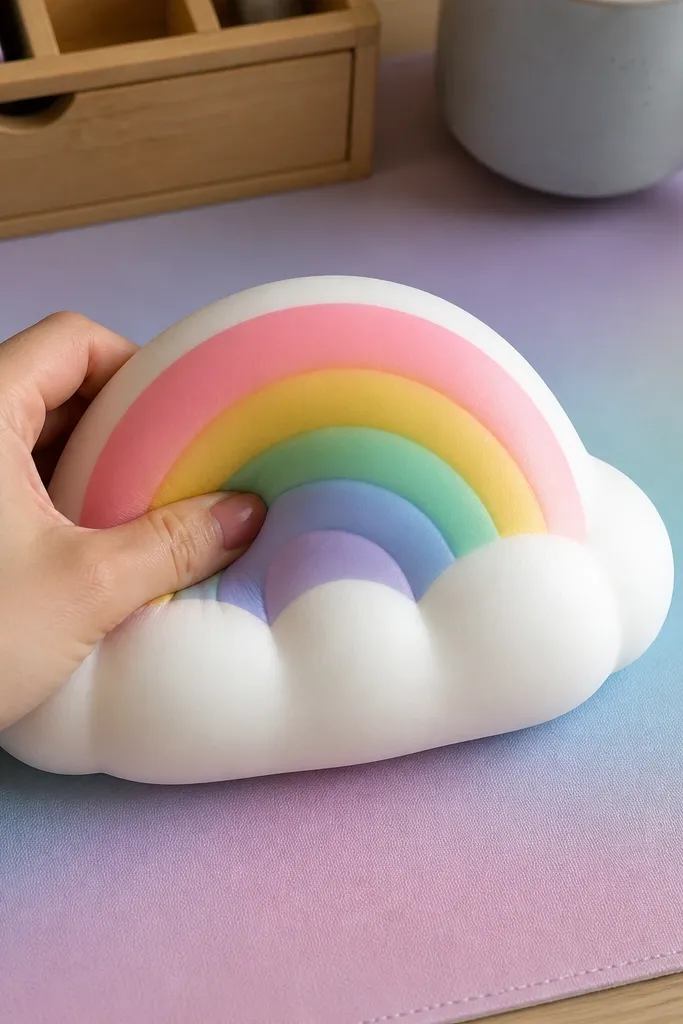
Cloud squishies are photogenic because the outline is soft and friendly. This design uses a curved foam pad so the cloud keeps its fluffy shape instead of turning flat. The rainbow layer should be smooth and centered so it looks like a neat arc when pressed. Fiberfill gives the cloud a gentle bounce, and the shell stays clean with a simple seam placement. Great for nurseries, kids rooms, and calm desk decor.
Editor's noteDraw the rainbow arc with pencil first; it keeps the arc symmetrical across the cloud lobes.
Cut two identical cloud outlines from thick cardstock. Make a curved foam pad by cutting foam into the cloud shape and sanding edges lightly with a foam file if needed. Add a thin fiber layer on top of the foam so the rainbow paper doesn’t show foam edges. Glue the shells together and apply rainbow stripes or an arc panel to the front, then tape the back seam for durability.
Skip thisAvoid thin foam; it collapses and your rainbow arc ends up looking wrinkled.
18. Waffle Cone Squishy with Crunchy Paper Texture
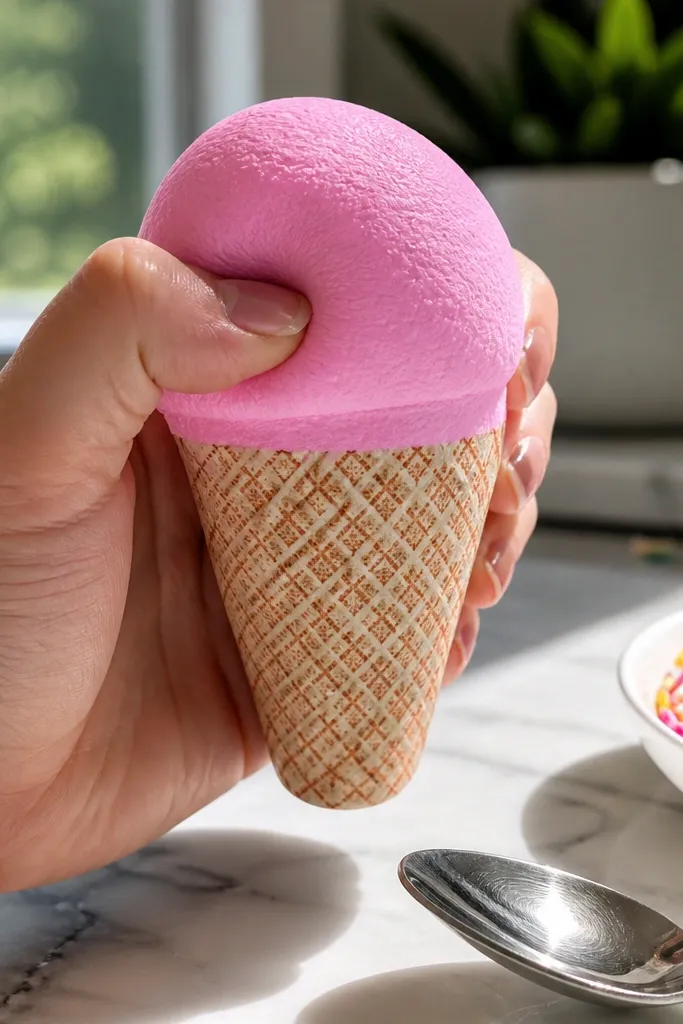
This one looks delicious because the cone has a crisscross pattern and the scoop has a rounded top that compresses. The trick for aesthetics is texture control: the cone pattern should look printed or lightly drawn, not raised lumps. Use a foam cone core for structure and fiberfill inside for softness. Add a scoop top in a contrasting color like vanilla cream or strawberry pink so the contrast reads instantly in photos. It’s a satisfying project that feels like a miniature prop.
Editor's noteUse a fine-tip marker for the grid; thick lines look messy once the cone compresses.
Cut two cone shell halves from cardstock and glue them into a cone shape around a foam cone core. For the pattern, draw or use thin marker lines in a crisscross grid on the outside before final assembly. Create a scoop top by cutting two matching circles and stuffing with a foam disk plus a light fiber layer. Glue the scoop to the cone rim, then reinforce the seam along the cone base with tape so it doesn’t split when squeezed.
Skip thisDon’t put fiber directly against the cone seam; it makes seams bulge and the pattern distorts.
19. Chubby Pencil Squishy with Eraser End
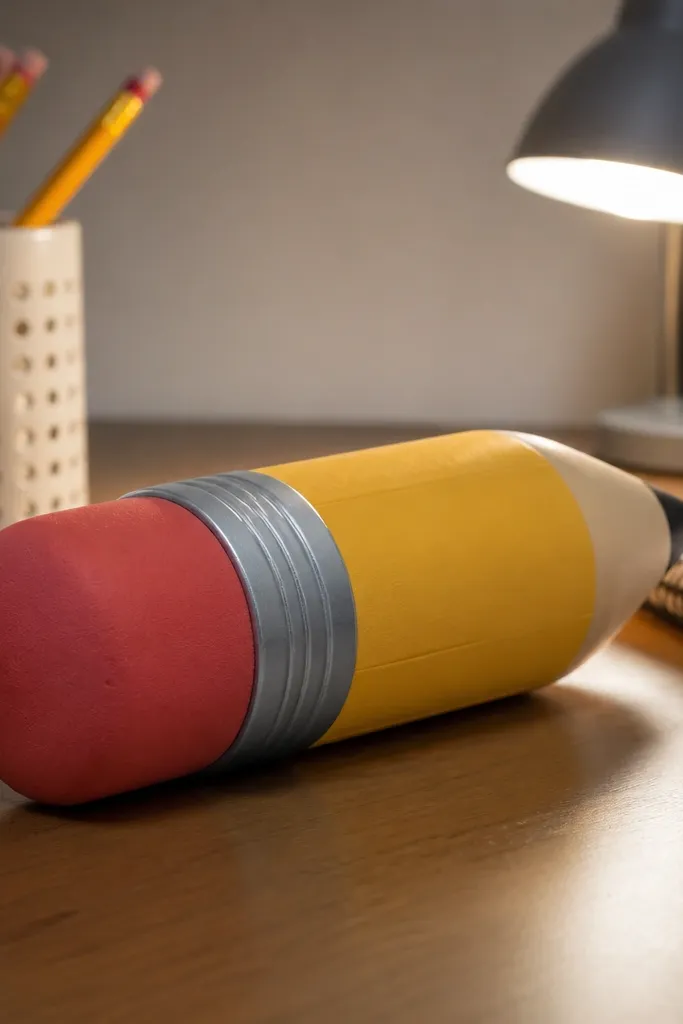
A pencil squishy is different from the usual fruit shapes, and that’s why it photographs well in a mixed set. The cylindrical look comes from a foam core wrapped in fiber, then covered with smooth paper so edges stay clean. Add a red eraser end to create a clear focal point. This project is good for desk organization vibes and for gifting to students. The squish should feel springy, not mushy, so the foam has to be present.
Cut two matching long paper shells for the pencil body from thick cardstock. Cut a foam core cylinder or rectangle that you roll into a near-cylinder shape, then place it inside one shell half. Wrap fiber lightly around the core and close the second half, sealing along the long edge. Build the eraser end as a small foam disk with a paper shell, then glue it to the pencil tip and reinforce the junction with tape.
If your shell seam shows, place it on the bottom while you assemble so it disappears in photos.
Skip loose fiber packing; it makes the pencil look uneven and the eraser end won’t sit straight.
20. Boba Tea Squishy with Bubble Beads
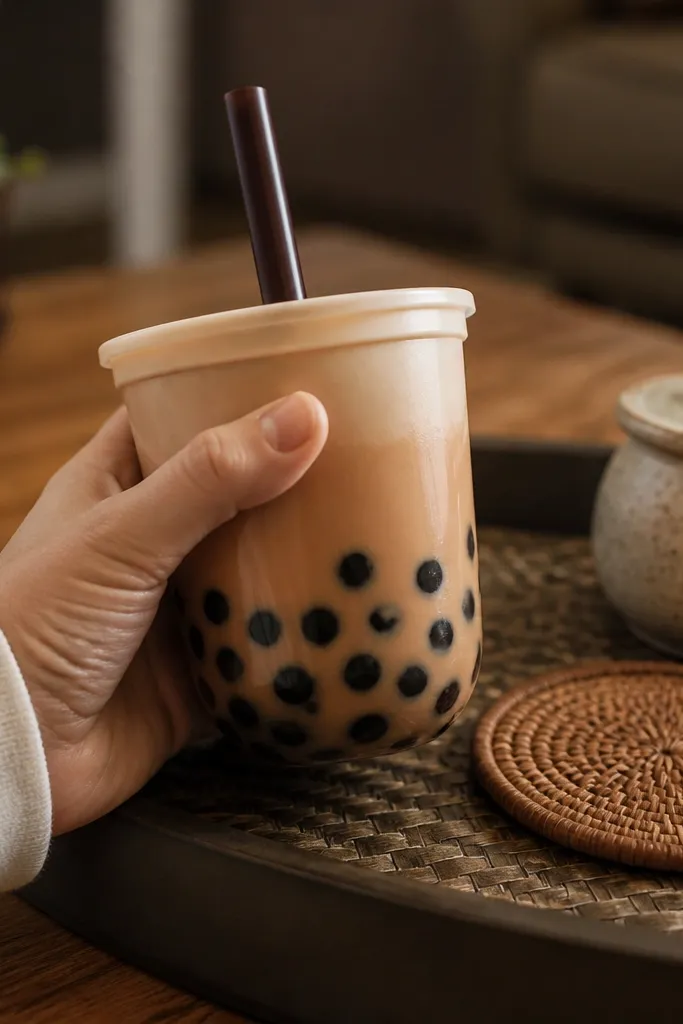
Boba tea squishies look fun because you can show “bubbles” inside the cup. This design uses a cup shell plus separated bubble beads so the tea layer feels like it moves as you squeeze. For a clean look, the cup should be smooth and the bubbles should be consistent in size. Use foam for the tea base so it holds the cup shape, then add fiber around it for softness. It’s a great option if you want something cute but not overly childish.
Cut a cup shell from cardstock with a clear front panel using acetate or vellum. Make a foam base shaped like the bottom of the cup, then add fiberfill to fill the space above it. Create bubble beads by cutting small circular foam or felt pieces and gluing them onto thin paper backing inside the cup front. Seal the cup back, then tape the top seam so the acetate/vellum edge stays flat.
Keep bubble beads slightly below the top rim so they don’t crush into the seam when you squeeze.
Don’t flood the cup with glue; it fogs the clear panel and makes the bubbles look messy.



