
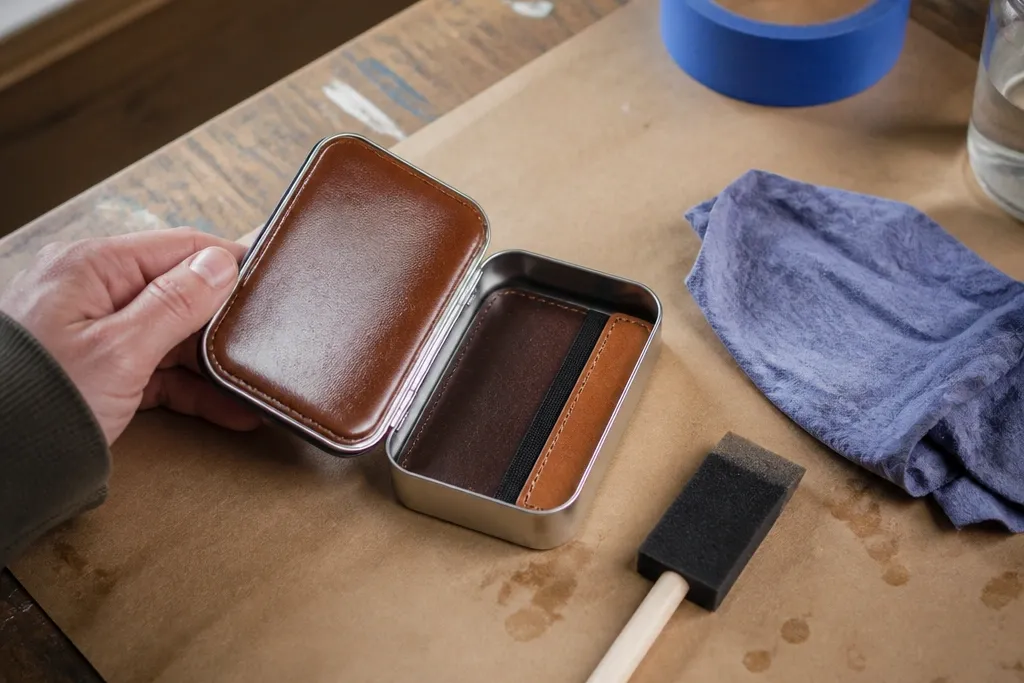
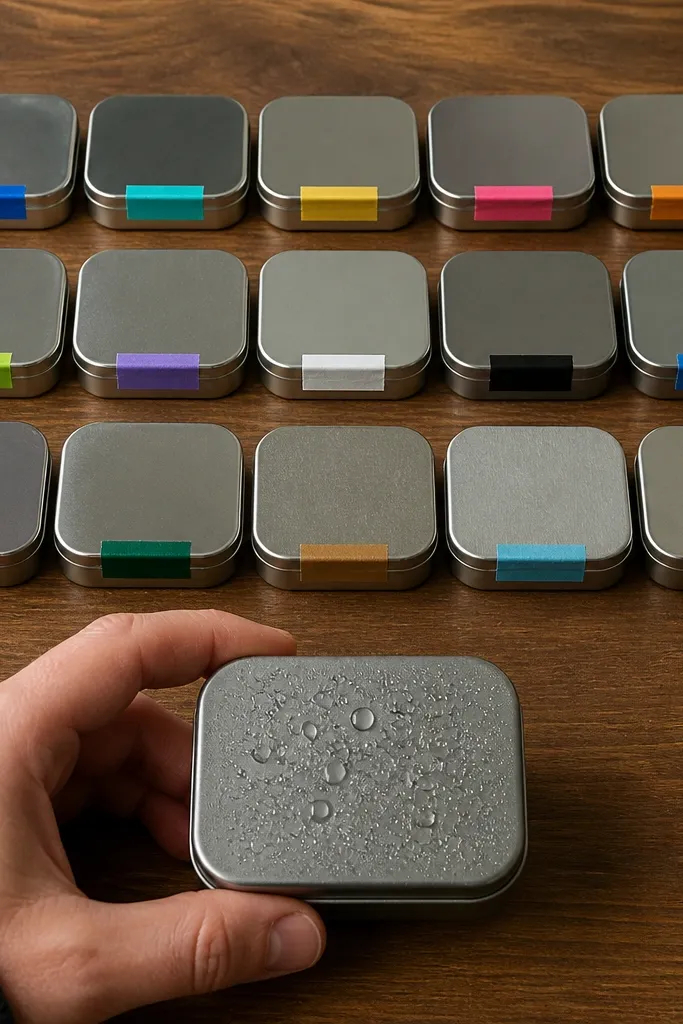
1. Water-based polyurethane brush-on (choose satin)
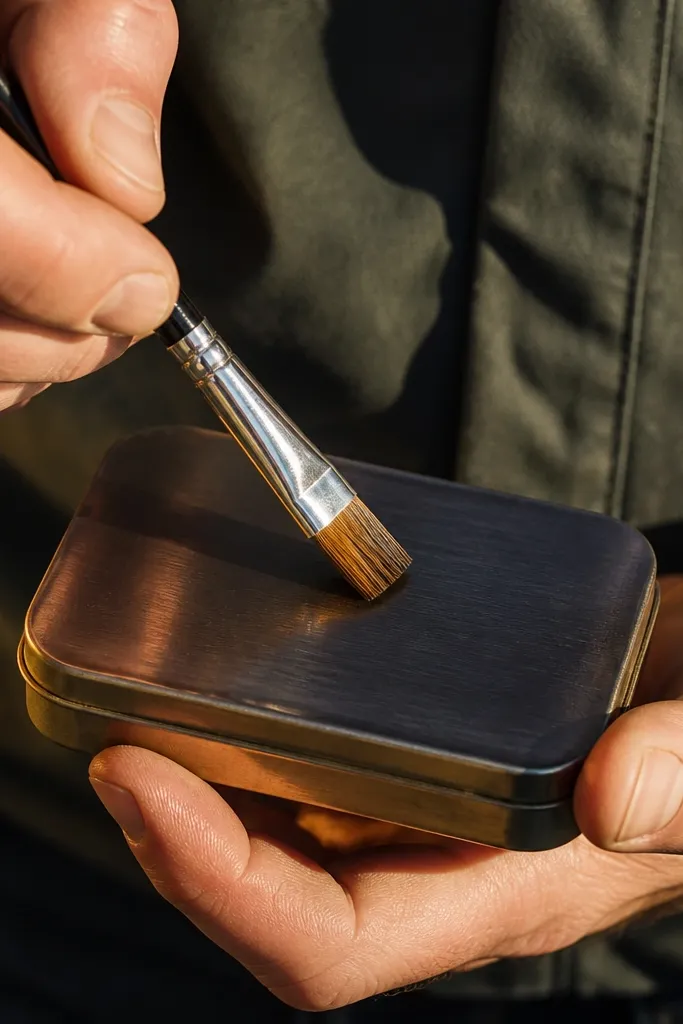
Start by scuffing the tin lid and base with 220-grit sandpaper or a gray scuff pad, then wipe with a damp cloth and dry fully. Brush on a thin coat — you want it to look slightly wet but not pooled — then let it dry until it’s no longer tacky. Add a second coat, and only add a third if you still see texture or exposed edges. Finish by letting the tin cure fully before you press it into a tight pocket or add magnets.
This is the cleanest “adult” option for beginner-friendly Altoids tin sealants because it sticks well to scuffed metal and dries into a flexible film that doesn’t shatter when the tin flexes. Satin hides micro-scratches better than gloss, and it’s forgiving if you miss a spot because you can correct with another thin coat. Use it when you want a durable, everyday finish for a wallet-sized organizer or card holder. It also plays nicely with most craft layers like paper, thin fabric, and vinyl when you prep the metal first.
Skip thisDon’t flood the hinge line — pooled sealant there makes the tin feel gritty and slows curing.
Editor's noteUse a cheap foam brush for the first coat; it leaves fewer streaks on curved tin edges.
2. Mod Podge Clear Acrylic Sealer (water-based)
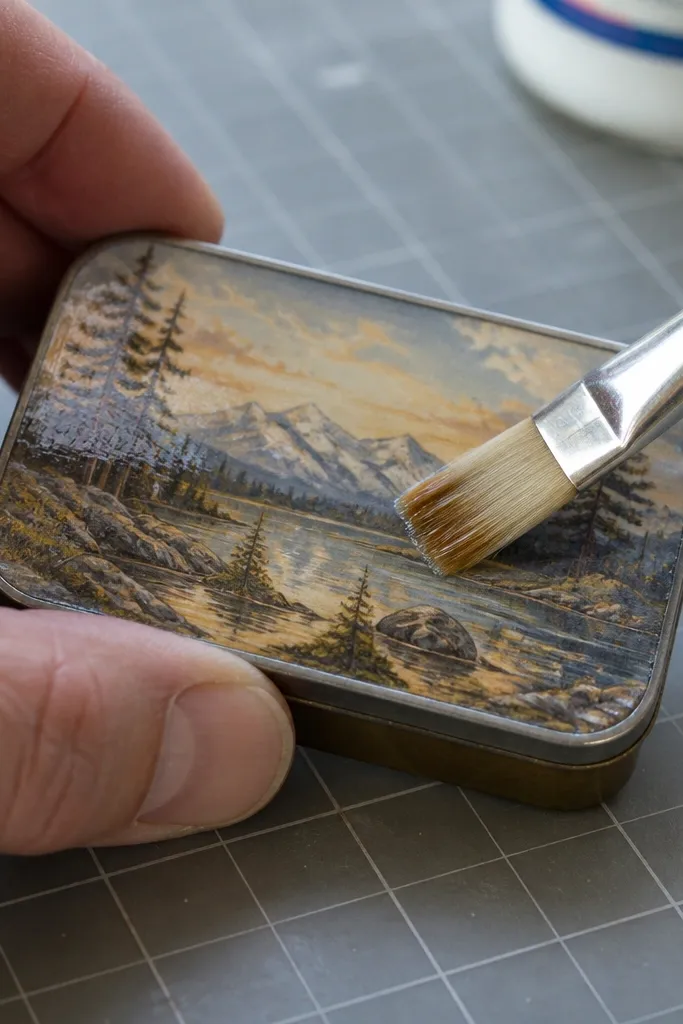
Clean the tin with soap and water, then dry it completely. Lightly scuff the metal with 220 grit, wipe off dust, and apply a thin layer with a soft brush or foam brush. Let it dry, then do a second coat across the edges and corners so you don’t get lifting later. If you see brush texture, sand lightly with 600 grit once cured, then add one more thin coat.
Mod Podge Clear Acrylic Sealer is a go-to for beginners because it’s easy to control on small surfaces and it dries clear enough for typical craft looks. It’s especially good when your top layer is paper, printed images, or a simple decal — the film seals and reduces smudging. The trade-off is durability: it’s not as tough as polyurethane, so it’s better for decorative or light-use wallets rather than daily pocket abuse. If you want an affordable sealant that still looks neat, this one is a solid starting point.
Skip thisAvoid sealing over unsealed ink — if your print smears, Mod Podge will lock the smear in.
Editor's noteThin coats prevent the milky look that happens when the film dries too thick.
3. Acrylic craft varnish (brush-on matte or satin)
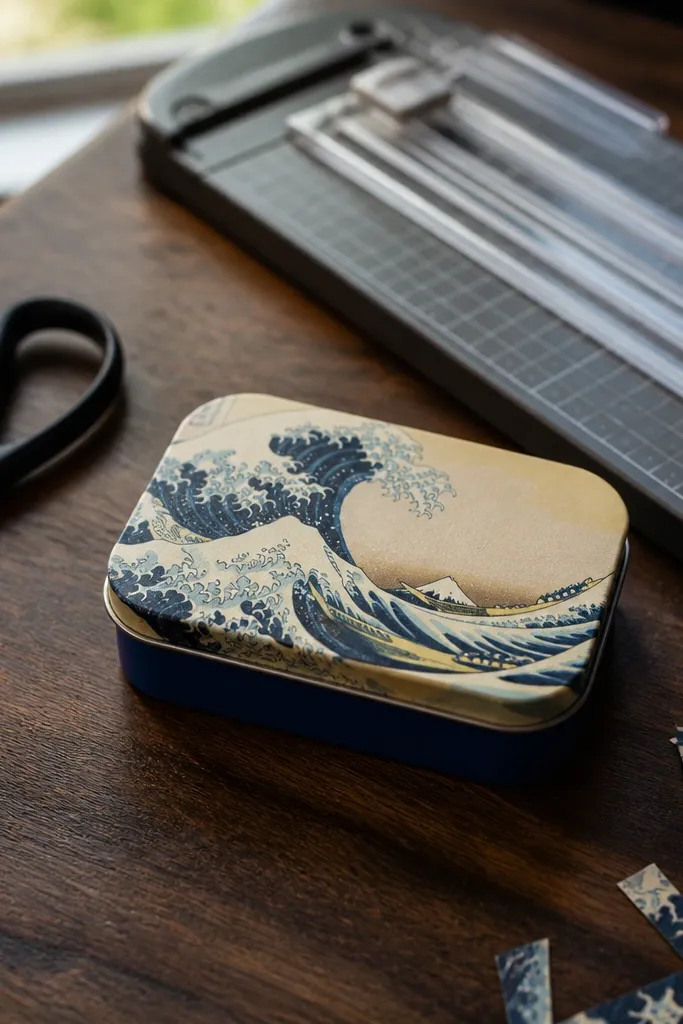
Scuff the tin with 220 grit and clean off dust. Stir the varnish (don’t shake hard), then brush on one thin coat, keeping the stroke direction consistent. Let it dry fully, then inspect under a bright light for uneven spots. Add a second thin coat, focusing on corners and the lip where fingers rub, then cure before heavy handling.
Acrylic craft varnish gives you a sharper, more “finished craft” look than many general-purpose sealers, and it’s a good match for beginners who want predictable results. Matte or satin hides unevenness and makes hand-cut paper edges look cleaner. It also resists scuffs better than glue-based sealers, which matters when your tin sits in a bag with keys. Choose this when you want a stable clear coat without the glossy “plastic” look.
Skip thisDon’t try to “fix” brush streaks while it’s still wet — you’ll drag lines into the film.
Editor's noteTurn the tin while brushing so gravity helps the coat level out on the curved rim.
4. Clear gel medium (gloss or matte, brush-on thick)
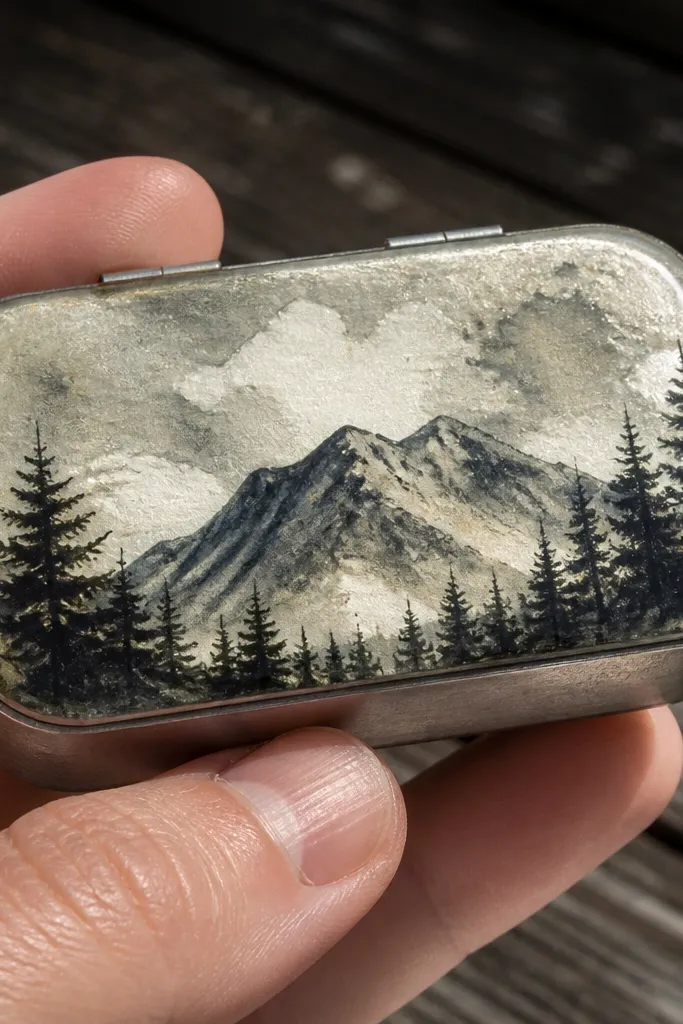
Scuff the metal and remove dust. Apply gel medium with a foam brush in thin passes — think “spread” not “paint thick.” Let the first coat set, then add a second coat only after it levels. If you get a ridge, wait until fully cured and sand gently with 600-1000 grit, then apply one final thin coat for even clarity.
Clear gel medium is a smart choice when your surface is bumpy — layered paper, stamped textures, or small dimensional stickers. It spreads smoothly and builds a protective layer without needing fancy equipment. Gloss gel medium gives a glassy look; matte gel medium makes paper look softer and hides micro imperfections. The downside is it’s thicker, so you need patience to avoid ridges, and it takes longer to cure than thin varnishes.
Skip thisAvoid applying gel medium directly over glossy stickers that aren’t scuffed — the film can peel as it cures.
Editor's noteUse a hair dryer on low for 10-20 seconds to pop surface bubbles, then stop and let it level.
5. Water-based clear spray polyurethane (even coat)
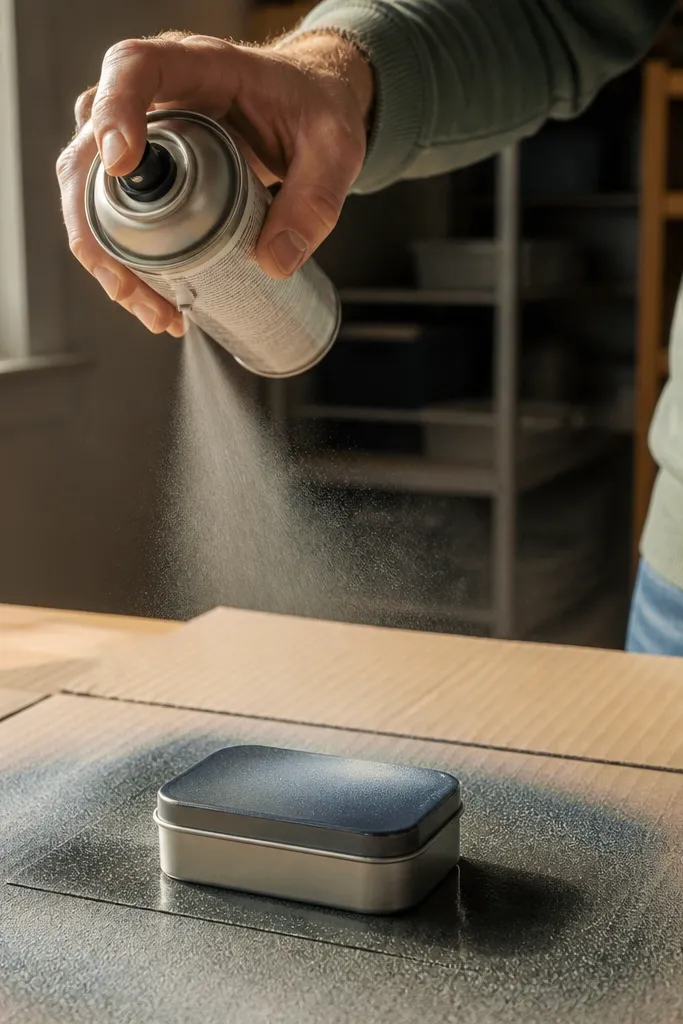
Spray polyurethane is the easiest way to get a smooth finish when you’re tired of brush strokes. Water-based versions are friendlier for beginners because they tend to dry with less odor than solvent types and they reduce the chance of wrinkling thin craft layers. This sealant is great for whole-tin coverage, especially if you’re sealing a collage and want consistent thickness across the lid and base. It’s also forgiving for edge coverage if you use light passes.
Mask the inside of the tin if you want it to stay clean, then scuff the outside metal and wipe with a damp cloth. Shake the can well, then spray 8-10 inches away using light, overlapping passes. Let it flash off between coats, then do 2-3 total coats. After the last coat, keep the tin flat while it cures so you don’t get runs on the rim.
Do a test spray on a scrap scrap piece of cardboard or scrap metal — it tells you the spray pattern before you commit.
Don’t hose it on — heavy spray creates orange-peel texture on curved tins.
6. Clear acrylic artist varnish spray (matte or gloss)
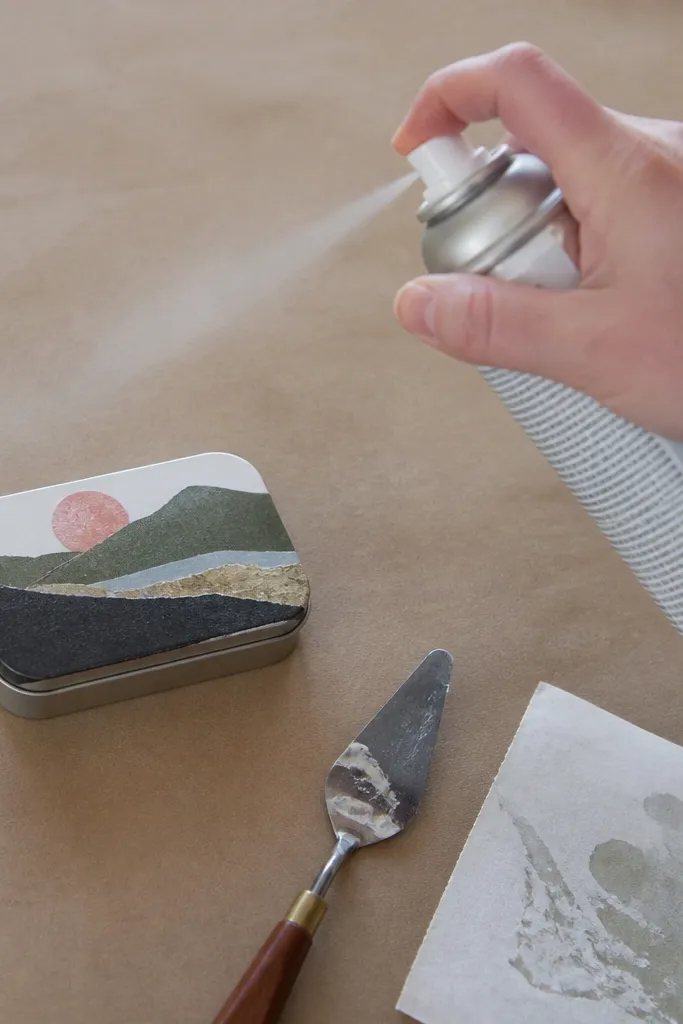
Clean and scuff the tin, then wipe dust off. Spray in short bursts from about 10-12 inches away, building up 2-4 thin coats. Let each coat flash before the next so the surface stays smooth. After the final coat, let it cure fully before you handle the tin a lot or place it in a pocket.
Artist varnish spray is made for small surfaces, and it’s a strong pick for beginners who want a consistent clear layer without brush skill. Matte spray reduces glare and hides tiny imperfections, which is helpful if your collage isn’t perfectly flat. It also seals paper so fingers don’t smudge ink as easily. The main trade-off is that sprays are less forgiving if you spray too close — you’ll get drips or a rough texture.
Skip thisAvoid spraying directly over wet glue or uncured Mod Podge — the varnish can trap moisture and turn cloudy.
Editor's noteHold the can at a consistent angle to keep the rim from getting thicker than the flat area.
7. Clear shoe goo (flexible seal for fabric and seams)
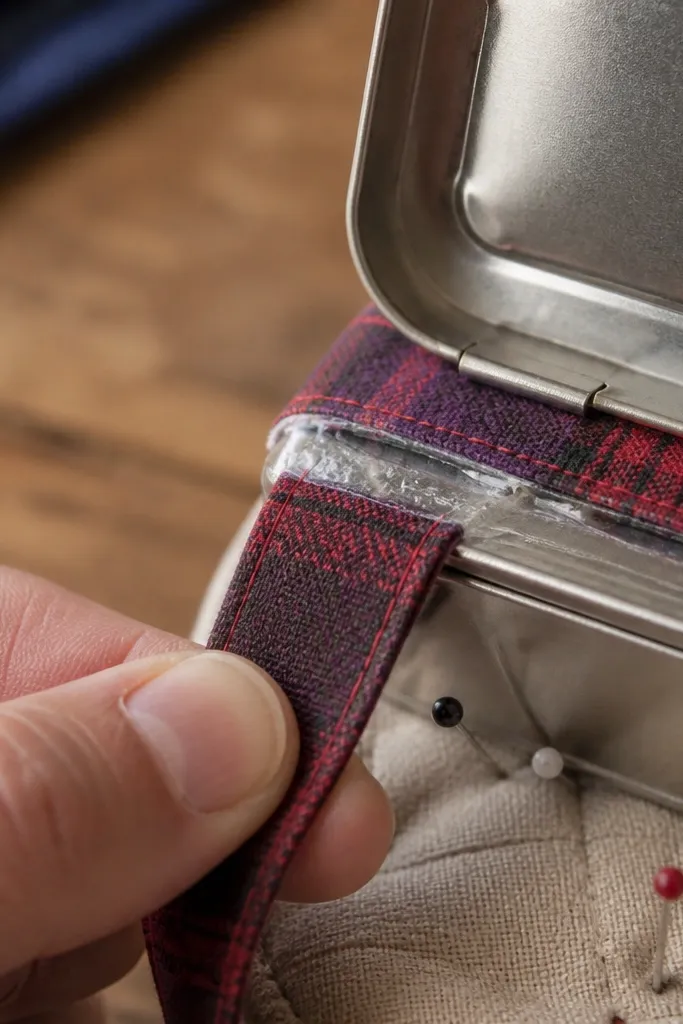
If your Altoids tin has fabric, ribbon, or anything that moves, a flexible sealant saves you from cracking. Clear shoe goo stays rubbery after cure, so it handles bending at the hinge and doesn’t fracture at corners the way brittle varnishes do. It’s also a useful patch tool when you need to seal a lifted edge without redoing the whole project. The finish is slightly glossy and you’ll see it more on top surfaces, so I treat it like a functional seal — great for edges and seams, not always for the “perfect glass” look.
Scuff metal and clean off lint so it grips. Apply a thin bead where fabric meets metal, then spread it with a craft stick or old credit card edge. Let it cure according to the product instructions until it’s fully set, then add a second thin coat only if needed for coverage. Keep the hinge area light so the tin still opens smoothly.
Use painter’s tape as a dam along the rim so the goo stays where you want it.
Don’t apply a thick blob — thick shoe goo stays tacky longer and looks uneven.
8. Clear contact cement + top coat (bond then seal)
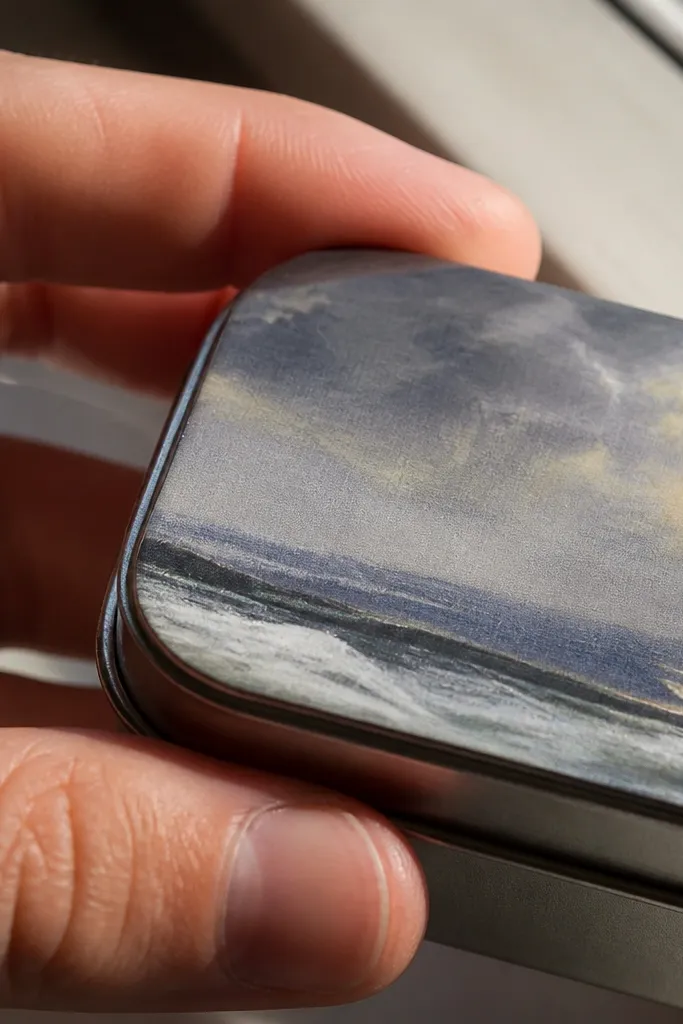
This is a two-step approach that works when your top layer refuses to stick cleanly to metal. Contact cement makes the bond first, then a clear top coat seals everything so it wipes clean. It’s a strong choice for vinyl, laminated paper, or thin decorative sheets that lift if you only use a single sealant. The trade-off is that you need careful placement because contact cement grabs fast.
Scuff the tin, then apply a thin, even layer of contact cement to the metal and the back of your top layer. Let both sides dry until tacky, then press and align — once it touches, it usually won’t reposition. After the bond sets, seal over the surface with water-based polyurethane or acrylic varnish in 2 thin coats. Cure fully before you use the tin.
Mark alignment with a pencil grid on scrap paper so you can place the top layer in one motion.
Avoid thick glue coverage — it creates bumps that the clear coat can’t hide.
9. Two-part epoxy resin (small domed finish)
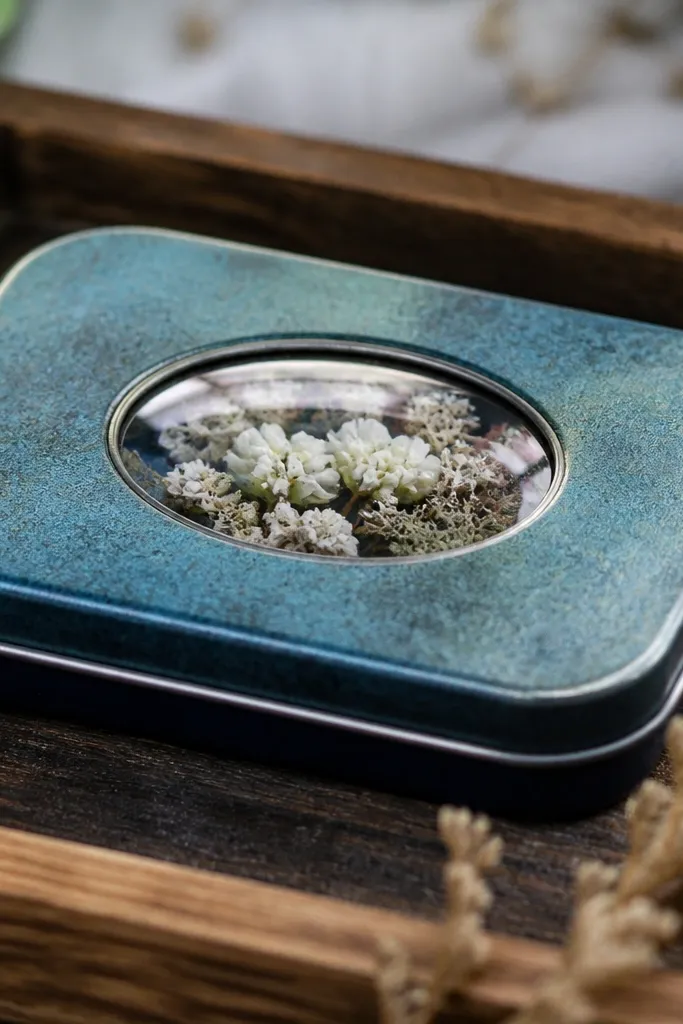
Scuff the metal and seal the surface first with a thin acrylic varnish if you’re working over paper, so bubbles have less to escape. Mix epoxy exactly by weight if the kit provides a scale; if it only provides volume cups, measure slowly and scrape sides. Pour a small amount into a shallow area and pop bubbles with a toothpick; don’t overwork it. After full cure, sand any high spots with 600-800 grit and apply a thin top coat if you want extra evenness.
Epoxy resin gives the most “glass” finish and the best protection against water and abrasion when you do it right. It also seals edges tightly and resists wear from repeated finger contact. The reason I still include it in a beginner-friendly list is that you can keep it beginner by limiting the pour to a small window, not coating the whole tin. The downside is mixing accuracy, longer cure times, and the risk of yellowing if you use the wrong resin for small craft work.
Skip thisDon’t skip precise mixing — wrong ratio creates sticky, cloudy resin that never fully cures.
Editor's noteWarm your resin bottles in your hands for a minute before mixing — it reduces viscosity and bubbles.



