

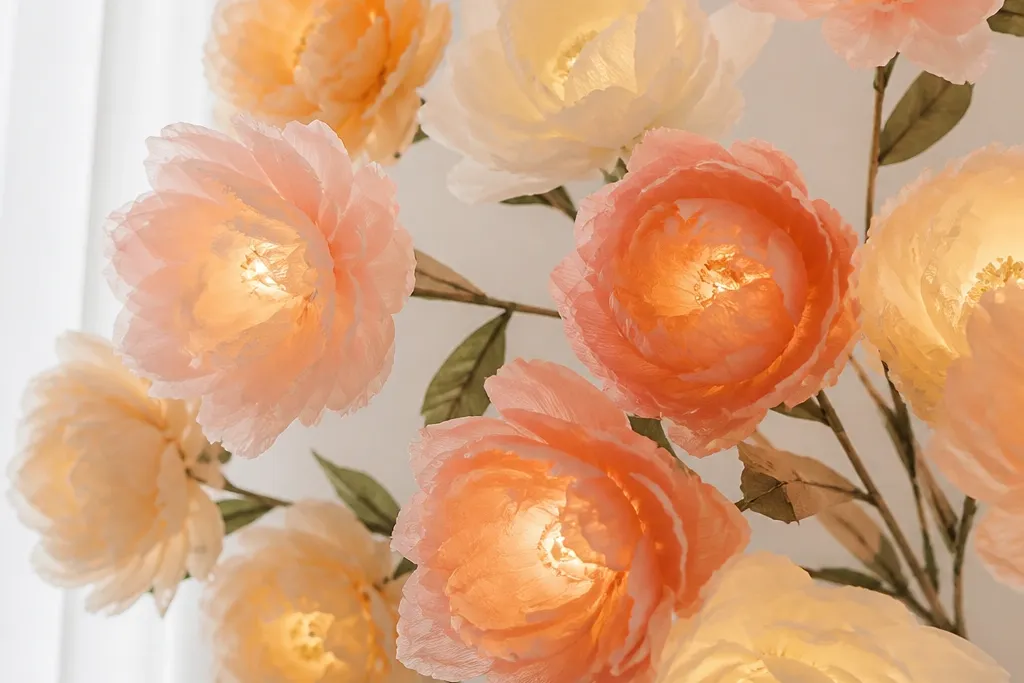
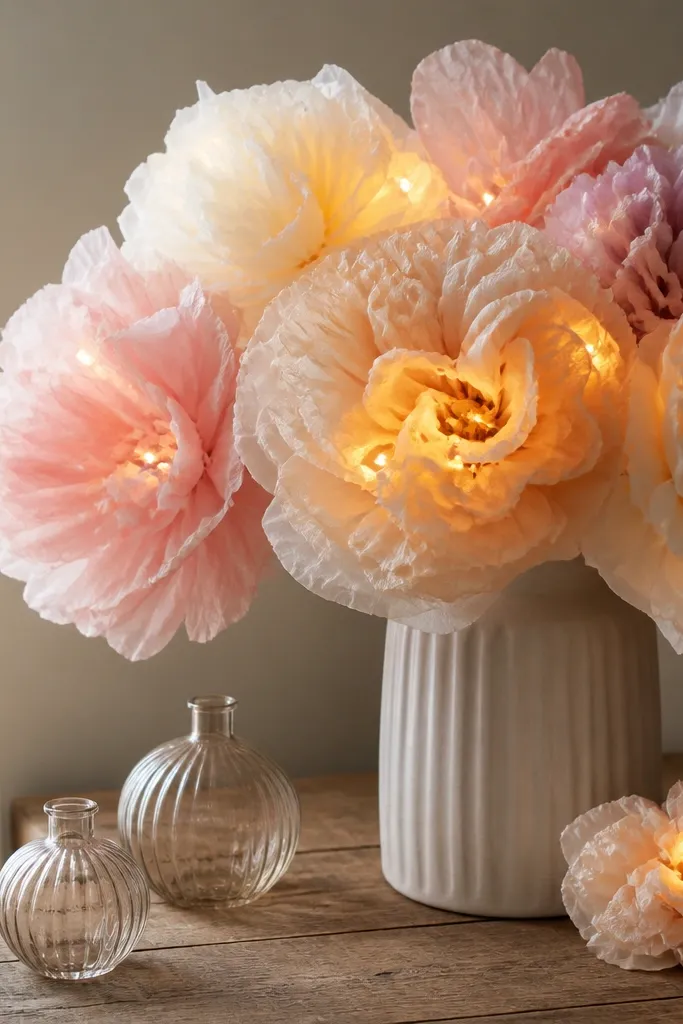
1. 6-Inch Peach Rose Confetti Glow
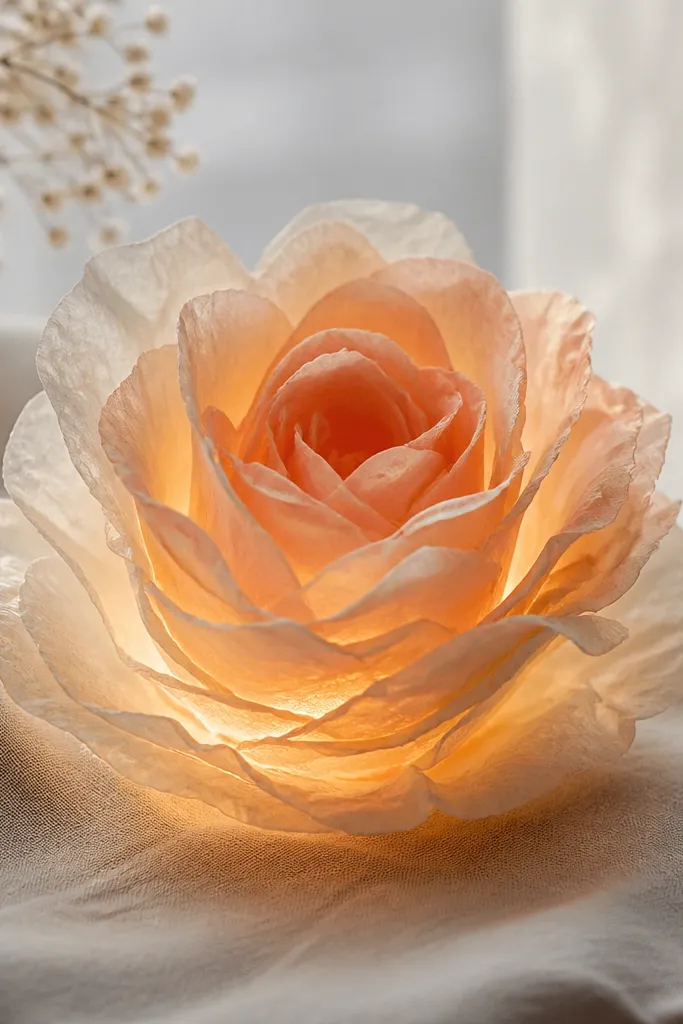
This one is my go-to when you want a “real flower” look without making a huge piece. I build it in peach tissue with a cream inner ring, so the center reads brighter while the outer petals stay gentle. Warm white LEDs make the peach look like it has a golden undertone, not a pink spotlight. It looks best on light skin tones and in photos with warm backgrounds because the glow doesn’t fight the color. Keep the petals slightly thicker at the edges by curling them — it makes the light look diffused, not harsh.
Editor's noteIf the glow looks too pointy, add one extra ring of thin cream petals — it spreads the light without making the rose bigger.
Start by cutting 18 to 24 petal squares from peach tissue (about 3x3 inches each) and 6 smaller squares from cream tissue (about 2x2 inches). Curl each square by pinching the center and gently rolling the edges between your fingers, then glue in a spiral on a 4-inch foam circle. Tuck a short strand of warm white micro LEDs behind the inner cream ring, then glue the cream petals so they cover the brightest spots. Finally, add 2 to 3 peach “outer” petals last, spaced slightly wider than the inner ones, and tape the battery pack to the underside of the foam base.
Skip thisDon’t glue the LEDs directly onto tissue — the heat and the glue ridge can create a visible bump.
2. Mini White Daisy With Yellow LED Core
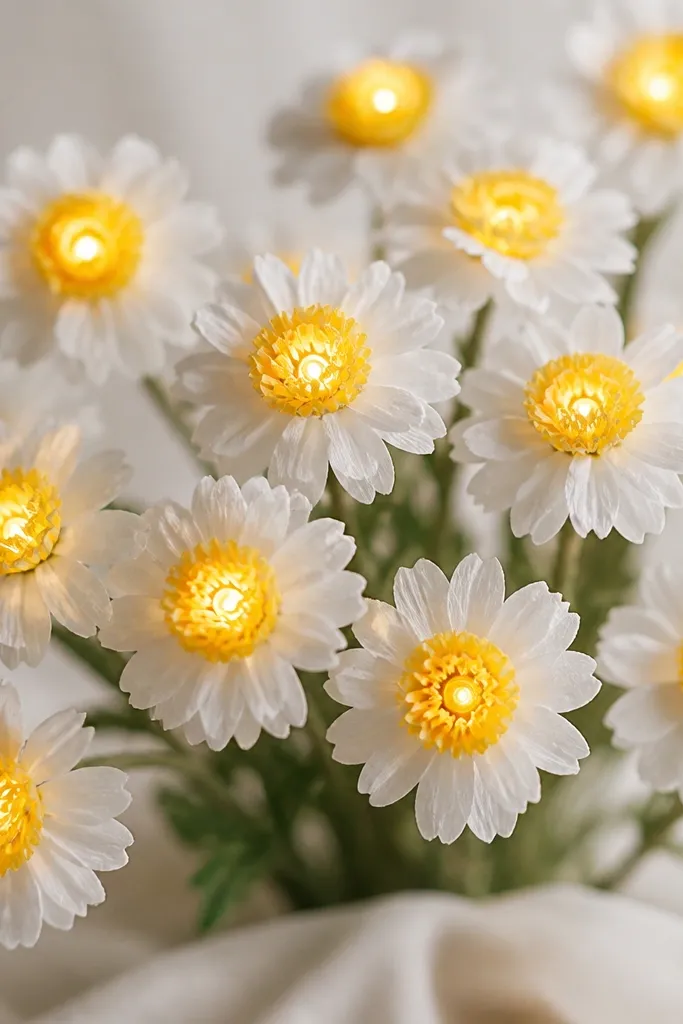
Daisies look clean and cheerful with lights because the petals act like little reflectors. I use bright white tissue for the petals and a tight yellow center so the LED glow turns into a warm “seed” effect. This flower looks great for birthdays and spring decor because it reads crisp, not romantic or heavy. It also flatters darker rooms — the white petals pop under warm lighting and don’t gray out. Curl the petal tips a little more than you think, since that edge catches the light and makes each petal look separate.
Editor's noteUse a yellow-tinted tissue circle over the LED even if your LEDs are warm white — it makes the center look more like real daisy coloration.
Cut 24 to 30 white tissue strips, each about 1x4 inches, then snip a fringe at one end so each strip looks like a daisy petal. Curl the fringed tip around a pencil, then glue the strips around a 2-inch cardstock circle. Cut a small yellow tissue circle, poke a hole in the center, and slide the LED through so it sits behind the yellow layer. Glue the yellow circle over the top of the LED so the light is hidden until it shines through the tissue.
Skip thisSkip flat, uncurled petals — under lights they look like paper circles instead of flower petals.
3. Purple Hydrangea Bunch Light-Cloud
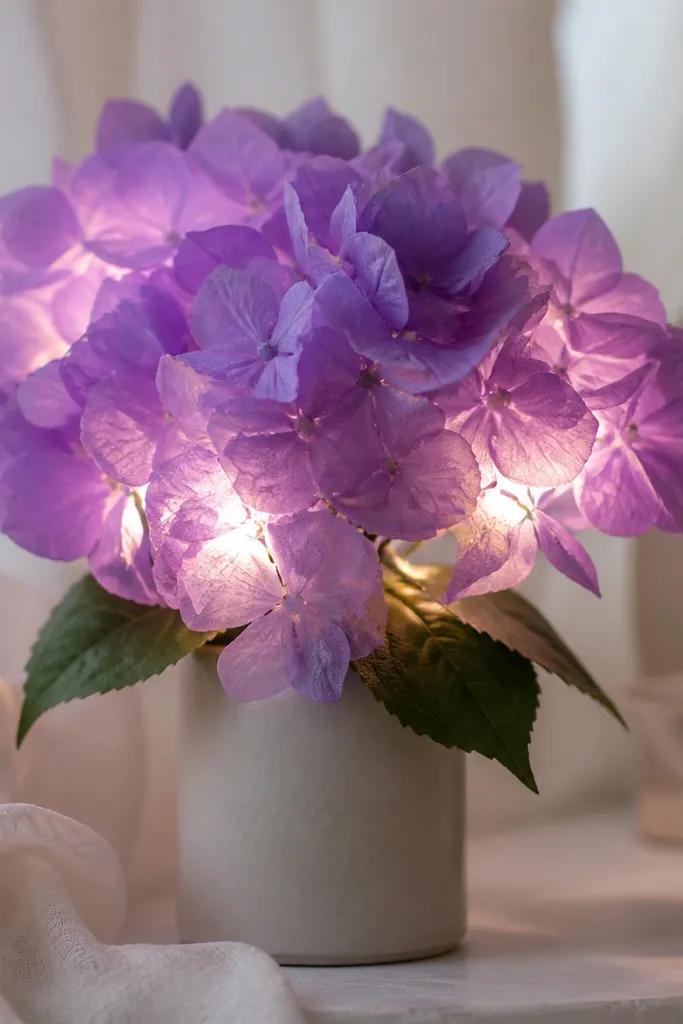
Hydrangea looks extra dreamy with lights because its shape is naturally layered and airy. I mix two purples — a lavender tissue and a deeper plum — so the glow has dimension instead of turning into one flat color. Warm white LEDs give a “cloud” effect when they’re tucked near the center mass. This style works well for weddings, but it also looks good in a child’s room because it’s gentle and not too sharp. Keep the petal clusters slightly uneven — hydrangeas never look perfectly uniform.
Editor's noteIf you want more sparkle, add a few tiny “micro” LED points in the center clusters instead of only one LED bundle.
Make 6 to 10 mini petal clusters by cutting small squares (about 2.5x2.5 inches) from lavender and plum tissue. For each cluster, pinch the center of 3 squares together and glue them onto a 3-inch foam base in a rough sphere. Insert a warm white LED cluster under the foam base so the light hits the center from below. Cover the foam top with one last layer of tiny lavender petals, then wrap the bottom with floral tape to hide the battery pack.
Skip thisDon’t glue every cluster in a perfect ring — it looks like a craft pom-pom under the lights.
4. Rose-Gold Starburst Paper Flower With Lights
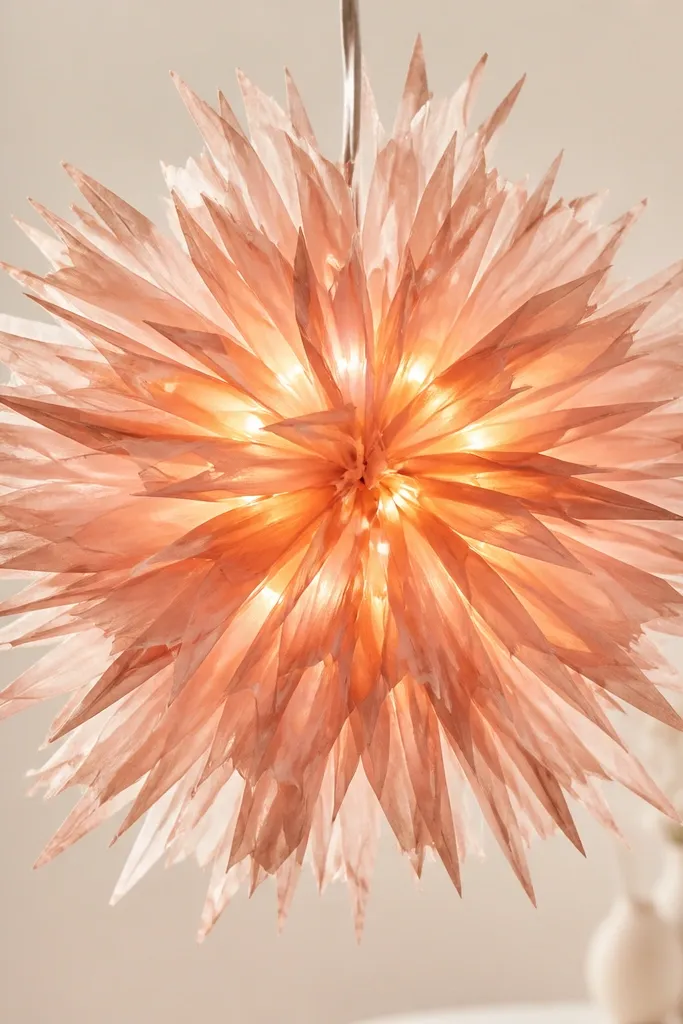
Starburst flowers are the easiest way to get a strong glow because the petals are long and radiate outward. I use rose-gold tissue (or metallic-looking craft tissue) for a warm, party-friendly look. The light makes the strips look like they’re glowing along their edges, which reads instantly in photos. This one suits people who like modern decor because the shape is graphic, not delicate. Keep the strip ends slightly curled to avoid a flat, shiny glare.
Editor's noteIf the strips are too see-through, double up by gluing two strips end-to-end before curling.
Cut 16 to 24 tissue strips about 1x6 inches. Curl each strip by rolling it lengthwise so it becomes a gentle tube, then glue them onto a 3-inch circle starting at the center and spiraling out. Place warm white LEDs behind the center circle so they light from within the spiral. Add a small inner “cap” made from crumpled rose-gold tissue to hide the LED hotspot, then finish with a few extra strips on top to create a layered burst.
Skip thisAvoid silver LEDs with rose-gold tissue — the combo can look cold and washed out.
5. Coral Paper Peony With Warm LED Halo
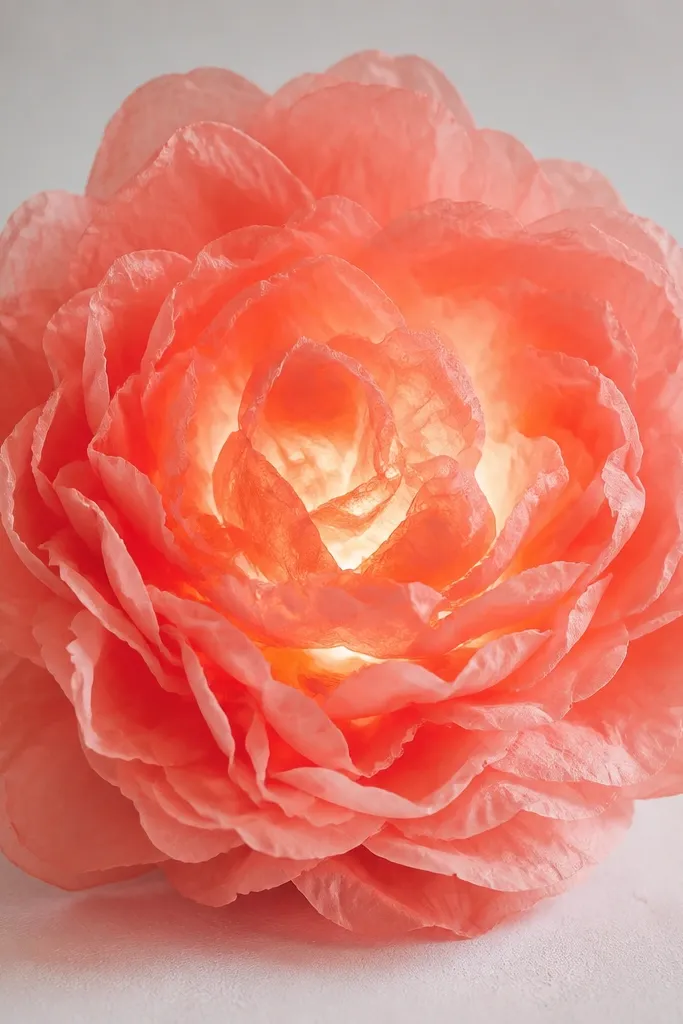
Peonies look full and romantic, and lights make them look like they’re lit from within. I build a coral peony with a slightly deeper coral center, then add a warm LED halo so the center glows without lighting up the whole room. This flatters warm-toned outfits and works great for Valentine’s Day photos. The key is petal spacing: too tight and it looks like a ball, too wide and the center disappears. Curl the petal edges outward so the glow spreads across the surface.
Editor's noteUse hot glue only on the foam edges, not on the tissue — it can warp and leave dark spots.
Cut 10 to 14 large petal circles from coral tissue using a plate as a guide (about 4 inches wide), then trim into scalloped petals. Stack and pinch each petal at the center, then glue them in overlapping layers on a 5-inch foam disc. Add a deeper coral ring of smaller petals (about 3 inches) around the center, leaving a small gap where the LED will sit. Tuck a warm white LED string behind that gap, then cover the hotspot with an extra thin layer of coral tissue petals.
Skip thisDon’t skip the smaller inner ring — without it, the LED shows as a bright dot.
6. Tiny Pink Pom-Pom Flowers With Micro Fairy Lights
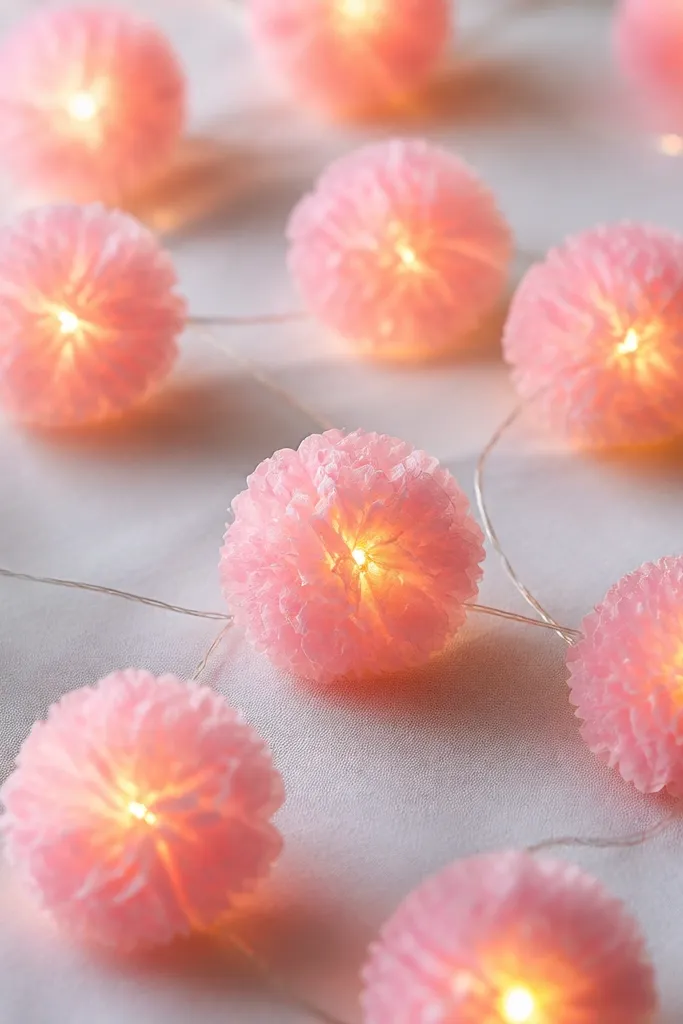
If you want something you can scatter like confetti, tiny pom-pom flowers are the move. I use light pink tissue and a tight inner layer so the LED glow stays concentrated and doesn’t flood outward. Warm micro fairy lights look magical here because the center glows like a little lantern. This is perfect for party backdrops and table clusters where you want sparkle without big, heavy decor. The petals should look fluffy, not flat, so the glow breaks up into soft highlights.
Editor's noteMake a batch of 10 at once and test one with your exact LED batteries before you glue everything permanently.
Cut tissue squares around 2x2 inches, then fold each square into a fan and pinch the middle. Glue 20 to 30 pinched pieces onto a 1.75-inch foam circle, then repeat with a second layer slightly offset. Insert a single micro LED into the center from behind and glue a small circle of tissue over it to hide the bulb. Add a final ring of fluff pieces on top so the center glow spreads evenly.
Skip thisAvoid using thick craft foam that’s too tall — the LED base can push the petals up and make them look uneven.
7. Teal and White Paper Lotus With Floating Light
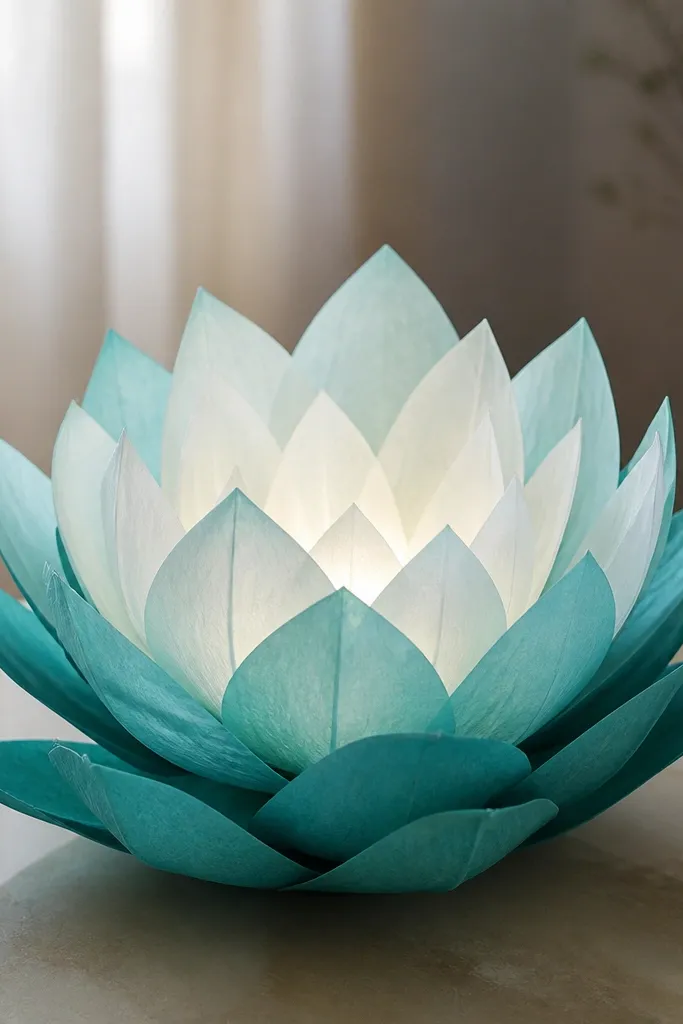
Lotus shapes look calm and modern, and lights make them feel like they’re glowing from the inside. I use teal tissue for the outer pointed petals and white for inner layers, so the glow looks layered instead of flat. Warm white LEDs are best because teal can go icy under cool LEDs. This shape looks great on neutral backdrops and works for spa-themed decor. The petal tips need a slight curl downward — it helps hide the LED and creates that “floating” effect.
Editor's noteIf teal looks too dark under lights, add one layer of pale aqua tissue between teal and white.
Cut 12 outer petals from teal tissue as teardrops about 4 inches long, then pinch the base and curl the tip downward. Glue them around a 4-inch circle, then add 8 white inner petals about 3 inches long with a tighter pinch. Place warm white LEDs under the center, then cover with a thin white tissue circle so the light diffuses. Finish by adding 3 to 4 small inner “lantern” petals that overlap, hiding any bright spot.
Skip thisDon’t make the petals too wide at the base — it traps light and turns the center into a dim blob.
8. Buttercream Mini Gardenia With Hidden Battery Pack
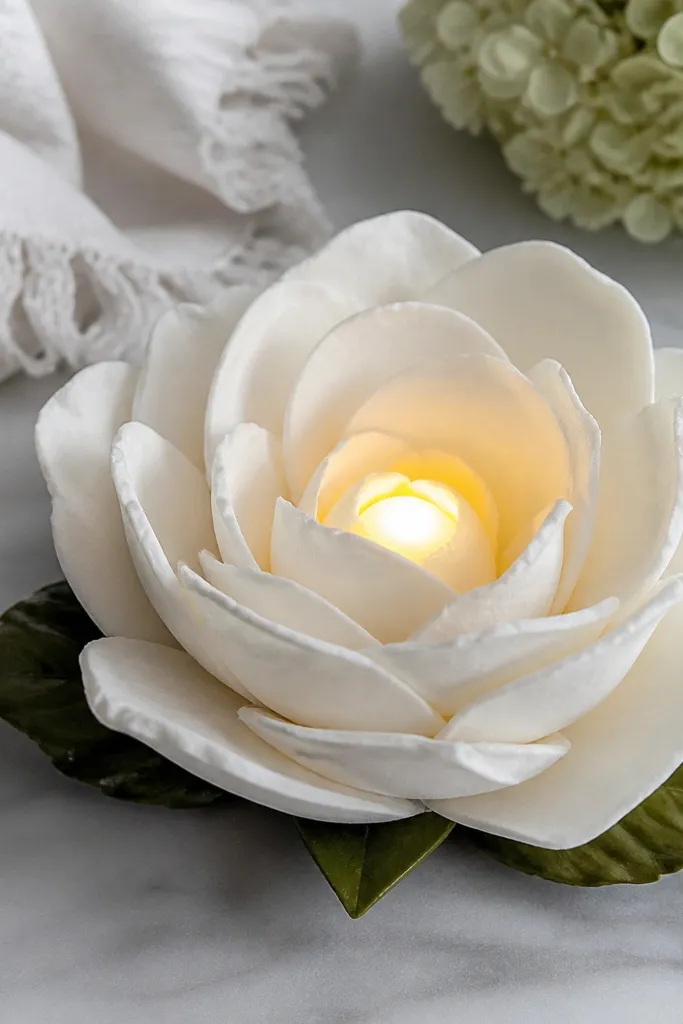
Gardenia looks delicate but still reads well with lights because the petals overlap tightly. I use buttercream tissue and a single warm LED cluster so the center glows like a soft lamp. This flower is flattering for neutral color schemes and it works for bridal shower decor without looking childish. The overlap matters: if the petals don’t overlap, the LED shows through gaps and makes it look like a craft light. Curl the petal edges slightly so the light bounces across the surface.
Editor's noteUse a thin foam circle under the petals so the battery pack sits flat and the flower stays centered.
Cut 20 to 26 petal pieces from buttercream tissue, each about 2.5x3.5 inches, then round the corners. Glue petals in layers on a 3.5-inch foam circle, starting with the widest pieces on the outer ring. Insert a warm white LED cluster behind the center and glue the inner petals over the bulb area. Tape the battery pack to the underside of the foam and cover it with an extra circle of cardstock so it doesn’t show when the flower is upright.
Skip thisSkip thick glue blobs — they create shiny lumps that show up in photos.
9. Rainbow Tissue Ombre Flower With Warm White String
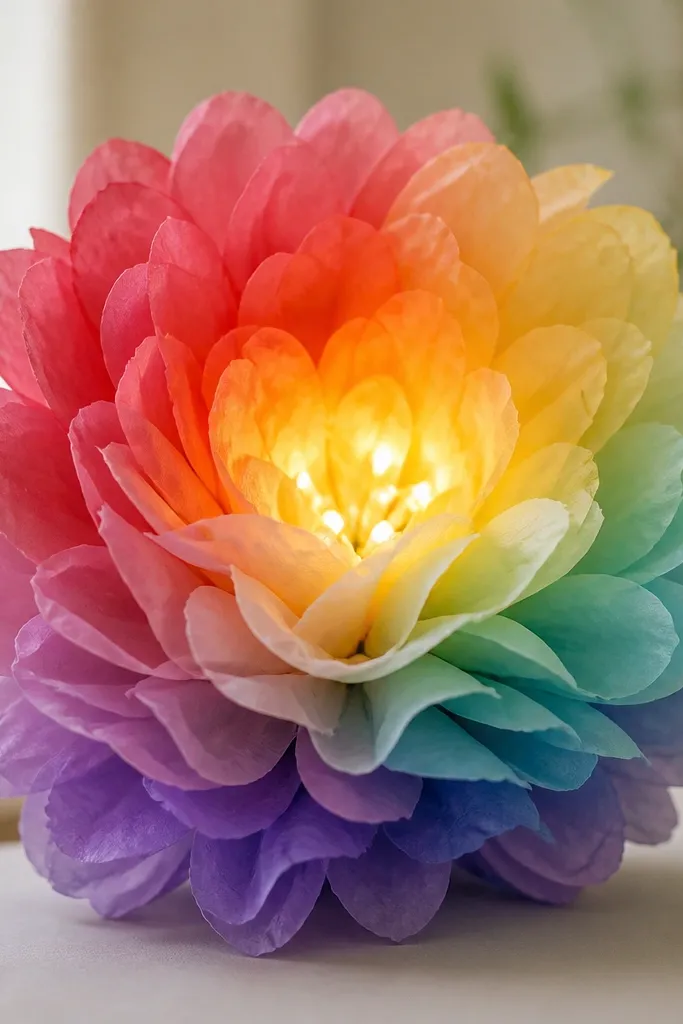
Ombre looks incredible under lights because the glow spreads across the color gradient. I made this with five tissue colors — red, orange, yellow, teal, and purple — and it reads like a soft rainbow even from a distance. Warm white lights keep the colors from getting neon-cold. This style is a crowd-pleaser for kids parties and pride events when you want something handmade that still looks polished. The secret is keeping each color layer the same petal shape so the gradient flows smoothly.
Editor's noteIf one color looks too strong under lights, swap its ring order — move it one layer inward so the glow softens it.
Cut 5 sets of petals using the same template: each set makes about 10 petals, sized around 2x4 inches. Start by gluing the red petals on a 4-inch circle, then layer orange over them, then yellow, teal, and purple, each ring slightly smaller than the last. Place warm white LEDs behind the center so the glow hits all layers, not just the top. Cover the LED hotspot with a thin tissue disc made from the last purple layer so the brightest point is hidden.
Skip thisDon’t mix different petal shapes across colors — the gradient turns patchy under the lights.
10. Black Cherry Flower With Raspberry LED Glow
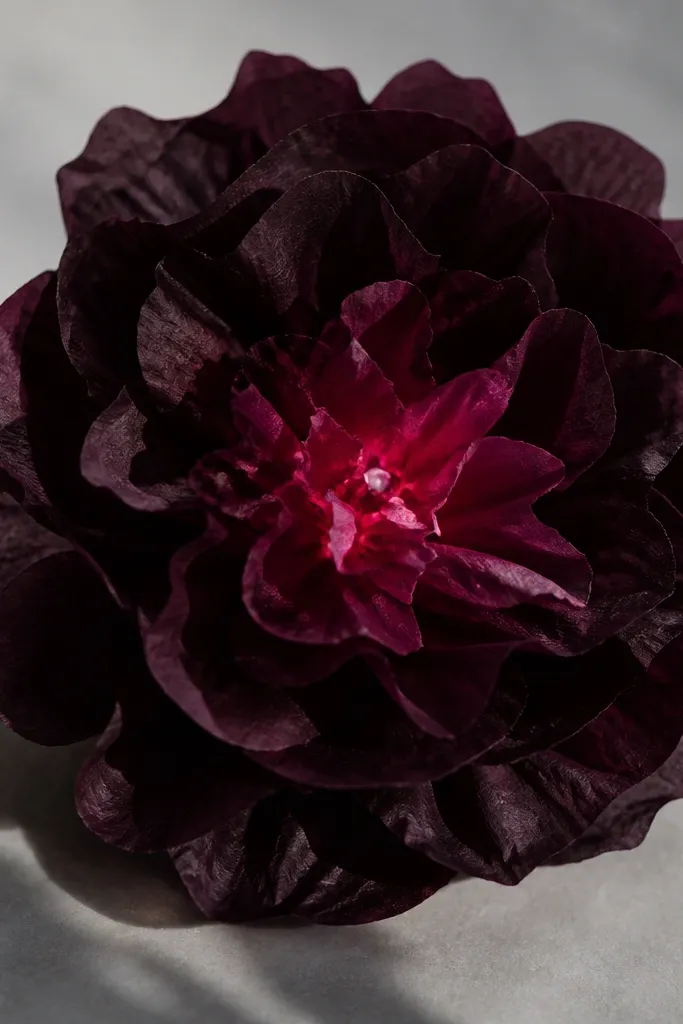
Dark flowers look dramatic with lights when you control where the brightness shows. I use black-cherry tissue for the petals and hide a raspberry-pink LED in the center. The result is a jewel-like glow that feels grown-up, not Halloween-crazy. This is the one I hang behind a dessert table when the room lighting is dim. Curling the petal edges is important here because dark tissue absorbs light, so you need the edges to catch and reflect.
Cut 18 petals from black-cherry tissue as teardrops about 3.5 inches long. Glue them on a 4-inch circle in two rings, with the inner ring slightly taller. Insert a raspberry LED behind the center and cover it with a small disc of black-cherry tissue, then add 4 extra “edge” petals on top to create a rim. Finish by wrapping the underside with black cardstock so any battery pack doesn’t show through at night.
Use warm white LEDs only if you can’t find raspberry LEDs; otherwise the center glow looks dull with dark petals.
Avoid leaving the LED exposed — it turns into a bright red dot against dark tissue.
11. White and Sage Peony With Cool-White Edge Sparkle
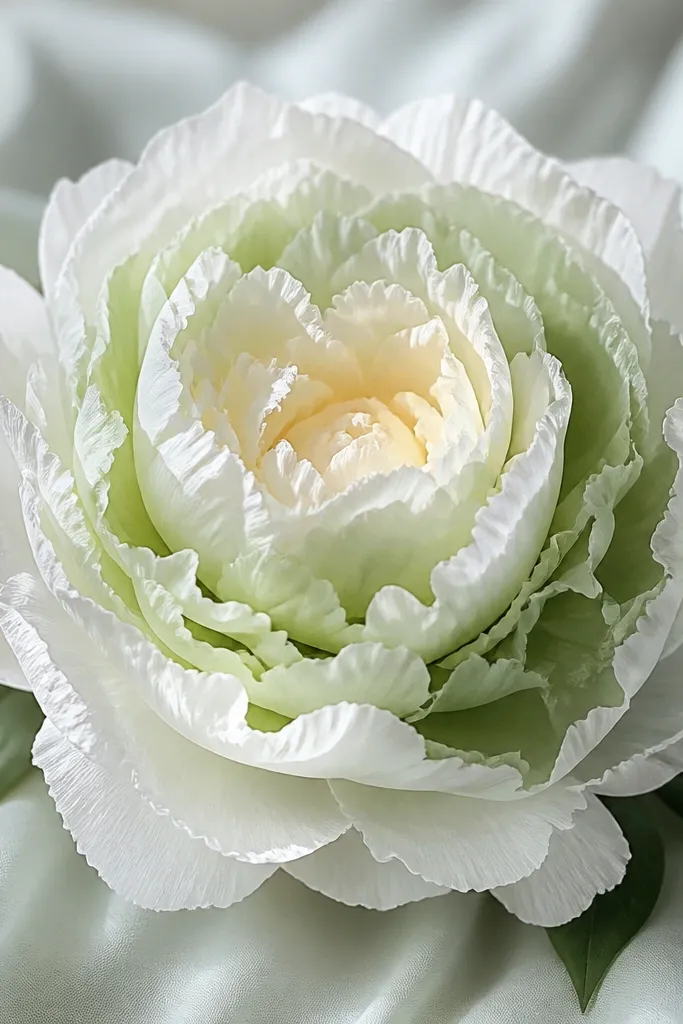
This is for when you want a clean, airy look but still want the lights to show. I use white tissue with a sage green inner layer, then place cool white LEDs low in the center so the glow hugs the petals. Cool white can look harsh on peach, but with white and sage it stays crisp and fresh. This flower works for spring weddings and minimalist decor because it doesn’t look overly romantic. Make sure the petals overlap; that overlap keeps the glow soft instead of blown out.
Cut 12 large white petals (about 4 inches wide) and 8 smaller sage petals (about 3 inches wide). Curl each petal by pinching the center and bending the top edge slightly outward. Glue the white petals first on a 5-inch foam circle, overlapping like shingles. Add sage petals in a tighter inner ring, tuck cool white LEDs behind the center, and cover with two extra thin sage petals to hide the bulb.
If the flower looks too bright on camera, lower the LEDs by placing them under the foam rather than on top.
Don’t use warm white LEDs with sage if you want that crisp look — warm light shifts sage toward yellow.
12. Champagne Tissue Flower With Champagne LEDs
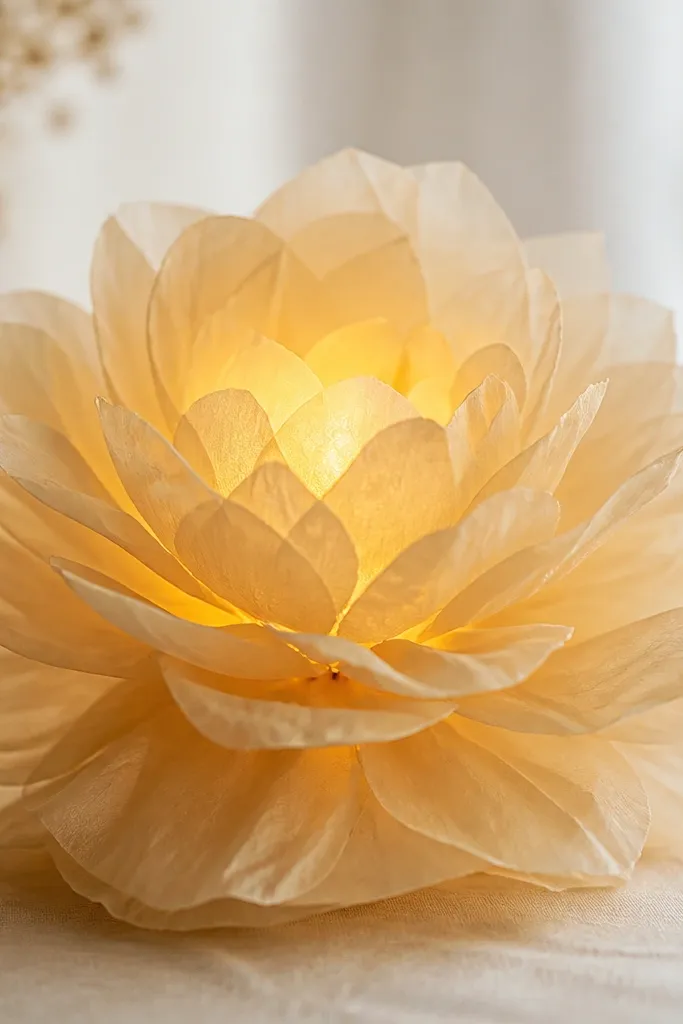
Champagne tones look expensive because they’re close to paper’s natural warmth. I use champagne tissue and warm white LEDs, then add a thin inner ring of slightly darker gold to keep the center from fading. This flower looks best against gray, cream, or black backdrops because it catches light without screaming for attention. It flatters warm undertones in skin and looks great in evening photos. Curling the petals inward slightly helps the glow gather toward the center.
Editor's noteUse a warm white LED string with a slightly slower blink setting if your LEDs have modes — steady light looks most natural.
Cut petals as scalloped ovals from champagne tissue, about 3x4.5 inches, and make 22 pieces total. Glue them on a 4.5-inch foam circle in three rings: outer ring widest, middle ring medium, inner ring tight. Add a darker gold tissue disc at the center with a small hole for the LED string. Position the LED behind that disc, then cover with a final layer of tiny champagne petals on top so the center glow looks smooth.
Skip thisAvoid metallic tissue that sheds — loose glitter fibers stick to the LED packaging and look messy.
13. Sky Blue Tissue Flower With Starry Micro LEDs
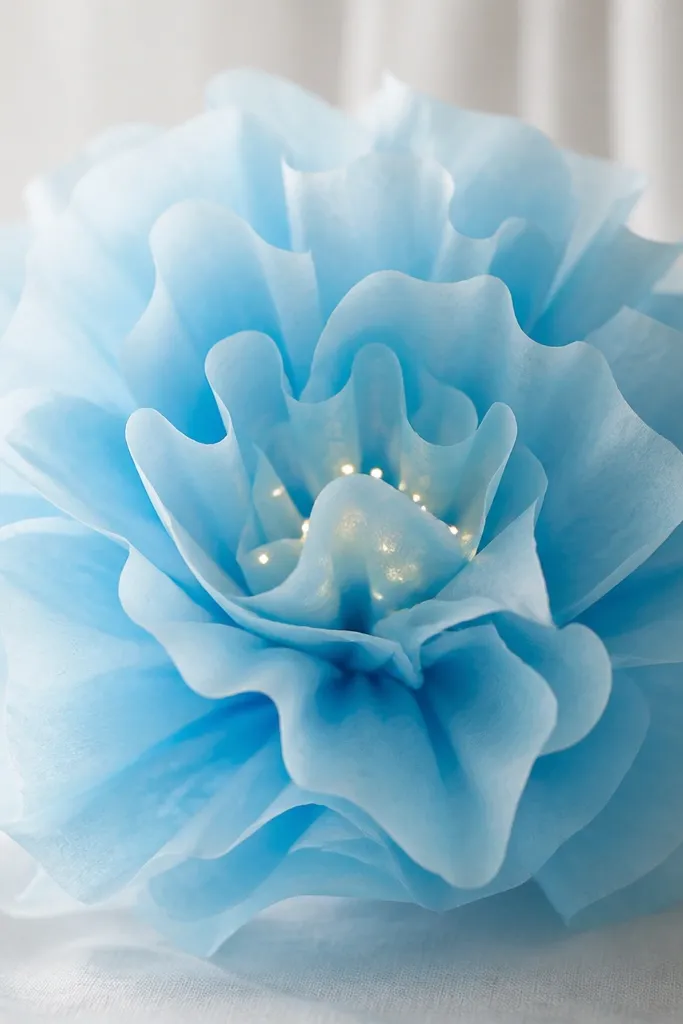
This one is for people who like a little magic. I use sky blue tissue and hide several micro LEDs in the center so you get tiny points of light, not one big glow. The effect looks like a miniature night sky inside a flower. Warm white LEDs keep it dreamy, and the blue makes the points stand out. It’s perfect for nursery decor and winter parties because it feels playful without turning into a cartoon. Keep the center layered thick so the LED points stay inside the petals.
Editor's noteIf the LEDs show through too much, double the center tissue disc — one layer diffuses, two layers hides.
Cut 20 to 24 petals from sky blue tissue as 2x5 inch strips with rounded ends. Pinch the center of each strip and glue them around a 4-inch foam base, leaving a small center well. Tuck in 5 to 8 micro LEDs in the well, spacing them so they don’t all touch one another. Cover the well with a small circle of tissue and then glue 6 short inner petals over it to hide the LED wires.
Skip thisDon’t place LEDs too close to the top surface — you’ll see the bulb shape through tissue.
14. Coral and White Tissue Flower Garland Buds
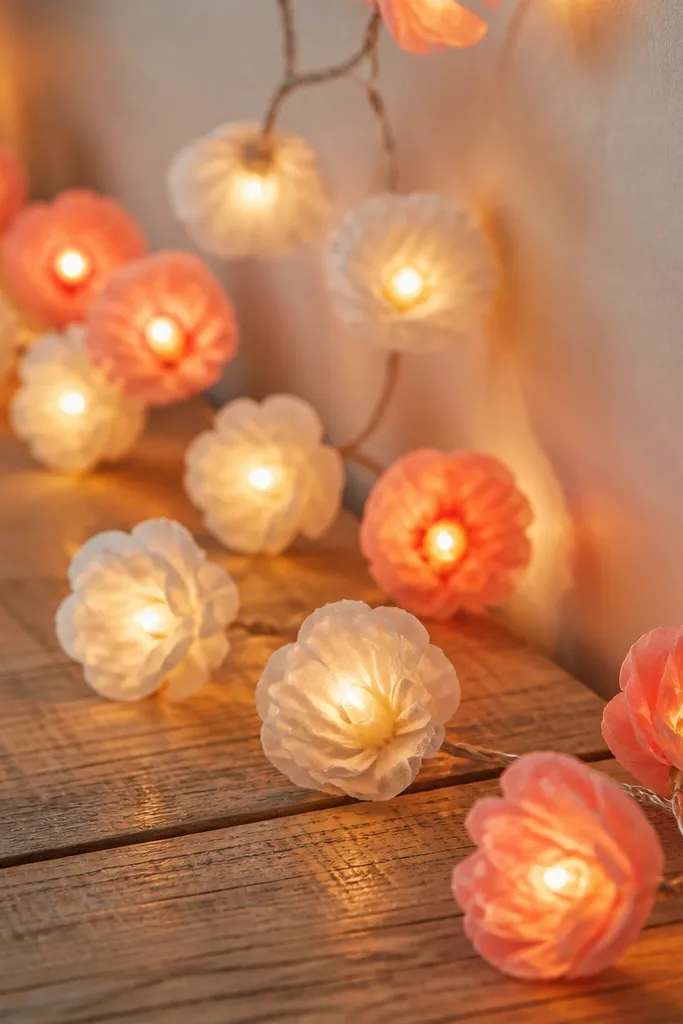
Garlands are the quickest way to get “tissue flowers with lights” without making one huge centerpiece. I make small bud-style flowers in coral and white, then run a single warm white LED string along the back so every bud has glow. This looks amazing on a mantel, a bookshelf edge, or along a photo backdrop. The alternating colors keep the glow from feeling one-note. Build the bud base sturdy so the flowers don’t flop when the string is hanging.
Editor's noteSpace buds 4 to 6 inches apart — close enough to glow together, far enough to see each flower.
Make 8 to 12 bud flowers by cutting tissue rectangles about 3x5 inches and folding them accordion-style. Pinch the middle, then wrap floral tape around the base to form a bud shape. Glue the bud petals onto a small cardstock ring so they hold their curve. Thread the warm white LED string along the back of the garland, then tuck the light into each bud by opening the bottom slightly. Finally, secure the battery pack with tape to the back of the last bud so the weight balances.
Skip thisAvoid hot gluing the LED wires to tissue — the glue stiffens the bud and makes it look lumpy.
15. Mauve Tissue Ranunculus With Center Disc Diffuser
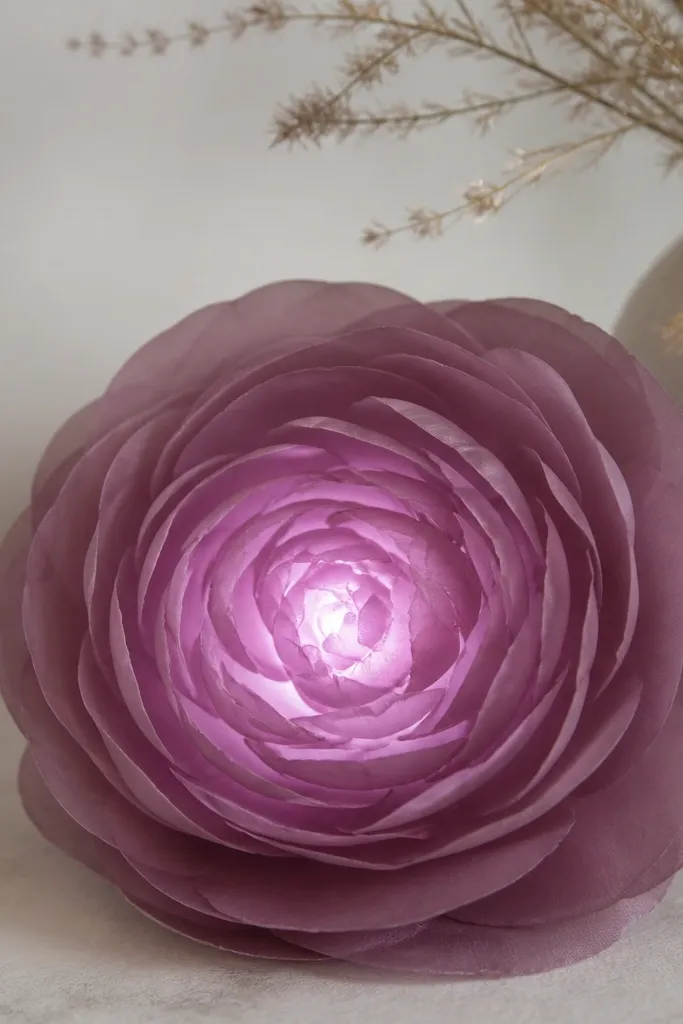
Ranunculus looks like a spiral flower, and lights make that spiral look deeper than it is. I use mauve tissue and build a center diffuser disc so the LED glow spreads evenly. Without the diffuser, the center looks like a bright flashlight. This flower works for date nights and cozy corners because mauve reads warm and not too bright. The petal spiral also flatters photos from the side — you can see the depth and the glow travels through layers.
Cut 16 to 22 small petal strips about 1.5x3.5 inches and snip one end into a rounded V shape. Curl each strip by pinching the bottom and rolling the top edge slightly. Glue petals into a spiral on a 4-inch foam circle, starting with the biggest at the outer edge. Place a warm white LED behind a 2-inch mauve tissue disc (with the bulb centered), then glue the disc in place so it diffuses the light across the spiral center.
Use matte tissue for mauve — glossy tissue can show shiny LED hotspots.
Don’t skip the tissue disc diffuser — it’s the difference between soft glow and a visible bulb.
16. Mini Red and White Tissue Flower Ornaments
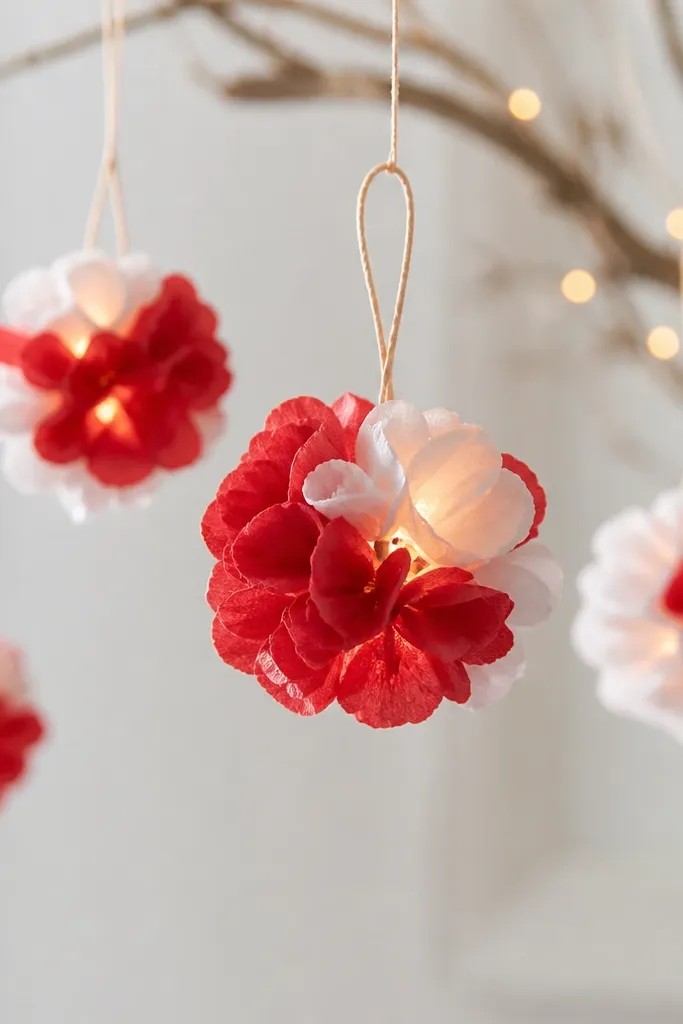
Ornaments are a fun way to use tissue flowers with lights because you get controlled viewing angles. I made these in red and white for holiday decor, but they also work for any event color scheme. Warm white LEDs make the petals look like they’re shining from within, and the hanging angle hides the battery pack. This is a great project if you want something cute that doesn’t take up table space. Use a sturdy hanger so the flower stays centered and doesn’t twist into a lopsided shape.
Editor's noteHang ornaments at slightly different heights — it helps the lights look intentional in a cluster.
Cut 30 small petal pieces from red tissue and 10 from white tissue, each about 1.5x2.5 inches. Fold each piece in half, then pinch at the base and glue to a 2.5-inch cardstock circle in two rings. Add warm white LEDs behind the center and cover with a white tissue disc so the glow looks bright but not harsh. Punch a hole through the top of the base, thread ribbon or twine, and tie a loop before you glue the last inner petals.
Skip thisAvoid flimsy cardstock bases — they bend and the flower twists, showing the LED wires.
17. White Tissue Flower Lantern With Hanging Light
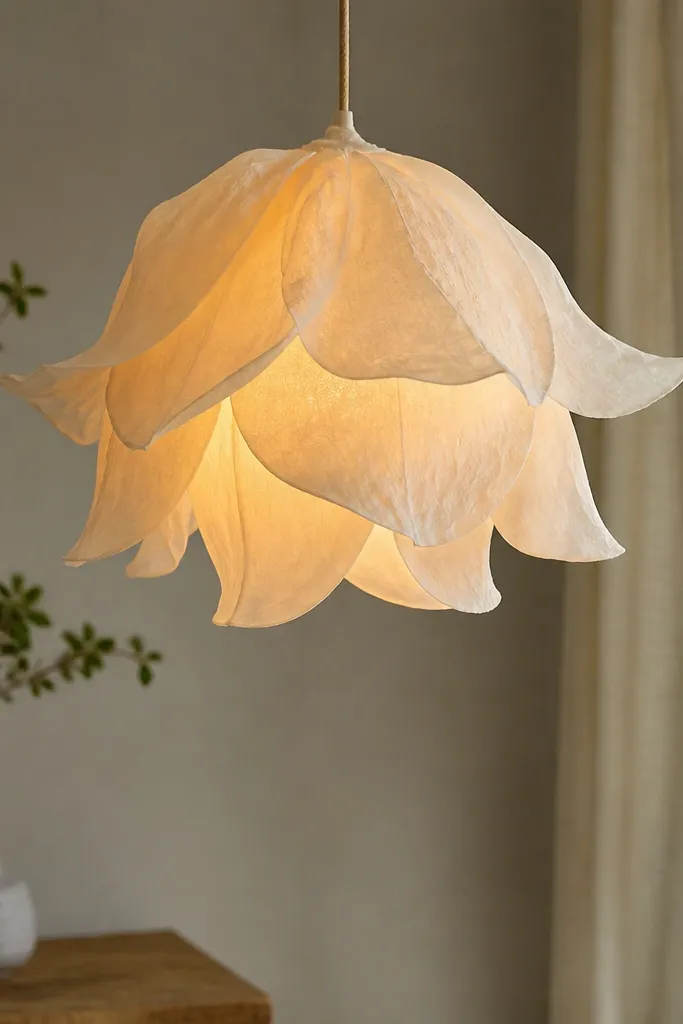
This is a “flower meets lantern” look, and it’s the one I use when I need strong ambient light. I shape the tissue petals into a lantern-like dome so the LED glow spreads across the entire flower instead of only the center. White tissue makes it feel clean and wedding-friendly. It also flatters most outfits because it doesn’t pick a fight with your clothes in photos. The dome shape is what makes it feel like a lantern — flat flowers don’t glow evenly.
Form a dome by wrapping a foil or plastic bowl with plastic wrap, then taping a 3.5-inch foam ring around the top. Cut tissue squares about 4x4 inches and crumple them gently into petal-like pieces. Glue petals onto the dome ring, overlapping downward so there are no big gaps. Insert a warm white LED inside the dome (hanging or placed low), then cover the top opening with a final layer of small white tissue petals and a cardstock cap to hide the LED housing.
Use a slightly larger LED than you think — tissue domes swallow light, and you want enough brightness to read the petals.
Don’t leave big holes between petal layers — you’ll see the LED housing and the glow will look uneven.
18. Lemon Yellow Tissue Flower With Green Leaf Base Lights
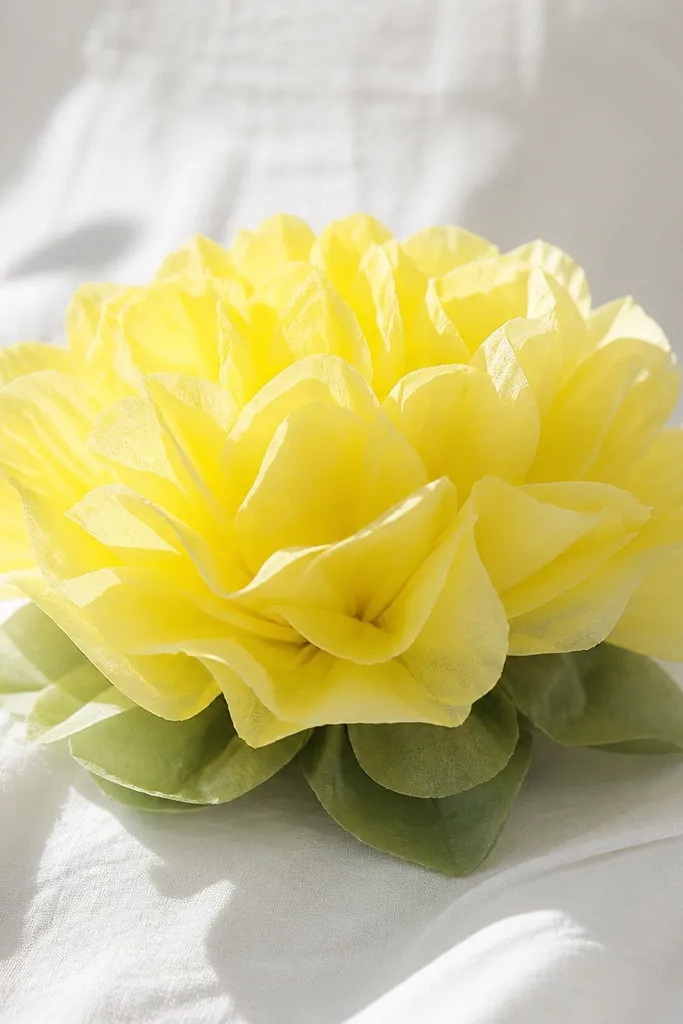
This one looks like a real spring bloom because the base has leaves, not just petals. I use lemon-yellow tissue for the main petals and green tissue for leaf layers, then place warm white LEDs at the base so the light spills upward. The green base changes the mood — it keeps the glow from looking one-dimensional. This is perfect for kitchen decor and sunny corners because it feels cheerful even when the lights are the only illumination. Keep the leaf layer slightly lower than the petals so it doesn’t block the glow.
Editor's noteIf the green looks too dark, switch to mint tissue for leaves so the light stays bright.
Cut 20 lemon-yellow petals as ovals about 2.5x4 inches and pinch the center to create a natural curve. Glue them onto a 4-inch foam circle in two rings. Cut 6 to 8 green leaf shapes about 1.5x3 inches, snip the edges for texture, and glue them around the underside rim. Place warm white LEDs behind the leaf base (between foam and petals), then glue a thin tissue disc over the LED to diffuse it. Add one last ring of lemon petals on top to keep the glow even across the flower face.
Skip thisAvoid gluing leaf pieces over the LED directly — it creates dark spots instead of a soft glow.
19. Lemon-Chiffon Tissue Flower Wreath With Battery Candles
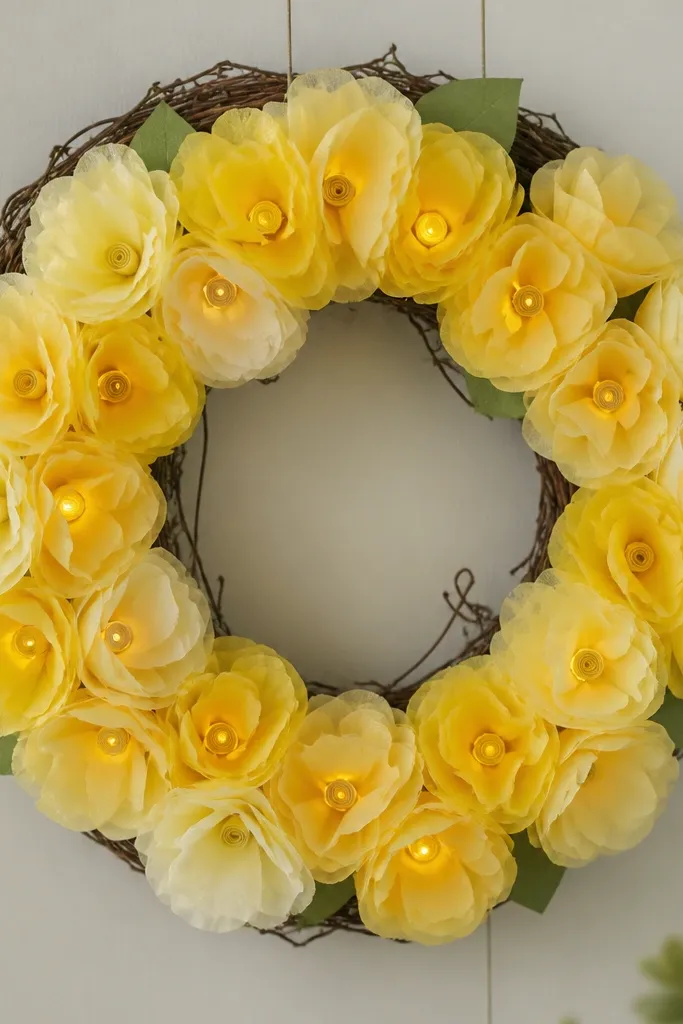
This wreath looks like you bought it from a boutique craft market, but it’s just tissue paper flowers and a battery-candle trick. The lemon-chiffon color reads bright without being neon, and the warm LEDs feel like candlelight instead of a party string. I like using a grapevine wreath base because it hides messy wiring and lets the flowers sit at different heights. When you tuck the LED candle behind the petals, the glow diffuses through the paper and spreads softly across the whole wreath.
Editor's noteUse 20 lb tissue paper for the petals — it holds shape better than the super-thin kind and glows evenly. If your LED candle has a flicker mode, keep it on low so the light looks like candle warmth, not strobe lights.
1) Make 10-14 tissue flowers in two sizes. For each flower, stack 6-8 sheets of 20 lb tissue paper, accordion-fold, tie the middle with thin thread, then fan out the petals and trim the edges so they look rounded. Keep the centers slightly tighter on the smaller flowers so you can hide the LED behind them. 2) Attach a small battery LED candle to the back of the wreath base with a hot glue dot and a strip of masking tape over the wire so it does not slide. Space the flowers around the wreath, then glue each flower’s base directly onto the grapevine where you can reach the candle light behind it. Add a few green leaf shapes cut from cardstock and glue them under the front edges to cover any gaps. 3) Turn the wreath over and check the light spread. If one candle spot looks too strong, move that flower up 1/4 inch or add a thin extra layer of tissue behind the petals at that location.
Skip thisSkip wiring the LEDs first and gluing flowers second — you’ll end up fighting for access when a battery pack sits in the wrong spot.
20. Forest Moss Tissue Flower With Green LED Backlight Disc
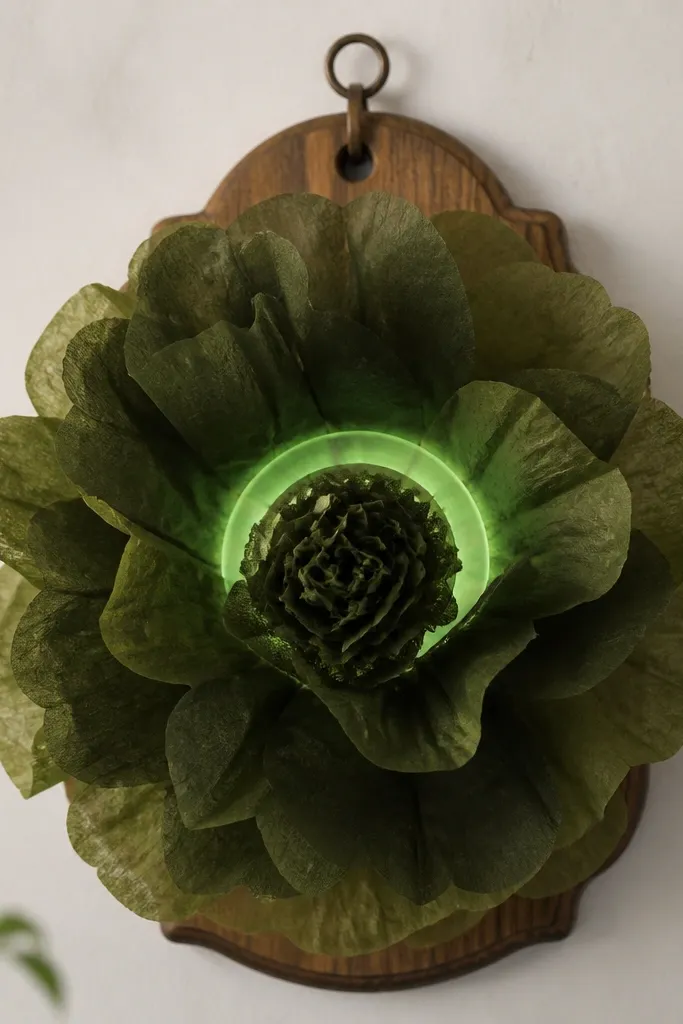
This one is more sculptural than the usual string-light flowers. The green LED backlight disc makes the center look like it’s glowing from inside, even though the petals are just tissue paper. I made it for a shelf display and ended up loving it as a nightlight because the light stays centered instead of spreading everywhere. The moss tones also photograph well — the petals show texture and the LED glow looks intentional rather than random.
1) Build the center glow first. Cut a 2.5-inch circle from frosted plastic packaging (like the clear plastic from produce clamshells) and punch a small hole in the center for the LED. Feed the LED through the hole so the light shines into the plastic, then tape the LED leads to the back with painter’s tape. 2) Make the flower petals. Stack 8-10 sheets of moss tissue and accordion-fold, tie with thread, then fan and trim into rounded petal shapes. For olive accents, make a smaller inner layer with fewer sheets so the center glows through the layers instead of blocking it. 3) Mount it on a disc and attach the electronics. Glue the flower bases to a 4-inch cardboard circle, then glue the LED plastic disc behind the flower center. Add a small strip of felt over the back to hide the battery pack and keep it from scratching whatever it sits on. Hang or place it so the LED is not facing a wall too close — you want the glow to read through the tissue.
Use frosted plastic, not clear — clear plastic makes the LED look like a bright dot. If your LED is too harsh, add one extra tissue layer over the center before attaching the glow disc.
Skip gluing the LED directly to tissue — heat and pressure can warp the paper and you’ll get uneven glow.



