

1. Crush-proof peony center with firm pinching
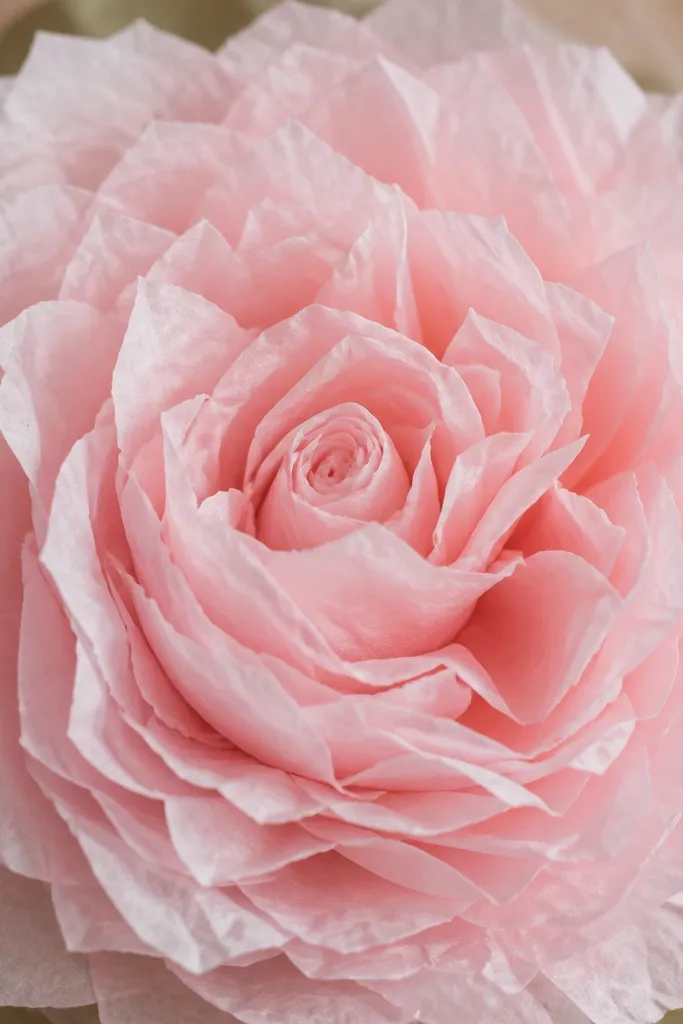
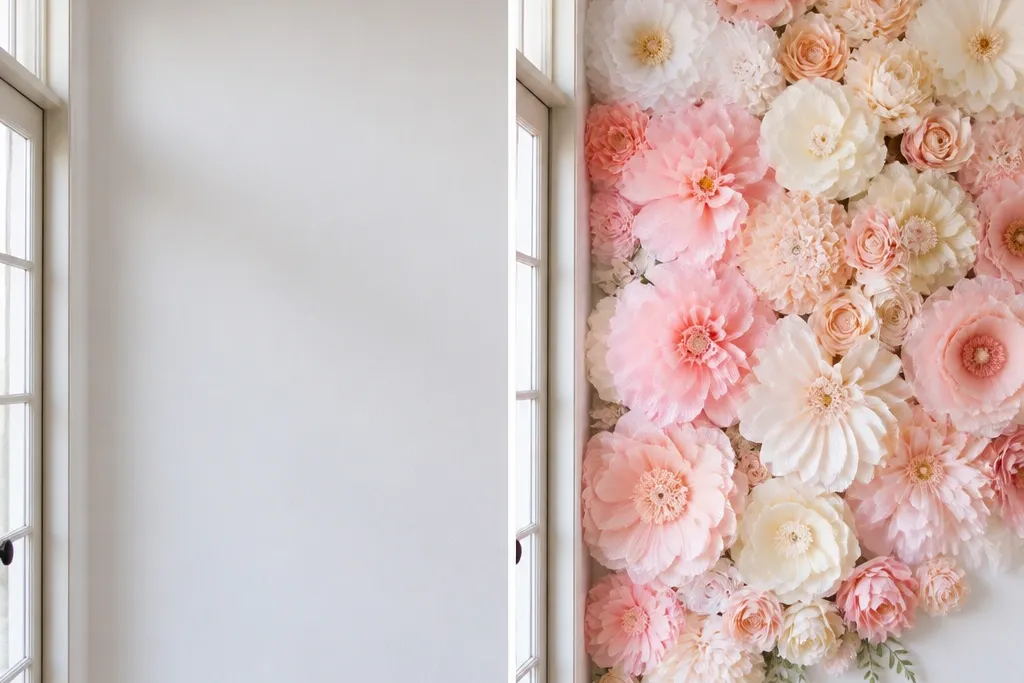
This is the version of a peony bloom where the center holds the whole flower up. I build it with a tight rolled bud for the middle, then I add petal layers that start from the center and fan outward. The trick is that the petals are allowed to flare while the base stays anchored. Colors like dusty rose, blush pink, and soft cream look best because they hide tiny glue points and still show the petal texture under warm lighting.
Start by rolling a small strip of tissue into a bud about 1 inch wide, then wrap a thin strip of tape around it so it won’t unwind. Next, pinch the bud with your fingers and tie it to the first petal layer using a small dab of hot glue at the base only. Fan the next petal ring around the bud, pressing lightly where each petal meets the center so the tension spreads evenly. Finally, attach the whole bloom to your backing with glue dots at the center and one or two points along the base, not across the whole underside.
Editor's noteIf your petals slump, pinch the center 1 extra squeeze before you add the next petal ring — it fixes droop more than adding another layer ever will.
Skip thisDon’t glue the underside of every petal — it flattens the bloom and makes it look like paper confetti.
2. Flat-back mistake fix: add a backing frame, not just tape
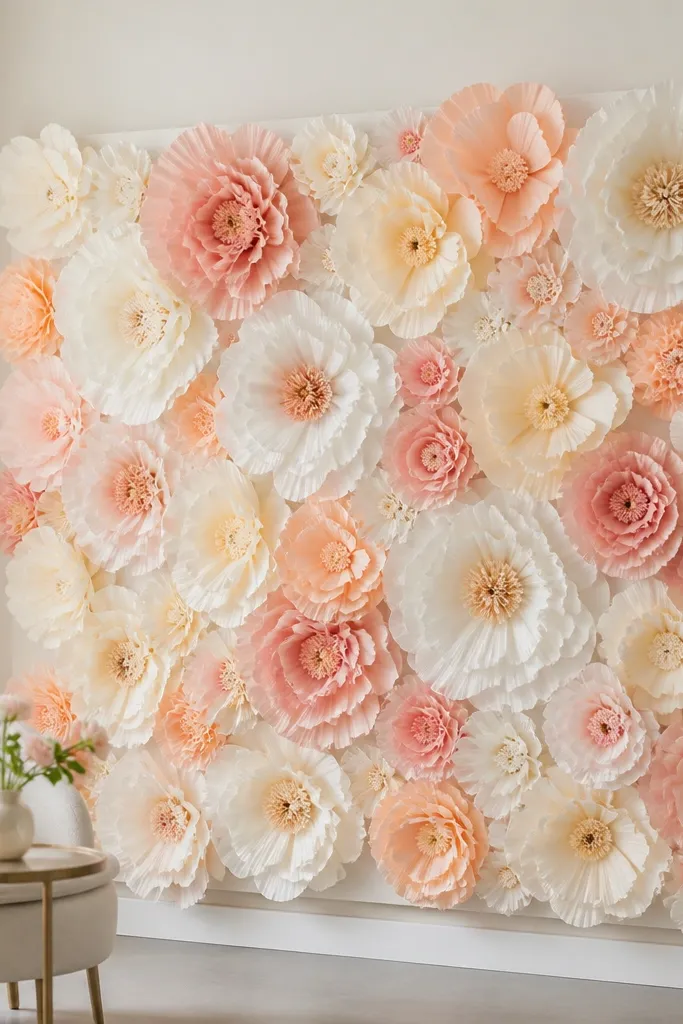
If your tissue paper flower wall looks flat in photos, it’s usually because the flowers are glued directly to a soft backing with no support. I learned this the hard way when my first wall looked fine up close but turned into a pressed-paper sheet once it hit indoor lighting. With a backing frame, the blooms sit off the surface just enough to cast tiny shadows, which makes them look 3D. This setup looks especially good with white, cream, and pastel petals because the shadowing gives the petals definition.
Start with a rigid base like foam board or thick poster board cut to your wall size. Build a simple grid of thin strips (I use lightweight wood strips or foam board strips) so each flower has a “landing” spot. Then glue the flower base to the grid point, not to the whole flat board. Finally, cover any raw edges with craft paper or a matching solid color sheet so the background doesn’t steal attention from the blooms.
Hold your phone camera at chest height and tap the shutter — if the petals look like stickers, your flowers are too flat. Raise the blooms by adding thicker foam spacing under the base points.
Avoid attaching flowers only with strips of tape along the back — it warps and pulls the petals down over time.
3. Spacing math that stops the 'gap show-through'
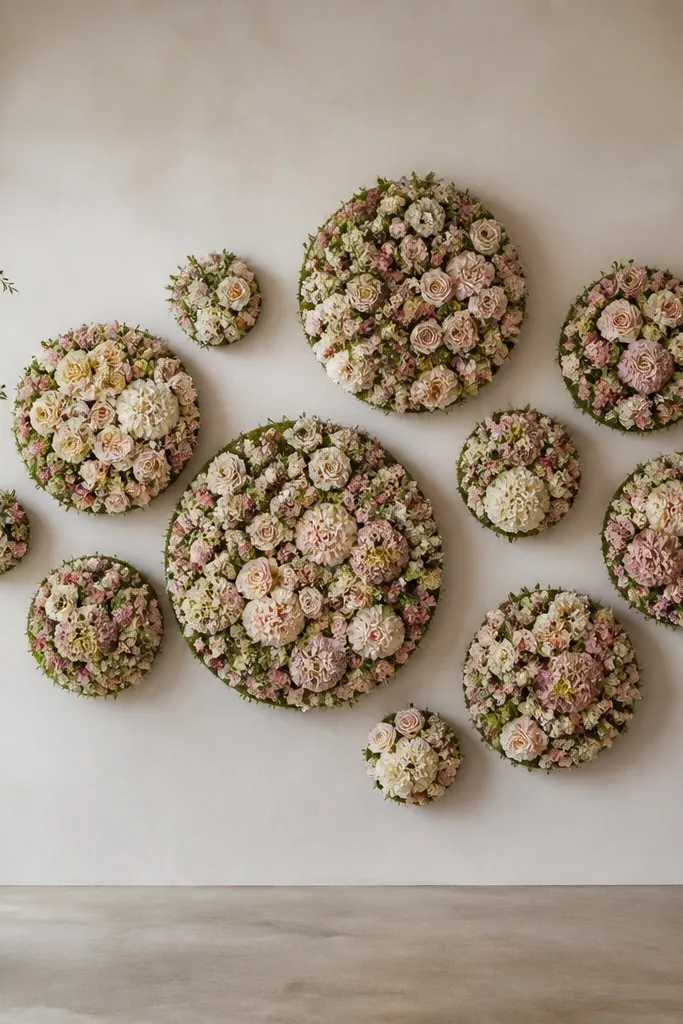
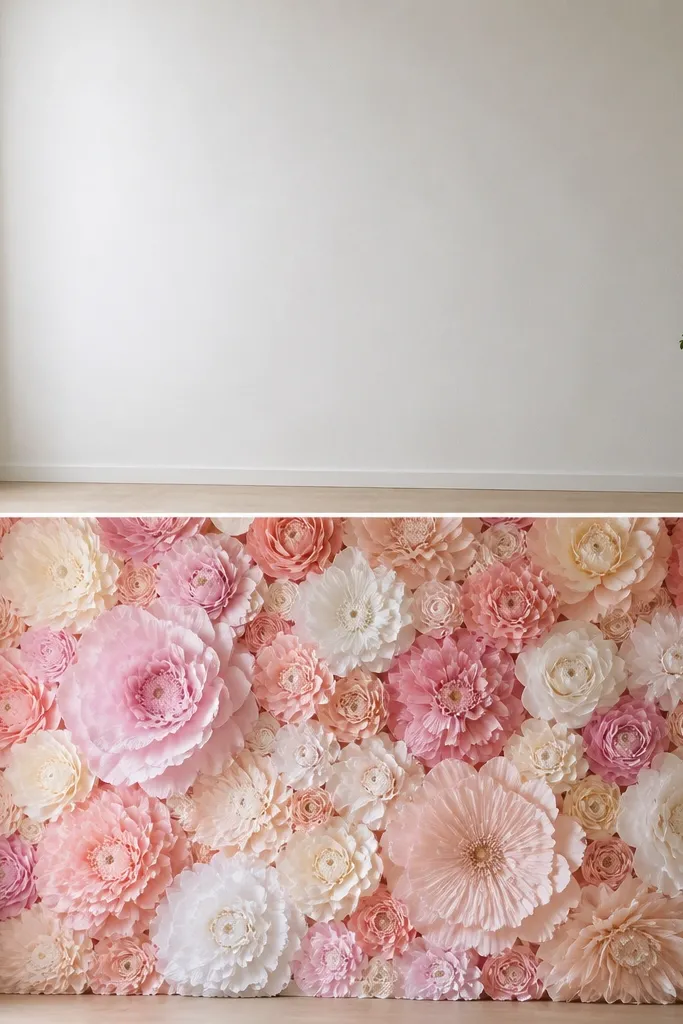
People blame tissue quality, but a lot of “before” walls look thin because the spacing is random. I use a simple staggered grid that keeps gaps from aligning into obvious lines. The wall reads full because each bloom overlaps the visual space of the next one, even if there’s actual empty backing between them. This is most important for medium-sized rooms and for phone photos, where the camera compresses distance and shows blank spots.
Measure your wall width and height, then decide your biggest bloom size (for example, 10-12 inch diameter). Place those larger flowers in the center area first, with centers spaced about 12-16 inches apart depending on your paper thickness. Add medium flowers between them so their edges land in the gaps, then finish with smaller flowers near the edges. Step back every 2 clusters and check from the exact spot you’ll take photos from — I mark that spot with painter’s tape on the floor.
If you can see the background in more than one spot when you stand 8 feet away, you need either tighter spacing or one extra row of smaller blooms.
Don’t line up all the flowers in neat rows — the gaps become stripes in photos.
4. Gradient wall that looks intentional, not random
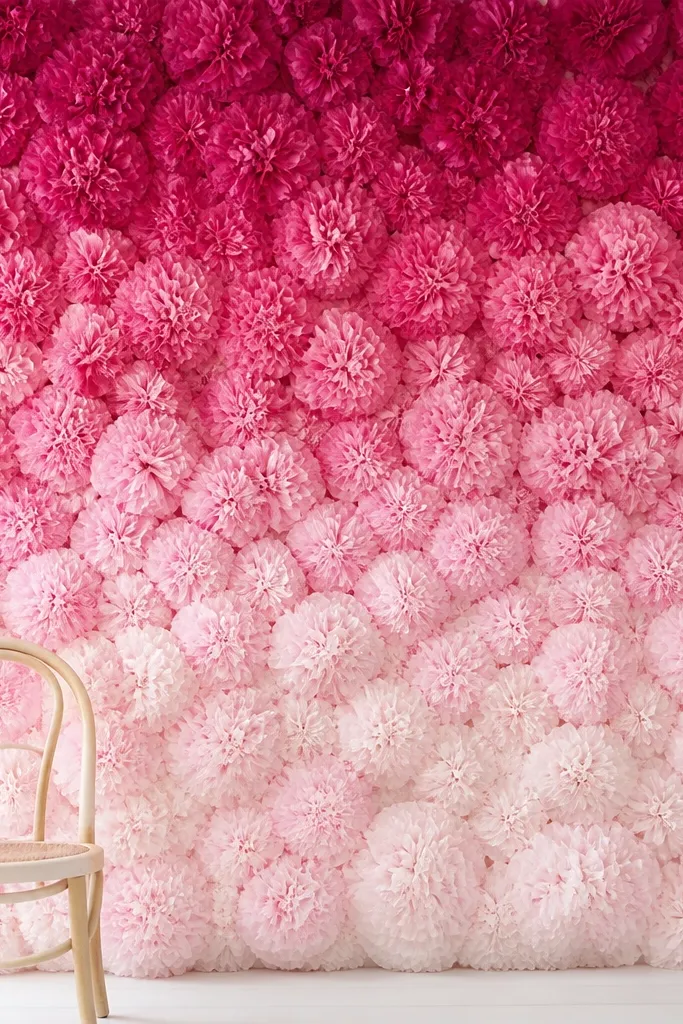
A gradient makes your wall look planned, and planned looks clean. I start with deeper tones at eye level and fade into lighter shades lower down so the wall flatters the people standing in front of it. Dark-to-light also hides minor edge unevenness because your eye follows the color shift. This works with magenta, plum, and berry up top paired with blush, cream, and pale peach in the lower half.
Pick 4 colors in the same color family, like plum, mauve, blush, and cream. Place the darkest color in the top third of the wall so it’s visible in photos without overpowering faces. Build clusters of the same size in each band, then blend by alternating two adjacent colors in the middle row. Keep your smallest flowers in the lightest band so the lower part doesn’t look heavy.
Lay the colors out on the floor first and take a quick photo under the room’s lighting — if the gradient looks jumpy on the floor, it will look worse on the wall.
Don’t mix every color together in one cluster — it turns into confetti and hides shape.
5. Edge ruffle control for crisp petals
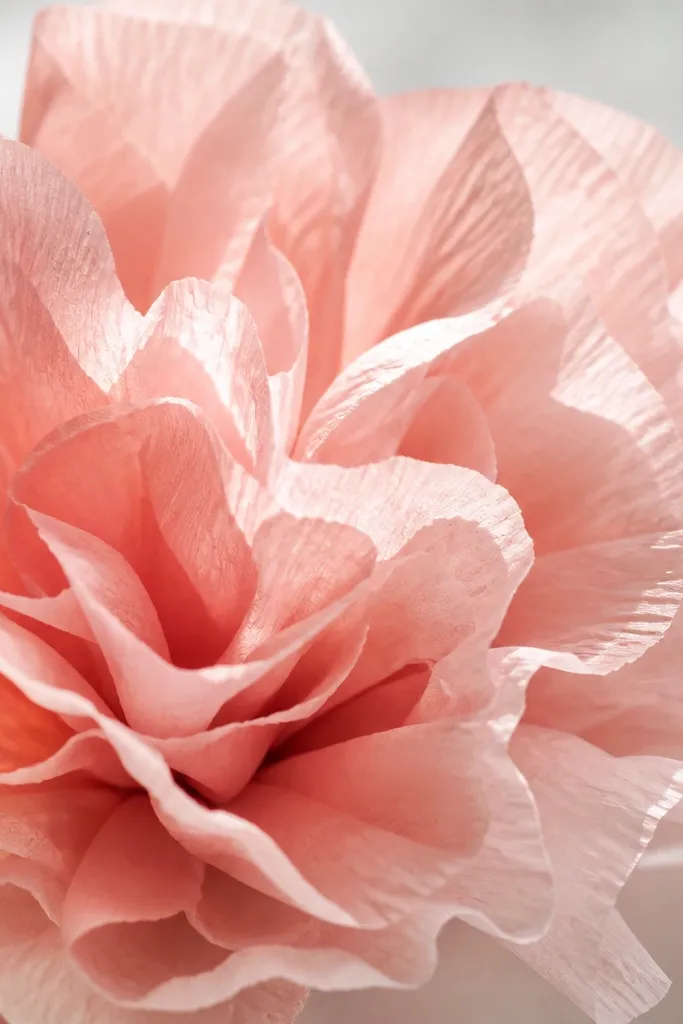
Ruffles are what make tissue flowers look alive instead of flat. The mistake I see is people crumpling the whole petal once, then the flower looks wrinkled and uneven. I do edge ruffling by running my fingers along the outer half of each petal strip, leaving the base smoother. That gives a clean silhouette with texture only where it matters. It’s especially good for white and light pink because the ruffle catches the light and creates a soft halo effect.
Cut or fold petals so each petal strip is uniform in width, then stack them for the same flower. When you’re ready to shape, pinch the outer edge lightly and pull it into a gentle wave — not a hard crease. Keep the base flat so the petal attaches neatly to the center. After you glue the petal to the center, stop handling it and let it set — touching again flattens the ruffle.
Editor's noteUse a plastic ruler to guide your finger wave on long petals. It keeps the ruffle consistent across the whole flower.
Skip thisAvoid deep crumples across the whole petal — they look messy and tear easier.
6. Hot glue vs glue dots: what holds without soaking
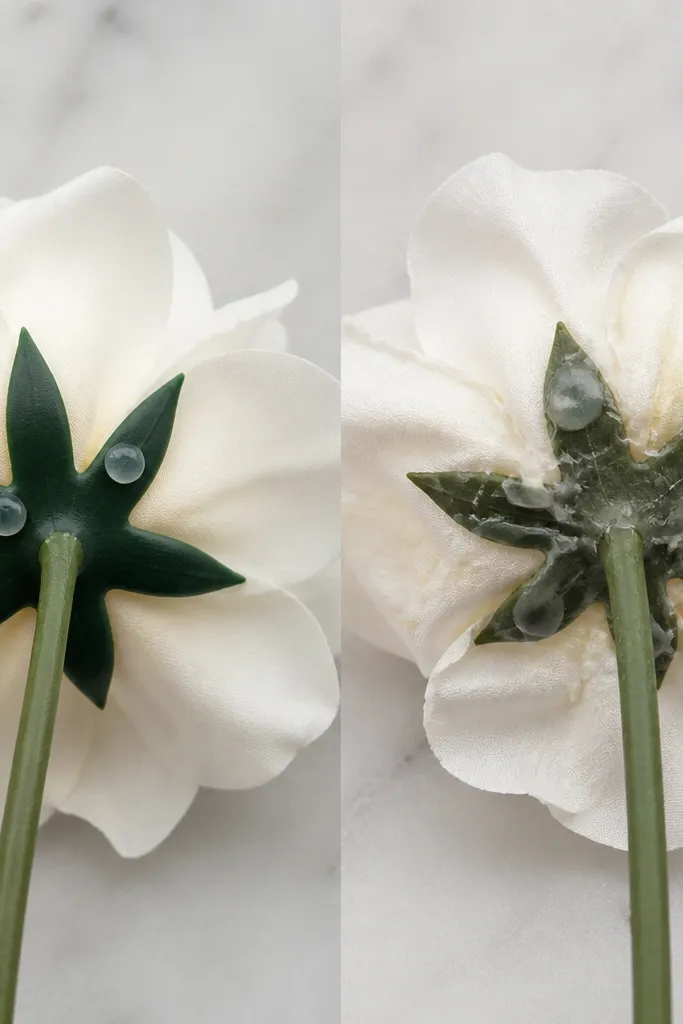
Glue type affects how tissue behaves. Hot glue grabs fast, but if you smear it you can warp the paper and create shiny spots that show through light colors. Glue dots are cleaner for attaching the base to backing, especially when you need a lot of flowers. I use hot glue for the center structure where it’s hidden, and glue dots for where it touches the backing. This keeps the petal texture intact and reduces the “before” look of glue-heavy spots.
Build your flower center using hot glue only at the contact points where petals overlap the bud. For attaching to the backing, use glue dots or small dabs spaced about 1.5 to 2 inches apart under the base ring. Press the base gently for 5-10 seconds and don’t drag the flower across the surface. If you see glue shine on light tissue, switch to glue dots and reduce hot glue use near the outer petal bases.
Editor's noteTest on one scrap petal first — if it warps, lower your glue temperature or switch to dots.
Skip thisDon’t run a continuous line of glue along the whole base — it soaks and flattens.
7. Tissue thickness upgrade: the 2-layer rule that fixes droop
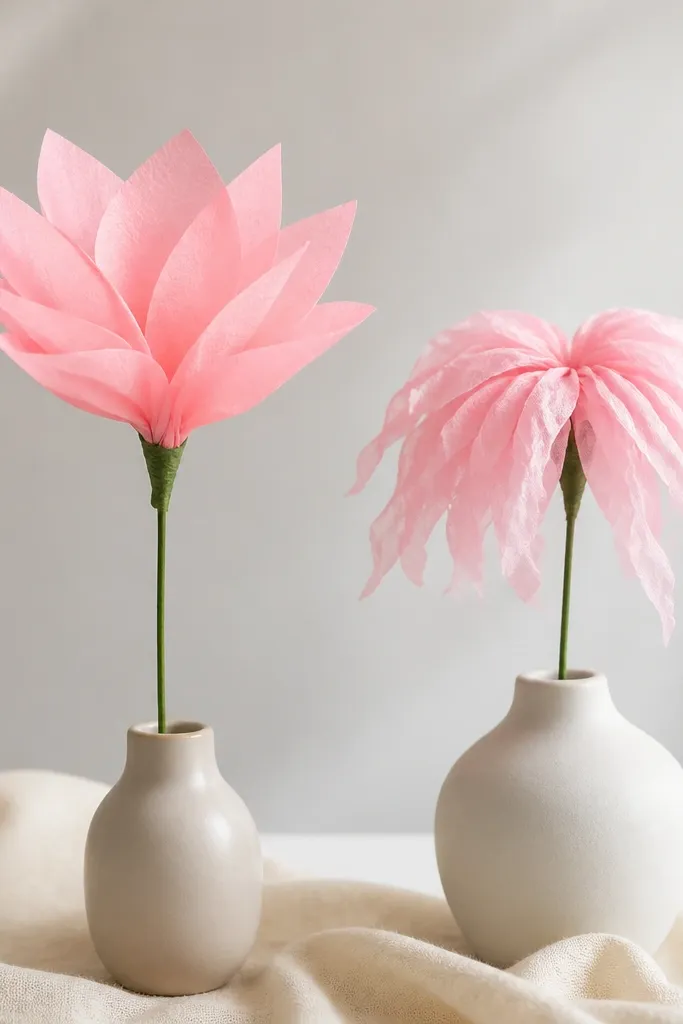
Thin tissue is the most common reason a wall looks great on day one and tired by day two. The fix isn’t “add more glue.” The fix is to use thicker craft tissue and keep the layers count reasonable. When I use thin tissue, I add a second layer per petal panel instead of stacking random extra rings. That keeps weight balanced and helps petals hold their curve. This matters most for large flowers, where gravity has more time to win.
Check your tissue thickness by holding a single sheet up to a window — if you can easily see through it like tracing paper, it’s too thin for big petals. For each petal ring, fold the sheet into your petal shape, then add one extra matching layer before shaping, so each petal has double thickness. When you assemble, pinch the center tighter than you would with thick tissue. Attach the bloom to the backing with fewer, stronger glue points at the base so you don’t soak the extra layers.
If you’re stuck with thin tissue, make your biggest blooms smaller. A 6-8 inch bloom looks full, but a 12 inch bloom droops faster.
Avoid building a giant bloom from thin sheets and hoping more rings will fix it.
8. Make it travel-proof: reinforce base with cardboard discs
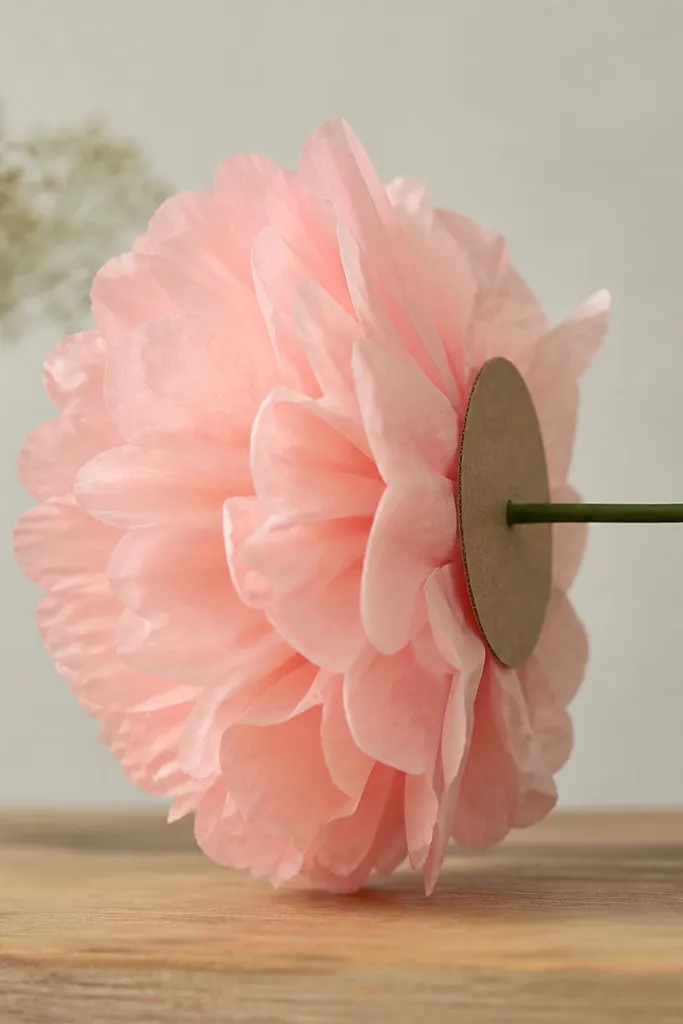
If you’re setting up more than once or you need to move the wall, plain tissue glue joints fail. I started adding cardboard discs behind each bloom base after a flower tore off mid-event. The disc spreads stress so the glue has something firm to grab, and it keeps the base from bending. It also helps when you hang the wall from hooks or zip ties. This is a lifesaver for darker tissues like teal, navy, and maroon because those show tears and creases more clearly.
Cut a cardboard disc slightly smaller than the bloom base, usually around 2.5 to 3.5 inches depending on your flower size. Glue the cardboard disc to the flower base ring first, then let it set flat for a minute. When attaching to the wall, use glue dots or hot glue at 3-4 points around the disc edge. If you’re hanging the wall, add a zip-tie hole through the disc area and place it where the flower base sits.
Do a pull test before you mount — gently tug the base. If it shifts, add one more glue dot around the disc edge.
Don’t rely on the tissue petals to hold the flower to the backing. The base joint needs reinforcement.
9. Layered size mix that frames faces
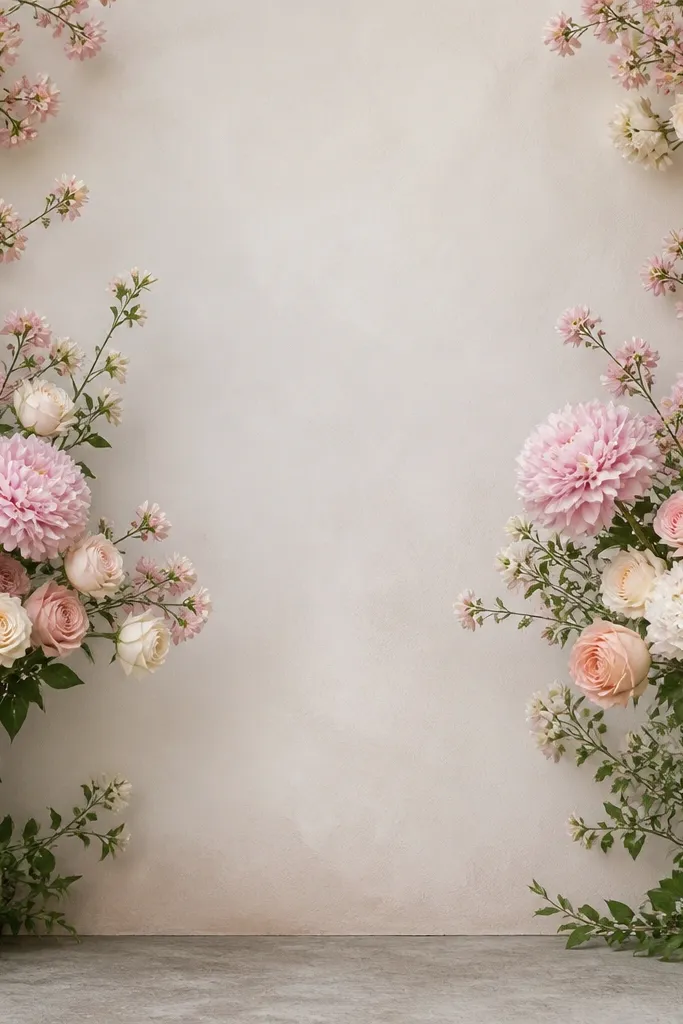
A tissue flower wall looks better when it frames people, not when it covers everything. I place larger blooms at shoulder height so they look dramatic behind faces without swallowing them. Smaller blooms go into the corners and top edges, so the wall looks full even when someone stands slightly off-center. This arrangement looks flattering for most skin tones because the background stays soft and the face stays readable. It also reduces the “before” effect where the wall looks like a random scatter of flowers.
Decide where your subject will stand and mark it with tape on the floor. Place the biggest flowers behind that center zone at about 40-55 inches from the ground, then fill around them with medium flowers at 20-35 inch intervals. Use small blooms to patch edges and any visible backing lines. Keep the highest flowers slightly smaller than the ones behind the head so the top doesn’t create a visual wall that cuts people off in photos.
If you’re photographing in portrait mode, test one shot with your phone. Rotate slightly left and right — if flowers overlap the face, adjust sizes or spacing.
Avoid putting the biggest blooms directly at head height. It makes faces look crowded and the wall feels too heavy.



