

1. Mini Accordion Daisy Cluster for a Narrow Shelf
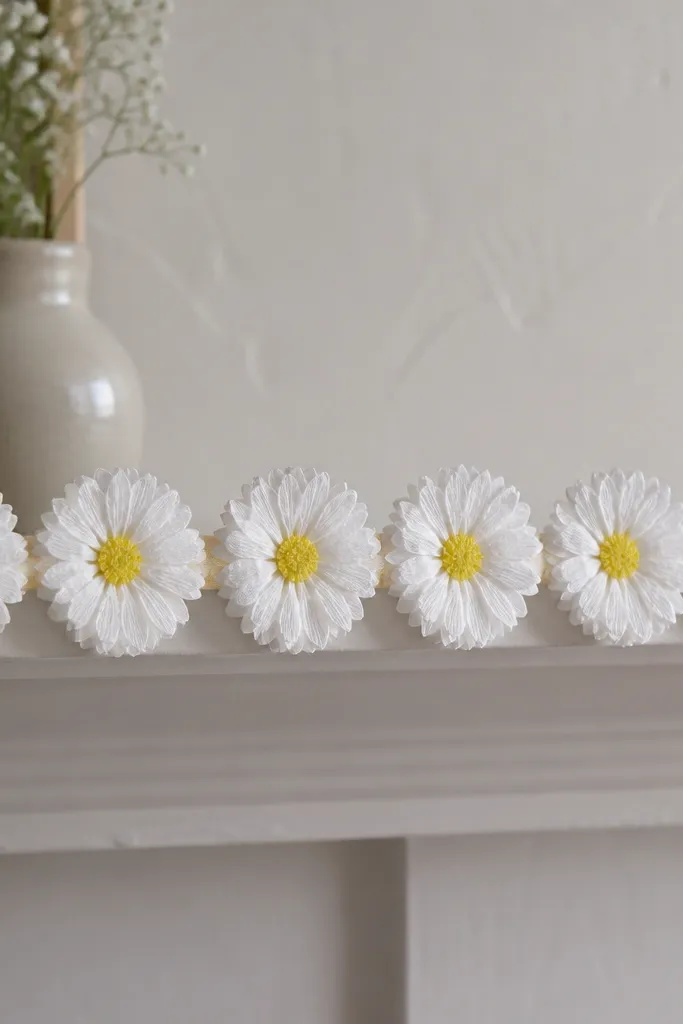
This one is my go-to for small spaces because it fills the shelf without blocking your sightline. Use white tissue sheets cut into 3-inch wide accordion strips, and make a tight yellow center from a small rolled strip. The petals look clean and bright, and the yellow center gives that “real flower” hit even from a distance. It flatters people’s eyes more than big roses because daisies read as light and cheerful, not bulky. I’ve used this with kitchens that have only one narrow counter — it still looks intentional in photos.
Start by stacking 2-3 layers of white tissue and cutting them into 3-inch wide strips. Fold each strip into an accordion pattern, then pinch the middle with a dab of hot glue. Wrap a thin strip of yellow tissue around a toothpick or the tip of a pen to form a small roll, glue it into the center, and trim the petals into rounded ends. Finally, attach the daisies to a 1-inch wide strip of cardboard with hot glue, then space them 1 inch apart along the shelf edge.
Add one tiny green leaf cut from tissue or felt at the base of every third daisy for a more “grown” look.
Skip giant petals on shelf decor — anything wider than 7 inches starts feeling crowded.
2. Budget Rose Bloom from Rolled Tissue Strips
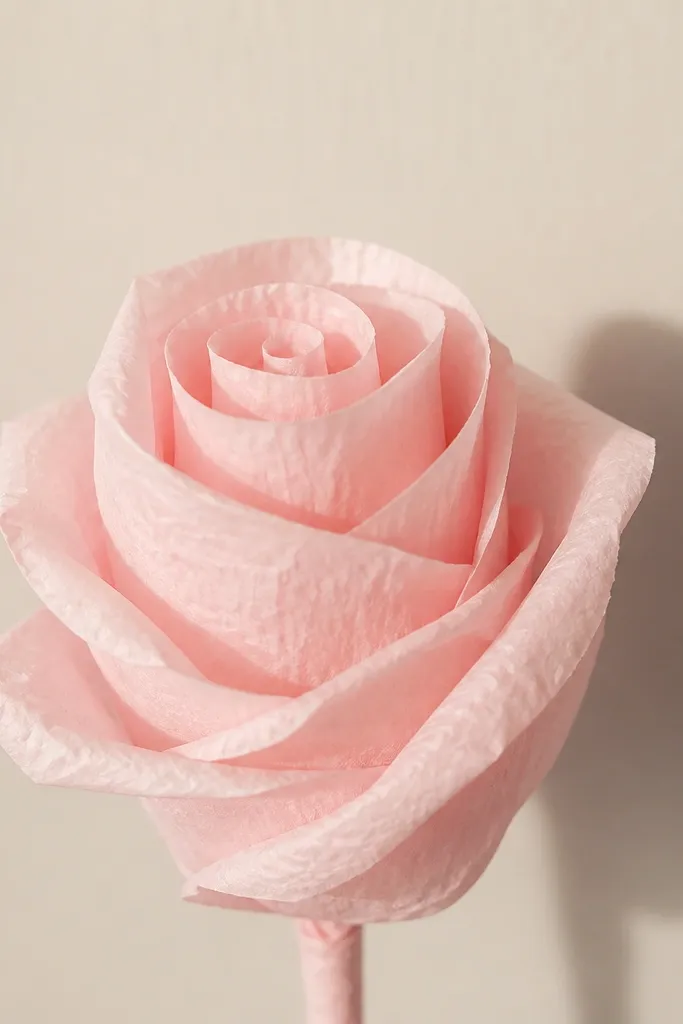
Rolled tissue roses look expensive because the spiral creates depth. I make these with blush pink tissue cut into 1-inch wide strips, then roll tightly at the start and loosen as the spiral grows. The result has a rounded, petal-heavy look that works well for birthdays and Valentine-style corners. They flatter warmer skin tones in photos because blush pink sits close to skin undertones. In tight rooms, a single rose on a wall hook looks more stylish than a full garland.
Start by stacking 2 sheets of blush tissue and cutting them into 1-inch wide strips. Roll one end of a strip tightly to form the center, then wrap the strip around it, spiraling upward and gluing every 2-3 wraps. When you reach the desired size (about 10-12 inches across), snip the outer edge into slight petal curves and fluff gently. Attach the rose to a dowel or cardboard backing with a hot glue dot at the base so it stays upright.
Use matte tissue for roses — glossy tissue reflects light and makes the spiral look flat.
Don’t over-fluff the outer layers; it turns the rose into a ruffled ball.
3. Paper-Flower Hydrangea from Layered Tissue Squares
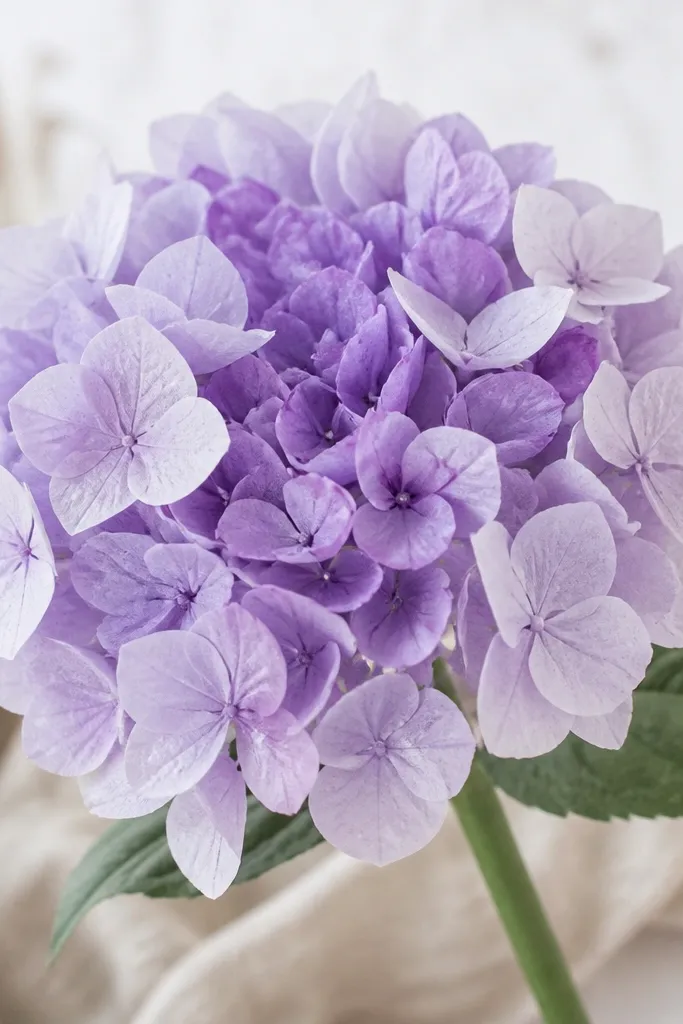
Hydrangea style looks full without needing giant pieces. I build it from small tissue squares so each petal layer sits slightly offset, creating that soft, cloud-like texture. Pick 3 shades of the same color: lavender, pale purple, and a touch of white for highlights. This works in small spaces because the bloom looks dimensional but stays compact. In photos, it gives a “garden” feel even on a plain wall.
Stack 4 tissue sheets and cut them into 4x4 inch squares. Layer them by color with the darkest on the bottom, then fold a square corner toward the center and pinch lightly. Glue the pinched center to a small foam dot or cardboard circle, repeat 20-25 times, and crowd them together. Finally, add a second tier by gluing another set of petals slightly overlapping the first layer.
Mist the finished bloom lightly with water, then let it dry — the petals relax into a softer shape.
Don’t leave big gaps between petals; the hydrangea effect disappears.
4. Tissue Paper Peony with Two-Tone Petals
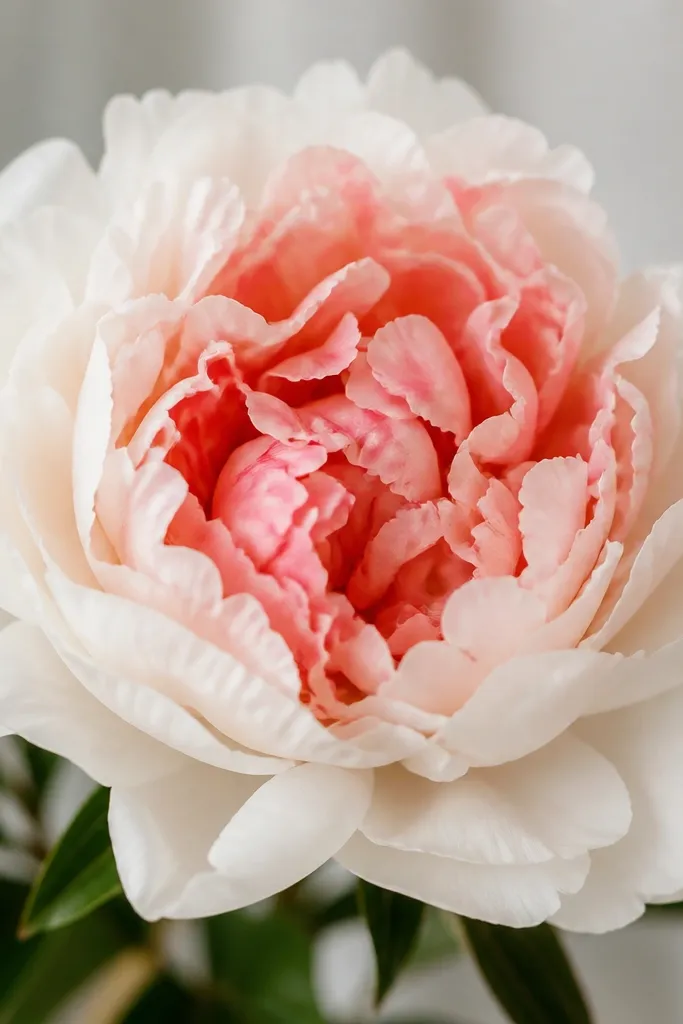
Peonies read lush, but you can keep them small and still get the wow. I use two-tone petals because it gives depth without adding extra size. The white outer layer makes the bloom feel airy, while coral inner petals add warmth. This is flattering for cool and neutral skin tones in photos because white brightens and coral warms. I’ve made these for apartment entryways where you can’t hang something tall.
Cut white tissue into 6-inch wide strips and fold accordion-style, then cut rounded petal ends. Do the same for coral tissue but keep those strips 1-2 inches shorter. Glue the white petals first onto a small circle base, then glue the coral petals inside so they sit lower. Finish by gently pulling each petal outward with your fingertips, working from the outer ring toward the center.
Use a pencil to curl just the petal tips — it makes the peony look more dimensional.
Skip one-color peonies when you’re trying to look expensive in a small room; two-tone sells the shape.
5. Single-Color Tissue Paper Poppy with Black Center
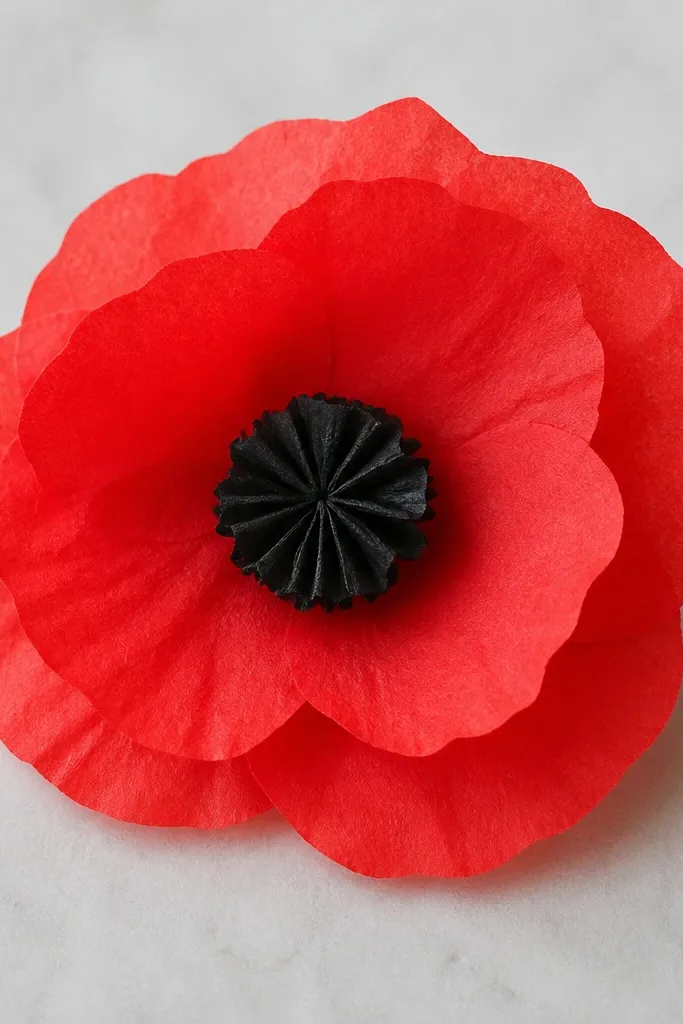
Poppies are bold and graphic, and they fit small spaces better than soft flowers because the shape is clear. Make the petals slightly uneven so they look more natural and less like a craft project. I like deep red tissue with a black center made from tightly crumpled tissue and a thin strip of black paper. The contrast pops against light walls and dark shelves alike. In close-up photos, the black center makes the whole bloom feel finished.
Cut red tissue into 5-inch squares, stack them, and cut a petal shape with a slightly pointed top. Fold each petal in half to create a crease, then open it and glue the bottom edge to a small base circle. For the center, crumple black tissue into a tight ball, then wrap with a thin strip of black paper at the base to hold it. Glue the center on top and bend a few petals outward for a natural flare.
Add one thin line of white paint along the petal crease if you want a more realistic highlight.
Don’t make perfectly symmetrical petals — it looks like store-made plastic.
6. Teacup Bouquet Tissue Flowers for a Tiny Table
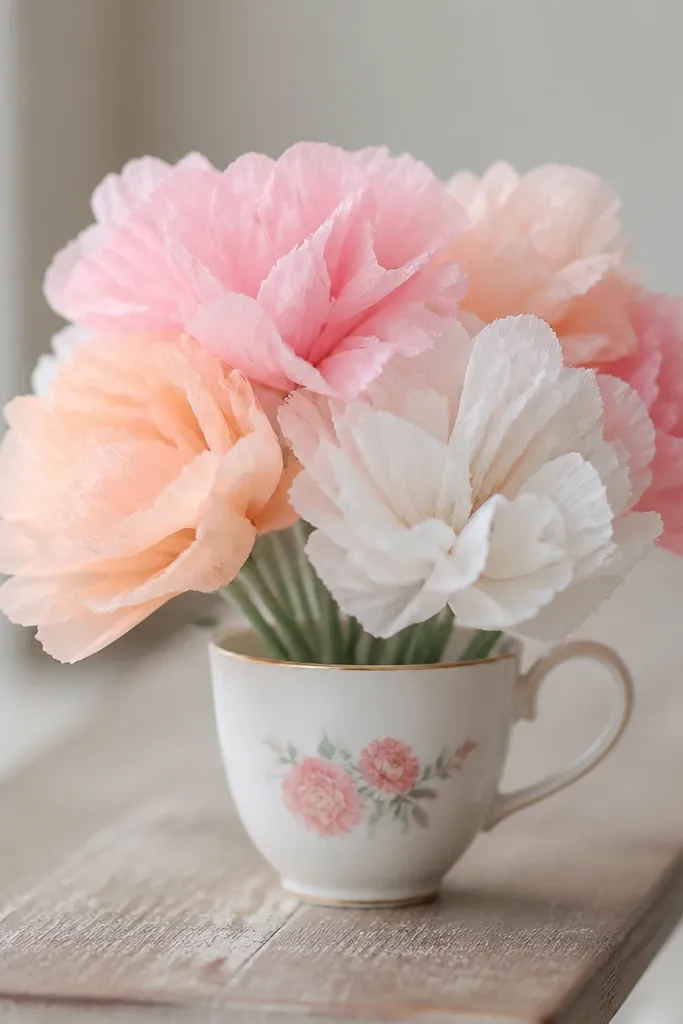
This is my favorite trick for a tiny surface: you keep the flowers contained in a small vessel, so the room doesn’t feel cluttered. Use 3-4 mini blooms and keep stems short, about 6-8 inches. Pastels look sweet in morning light, and tissue flowers don’t droop like real stems. It’s also easy to match to your room because you can pick tissue colors that already exist in your decor. I’ve done this for apartment kitchen counters and it never looks “too much.”
Editor's noteLine the top of the cup with a strip of tissue as a wrap-around “straw” collar for a cleaner finish.
Start with a teacup or small ceramic mug and fill it with crumpled foil or floral foam. Build 3 mini blooms (daisy, rose, and a small peony) and attach each to a short floral wire stem or a wooden skewer. Cut stems so the tallest bloom sits just below the cup rim. Arrange the flowers in a triangle pattern and hot glue the base of the stems to the inside foam so they don’t shift.
Skip thisDon’t use long stems; they poke into the air and make a small table feel messy.
7. Tissue Paper Orchid on a Branch Stick
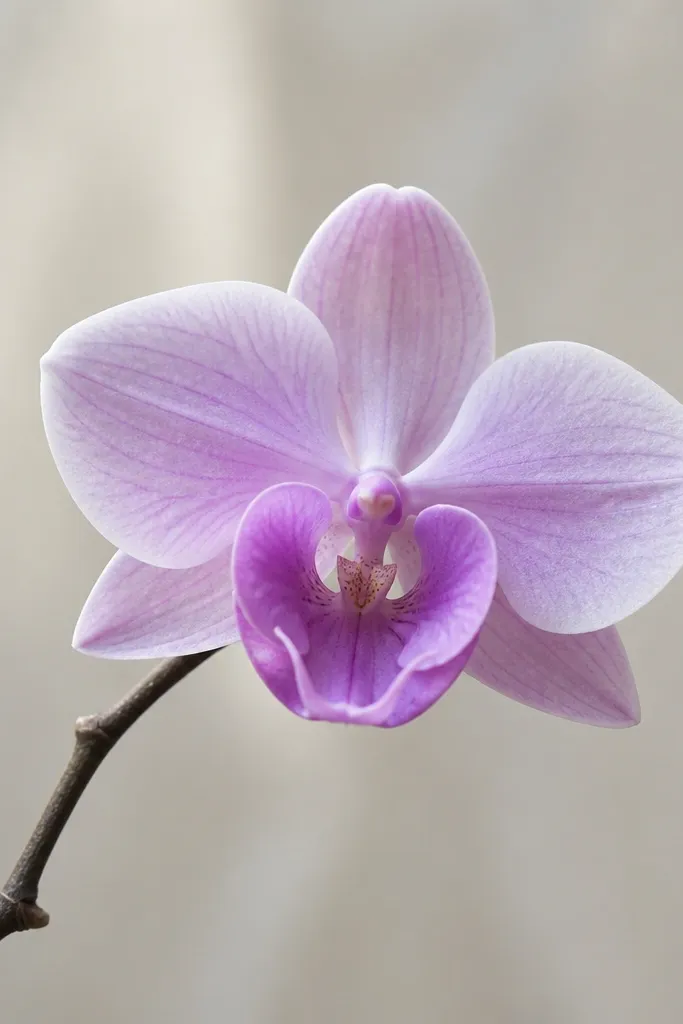
Orchids look fancy even when they’re made from simple folds. You also get height without needing a floor plant — the branch stick gives a natural vertical line. I make mine in pale purple and white so it matches most walls and looks good against dark corners. Orchids flatter because the bloom shape is vertical and draws the eye upward instead of widening the room. It’s a great option for renters who can’t drill hooks.
Cut pale purple tissue into 4-inch petal shapes, then fold each petal slightly at the center so it has a gentle curve. Cut a smaller white center lip and a tiny dark-purple dot for the throat. Glue petals onto a base circle and angle the side petals outward. Hot glue the orchid to a branch stick, then anchor the stick in a small jar filled with pebbles or rolled foil.
Use black or deep plum paint to add a tiny dot pattern on the throat so it reads as an orchid, not a flower.
Skip thick cardstock petals — they look stiff and cheap compared to tissue softness.
8. Rainbow Tissue Flower Garland for a Doorway
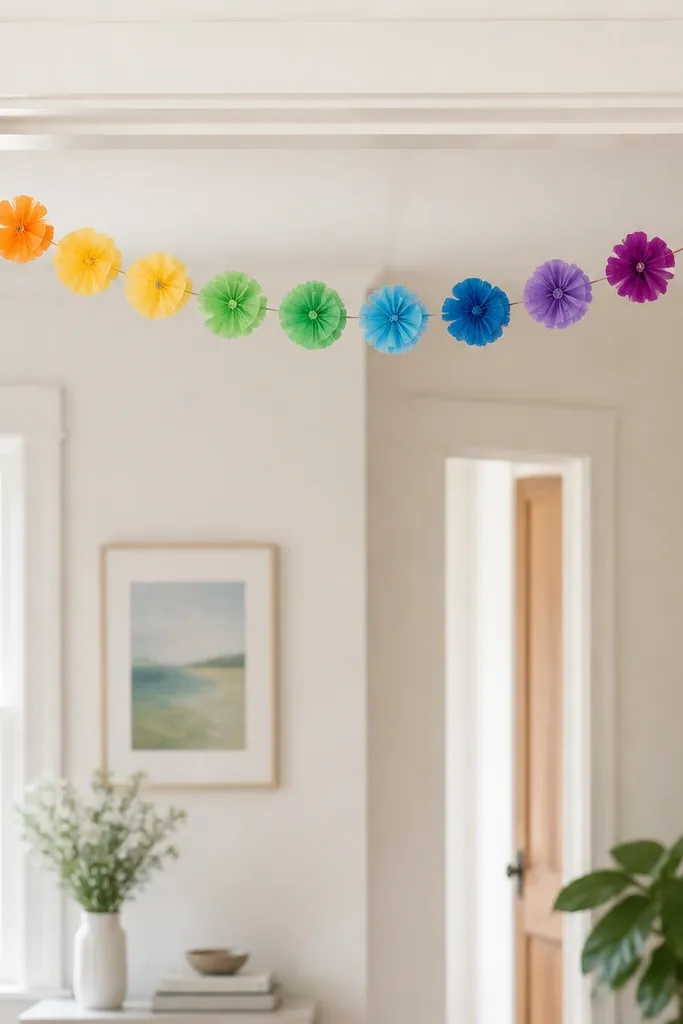
Garlands look busy in small hallways unless you keep the flowers tiny and spaced correctly. This one works because the flowers are about 5-6 inches wide and the string length is short, so it doesn’t sag. I use a mix of tissue colors (red, orange, yellow, green, blue, purple) and keep the centers consistent with a small rolled strip. It flatters a space by adding color without huge bulk. On photos, the doorway framing makes the garland feel intentional.
Make 10-12 mini flowers using 4-inch accordion strips folded and pinched at the center. Thread a thin line of florist wire or fishing line through the base and tie off each flower with a small knot. Hang the wire across a door frame using removable adhesive hooks, keeping each flower spaced about 4 inches apart. Adjust the height so the bottom flowers sit around chest level when you stand in the doorway.
Use matte tissue for rainbow sets; glossy tissue makes colors look washed in daylight.
Don’t hang the garland with heavy ribbon — it stretches and makes the flowers droop.
9. Tissue Paper Sunflower with Realistic Petal Edges
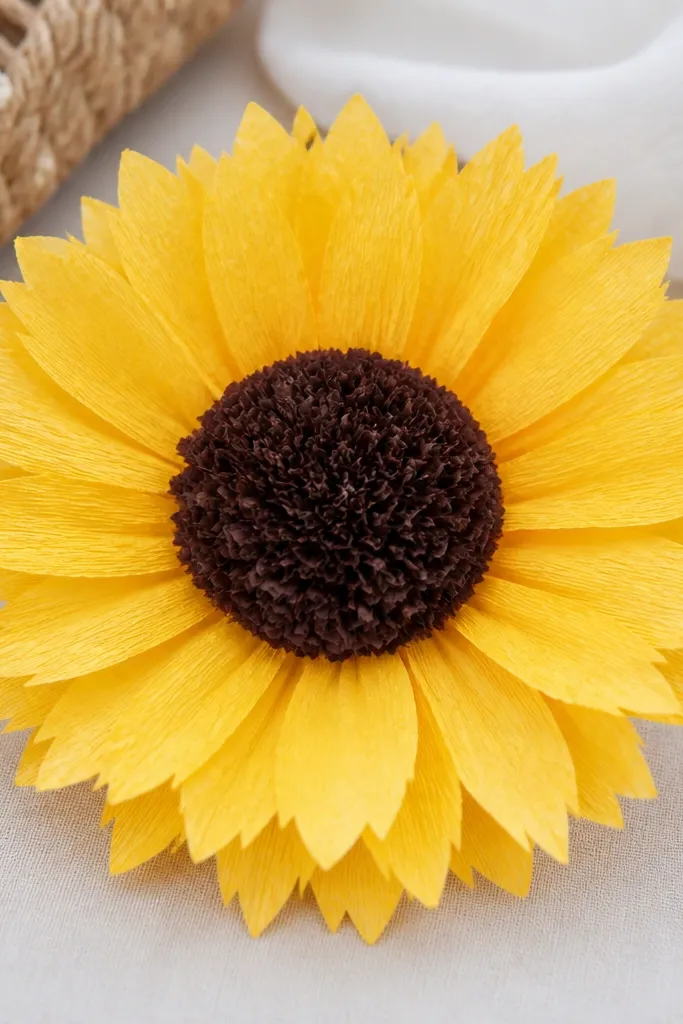
Sunflowers are one of the best choices for small spaces because they read as “one clear shape” from across the room. The key to realism is adding tiny notches to the petal edges so they look like seed petals. I build the center with dark brown tissue crumpled into a dense mound, then cover the top with a thin ring of brown paper for structure. This style flatters warm interiors because yellow brightens beige and wood tones. It also looks great on a single wall where you can’t fit a whole arrangement.
Cut yellow tissue into 5-inch petal shapes, then snip a tiny notch along the outer edge of each petal. Fold each petal in half and glue the bottom to a small circle base. Make the center by crumpling dark brown tissue into a tight ball, then wrap a thin strip of brown paper around it to hold the shape. Glue the center on top and tilt a few outer petals outward for a sunburst look.
Add a little orange tissue behind a few yellow petals to create depth at the outer edge.
Skip a flat center — if it’s too smooth, it looks like a craft circle.
10. Monochrome Black Dahlia for Moody Corners
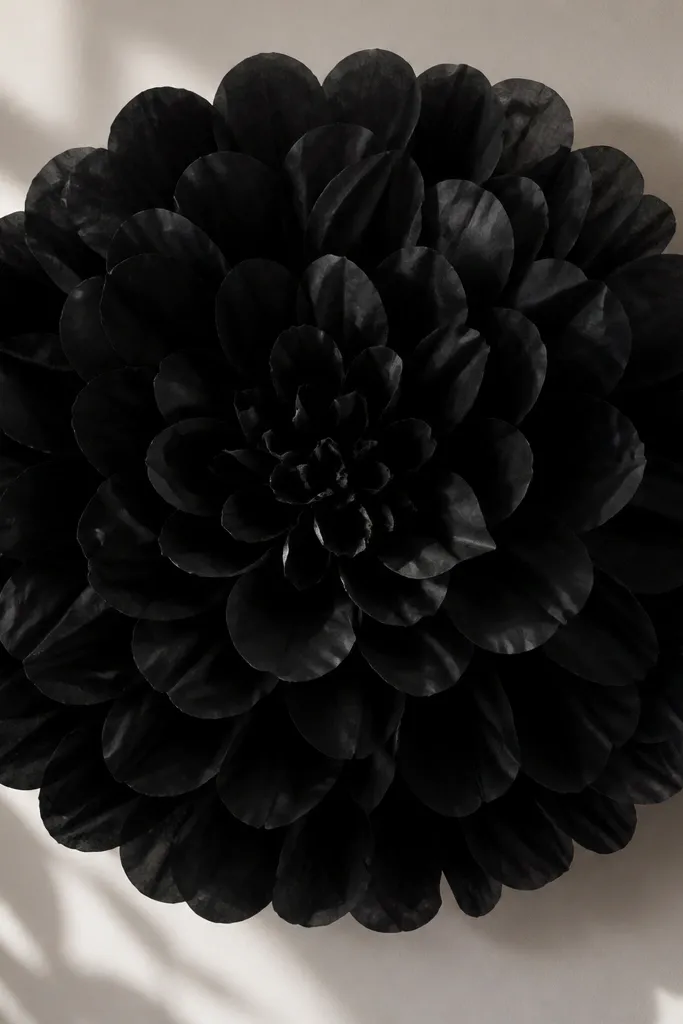
A monochrome dahlia is the fastest way to make small decor look styled instead of “made.” Black tissue absorbs light, so the folds create contrast and shadow that reads premium. I use a tight stack of tissue layers and keep petals slightly rounded for that dense dahlia look. This flatters small rooms because a dark bloom anchors the corner without needing extra furniture. In photos, black dahlia petals show texture even in low morning light.
Editor's noteUse a foam base circle — it grips the glue and keeps the layers from sliding.
Cut black tissue into 4-inch wide accordion strips and fold them into fans. Pinch the middle and glue to a circular base, then layer fans in concentric rings. Work from the outside in, making the inner fans slightly smaller (about 3.5 inches wide). Finally, fluff each fan gently so the petals open outward but don’t separate too far.
Skip thisDon’t use thin black gift tissue; it tears and creates ragged edges.
11. Pastel Blush Tissue Flowers in a Floor Vase (No Floor Mess)
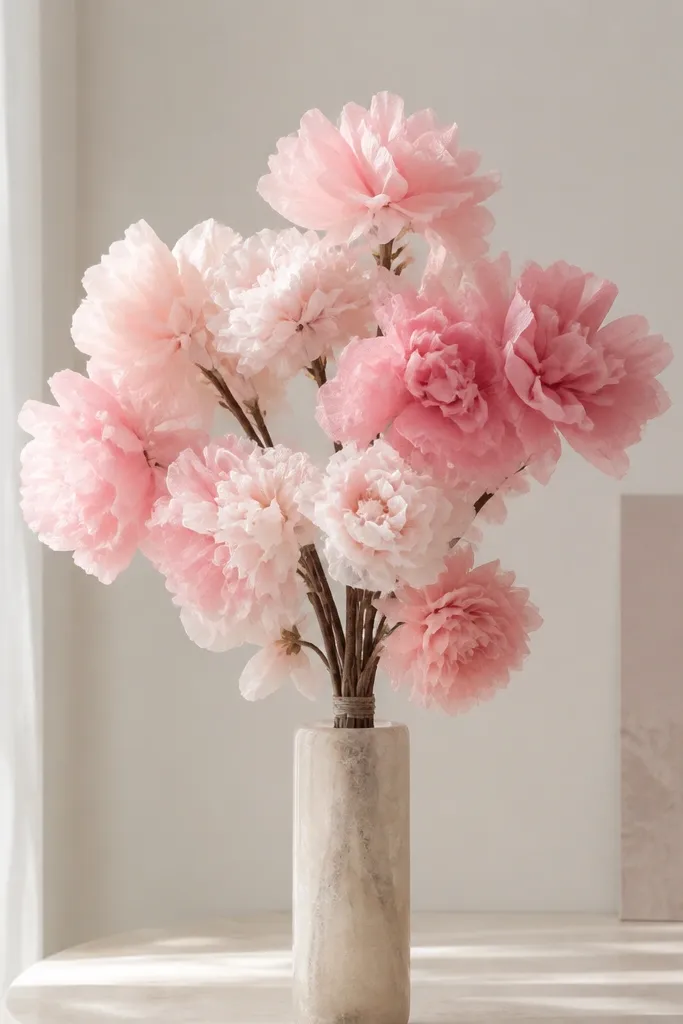
If you want height in a small room, a narrow vase is the cleanest solution. Tissue flowers don’t shed and don’t need water, so you can keep them on display without worrying about maintenance. I use blush, pale pink, and one touch of cream so the bouquet stays soft instead of candy-colored. This flatters most spaces because the palette is close to neutral and doesn’t fight your wall color. The tall shape also draws the eye up, which makes ceilings feel higher in photos.
Editor's noteTie a few stems with thin twine at the halfway point so the bouquet looks intentional, not random.
Choose a vase with a narrow opening so stems stay together. Make 6-8 statement blooms at about 10 inches wide, then attach each to a floral wire stem. Bundle stems around a central wire and twist them together so the bouquet holds a teardrop shape. Fill the vase with floral foam or crumpled foil wrapped in tape so the stems don’t slip. Arrange the blooms so two face forward, two angle outward, and the rest point slightly upward.
Skip thisDon’t crowd more than 8 blooms in a narrow vase — it turns into a tissue ball.
12. Tissue Paper Butterflies as Flower Accents
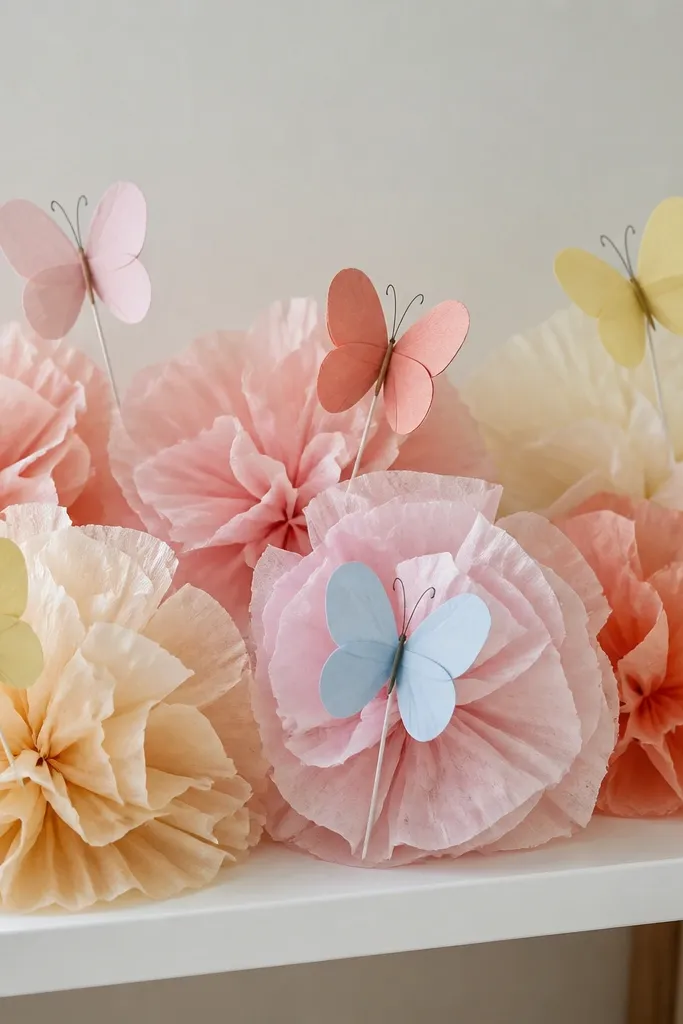
Butterflies make small-space flower decor feel playful without adding extra volume. I use tissue butterflies as accents near the base of larger blooms or along a garland, so the eye has something to travel to. For a cohesive look, keep butterfly colors in the same family as your flowers — blush with blush flowers, lemon with yellow flowers. This flatters small corners because it adds movement but stays lightweight. I’ve used this trick on a tiny nursery shelf and it reads charming instead of cluttered.
Cut butterfly wings from folded tissue: fold tissue in half, trace a butterfly wing shape, then cut to create two matching wings. Pinch the center lightly and glue a small strip of black paper for the body. Add thin antenna lines using black craft wire or a cut piece of pipe cleaner. Place the butterflies near the edges of your flower cluster and pin them with small brads or glue dots so they don’t sag.
Lightly curl wing edges with your fingers for a more lifelike flutter.
Skip big butterflies; anything over 4 inches wide crowds the flower arrangement.
13. Layered Tissue Flower Wreath for Small Walls
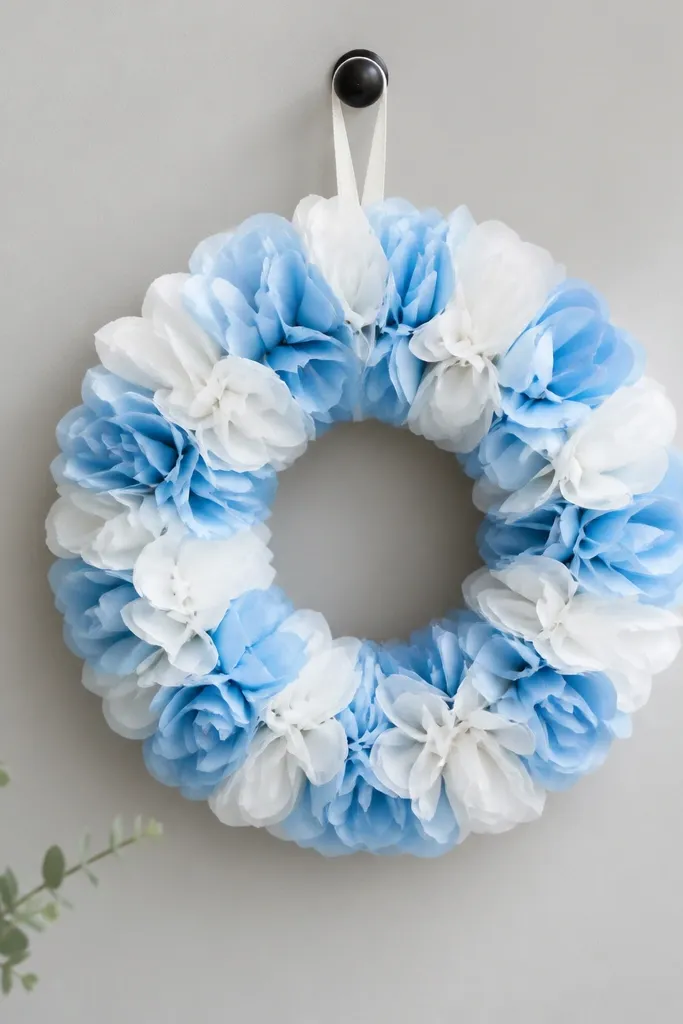
A wreath gives you a full look without taking up table space. For small walls, keep the wreath diameter around 12-14 inches so it doesn’t overpower. I like white and light blue petals because they brighten small rooms and look crisp against beige, gray, or navy paint. The layered petals create texture you can see from across the room, even though the materials are cheap. It flatters entryways because it reads like decor, not a temporary craft.
Cut a foam ring or cardboard circle, about 13 inches across, and cover it with a thin layer of tissue glue base (a simple glue smear works). Cut tissue into 4-inch petal strips, stack 2-3 layers, and accordion-fold each strip. Glue petals around the ring in a tight circle, alternating white and light blue. Finish by adding a small center rosette made from rolled tissue and glue it at the top or slightly off-center.
Use a foam ring if you can — it keeps the wreath flat and prevents tissue from warping.
Don’t leave the ring bare in the middle; it shows glue and looks unfinished.
14. Tissue Paper Flower Centerpiece in a Picture Frame
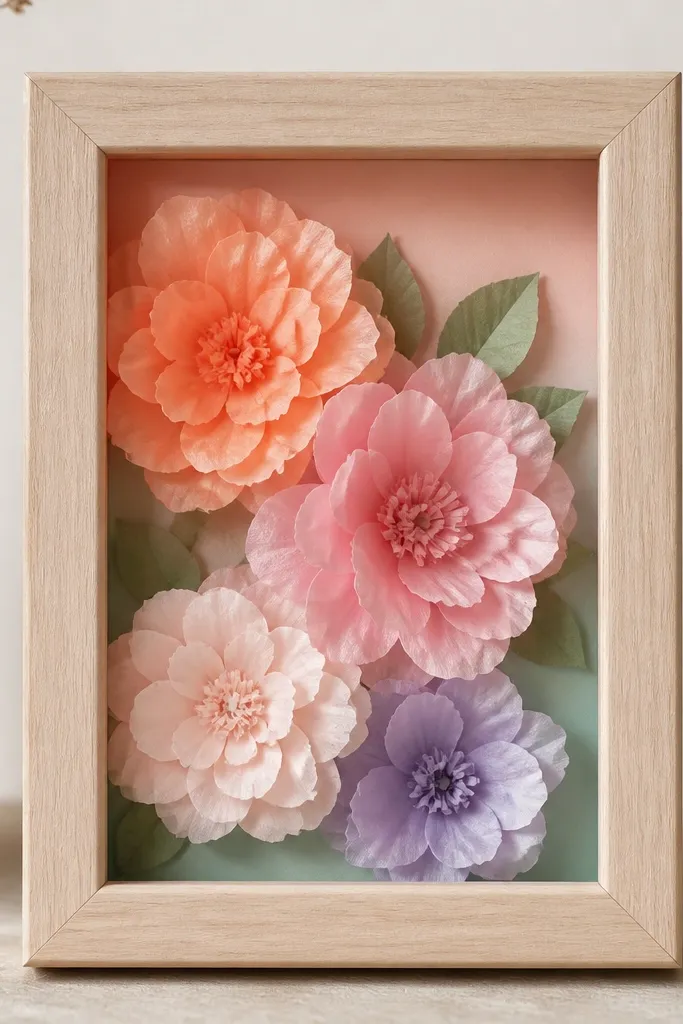
This is a trick for people who want decor on the wall but have zero floor or shelf space. A picture frame lets you keep tissue flowers contained and flat, while still giving dimension. I use a gradient palette — cream to pale peach — because it looks gentle and expensive in close-ups. It flatters small rooms by adding color without blocking doors or walking paths. If you have kids or pets, this also feels safer because the flowers sit behind the frame.
Editor's noteIf your frame has glass, skip it — tissue can stick to condensation and warp. Use plastic only if it’s clean and dry.
Remove the backing from a small frame (8x10 works great) and cut a backing board from cardstock or thin cardboard. Glue a few mini flowers on top of the board: make 5-6 blooms at about 6 inches wide using accordion folds. Layer them from top to bottom so the top flowers sit higher and the bottom ones slightly overlap. Secure the board back into the frame and add a small border of tissue along the edges for a polished look.
Skip thisDon’t use too many flowers; a frame looks best with 5-7 pieces, not 20.
15. Tissue Paper Cherry Blossoms on a Thin Branch
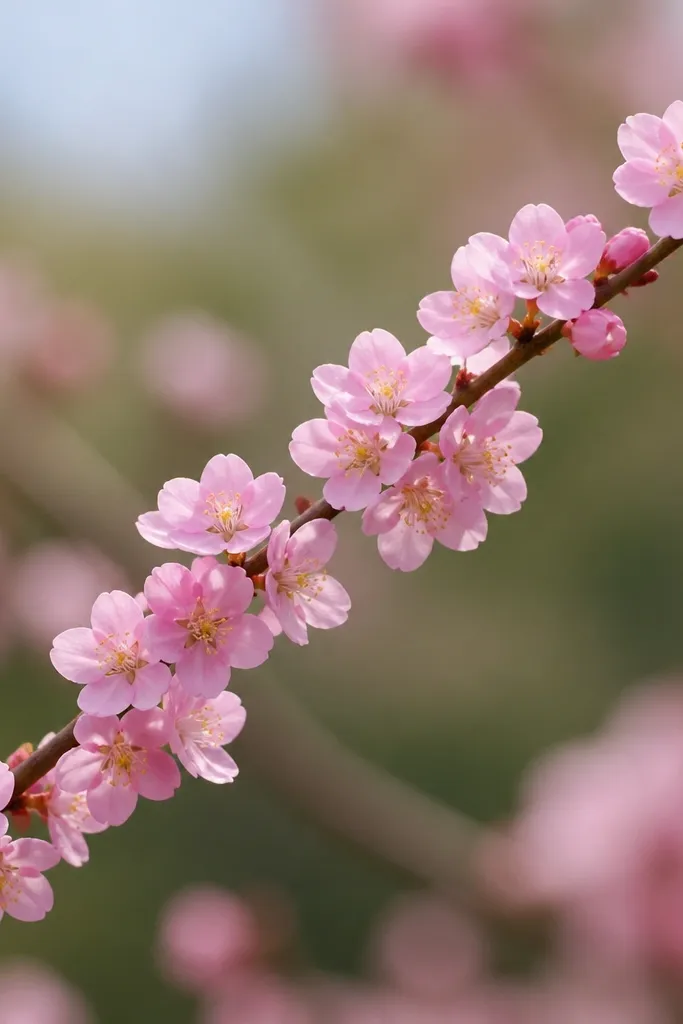
Cherry blossoms are perfect for small spaces because they’re delicate and airy. You can cluster them along a thin branch without needing a big base, and the overall shape stays light. I use pale pink tissue with a tiny yellow center made from rolled tissue or a dot of craft paint. This flatters small rooms because the blossoms don’t take up much horizontal space. It also looks great in corners where you want softness without bulk.
Editor's noteMist the blossoms with a little water after assembly so the petals relax and look more like petals than cut paper.
Cut pink tissue into 2.5-inch squares, then fold each square into quarters and snip rounded petal edges so you get a five-petal look when you open it. Glue five petals around a tiny yellow center on a small circle base. Repeat until you have 12-16 blossoms, then glue them along a thin branch stick spaced about 1 inch apart. Anchor the branch in a jar or vase using foil wrapped with tape so it stays steady.
Skip thisSkip oversized petals; anything over 3 inches wide starts looking like a generic flower.
16. Tissue Paper Lotus Flower with Rolled Center
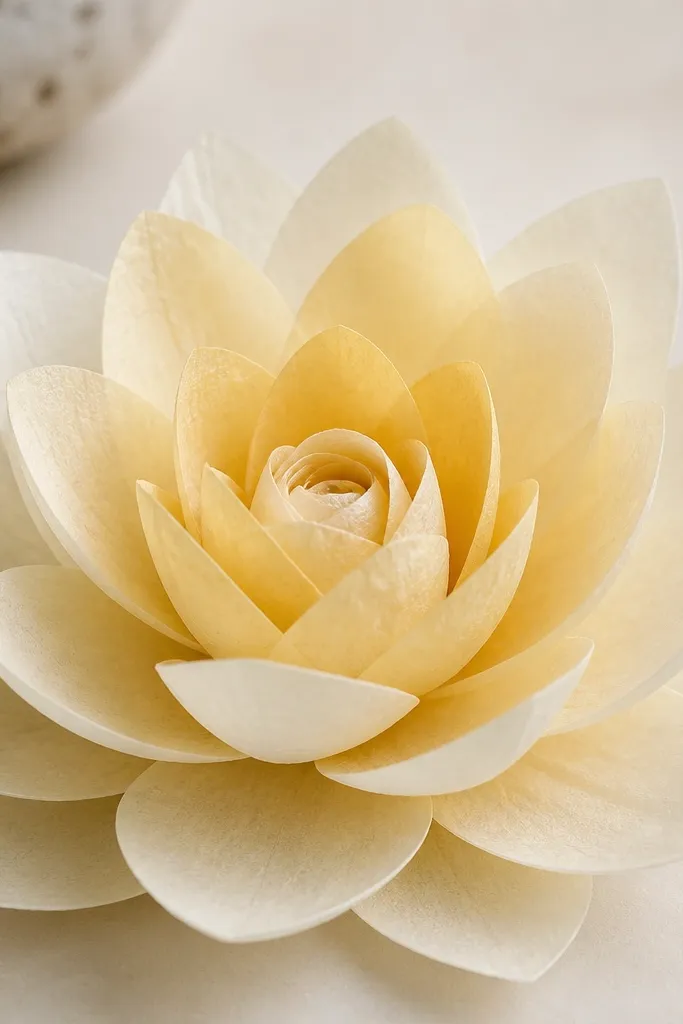
Lotus flowers look calm and sculptural, and they fit small spaces because they’re built in layers that spread slowly outward. I make mine with cream and pale gold tissue so it feels warm without looking bright. The rolled center adds height and keeps the bloom from looking flat. This flatters small rooms because it brings a gentle shape that doesn’t fight your furniture lines. In a corner vignette, a lotus looks like decor, not a party craft.
Cut cream tissue into 6-inch squares, then fold each square into a cone shape and pinch the bottom to create a petal. Glue petals in a ring on a small base circle, then add a second ring with slightly larger petals. For the center, roll a thin strip of pale gold tissue and glue it upward. Finally, curl a few outer petals outward with your fingers so the lotus opens like a water lily.
Use a slightly thicker tissue for lotus petals so the cone shape holds while you pinch.
Don’t glue petals too tightly; lotus looks best with visible overlap and gaps.
17. Compact Tissue Paper Peony Pom at 8 Inches
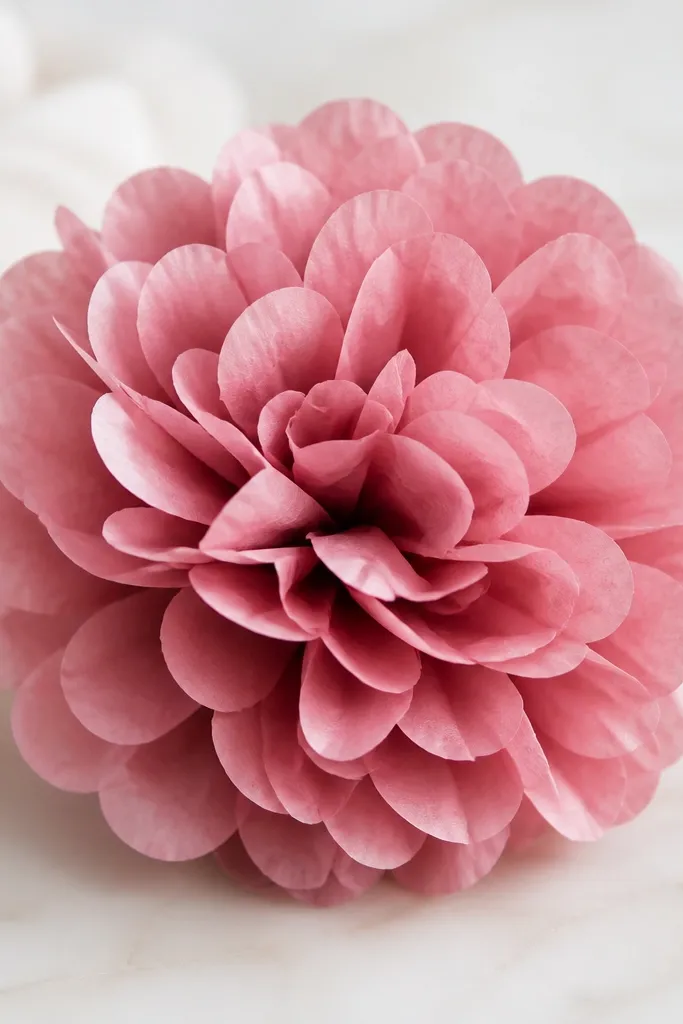
If you want a fast, room-friendly “wow” piece, this compact peony pom is it. It looks like a full flower ball but stays small enough for windowsills and tight shelves. Dusty rose tissue is forgiving and hides any minor uneven cutting because the color blends the edges. This is flattering in small rooms because it adds softness without pushing outward too far. I’ve used these as photo backdrops on a 4x6 foot table layout.
Editor's noteTrim the edges with scissors in short snips — it makes the pom look handmade, not machine-cut.
Stack 6-8 layers of dusty rose tissue and accordion-fold the stack into a fan. Pinch the center and tie with thin string or wire, then separate layers one by one. Trim the folded edges into rounded petals. Glue a small rolled center (cream tissue) to the tied middle, then fluff until the pom reaches about 8 inches wide. Hang it from a command hook using the string loop at the center.
Skip thisDon’t hang it too low; a droopy pom makes the petals look flattened.
18. Tissue Paper Flower Name Tags for a Party Table
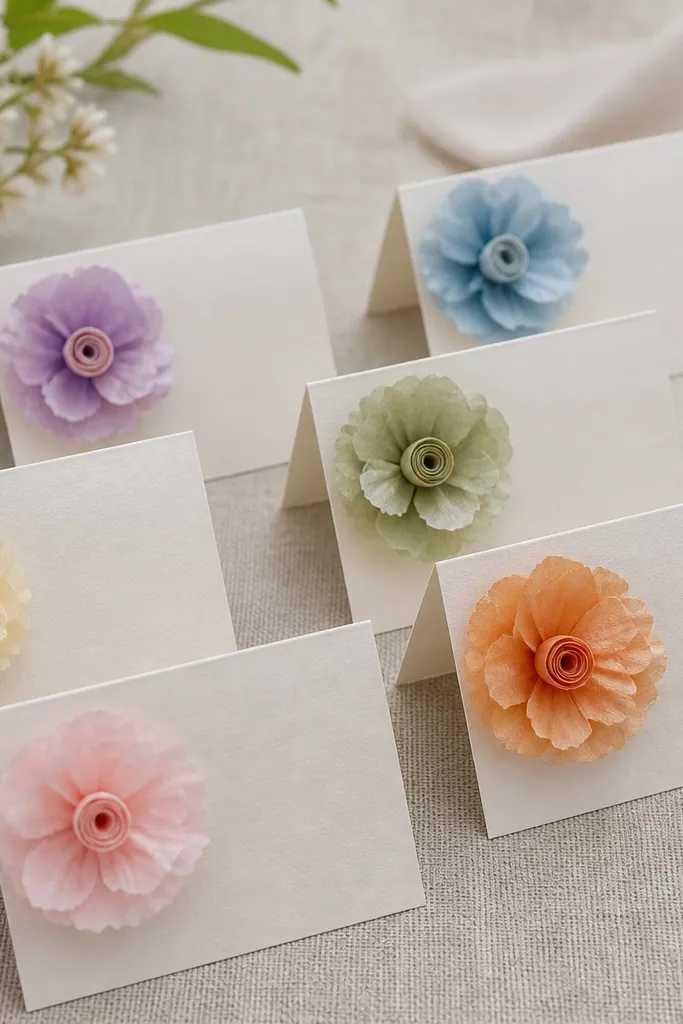
This is decor that doubles as function, and it works in small spaces because it stays on the table. I make mini tissue flowers at 3-4 inches wide and attach them to place cards, so you get color without needing a centerpiece. The look is clean because the flowers sit upright on cardstock, not loose on a string. It flatters mixed seating because everyone gets a matching detail, and the bright centers help guests find their spots quickly. I used this for a birthday where the table was narrow and couldn’t hold a big arrangement.
Editor's noteUse the same center color across all tags so the table looks intentional even with different petals.
Cut cardstock name tags and punch a small hole at the top to thread ribbon if you want it hanging. Make mini flowers by folding 2-inch accordion strips and gluing them into a small circle base. Add a tiny rolled center using tissue rolled around a toothpick and trimmed. Glue one flower to the front of each tag, then press flat for 30 seconds so the tissue doesn’t curl.
Skip thisSkip loose glue blobs; they wrinkle tissue and show through on camera.
19. Tissue Paper Starburst Flower for Window Light
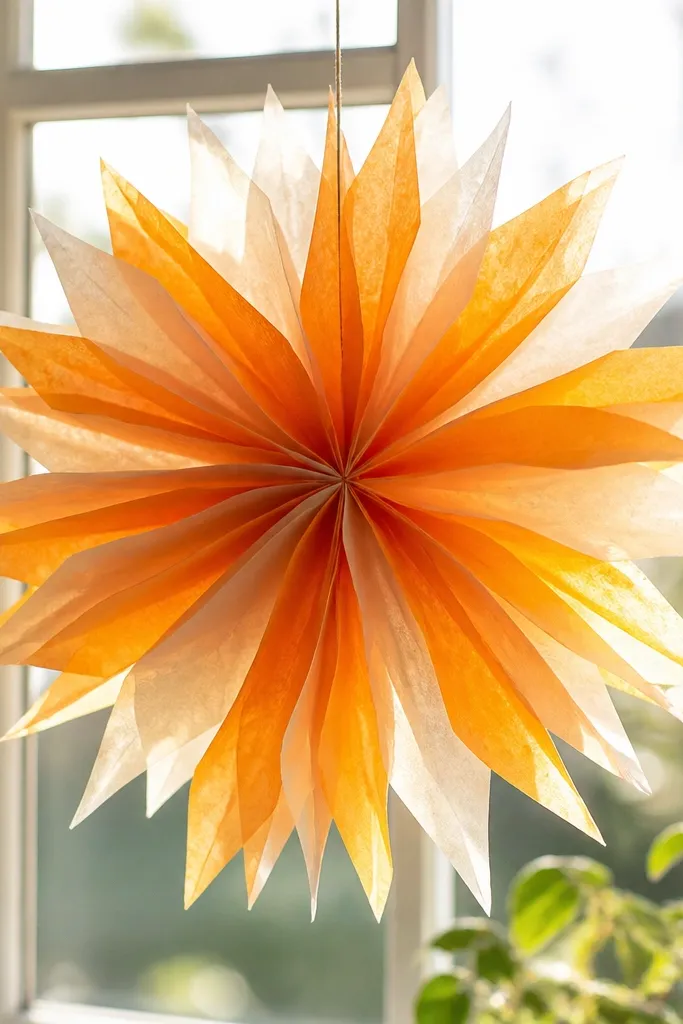
Starburst flowers look incredible in windows because light passes through the tissue and makes the petals glow. They’re also great for small spaces because they don’t need a thick center — the petal geometry does the work. I use alternating colors like yellow and white or teal and cream so the burst reads layered. It flatters the room by adding movement from day to day light changes, even if you don’t touch anything. This is my pick for renters because it hangs with simple removable hooks.
Cut tissue into long narrow strips about 1 inch wide and 10-12 inches long. Accordion-fold each strip and pinch the middle, then glue the folded strip to a small circle base. Alternate colors as you glue around the circle so you get that striped effect. Add a tiny rolled tissue center in a matching color, then hang near a window with a string loop at the top. Adjust the angle so the petals open like a fan.
Use slightly translucent tissue if you have it; it makes the window glow effect stronger.
Don’t make the strips too wide; wide strips turn into a ruffle instead of a starburst.
20. Tissue Paper Flower Wands for Kids and Party Corners
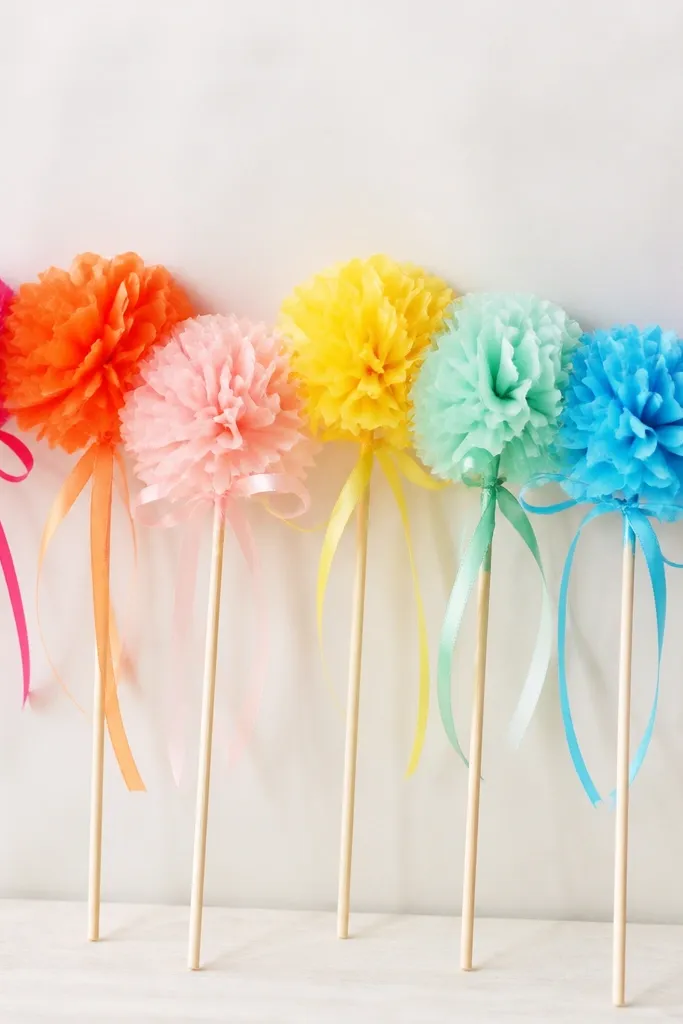
Wands are a sneaky way to decorate a small party corner because guests can move them around. The flowers stay lightweight, so you’re not battling heavy centerpieces on a crowded table. I make blooms in bright colors like turquoise, coral, and sunny yellow so they look cheerful in indoor lighting. This flatters small spaces because it creates vertical interest without permanent wall clutter. If you’re hosting and you need something hands-on, this one always gets picked up.
Make mini accordion flowers using 3-inch wide tissue strips folded into fans and pinched at the center. Glue each bloom to a wooden skewer, then wrap the base with a small strip of green tissue to hide the glue. Tie a short ribbon loop near the top of the skewer for grip and decoration. Repeat for 8-12 wands and place them in a jar or vase with floral foam so they stand upright.
Add a second mini bloom 1-2 inches below the first for a fuller wand without increasing width.
Don’t use metal skewers without wrapping; they can snag tissue and make glue pop.



