


1. Ticket Stub Shadow Box With Date Tabs
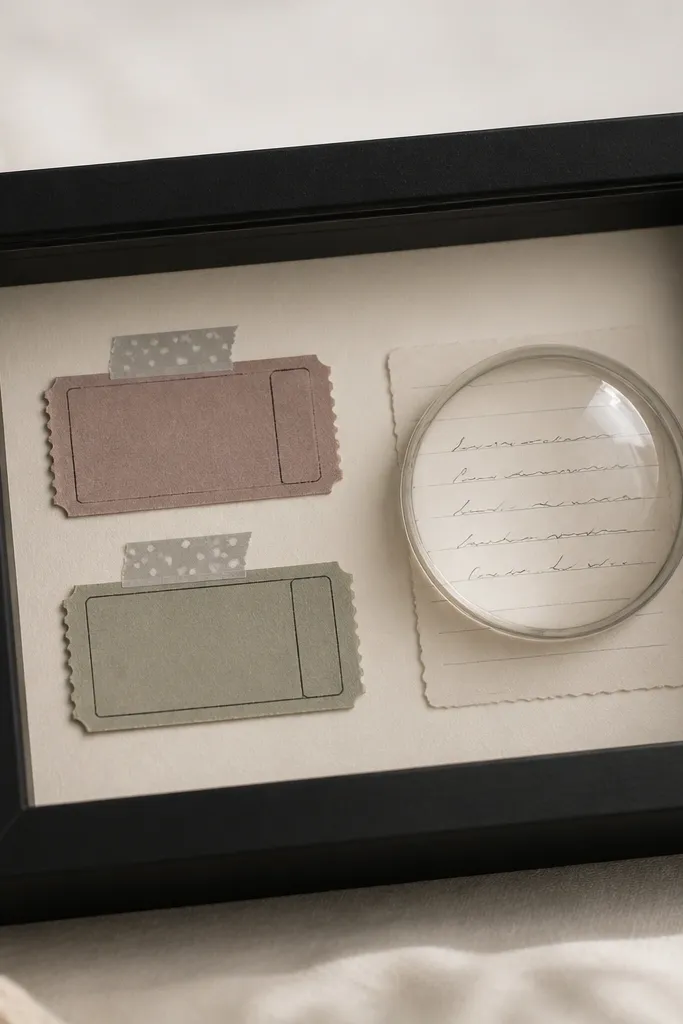
This is the gift I make when I want the memory to feel “collected,” not pasted. Use a black shadow box frame about 8x10 inches and a backing of cream cardstock so the ticket colors pop. I arrange the stubs in a slight diagonal — left lower corner to right upper corner — then add two date tabs made from narrow paper strips so the story is readable at a glance. It looks good on nightstands and desks, especially in homes with dark furniture because the frame grounds it. The handwritten note should be on heavier paper (like 120lb cardstock) so the ink doesn’t bleed when you seal it.
Start by cutting your backing cardstock to fit the shadow box interior and dry-laying everything first. Add the ticket stubs, then place the date tabs using a tiny dot of archival glue at the center of each strip (not along the edges). Write your note with archival ink, then trim it to fit the open space. Finally, seal the note with a clear matte spray and let it cure fully before closing the glass so nothing fogs.
Editor's noteIf your tickets are glossy, rough-sand them for 10 seconds with very fine sandpaper before sealing so the topcoat grips.
Skip thisAvoid stacking stubs without a backing card — loose edges look messy through the glass.
2. Photo Locket Keychain Using Epoxy Resin Domes
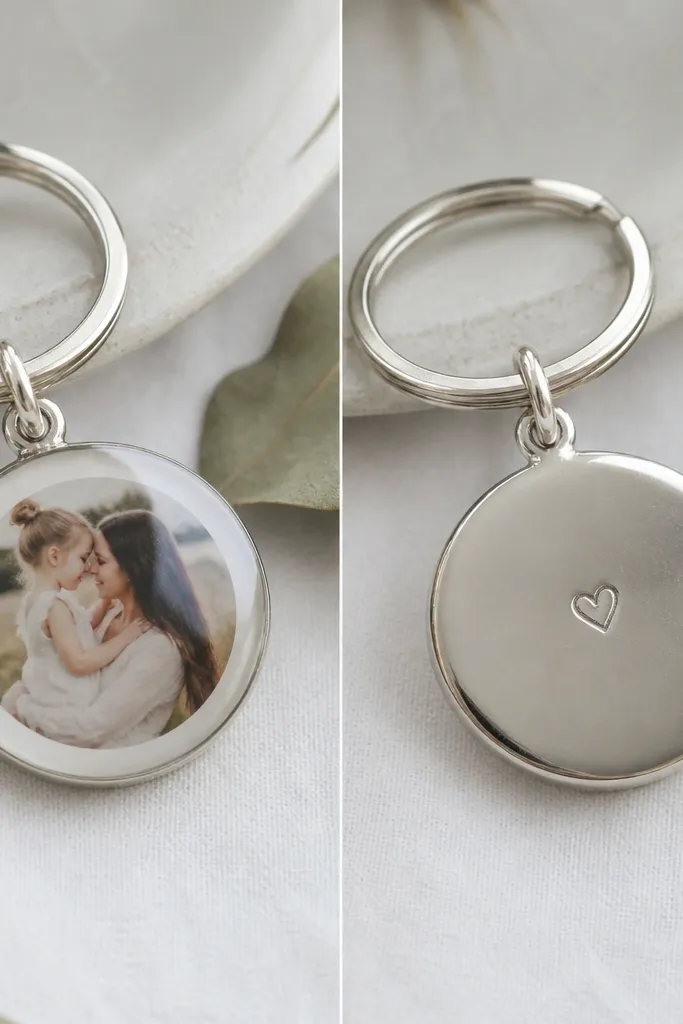
This one hits because it’s small enough to carry and pretty enough to be used. I use a round locket-style bezel charm (about 25mm) with a clear epoxy dome so the photo stays protected. The photo looks best in a simple black-and-white edit with a thin white mat so it doesn’t look washed out under resin. Choose a background paper that matches his style — heather gray or navy works great if he wears dark tees. The resin gives you that “jewelry” shine without needing fancy jewelry tools.
Start by printing the photo on photo paper, then cut it slightly smaller than the inside bezel (leave a 1-2mm border). Mix epoxy resin in small batches and apply a thin layer to the bezel, then place the photo and gently press it flat. Pour the final layer and pop bubbles with a toothpick tip. Let it cure undisturbed for the full time on your resin bottle, then attach the key ring and test the hinge for smooth closing.
Editor's noteTint your photo border with a light pencil sketch frame or a thin strip of washi tape so the cut edges don’t show.
Skip thisAvoid using regular printer paper under resin — it curls and creates cloudy spots.
3. Fabric-Covered Letterboard With His Name and Your Inside Quote
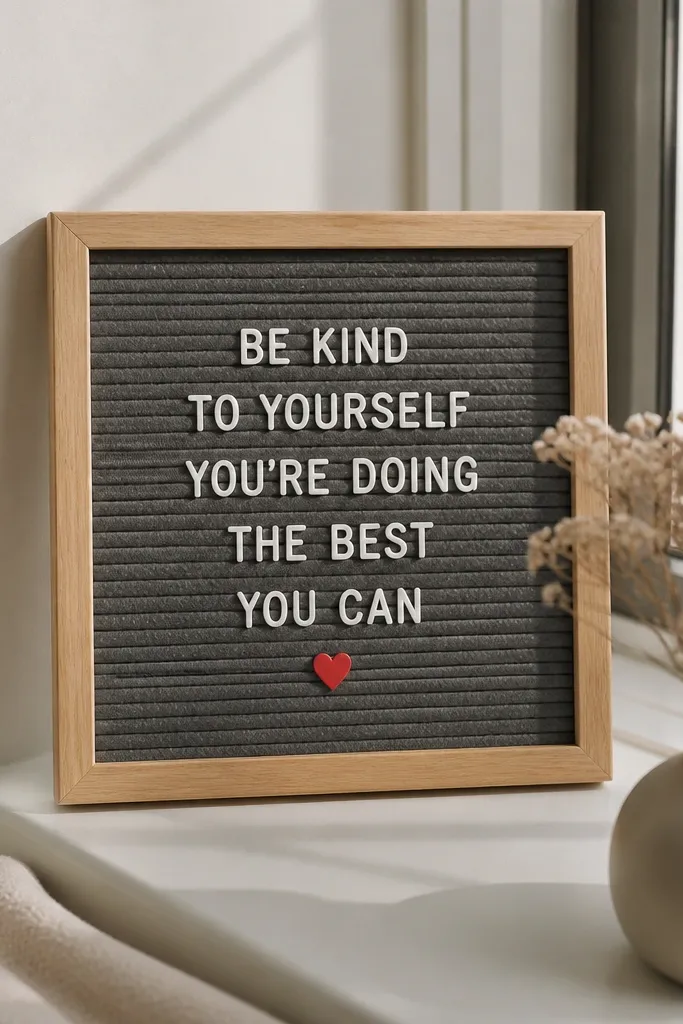
If he likes his space tidy, this is the sentimental DIY gift that looks like decor. Use a standard letterboard size (mine is about 8x10 inches) and cover the board with a fabric that matches his room — dark gray felt or charcoal cotton canvas both look clean. Pick one quote he’ll recognize instantly, then keep it short enough to fit in one or two lines. Use white letter tiles for contrast and one accent color (I like a small red heart or gold star) so it doesn’t look like a craft project. This flat, matte look suits people who prefer minimal style and doesn’t overpower a desk setup.
Start by removing the original insert if it’s glossy and replace it with your fabric-covered insert so the tiles grip. Stretch the fabric tight and staple or glue it to the back evenly, then trim the edges clean. Arrange the letters dry first so spacing looks intentional, then place tiles and add the accent sticker or tiny embroidered icon. Take a photo of the layout before you hand it over, because letterboards change and you’ll want to remake it later.
Editor's noteChoose fabric with a tight weave. Loose felt sheds fibers into the grooves of the letterboard.
Skip thisAvoid using shiny satin fabric — it makes the tiles slide and the spacing looks off.
4. Map Coordinates Framed Print With Raised Thread Lines
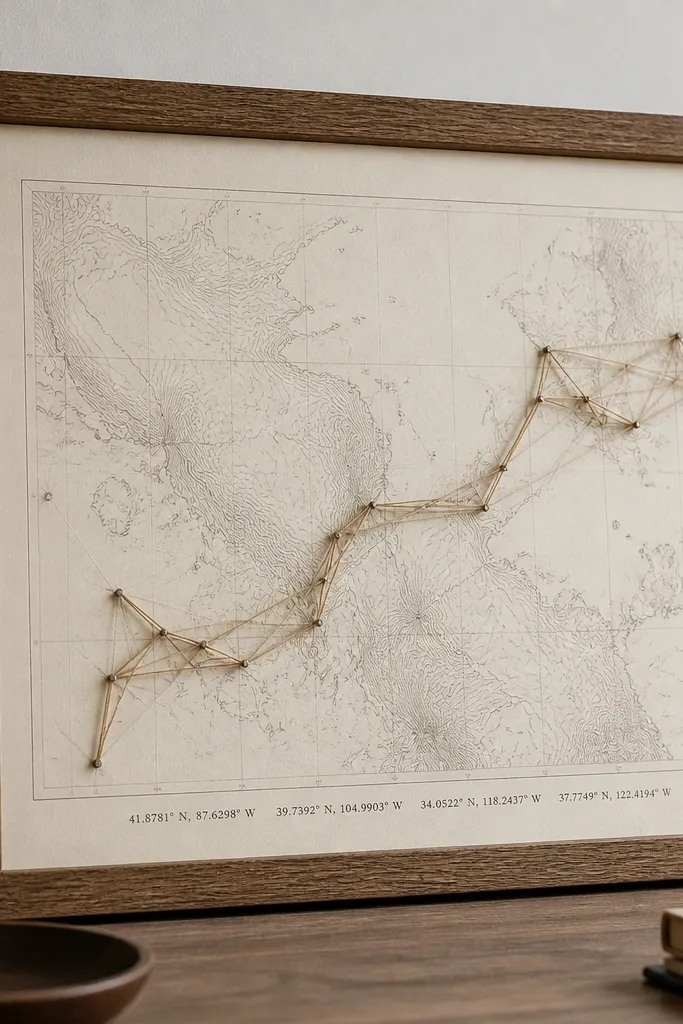
This feels personal without needing a photo, and it looks classy on walls. Print a map section with the exact coordinates where you met or had your first trip, then add raised thread lines that trace the route. The raised texture catches light and reads as intentional craftsmanship, not flat decoration. I frame it in a thin wood frame in oak tone because it warms up the cream background and keeps it from looking cold. This works especially well if he likes travel or has a clean, modern style.
Start by printing the map on matte paper and cutting it to fit your frame opening with a 1/8-inch margin. Use a pencil to lightly sketch your route, then anchor the thread at two points with tiny dots of hot glue. Wrap and pull the thread tight, then glue down at intervals so the line stays straight. Finish by adding the coordinates typed or stamped at the bottom, then seal the print with a matte spray before framing.
Use embroidery thread in one color (black or dark olive) so the map stays readable.
Avoid using a thick yarn — it looks bulky and hides the map details.
5. Handwritten Recipe Card With Food-Safe Lamination
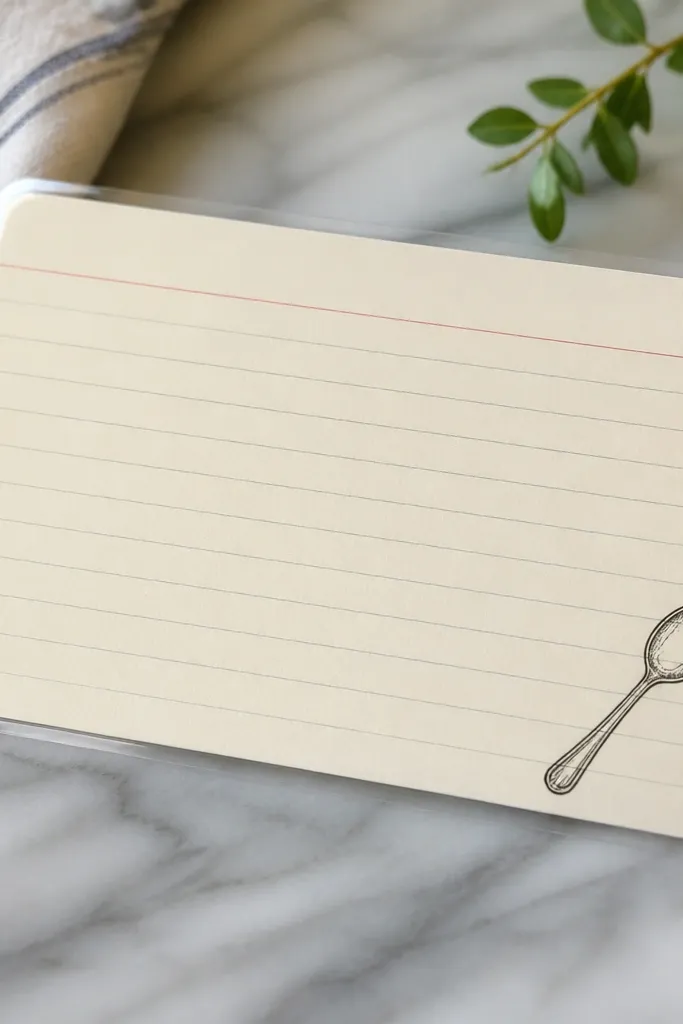
This gift hits hard if he cooks, grills, or even just makes coffee. Write a simple recipe you both love on 4x6 index card stock, then laminate it so the ink survives steam and kitchen oils. I use food-safe clear laminating pouches and trim the edges with a corner rounder so it looks store-bought. Choose a font-like handwriting style by using a gel pen with consistent pressure. The glossy lamination makes the handwriting pop, and the rounded corners keep it from getting bent in his drawer.
Start by practicing the handwriting on scrap paper, then transfer it to the card once the spacing looks right. Add a small ingredient list and one “do this when it looks like...” line based on your real experience. Laminate the card using a pouch meant for documents, then trim it and round corners. Punch a small hole and add a binder ring so he can keep it with other kitchen notes.
Editor's noteWrite on the dry side. If you use gel pen on slightly slick paper, the ink smears under heat.
Skip thisAvoid skipping lamination — handwritten ink bleeds fast in a kitchen.
6. Custom Denim Photo Patch Jacket Panel
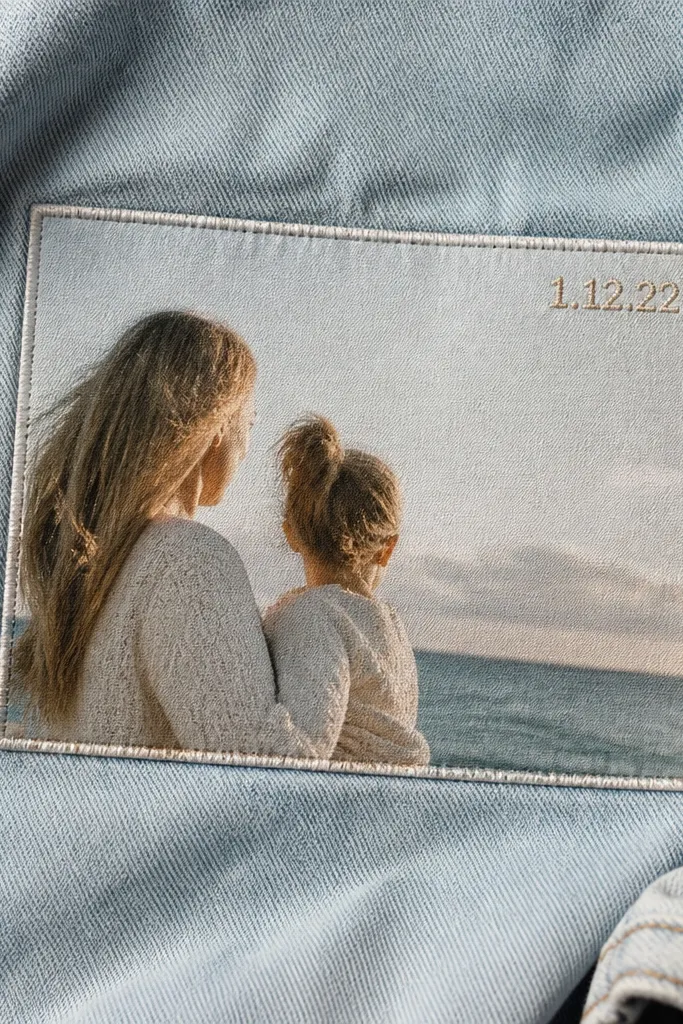
If he wears a jacket or bag, this is the most wearable sentimental gift. You’re making a removable panel, not a full garment, so it’s easier and looks intentional. Use light-wash denim as the base and attach a printed fabric photo patch in the center, then stitch around the photo with contrasting thread. It looks best when the denim and thread colors contrast — think denim blue with off-white thread. This suits guys who like streetwear or who carry a bag and appreciate texture.
Start by cutting denim to about 6x8 inches and hem the edges with a simple double-fold stitch. Print your photo on fabric transfer paper compatible with your printer, then iron it onto a fabric square that matches the denim weight. Place the photo square centered and stitch around all four sides with a thick needle and thread. Add a small embroidered date with backstitch at one corner, then attach a velcro strip to the back so it can be moved to a jacket or tote.
Use a longer stitch length on denim so the patch looks rugged instead of delicate.
Avoid ironing directly onto thick denim without a pressing cloth — the print can distort.
7. Corkboard Message Strip With Map Thumbtacks
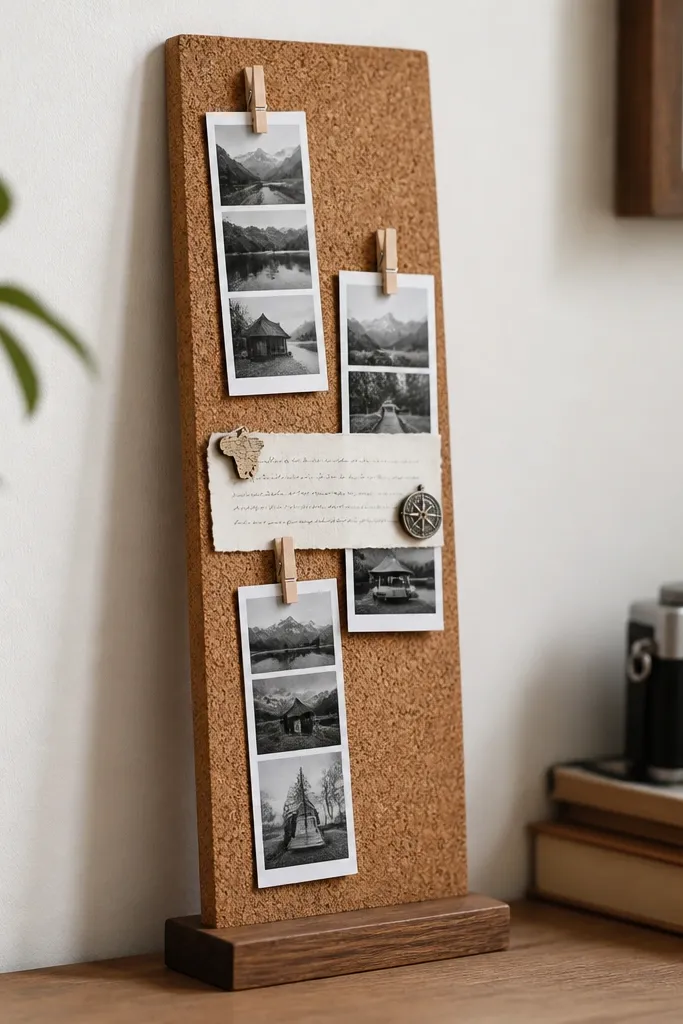
This is for the boyfriend who likes seeing things without cluttering the whole room. A narrow corkboard strip (about 10 inches long) keeps the sentiment contained and tidy. I use mini clothespins for photo strips because they let you swap pictures later, and the photos don’t curl like glued paper. Thumbtacks with compass or map shapes add a theme without needing more craft supplies. The cork texture keeps everything looking grounded, not like a scrapbook explosion.
Start by mounting the cork strip on a wood base with a simple L-bracket or strong adhesive strip made for wall mounting. Cut photo strips to equal widths and thread them into the clothespins. Write one short message on cardstock, then pin it with two thumbtacks so it doesn’t sag. Add a tiny index-card envelope or folded note pocket at the bottom using hot glue.
Editor's noteUse two clothespins per photo strip if the paper is heavy — it prevents the photo from bending over time.
Skip thisAvoid using regular push pins with bright neon heads — they look cheap against cork.
8. Engraved-Style Key Organizer Tray From Painted Wood Slats
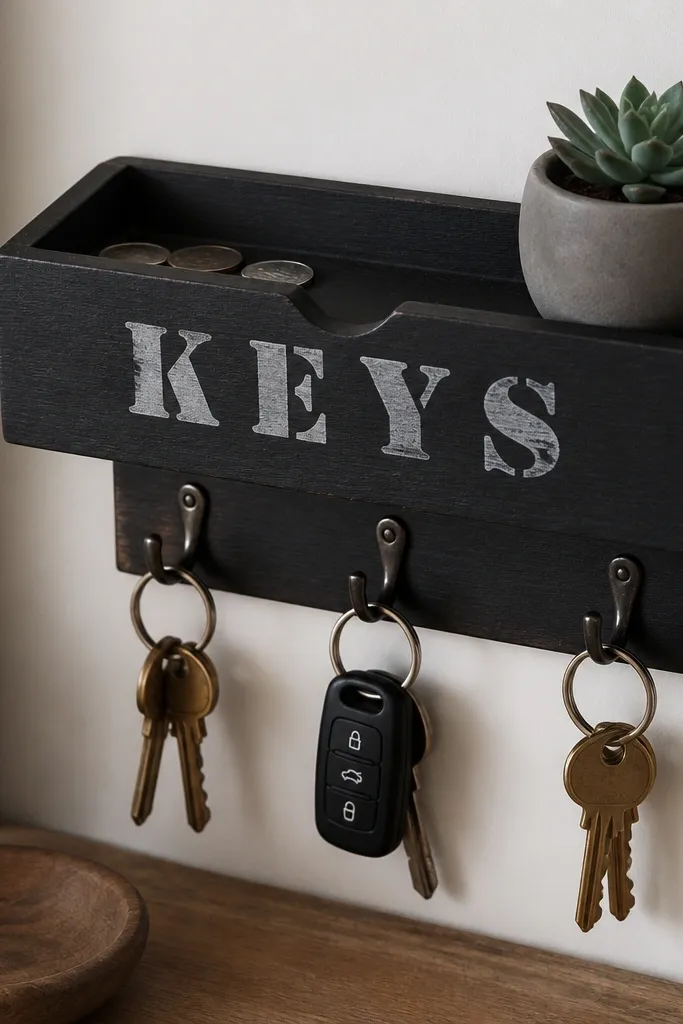
This is sentimental because it’s a daily habit gift. He drops keys there, and the message gets seen every day without you needing to text it. I build this from a shallow wooden tray or layered wood slats so it doesn’t wobble, then I paint it matte black or deep espresso. The text looks real when you stencil and then paint over the stencil with a foam brush. Add three hooks and a small catch notch and you get function plus sentiment. This suits people who have a messy entryway and need a place that looks clean.
Start by sanding the tray lightly and wiping dust with a damp cloth, then let it dry. Tape a stencil in place and paint inside with a foam brush — two thin coats look better than one thick coat. After it cures, seal with matte clear coat so the paint doesn’t scuff. Screw in small key hooks and add a coin notch using a wood chisel or a pre-made insert. Let everything cure 24 hours before he uses it.
Stencil with painter’s tape and burnish the edges with a credit card so paint doesn’t bleed.
Avoid glossy paint — it shows every fingerprint and makes the text look smudgy.
9. Epoxy Photo Coasters With Rounded Corners
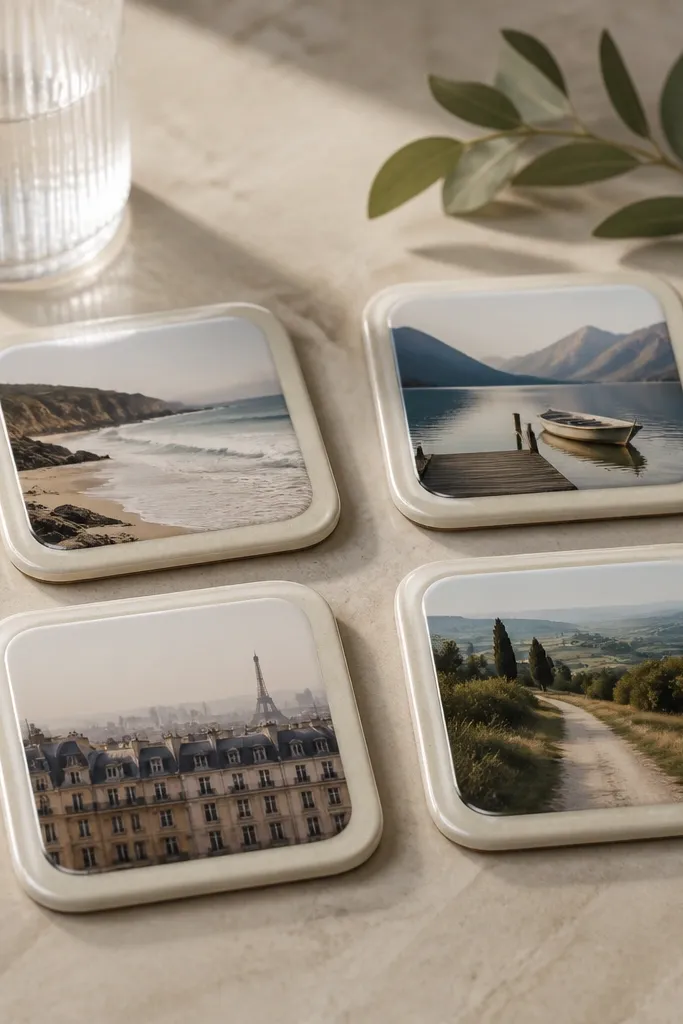
Coasters are practical, and practical is how sentiment lasts. I use square coaster blanks (about 4 inches) with rounded edges so they don’t look like a craft kit. Place a tiny photo strip in the center with a light border, then pour epoxy to seal it. The epoxy makes the photo look suspended, and it’s easy to wipe down after drinks. This looks best in a set of four, especially if his home has a wood table or neutral decor.
Start by cutting photos to about 1.5 inches square and trimming them cleanly. Lightly rough the coaster surface and wipe with alcohol so epoxy sticks. Arrange the photo centered, then mix epoxy and pour a thin base layer before placing the photo. Pour the top layer, pop bubbles with a gentle heat gun pass from a distance, and cure fully. After curing, sand the very top edge if needed so the coaster sits flat.
Editor's noteTest your epoxy mix ratios with one spare coaster blank first so you don’t waste your real photos.
Skip thisAvoid uneven pours — if one side cures thicker, the coaster rocks.
10. Candle Jar With Heat-Set Vinyl Quote
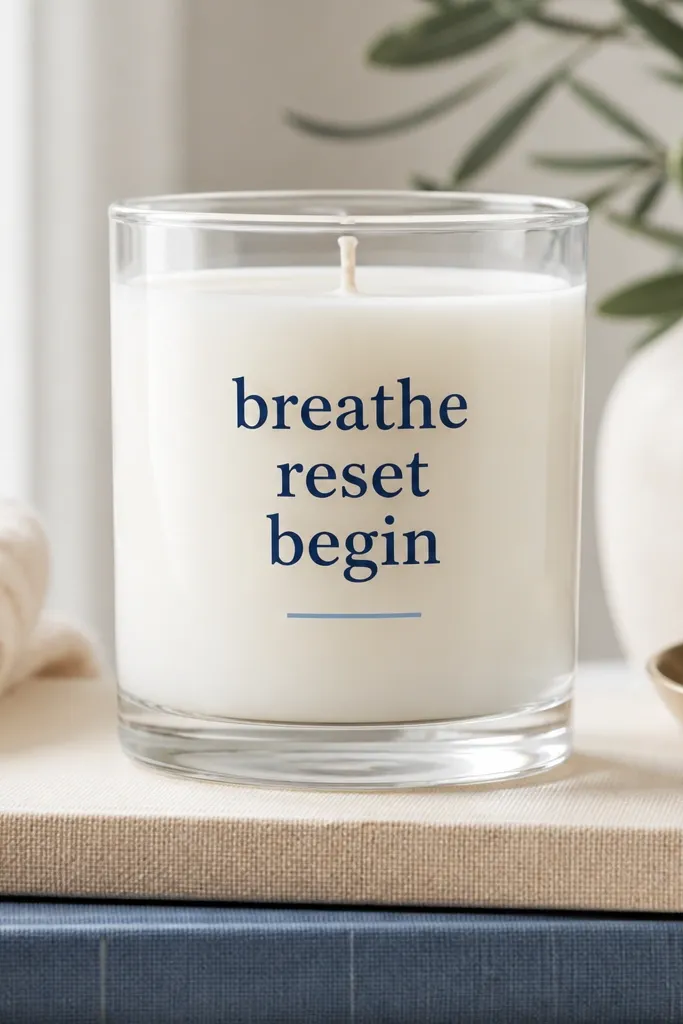
This is sentimental because it looks like decor even when the candle is off. Using heat-set vinyl means the quote doesn’t smear from candle heat the way printed labels do. I pick a candle jar size that’s at least 8 ounces so there’s enough glass for a clean centered design. Choose vinyl color based on the wax: cream wax looks great with navy or forest green text. It’s a strong fit for boyfriends who like clean shelves and don’t want a “crafty” looking gift.
Start by cleaning the glass with rubbing alcohol so vinyl sticks without peeling. Cut your quote in heat-set vinyl using a cutting machine or pre-cut vinyl letters, then place it with transfer tape. Use a heat tool or press according to the vinyl brand instructions, moving evenly across the text. Once applied, add a small wax-safe sticker on the lid for your date or initials. Let it cool fully before gifting.
Keep the quote one line if possible. Two lines look crooked on curved glass unless you measure carefully.
Avoid regular craft glue labels on glass — they peel after heat exposure.
11. "You + Me" Embroidered Key Fob in One Color
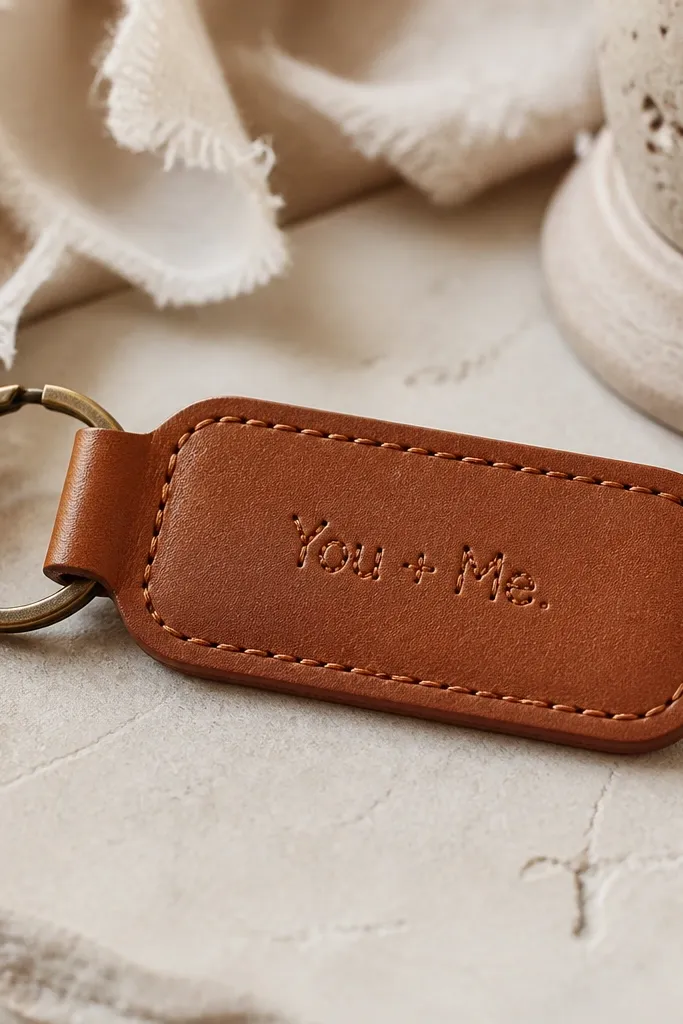
This is a sentiment gift that feels personal without being fragile. I use fabric or faux leather key fob blanks, then embroider one short phrase in a single thread color so it looks intentional. Keep the design small — about 1.5 inches across — so it doesn’t look bulky on keys. One-color embroidery also hides uneven stitches better than multi-color designs. This flat, wearable style suits boyfriends who like minimal accessories and who carry keys constantly.
Start by measuring his key ring and cutting the fob to fit so it folds comfortably without twisting. Mark the center with a pencil and stitch a simple border first using a straight stitch or backstitch. Embroider “You + Me” with satin stitch for the letters, keeping each character spaced evenly. Finish by sealing raw edges with fabric fray check if it’s fabric, or a thin edge paint if it’s faux leather. Add a key ring loop and test the fold with his keys.
Editor's noteUse a hoop for the embroidery area. It keeps letters straight even if your hand is shaky.
Skip thisAvoid glitter thread — it sheds and makes the fob look worn fast.
12. Painted Glass Photo Frame With Stencil Corners
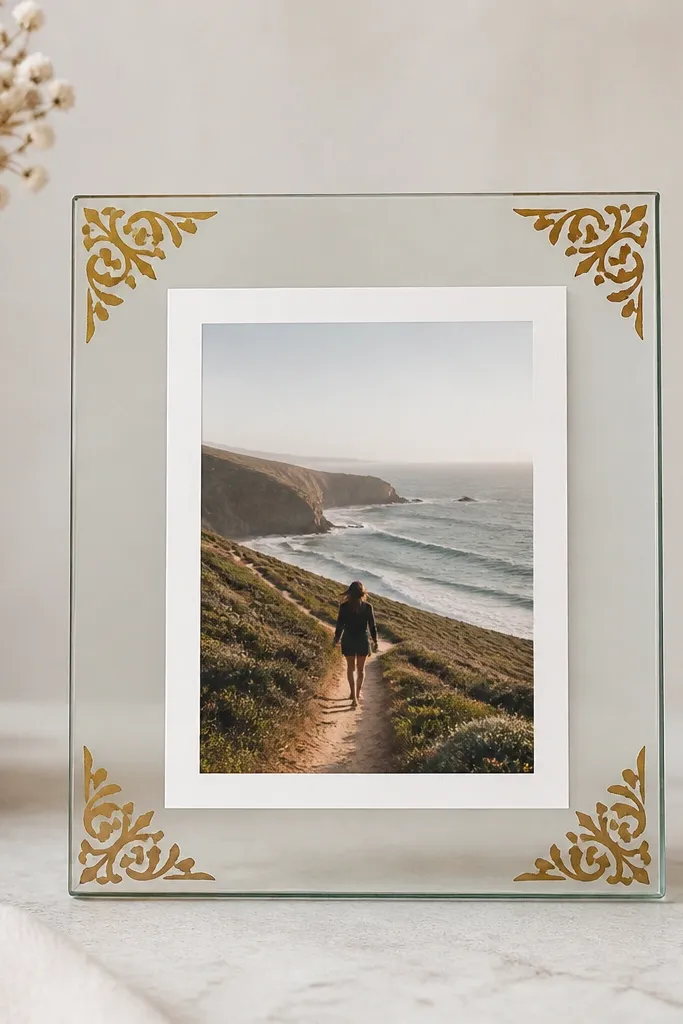
Glass frames can look fancy when you treat them like a surface, not a sticker wall. I paint the frame edges in a soft neutral like matte white or antique cream, then use stencils for the corners in gold or copper. The photo looks sharper when there’s a thin white mat behind it, so the image doesn’t blend into the background. This gift looks good for boyfriends who like home decor and keep photos visible. It also works well for lighter skin tones in photos because the mat prevents color bleed.
Start by removing any backing and cleaning the glass with alcohol so paint doesn’t fisheye. Tape off the photo area and stencil corner shapes on the frame edges. Paint with craft acrylic in two thin coats, letting each coat dry fully. Once dry, seal with a clear acrylic sealer so it resists fingerprints. Insert the photo with the white mat and reassemble the frame carefully.
Editor's noteUse painter’s tape burnished firmly along stencil edges so you don’t get paint under the stencil.
Skip thisAvoid spray paint without masking — overspray gets into the glass and fogs it.
13. Wood Block "Memory Mile" With Pegged Dates
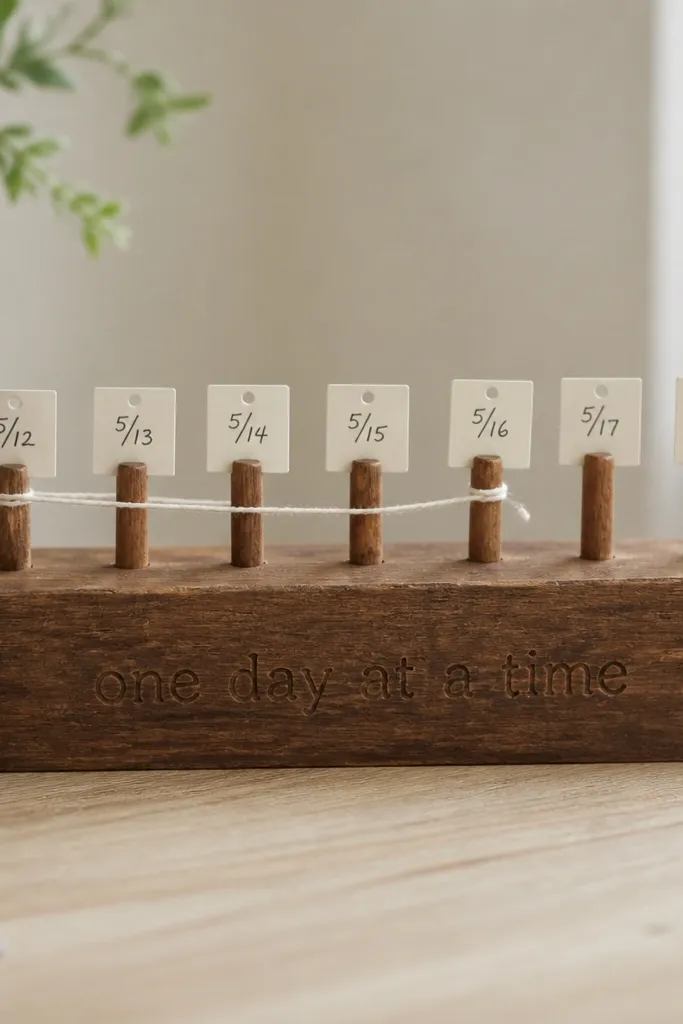
This one feels like a timeline you can touch. I use a small stained wood block (about 5x7 inches) and add pegs along the top edge with date tags. Between two pegs, I stretch thin twine to create a “mile” line, which adds movement when he looks at it. The wood tone makes it feel masculine and warm, especially if he likes browns, black, or dark greens. This works for couples who have multiple small milestones, not just one big event.
Start by drilling evenly spaced holes for the pegs, then stain the block and let it fully dry. Insert pegs and glue them in place with a small amount so they don’t look messy. Write dates on small paper tags and seal the tags with a clear matte spray. Attach the tags to pegs with a tiny loop of thread, then add your carved phrase using stencil and paint or a simple wood-burning tool. Finish by tightening twine between two selected pegs for a visual anchor.
Editor's noteDrill the holes after you stain so the wood grain stays consistent around the peg edges.
Skip thisAvoid uneven spacing — it makes the timeline look like a mistake instead of a plan.
14. Salt Dough Handprint Keychain With Acrylic Seal
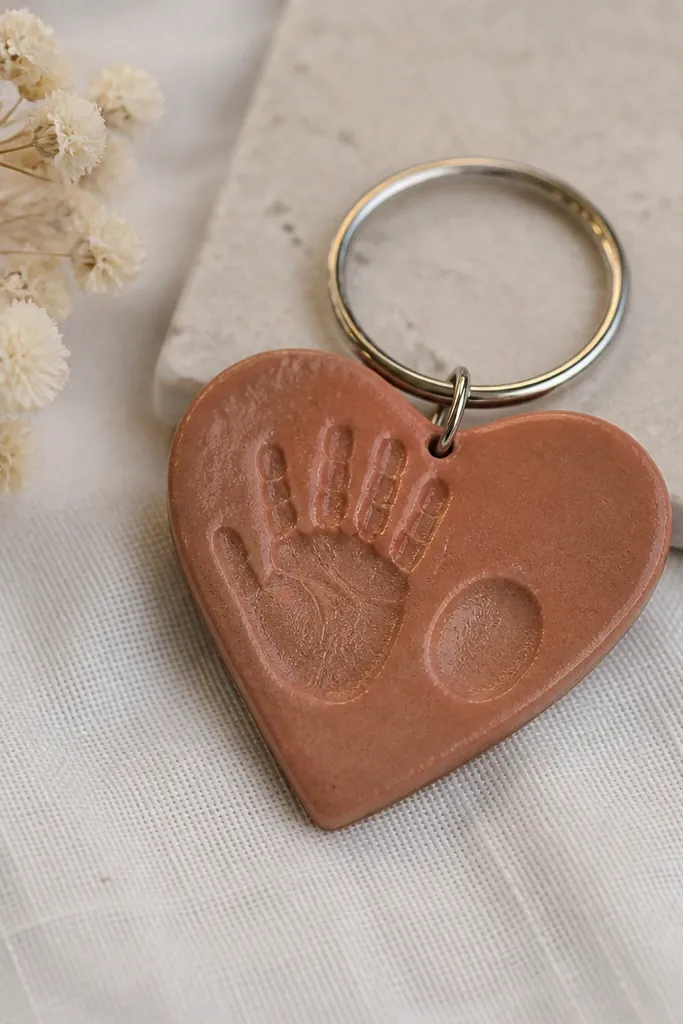
This is for the sentimental boyfriend who likes physical keepsakes. I make salt dough because it’s cheap, and the texture holds hand impressions clearly. Seal it with acrylic so it doesn’t crumble, then paint it in a muted clay tone or soft gray so it doesn’t look toy-like. Add a metal key ring and a short date stamp so it feels like a real item. This style works well for baby photos, anniversaries, or any moment where texture matters more than a photo.
Start by mixing salt dough (salt, flour, water) until it forms a smooth, non-sticky ball. Roll it to about 1/2 inch thick, press the hand or thumbprint gently, and cut the shape with a cookie cutter. Poke a hole for the key ring before baking. Bake at a low temperature until fully hard, then cool completely. Paint with acrylic paint and seal with clear acrylic spray in thin coats.
If your print is too shallow, re-roll and press again before baking — once it’s baked, you can’t fix it.
Avoid skipping the seal coat — salt dough absorbs moisture and gets chalky.
15. Crochet Bookmark With His Favorite Team Color Yarn
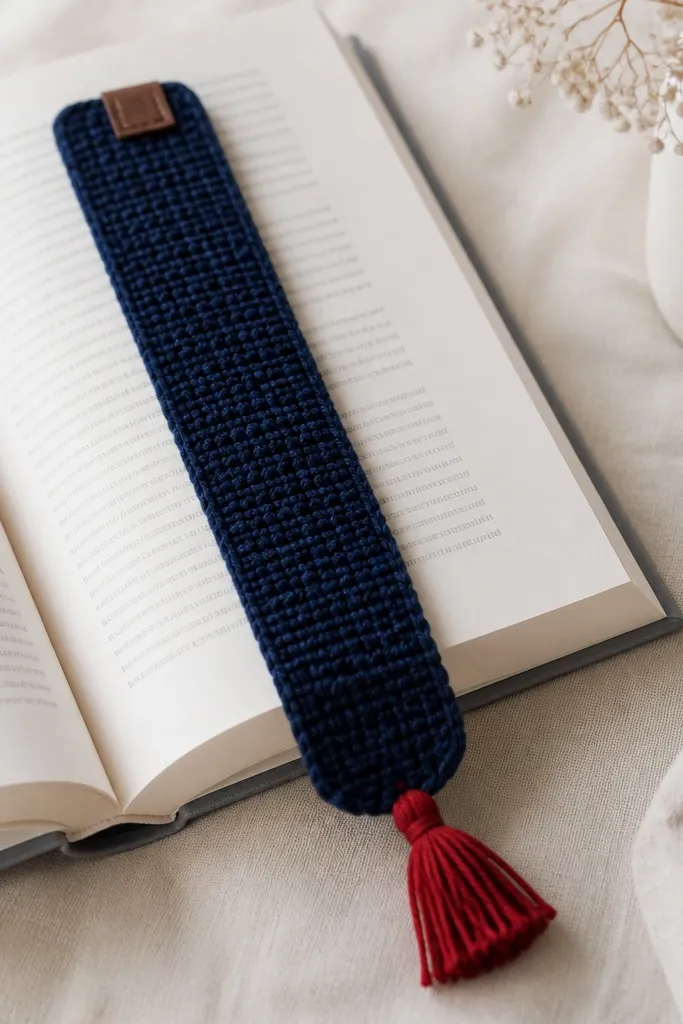
A bookmark is sentimental because it lives in his routine. I crochet bookmarks with a simple textured stitch so they lie flat and don’t bulge pages. Use his favorite team colors or the colors he wears most — deep navy plus a single red accent looks sharp. Add a tiny stitched tag with initials so it feels like yours without needing a big message. This gift suits boyfriends who read, study, or keep notebooks and who prefer practical keepsakes.
Start by choosing worsted weight yarn and a hook size that matches the yarn label so the fabric isn’t too loose. Crochet a narrow rectangle about 2 inches wide and long enough to sit above the page edge (around 8-10 inches). Add a tassel with the accent color and stitch it securely at the bottom. Sew a small rectangle tag near the top with a simple line of embroidery for initials. Lightly steam block so it lays straight.
If he hates scratchy textures, use cotton blend yarn — it feels softer against paper.
Avoid fluffy yarn — it sheds and makes the bookmark look messy.
16. Stamped Metal Tag With Coordinates and a Leather Loop
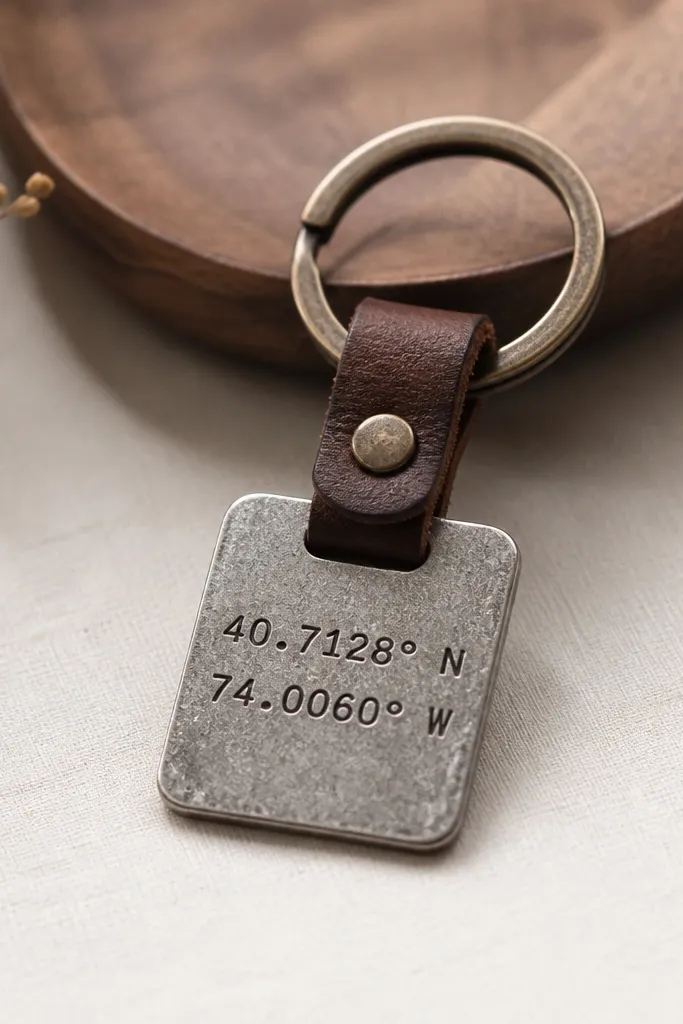
This is sentimental in a way that looks like something you’d buy, not a craft weekend. I use a small metal blank and stamp coordinates or a short phrase with a letter/number punch set. The leather loop makes it feel warm and masculine, especially if he already carries leather wallets or belts. Keep the text short — coordinates only, or coordinates plus initials — so it stays readable. This works for boyfriends who like rugged accessories and who don’t want fragile paper gifts.
Start by rounding the metal blank edges with fine sandpaper so it feels smooth when he handles it. Stamp coordinates centered, using light taps and checking alignment after every few strikes. Clean the metal with alcohol and optionally patina it with a metal finish product, then wipe off excess. Punch a hole at the top corner and thread a leather loop through, tying a tight knot. Attach to a key ring or clip and test the hang so it doesn’t twist.
Practice stamping on scrap metal first. The first few strikes teach you pressure and spacing fast.
Avoid deep uncentered stamps — crooked numbers scream “made in a hurry.”
17. Gel Pen Art on Canvas With a Clear Spray Topcoat
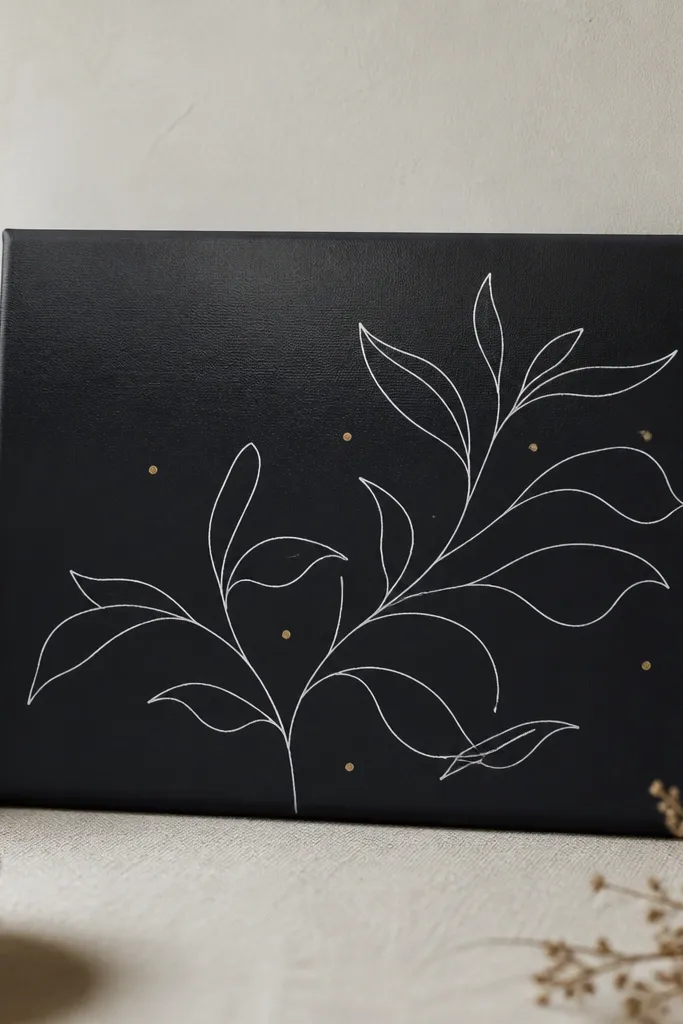
This one is for couples who want a piece that looks like art. I paint a dark background on a small canvas panel (8x10 or smaller), then draw a simple scene or quote using white gel pen. The gel pen creates crisp lines that look like printed illustrations, not messy handwriting. Add a few gold dot highlights with acrylic paint so the piece catches light from the side. This style works best if his room has dark walls, black frames, or a modern minimalist vibe.
Start by priming the canvas if it’s raw, then paint a matte dark base color like charcoal or deep navy. Let the paint cure fully, then draw your image with a pencil sketch lightly. Go over lines with white gel pen and add gold dots only after the gel pen dries. Seal with a matte clear spray in thin coats from a distance so you don’t streak. Mount with picture wire or adhesive hooks once it’s fully cured.
Use matte clear coat, not glossy. Gloss turns gel pen lines into glare.
Avoid sealing too soon — gel pen smears under fresh spray.
18. Mini "Message in a Bottle" Jar With Rolled Notes and Wax Seal
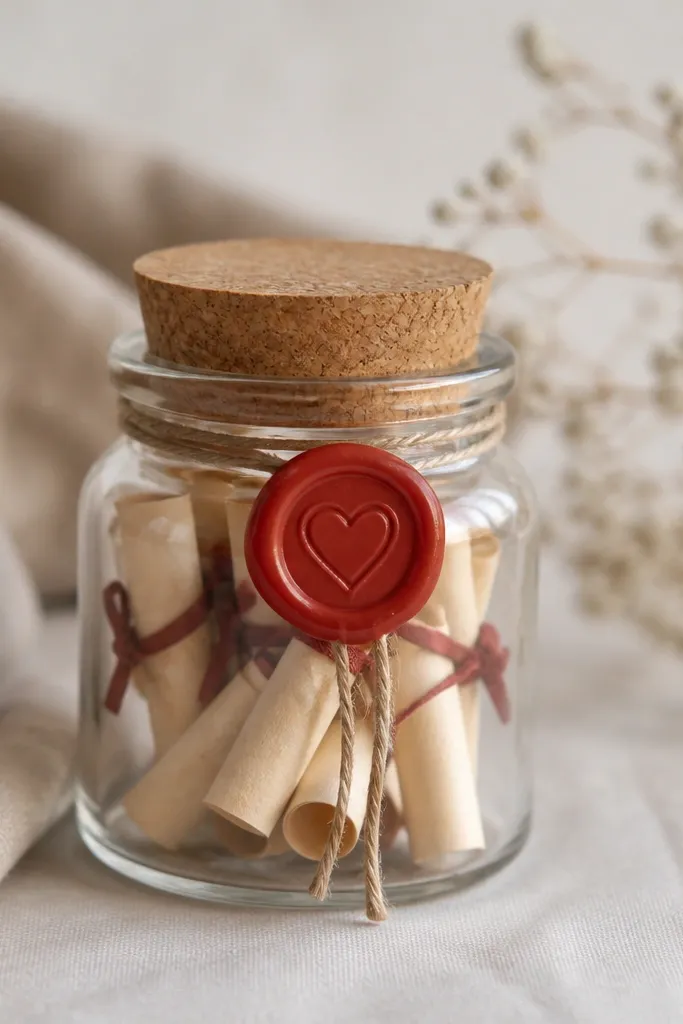
This gift works when you want sentiment to keep giving. I write 12 short messages on narrow paper strips — one for each month, or one for “12 times I noticed you.” Roll each strip tight, tie with thin twine, and stack them so they look tidy. The wax seal gives it that “real gift” feel even though it’s paper inside. Choose jar size around 4-6 ounces so it fits in his hand and doesn’t take over a shelf. It suits boyfriends who like surprises and who don’t mind rereading notes.
Start by cutting paper strips about 1 inch wide and 4-5 inches long, then write one message per strip. Roll them tightly using a skewer or chopstick and tie each roll with a short piece of twine. Add a small label to the inside of the lid so he knows how many messages he has. Melt wax for a single seal on the lid area and stamp it lightly. Let the wax cool completely before placing it in the box.
Keep messages under 12 words so they’re quick to read and don’t feel like homework.
Avoid using flimsy paper — it tears when you roll it tight.
19. Personalized Stemless Wine Glass With Etched-Look Vinyl
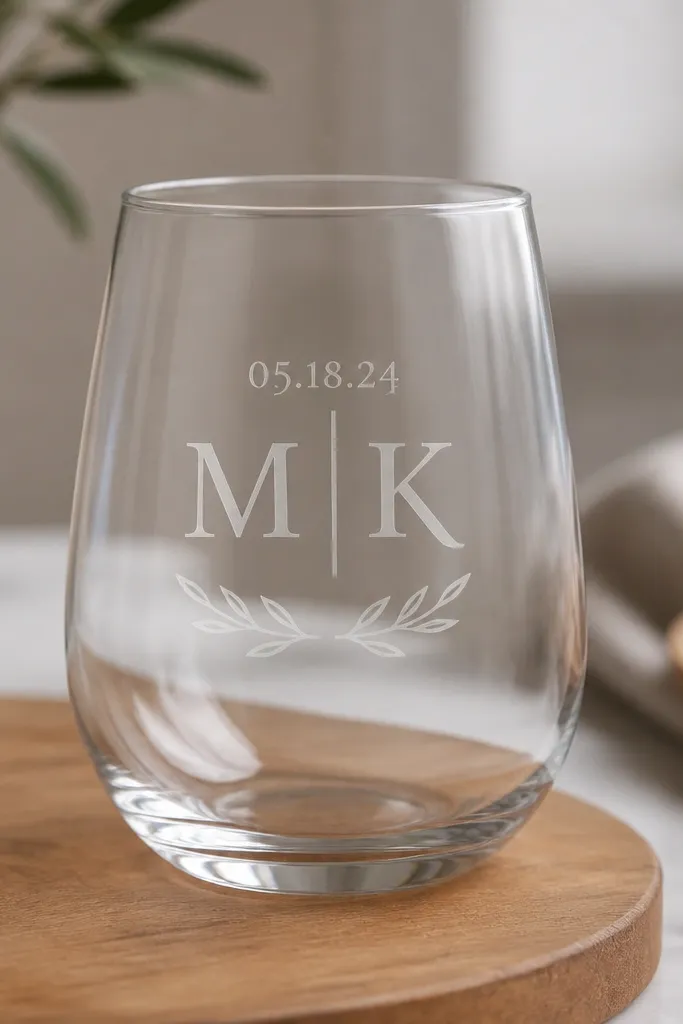
This is the sentimental DIY gift that looks expensive because it mimics etching. You do it with vinyl that creates a frosted effect using glass paint or etching cream, depending on what you’re comfortable with. I prefer the vinyl + glass paint method for safety and mess control. The result looks like real glass etching because the edges are crisp and the finish is matte. It fits boyfriends who drink wine, craft beer, or just like having a “nice glass” for weekends.
Start by cleaning the glass with alcohol and letting it dry completely. Apply etched-look vinyl cut to your initials and date, and press it down firmly with a burnishing tool. Brush glass paint over the vinyl stencil area in thin coats, then remove the vinyl while the paint is still slightly tacky for cleaner edges. Let the glass cure according to the paint instructions, then hand-wash only at first. Add a ribbon around the stem base if you want the gift wrap to match the frosted design.
Use a stencil design that stays inside a 2-inch area so it doesn’t wrap and distort.
Avoid dishwasher use — even cured paint can wear off with heat and detergents.
20. Cedar Photo Frame With Burned Initials and a Pin-Board Back
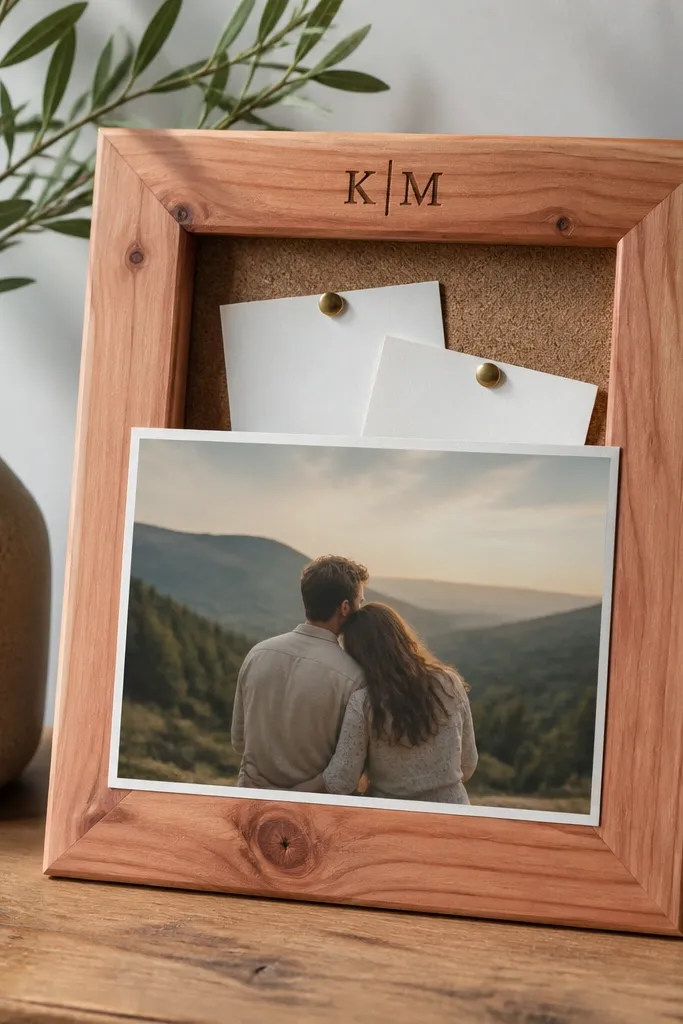
This is the one I make when he likes natural materials and keeps little notes around. Cedar smells good even after months, and the wood grain makes the frame look intentional. I burn his initials into the top edge with a wood-burning tool, then add a pin board behind the photo so you can include two small notes he can swap. The photo stays centered, and the notes add movement when he checks it. It’s a strong match for guys who like rustic decor but still want the sentiment to look clean.
Start by cutting cedar to frame size and sanding the edges smooth. Burn initials on the top edge lightly so you don’t scorch too deep, then wipe dust off. Create a backing board and attach a thin cork or pegboard panel behind the photo area with small screws or adhesive. Insert the photo under a simple clear acrylic front, then pin two note cards with mini push pins. Finish by sealing the wood with a matte clear coat so it resists everyday handling.
Editor's noteUse a soft sanding block after burning. It tones down harsh dark spots and makes the initials look even.
Skip thisAvoid glossy sealant on wood — it turns the grain into a shiny glare.



