

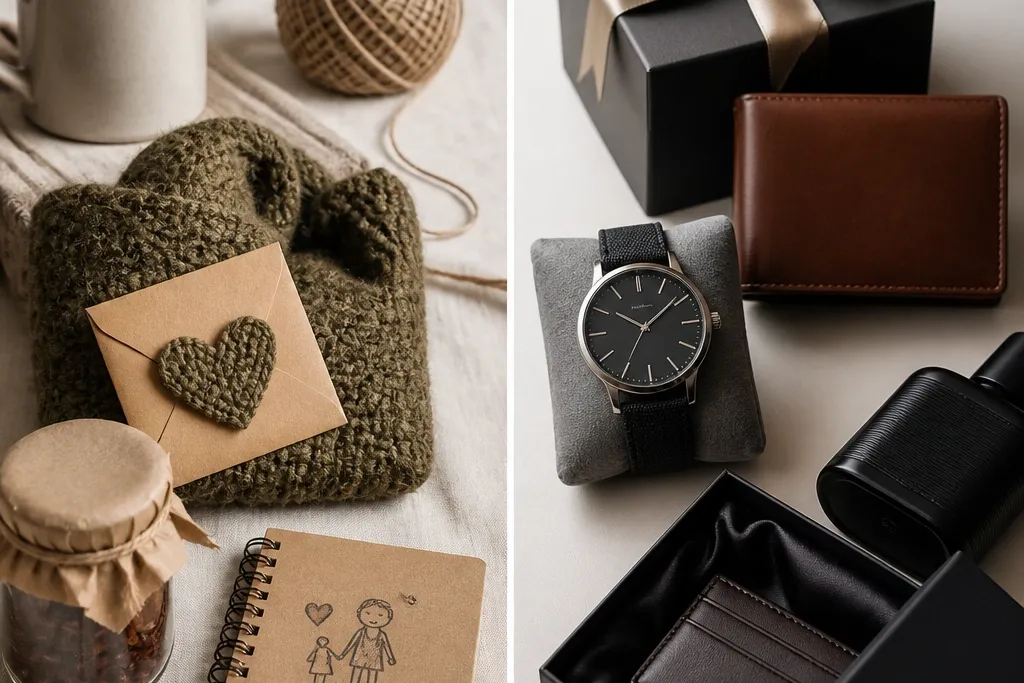

1. Leather Key Organizer with a Hidden Note Slot
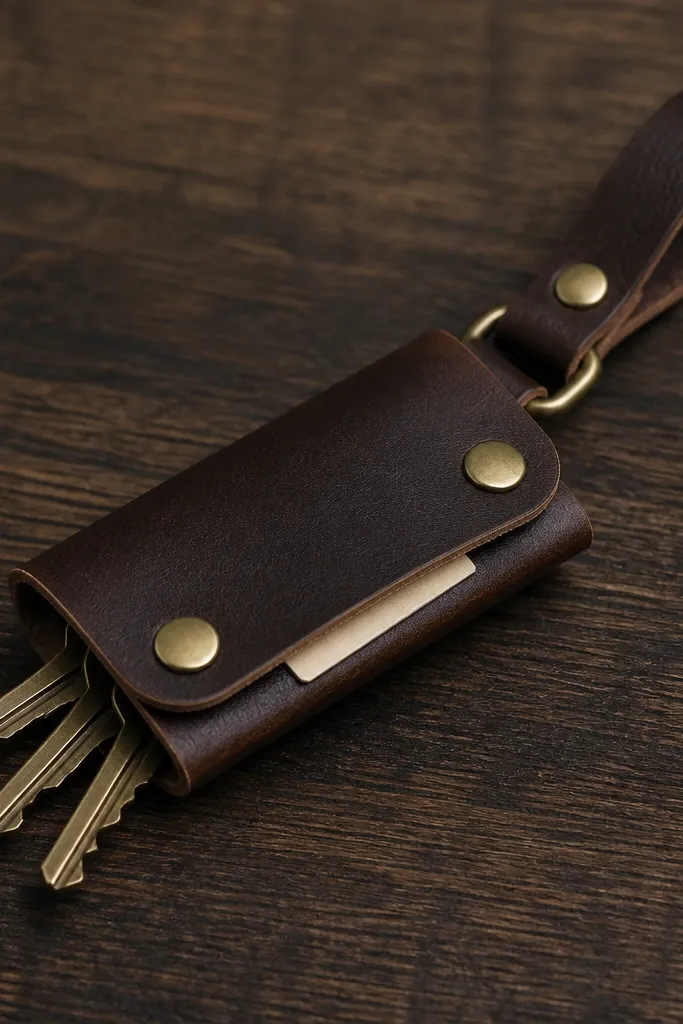
This is the handmade gift that gets used the second he walks out the door. I make it from thin vegetable-tanned leather (about 2-2.5 mm) so it bends without looking floppy. The hidden note slot gives you a way to tuck in a message he won’t throw away, and it stays private until he needs it. I like dark brown leather because it matches most key rings and car interiors, and the matte brass hardware looks clean under daylight. It flatters anyone who carries keys on a belt loop or in a small pocket because it stays compact and doesn’t snag.
Editor's noteWrite the note on thin paper (like 24 lb) so it slides under the hidden pocket without bulging.
Start by measuring his key ring width and the thickness of his keys. Cut a base piece about 7 inches long by 3.5 inches wide, then cut a flap piece 5 inches long by 2.5 inches wide. Punch two holes along the flap edge, then sew the flap to the base with waxed thread using a simple saddle stitch — keep stitches spaced about 3-4 mm apart. Fold the flap closed and attach a small brass snap or a strap closure so it sits flat. Finally, burnish the edges with a scrap of canvas and finish with a light coat of leather conditioner so the edges look smooth, not dusty.
Skip thisDon’t use super-thin craft leather that creases — it makes the whole thing look flimsy.
2. Custom Photo Bookmark with a Leather Corner
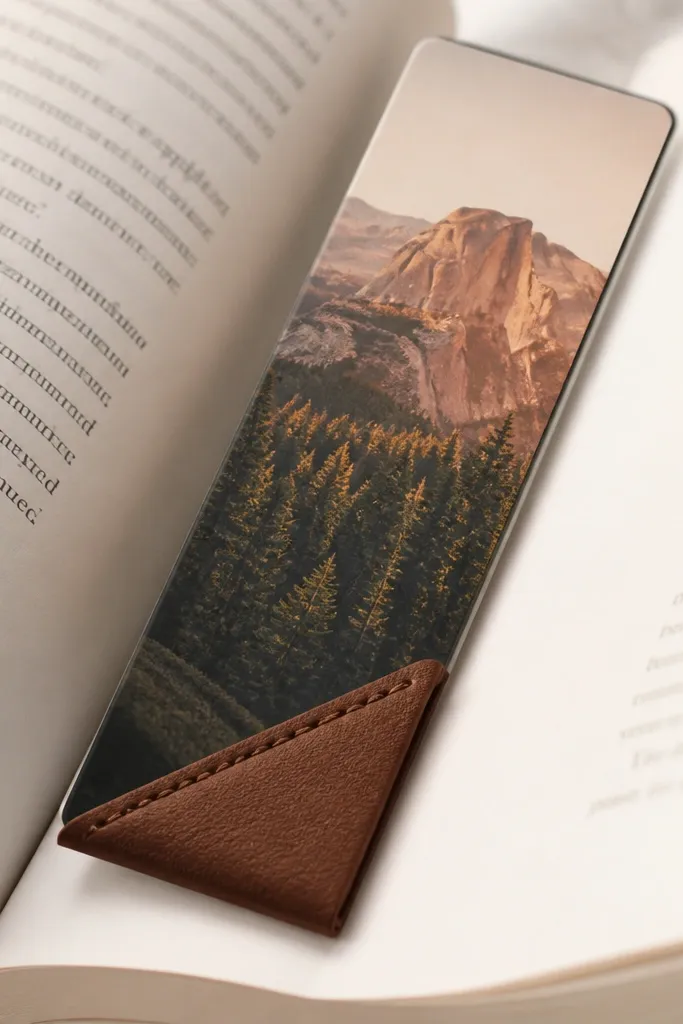
If he reads paper books, this is one of the most thoughtful handmade gifts that still looks sharp. I print the photo on matte photo paper so skin tones and shadows don’t glare under light. The leather corner is the part that makes it feel “bought,” because it gives grip and protects the paper edge from fraying. I use a single photo, not a collage, because one strong image reads cleaner. This works for anyone — even if he doesn’t decorate — because it lives inside his book and doesn’t fight his style.
Editor's noteUse matte photo paper and keep the image slightly desaturated — it looks more “photo print” and less like a home inkjet.
Start by trimming your printed photo to 2 inches wide by 6 inches tall, then round the photo corners with a corner punch for a tidy look. Cut a leather piece 2 inches by 2.5 inches, then fold it into a corner tab that covers the bottom edge of the photo. Glue the leather to the back of the bookmark with contact cement or a thin layer of craft glue that dries clear. Sew a single straight line along the leather edge with waxed thread to lock it in place. Finish by lightly inking the paper edges with a brown pigment ink pad so you don’t see raw white layers.
Skip thisAvoid glossy photos — they catch light and look cheap when the bookmark is angled.
3. Desk Cable Wrap Set in His Favorite Colors
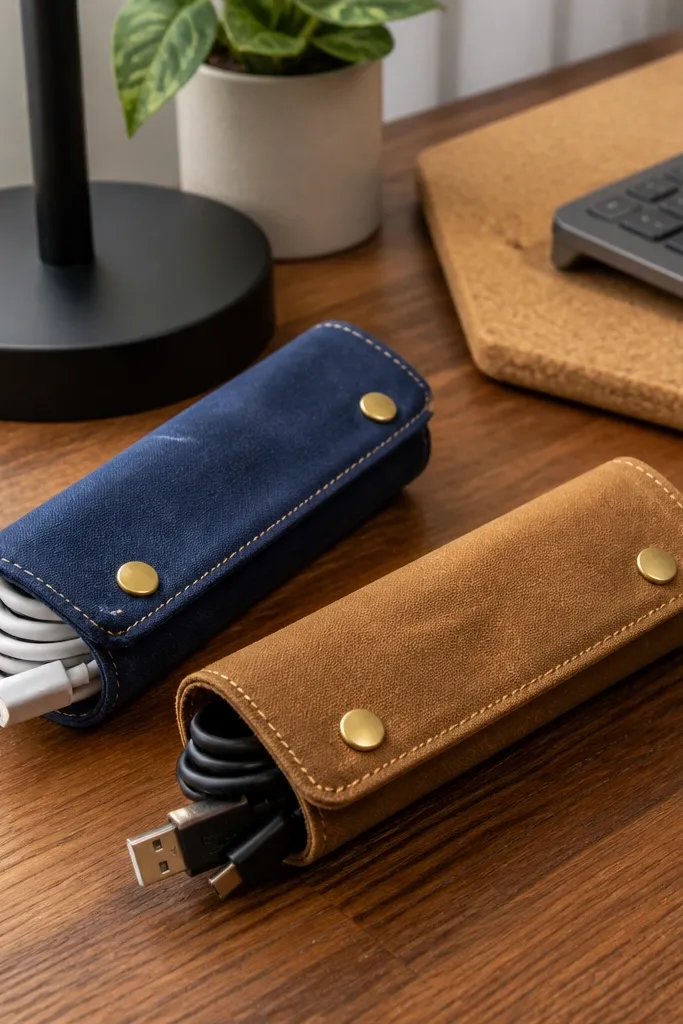
This one is practical and it looks good on his desk, which is why I keep making it. I use heavy cotton canvas or waxed canvas because it grips the cable and holds the roll shape. The snaps make it fast to open and close, and the fabric colors give it that intentional “set” feel. I pick colors that match his desk gear — if he has a black keyboard, I pair charcoal and cream; if his bag is olive, I match olive and tan. It flatters anyone who has a messy charging station, because the wraps hide the ugly cable flare-ups.
Editor's noteMatch one wrap color to his laptop or keyboard so the set looks like it belongs there.
Start by bundling his actual cables and measuring the diameter so you can size the wrap. Cut strips of canvas about 3.5 inches wide and 9 inches long, then round the ends so they don’t fray. Fold each strip into a tube, sew the edges with a straight stitch, and leave one long side open to slip the cable through. Add a small snap at one end and a matching snap spot at the other so it closes tight. Finally, label the inside with a tiny stitched tag like “phone” or “controller” using embroidery thread for a clean look.
Skip thisDon’t use thin quilting cotton — it stretches and your wraps end up sloppy.
4. Scented Wax Sachet Pack for His Car or Closet
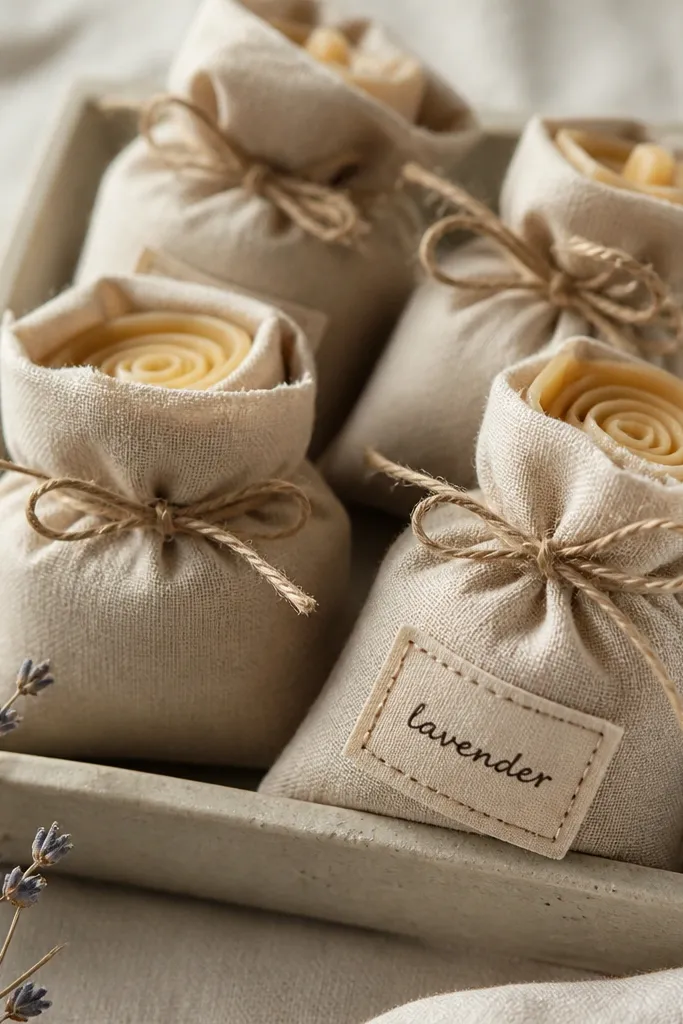
If he likes a clean-smelling car but hates strong air fresheners, wax sachets are the sweet spot. I make them with soy wax blended with a scent oil that matches his taste — cedar, bergamot, or orange peel are the ones that disappear into “nice” instead of “perfume.” Linen looks better than cheap polyester because it breathes and holds a soft, natural look. I keep the sachets small so they don’t overpower and so they hang or tuck easily. This works for anyone with allergies or sensitive noses because you control the strength by how much wax you put inside.
Editor's noteUse a thinner wax sheet than you think — it releases scent faster without getting harsh.
Start by melting soy wax in a microwave-safe container in 20-30 second bursts. Stir in scent oil at the manufacturer’s suggested ratio, then pour into a shallow silicone mold or a lined tray to make a thin sheet. Cut the cooled wax sheet into 1.5 inch squares. Place one wax piece into a linen sachet, then fold and sew the opening closed with thick thread so it won’t leak scent. Tie a twine knot for looks, then add a tiny stitched label on the outside so you can tell which scent is which.
Skip thisSkip heavy essential-oil blends that are too strong — they smell “sharp” after a week.
5. Stitched Denim Coaster Set with Leather Tabs
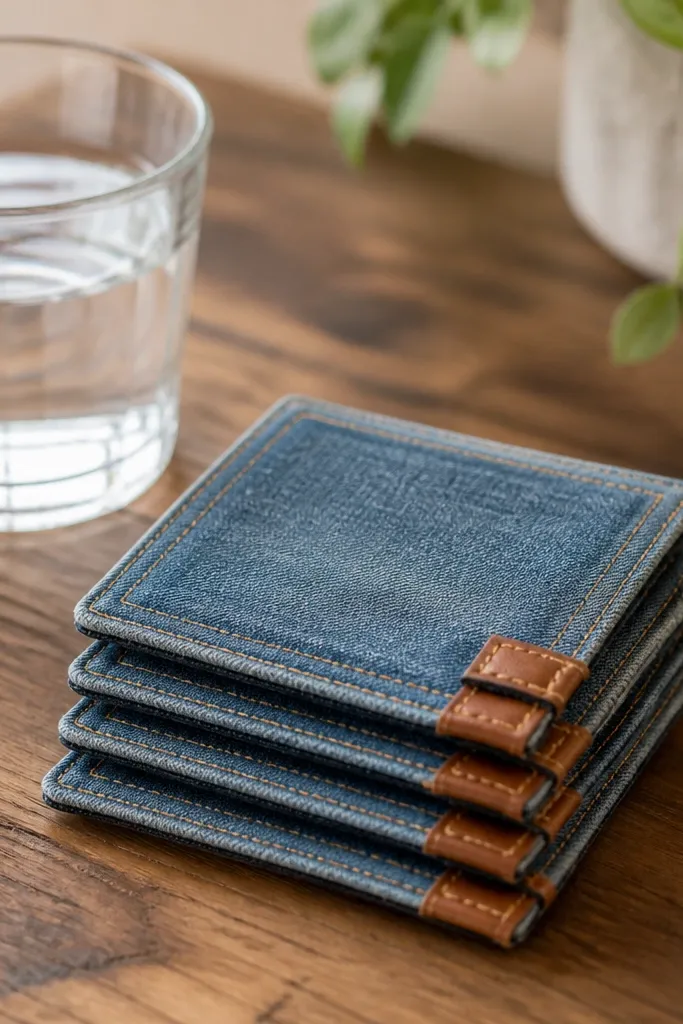
Coasters are a gift that gets used immediately, and denim makes it feel masculine without being theme-y. I use cut squares from old jeans because the fabric already has texture and a lived-in look. Leather tabs make them easier to grab, and they protect the edge from wear. The stitching is the part that makes it look intentional — I keep the thread color close to the denim so it blends, like tan thread on blue denim. This flatters anyone who likes a casual style, especially if his home has wood and metal accents.
Start by cutting four circles or squares from denim, about 4 inches wide for standard glasses. Layer a thin absorbent fabric behind the denim — cotton flannel or terry cloth — so condensation doesn’t pool. Sandwich denim on top, backing on bottom, and sew around the edges with a topstitch foot. Add a leather tab at one corner by cutting a small 1 inch by 1.5 inch piece and sewing it in place before you finish the perimeter seam. Finish by trimming stray threads and pressing the coasters under a warm iron with a pressing cloth.
Choose jeans with a tighter weave — stretchy denim makes coasters warp after a few washes.
Avoid skipping the absorbent layer — it looks fine at first and then turns into a wet ring.
6. Fabric Key Fob with a Contrast Top Stitch
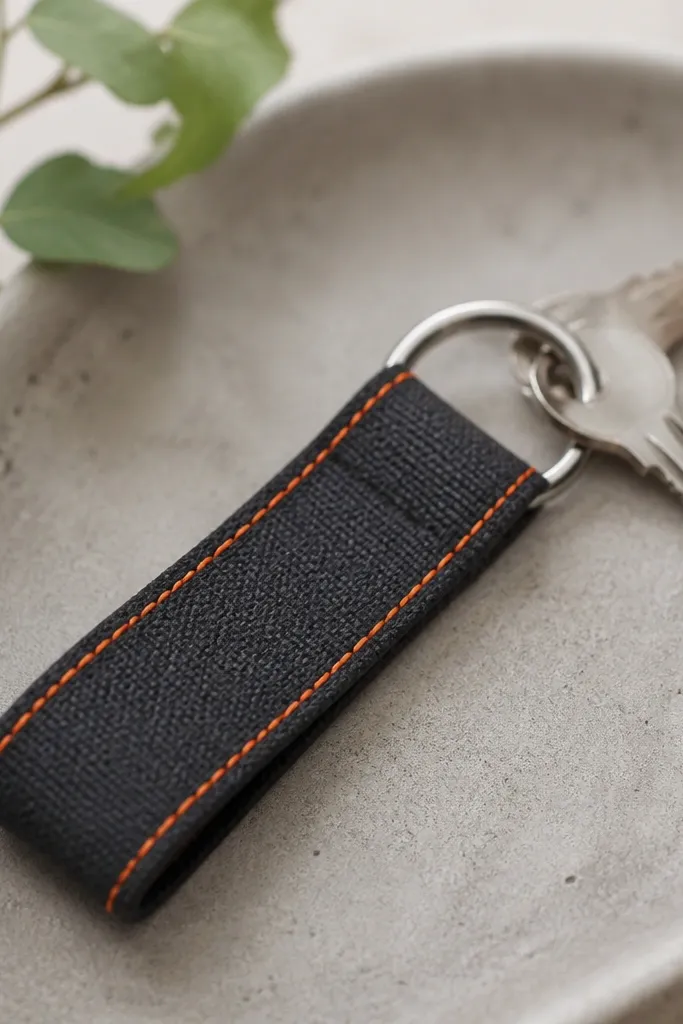
A key fob is small, but it changes how his keys feel in his hand. I make mine from canvas webbing or thick cotton canvas so it stands up and doesn’t twist. Contrast top stitching is the detail that makes it look “designed,” not handmade. I like charcoal with orange thread because it pops without screaming. This works best for guys who carry keys clipped to a belt loop or who hate cold metal in their pocket.
Editor's noteIf you don’t have a sewing machine, use heavy-duty fabric glue plus a hand-stitched border for the same finished look.
Start by cutting a strip of canvas 1 inch wide and about 6.5 inches long. Fold it around a key ring so the finished fob length lands around 3.5 inches. Sew the long edge with a straight stitch, then fold the ends and stitch a box shape at the key ring attachment point for strength. Thread color matters — use orange or cream thread and set your stitch length around 2.5 mm for crisp lines. Finally, press the fob flat and trim any uneven edges so it looks clean from every angle.
Skip thisDon’t rely on hot glue alone for the key ring — it peels the first time keys tug.
7. Personalized Mug Cozy in His Shirt Color
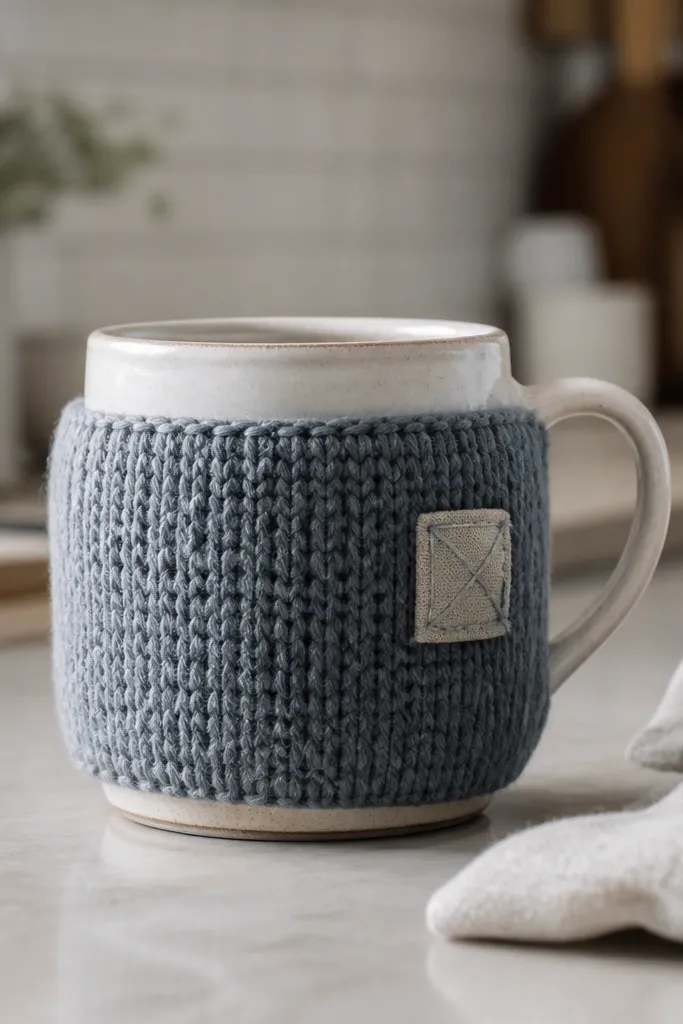
A mug cozy is one of the few handmade gifts that feels intimate without being sentimental. I choose the cozy fabric based on his clothing colors, not your favorite color — if his favorite hoodie is dusty blue, I match that. Thick knit or double-layer cotton terry keeps the mug comfortable to hold and makes hot drinks feel nicer. I add a small embroidered patch or stitched initial so it looks personal but not childish. This works for anyone who drinks coffee or tea daily, especially if he has a mug that gets too hot to grab bare-handed.
Editor's noteUse double-layer fabric and keep the seam allowance inside — it stops scratchy rubbing against his hand.
Start by measuring the mug circumference and height from the handle base to the top rim. Cut two rectangles of fabric and add 1/2 inch seam allowance, then sew the sides into a tube. Fold the bottom edge in and stitch a casing if you want elastic, or keep it simple with a straight hem. For a clean look, place the seam at the back where it won’t show. Add a small patch near the front using a tight zigzag stitch or hand embroidery, then press the cozy so it sits smooth.
Skip thisAvoid thin single-layer fabric — it looks like a coaster and doesn’t insulate well.
8. Stained Wood Photo Desk Tray
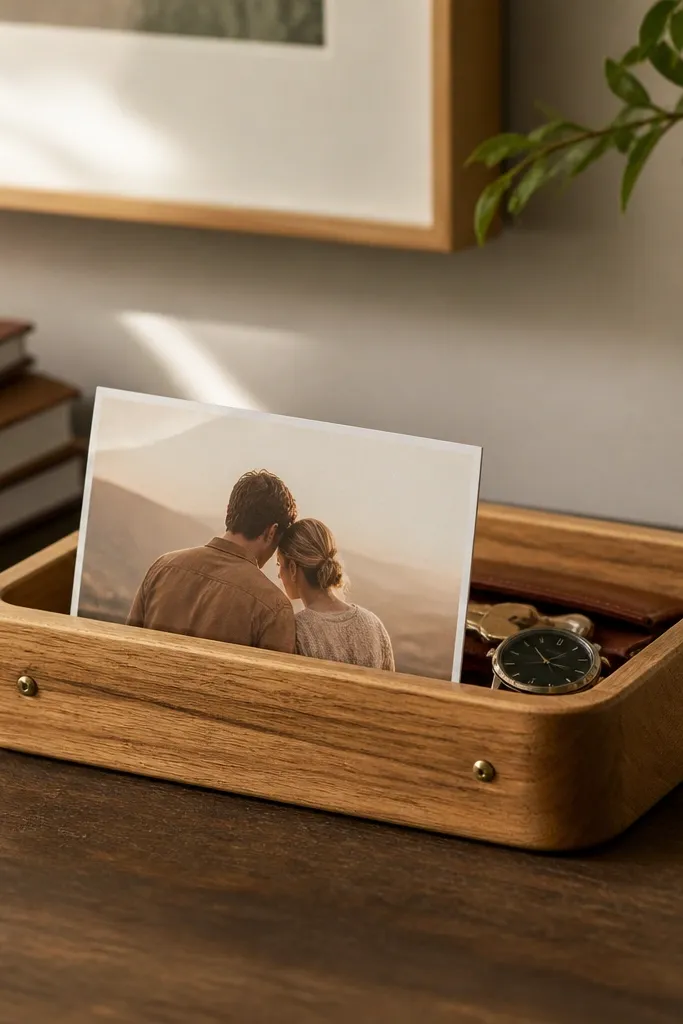
This is the gift that makes his desk look put-together without buying new furniture. I use a simple wood tray blank or cut a small piece of basswood, then stain it in a warm tone like honey or walnut. The photo insert sits in a shallow channel so it looks like a product feature, not a random picture taped on. I like brass screws because they look good with warm wood and don’t rust like silver hardware. This flatters guys who already keep items like pens, earbuds, or keys on their desk — it gives them a home.
Editor's noteIf you want it to look store-grade, use satin topcoat instead of gloss so fingerprints don’t show as much.
Start by sanding the tray blank with 150 grit, then 220 grit for a smooth surface. Wipe off dust with a damp cloth and dry fully. Stain with a sponge brush, then wipe back after 2-3 minutes so the grain stays visible. Let it dry, then apply a clear matte or satin topcoat to protect the surface from fingerprints. Cut a photo to fit the front slot and slide it into a shallow pocket — add a thin clear acrylic strip if you want it extra protected.
Skip thisDon’t skip sanding between stain and topcoat — you’ll feel rough spots under your fingertips.
9. Knotted Twine Bracelet with a Leather Tag
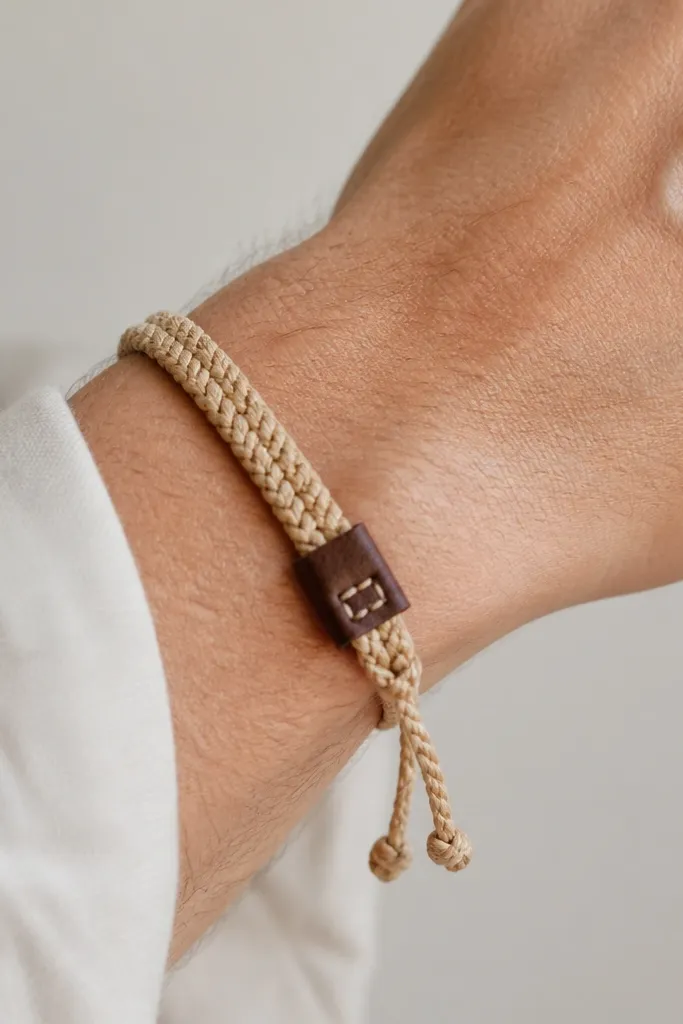
This looks like simple craft, but it reads personal because you can tie it to a memory. I use thick waxed twine or cotton cord so the knots hold shape and don’t fuzz up. A small leather tag gives it a finished edge and a masculine feel that doesn’t look like friendship jewelry. I keep the palette neutral — tan, charcoal, and black — because it matches watches and rings. This works best for guys who wear bracelets already or who like practical accessories, especially in summer when wrists show.
Editor's noteUse waxed twine — it grips and looks neat even if he’s rough with it.
Start by wrapping the cord around his wrist loosely to measure length, then add 2 inches for knotting. Cut two lengths of cord and braid or knot them tight, keeping tension consistent the whole time. Tie an adjustable sliding knot at one end using a simple overhand knot and leave a short tail for grip. Stitch or glue a small leather tag near the clasp area, then punch a hole through the tag and thread the cord through for security. Finish by trimming tails cleanly and burnishing the ends with a lighter carefully to stop fraying.
Skip thisAvoid fuzzy craft cord — it looks messy fast after a few days.
10. Cedar and Orange Peel Room Spray in a Reused Bottle
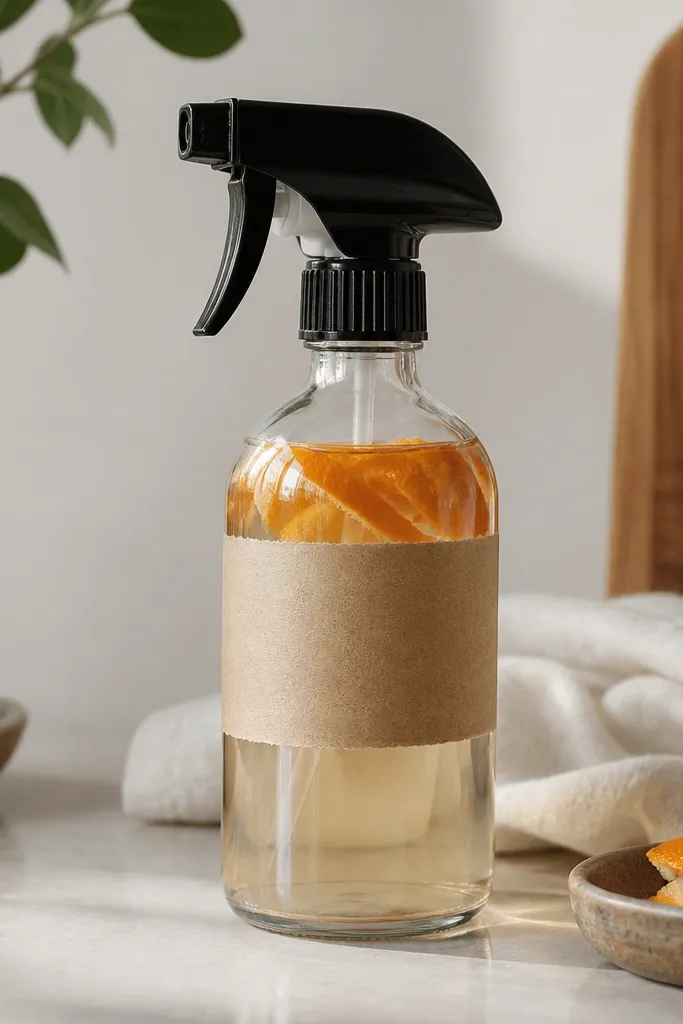
If he hates “girly” air fresheners, cedar and orange peel is the direction I’d push. I make mine in a reused glass bottle because it looks clean on a shelf. The scent is warm and woody first, then citrus comes in after a minute, so it doesn’t hit like perfume. I use cedarwood notes plus orange peel for that grounded smell that works in living rooms and his office. This fits guys who like clean environments and don’t want to smell like a candle shop.
Editor's noteUse a fine mist nozzle — it spreads scent without wetting surfaces.
Start by steeping dried orange peel in a small amount of vodka or high-proof alcohol for 24 hours to pull the citrus oils. Strain the peel, then add cedar essential oil or fragrance concentrate at a light ratio so it doesn’t get too strong. Top off with distilled water and shake well. Pour into a clean glass bottle with a fine mist sprayer and label it with the date and scent. Test the spray on a cloth first to make sure it doesn’t leave a residue, then spray 2-3 mists into the air away from curtains.
Skip thisDon’t overdo essential oil concentration — it can smell harsh and linger.
11. Custom Printed Map Poster with Coordinates Cutout Frame
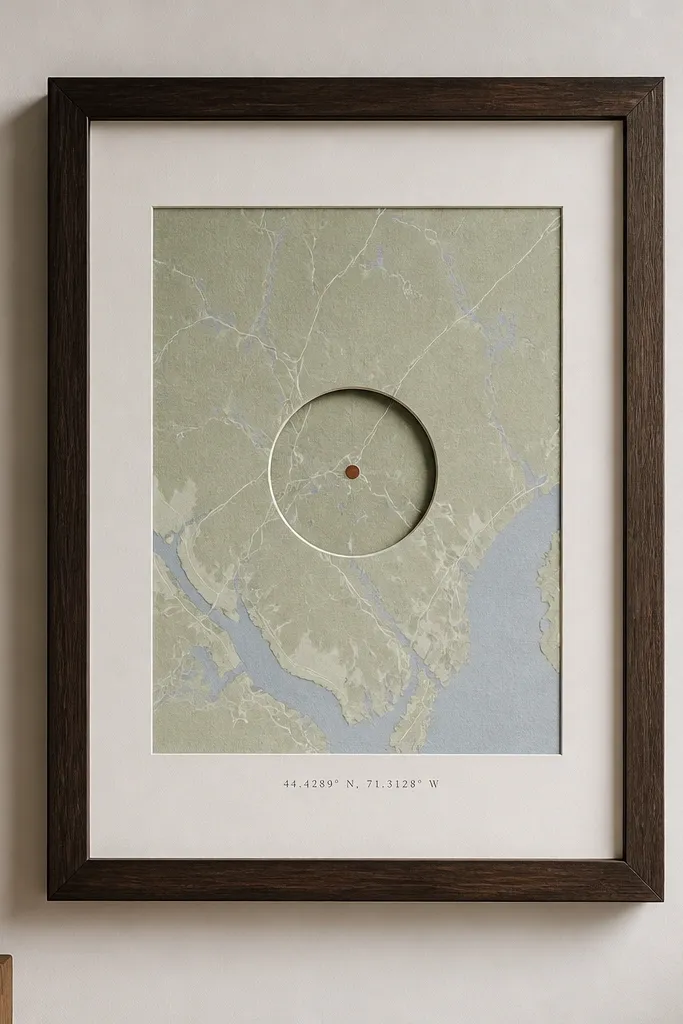
This is the “I paid attention” wall gift for the boyfriend who likes places, trips, or a hometown story. I print a clean map style with one highlighted point and then layer it with a cutout frame so it looks like a gallery piece. The highlighted dot pulls the eye, and the coordinates under it make it personal without writing a novel. I use dark wood frames because they balance the bright map colors and look serious. This works best for guys who like minimal decor or who already have framed prints.
Editor's noteUse a slightly matte print finish so glare doesn’t kill the highlighted dot.
Start by picking one meaningful location and writing the coordinates in a simple format like 40.7128 N, 74.0060 W. Print the map with the highlight point and keep the color palette muted — light beige land, thin grey roads, bold blue highlight. Cut a window in a frame backing board so only the highlighted area shows, leaving the rest to sit behind. Mount the map behind the window and secure it with small corner tabs or clear tape strips. Finally, add a small label strip at the bottom with coordinates and a date, then hang at eye level — about 60 inches from the floor.
Skip thisAvoid busy map styles with lots of colors — the highlight loses its meaning.
12. Sew-On Patch Kit for His Jacket with Iron-On Backing
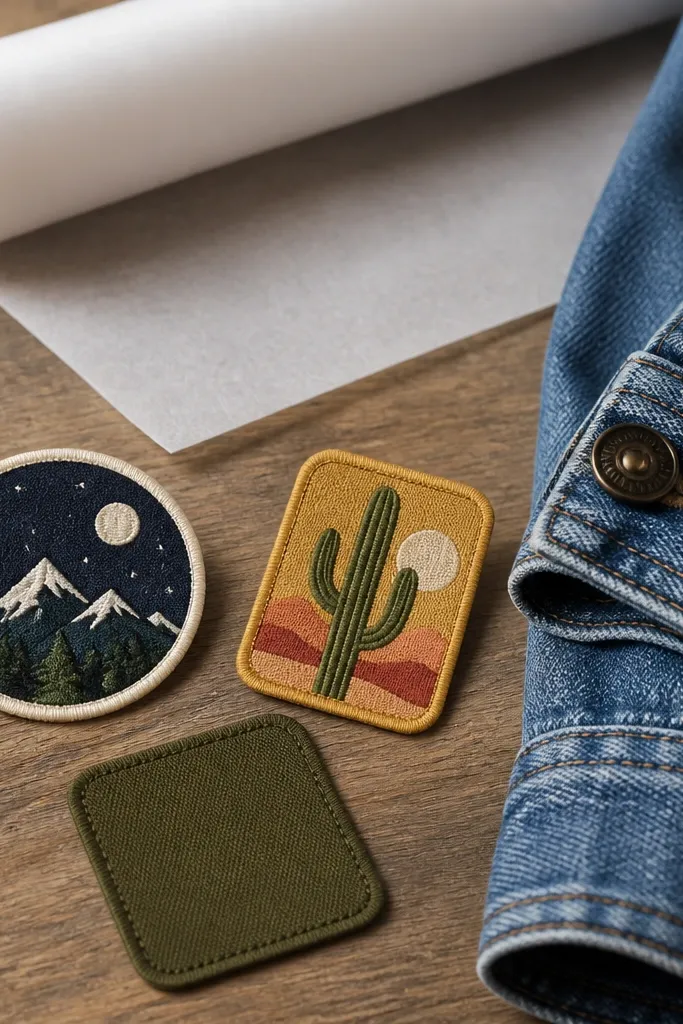
If he has a jacket he actually wears, this turns it into a personal piece without needing him to hang art. I use patches with sturdy embroidered edges so they don’t fray when sewn. Iron-on backing helps you place the patch in the right spot fast, then sewing locks it so it lasts through rain and rough wear. I pick one theme — like his initials, a small star, or a hobby icon — because too many patches looks like a random thrift find. This works for guys who like streetwear, denim jackets, or anything that already has texture.
Start by cleaning the jacket fabric with a quick lint roll and letting it fully dry. Place the patch where you want it and mark the corners lightly with chalk. Iron the patch with iron-on backing according to the backing instructions, using a pressing cloth to protect embroidery thread. After it cools, sew around the edges with matching thread — a simple whip stitch or tight straight stitch. Trim loose threads and check the patch edges from the side to make sure they sit flat.
Sew with thread slightly darker than the patch edge so the stitches look like part of the design.
Don’t skip sewing after ironing — iron-on-only patches peel at the corners.
13. Handmade Wallet-Size Photo Slider Card
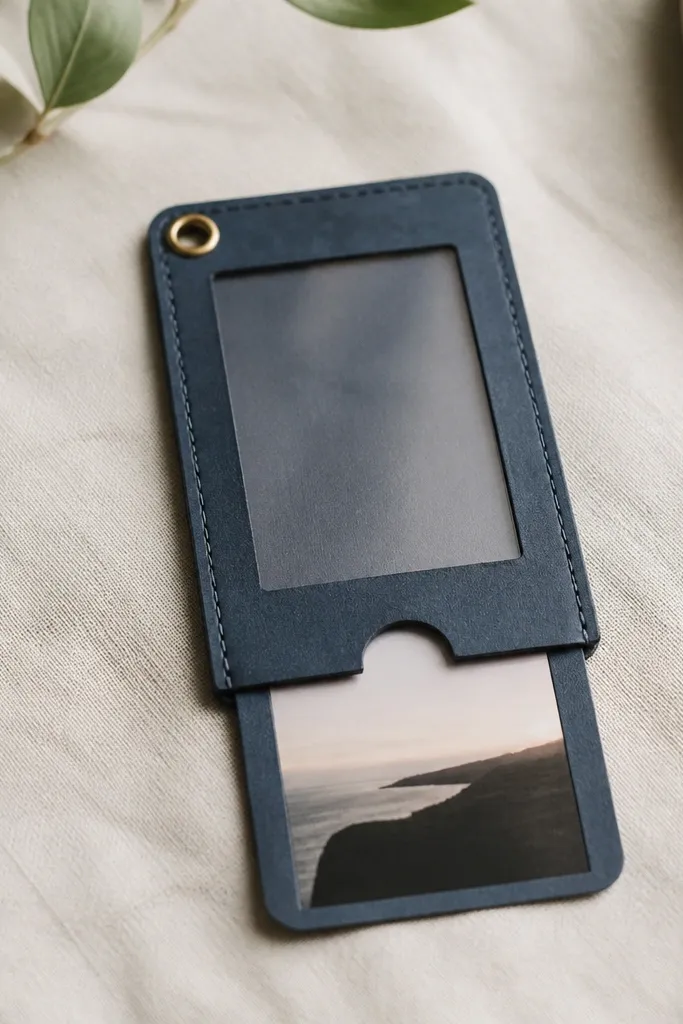
This is the “small but special” gift that fits his life. I build it on thick cardstock so it holds a crisp shape and doesn’t flop in his wallet. The slider photo adds a surprise moment when he pulls it out, and the clear window keeps it protected. I like dark navy or deep green cardstock because it looks masculine and pairs with most outfits. This works for guys who carry a slim wallet and don’t want bulky keychains or large photo frames.
Editor's noteUse matte photo paper and seal it with a thin layer of clear tape on the back so it doesn’t smear.
Start by cutting a base card from 110-130 lb cardstock to about 3.5 inches by 2.25 inches. Cut a window opening on the front about 1.25 inches by 1.5 inches. Create a sliding photo layer from another piece of cardstock with the photo printed on matte paper sized to fit the window. Use two small side strips of cardstock as rails so the slider moves smoothly without wobble. Punch a small hole if you want a key ring attachment, then add a stitched border with waxed thread for strength and looks.
Skip thisAvoid flimsy cardstock — the slider sticks and the card looks cheap.
14. Beer Coaster Set from Cork with Burned Initials
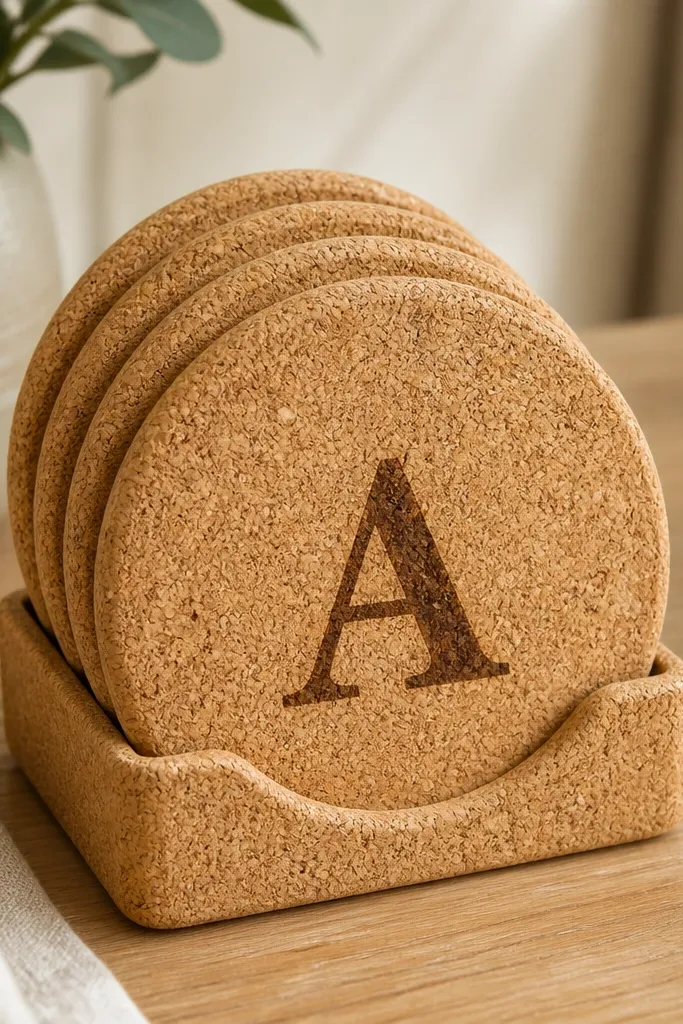
Cork coasters are one of the easiest handmade gifts to make look “intentional,” and initials make them personal fast. Cork is practical — it absorbs condensation and protects surfaces without feeling fancy. I burn initials with a wood-burning tool because it gives a warm, permanent mark that doesn’t peel like paint. I pick a simple font style by burning freehand but keeping letter height consistent at about 1 inch. This works for guys who drink beer in cans or bottles and for anyone who has a coffee table that shows rings.
Editor's noteKeep your letter strokes thinner than you think — thick burns look messy on cork.
Start by buying cork coasters in a uniform size, then clean them with a dry cloth. Mark the center lightly with a pencil dot and practice your initials on scrap cork first. Burn the initials slowly, keeping the tip pressure light so you don’t gouge the cork. Let the coasters cool, then brush off dust. If you want a cleaner edge, apply a thin coat of clear sealant like polyurethane — just one light layer — and let it cure fully before stacking.
Skip thisAvoid heavy paint pens — they can bleed and look glossy compared to cork.
15. Photo Keychain with Laminated Film Strip Look
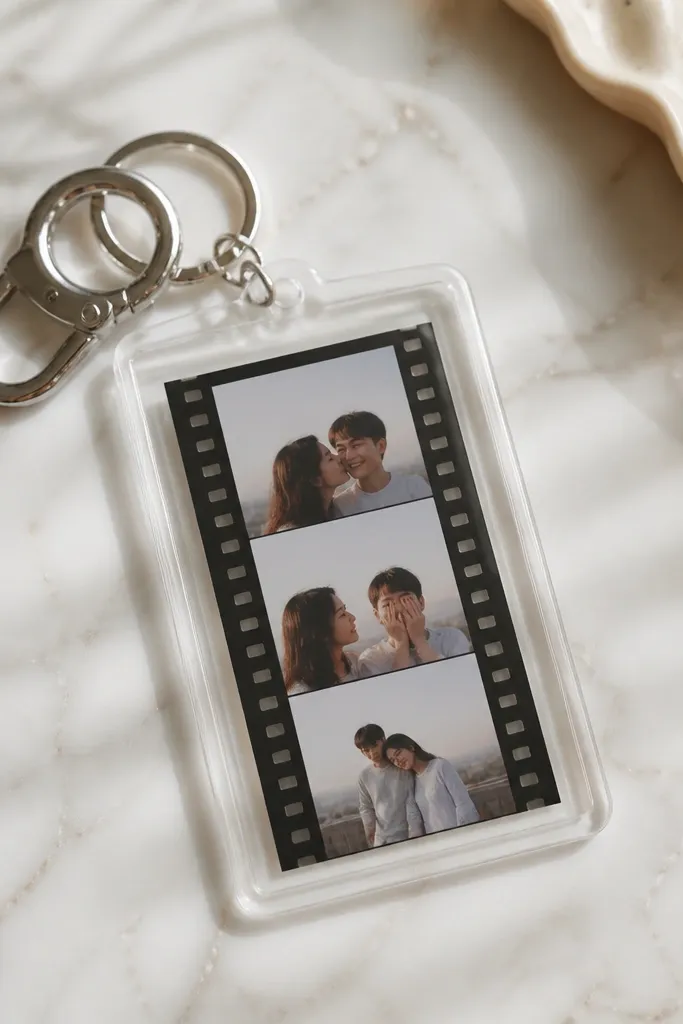
This is a handmade gift for the boyfriend who likes small keepsakes. The film strip look makes it feel like a real photo product, not a print you taped in a plastic sleeve. I use a laminated pouch or clear resin-style seal so the photo stays protected from keys and pocket dust. The metal ring should be sturdy, and the clasp should close tightly so it doesn’t rattle. This works for anyone because it’s small, it doesn’t take space, and it’s always with him.
Editor's noteUse matte paper and a clear seal — glossy photos show fingerprints and scratches.
Start by printing a narrow photo strip on matte photo paper, then trim to fit your laminate pouch. If you want the film strip effect, add sprocket-edge graphics and keep the photo centered. Insert the photo into the pouch and seal with a laminator or heat sealer, pressing from the center outward to avoid bubbles. Punch a hole at the top edge and attach a split ring and clasp using pliers. Finally, attach a short charm or tag only if it matches the photo vibe — one charm, not five.
Skip thisDon’t leave unsealed edges — moisture gets in and the photo warps.



