


1. The Oversized Photo Collage That Took Over His Shelf
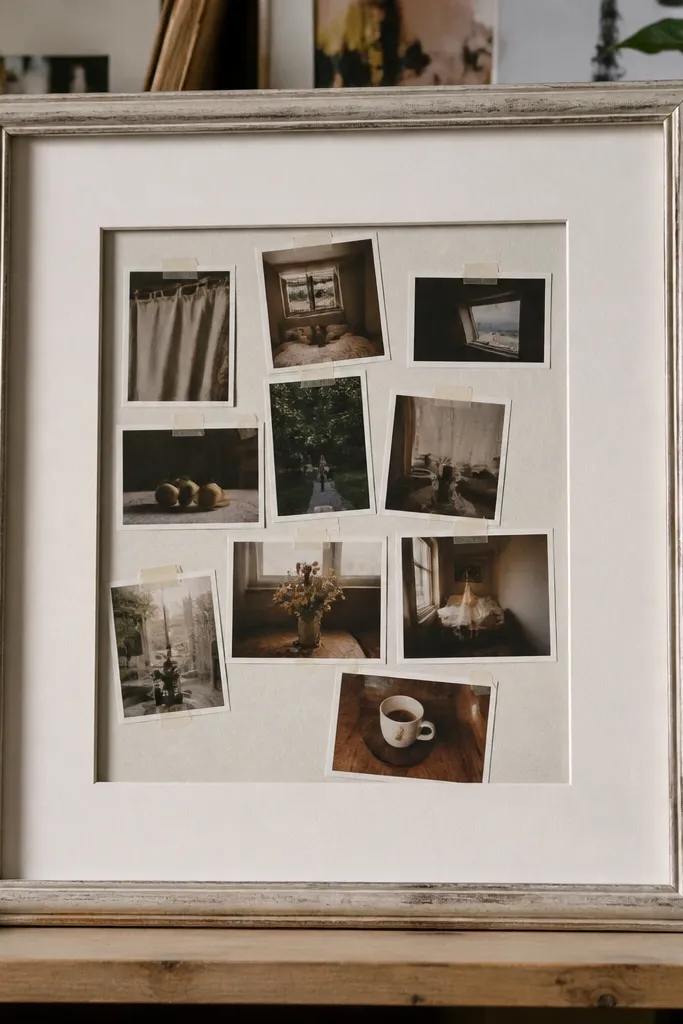
I made a collage first, because it felt sentimental. I picked a huge frame anyway, and it swallowed the space on his bookshelf, so he stopped looking at it. The prints were mixed sizes, and the alignment was slightly off, which reads messy when the piece is large. If your boyfriend has a clean, minimal setup, a big collage fights his style. For most guys, a smaller arrangement with consistent spacing looks intentional and calm.
Start by measuring the exact shelf space with a tape measure — I used a 2-inch gap rule so the frame never touches other objects. Then choose one print size and stick to it, like 4x6 with a 1/4-inch white border. Use a simple grid layout on the backing board so every photo sits at the same height. Finally, seal the surface with a clear matte spray for paper protection and reduced glare, and keep the frame narrow so it doesn’t dominate the room.
Editor's noteIf you want photos, do a 6-photo set in one frame instead of a collage wall — it reads “designed,” not “thrown together.”
Skip thisAvoid mixing print sizes inside one frame; it makes the whole piece look casual in a bad way.
2. The "Cool" Keychain That Was Too Light to Feel Real
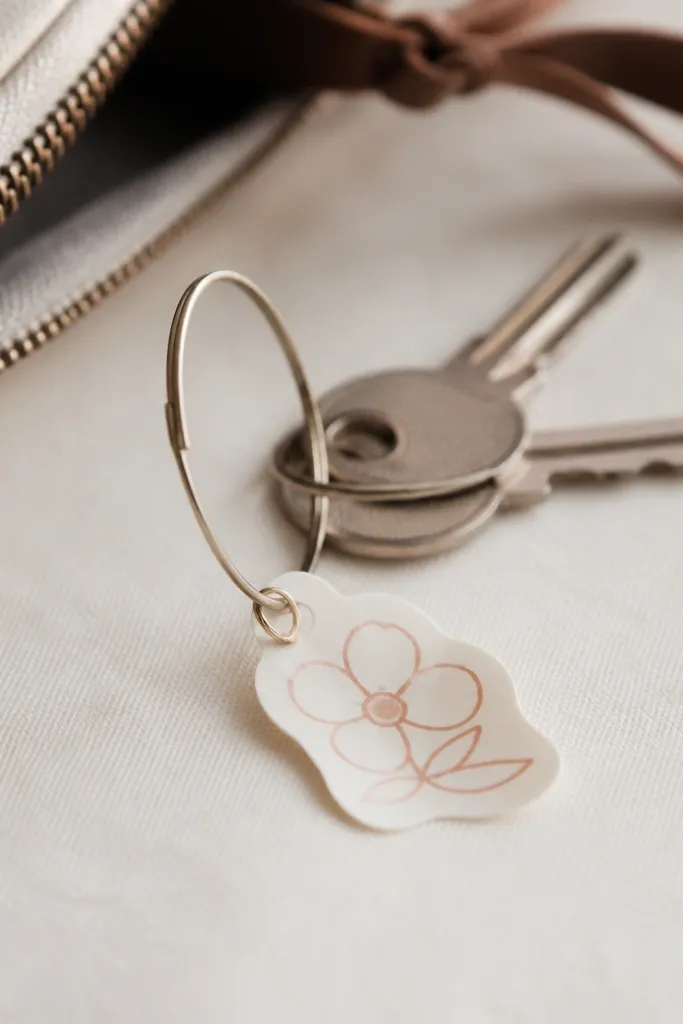
My first keychain looked neat, but it felt flimsy the second he picked it up. The charm was too light, and the metal hardware was thin, so it never got the satisfying weight that makes a guy actually reach for it. When he carries keys daily, he notices weight and balance. If your boyfriend uses a lot of keys, go heavier and thicker so it feels like something he’d buy, not something you made on a weekend. The goal is “I want to use this,” not “I’m glad you gave it.”
Start by choosing a charm base that’s at least 1/8 inch thick or a metal blank, not a flat sticker layer. Then use a split ring sized to his key bundle — I aimed for 1 inch diameter so it doesn’t tangle. Add a single durable detail, like a stamped coordinate or a small resin insert, instead of multiple tiny pieces. Finally, attach it with proper jump rings and close them fully so nothing rattles loose after a week.
Test it in your hand: if it feels like it could snap with a gentle tug, remake it with thicker hardware.
Avoid thin acrylic charms and flimsy rings; they make the gift feel like a party favor.
3. The Unsealed Fabric Mug Wrap That Got Sticky
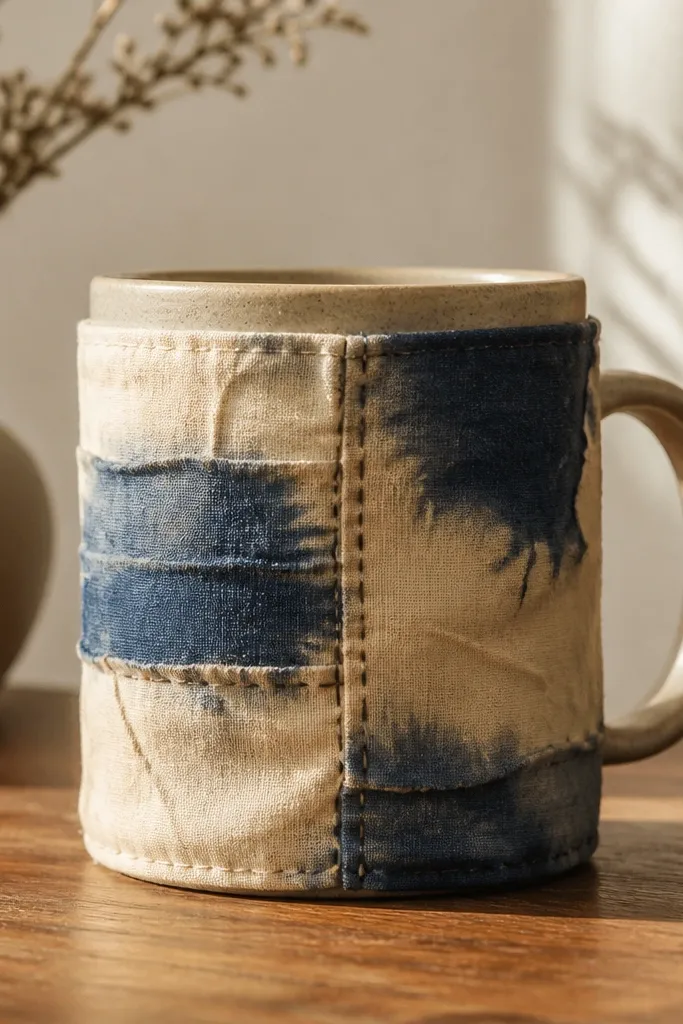
I wrapped a mug with fabric because it looked cozy. The mistake was I didn’t seal the dye and the seams, so the wrap picked up residue and started feeling tacky. Fabric gifts around heat do weird things: oils from hands and steam make unsealed fibers grab. If you want a fabric element near a warm mug, you need a finish that resists moisture and hand oils. Otherwise it turns into a “why does this feel gross?” moment instead of a cute one.
Start by washing the fabric first to remove sizing, then choose pre-dyed cotton or canvas that already looks solid in color. Then stitch the wrap with a tight seam allowance and finish edges with a zigzag or bias tape so threads don’t wick. Finally, apply a fabric medium or a heat-safe clear seal made for textiles, following the dry time exactly, and let it cure fully before you wrap the mug. Make it removable with a Velcro strip so he can take it off for cleaning.
Use Velcro for closure — if he needs to rinse the mug, he can remove the wrap without ruining it.
Avoid fabric that hasn’t been pre-washed and sealed; steam and oils will mess it up fast.
4. The Too-Sweet Candle That Smelled Like Dessert Indoors
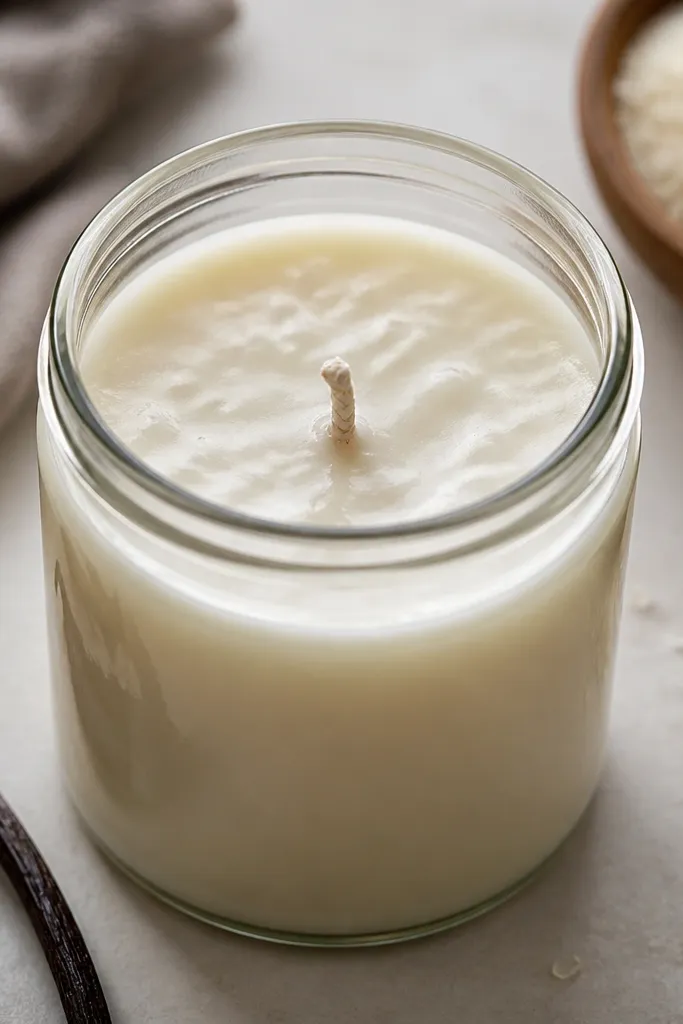
I bought fragrance that sounded perfect — vanilla, caramel, all the sweet words. In his apartment it turned into a dessert shop smell that made him ask if he was “supposed to eat it.” He wasn’t trying to be rude; he just didn’t want that intensity. Candles work best when the scent sits close to the skin and doesn’t punch the room. For boyfriends, I’ve found they love clean scents or wood notes more than candy profiles. Also, cheap wick choices can cause uneven burning and smoke.
Start by choosing a scent family he already likes — I checked what he uses in body wash or cologne and matched that vibe. Then pour with the right wick size for your jar diameter so the flame doesn’t tunnel; I used test wicks in the same jar style. Mix fragrance load to the label instructions, and stir slowly to reduce air bubbles. Finally, top with a smooth surface pour and cure it the full time on the jar directions before lighting.
If you’re unsure, go with cedar, sandalwood, or a light citrus — it stays wearable in small rooms.
Avoid over-fragrancing and oversized wicks; it makes the candle smell harsh and burn unevenly.
5. The Wrong-Size Hoodie Blanket That Never Covered His Legs

I made a hoodie blanket thinking it would feel like a hug. It looked cute on me, but on him it left his knees exposed, and he refused to use it. That’s the thing with blankets: comfort depends on coverage and drape, not just the pattern. If the fabric is too thin, it feels like a fancy throw, not a blanket. If the fit is wrong, it’s annoying. Boyfriends use gifts when the gift makes them relax without fuss.
Start by measuring his height and the couch/bed he’ll use it on — I aimed for enough length to cover at least mid-thigh while seated. Then choose a fabric weight like fleece that feels substantial in your palm, not thin “summer” fleece. Cut the front panel wide enough that it doesn’t pull tight when he sits, and keep the hood roomy so it doesn’t look like a kid costume. Finally, add a simple pocket at the front using a thicker lining so it holds a phone without sagging.
Editor's noteDo a quick fit test: drape it over his lap before you finish the edges so you can adjust length immediately.
Skip thisAvoid making it based on a generic size chart; coverage is personal and couch posture changes everything.
6. The Desk Organizer That Was Pretty but a Pain to Use
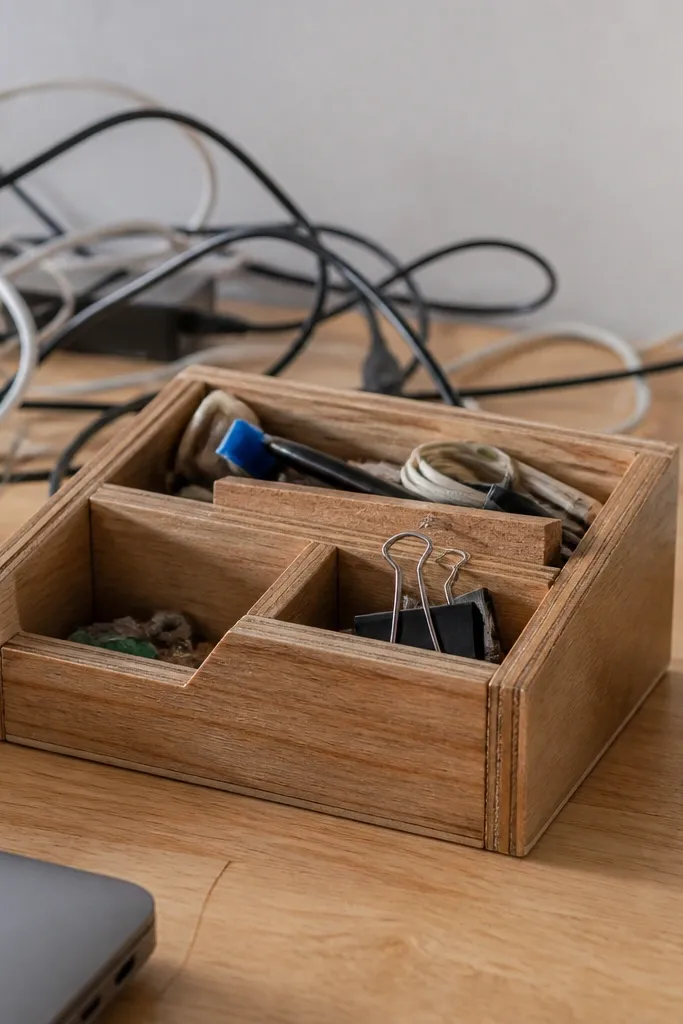
I built a desk organizer with lots of tiny sections. It looked neat, but it made him put things in the “wrong” places because the compartments were too small. When a guy grabs pens, a cable, and a phone in one sweep, tiny organizers slow him down. I also forgot to plan around his charger, so cords got trapped and the whole desk looked messy again. A desk gift should reduce decisions, not create them. If you want it to get used, build for the items he touches daily.
Start by listing his desk items and measure the biggest one — for me it was a phone with a thick case. Then design three zones only: pen zone, phone zone, and cable zone. Use a cable channel cutout that’s wide enough for his charging brick — I used a 1-inch wide channel so it never pinched. Finally, finish the organizer with a matte clear coat so fingerprints don’t show and wipe it down with a damp cloth after assembly.
Editor's noteMake one compartment “loose” for random stuff; it keeps the rest of the organizer from getting cluttered fast.
Skip thisAvoid micro-compartments; they look cute and then frustrate daily use.
7. The Mug With Vinyl That Lifted After One Dishwasher Run
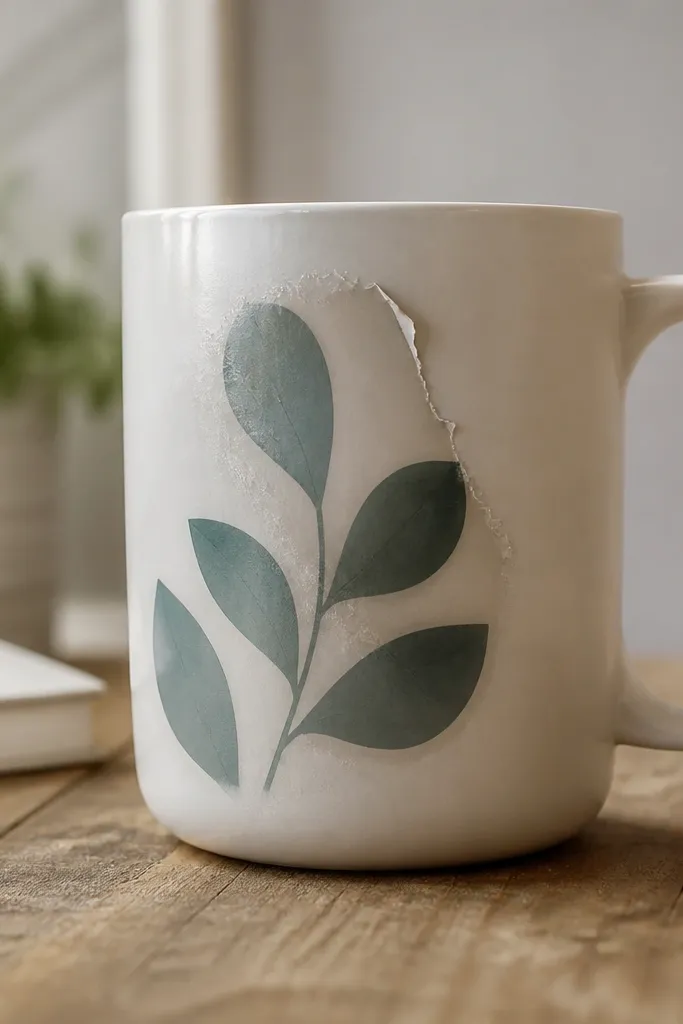
I heat-pressed vinyl onto a mug and felt proud. Then I handed it over and watched him put it in the dishwasher once. The vinyl lifted at the edges and the design looked jagged, like it was already failing. That moment made me stop making “decor” mugs and switch to gifts that survive his real habits. If you want a dishwasher-safe outcome, you need the right material and clear coat system. Otherwise you end up with a mug he avoids or feels embarrassed about.
Start by using a mug blank made for vinyl or choose a heat-transfer method designed for ceramic. Then apply vinyl carefully with a brayer so there are no air bubbles — I pressed from the center outward. Add a dishwasher-safe clear coating only if the product label allows it; let it cure fully, not just overnight. Finally, hand-wash the first few times and test one cycle before you tell him it’s dishwasher-safe.
Editor's noteIf he’s a dishwasher person, switch to a printed ceramic transfer kit labeled for dishwasher durability.
8. The Handmade Wall Art That Looked Like a School Project

I tried to be artsy with paint and brushwork. Up close, the strokes and edges looked uneven, and the frame wasn’t square, so it felt like a craft project instead of decor. Wall art is unforgiving because it sits at eye level every day. The fix isn’t “be more artistic.” The fix is to control edges and finish so the piece reads clean from across the room. If you use paint, choose a method that produces straight lines. If you use paper, use sealed mounting so it doesn’t warp.
Start by sketching your design with painter’s tape on the wall or a scrap board so proportions are right before you commit. Then use acrylic craft paint and tape edges for crisp boundaries, pressing tape down firmly so paint doesn’t bleed. Apply two thin coats instead of one thick coat — thick paint looks patchy when it dries. Finally, mount it in a frame with a matte backing and add a level check before you hang it.
Editor's noteUse a level app or a real bubble level; crooked art reads cheap even if the design is good.
Skip thisAvoid freehand straight lines with a wide brush; it shows wobble instantly on wall art.
9. The Personalized Wallet Insert With the Wrong Card Fit
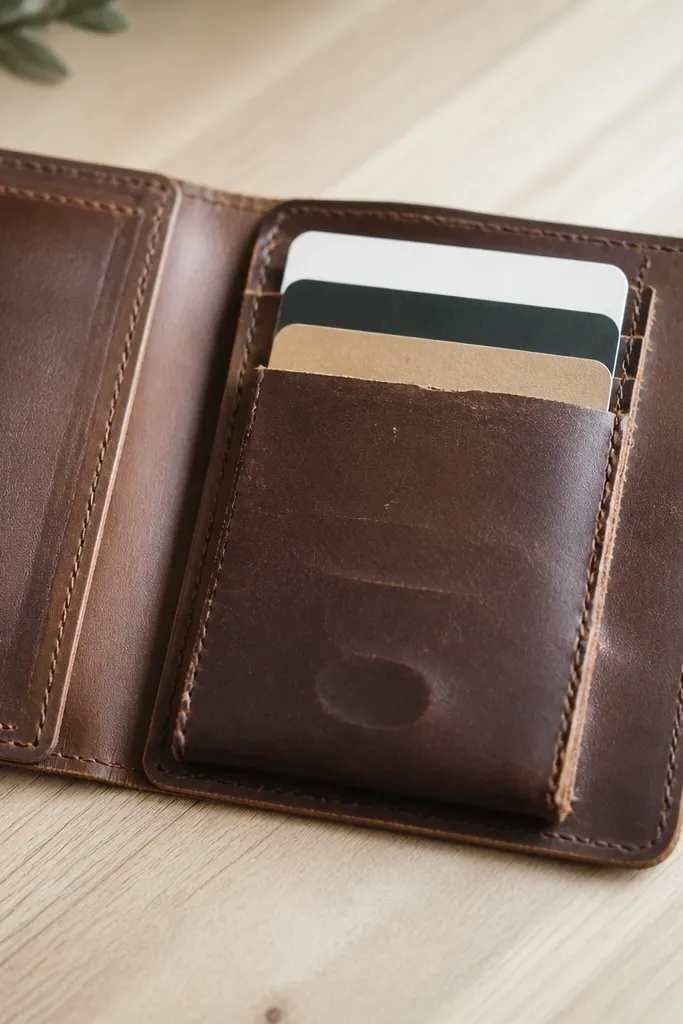
I made a custom insert because I thought personalization was the whole point. The mistake was card fit. His cards didn’t slide smoothly, and the insert bulged in the wallet, making it harder to close. A gift like this has to move like the stuff he already owns. If it’s stiff or oversized, it gets ignored. For most boyfriends, “smooth access” matters more than the design detail, because he uses it constantly.
Start by measuring his current wallet card opening width and the thickness of his stack. Then choose a material with the right flex, like thin leatherette or vegetable-tanned leather cut to size, not thick craft foam. Round the corners with a hole punch or sandpaper so edges don’t catch. Finally, assemble with glue meant for leather and test with real cards — if it resists sliding, shave a millimeter from the insert thickness before you finish.
Editor's noteCut a test piece first and check closure — you can always trim more, but you can’t add thickness back cleanly.
10. The Subscription Box That Wasn't His Style
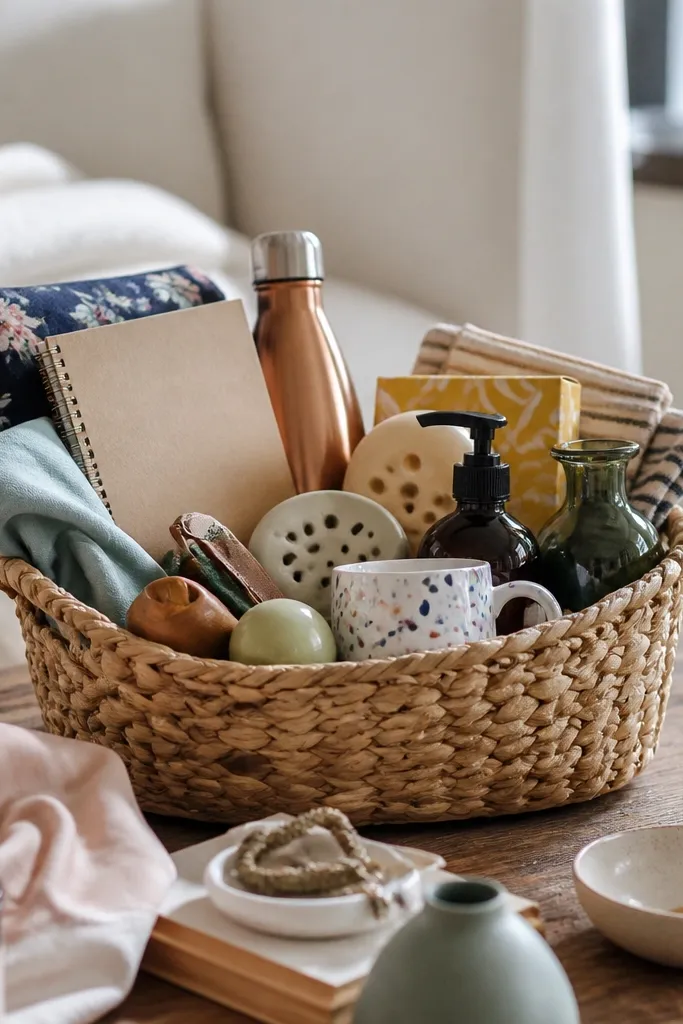
I once wrapped up a subscription-style gift because it felt thoughtful and “ongoing.” The issue was the items didn’t match his taste, so he didn’t open them. Gifts that arrive repeatedly are only good if they fit his habits and preferences. If you don’t know his exact taste, you end up guessing, and guessing shows. I’ve had better luck with smaller DIY gifts that match his current routine, like desk organization, a phone accessory, or a practical comfort item. When the gift aligns with his day-to-day, he uses it without thinking.
Start by picking one category he already spends money on, like coffee, gaming, or fitness gear. Then choose a DIY add-on that matches that category, like a custom label, a small organizer, or a handmade version of something he already uses. Keep the box size small so it doesn’t feel like filler. Finally, include a one-page “how to use” note with exact instructions — not a long letter, just the practical steps for setup and care.
If you’re unsure about taste, make the DIY part functional and let the store-bought part be the safe category he already likes.



