

1. Framed Photo Strip With Color-Blocked Mat
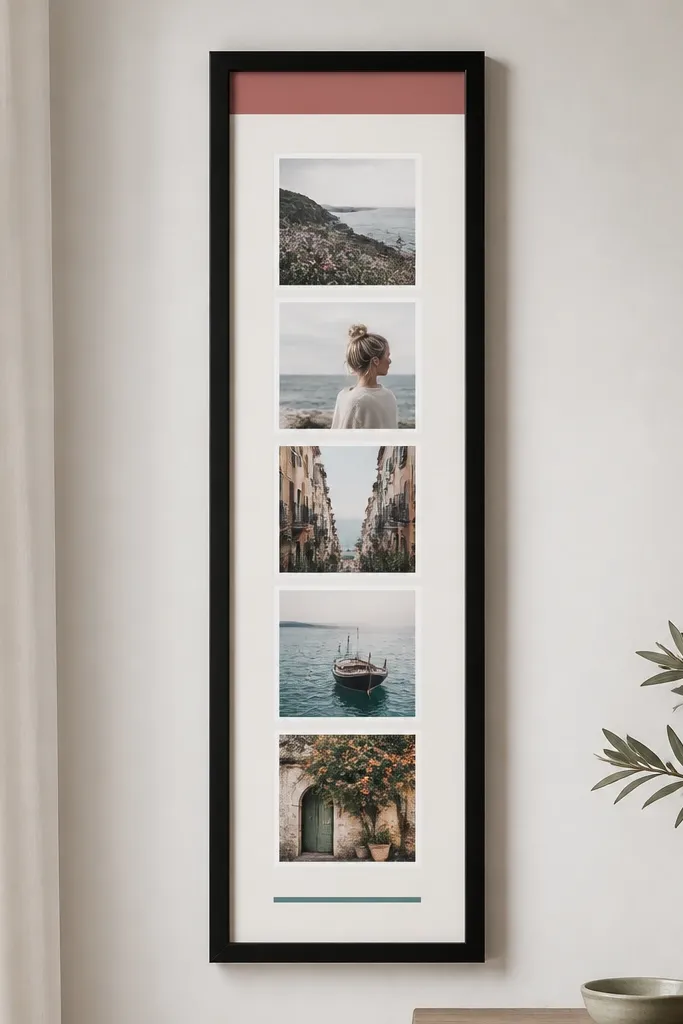
Start by printing 5 photos in the same size with white borders turned on in your print settings. Choose an off-white mat board and cut a window that lets each photo breathe, leaving at least 1/4 inch around the edges. Cut a 1 inch strip of dusty rose cardstock and place it at the top, then add a thin teal strip (about 1/4 inch) right under the photo strip for contrast. Tape the photos with double-sided photo tape, line up the strip so the gaps match, and mount it inside a black satin frame. Finally, press the glass lightly with a microfiber cloth so you don’t leave fingerprints.
This gift looks expensive because it fixes two things that DIY photo gifts usually mess up — alignment and border space. Use a frame that fits a 5x7 mat window (or cut one) so the photos don’t feel cramped. The off-white mat keeps skin tones soft, and the dusty rose block adds a “designed” color cue without turning it into a collage. I made one for my friend who hates clutter; she loved that it’s one clean piece, not a stack of prints. It flatters everyone because the mat creates breathing room and the photos sit at eye level.
Skip thisAvoid mixing random photo sizes or letting the photos touch each other — it makes the whole piece look like a rushed print job.
Editor's noteBefore you glue anything, hold the mat up to a window for 30 seconds — if the colors look dull there, they’ll look sad indoors too.
2. Satin Bookmark Set With Tiny Tassels
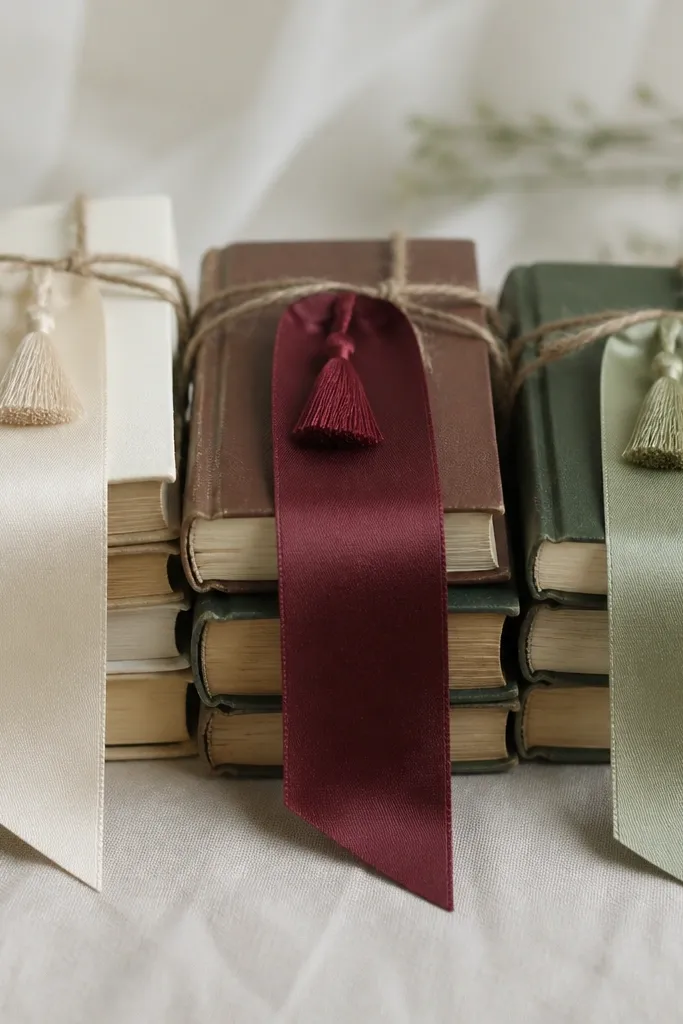
A bookmark set works because it’s personal without demanding a big commitment. Satin gives you that smooth sheen that reads “gift” in one glance, and tassels add movement when she pulls a book open. I made three so it feels like a mini set, not a single item that could be forgotten in a drawer. It suits people who read on paper and those who keep planners — you can clip it between pages or use it as a page marker. The colors look good on all skin tones because they’re not tied to a person’s body; they frame the book and catch light.
Cut three satin strips 2 inches wide and 8 inches long. Fold the top edge over 1/2 inch and stitch a straight line to make a clean pocket for the thread knot. Add a tiny tassel: wrap embroidery floss around a cardboard strip about 1 inch wide, cut one end, tie the center with a matching thread, then trim the tassel to about 3/4 inch long. Angle the bottom edge with fabric shears for a polished look. Pack each bookmark in a small cellophane sleeve and tie with a 1/8 inch ribbon in the same color family.
Use a lighter hand when trimming — satin frays fast, so cut clean and seal edges with a quick pass of fabric glue on the bottom corner only.
Avoid cheap polyester ribbons that look wrinkled — they catch light in a flat way and look like party favors.
3. Candle Jar Labels in Clean Typography
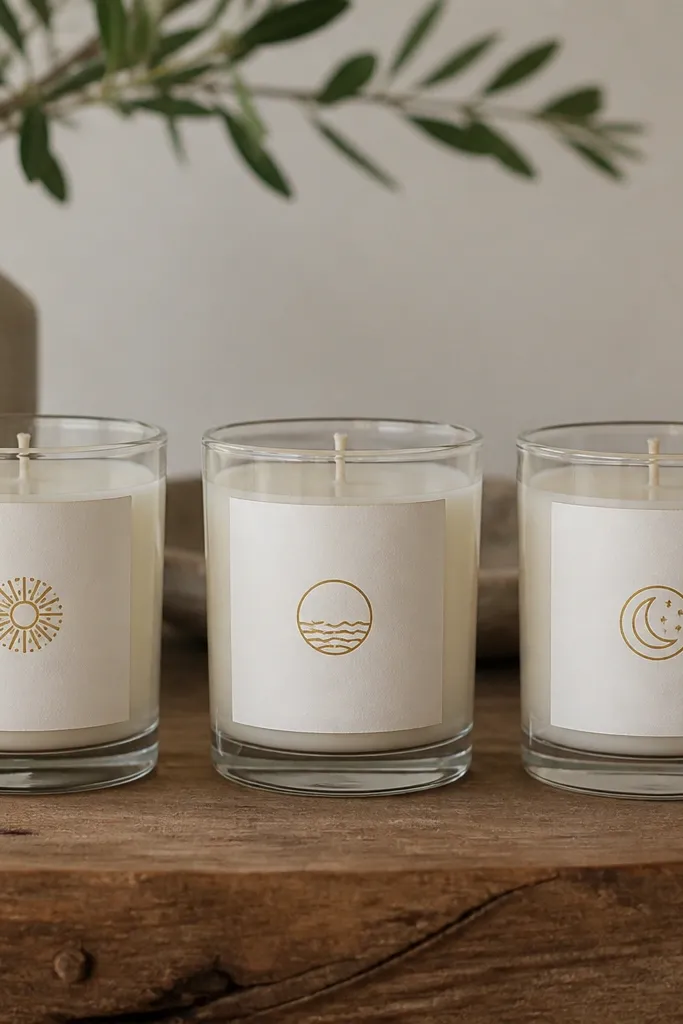
This is one of my favorite “looks custom, costs little” gifts because it upgrades an everyday item instantly. A clean label makes a plain candle jar feel like a boutique product. Choose white labels with black text and add one small gold element — the gold circle is what catches the eye when the candle is lit. I’ve done this for friends who like cozy scents but don’t want more clutter; the label turns the jar into decor. It flatters any room style because the design is minimal and the jar shape stays classic.
Start with three matching candle jars, ideally in clear glass so the flame and wax color show through. Print labels on matte sticker paper sized to wrap around the jar with a 1/2 inch overlap. Use one font style only — set the main scent name in 22-28 pt and the rest in 10-12 pt, with line spacing tight. Add a small gold-foil circle icon (you can use a craft punch and foil sheet) and place it near the bottom of the label. Wrap, smooth with your thumb, and keep the label seam at the back before you seal the edges with a thin strip of clear tape.
Test readability from 3 feet away — if you can’t read it across the room, shrink the design or increase font size.
Avoid neon ink and multi-font chaos — it turns the jar into a DIY science project.
4. Mini Herb Garden in a Repurposed Teacup
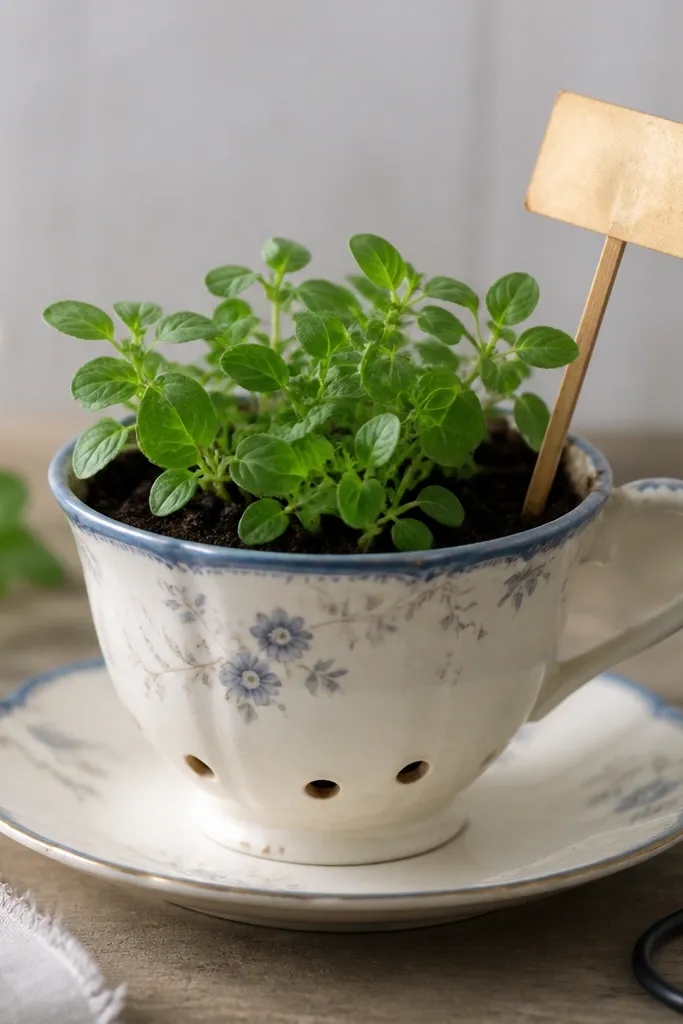
This gift feels thoughtful because it’s both decorative and useful, and the teacup shape makes it look curated. Herbs give you living color that changes week to week, but you still keep it neat by using a compact planter. I like using muted blue paint on the rim because it looks calm next to green leaves. If your best friend cooks, she’ll use it; if she doesn’t, the plant still gives her a reason to water something. The gift flatters small spaces because it’s tabletop-sized and doesn’t need a windowsill shelf system.
Start by drilling or carefully adding drainage holes to the bottom of a teacup using a small ceramic bit. Paint only the rim with watered acrylic and let it dry fully, then seal with clear matte varnish so water doesn’t stain. Add a saucer, fill with potting mix, and plant one herb per cup — use basil for fragrance or mint for hardy growth in the right container. Insert a wooden stake label with a simple printed word label glued under clear tape so it doesn’t smear. Water until it drains, then place near bright light but not harsh afternoon sun.
Choose herbs that match her lifestyle — basil needs more attention than thyme, and mint grows fast so it needs a bigger pot long term.
Avoid overfilling the cup — soggy soil makes the whole project look neglected fast.
5. Cord Organizer With Leather Wrap and Button Closure
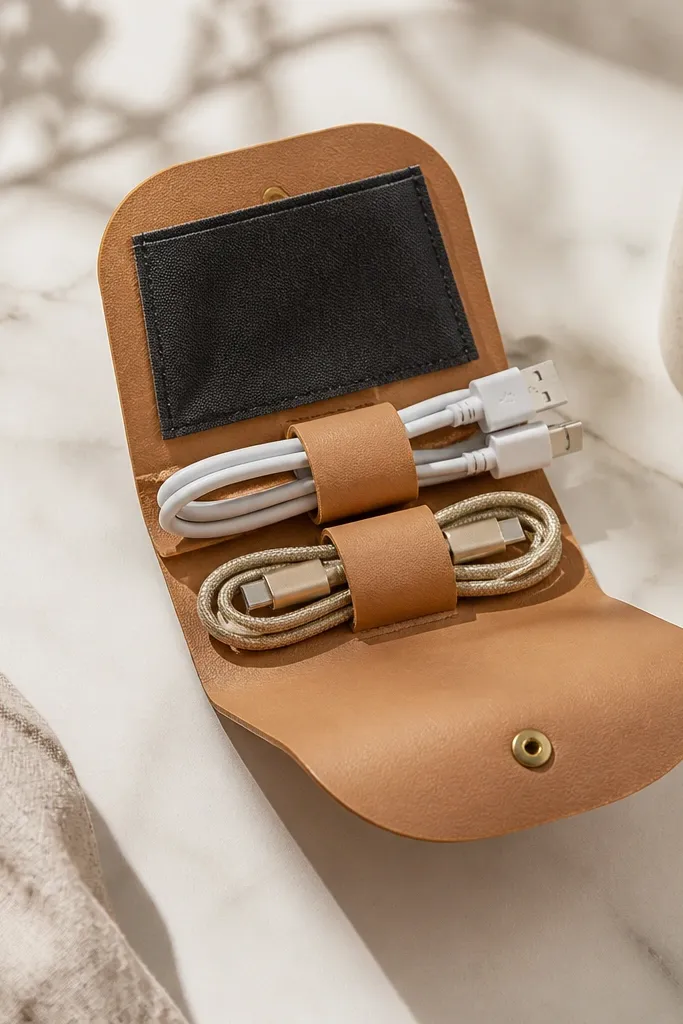
This is the kind of gift your friend actually uses every day, and it looks good while she uses it. Leather-look material gives structure, so cables don’t turn into a tangled mess in her bag. The button closure is important because Velcro edges look messy and peel over time. I made one for a friend who always loses her headphones; she kept it in her purse because it stays tidy. It flatters anyone’s style because neutral tan + black works with any jacket or tote.
Cut two rectangles of faux leather 10 inches by 7 inches. Add a slim internal pocket piece in black cotton webbing fabric (about 9 inches by 6 inches) and stitch it to the back panel, leaving a 1 inch opening on the top. Wrap the leather around a cable bundle and mark where the button should go — aim for the button to close when the organizer is flat, not stretched. Sew the brass button and add a matching snap or buttonhole on the front panel. Use fabric strips to create two cable loops inside so the cords land in the same spot every time.
Do a test wrap with the exact cables your friend uses before you sew the final button position.
Avoid free-floating pockets with no internal loops — cables slide around and the organizer looks sloppy.
6. Painted Glass Mug With Dishwasher-Safe Vinyl Stencil
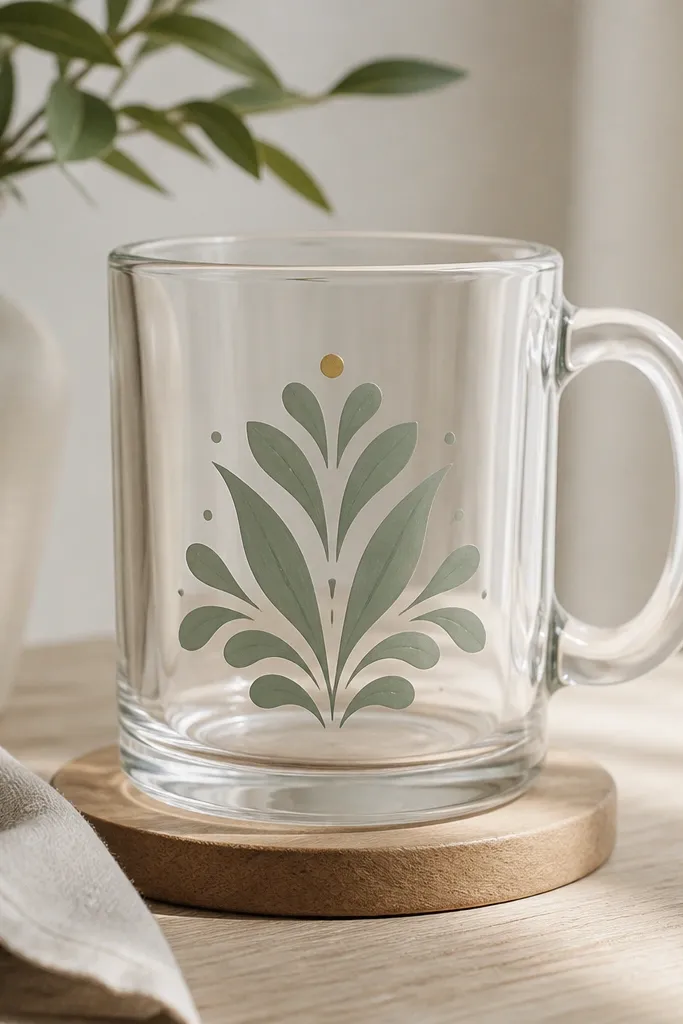
This one looks custom because the design edge is sharp and the mug stays usable. Vinyl stencil keeps paint from bleeding, and dishwasher-safe clear coat lets the gift survive real life. I used soft sage because it looks calm against warm coffee and doesn’t clash with skin tones in photos. The gold dot accent gives it a focal point without turning it into a loud slogan. This works for friends who love coffee, tea, or hot chocolate and want something they’ll actually wash and use.
Clean the mug with isopropyl alcohol and let it dry. Apply vinyl stencil cutouts — keep them simple like a single leaf or a small arch — and press the edges firmly with a scraper tool. Paint with glass paint or acrylic made for glass, applying two thin coats instead of one thick coat to avoid drips. Let it cure fully according to the paint label, then remove the vinyl slowly at a 45-degree angle. Seal with a thin dishwasher-safe clear coat and bake or cure again if the product requires heat.
Pick a one-color design — two-color stencils look cute at first but show misalignment fast on curved glass.
Avoid freehand lettering on glass — it looks wobbly and you’ll see every brush stroke.
7. Wooden Tray With Marble-Effect Paper Inlay
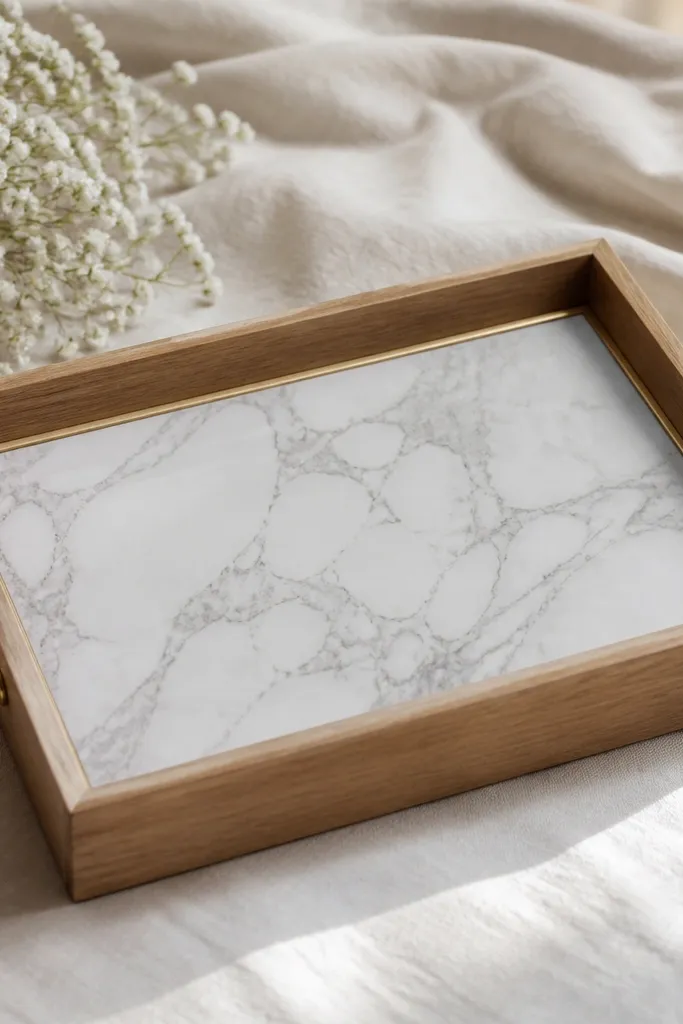
Sand the tray lightly so the surface isn’t shiny, then wipe dust away. Cut marble-effect contact paper or marble-pattern cardstock slightly larger than the tray base, then press it down smoothly with a plastic card to avoid bubbles. Trim the edges with a craft knife so the paper follows the wood border cleanly. Seal with two thin coats of clear epoxy or glossy mod podge designed for decoupage, letting it dry between coats. Paint a thin gold line along the inner rim with a fine brush and seal again so it doesn’t scratch.
A tray gift always feels intentional because it’s a styling tool. The marble-effect paper gives you the look of stone without the weight or cost, and the gold border makes the edges look finished. I like shallow trays for best friends because they fit a nightstand, bathroom counter, or coffee table with zero measuring drama. It flatters any decor because grey-vein marble works with warm and cool palettes. Your friend can fill it with perfume, earrings, keys, or a candle — it’s a gift that keeps paying off.
Skip thisAvoid thick paper that wrinkles at the edges — it lifts and looks cheap after a week.
Editor's noteUse a bright flashlight from the side to check for bubbles before sealing — you can fix them while the adhesive is still tacky.
8. Fabric Wall Banner With Modern Triangle Pennants
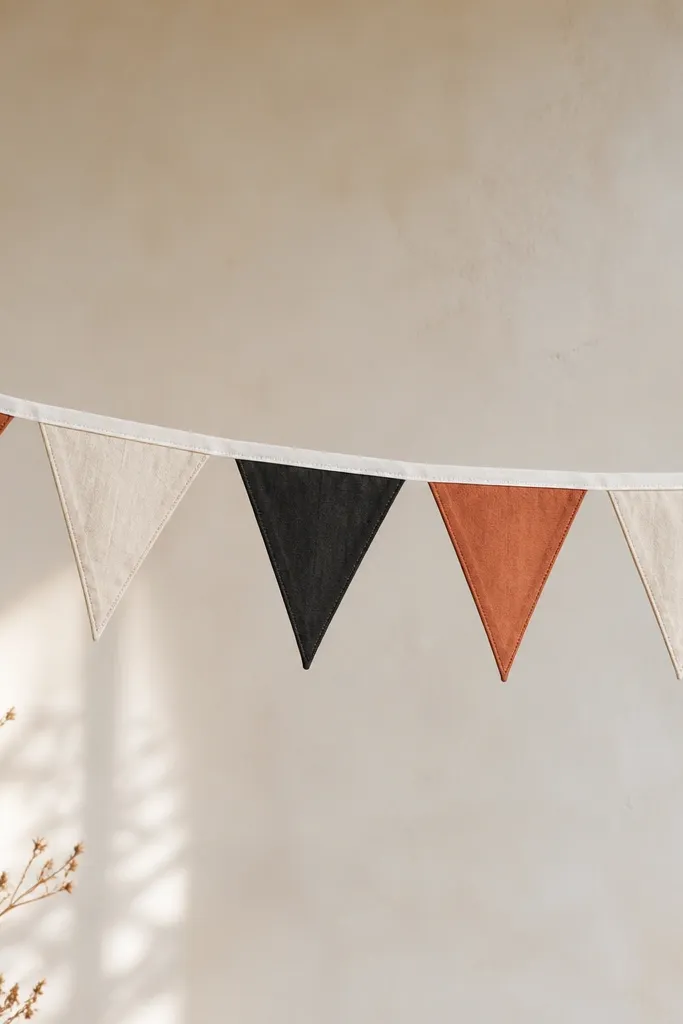
Cut triangles from three fabrics, each about 6 inches tall with a 4 inch base. Choose removable tape or small clips to hang the banner on a string line so you can adjust spacing later. Sew or glue the triangles to a white twill tape strip, keeping the points aligned. Space them 1 inch apart and press the seams so they lay flat. Tie the ends to a sturdy cord and hang with two picture hooks so the line stays level.
A fabric banner looks good because it adds movement and soft texture, not just flat prints. Triangle pennants create a clean rhythm, and using linen + cotton keeps the look crisp. I like muted rust with black and cream because it reads warm without looking like a kid’s room craft. This works for best friends who rent and can hang something with removable hooks. It flatters the room by adding color at eye level without overwhelming furniture.
Skip thisAvoid glossy “craft store” fabric that puckers — it reflects light unevenly and looks wrinkled in photos.
Editor's notePre-measure the total length by laying the triangles out on the floor first — uneven spacing is the fastest way banners look homemade.
9. Best Friend Keychain With Stacked Name Tags and Epoxy Glow
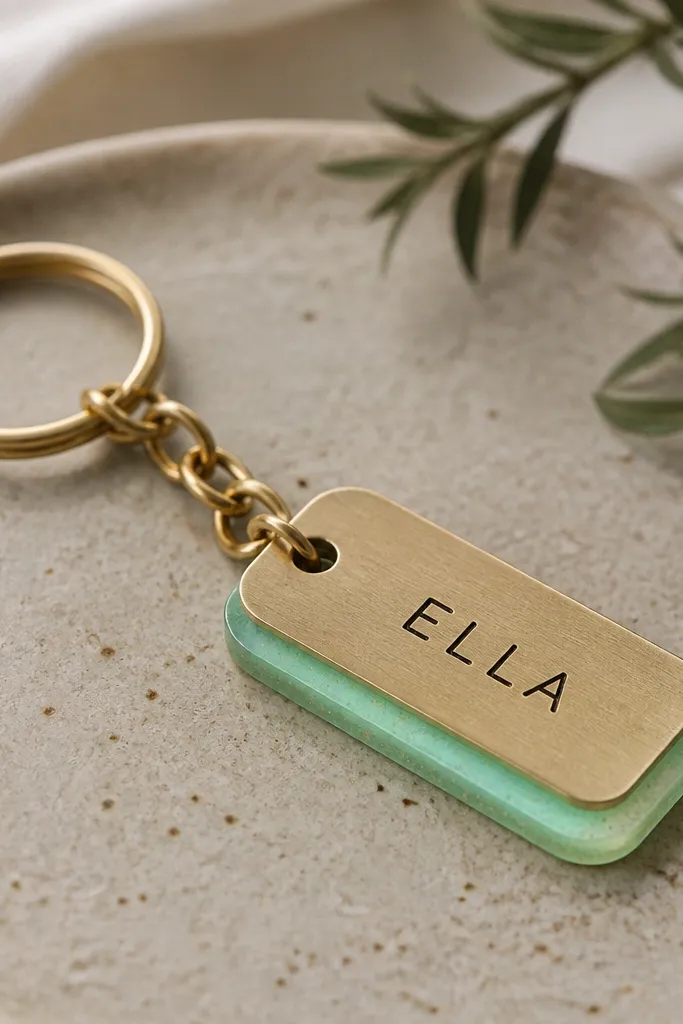
Buy two blank metal name tags sized about 1 inch by 2 inches. Use a label maker or stencil to mark the text placement, then engrave or paint the letters with enamel paint and a fine brush. For the epoxy, mix a small amount of epoxy resin with a glow pigment and pour a thin layer into the second tag, staying within the engraved letters area. Let it cure fully on a level surface to avoid ripples. Attach both tags with a jump ring stack and add a short gold chain so it sways slightly when she walks.
Keychains work because they’re personal and daily-use, and stacked tags make them look like real accessories. The engraved look is clean, and the epoxy glow gives a fun detail that stands out in dim lighting. I made one with a subtle glow color that matches her bag hardware — it looks coordinated, not random. If your friend carries keys in a tote, this style helps because it’s easy to spot. It also flatters hands and outfits because it’s small, metal-toned, and doesn’t clash.
Skip thisAvoid oversized tags — big keychains look like novelty souvenirs and swing too much.
Editor's noteDo a quick wipe with a microfiber cloth after curing — epoxy smears show up as dull spots on metal.
10. Personalized Charm Bracelet With Fabric Thread Wrap
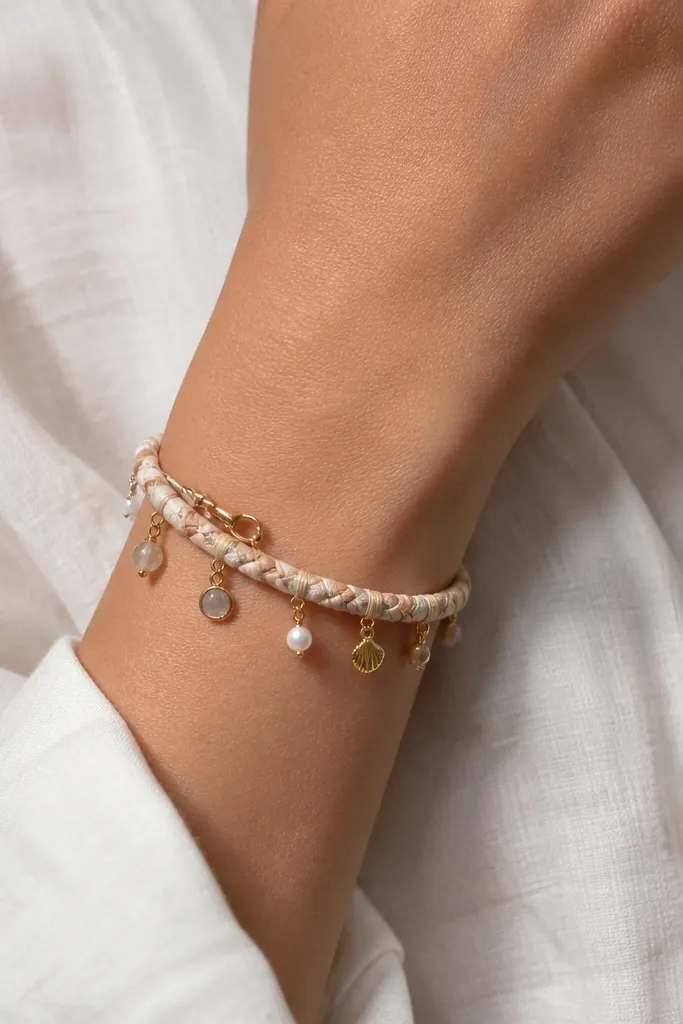
Measure your friend’s wrist with a soft tape and add 1 inch for comfort. Choose a braided cord in two neutral shades and cut to length, then fold and tie a temporary knot for fitting. Wrap thin fabric thread (like waxed cotton) around the cord in a spiral pattern, covering about 1/2 inch at a time and keeping tension even. Attach charms with small jump rings — pick 3 to 5 charms max so it stays elegant. Finish with a lobster clasp and trim any loose ends, then dab a tiny amount of fabric glue on the knot for security.
This bracelet works when you want “meaning” without making it look like a friendship knot. A braided cord base looks tidy, and the fabric thread wrap adds texture you can feel. I used cream + taupe because it looks classy with denim jackets and soft sweaters. The charms should be spaced evenly, not bunched, so the bracelet catches light without looking cluttered. It flatters most wrists because the braided base sits comfortably and doesn’t dig in.
Skip thisAvoid random charm sizes in one bracelet — the imbalance makes it look like you threw pieces together.
Editor's noteUse one charm finish — either all gold-tone or all silver-tone — so it looks intentional at a glance.
11. Stenciled Tote Bag With Washable Fabric Paint
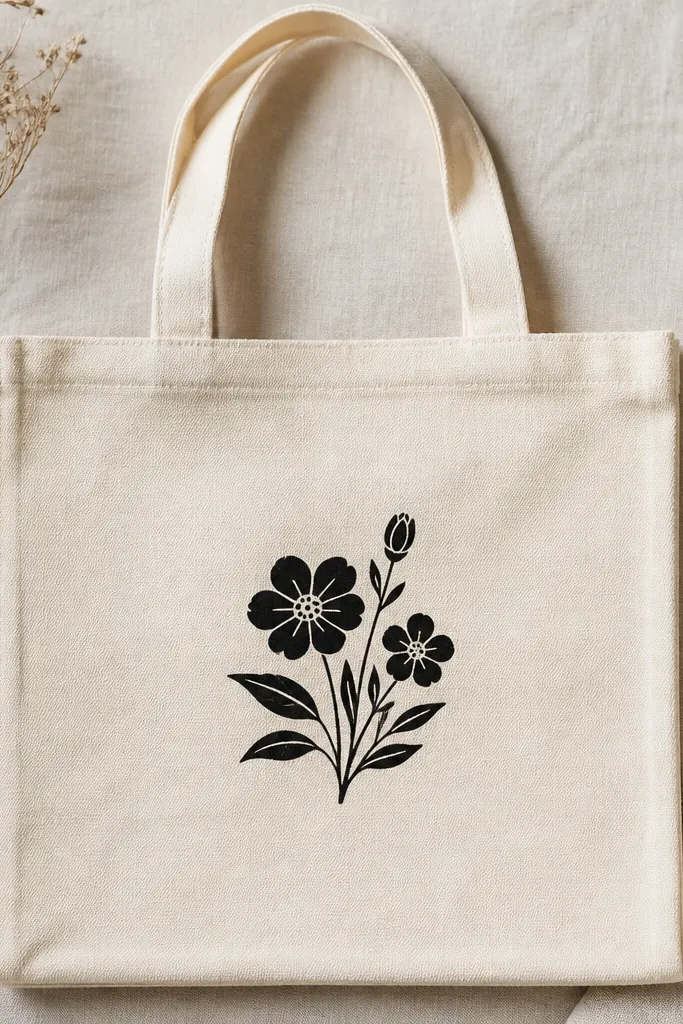
A tote bag gift is practical, and stenciling keeps it from looking homemade in a bad way. Fabric paint that is washable gives you the durability you need for real errands. I like a small centered design because it looks stylish with zero effort from the wearer. Black ink on natural canvas makes it readable and flattering in photos. This works for best friends who carry groceries, books, or gym stuff and like simple branding.
Pre-wash the tote if it’s new so the fabric shrinks before you paint. Iron it flat, then apply a stencil using painter’s tape to prevent bleed. Apply fabric paint with a foam dabber — press lightly so you don’t flood the stencil edges. Let it dry, then remove the stencil carefully at a 45-degree angle. Heat set according to the paint instructions, then wash once by itself to remove any surface tack.
Keep the design under 6 inches wide for a tote — large designs crack faster and look rough over time.
Avoid glitter paint — it sheds and looks messy after a few washes.
12. Memory Jar With Layered Paper Strips and Lid Label
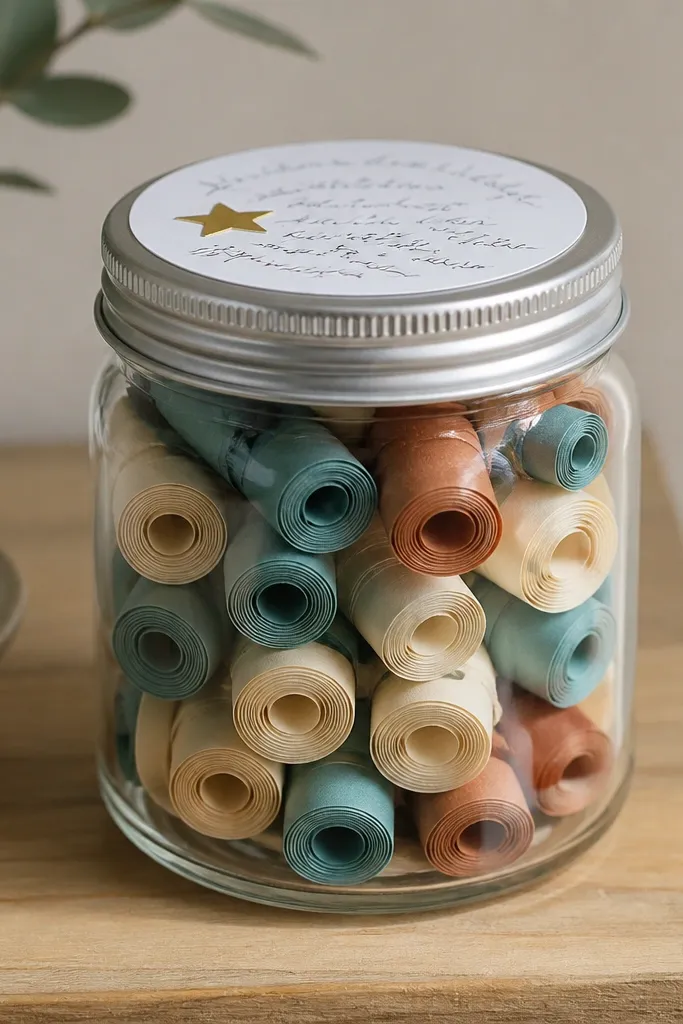
Cut strips of paper 1 inch wide and 4 inches long, then roll them tightly and tie each roll with a tiny piece of clear thread only if they unroll easily. Add a few drops of colored wax seal dots or tiny stickers as visual markers on some rolls. Layer colors in bands: teal on the bottom, cream in the middle, warm brown on top. Make a lid label that’s printed or neatly written with a single pen color, then attach with a circle label sticker so it stays centered. Fill the jar, tap it on the counter to level the rolls, and wipe the jar exterior so it looks crystal clear.
Memory jars look heartfelt, but the ones that look cheap usually have messy handwriting and flat-looking fills. Rolled paper strips create texture you can see through the glass, and layering colors makes it look designed. I used three paper colors and kept the labels short, so the jar looks clean even before anyone reads it. This gift suits best friends who like prompts, date ideas, or inside jokes. It also flatters any home decor because it’s contained in one clear vessel.
Skip thisAvoid a jar full of flat folded notes — it looks like a pile, not a gift.
Editor's noteWrite the prompts on a line — if the sentence wraps, shorten it. Wrapped lines look crowded in the jar.
13. Cork Coaster Set With Heat-Stamped Icons
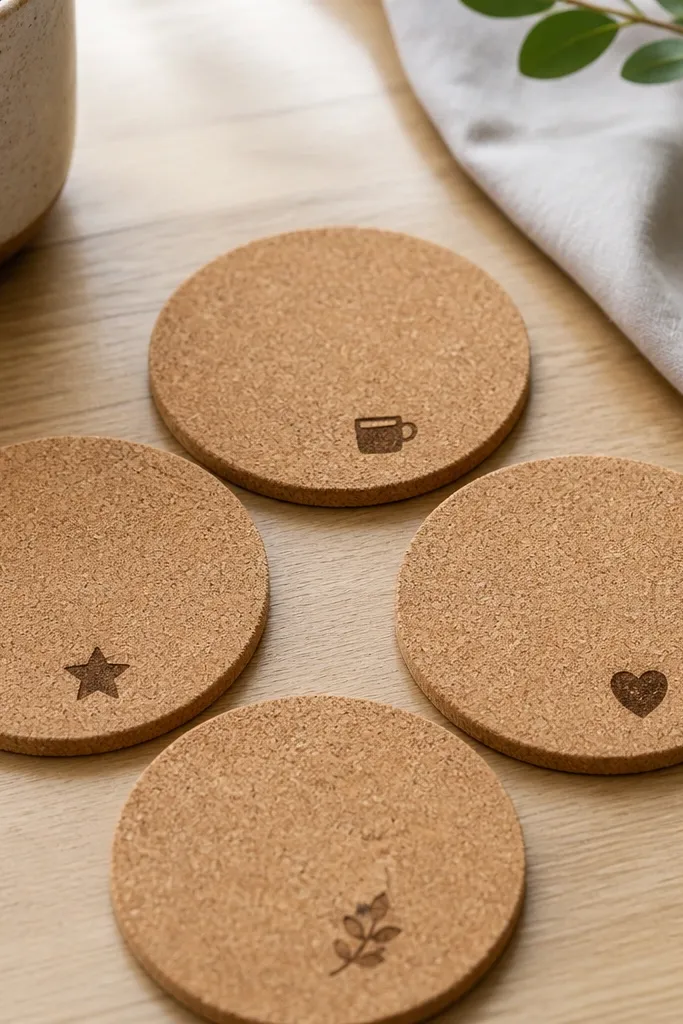
Buy pre-cut cork coasters or cut cork sheets into 4 inch squares with a sharp blade. Sand the top surface lightly so stamps land evenly. Use a heat stamp tool or wood-burning kit with a consistent temperature; test on scrap first so the burn color matches your cork. Stamp one icon per coaster, centered with a ruler. Seal the edges with a thin cork sealer if you want extra stain resistance, then wipe each coaster to remove dust before gifting.
Cork coasters feel like a grown-up gift because they’re practical and they look good on a coffee table. Heat-stamped icons give you a crisp, consistent mark without the mess of paint. I chose a dark brown stamp because it matches cork naturally and doesn’t look like a random ink stain. This works for best friends who host, live with roommates, or keep drinks at their desk. The icons add personality without turning the set into cartoon decor.
Skip thisAvoid water-based ink on cork — it spreads and looks blurry.
Editor's noteStamp after you sand — dust makes heat marks look patchy.
14. Hand-Poured Soy Wax Mini Wax Melts in Silicone Molds
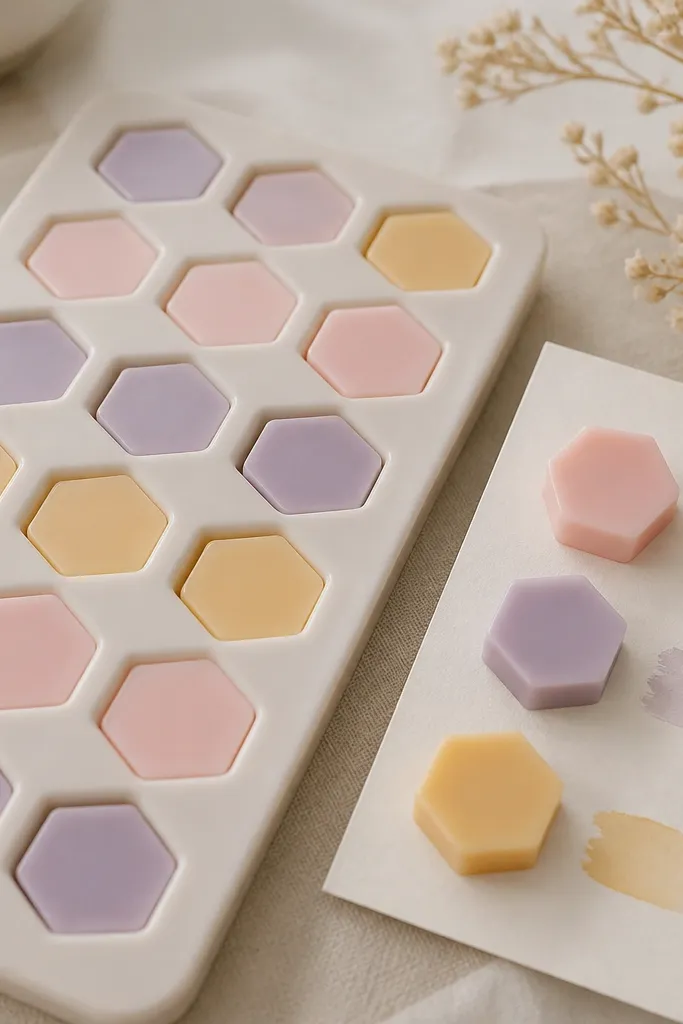
Wax melts are a gift that feels luxurious because they smell strong but don’t require lighting a flame. Silicone molds make it look neat, and clean edges matter for the aesthetic. I poured three scents so the set feels intentional, not random. The pastel color palette looks pretty on a counter near candles and matches most home decor. It flatters people with sensitive preferences because she can choose the scent intensity by using one melt or two.
Melt soy wax in a pouring jug, then add fragrance oil according to the oil’s recommended ratio. Pour into silicone molds and color with candle dye if you want — keep dye levels low so the wax stays translucent. Tap the mold gently to release bubbles, then let it cool until fully opaque. Pop out the melts and trim any tiny flash bits with a craft knife. Package in a clear bag with a simple printed label card showing scent names and a one-line usage note.
Pour at a lower temp for cleaner edges — it reduces surface ripples in the mold.
Avoid over-fragrancing — it can smell harsh and makes the whole set feel cheap fast.
15. Wall Shelf Photo Clips With Mini Clothespins
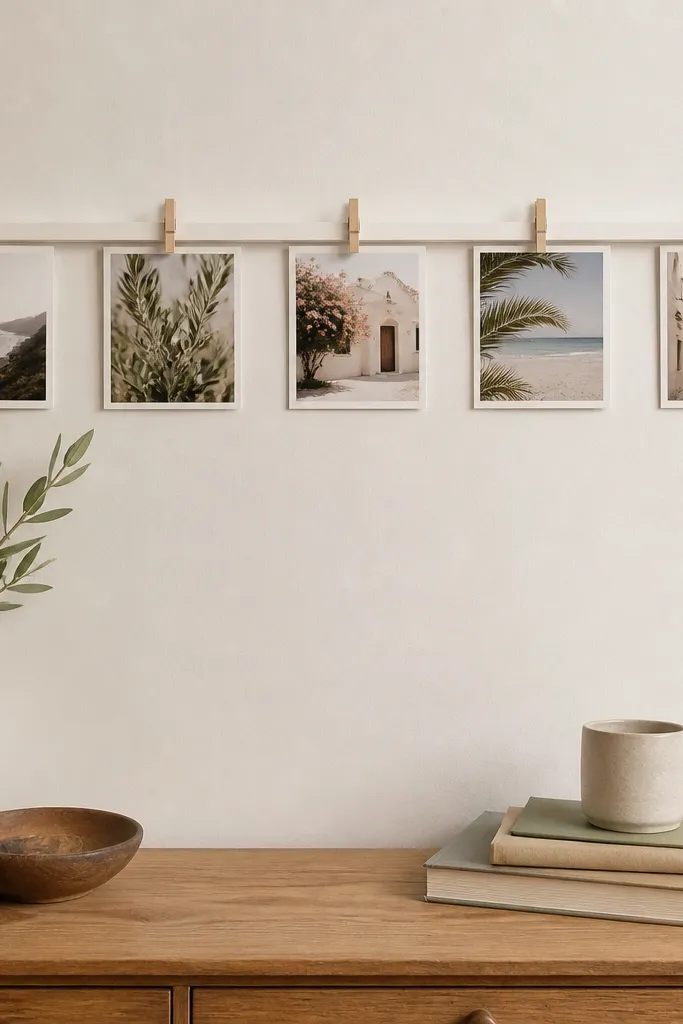
Paint or sand a small wooden rail and let it dry fully. Add small eye screws at the ends and string twine or use a thin wire line as the photo line. Clip photos with mini clothespins, keeping each photo oriented the same way so the display looks consistent. Space photos evenly — measure 2 inches between centers so it doesn’t drift. Mount the rail using two anchor points so it stays level and doesn’t sag under photo weight.
If your best friend hates clutter but still wants her memories visible, photo clips are the answer. They look airy because photos aren’t stacked in a block, and the spacing keeps it from feeling chaotic. I like a thin off-white rail because it blends into walls and makes the photos pop. Mini clothespins look handmade in a good way, and they’re easy to swap when you add new pictures. This flatters small spaces because the display takes up almost no visual weight.
Skip thisAvoid heavy magnets or thick clips — they warp photos and look bulky.
Editor's noteUse photo strips with the same border thickness — mixed borders make the whole thing look untidy.
16. Baked Polymer Clay Ring Dish With Speckle Finish
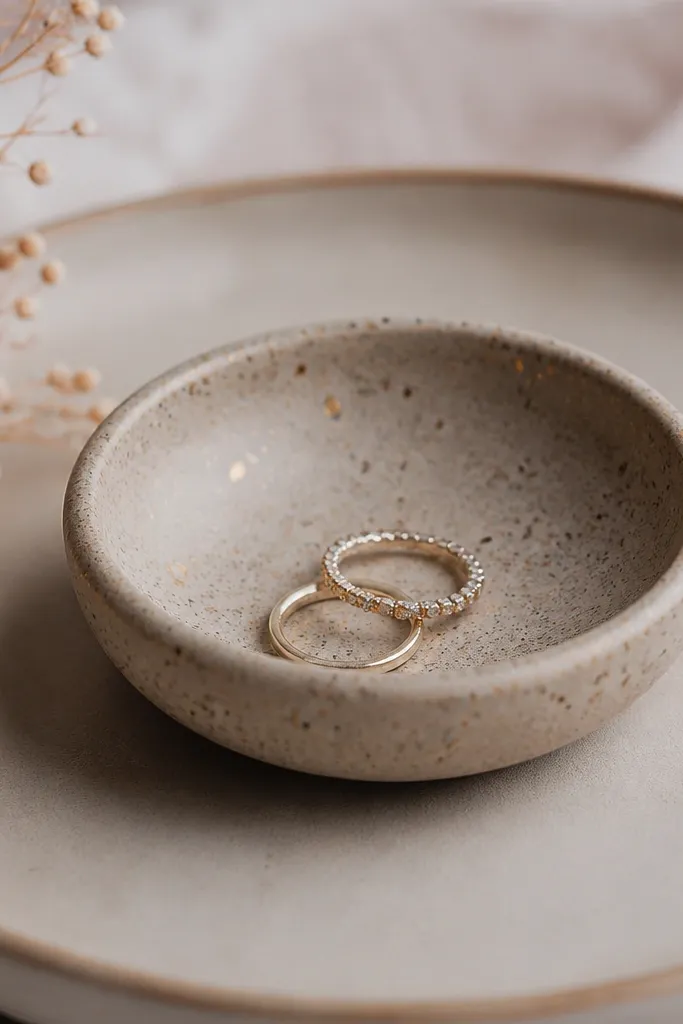
Condition polymer clay until it’s soft, then mix in gold mica powder by dusting and folding. Roll a slab about 1/4 inch thick and cut a circle roughly 3.5 inches wide. Drape it over a small bowl form to create the shallow dish, then smooth the rim with a damp finger. Use a needle tool to add tiny speckles by flicking or pressing a pin into the surface lightly. Bake at the temperature on your clay package, cool completely, then seal with a matte or satin varnish.
A ring dish is one of those gifts people use right away, and the polymer clay finish looks handmade in a clean, intentional way. Speckles add visual interest without needing extra shapes. I like a shallow bowl because rings sit securely and the dish doesn’t look like a tiny cup. This works for best friends who wear rings, bracelets, or even keep hair ties on a nightstand. The neutral speckle palette fits warm and cool bedrooms.
Skip thisAvoid glossy varnish on a dish meant for jewelry — it smears fingerprints and looks messy.
Editor's noteBake a test piece first — different ovens run hot, and you want your rim to stay crisp, not brittle.
17. Promise Bracelet With Waxed Thread and Metal Charm
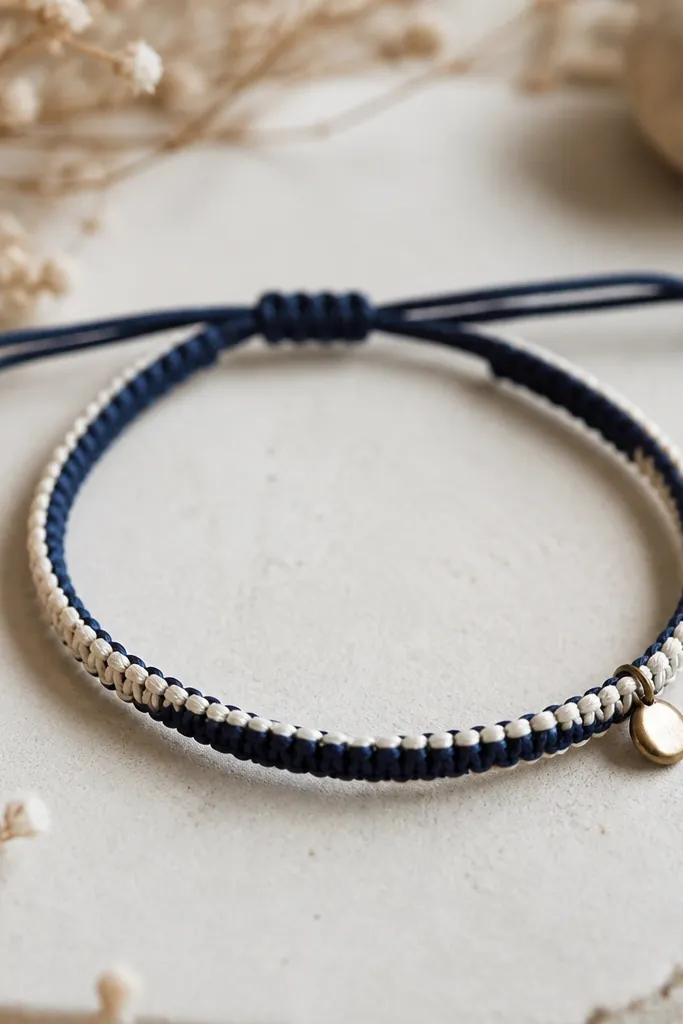
Cut two strands of waxed thread about 36 inches long each. Tie a loop at one end, then braid or knot into a tight pattern — keep tension even so the braid stays uniform. Add the metal charm by threading it onto one strand near the end, then continue braiding so it sits centered. Finish with a sliding knot closure: tie the ends together with a loop large enough to pass over the wrist. Trim and tuck the ends, then seal the knot with a tiny dab of fabric glue so it doesn’t loosen.
This bracelet looks polished because waxed thread stays crisp and knots hold their shape. A single metal charm gives it a clean focal point instead of turning it into a pile of beads. I made navy + cream because it looks good against both warm and cool skin tones and it doesn’t fade as fast as bright colors. The sliding closure is practical for a gift because it adjusts without needing exact sizing. It flatters wrists because it sits flat and doesn’t bulk like chunky bead bracelets.
Skip thisAvoid stretchy thread — it turns the bracelet sloppy after a few days.
Editor's noteUse a ruler to mark knot spacing — even spacing makes it look store-bought.
18. Desk Set: Felt Pen Rest With Embroidered Initial
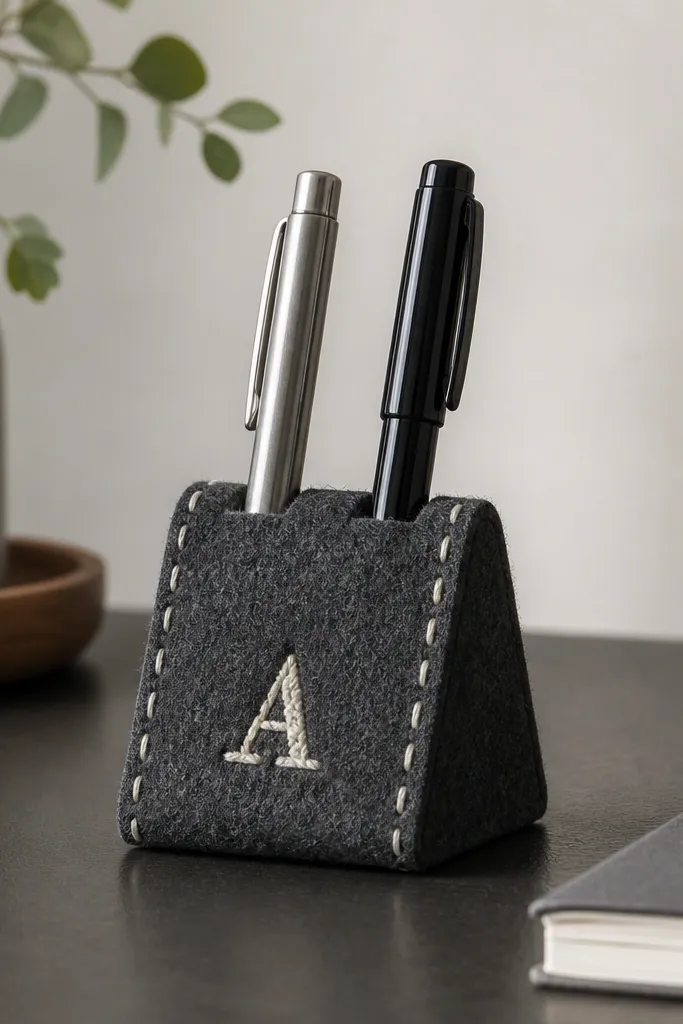
Cut felt into a base rectangle about 8 inches by 4 inches. Cut a second piece for the front wedge about 8 inches by 3 inches and angle it so it forms a pen cradle that holds pens at a slight tilt. Stitch the edges with a simple running stitch or blanket stitch using matching embroidery thread. Embroider a single initial centered on the front using a basic satin stitch or backstitch outline. Fold the wedge into place, then sew along the sides so it stays stable. Test with the exact pen thickness your friend uses.
A felt pen rest makes a gift feel useful without being boring. Felt has a soft matte finish that looks clean and doesn’t fray much, and embroidery gives it a personal detail that doesn’t look messy like marker. I used charcoal and cream because it looks sharp on bright desks and doesn’t clash with colorful stationery. This works for best friends who work from home, study, or keep a planner — it stops pens from rolling around. It flatters any style because the design is minimal and the initial is the only focal point.
Skip thisAvoid thin felt that collapses — the pen rest looks like a floppy craft.
Editor's noteChoose felt thickness around 3mm — it holds shape without looking bulky on a desk.
19. Marbled Phone Stand With Faux Resin Finish
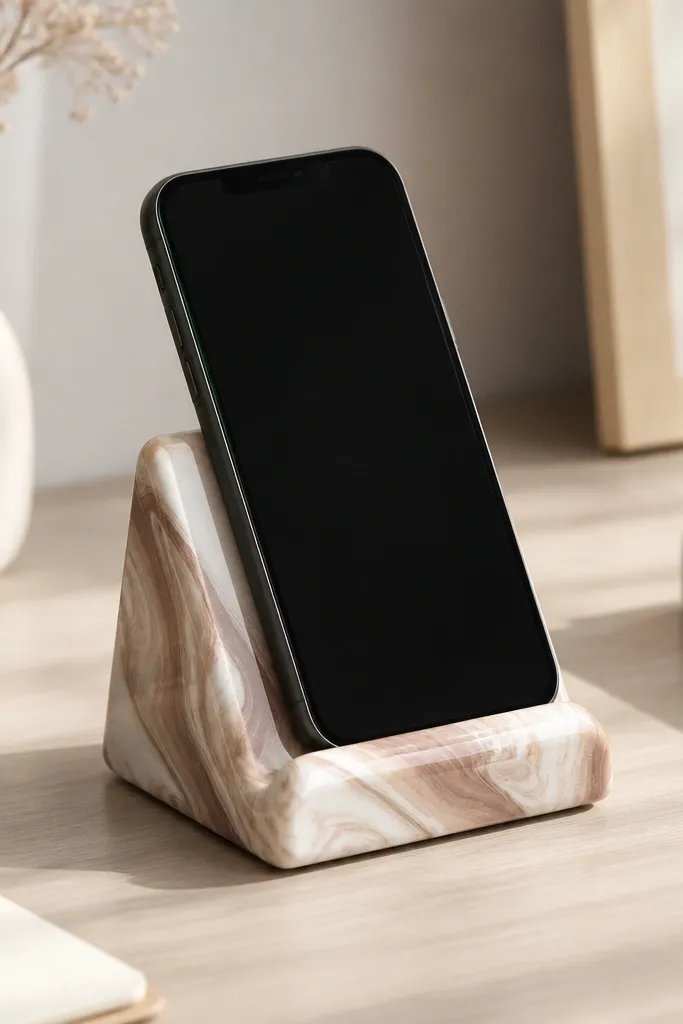
A phone stand feels modern, and marbling makes it look like you bought it from a design shop. The glossy top coat is what makes the surface catch light like resin, which is the difference between “craft” and “decor.” I like marbling in soft neutrals because it doesn’t clash with phone cases or wall colors. It’s especially good for friends who watch videos at their desk or follow recipes while cooking. The stand flatters most setups because it’s neutral and the angle keeps the screen at a comfortable view.
Start with a pre-made wood or acrylic phone stand base or shape a simple stand from MDF and sand it smooth. Mix acrylic paint in white, taupe, and a tiny dab of rose, then swirl them with a small amount of clear medium so the pattern stays airy. Pour or brush a thin marbled layer and use a heat gun carefully to pop bubbles. Seal with a clear glossy resin top coat in two thin layers, letting it cure fully between coats. Finish by sanding the base edge lightly so it doesn’t feel sharp on hands.
Keep the marbling away from the contact points where the phone sits — a smooth clear patch grips better and looks cleaner.
Avoid heavy glitter in the marbling — it looks gritty and uneven under screen light.
20. Personalized Candle Snuffer Tag With Satin Ribbon Loop
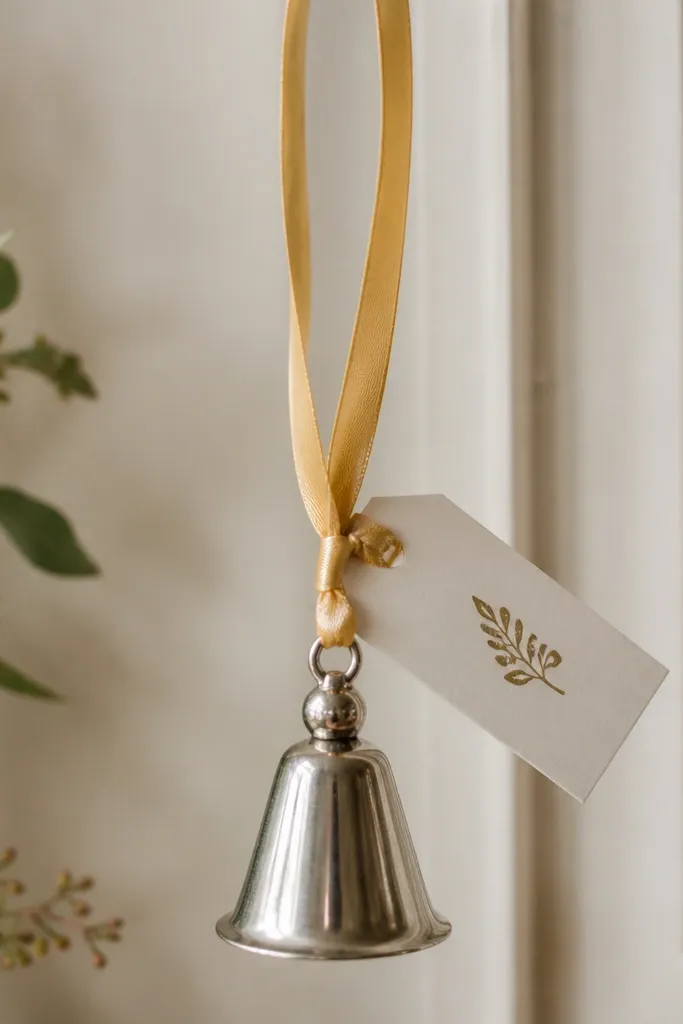
This is a practical add-on that looks intentional, especially if your friend already likes candles. A snuffer reduces smoke and helps her keep candles neat, and the ribbon tag makes it feel like a gift instead of a random accessory. I used a satin ribbon loop because it lays flat and looks clean compared to twine. The stamped icon gives a classy look without needing fancy calligraphy. It flatters anyone’s candle routine because it’s small, useful, and easy to find.
Buy a candle snuffer (brass or silver tone) and wipe it clean. Make a small tag from thick cardstock, about 2 inches by 3 inches, and stamp or print a simple icon — a flame or star. Punch a hole at the top and thread satin ribbon through, then tie into a loop that hangs at a comfortable height. Attach the snuffer to the ribbon loop using a small ring or a quick knot so it doesn’t slide. Wrap it in tissue and place in a small box so the ribbon doesn’t get crushed.
Test the ribbon length by holding the snuffer by the loop — it should hang without touching the box bottom.
Avoid cheap paper tags that bend — they look wrinkled the second the box gets handled.



