

1. Photo Strip Mini Frame With Matching Ribbon
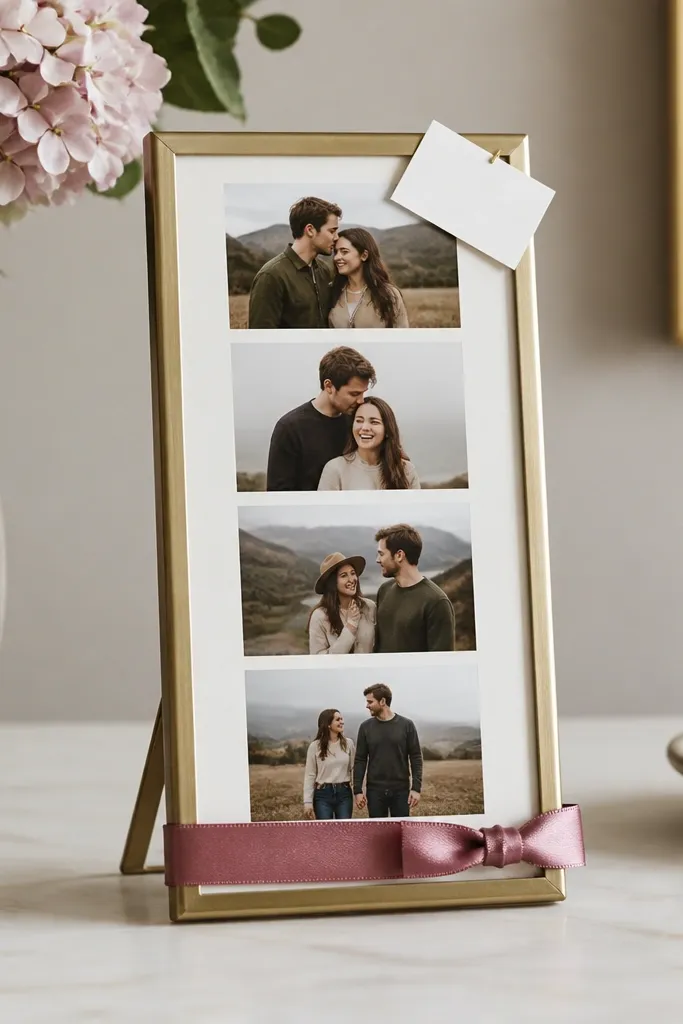
This works because a frame already looks like a real gift, even when you’re fast. Use a mini frame in black, cream, or warm wood — the neutral base makes the photos pop without extra decoration. Print four photos in a narrow strip style and pick images with similar tones, like golden hour shots or indoor daylight selfies. It flatters anyone because it’s personal without being picky about body type or styling; your friend just sees “you two” immediately. Keep the ribbon colour close to one photo accent — dusty rose, teal, or soft navy — and the whole piece looks coordinated.
Start by choosing a mini frame with a removable backing and lay it face down on a towel. Arrange four photos in a strip, trim them so they leave a 1-2 mm border, and tape the top edge lightly so they don’t shift. Then add a small label at the top corner of the backing card — write one sentence only, like “Seattle to Toronto, always.” Finally, loop a satin ribbon around the bottom edge and tie a tight double knot; trim the ends at an angle so they look clean.
Editor's noteUse matte photo paper for the photos — it cuts glare and looks premium in daylight.
Skip thisAvoid crooked photo edges; a 2 mm tilt makes the whole thing look rushed.
2. Jar of "Emergency Compliments" Notes
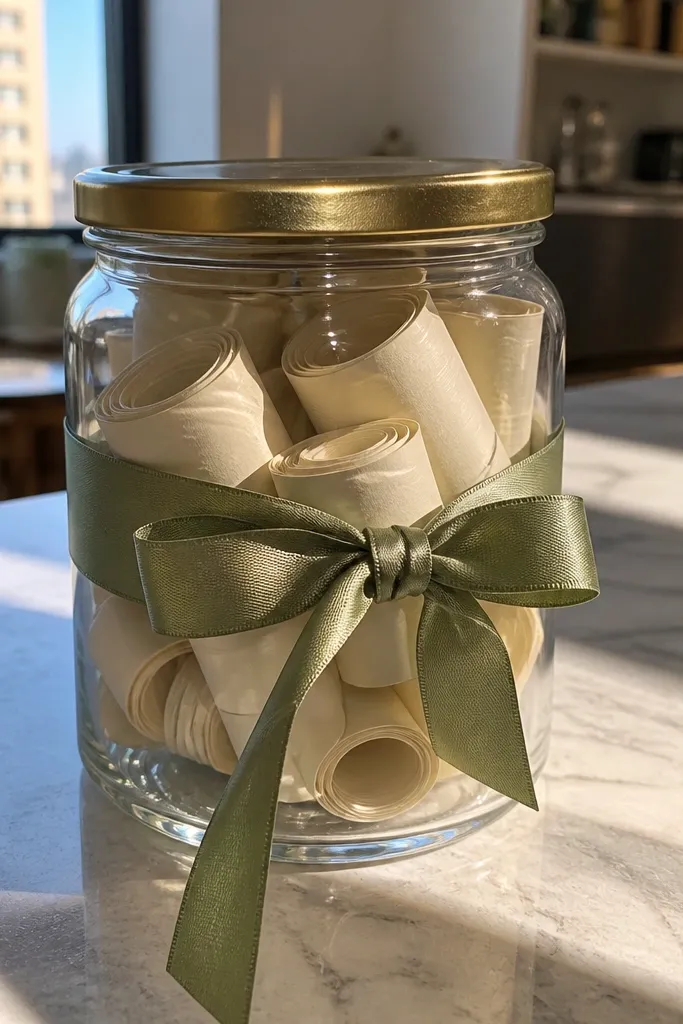
This is one of the easiest long-distance gifts because it turns into daily comfort. The jar looks polished instantly, and the notes feel personal without needing special art skills. Use thick cream cardstock for the notes so they don’t look flimsy when rolled. Choose a label colour that matches the jar wrap — I like off-white or warm tan with black ink for a clean look. It works for any personality because compliments can be tailored to your friend’s real habits: “You make hard things look doable,” “Your laugh is contagious,” or “You always show up.”
Start by cutting cream cardstock into small rectangles, about 2 x 3 inches, then roll each note tightly around a toothpick and tie with a tiny piece of twine or leave them loose. Fill the jar with the rolls so they sit snug but not crushed. Wrap the lid with a 1-inch strip of fabric (cotton, linen, or even a clean bandana) and tie it in a bow on top. Add a sticker label on the front and write the jar’s title plus an instruction like “Open one when you need a lift.”
Write 12-15 notes so there’s a full two weeks of surprises, not just a one-time moment.
Avoid using thin printer paper; it tears at the roll and looks cheap fast.
3. Scented Candle Matchbox Label Upgrade
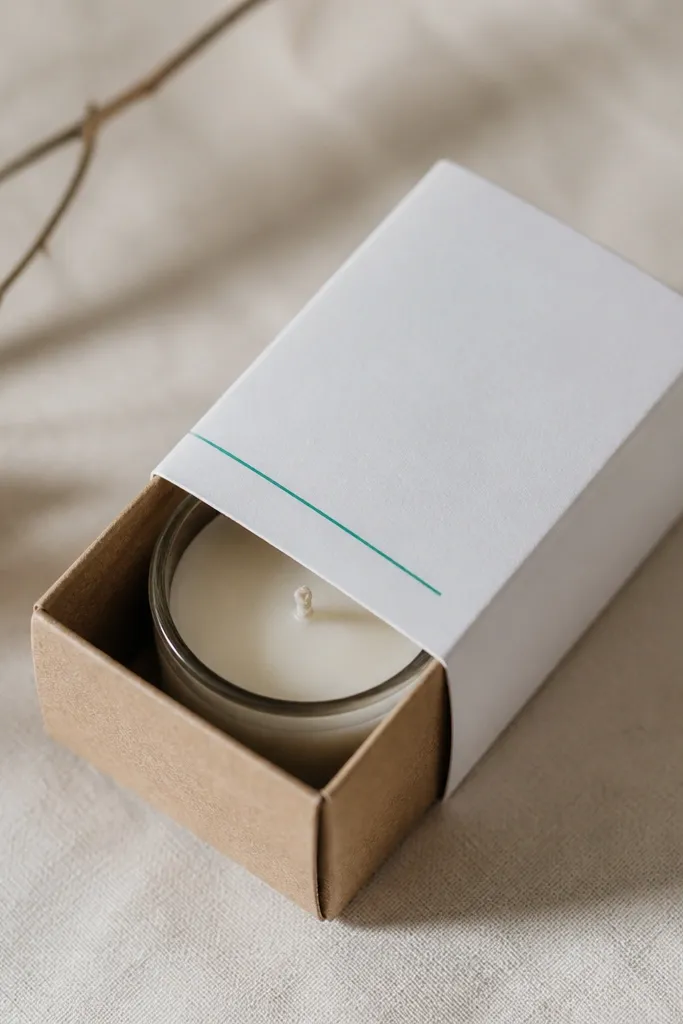
If you want the “gift” look without making a candle, do the label upgrade. A candle already reads cozy and thoughtful, and the custom matchbox label makes it feel like you picked it just for her. Pick a candle with a simple, clean scent (vanilla, cotton, cedar, or lavender) and a matte glass jar or simple tin. Choose a label with one strong colour accent — teal, black, or deep plum — so it looks designed. This flatters everyone because it’s not about body shape or style; it’s about mood. The scent + label combo makes long-distance feel close.
Start by buying a candle that comes in a plain tin or jar so the colour doesn’t fight your label. Print or write a label that fits the matchbox or small box sleeve — keep it one line for the title and one line for a message. Wrap the candle box with tissue paper in a single colour (white, cream, or pale grey) and tuck a small piece of ribbon around the center. Place the custom label on the matchbox sleeve and add a small “P.S.” note inside the lid of the box.
If your candle has a strong scent, leave it unsealed for 10 minutes before packaging so the smell doesn’t feel overwhelming in transit.
Avoid busy patterned labels; one bold colour looks intentional, busy looks like a craft store sale sticker.
4. Collage Snack Box With One Theme Sticker
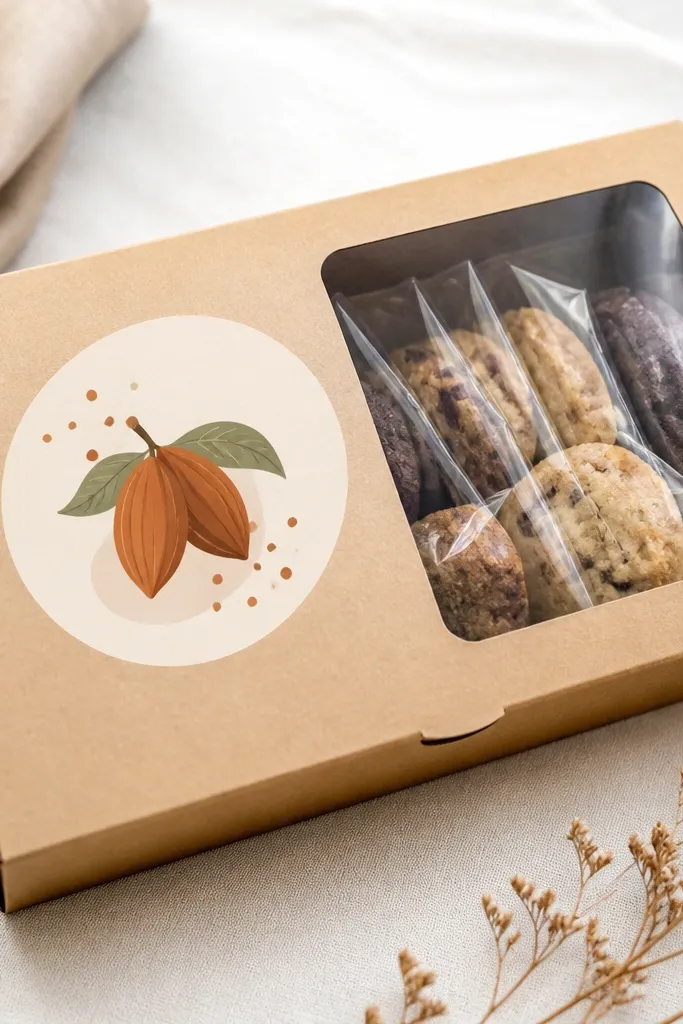
Snack gifts win because they’re instant and easy to personalize. The secret is to pick one theme so the box looks styled, not random. I’ve done “movie night,” “self-care,” and “late-night study” boxes — each one can use the same layout but different snacks. Choose treats that travel well: sealed cookies, individually wrapped chocolates, and shelf-stable tea. The sticker is your hero element; it pulls the whole box together visually. This works for any friend because it’s functional and fun, and it doesn’t depend on their clothing sizes or tastes.
Start with a shallow gift box and line the bottom with tissue paper in one colour, like black for a modern look or cream for soft vibes. Pack snacks in rows so you can see each label; leave a 1/2-inch air gap so nothing gets crushed. Add one theme sticker to the lid center and write a short message on a small card tucked under the tissue. Close the lid and tie a ribbon around the box seam, then add a clear window cellophane panel if you want it to look extra gift-ready.
Use a single ribbon colour across the entire box — it makes the snacks look chosen, not dumped in.
Avoid mixing too many colours of packaging; the box looks chaotic even if the snacks are good.
5. Long-Distance Friendship Keychain With Photo Window
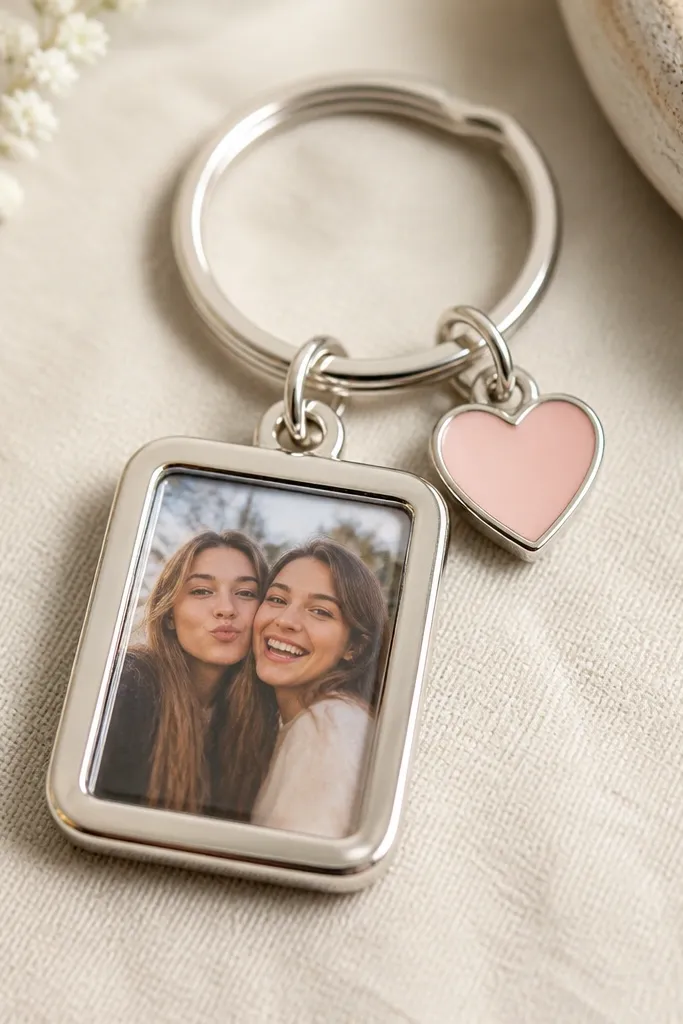
A keychain is the kind of gift your friend uses every day, and the photo window makes it feel tied to you. This is perfect for long-distance because it travels with them and doesn’t need a big unboxing moment. Pick a charm with a clear front window so the picture pops; round charms look cute and friendly, rectangle ones look a bit more modern. Choose a photo with a strong face or a clear object, like a coffee cup or skyline, so it reads even when tiny. It flatters because it doesn’t require style matching — it just becomes a daily reminder.
Start by printing a small photo sized to your charm window, usually around 1 inch by 1.5 inches depending on the charm. Trim neatly with scissors and test fit inside the clear window before sealing. Place the photo into the charm backing, then close the bezel or snap the cover into place. Attach the charm to a keyring and add an enamel charm that matches the photo vibe, like a tiny star, heart, or airplane. Finally, wrap it in a small organza bag or tissue sleeve and tuck in a folded note on top.
Editor's noteUse a photo with high contrast — bright highlights and darker shadows show up best at small sizes.
Skip thisAvoid photos with busy backgrounds; the tiny window makes clutter look messy.
6. Felt Letter Name Banner for Her Desk
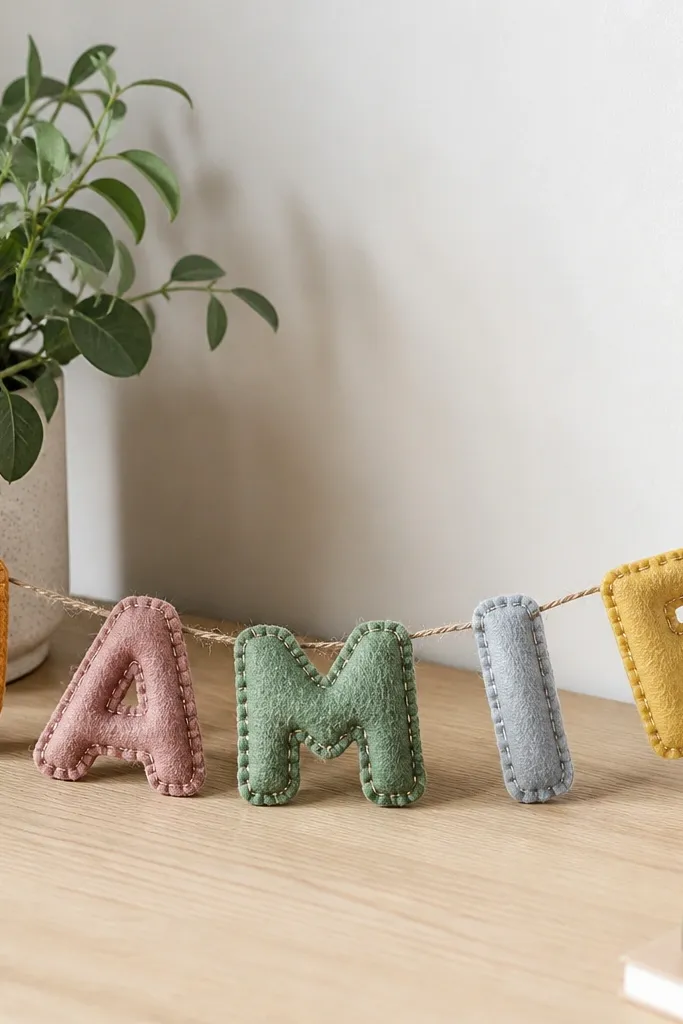
Desk décor is underrated for long-distance because it turns “missing you” into a daily visual. Felt letters look soft and handmade, and you can make them without sewing if you use fabric glue. Pick felt in two colours only — like blush pink and cream, or deep green and tan. The best part is that felt doesn’t fray much at small edges, so it forgives quick trimming. It flatters any style because felt is neutral-soft; it also works for people who don’t want clutter but like cute details.
Start by cutting felt letters using a printed template you trace lightly with a pencil. Cut each letter with clean edges and then glue them onto a thin twine or ribbon line, spacing them evenly. If you want extra durability, add a quick line of hot glue behind each letter’s top and bottom edges. String it across a binder clip or tape it to the back of a small clipboard. Finish by adding one small felt star or circle as a “spark” between letters.
Keep the letters about 2.5-3 inches tall so they’re readable from across a desk.
Avoid using more than two felt colours; too many shades makes it look like a craft kit.
7. Custom Postcard Map With Pushpin Style Mark
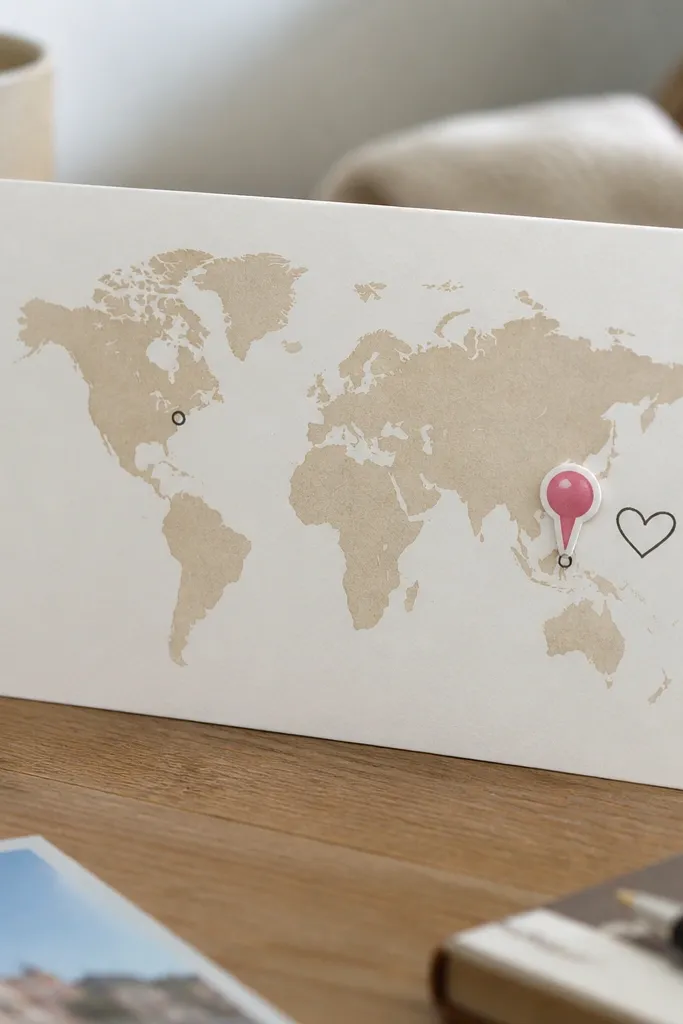
This gift hits a specific emotional note without being cheesy. It’s about distance — the map makes the location real, and the two-city markers make it personal. Use a postcard-sized map with minimal design so your handwriting stays readable. Pick a marker style that looks intentional, like a metallic dot sticker or a small foam dot sticker shaped like a pushpin. It works for anyone because it doesn’t rely on their fashion taste; it relies on shared locations and memories. The visual is clean, and it looks good in a photo you can send too.
Start by printing a simple map or buying a minimalist world map postcard set. Lightly mark your two cities with small dot stickers, then add a pushpin-style sticker over one city. Write a short note on the back or on a small label on the front — keep it under 25 words. Fold and place it in a clear sleeve so it doesn’t get bent in shipping. Add a matching stamp and seal the edges with a strip of washi tape in a solid colour.
Use metallic stickers for the dots; they photograph better than flat colours.
Avoid handwriting that runs long across the front; it turns into a cluttered block.
8. Mini Bath Soak Bundle With One Colour Ribbon
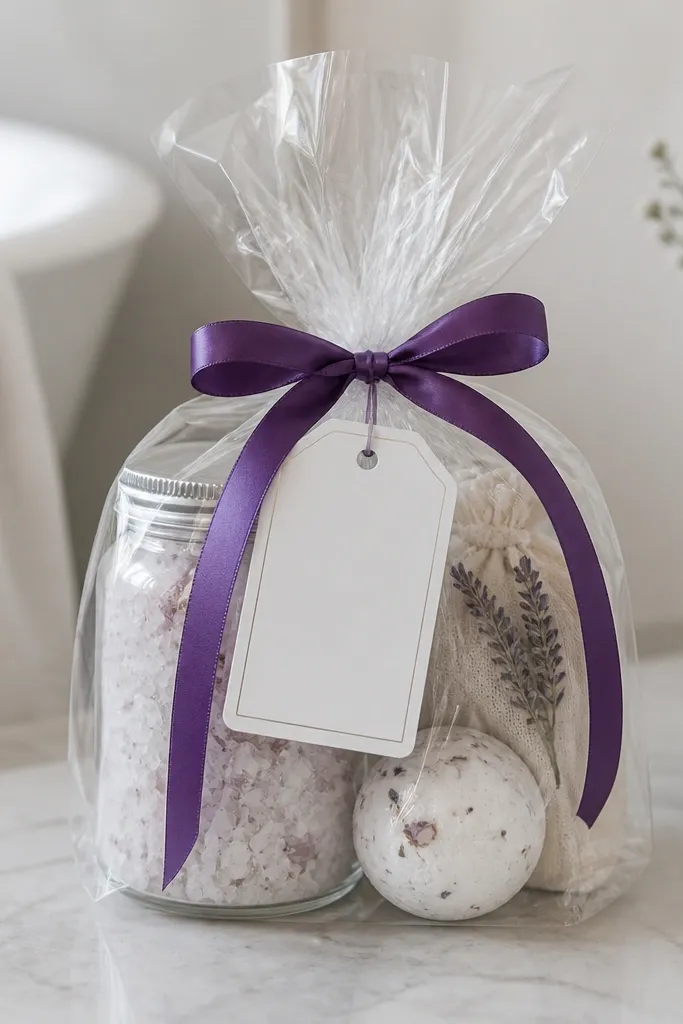
A bath bundle is a fast way to make self-care feel personal. The packaging does the heavy lifting: clear cellophane makes everything look cohesive, and one ribbon colour makes it look planned. Pick products that travel well — bath salts, a small bubble bar, and a travel-size lotion. Choose one scent family so it feels like a set, like citrus, lavender, or eucalyptus. This flatters because it’s gender-neutral and doesn’t require guessing clothing sizes. Your friend gets a calming moment and a visual reminder of you.
Start by laying out the items on a piece of cellophane and cutting a sheet big enough to wrap with at least 2 inches overlap. Place a folded note on top and then wrap the cellophane tightly around the items. Tie the ribbon around the center knot, then twist the ends of the cellophane like a candy wrapper and tuck them under the ribbon. Add a label on the front with the bundle name and a short message. If you’re shipping, place the bundle inside a small box with crumpled paper so it can’t rattle.
Editor's noteWrite a “how to use” note like 'Use half the salts in warm water' so it feels more thoughtful.
Skip thisAvoid mixing strong scents; citrus + lavender together can smell harsh when packed.
9. Book Cover Bookmark With Fabric Tassel
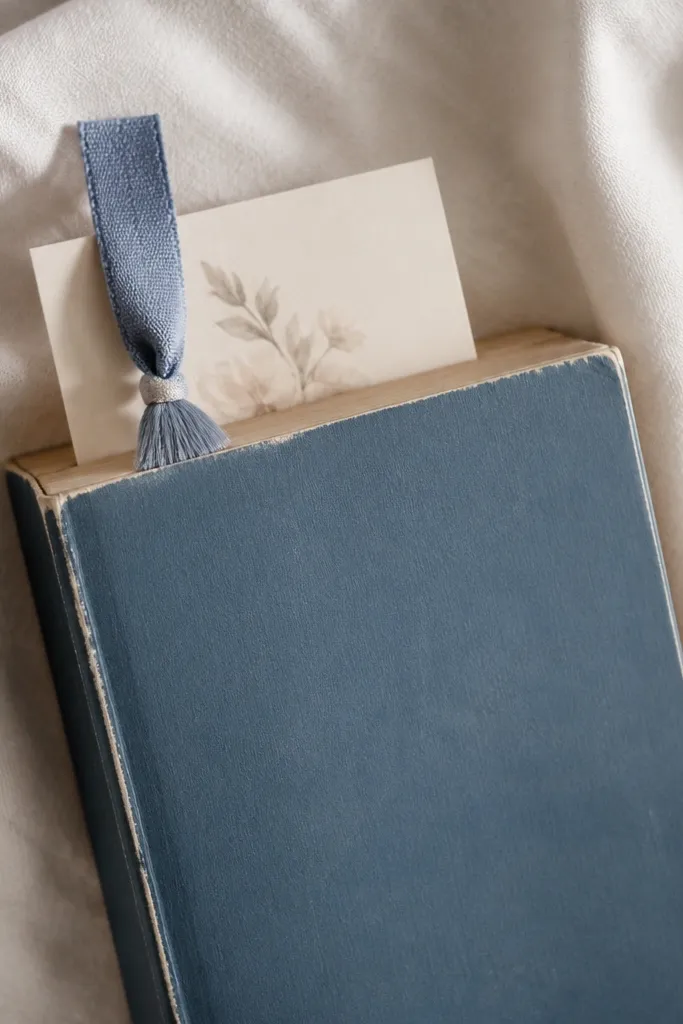
This is one of my favourite “fast but looks custom” gifts because bookmarks are small, personal, and easy to mail. Fabric tassels look handmade and expensive without needing a sewing machine. Choose ribbon that matches the friend’s vibe: satin for a smooth look, grosgrain for a textured, casual look. The bookmark also flatters because it works with any book size and any reading style. Add one simple card message and the gift feels complete, not like a loose add-on.
Start by cutting a ribbon strip about 2 inches wide and 10-12 inches long, depending on how long you want it. Fold the top edge back 1 inch and glue the seam or stitch it if you’re comfortable. Make a tassel by wrapping thin embroidery thread or matching yarn around a small cardboard strip, then tie it at one end and trim into a straight fringe. Glue the tassel to the bottom of the ribbon and add a small charm if you want, like a star or letter tag. Slide it into the book and wrap the whole thing with kraft paper and a ribbon band.
Use grosgrain if you’re shipping; it holds shape better and doesn’t crease as easily as satin.
Avoid tassels that are too long; they snag and look messy fast.
10. Custom Mug Hang Tag With Vinyl-Look Text
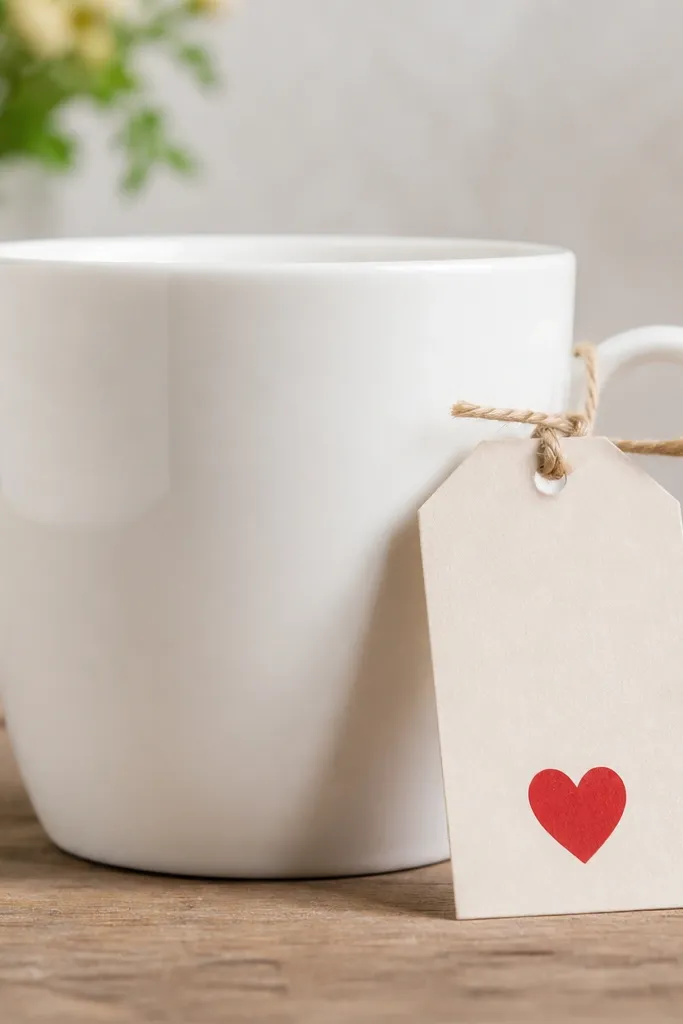
A mug gift is classic for a reason, but the hang tag is what makes it look like you made it. I like mugs with a simple shape and a clean colour — white, cream, or matte black — because your tag becomes the hero. The vinyl-look lettering makes it feel crisp and modern without needing a cutting machine. It flatters because mugs are universally usable, and the tag gives personality without guessing. If your friend is far away, a mug also becomes a daily ritual, not a one-time unboxing.
Start by buying a plain mug with a sturdy handle and no complicated patterns. Cut a hang tag from thick cardstock, about 2.5 x 4 inches, then write the text with a bold marker or paint pen. Punch a hole at the top and tie the tag to the handle using 8-10 inches of twine. Wrap the mug in bubble wrap and place it in a box with crumpled paper so it can’t move. Add a small “To/from” sticker on the box and include a folded note inside the wrapping.
Use a paint pen for the lettering; it dries opaque and looks like printed vinyl.
Avoid glossy paper tags; they reflect light and look cheap next to a matte mug.
11. Letterboard-Style Message Card Using Masking Tape
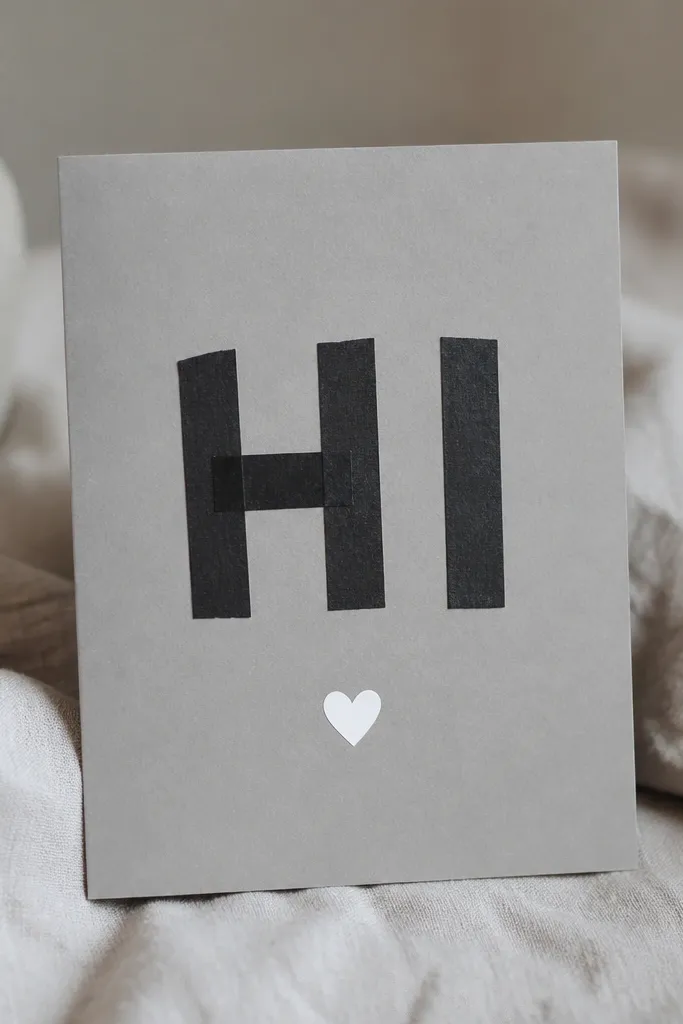
You don’t need a real letterboard to get that same vibe. Masking tape letters look bold and graphic, and they dry flat — no smudging, no fancy tools. Choose a grey or off-white card base, then use black tape for high contrast. This flatters because it’s readable and works for any message length you keep short. The style feels modern but still personal, which is exactly what I want for long-distance friendships. It also ships easily because it lies flat.
Start with a thick card base, like 5 x 7 inches, and paint it or cover it with solid paper in a matte grey or cream. Lay out your message lightly with pencil, then cut masking tape strips to letter shapes and place them carefully. Press each tape strip down firmly with a ruler edge so the letters look crisp. Add a small accent sticker like a heart or tiny star and write your name at the bottom corner. Put it in an envelope with stiff backing so the tape doesn’t lift in transit.
Editor's noteCut tape with a fresh craft blade; dull blades leave ragged edges that show up in photos.
Skip thisAvoid tiny letters; small tape letters look messy and hard to read.
12. Ribbon-Wrapped Plant Propagation Starter Cup
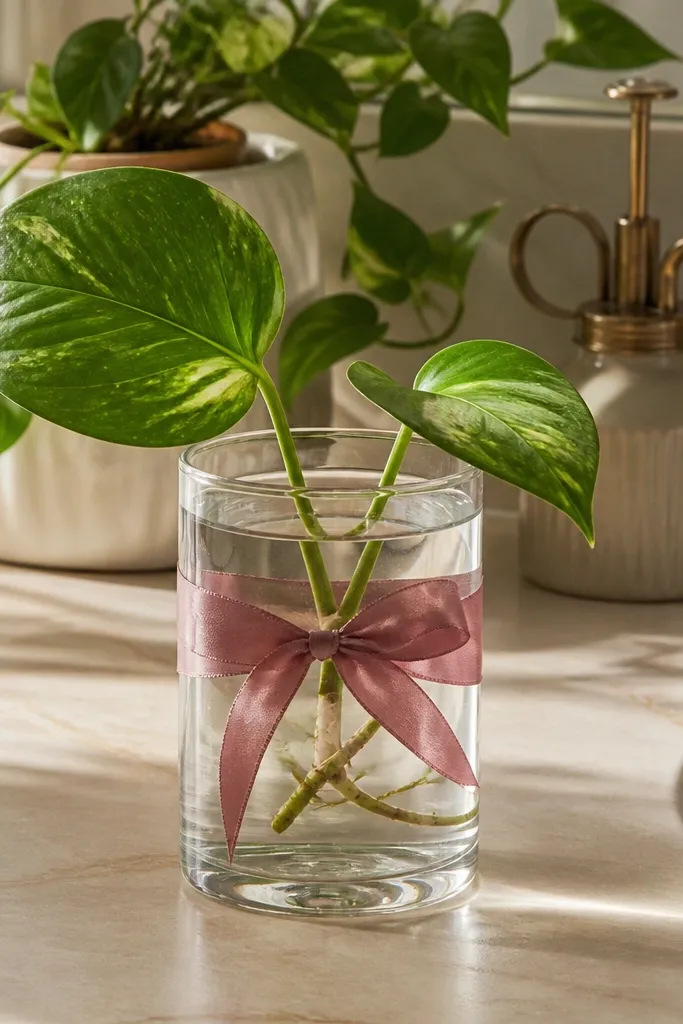
If your friend likes plants, this is a gift that keeps giving. The clear cup looks clean and modern, and the cutting itself is the hero element. It works best with cuttings that do well in water, like pothos, philodendron, or spider plant pieces. Choose a ribbon colour that matches the plant leaves — deep green with cream ribbon looks classy, and black ribbon looks modern. It flatters because it’s not about fashion — it’s about their space and their routine. Plus, it turns your message into something living and visible.
Start by grabbing a clear cup with a lid if you can — it reduces spills. Add a small amount of water and place the cutting so the leaves stay above the water line. Label the cup with a plant name and a date, then wrap the rim with a ribbon strip and tie a neat bow. Put the cup in a zip bag with a paper towel to catch any drips, then pack it in a box with bubble wrap. Include a tiny care note: 'Change water every 3-4 days and keep out of direct sun.'
Use filtered water if you have it; cuttings settle in faster and look healthier.
Avoid sending cuttings with mushy leaves; they rot quickly and ruin the gift.
13. Faux Leather Key Card Holder With Tiny Tag
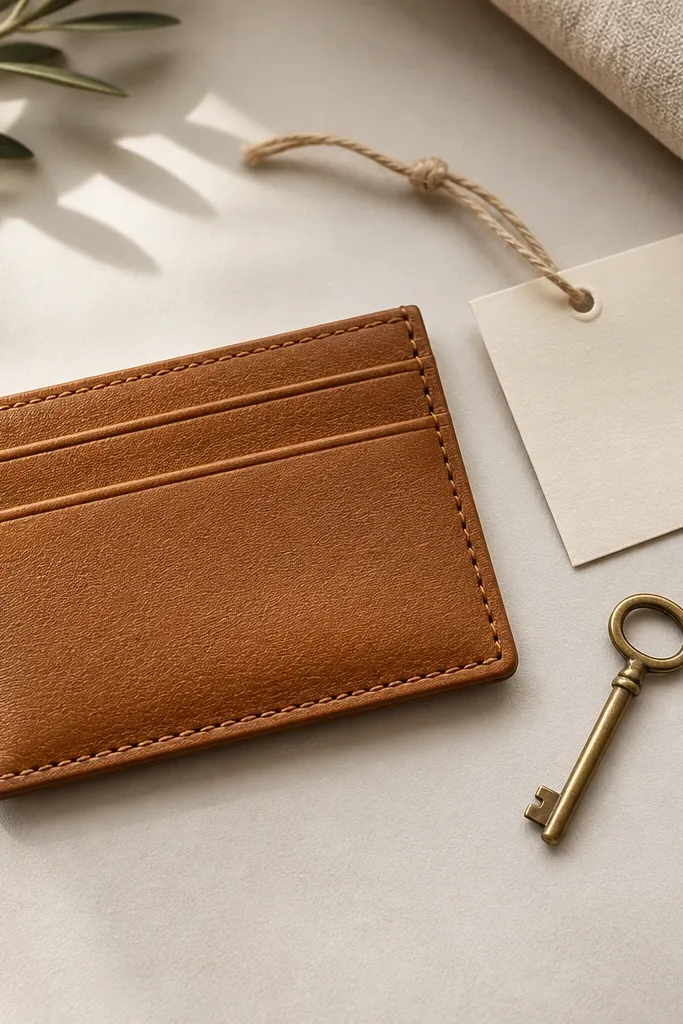
This is the kind of gift that feels grown-up, even when you make it in minutes. Faux leather looks expensive, and a slim holder keeps the look clean. Choose a tan, black, or deep wine faux leather so it matches most bags and jackets. Add one tiny tag and your message — the holder does the heavy lifting, and the tag makes it personal. It flatters because it doesn’t depend on your friend’s clothing size or style preference; it fits in any routine. It also works well for long-distance because it’s flat and low-risk in shipping.
Start by buying pre-made faux leather card holders or cutting your own from a sheet, then choose the size that fits a key card or a few cards. Punch a small hole at the top corner of a tiny tag card and thread twine through it. Tie the tag to the holder strap or loop so it hangs neatly. If you’re adding a photo, print a small strip and place it behind a clear window pocket on the holder. Finish by wrapping it in kraft paper and tying a ribbon around the bundle.
Choose a holder with an inner pocket so the card doesn’t slide out and get bent.
Avoid bright neon faux leather; it looks like a costume and doesn’t match everyday accessories.
14. Cocoa Mix Sachets With Handwritten Front Label
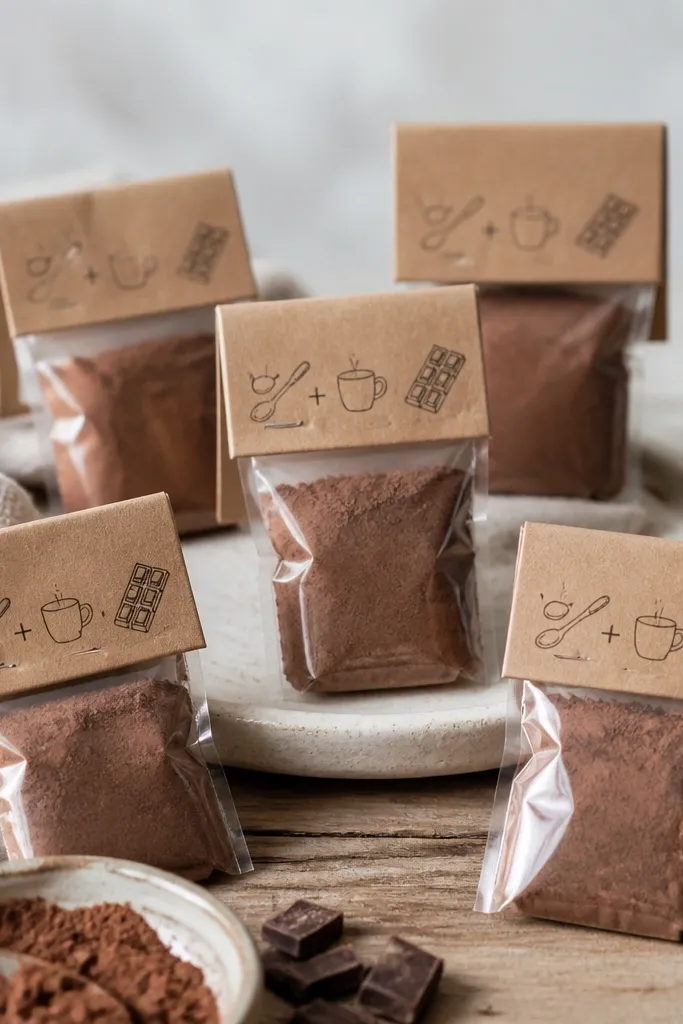
Hot cocoa sachets are fast, cheap, and feel comforting in a way that always lands. Clear pouches let the cocoa colour show, and kraft labels make it look homemade. Use a simple cocoa blend — add mini marshmallows if you want, but keep it sealed so nothing gets messy. Choose a label style that looks consistent across each pouch: same font, same placement, and one accent icon like a cocoa cup. It flatters because it’s easy to use and doesn’t require your friend to like a specific scent or style. For long-distance, it’s also low-risk compared to candles or lotions.
Start by filling clear pouches with cocoa mix, about 3-4 tablespoons per pouch, and seal them tight. Cut kraft labels and write instructions like 'Add to 8 oz hot milk or water.' Add one accent icon and your friend’s name on the label front. Arrange pouches in a small gift bag or box and line the bottom with tissue paper in one colour. If you’re sending multiple, wrap the whole set with twine and tie a bow; it keeps them neat in transit.
Include one extra pouch for you — it makes the gift feel like a shared moment, not just something they receive.
Avoid labels that wrap around too much; too much tape makes the pouch look bulky.
15. Mini Desk Planter With Painted Stone Name
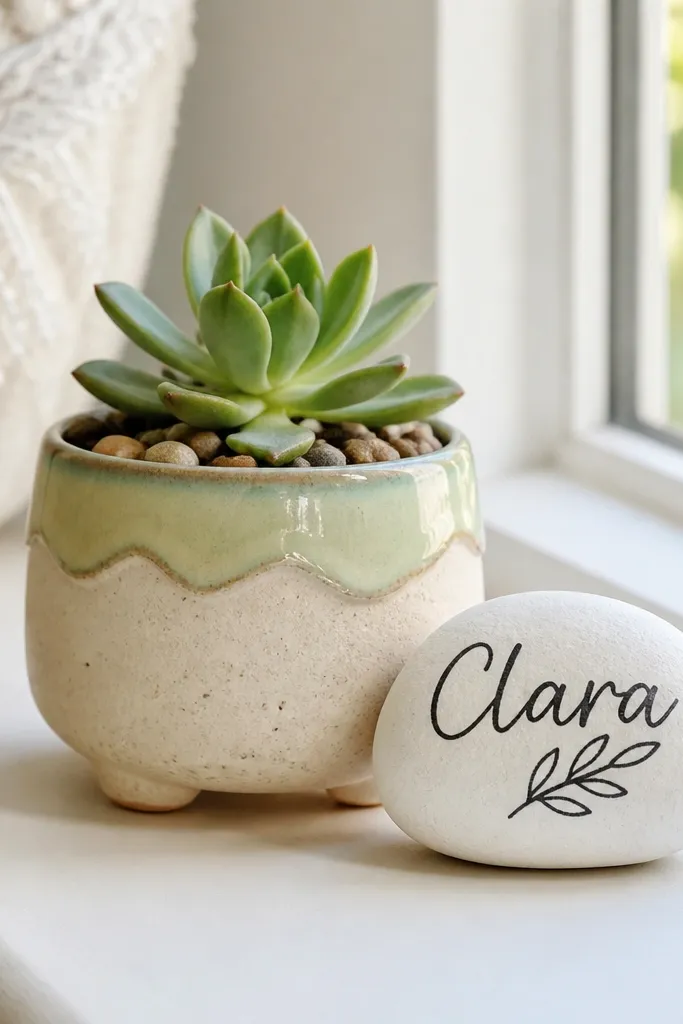
A mini planter is a gift that looks alive and intentional on arrival. The planted succulent adds the “cute” factor, and the painted stone adds your personal touch without needing complicated art. Pick succulents that ship well and are easy to handle, like a small rosette type or a hardy variety in a tight pot. Use a smooth light stone for the name because it gives you a clean surface for paint pens. It flatters because it fits any desk aesthetic — neutral stone and simple plant colours match almost everything. It also gives your friend something to care for, which makes the gift feel active, not forgotten.
Start by grabbing a small succulent in a nursery pot and choose a planter that’s 1-2 inches wider. Gently remove the succulent and place it into the planter, then fill around the sides with potting mix if needed. Paint a smooth stone with white acrylic or leave it natural if it’s already light, then paint the name in black paint pen. Add a small leaf doodle and let it dry flat. Pack the planter in a box with crumpled paper around the sides, and place the stone in a separate zip bag so it doesn’t scratch the plant.
Spray a light clear sealant on the painted stone once dry so it doesn’t smudge from humidity.
Avoid loose soil in shipping; it makes a mess and can crack the plant pot.



