

1. Photo slider box with a real 2-step reveal
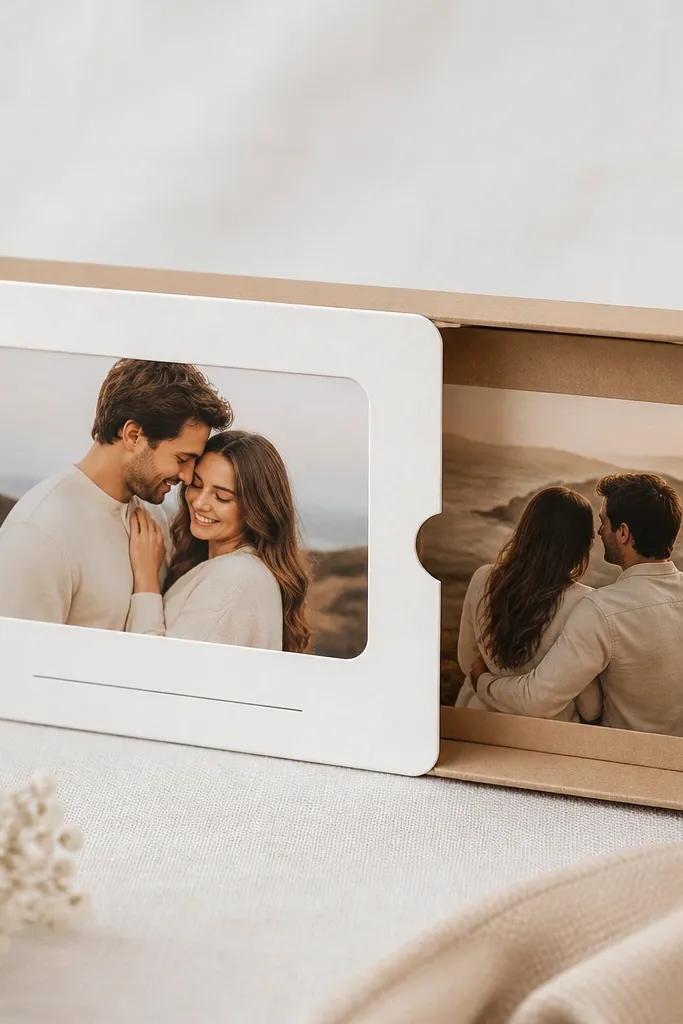
This one looks “after” because the reveal is controlled, not random. I use a 250 gsm base box so the slider doesn’t sag, and a matte photo print so skin tones stay soft instead of glossy glare. The color palette stays simple: cream cardstock plus one accent color like deep teal on the labels. It flatters guys who keep their desk clean because the box looks like a small display piece, not a pile of paper. If your boyfriend has darker hair or warmer skin, go with warm neutrals and avoid icy blues so the photos don’t look washed out.
Start by cutting a box base from 250 gsm cardstock at 4 in x 3 in x 1.5 in (adjust height if you want the slider to clear). Make a slider panel sized to overlap the front by about 1/4 in on both sides, then test it on the dry fit before adding glue. Add a 2.25 in x 1.5 in photo window on the slider panel and keep the inside photo slightly smaller so it doesn’t catch the edges. Glue a small paper “stop” tab inside the box so the slider doesn’t pull too far and bend the hinge. Finish by rounding outer corners with scissors and sealing the top layer with a quick, thin clear coat if you used pens.
Use a matte clear spray in light passes — one coat from 10-12 inches away — so the photo stays readable and doesn’t turn shiny.
Avoid copy paper for the slider panel — it warps and makes the reveal look cheap.
2. Pop-up ticket card with a "date" that actually stands
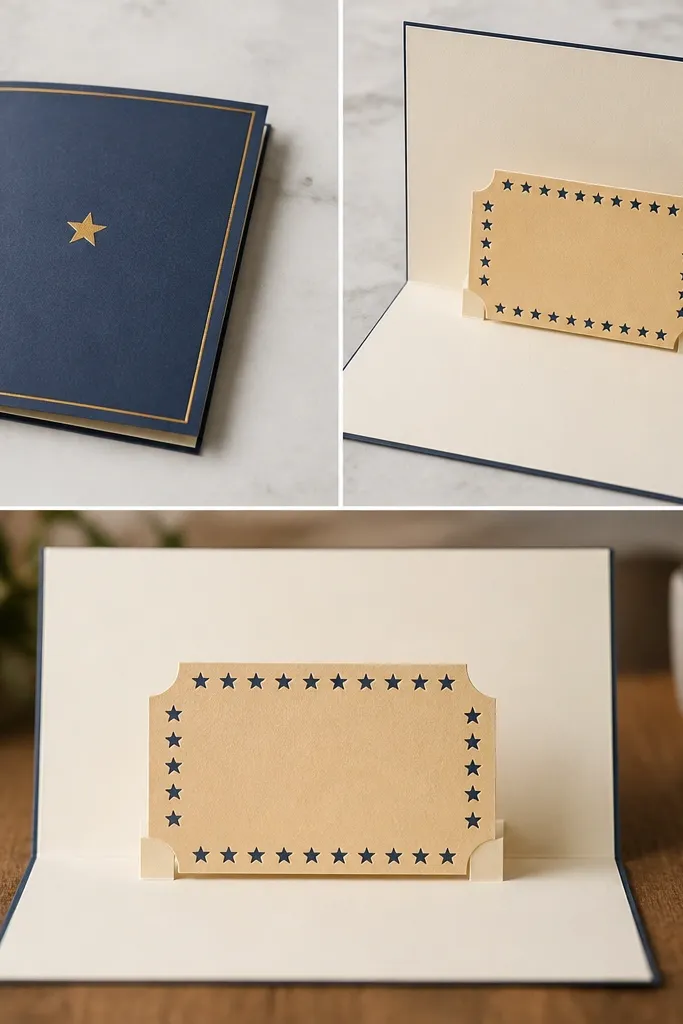
This is the kind of diy paper gift that reads as thoughtful because the structure holds its shape. I build the pop-up on 250-300 gsm cardstock so the ticket stands straight instead of flopping. The look is best with high-contrast typography: black ink on off-white cardstock, plus one accent like red for the “date” block. It flatters boyfriends who like movies, sports, or any “we should do this” energy because the ticket format feels like a plan, not just a message. If he’s into minimal style, keep the star border thin and skip bulky embellishments.
Start with a 5 in x 7 in card base cut from 250-300 gsm cardstock and fold it using a bone folder. Cut the ticket shape from the same weight cardstock and create two fold tabs on the back where it will connect to the base. Glue the tabs to the inside card panels only after you test the opening angle with dry fitting. Use a small strip of double-sided tape or glue dots where the hinge folds, because too much glue makes it stiff and uneven. Finish by adding the date block using a printed label or die-cut rectangle, then write the message on a separate liner so it doesn’t smear.
Do one test opening and closing before you decorate fully; if the ticket catches, trim 1-2 mm off the tab edge.
Avoid thick foam stickers on pop-up hinges — they make the fold bulge and look messy.
3. Shadowbox-style paper layers with one "3D" character
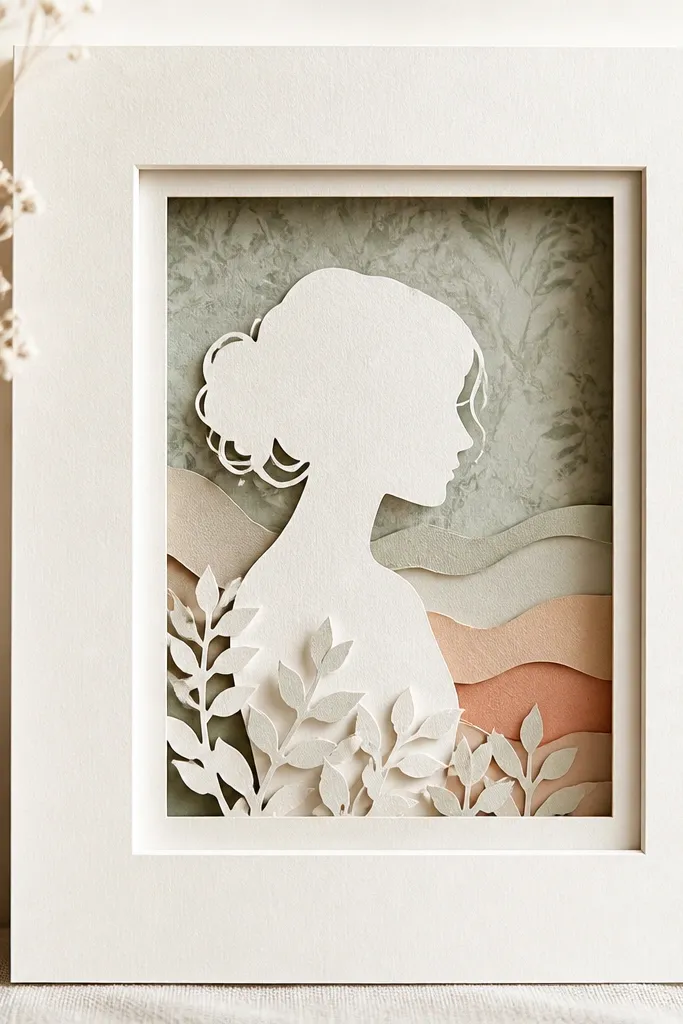
A shadowbox look makes paper feel expensive because the layers create depth without bulky materials. I use a 5 in x 7 in frame or a frame-style box, then stack paper cutouts on 1/8 in foam squares for only the top layer. The background is light gray or warm beige cardstock with a faint pattern so the raised piece doesn’t blend in. This flatters boyfriends who like decor because it sits on a shelf and doesn’t scream “handmade,” it just looks designed. If he’s a fan of sports or gaming, pick one recognizable silhouette and keep everything else simple.
Editor's noteUse foam squares in only one zone of the design; too many foam layers flatten the effect and look lumpy.
Start by cutting a back mat from 160-200 gsm cardstock and trimming it to fit the frame. Add a background layer first — patterned paper or a soft gradient made with watercolor wash — then let it dry flat under a book for 20-30 minutes. Cut your main silhouette or character from 220-250 gsm cardstock and attach it with foam squares only where you want the 3D pop. Place secondary layers behind it using glue (not foam) so the depth reads clearly. Seal the whole piece with a clear matte finish if you used markers or paint, and wipe the glass or front cover with a microfiber cloth.
Skip thisAvoid stacking layers directly on top of each other without spacing — it turns into a flat collage.
4. Envelope mini book with a "message per pocket" system
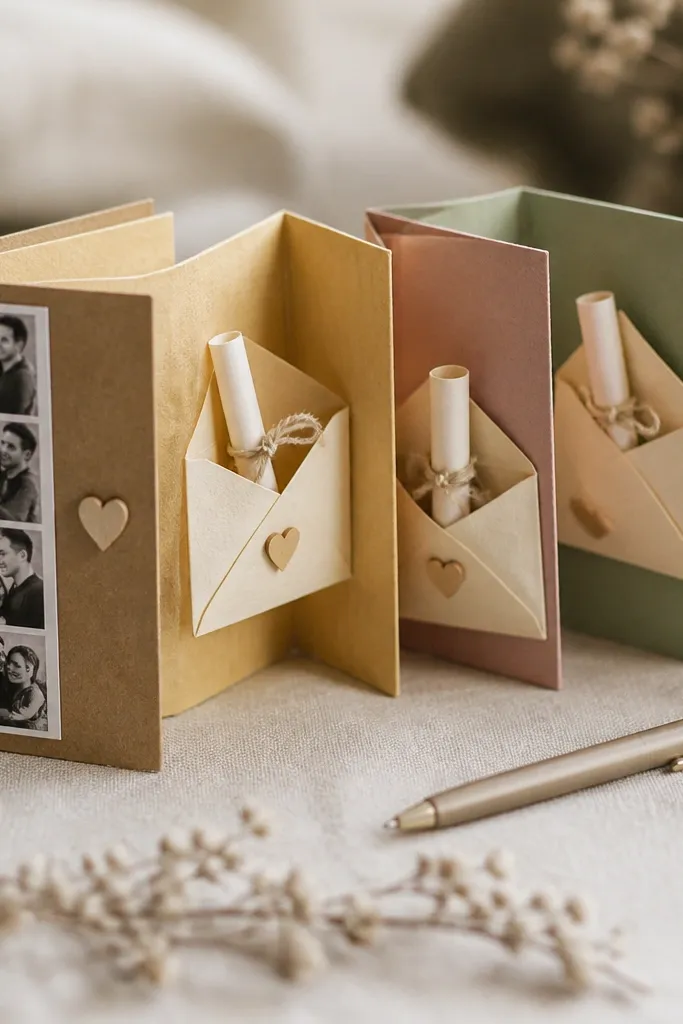
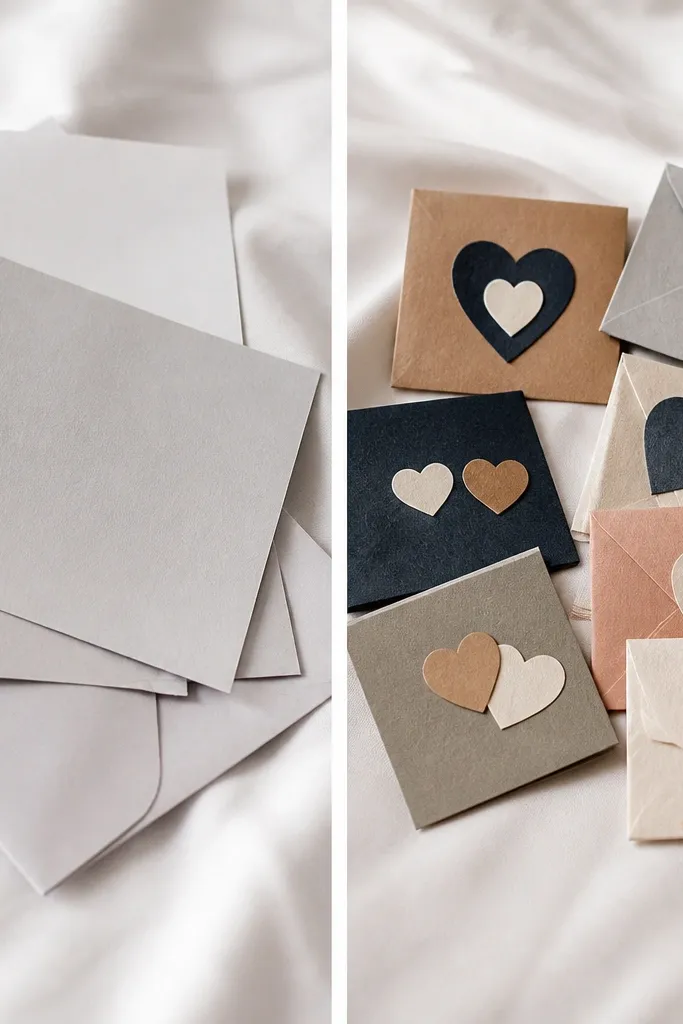
This is my go-to when you want the diy paper gifts for boyfriend before after effect to feel like a scavenger hunt. I build it with a mini envelope system because it forces him to interact with the gift instead of reading one page and moving on. Use 160-180 gsm cardstock for the book base (it folds smoothly) and 200-250 gsm for envelope fronts so they hold shape. Choose a color theme like sage green + cream, then label each pocket with short handwritten dates. It flatters boyfriends who love lists and “little tasks,” because each note feels like a mini reward.
Editor's noteWrite the first letter on the outside of the smallest envelope — it gives him an immediate win when he opens it.
Start by cutting 6-8 envelope pockets from 200-250 gsm cardstock at about 2.25 in wide x 3 in tall (adjust for your note size). Create an accordion fold spine from 160-180 gsm cardstock so the book opens flat, then attach the envelope pockets to the outer panels with strong glue. Make each note a rolled strip so it slides in easily — roll tightly, then secure with a tiny strip of washi tape. Label the outside with a date or a short header like “Day 1” using a fine-tip black pen. Finish with a cover panel and a belly band or elastic closure so the book looks tidy in photos.
Skip thisAvoid gluing envelope flaps shut — leaving them sealed makes the gift impossible to use.
5. Cut-paper bouquet with wire-free "stems" using folded strips
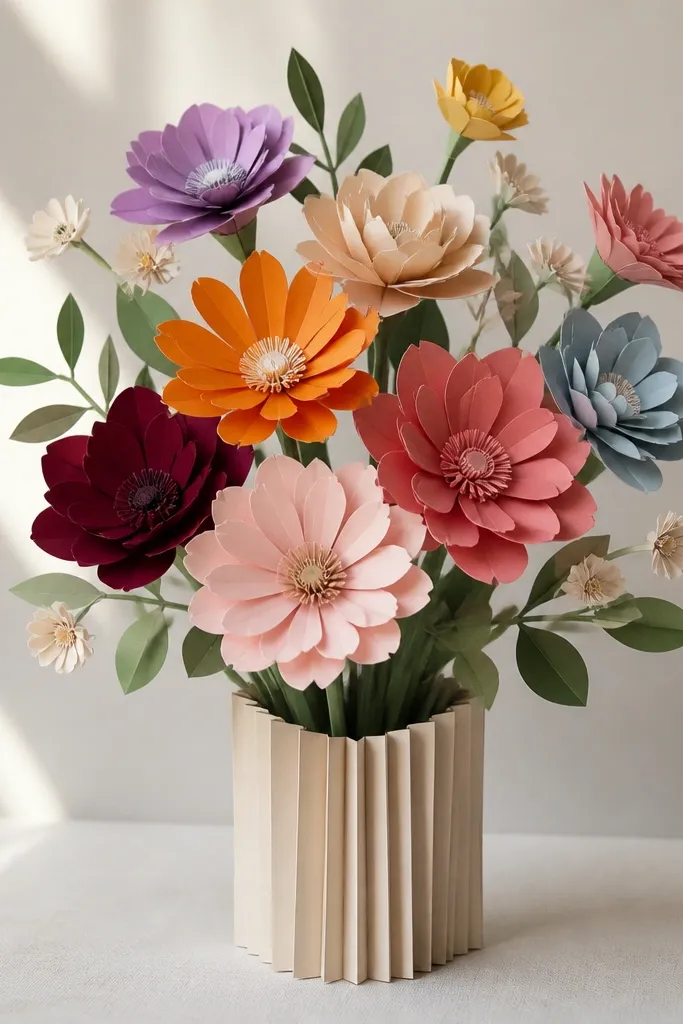
Paper flowers look best when you build them with movement, not just flat shapes. I make wire-free stems from folded paper strips because they hold a gentle curve without poking through everything. The flowers are cut from 200-250 gsm cardstock so the petals keep their shape and don’t crinkle when you curl edges. I usually go with two main colors and one neutral — like dusty rose, marigold, and cream — so it looks intentional. This flatters boyfriends because it reads like a gift for both of you: it’s romantic, but it’s also a craft project you can actually make together. If he’s picky about clutter, keep the bouquet small — 5-7 flowers total.
Start by cutting folded stems from 1/4 in strips of cardstock and creasing them lengthwise, then shape them into a slight arc. Cut flower layers in 3 sizes for each bloom, then stack them with a tiny brad or a glue dot in the center. Curl each petal edge with the back of scissors so it catches light and looks dimensional. Build a simple vase from a rolled cardstock sleeve or a folded paper holder, and glue stems into it at a slight angle. Add a “note tail” on one stem — a narrow strip of paper with his name in block letters.
Curl petals after stacking, not before, so the layers match and the edges stay even.
Avoid thin printer paper for petals — it tears when you curl the edges.
6. Map-style love letter with a fold-out route diagram
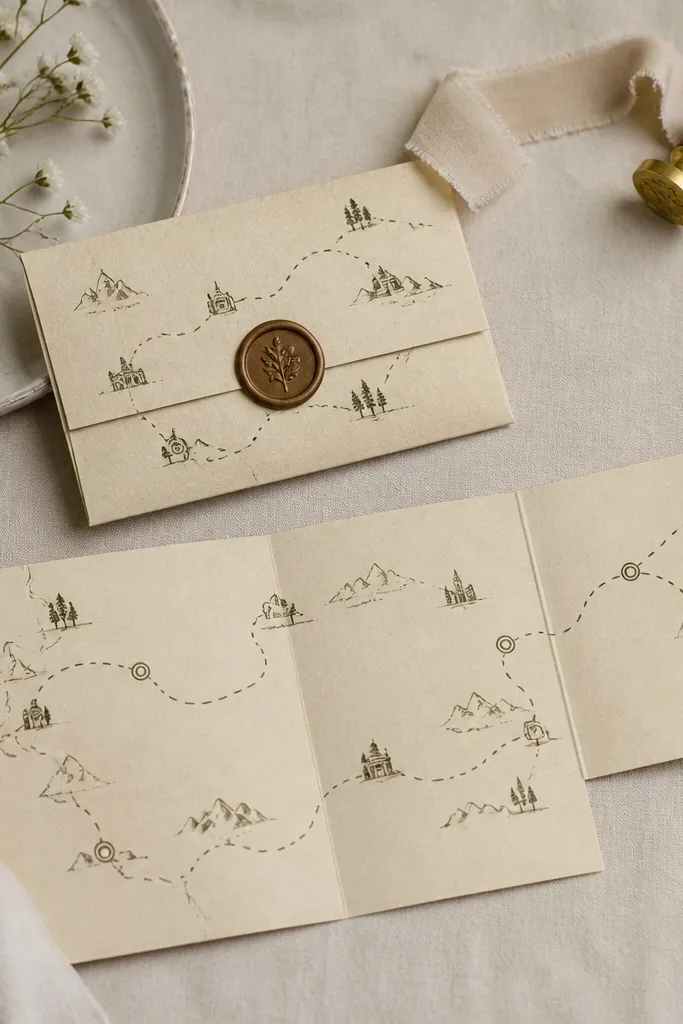
This looks thoughtful because it turns “a letter” into a story he can follow. I print a route diagram on cream cardstock and add small stop labels like “First coffee” or “Your place” using a simple font. The trick is the fold-out — it needs 200-250 gsm so it opens flat and doesn’t crease into ugly wrinkles. Keep the lines in one color like charcoal or dark navy, then add tiny icon accents in one warm tone like terracotta. It flatters boyfriends who like nostalgia and specific memories because the stops feel personal and concrete, not generic romance.
Editor's noteUse a ruler for the route lines and draw lightly first — crooked lines make the whole thing look rushed.
Start with a base letter panel sized to fit an A5 envelope, cut from 200-250 gsm cardstock. Print or hand-draw a route line on the front, then plan a fold-out panel that is wider than the base by about 1/2 in. Score the fold lines with a bone folder and test the fold before you glue anything. Attach the fold-out to the left side so it opens like a map, then add stop labels on small rectangles so they look like signposts. Write the longer message on the inner route stops using fine-tip pen, and seal with a matte clear spray if your ink smears.
Skip thisAvoid glossy paper for the “map” — glare makes the lines hard to read in photos.
7. Desk calendar card with tear-off squares
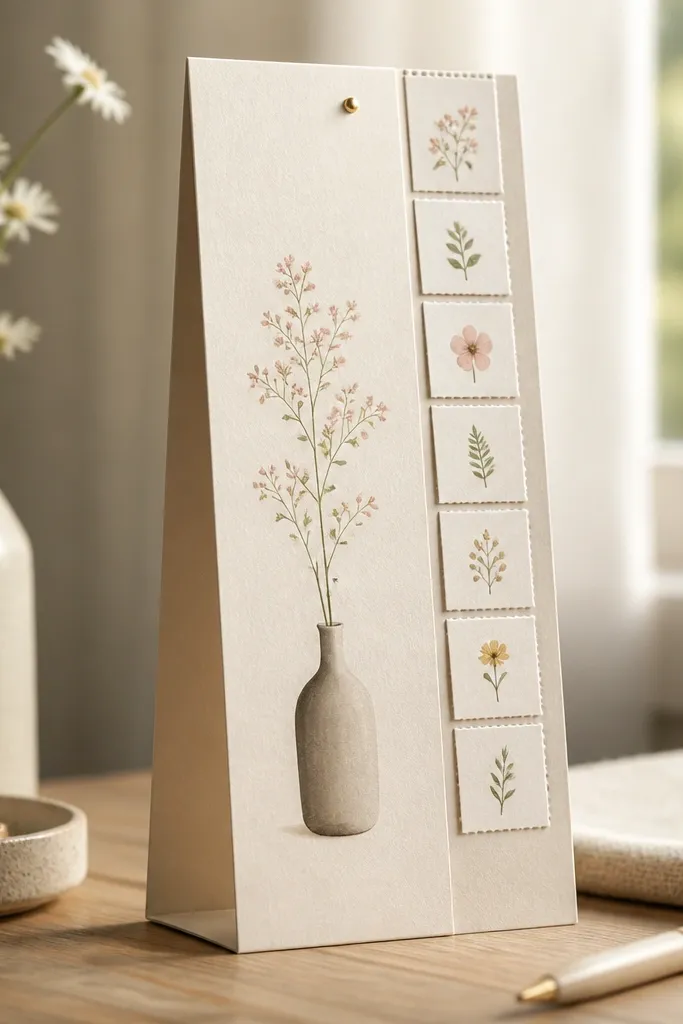
This one wins because it creates repeated moments, not one-time excitement. I build it like a mini calendar so each tear-off square feels like a fresh “today” note. Use 250-300 gsm cardstock for the stand so it doesn’t slump, and 160-200 gsm for the tear-off sheets so they separate cleanly. Keep the grid tight and consistent, with labels in one color and dates in another — like black plus a muted blue. It flatters boyfriends who like structure and routines because the gift gives him something to do each day without extra effort.
Editor's noteTest the tear line on scrap; if it rips too hard, widen the perforation spacing by a millimeter.
Start by cutting a stand card base about 4.5 in wide x 10 in tall from 250-300 gsm cardstock and create a bottom fold to prop it up. Cut tear-off squares sized around 1.25 in x 0.75 in from 160-200 gsm paper and punch a light perforation line using a scoring tool or a straight-edge press. Attach the tear-off sheet to the back of the front panel with a strip of double-sided tape along the top edge only, leaving the rest free to tear. Number the squares with a fine-tip pen or printed labels, then write a short one-liner on each square. Finish by rounding the top corners so it looks like a real desk item.
Skip thisAvoid gluing the tear edge — it turns into one big page instead of separate squares.
8. Handmade "coupon book" with perforated tear tabs and real instructions
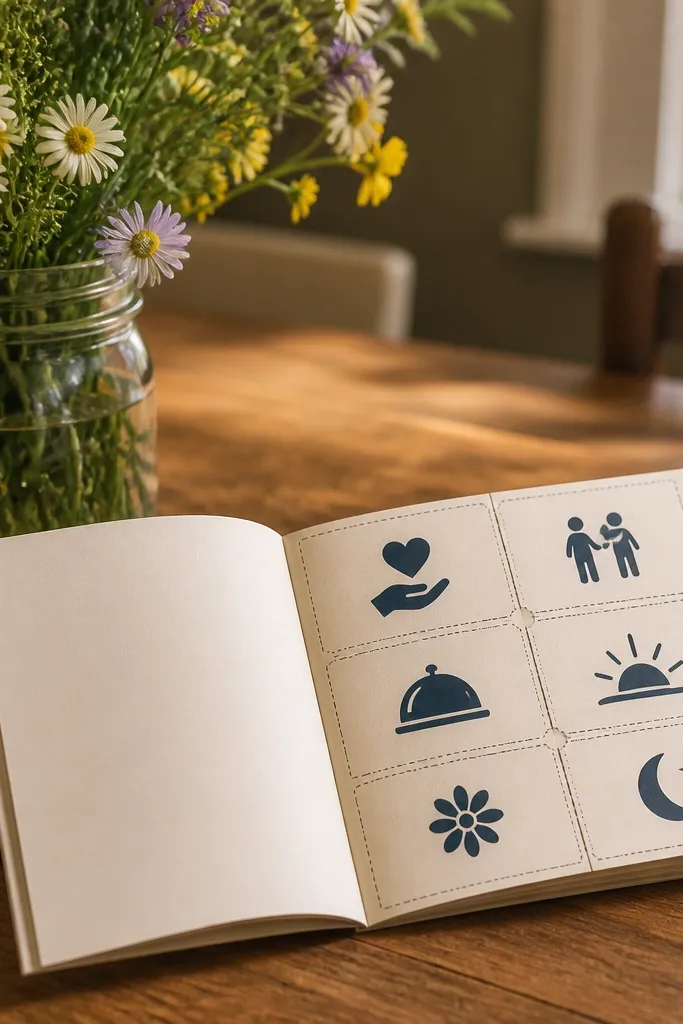
Coupon books look clean when the tear lines are crisp and the pages stay flat. I use a booklet format because it feels like a gift you can keep on a shelf, not something that falls apart in a drawer. Each coupon is cut from 200-250 gsm cardstock for sturdiness, and the perforation line makes tearing satisfying instead of jagged. I keep the design consistent: one header color, black text, and simple icons in a single accent like lime green. This flatters boyfriends who like practical gestures — it’s romantic, but it’s also actionable. If he’s into cooking or music, make two coupons about experiences, and the rest can be small daily wins.
Editor's noteWrite the coupon terms in the same order every time — title on top, details in one line — so it looks consistent and professional.
Start by cutting coupon pages to the size of your booklet — for example, 4 in x 6 in sheets folded in half, then trimmed. Use a scoring tool to create a perforation line about 1/4 in from the bottom of each coupon strip, and test it on a scrap piece. Assemble the booklet by stacking folded pages and stapling the spine with 2-3 staples, then cover the front and back with 250 gsm cardstock. Add coupons with short promises like “Movie pick for tonight” or “10-minute back rub” printed or handwritten neatly. Seal the cover with matte spray so the ink stays readable, and leave the coupon area uncoated if you’re using gel pens that can smear.
Skip thisAvoid uneven perforations — jagged tears make the whole book look flimsy.
9. 3D paper name banner with folded tabs and hidden message
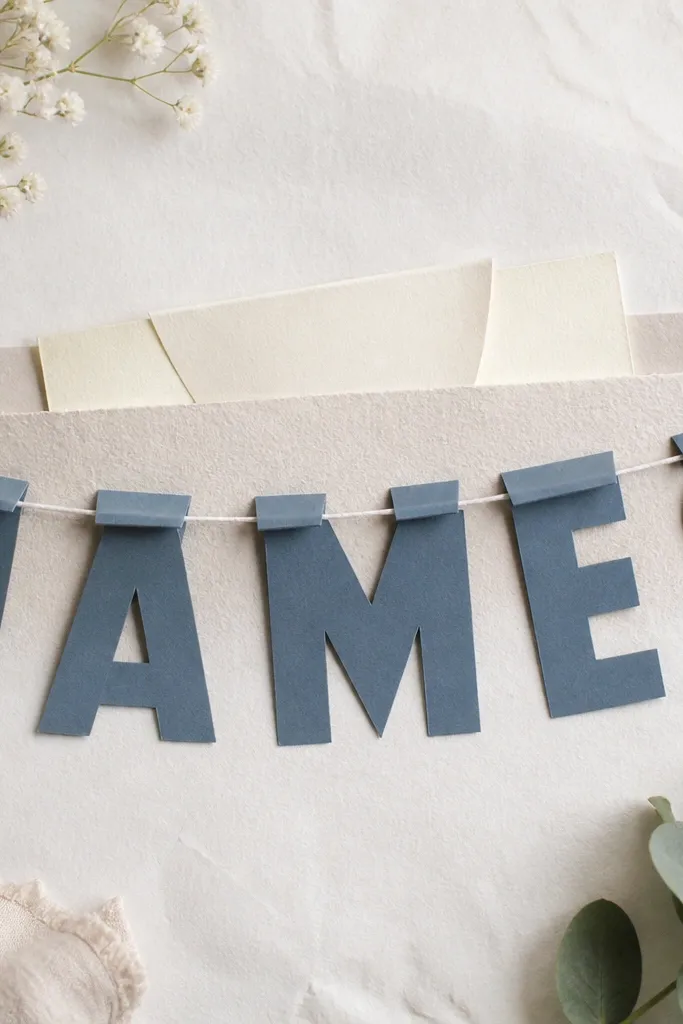
A name banner works because it’s instant and visible, and the hidden message adds the after part. I make the letters from 200-250 gsm cardstock and build a shallow 3D effect using folded tabs behind each letter, so they catch light without looking bulky. Use matte paper so the letters don’t glare, and limit your palette to two colors plus white space. This flatters boyfriends who like gamer-style aesthetics or sports team vibes because you can match the letter colors to his favorite team colors. Keep spacing consistent — uneven gaps look handmade in a bad way, even when the craft is good.
Editor's noteMeasure letter-to-letter spacing with a ruler once, then mark the next attachment points before you glue anything.
Start by drawing a straight baseline on a sheet of cardstock and sketching letter sizes so each character is the same height, about 2.5-3 in tall. Cut each letter from 200-250 gsm cardstock, then cut 3-4 small folded tabs on the back — fold them 90 degrees and glue them behind the letter. Create a banner string using ribbon or cardstock strips, then attach letters by sliding the tabs onto the string anchors. Add a hidden pocket behind the center letter using a small folded flap so a note can slide in. Write the message on a thin cardstock strip so it slides smoothly, and cover the pocket opening with a second layer of paper so it stays hidden until he finds it.
Skip thisAvoid hot glue blobs behind letters — they warp the cardstock and leave shiny lumps.



