

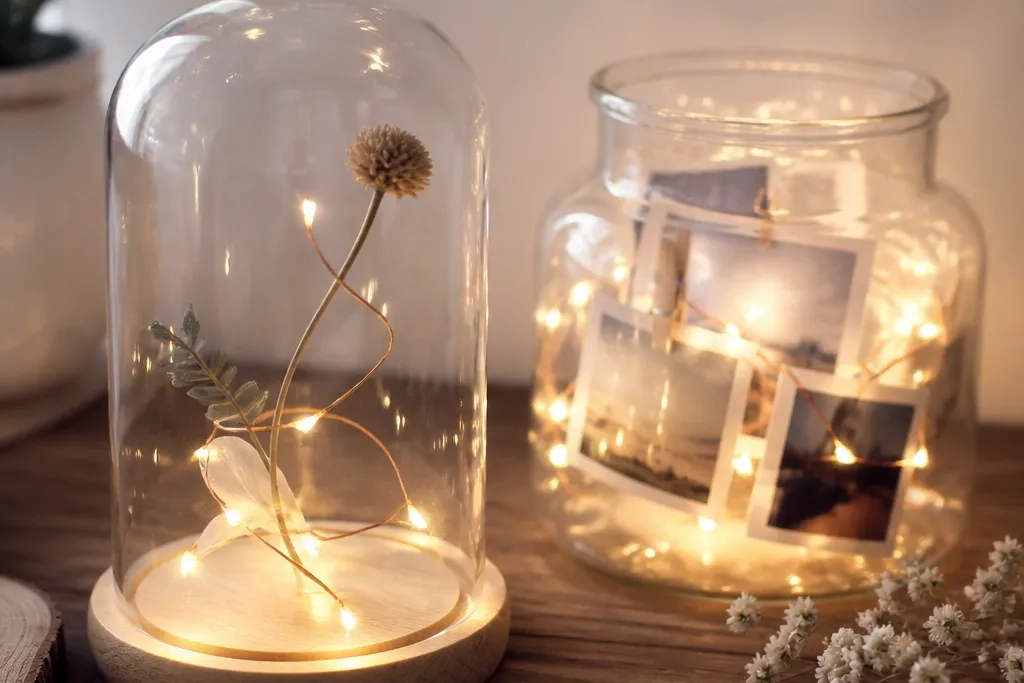
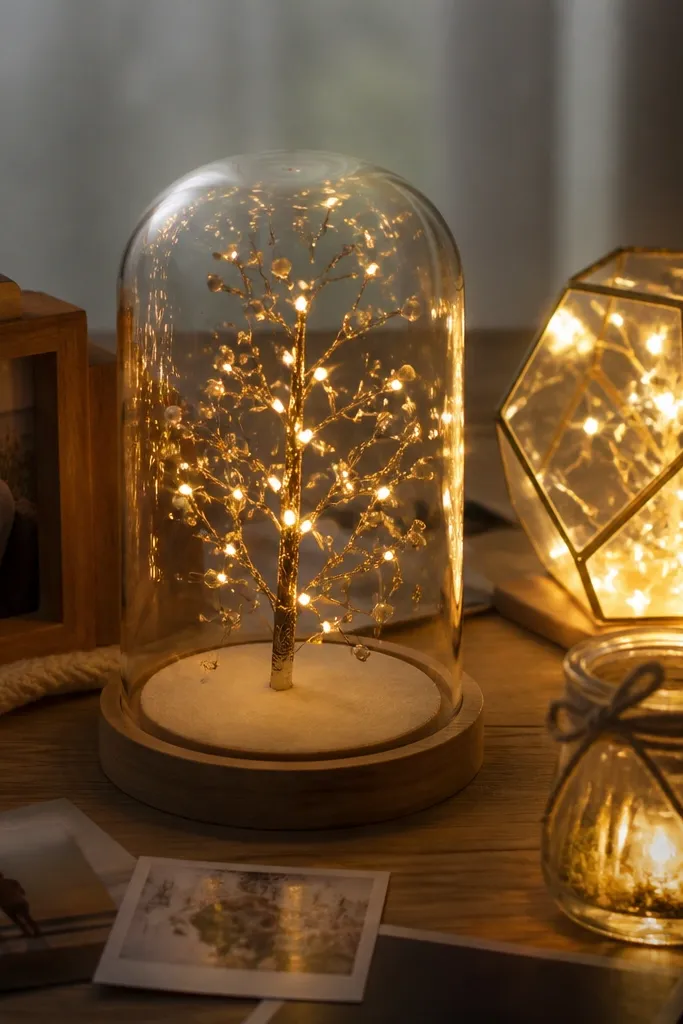
1. Mason Jar "Our Little Universe" Glow Jar
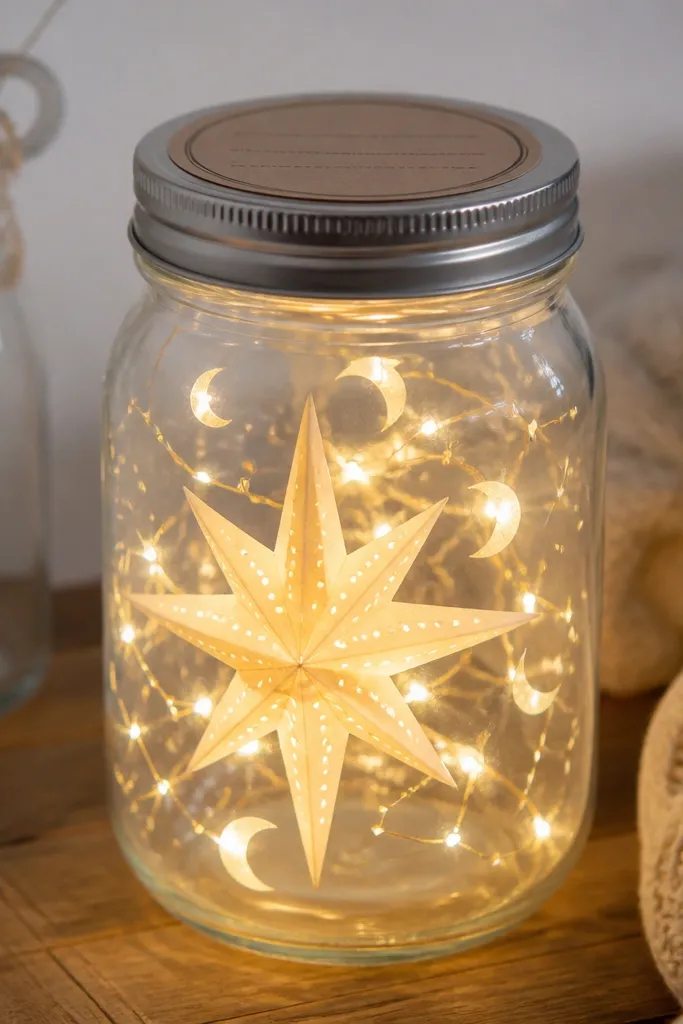
This one looks magical because the jar glass magnifies the light and makes it feel deeper than it really is. I use warm white mini fairy lights (2700K) so the glow looks like candlelight, not electronics. The sky effect comes from layering black cardstock with a thin veil of translucent vellum for the “nebula” look. It flatters anyone’s space — my boyfriend has it on a desk near his keyboard, and it makes the whole corner look calmer. It also works for light skin and darker skin alike because the glow is warm and even, not blue.
Editor's noteUse a matte black label on the jar so the warm light doesn’t reflect off glossy sticker paper.
Start by printing or hand-cutting a constellation pattern on black cardstock, then tape it to the inside wall of the jar with clear tape so it sits slightly off-center. Add a second layer behind it: crumple a small piece of vellum and tuck it so it catches the LEDs from multiple angles. Thread warm white mini fairy lights around the jar interior, keeping the battery pack behind the jar or inside the lid area if it fits. Screw on the lid and check the glow from three angles before you seal anything permanently.
Skip thisDon’t use cool white LEDs — the jar ends up looking like a cheap party prop.
2. Photo Frame With Hidden LED Strip Border
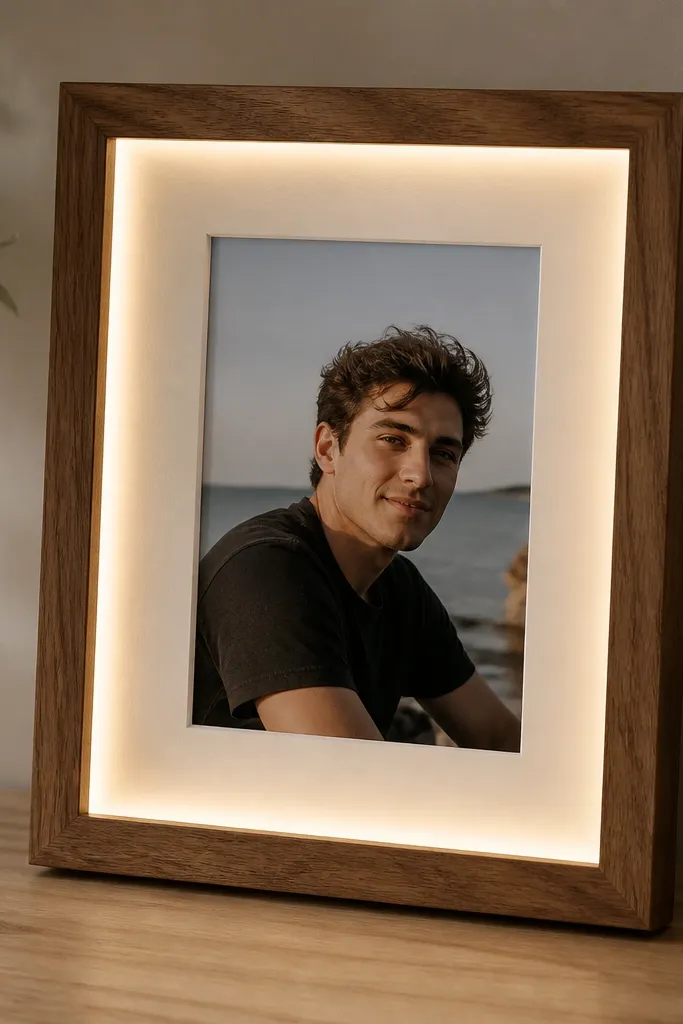
A frame with a hidden border glow looks expensive because it mimics a store-bought lightbox without the bulk. I like using a warm LED strip (2700K) because it creates a continuous glow line instead of individual bulbs popping out. The photo mat matters too — I use thick white or cream mat board so the light spreads and the picture stays crisp. This gift works great for boyfriends who love photos but hate clutter; the glow stays contained inside the frame. It also looks good on both light and medium skin tones because the glow is flattering and doesn’t wash faces.
Start by removing the backing and measuring the inside window of the frame. Cut a strip of LED tape to fit the inner perimeter, then test it on the frame before sticking it down. Place the tape behind the photo mat, not directly behind the photo, so the glow frames the image instead of reflecting off the glass. Reinsert the photo, close the back, and position the battery pack so the switch is reachable when the frame sits on a shelf.
If your frame glass is glossy, add a thin sheet of frosted acetate behind the photo for a softer glow.
Don’t place the LED strip too close to the glass — you’ll see bright hot spots.
3. Love Note Lamp From a Dollar Store Shadow Box
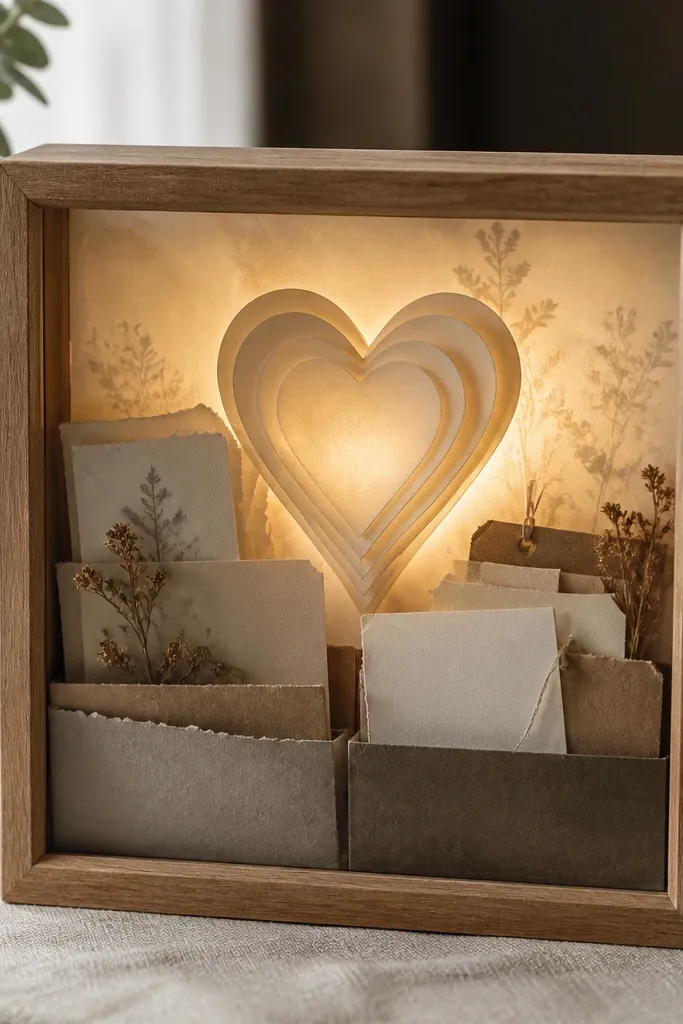
This is one of my favorite diy gifts for boyfriend with lights because it’s sentimental and interactive. He can open it and read new notes, but the glow keeps it feeling like a nightlight. I build it with a shadow box because the depth makes the light look dimensional. Use warm white fairy lights and a translucent vellum back so the glow diffuses instead of looking like a single light source. It looks best in corners near beds or couches where warm light softens the room.
Start with a small shadow box and paint the back panel with a thin coat of cream acrylic so the glow has something to bounce off. Cut a heart shape from translucent vellum and layer it over a darker card so the heart reads clearly. Tuck mini notes into slits or small paper pockets on the front layer, then wire warm fairy lights behind the heart. Close the back, hide the battery pack near the top, and secure it with hot glue so it doesn’t shift when you move the box.
Write the notes with a gel pen in black or dark brown so they stay readable under warm light.
Avoid glossy scrapbook paper as the back layer — it reflects the bulbs and looks messy.
4. Star Map Canvas With LED Thread Lights
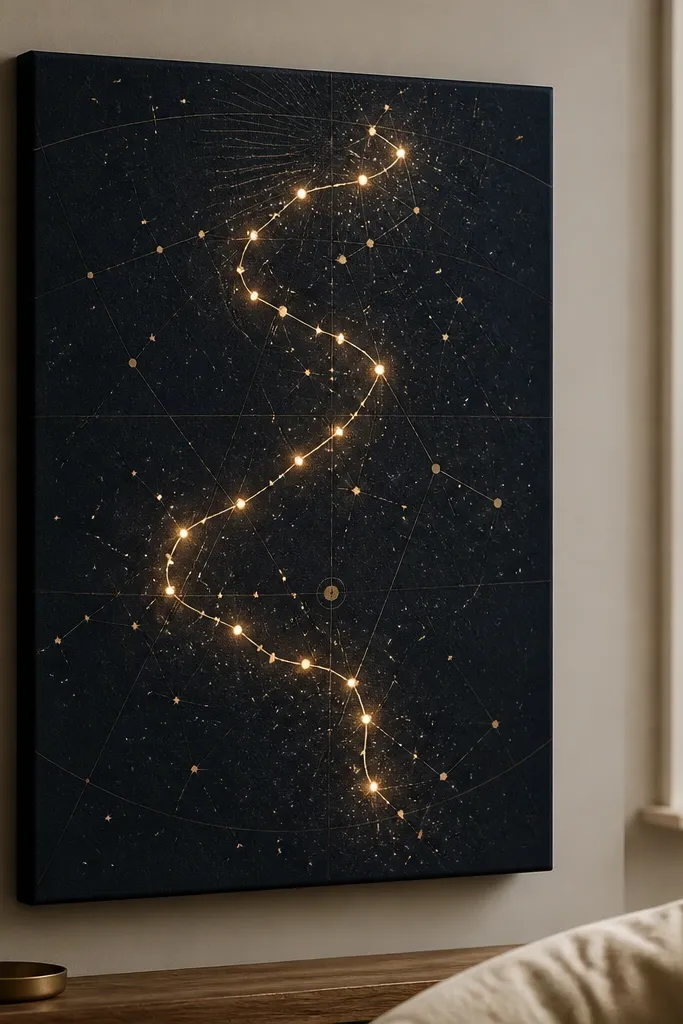
If he’s into astronomy, travel, or just a good story, this one hits. The LED thread lights look like tiny constellations because they’re thin and follow the shape of the map. I use a simple star map print on cotton canvas and then trace one route — the first date place to his current city, for example. Warm white thread lights keep it romantic and easy on the eyes. The layout is clean and flattering because the glow is concentrated along the line you choose.
Editor's noteUse a matte black fabric frame or shadow border so the glow stands out instead of blending into the canvas edges.
Start by printing a star map or using a simple constellation dot pattern, then tape it to the canvas and cover with a thin matte medium layer if you want durability. Outline a single “route” with a pencil — keep it under half the canvas so the glow doesn’t feel busy. Position warm LED thread lights along that route, pinning lightly before gluing. Finally, tuck the battery pack behind the canvas frame and test the brightness under room light before you seal the ends.
Skip thisDon’t put thread lights across the whole canvas — it turns into a cluttered craft wall.
5. DIY Glow Coasters With Resin-Like Epoxy Look
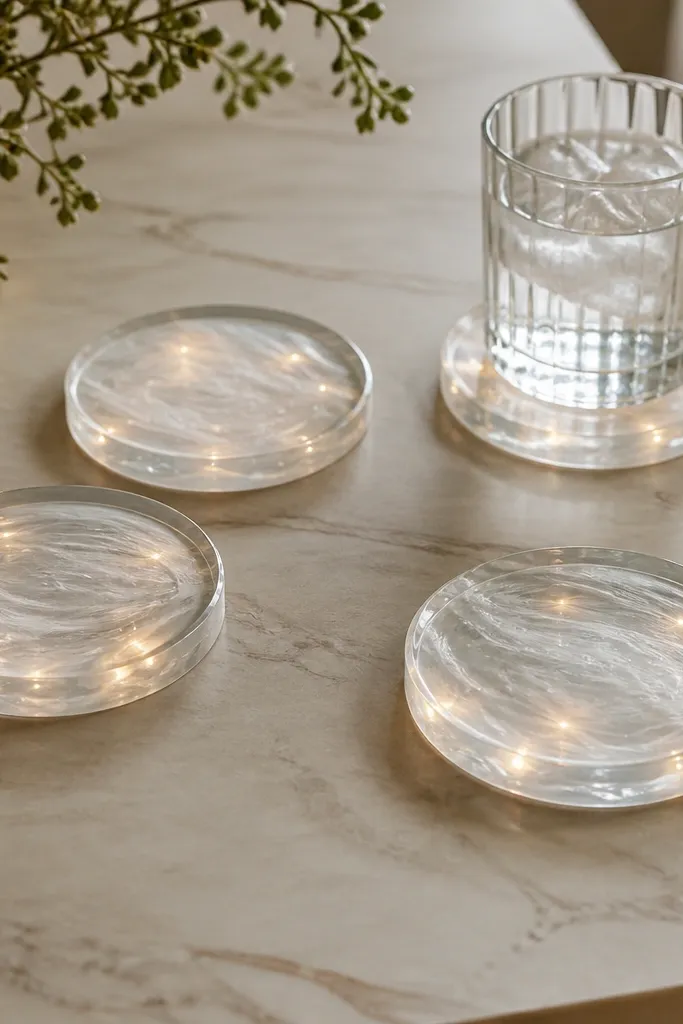
These are hands-down the most useful diy gifts for boyfriend with lights because they get used every day. The trick is to make the light feel trapped inside the coaster top, not visible as a random bulb. I build the look with a translucent top layer over a cloudy white base and place tiny warm LED points underneath or behind, depending on the coaster design. The glow reads soft and “premium” when the edges are clean and the surface is evenly clear. They look good in any room because warm light matches wood, black metal, and neutral stone surfaces.
Start with four cork or silicone coaster bases and seal the surface with a clear primer so the top doesn’t soak in. Mix a translucent top layer with a small amount of white pigment so you get a milky glow center, then pour a thin coat and let it level. Position tiny warm LED lights under the center area or secure them under a clear acrylic disc attached to the bottom. Cure fully, then test with the LEDs on a dark table so you can see the light spread evenly.
Add felt pads to the bottom so the coasters don’t scratch his desk and the glow stays steady.
Avoid uneven pours — lumpy clear areas make the LEDs look like they’re sitting on top.
6. Key Tray With Warm Light Under the Lip
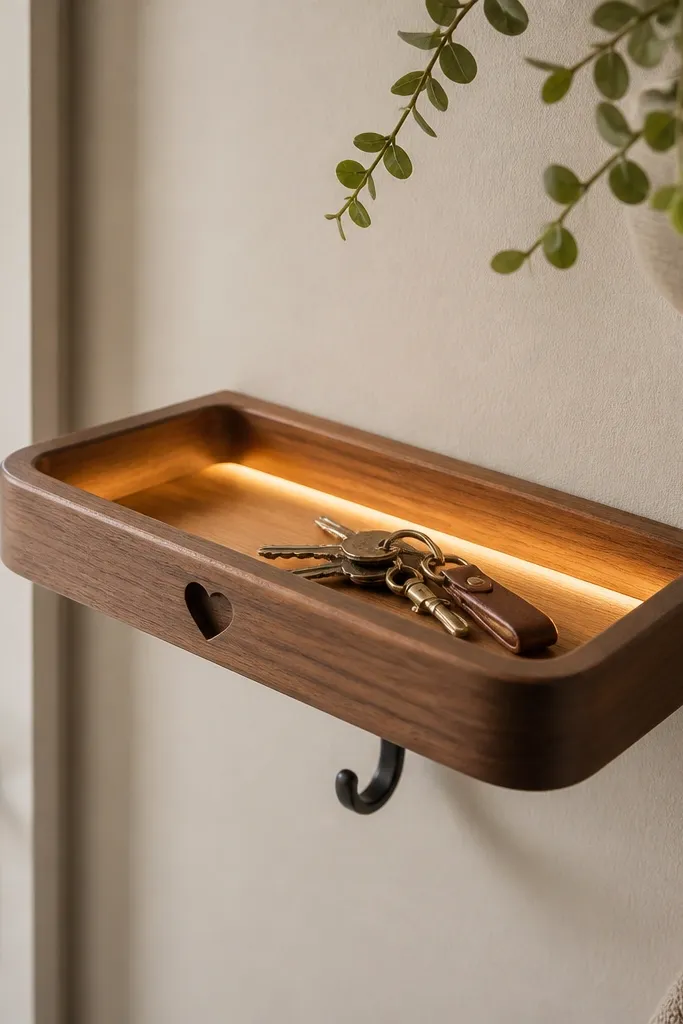
This gift is for the boyfriend who leaves keys in the same spot and hates digging for them. A warm LED under the lip makes the tray feel like a tiny entryway light, and it looks clean because the LEDs are hidden. I use a simple wood tray or build one from plywood, then add a strip of warm LED tape along the underside. The glow is directional, so it highlights the keys and wallet without lighting up the whole room. It works especially well for darker keychains or black leather wallets because the warm light brings out texture.
Editor's noteUse a timer battery pack if he comes home at different times; he’ll still get light without fiddling.
Start by sanding a small plywood tray and sealing it with a matte clear coat so the wood doesn’t reflect the LEDs harshly. Cut a shallow lip or attach a thin wooden strip around the tray edges to create a hiding channel. Stick warm LED strip tape along the underside of that lip, then route the wire to the back corner for the battery pack. Place a small hook for keys, and test the glow with his actual keychain before you glue the final pieces.
Skip thisDon’t stick the LED tape where it can be seen from eye level — it looks like a cheap strip.
7. Light-Up "His Name" Wood Letter With Back Glow
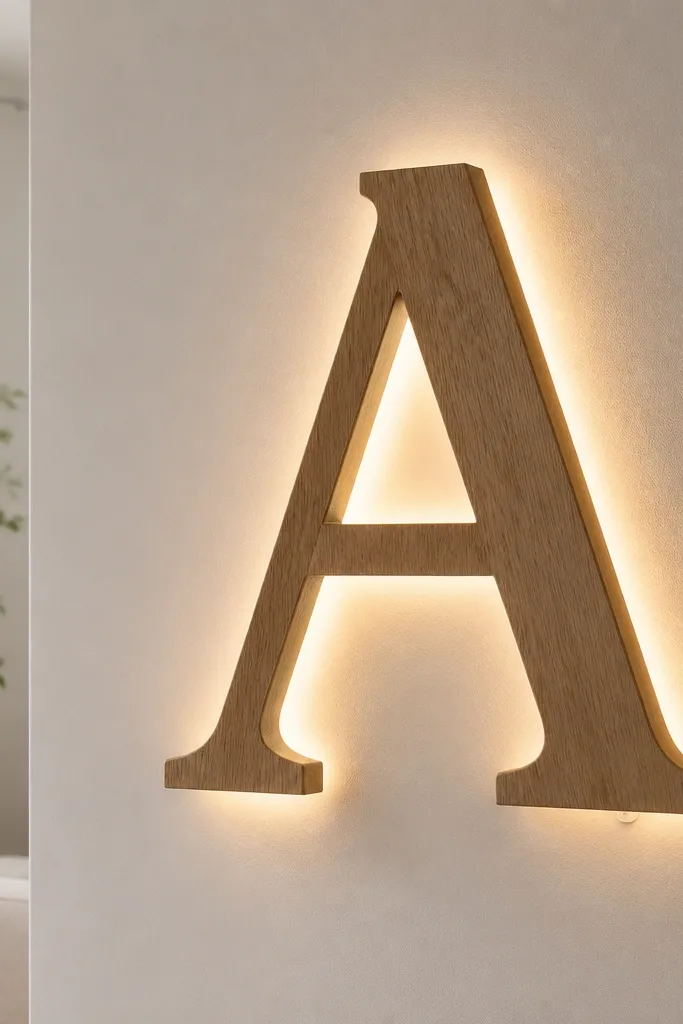
A single letter looks bold, and it’s the fastest way to make diy gifts for boyfriend with lights look intentional. I make mine from layered plywood or thick MDF, then I sand edges so it doesn’t look rough. The glow comes from LEDs behind the letter and a white backing sheet that diffuses light. This works for boyfriends who like sports teams, bands, or just their name — it reads personal without needing a full scene. The warm glow also flatters wall colors; it looks especially good on off-white, light gray, and deep navy walls.
Start by cutting the letter shape using a stencil and thick material, then sand and seal it with matte paint (black, espresso brown, or cream). Cut a backing panel the same size and attach it to a simple hanging bracket. Place warm LED string lights or LED strip tape behind the letter, spacing them so the glow is even across the center. Finally, route the battery pack to the bottom corner and hide it behind a small removable backing flap.
Choose a letter with thick strokes — thin script fonts show uneven light and look patchy.
Avoid glossy paint on the letter face — reflections make the glow look spotty.
8. Glow Ribbon Message Board With Mini Clips
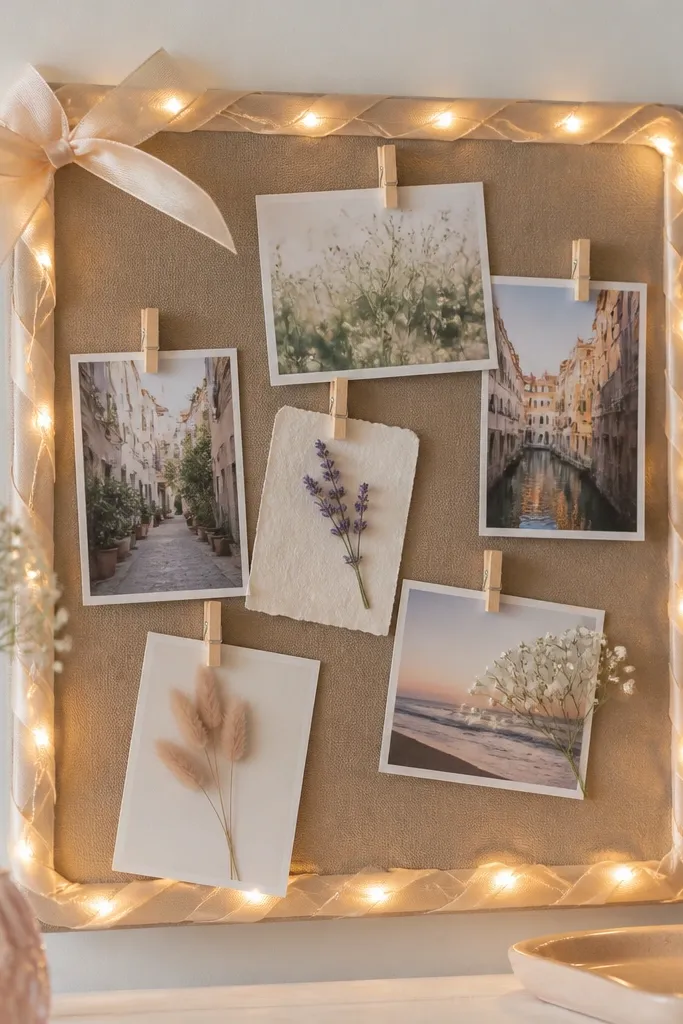
This one is great if he’s the type who forgets things but loves reminders. The glow is gentle because the lights run along ribbon edges, not right behind paper. I use cork or dark felt so the warm light bounces off without turning the board into a bright mess. It looks best with a mix of small photos, ticket stubs, and handwritten notes clipped in a tidy grid. The warm color makes paper look warmer and more personal, especially on beige or tan photos.
Start by covering a small board with cork or felt and trim the edges cleanly. Wrap a ribbon frame around it, leaving a gap where you can tuck string lights behind the ribbon. Thread warm mini fairy lights through the ribbon channel and secure with small stitches or hot glue dots. Add mini clips along the ribbon and pin photos with thin cardstock tabs so they don’t sag when the lights are on.
Use clothespins in a single finish (black or natural wood) so the board looks cohesive, not random.
Don’t use bright multi-color lights — they fight the photos and look childish.
9. Translucent Love Heart Nightlight in Acrylic Block
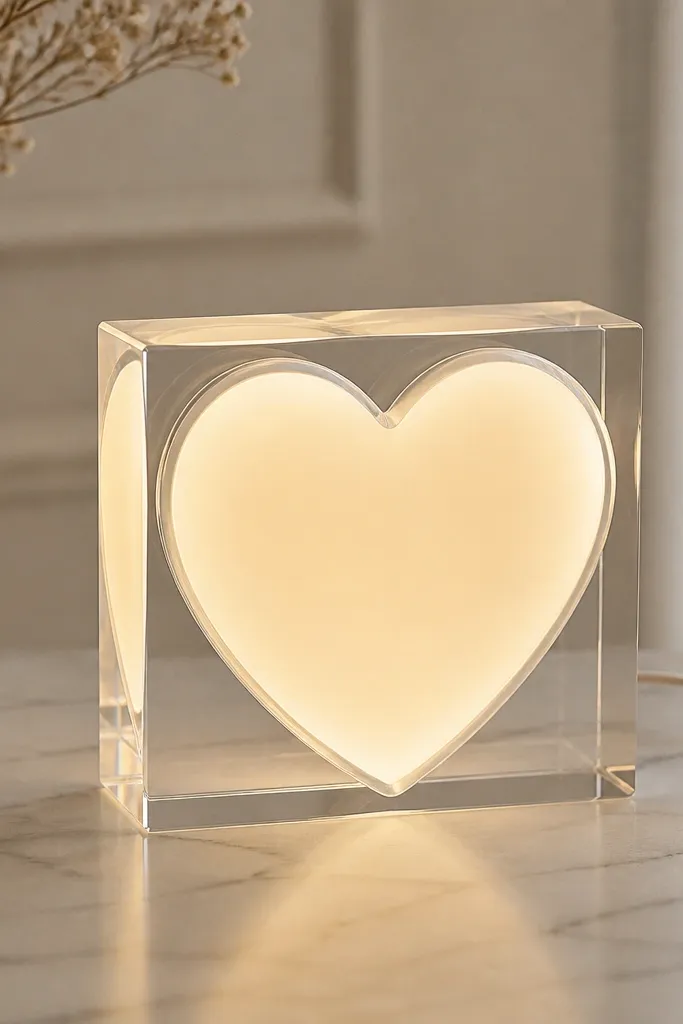
If you want the cleanest, most “store-bought” look, go acrylic. The heart shape glows evenly because the light diffuses through the clear block, not through paper layers. I use warm white LEDs and keep them tucked inside a heart cavity so you don’t see bulbs. This gift works for boyfriends who like modern decor — it looks good next to a bedside table, especially in rooms with black lamp bases or wood nightstands. The warm glow makes skin tones look healthy in the mirror reflection too.
Start by getting an acrylic block or clear acrylic sheet and shaping a heart cavity or insert panel. Place warm white LED strip or micro LEDs inside the cavity, then fix them with clear mounting putty so they stay centered. Seal the edges with clear acrylic glue if your design allows, or use a back panel to cover the electronics. Add a hidden battery pack with hook-and-loop tape on the back so you can swap batteries without opening the whole thing.
Test brightness at night first; acrylic looks brighter than you expect under daylight.
Avoid cheap plastic that scratches easily — it turns into foggy glare after a few weeks.
10. Book Page Light Sculpture With Hidden LED Candle Effect
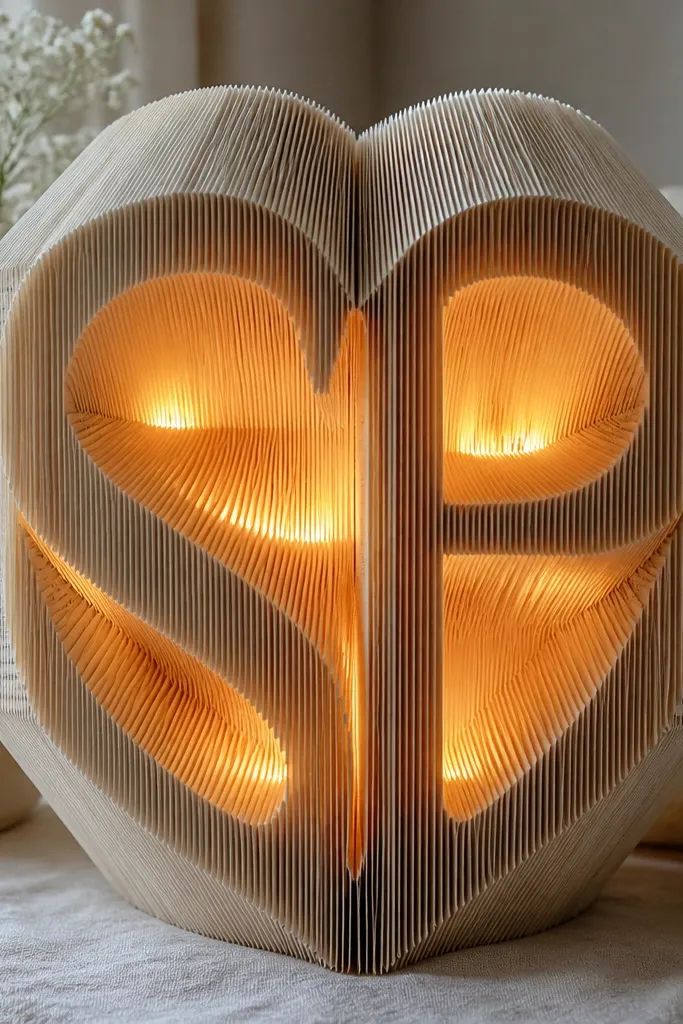
This one feels sentimental because it uses real book pages, and it looks magical because the light travels through paper layers. I use warm LED tea lights (2700K) or a small warm LED candle insert so the glow is gentle and flicker-like. The sculpture works best with thick book pages or vintage paper that holds its shape. It’s perfect for a boyfriend who loves reading, music, or anything that has a “story” object. The warm light also makes the paper look golden, which looks great in photos and in dim rooms.
Editor's noteUse a scrap cardboard backing behind the sculpture so the light doesn’t spill backward and flatten the glow.
Start by choosing a book with pages that are thick and not too glossy, then cut pages into folded sections for your heart or initials. Assemble the sculpture with bookbinding glue or archival tape, leaving a pocket inside for the LED candle. Place the warm LED candle in the pocket and test the glow before you close the outer folds. Finish by trimming any uneven edges and securing the sculpture into a simple base or shallow frame so it stands upright.
Skip thisSkip thin printer paper pages — they burn out visually and look dim.
11. DIY "Movie Night" Light Box With Ticket Stubs
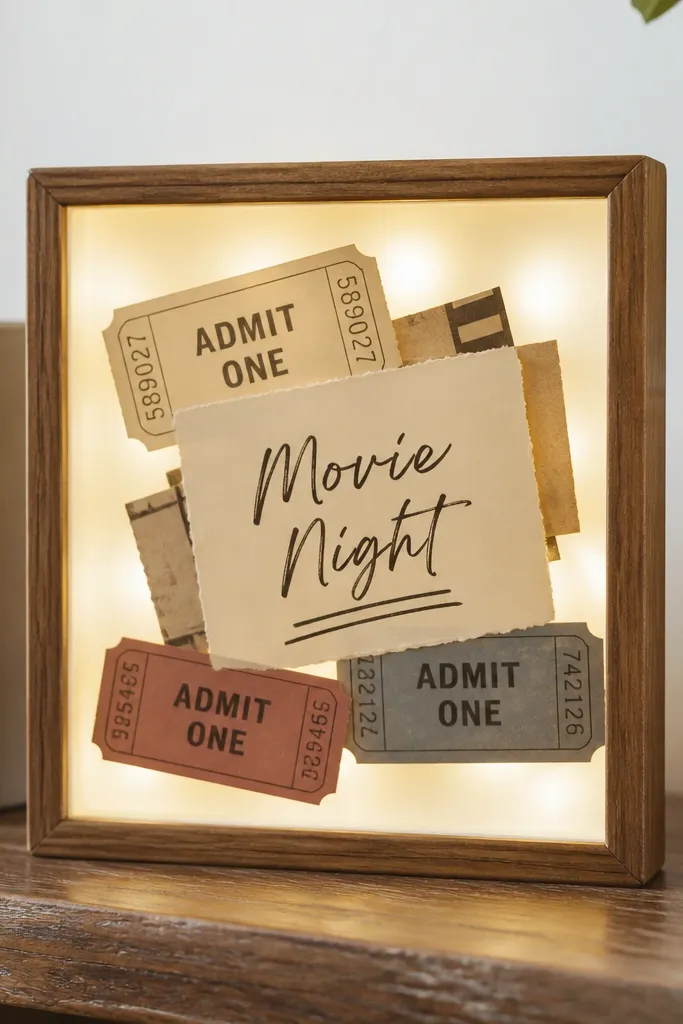
This gift is for a boyfriend who likes plans and small rituals. The light box style looks like a mini sign, and ticket stubs or photo strips inside make it feel personal fast. I use warm LEDs inside a translucent panel so the text and memorabilia glow evenly instead of lighting uneven corners. The best part is he can pull it out and read the story of the night — then put it back for the glow. It looks great on a shelf or his desk because the warm sign light matches coffee and wood tones.
Start by building a shallow wooden frame with an inner opening and a translucent front panel (acrylic or frosted craft plastic). Cut your ticket stub layers and back them on thin cardstock so they sit flat in the box. Place warm LED strip tape around the inside perimeter, then mount the translucent panel and test the glow. Add a small switch access hole on the back so he can turn it on without taking the whole box apart.
Use a cream or frosted front panel — clear plastic makes the LEDs look like bright dots.
Don’t pack the box too full of thick items — the light gets blocked and the sign looks dim.
12. Glowing Paint Chip Letter Art
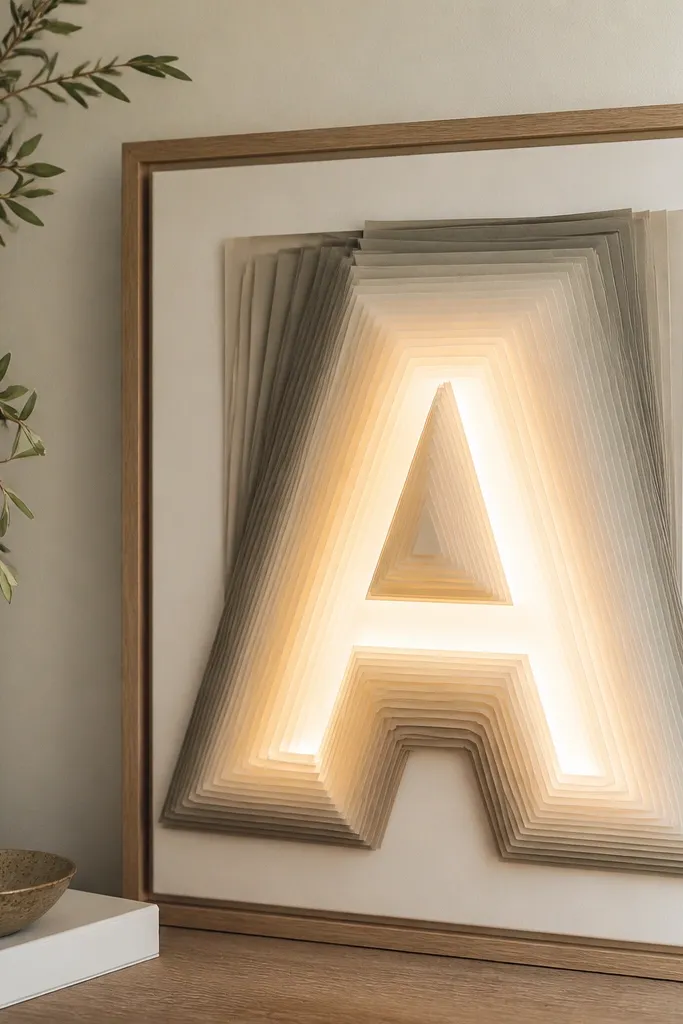
Paint chips sound boring until you light them. The printed color squares diffuse under warm LEDs and create a soft gradient glow without any messy painting. I build this with a block letter shape and layer paint chips in a tight stack so the light hits the edges and looks dimensional. It flatters modern interiors because the palette is already curated by the paint brand. If his room has gray, navy, or black accents, this gift looks like it belongs there. The glow also makes the colors look warmer and more saturated.
Start by picking one color family and printing paint chip strips or using actual paint chips. Cut a block letter from backing board and glue paint chip pieces behind it in layers so the edges show. Add warm white LED strip tape behind the letter area and cover with a thin translucent sheet so the glow spreads. Frame it with a simple black or walnut frame and hide the battery pack in the top corner of the back.
Choose paint chips with matte finishes; glossy ones reflect and show LED dots.
Don’t use too many random colors — the glow becomes patchy and hard to read.
13. Warm Glow "Coordinates" Table Runner Lantern
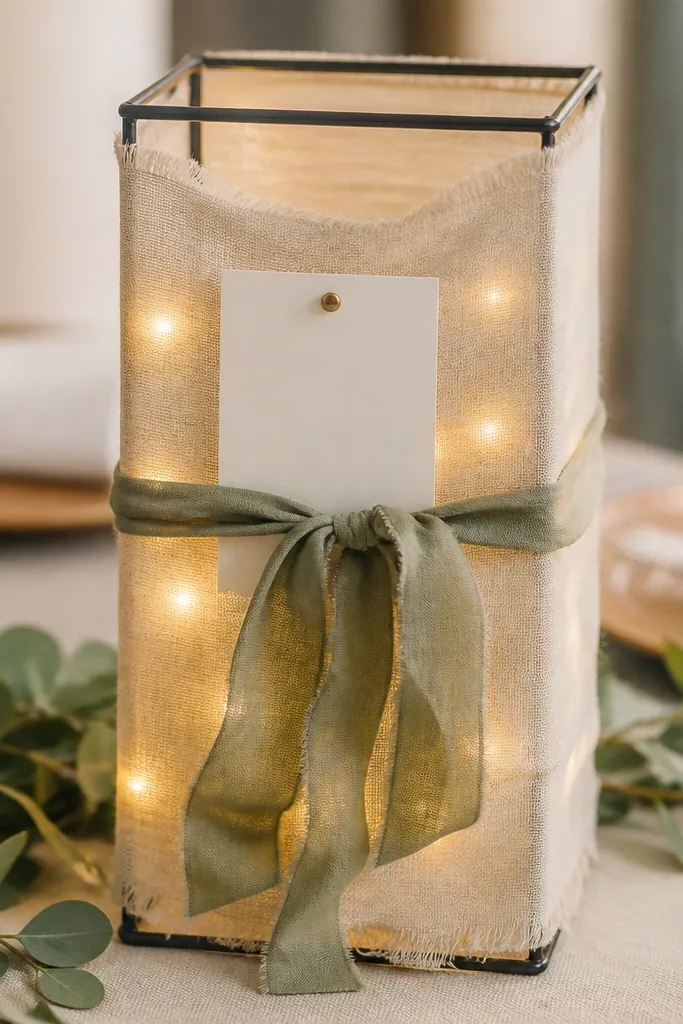
If you want diy gifts for boyfriend with lights that feel like a planned date, this centerpiece does it. I use warm string lights inside a fabric-wrapped frame so the light stays soft and doesn’t glare. The coordinate card gives it a story — first date location, anniversary spot, or a place you both want to visit. It looks best for dinners and weekend hangs because it sets mood without being too bright. Warm light also flatters hands and food photos, which matters if you take a lot of pictures.
Editor's notePick one accent color for the card (navy ink or dark green) so it matches his decor.
Start by making a simple lantern base from a wire frame or a shallow wood tray with raised sides. Wrap a neutral fabric like cream linen or light beige gauze around it and secure with cloth pins. Tuck warm white string lights inside the frame, then add a coordinate card behind a small clear pocket so it stays readable. Hide the battery pack under the fabric near the back and check the glow from the table angle, not from standing height.
Skip thisAvoid shiny satin fabric — it turns the lights into harsh points.
14. LED Wrapped Wine Bottle "Date Night" Glow
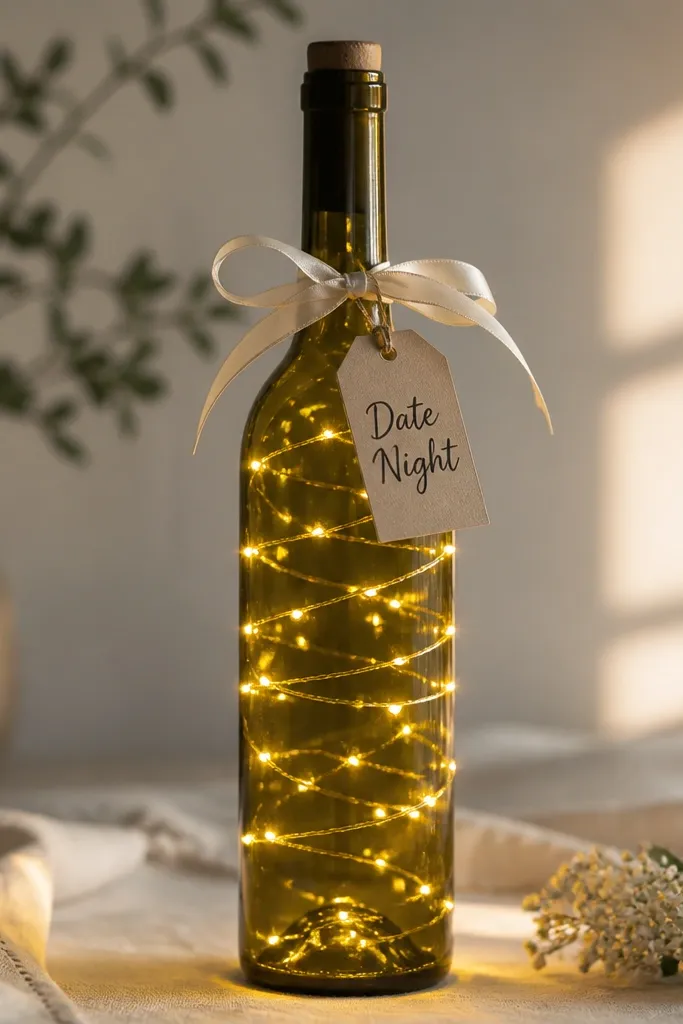
This is a simple but surprisingly effective diy gifts for boyfriend with lights, especially for anniversaries. The bottle shape naturally diffuses light, and the glass makes the glow look deeper. I wrap warm white fairy lights in a spiral so spacing stays even and the bottle doesn’t look lumpy. Add a paper tag with the plan: dinner, movie, and a timestamp. The warm glow makes the bottle look like a decorative lamp, not a craft. It’s also a great choice if he likes alcohol gifts but you want it to feel personal.
Start with a clean dry bottle and plan your spiral path using a piece of painter’s tape as a guide. Wrap warm white mini fairy lights around the bottle, keeping each loop about 1/2 inch apart. Secure the lights with small dots of clear hot glue at the top and bottom, not all the way around. Tie a ribbon at the neck, attach a date plan tag, and keep the battery pack hidden behind the ribbon or near the base with extra tape.
Use a matte ribbon, not satin, so the tag and bottle glow stay soft in photos.
Don’t stack the lights too tight — the bottle looks uneven and the warm glow becomes a bright band.
15. Desk Planter With Lighted "Growth" Sign
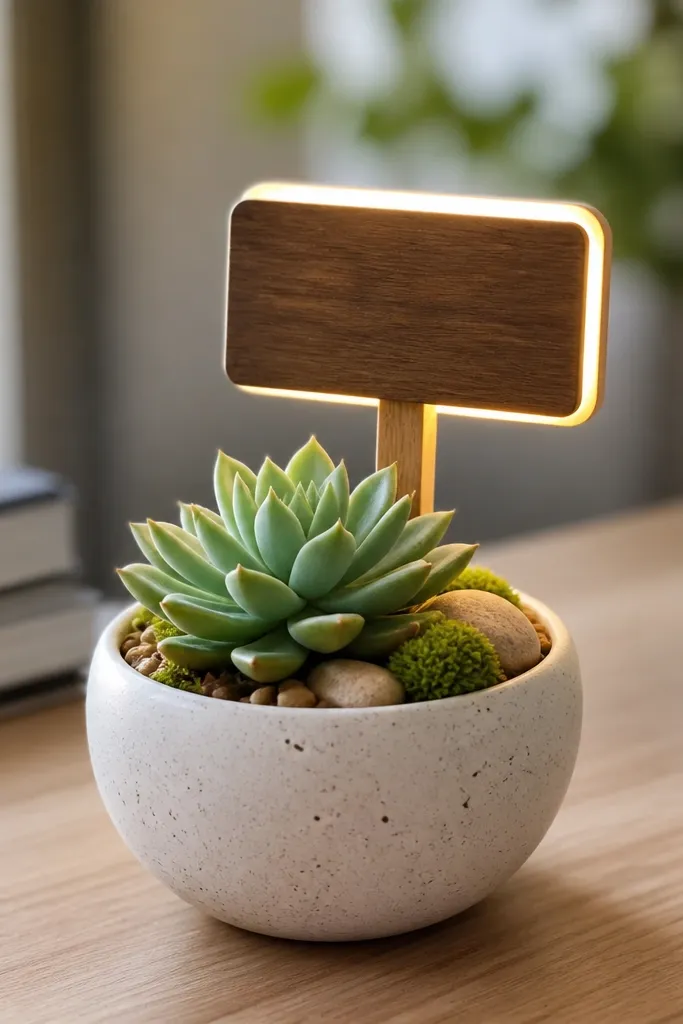
This one feels thoughtful without being sentimental-overload. The lighted sign makes it feel like a mini project he can watch grow, and the succulent keeps it low maintenance. I use warm white LEDs around the sign outline so the glow is crisp but not harsh. Choose a sign word like “Grow” or “Home” and keep the font blocky for readability. This looks good on desks with wood tones and black metal — the warm glow matches both. The gift also works for boyfriends who don’t want wall art; it lives on his desk and makes him smile in passing.
Editor's noteIf you use a real succulent, keep the LEDs cool by using a battery pack with low heat and don’t press tape directly on the leaves.
Start with a small planter and a hardy succulent or faux plant if he travels. Make a wooden or acrylic sign shape and paint it matte white or deep charcoal. Outline the sign with warm LED strip or small LED rope, then mount the sign behind the plant area so the light appears centered. Secure the battery pack under the planter base or on the back of the sign with Velcro so you can swap it quickly.
Skip thisAvoid over-bright LEDs — a desk gift looks better when it’s cozy, not glaring.
16. Glow Keychain Photo Charm With Mini String Lights
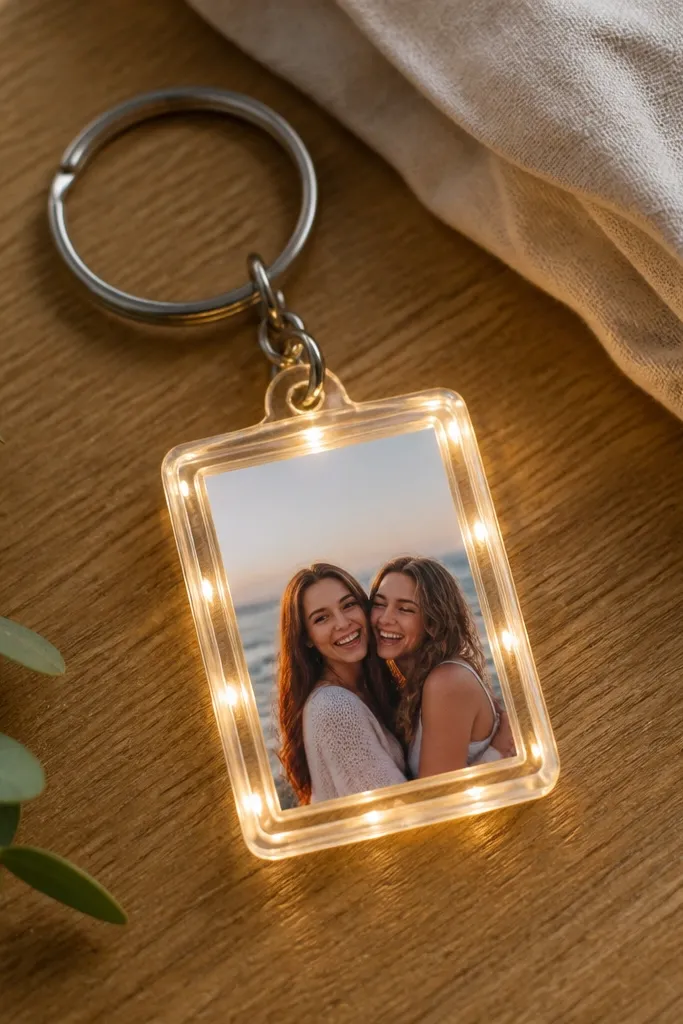
This is a DIY gifts for boyfriend with lights option that feels playful and personal. The photo charm is small enough to carry, but the warm LEDs make it look like a tiny lantern. I use clear acrylic or a chunky clear bezel so the glow spreads around the photo edges. It works best for boyfriends who always have their keys in hand and like little reminders in their everyday routine. The warm light also makes the photo colors look softer, which helps if the photo has slight imperfections.
Editor's noteUse a battery pack with a small switch — inline switches on keychains are easier than tiny buttons.
Start by printing a small photo and trimming it to fit inside a clear acrylic bezel or mini frame. Place a thin layer of vellum or translucent paper behind the photo so the light diffuses evenly. Add warm micro LEDs around the inner edges, then secure wires so they don’t pinch the photo. Close the charm, attach the keyring, and test brightness with the LEDs on for 10 minutes so you can confirm the battery pack fits comfortably.
Skip thisDon’t cram the LEDs directly behind the photo — you’ll see hot spots and the face part looks blown out.
17. DIY Lighted Candle Holder With Fabric Wrap and Photo Strip
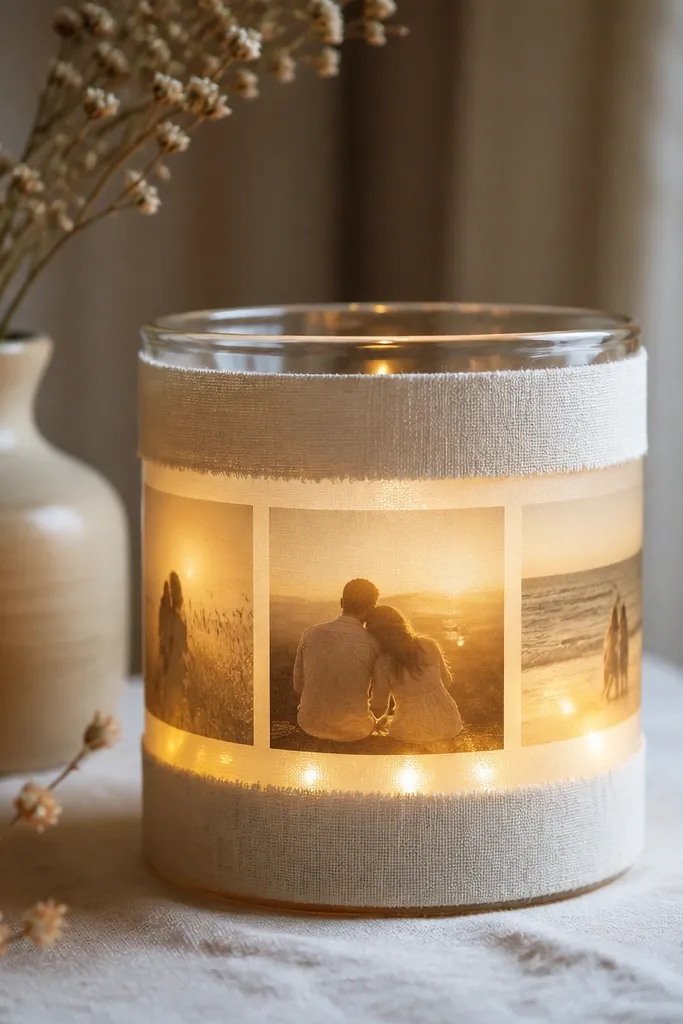
This one looks cozy because it imitates a candle without the flame risk. I use warm LED candle inserts inside a clear glass holder, then wrap the outside with a soft fabric that diffuses the glow. Add a thin photo strip behind a translucent panel so the photos look like they’re suspended in light. It works for anniversaries and long-distance gifts because you can include a mini timeline of dates. Warm glow also makes skin look warmer in any photo reflection off the glass.
Start with a clear glass candle holder and clean it thoroughly so adhesive sticks. Insert a warm LED candle or LED tea light inside, then position a photo strip on the inside wall using clear tape. Wrap the outside with cream fabric, leaving a small opening so the light can show through the front. Add a ribbon band and hide the battery pack in a small fabric pocket at the back using Velcro so you can change it without taking the whole thing apart.
Use dark ink captions on the photo strip so they stay readable under warm light.
Avoid thick fabric over the front — it blocks the glow and makes the photo strip disappear.
18. Hanging "Promise" Garland With Warm Light and Clothespins
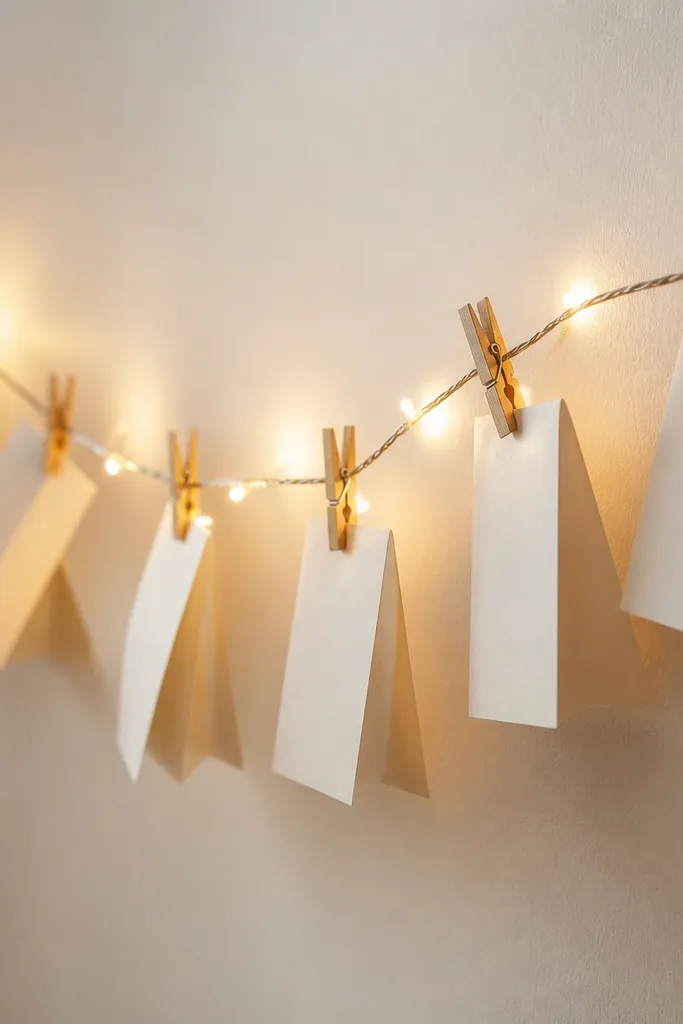
This is a sweet gift that also acts like decor. The warm string lights create a gentle mood, and the clothespins let him pull cards down on different nights. I use small promise cards — one line each — because short text looks clean when the light is dim. It’s flattering to his space because it doesn’t require a big craft project or heavy frame. The glow makes paper tones look warmer, and the cards feel like a private message set.
Editor's noteWrite promises with one consistent style: dark brown ink with a tiny date in the corner.
Start by stringing a thin wire or strong twine between two command hooks at eye level. Attach warm white mini fairy lights along the twine using clear zip ties or hot glue dots spaced evenly. Cut promise cards from thick cardstock and fold them in half so they stand up when clipped. Clip them with mini clothespins, then tuck the battery pack behind one end of the garland so it’s hidden but reachable.
Skip thisDon’t use thin paper — it curls and looks messy when the lights warm it up.
19. DIY Light-Up Scrapbook Page in a Frame
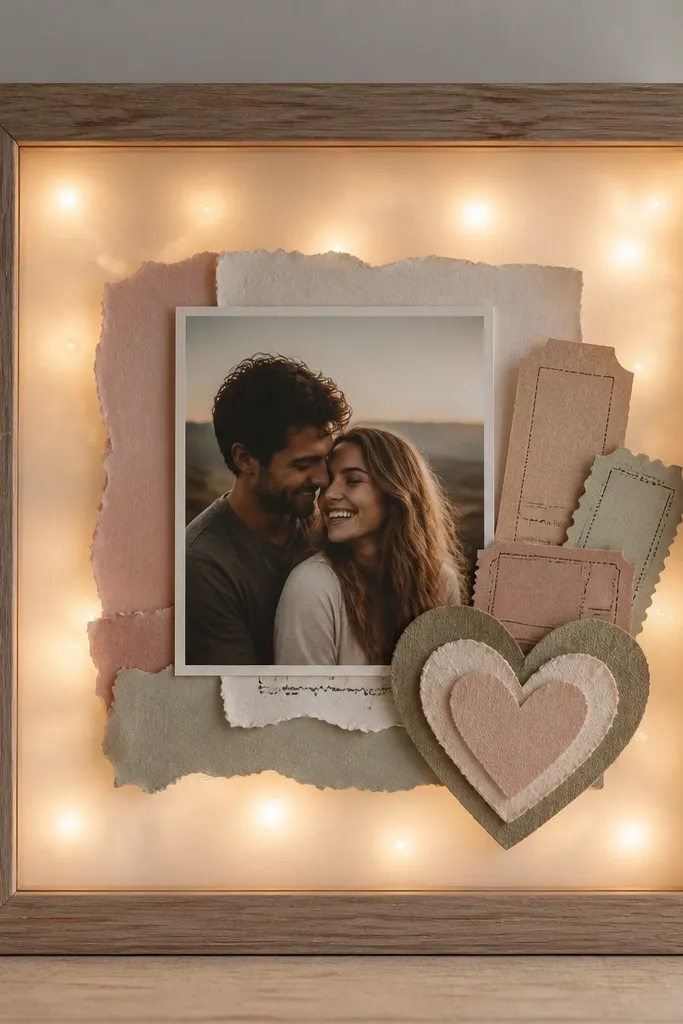
This is for the boyfriend who loves stories and timelines. A framed scrapbook page looks like a mini exhibit, and the glow points attention to the photo and the message. I use warm white LED strip tape behind a translucent vellum window so the center lights up without lighting every corner. It flatters any color scheme because you control the glow with the vellum tint — I use cream vellum for warm skin tones and deeper colors for stronger contrast. It also works well when you want something sentimental but not bulky like a full album.
Editor's noteUse foam tape under the photo so the glow makes the layers look dimensional, not flat.
Start by choosing a frame with a deep enough back space for electronics, then remove the glass. Create a scrapbook layout on thick cardstock with a clear center window covered by vellum. Place warm LED strip tape behind the vellum window and secure it with double-sided tape so it doesn’t shift. Add your photo and memorabilia layers, then close the frame and hide the battery pack on the back edge with a removable Velcro square.
Skip thisDon’t glue everything directly to the back panel — you’ll trap the wires and the frame won’t close.
20. Glow-Up Salt Lamp Style From a Clear Storage Box
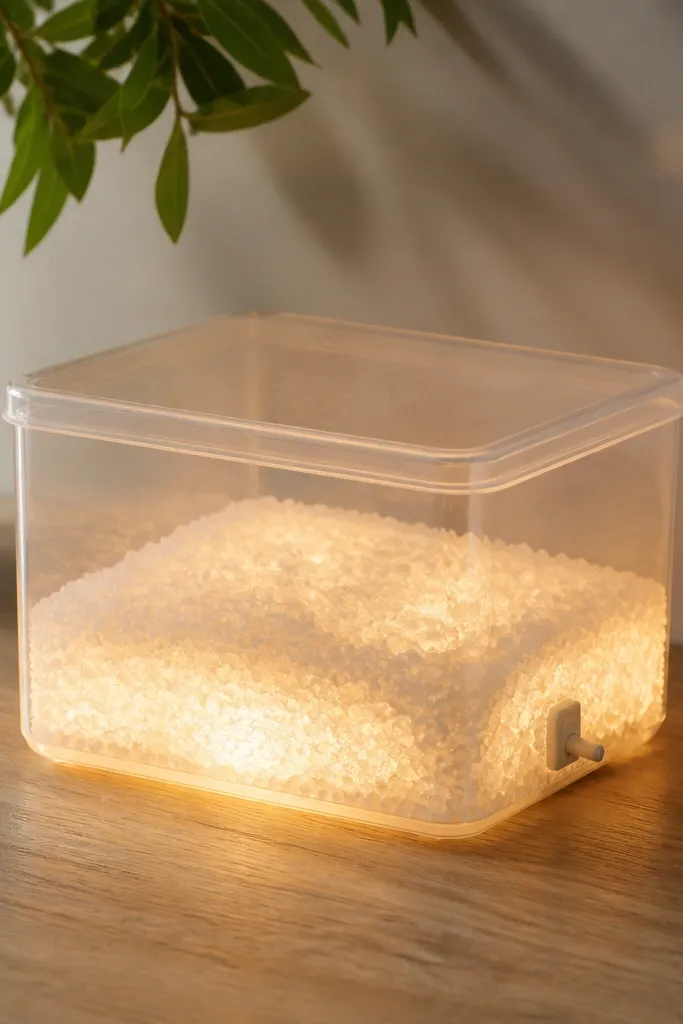
This is a fun, slightly weird gift that looks surprisingly good on a bedside. The clear box walls hold the glow and make it look like a salt lamp when the LEDs are warm. I create the texture with a translucent medium mixed with coarse material, then cover the top with a clear diffuser so the light spreads evenly. It’s a great choice if he likes ambient lighting and gaming setups. The warm glow is gentle on eyes and makes skin tones look less washed in low light.
Start by cleaning a clear plastic storage box and placing a warm LED strip or LED puck lights along the bottom. Mix a translucent medium with a coarse texture material and pour a thin layer so it spreads but doesn’t block light completely. Cover the top with a clear plastic diffuser sheet to soften the glow. Mount the switch or battery pack on the outside of the box near the back edge and test it with the room lights off before you seal the diffuser.
Keep the texture layer thin — thicker layers kill the glow and look dull.
Avoid cool white LEDs — the “salt lamp” effect turns into a work light.



