

1. Ticket Stub Window Page
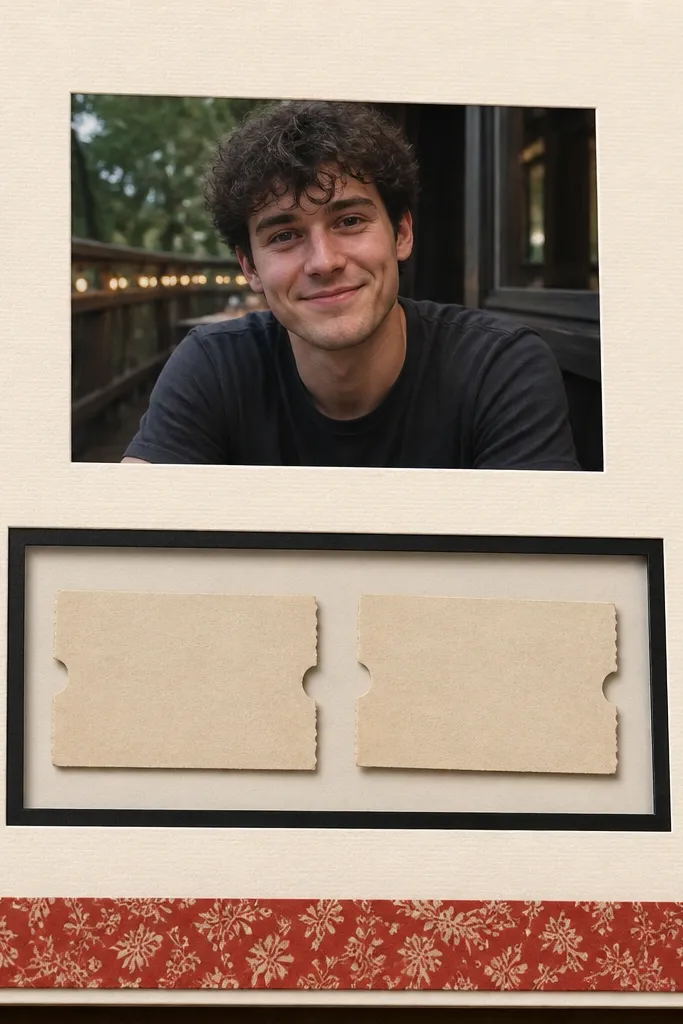
This layout works because it turns a flat keepsake into something you can “see through.” I use a sheet protector or clear acetate for the window, then glue only the edges so it stays smooth. The cream cardstock makes the stubs readable and keeps the page from looking cluttered. It looks best on boyfriends who like sports, movies, or concerts because ticket stubs are instantly recognizable. The clean black mat border gives it structure, even if your photos are a little messy.
Start by cutting a rectangle window in cream cardstock using a craft knife or paper cutter. Leave a 1/4-inch border around the cut so the frame looks crisp. Glue ticket stubs to a second piece of cardstock, then place that behind your window so the stubs sit flat. Add a photo at the top using a glue stick, then run a 1-inch strip of red patterned paper along the bottom like a footer. Finally, tape the acetate window only at the edges with double-sided scrapbook tape so it doesn’t ripple.
Use a white gel pen to add a few tiny stars or date numbers on the black border — it photographs really well.
Don’t glue the acetate across the whole surface or it will wrinkle and catch glare.
2. Hoodie Color Mat + Photo Strip
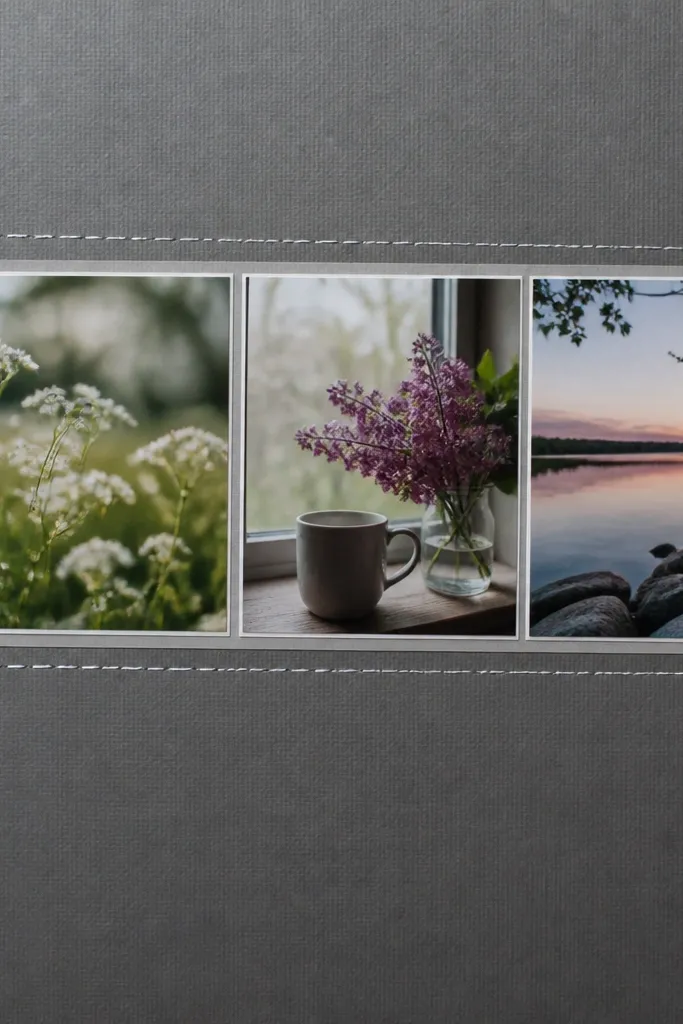
I love this one because it looks like a real photo album page, not a craft project. The dark gray background is forgiving for most skin tones and makes the photos pop without needing extra embellishments. You get a “graphic” look by using one hoodie-matching color for the mat and keeping the rest monochrome. It’s great for boyfriends who like a clean, minimal aesthetic. The white gel pen lines add a handmade feel without adding bulk.
Pick the same color as one of his hoodies — I’ve used dark gray, navy, and forest green. Cut a 1-inch wide mat strip to frame a 3-photo horizontal layout on the center. Print or trim three photos so they’re the same height, then leave a 1/8-inch gap between them. Draw a faux-stitch line with a white gel pen around the outer mat. Add two small date tabs on the left from scrap cardstock, then write the dates with a fine black pen.
Editor's noteIf your photos are low contrast, add a thin cream backing behind each photo so faces look brighter.
Skip thisSkip glitter or thick stickers on dark backgrounds — they look messy under flash.
3. Receipt Pocket with Hidden Note
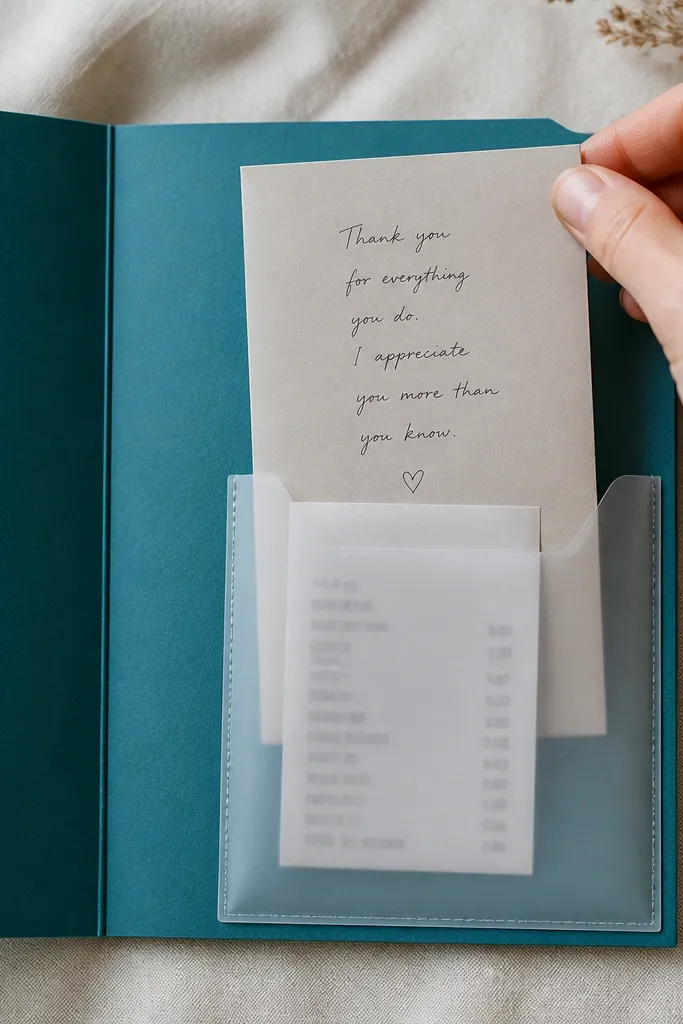
A receipt pocket is my go-to budget-friendly scrapbook idea because it uses tiny real-world paper. The pocket gives you a place to hide a message he can read later. I use vellum or clear plastic so the receipt stays visible but protected. Teal cardstock looks great with warm skin tones and gives a calm, “cozy” mood. This layout works for anniversaries, because you can add a monthly note like “what I loved this month.”
Cut a rectangle of teal cardstock and glue a vellum pocket on the right side. Fold the vellum’s top edge under by 1/2 inch and glue only the sides and bottom so the top opens. Trim the receipt to fit and slide it in. Write a short note on a small piece of cream paper, fold it in half, and tuck it behind the receipt. Finish by placing a photo strip on the left, aligned to the pocket’s top edge, so the page looks balanced.
Editor's noteWrite the note with a black pen, then add one line in a metallic gel pen for a “secret” highlight.
Skip thisDon’t make the pocket too wide or the page will bulge when the scrapbook closes.
4. Map-Coordinate Corner Fold
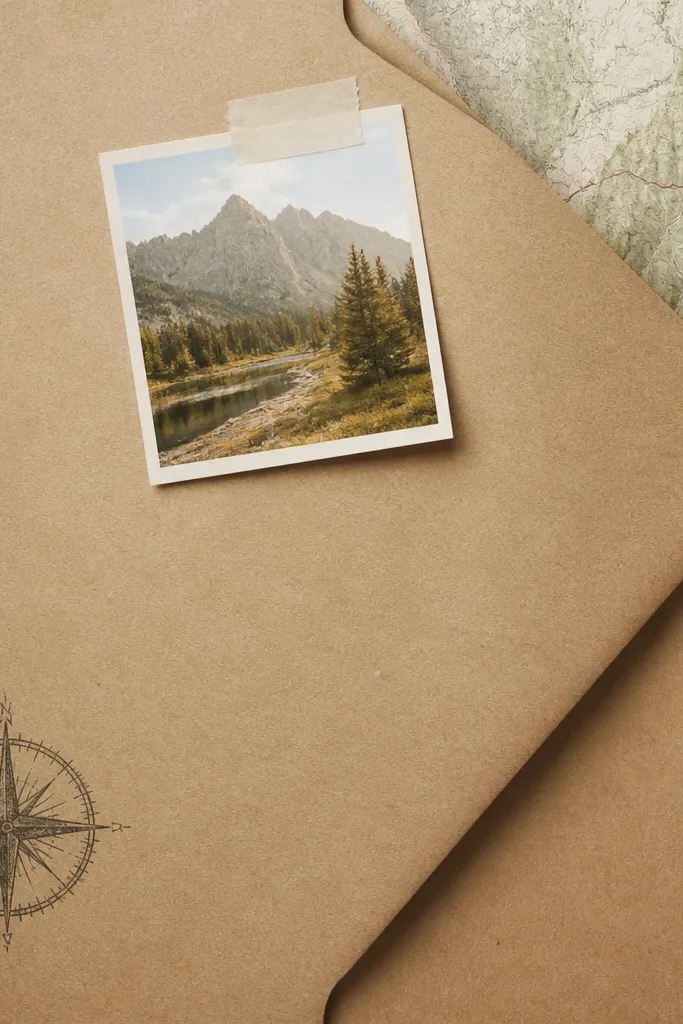
This one looks thoughtful because it turns a location into a visual detail. I use kraft paper because it has texture and makes printed maps feel more “designed.” The red circles pull attention to the exact spot without adding extra clutter. It works especially well if you and your boyfriend travel, road trip, or have a favorite park. The envelope-style corner gives a sense of motion and makes the page interactive.
Start with kraft cardstock as your base. Print or photocopy a simple map section and circle the coordinates with a red marker. Cut a square of cardstock for the corner fold and score the fold line so it creases sharply. Tape the map piece inside the folded corner using small strips of tape at the sides. Add a tiny photo near the fold, then draw a small compass icon on the opposite corner with a fine black pen.
Editor's noteUse a ruler to keep the fold edge straight — crooked corners are the fastest way to make it look homemade in a bad way.
Skip thisDon’t cover the map completely with thick glue — it warps the paper and shows bumps.
5. Washitape Border + Date Stamp Journal
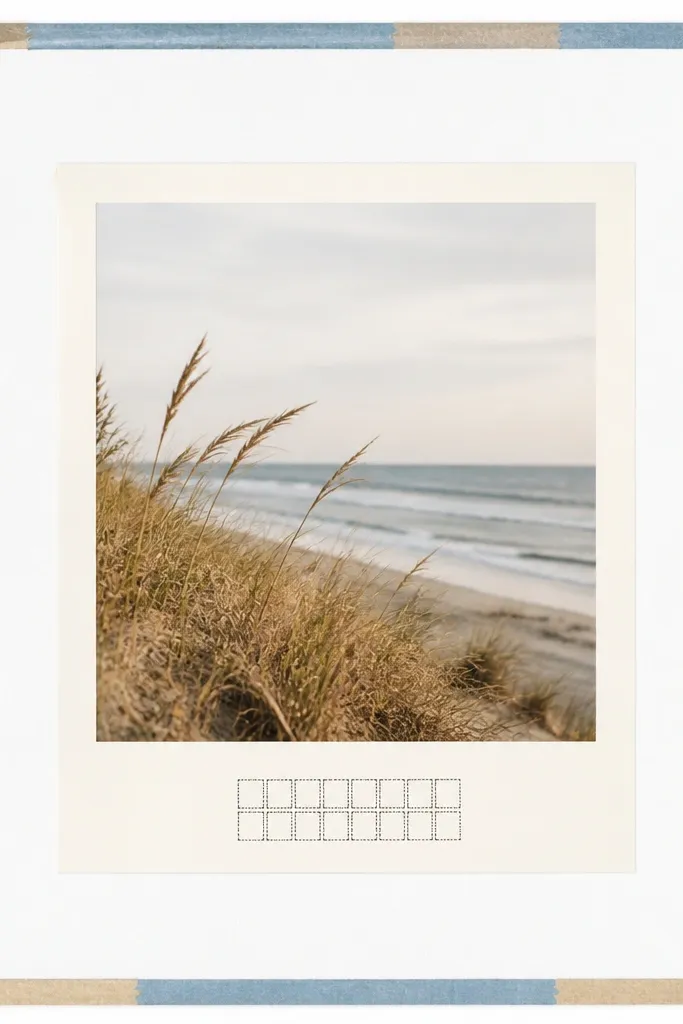
This is the simplest layout that still looks intentional. Washi tape works because it creates a border without needing heavy embellishments, and it hides small cutting imperfections. I keep the tape colors muted so it doesn’t fight the photo. The stamped-style journaling gives a graphic look that reads clearly from a distance. It’s ideal for boyfriends who like sports scores, games, or anything with dates and stats. The boxed text also makes handwriting look neater.
Cut a cream mat that’s slightly larger than your photo, then center it on a white page. Add two thin washi tape strips along the top and bottom edges, stopping exactly at the mat corners. Make a journaling box from thin black cardstock or draw one with a ruler and pen. Write the date on the first line, then two short lines about what happened. Finish by adding a tiny washi tape “label” on one side with a single word like “Day 14” or “First win.”
Use painter’s tape to hold the washi in place while you write the journaling so everything stays straight.
Avoid piling multiple washi patterns — two tones max looks clean.
6. Fabric Tab Page for His Favorite Shirt
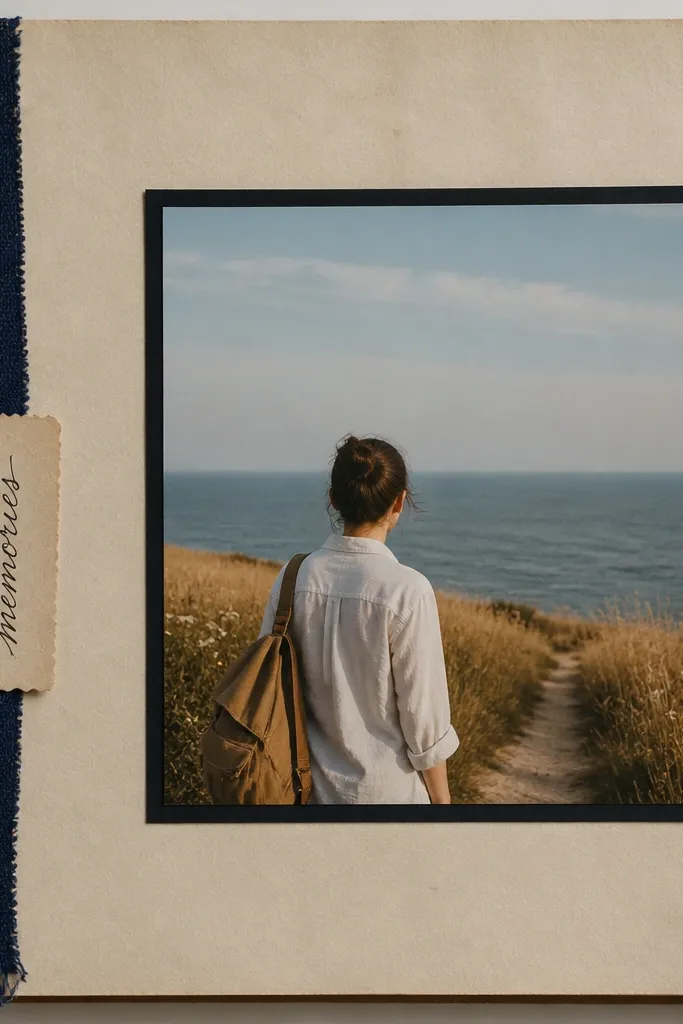
Fabric tabs add texture without needing fancy supplies. I’ve used an old shirt sleeve and cut a 1-inch strip, then stitched it lightly with a needle and thread or glued it flat with fabric glue. Navy fabric looks good with almost any photo color because it acts like a neutral. This layout works for boyfriends who wear the same style of clothes a lot, because it feels personal. The tab creates a “handle,” so the page feels interactive when you flip through.
Cut a 1-inch wide fabric strip from an old shirt and trim the edges so they’re even. Glue the fabric strip to the left side of your page, leaving 1/2 inch sticking out at the top for a tab. Place a black cardstock mat on the right and center a photo inside it. Add a small paper tab near the fabric with the date and one short phrase. If you want extra polish, run a thin line of white gel pen along the fabric edge where it meets the paper.
Editor's noteWash the fabric strip first and let it fully dry so it doesn’t shrink later.
Skip thisDon’t use thick hot glue on fabric — it makes bumps that catch on your fingers.
7. Polaroid-Style Layer Stack
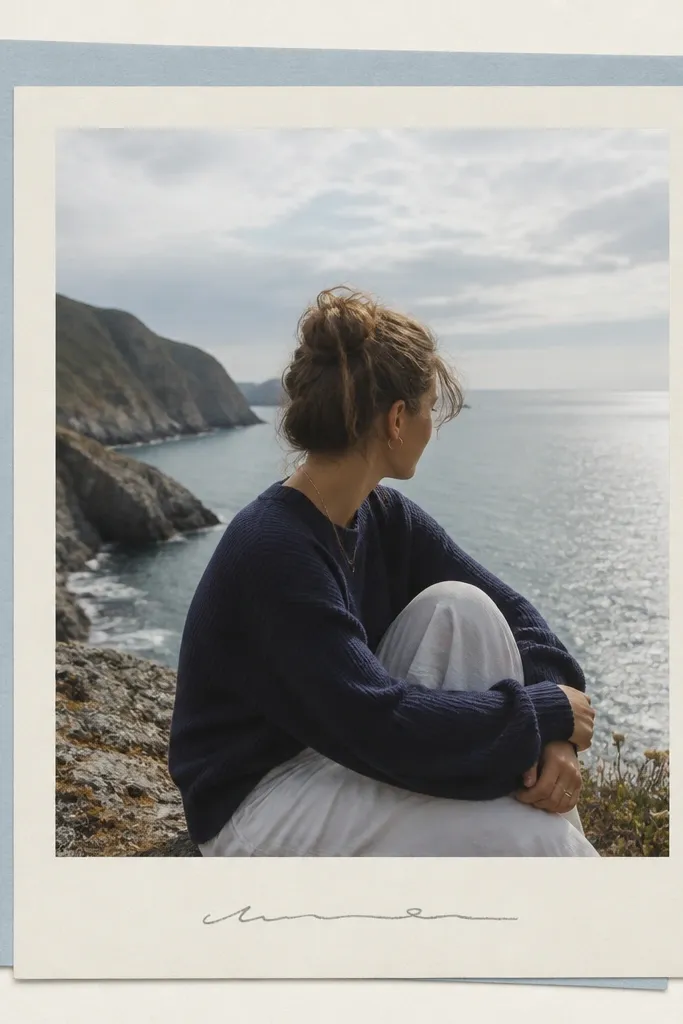
This layout makes any photo look like it has a story behind it. The key is the offset layers — I use cream for warmth and a pale blue for contrast, then keep everything centered. It looks good on skin tones because the photo isn’t surrounded by bright colors that pull attention away from faces. This works for birthdays and anniversaries because it feels like a memory you pulled from a drawer. The handwritten caption adds personality, and you can keep it short so it stays readable.
Cut a cream mat that’s about 1/2 inch larger than your photo on all sides. Cut a second mat in light blue that’s another 1/4 inch bigger than the cream mat. Glue mats first, then attach the photo centered on top. Add a small rectangle label at the bottom of the top mat, and write a one-sentence caption in black pen. Place a tiny star doodle in one corner with a white gel pen.
Editor's noteIf your boyfriend has a busy background in the photo, use a slightly darker mat so the photo edges don’t blend into the page.
Skip thisSkip uneven offsets — if the layers aren’t consistent, it reads sloppy fast.
8. Game Scorecard Page
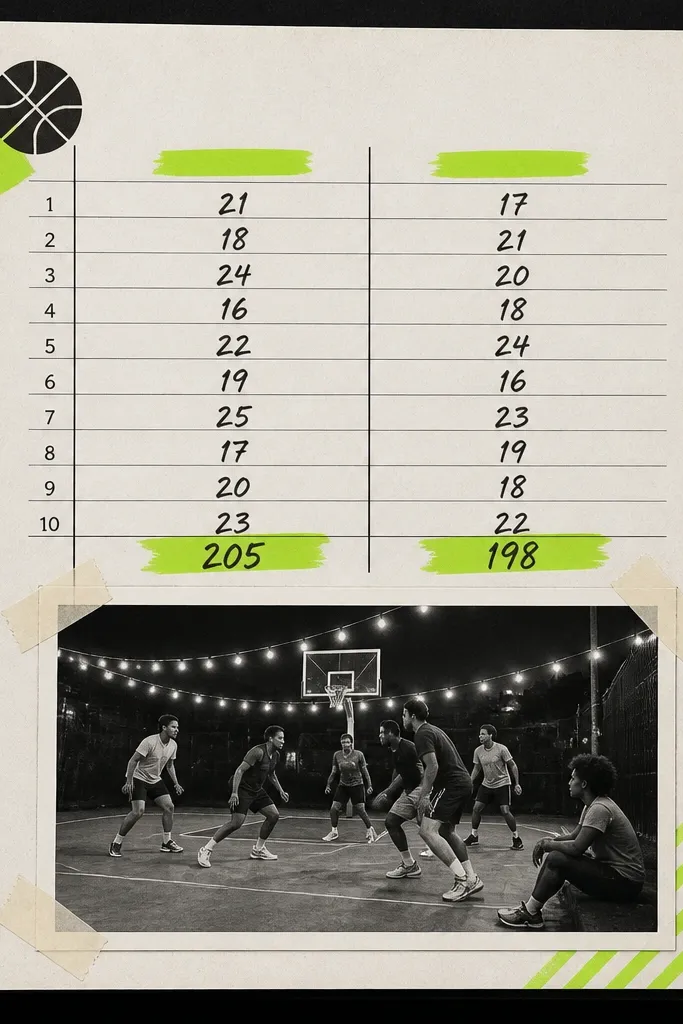
If your boyfriend is into games, this layout gives you a reason to include numbers without feeling forced. The scorecard format makes journaling easy — you’re writing facts he cares about, not trying to be poetic. I use neon green accents because it pops against black and white, and it looks sharp in photos. This works for board games, video game nights, and even “who won” casual matches. The structured layout keeps the page from turning into a sticker collage.
Start with white cardstock and draw a thick black rectangle frame with a ruler. Create two columns labeled with his and your “team” names, then leave space for scores. Add a photo at the bottom, then tape a small strip of neon green paper across the photo’s top like a header. Write the date and a short line under the photo, like “Best comeback.” Finish by adding tiny circles for score marks and color them in with a green marker.
Editor's noteUse a gel pen for the score lines so they look smooth and don’t smear.
Skip thisDon’t cram the text — keep the score lines short so the page stays readable.
9. Sunset Gradient Paper + One Photo
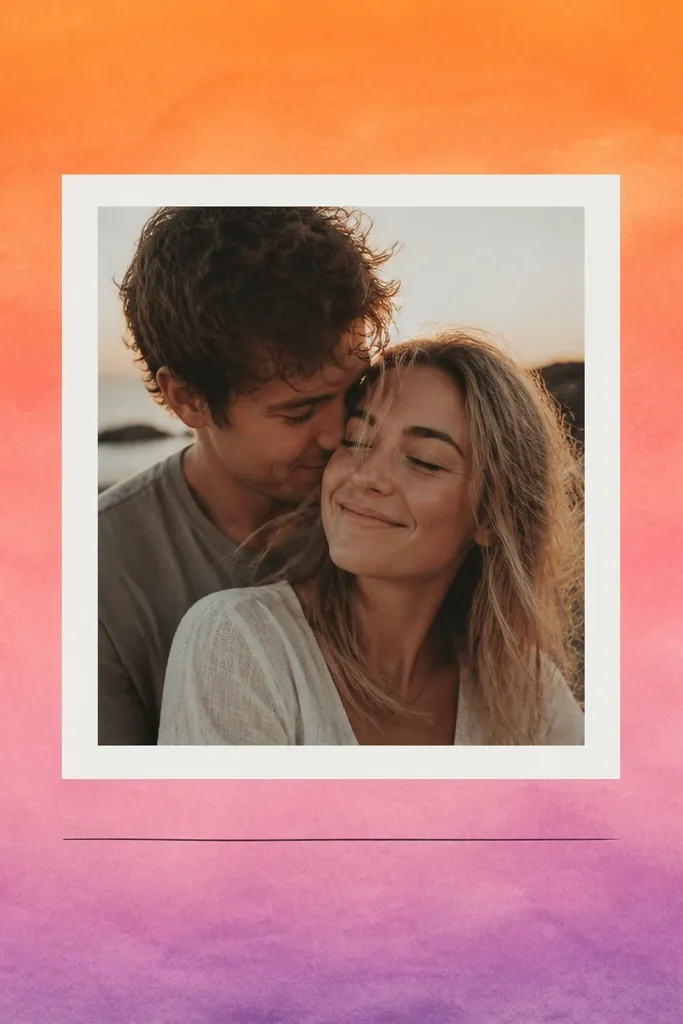
A simple gradient background makes a scrapbook page feel intentional even when you only use one photo. I do this by blending two or three colors with makeup sponges, and it gives that smooth “sky” look. Orange-pink-purple works with most photo skin tones because it adds warmth without becoming neon. This is a great pick for vacations, date nights, and evening events. Keep the embellishments minimal so the gradient stays the star.
Cut a piece of cardstock as your base and lightly tape it to a scrap sheet. Dab orange, then pink, then purple paint or ink in broad strokes, blending with a makeup sponge in circular motions. Let it dry fully. Place a white mat around your photo and center it on the gradient paper. Add one journaling line under the photo with a fine black pen, then draw a thin border around the whole page in black.
Editor's noteSpritz the background lightly with water before blending if you want softer edges.
Skip thisDon’t use too many colors — five shades turns into mud and looks cheap.
10. Braided Paper Strip Banner
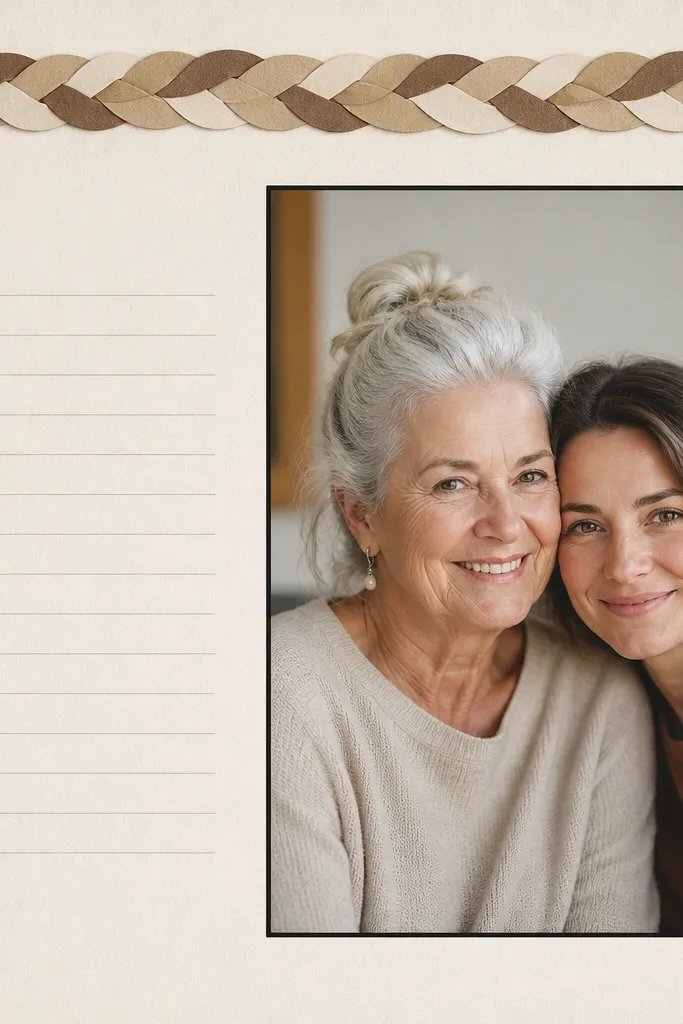
Braiding paper makes a page feel handmade in a way stickers can’t. I use three thin strips, then braid them loosely so you still see texture. Neutral browns and creams match almost any photo color and look good on kraft and white backgrounds. This layout works for boyfriends who like outdoorsy stuff, camping, or anything that feels “crafty.” The banner also gives you a place to add a short title like “Our weekends.”
Cut three paper strips about 1/2 inch wide and the same length, using tan, cream, and brown. Tape one end down and braid the strips together, then tape the other end. Glue the braided banner across the top of your page with a thin line of glue at the center. Add a black rectangle mat around your photo, centered below the banner. Write journaling on the left using a ruler for straight lines, and leave one blank line between sentences.
Use a glue stick for the banner — it dries flatter than liquid glue.
Skip thick paper strips — they won’t braid cleanly and will look chunky.
11. Black Card + Gold Foil Label
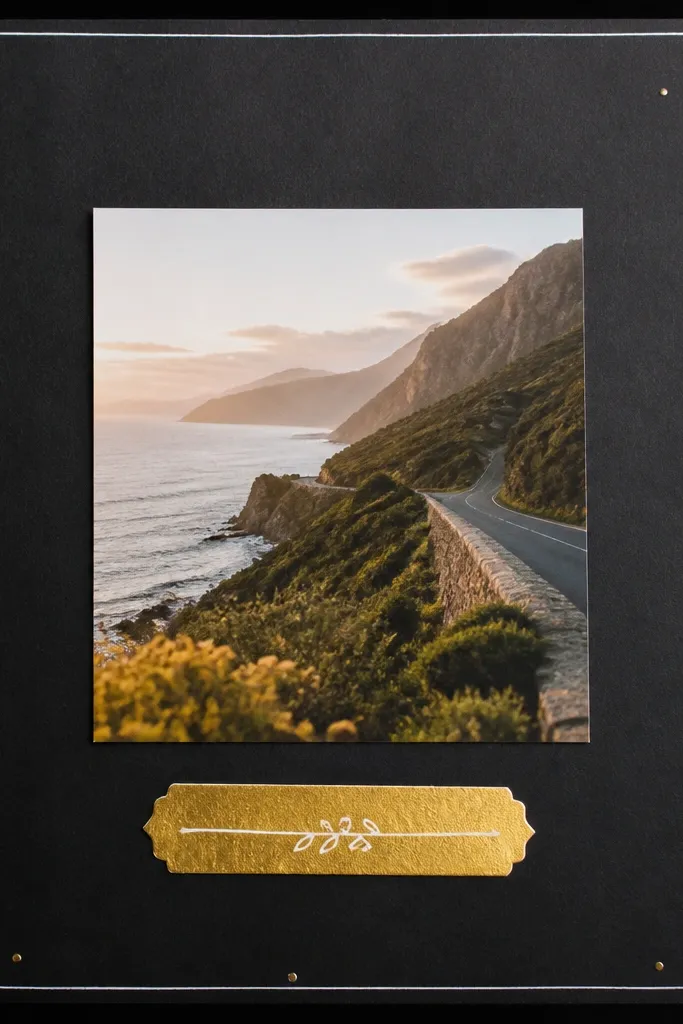
This is the “even with $10 supplies, it looks expensive” page. Black cardstock makes photos look dramatic, and gold foil labels give you that store-bought contrast. I keep the gold to one label and a few dots so it doesn’t turn tacky. This works for boyfriends who wear watches, like clean tech styles, or just prefer darker aesthetics. The white label text is high contrast and reads fast.
Cut a black cardstock base and add a thin white border by drawing a 1/8-inch inset rectangle with a pencil and then tracing in black pen. Center your photo inside a cream mat. Place a gold foil label sticker under the photo or make one from gold cardstock. Write directly on the foil with a white paint pen or white gel pen. Add 6-8 gold dots around the corners using a gold marker, keeping the dot spacing even.
If your foil label is too shiny for handwriting, lightly rub it with a dry pencil to help the ink grab.
Don’t add multiple gold elements — one label is enough.
12. Polka Dot Corner Dots + Photo Cluster
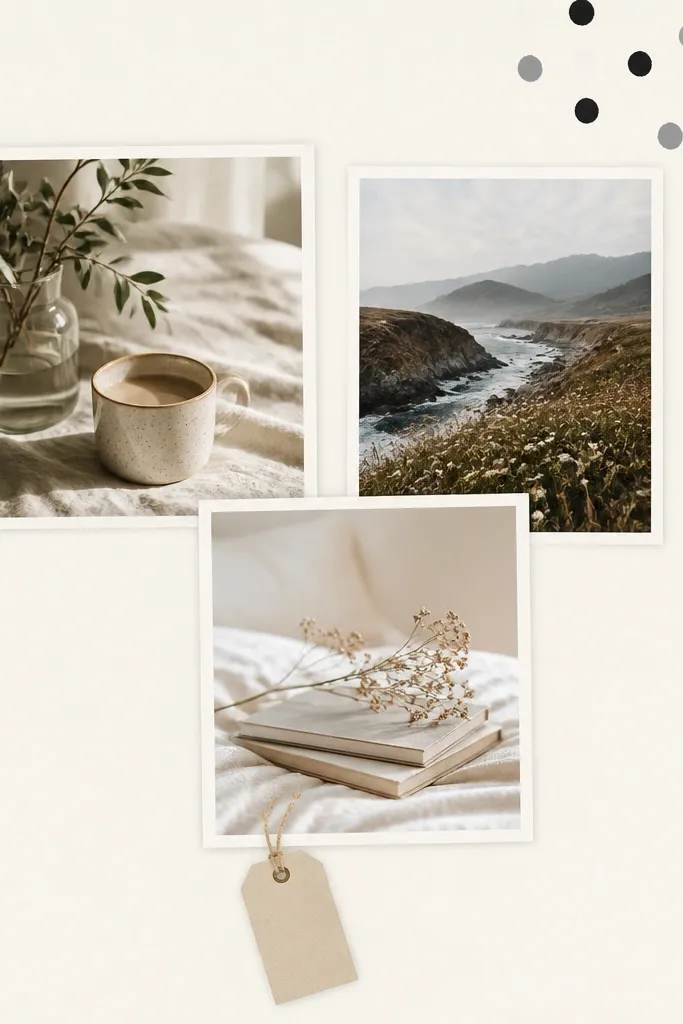
This layout is playful but still tidy, because the polka dots sit in one corner only. I use two dot sizes and keep them muted so they don’t overpower the photos. The triangular photo cluster looks good for boyfriends because it feels dynamic, like a memory montage. It also works when you have three photos from the same day — you don’t need to pick just one. The hanging journaling tag is a small interactive detail without adding bulk.
Start with cream cardstock. Arrange three photos into a triangle cluster in the center and tape the back corners lightly first. Once you like the spacing, glue them down with a glue stick. Draw polka dots in the top right corner using a marker and a dot stencil, or a bottle cap for consistent circles. Make a journaling tag from gray cardstock, punch a hole, and attach it with a short piece of twine to the bottom photo. Write a short line on the tag and trim the twine ends.
Use a ruler to align the photo edges before you glue so the cluster looks intentional.
Don’t scatter dots across the whole page — that’s where it starts looking like random decoration.
13. Mini Timeline Strip with Month Pockets
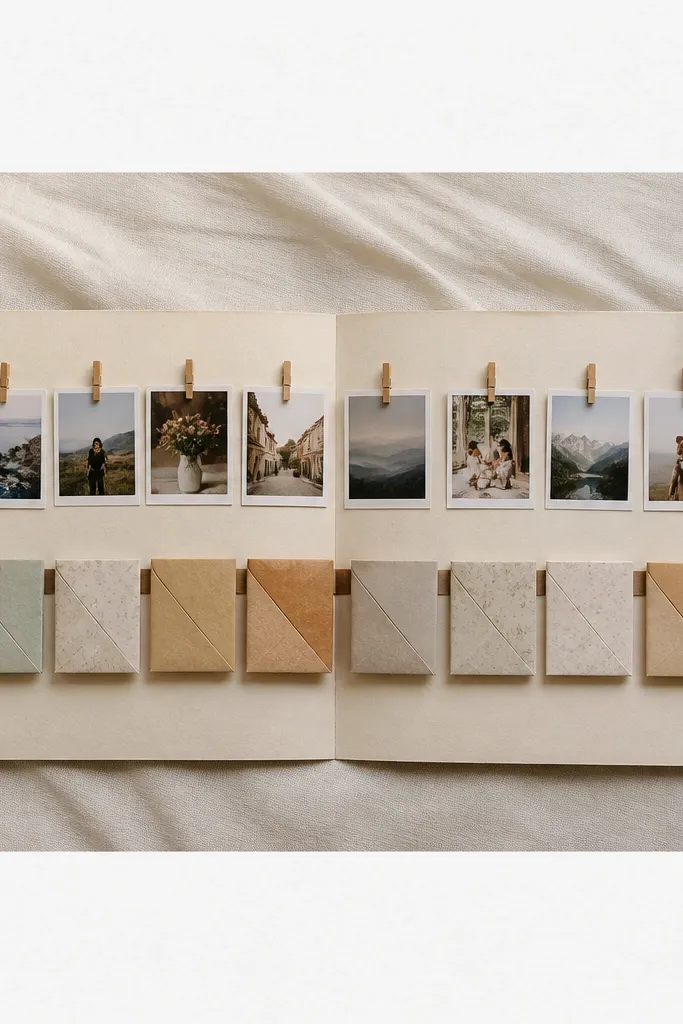
A timeline strip is one of the best ways to use small photos without crowding. The pocket-per-month idea gives you a place for notes, a tiny ticket, or a printed message. It makes the scrapbook feel organized, even if your year was messy. This is great for anniversaries, long-distance relationships, and “our year together” gifts. The clothespins give it a casual, lived-in feel, and you can move the photos slightly if you change your mind.
Cut a long strip of cardstock for the timeline, about 10 inches wide, and glue it across the center of the page. For each month, fold a small 2x2 inch square into a pocket and glue only the sides and bottom to the timeline strip. Add small month labels under each pocket using a black pen. Attach mini clothespins along the top edge of the timeline strip and clip in tiny photo prints trimmed to fit. Tuck one note into each pocket, then close the scrapbook gently to test bulk.
Editor's noteUse 1-2 months per page if your scrapbook is thick — it keeps the page from warping.
Skip thisDon’t use heavy chipboard pockets — they add bulk and make closing harder.
14. Button and String Keepsake Page
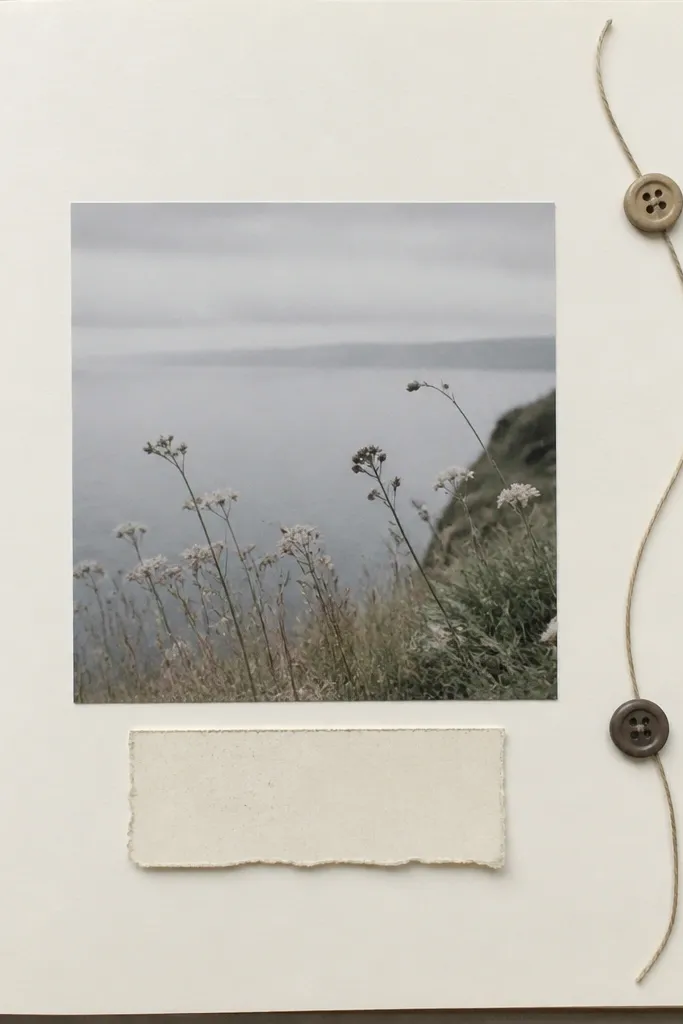
Buttons and string give you a tactile marker you can’t get from paper alone. I’ve used thrift-store coat buttons and tied them with thin twine, then glued them down so they don’t snag. This layout looks good with warm photo tones because the buttons add a soft, handmade texture. It works well for “little things” pages — first concert, first rainy walk, first time he cooked. The string line helps your eye move across the page.
Pick your base cardstock and place a photo in the center with a mat if you want contrast. Measure a curved path from the top right to the bottom right and lightly mark it with pencil. Glue string along the line with small dots of glue so it stays taut. Sew or glue two buttons onto the string at points, then write short labels near each button like “April 3” or “Game night.” Finish by adding a journaling card under the photo with a short sentence.
If you don’t have twine, use thin embroidery thread — it lays flatter.
Skip large, shiny buttons — they reflect light and can look cheap in photos.
15. Stickerless Photo Corners with Tape Tabs
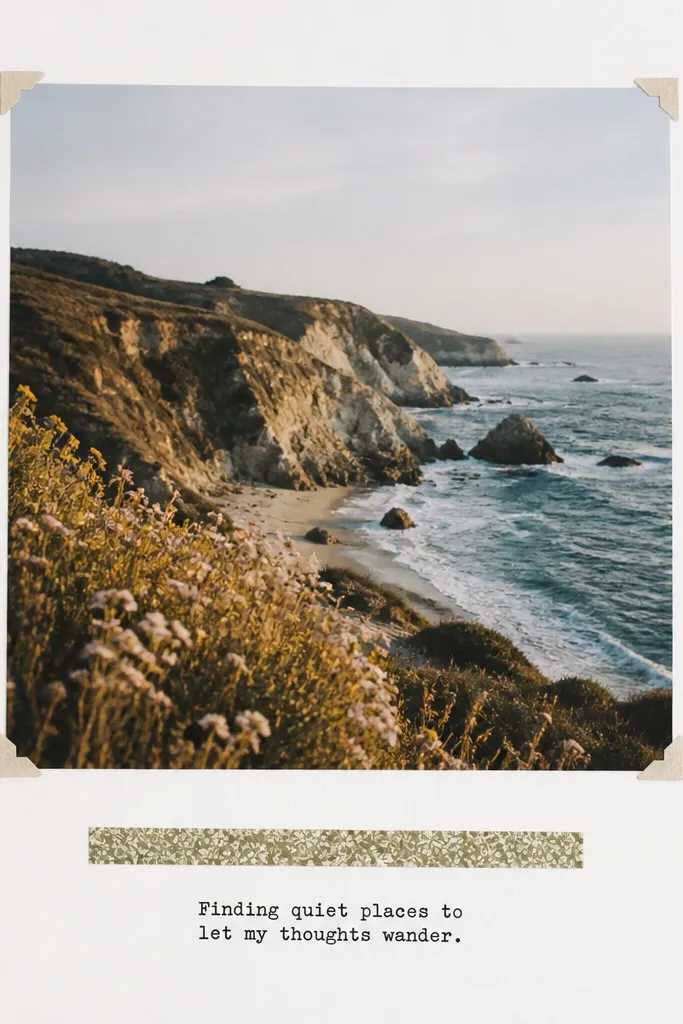
This is my favorite “budget but clean” approach. Using corner tape tabs keeps your photos flat and stops the page from looking overdecorated. The patterned strip under the photo adds color without covering the whole layout. It looks especially good for boyfriends because it keeps attention on faces and moments. It also works if your photos are uneven sizes — corners let you align them neatly.
Center your photo on white cardstock and lightly tape it in place. Cut small strips of double-sided tape and place them only on the corners of the photo, not the middle. Press the photo down firmly. Add a 1/2-inch strip of patterned paper under the photo like a baseline. Write a short caption on a small cream strip, then tape it under the patterned strip with straight edges.
Editor's noteUse a bone folder to press tape tabs so the corners stay crisp when the book closes.
Skip thisDon’t glue the entire back of the photo — the page can warp and look uneven.
16. Hand-Lettered "Rules We Follow" Page
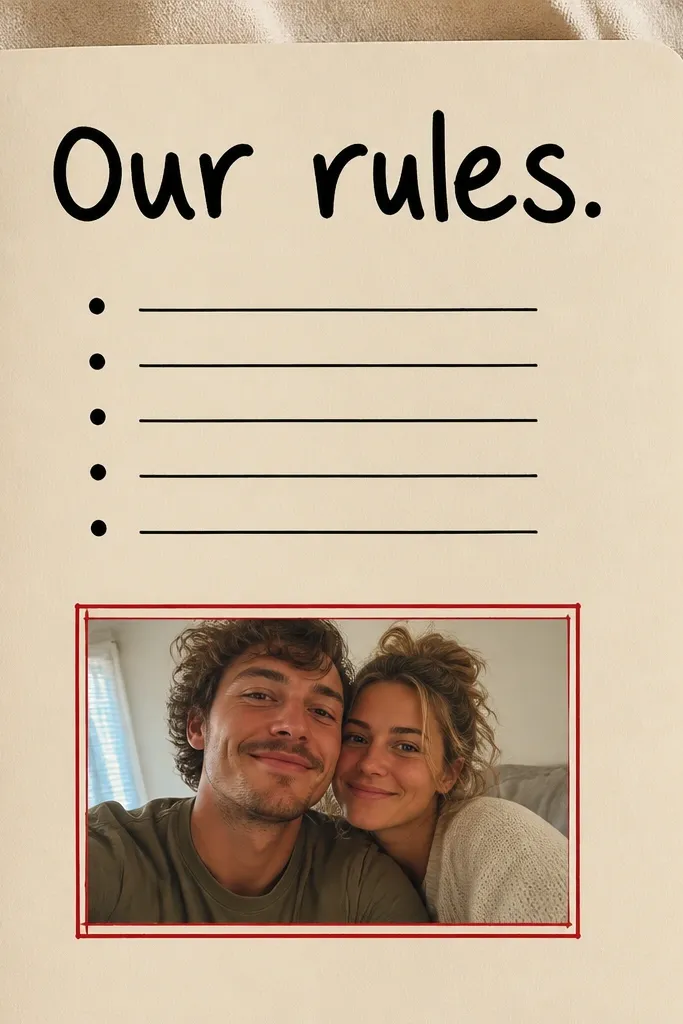
This kind of page reads like a love letter without feeling mushy. The reason it works is the format: a simple title, numbered lines, and one photo keeps it structured. I use black marker for the title and a fine pen for the lines so it looks like a designed card. This is ideal for boyfriends because it feels playful and personal, like inside rules you two created. The thin red lines around the photo add a hint of color without clutter.
Start with cream cardstock. Draw a faint grid with a light pencil so your bullet lines line up. Write “Our rules” large at the top, then add five short lines like “Always bring snacks,” “Text me when you get home,” or “Pick the playlist.” Place one photo below and frame it with thin red pencil lines traced over in red marker. Add a small date line at the bottom and sign it like a card.
Editor's notePractice the exact letter size on scrap paper so the main title doesn’t look wobbly.
Skip thisDon’t cram long sentences — two lines per rule looks clean.
17. Stamped Coaster Texture Background
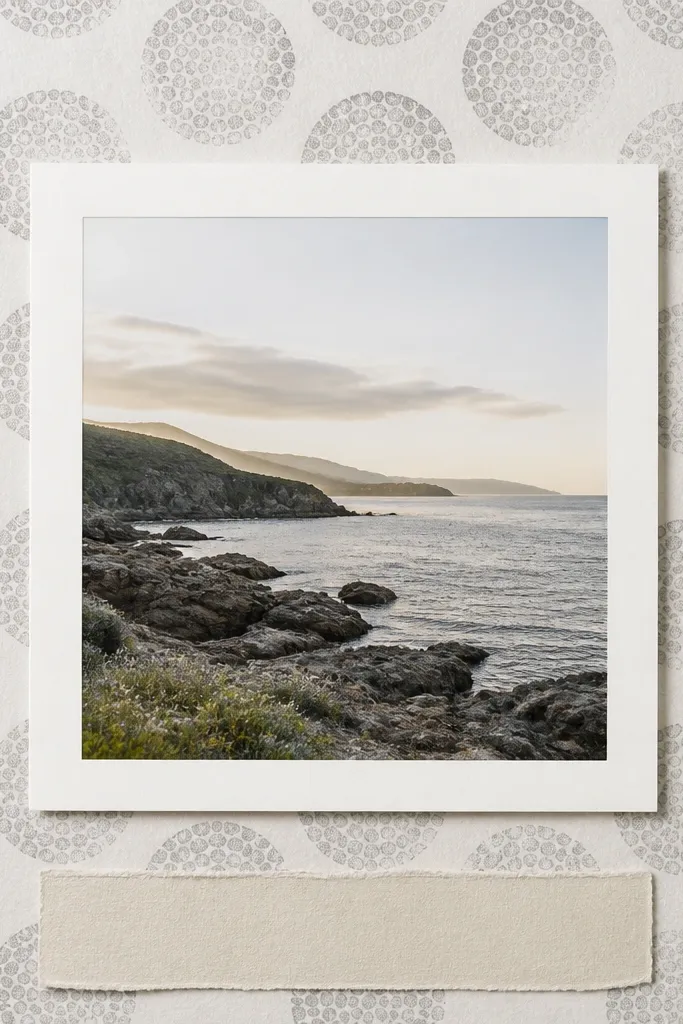
Texture makes a scrapbook feel expensive even when the supplies are cheap. I stamp with a textured coaster or a craft foam stamp to create a repeating pattern behind the photo. Gray-on-cream is gentle and works with almost every photo color, including dark clothing and warm skin tones. This layout suits everyday date nights because it looks calm and consistent. The key is keeping the pattern faint so it supports the photo instead of fighting it.
Use light cream cardstock as your base. Dip a textured coaster lightly into gray ink or acrylic paint and stamp a repeating pattern around the page, leaving a clear area for the photo. Let it dry fully. Center your photo inside a white mat, then glue it down. Add a small journaling strip at the bottom using a ruler for straight lines. Finish with one tiny icon doodle in the corner — like a heart or a star — in the same gray ink.
Editor's noteStamp on scrap first to find the right ink thickness so it doesn’t look blotchy.
Skip thisDon’t stamp too dark — heavy texture makes handwriting and faces harder to read.
18. Layered "Date Night" Menu Page
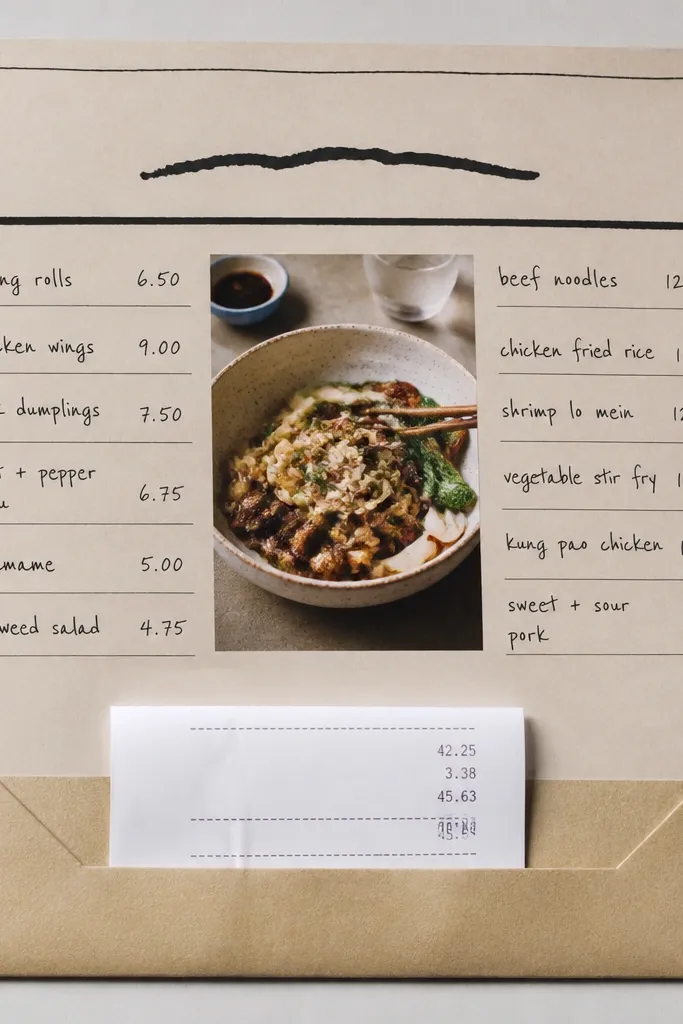
This page is fun because it turns your meal into a memory he can flip back to. The menu format gives you a natural way to include details like what you ordered and who picked the dessert. I use two-column spacing so it looks organized, not chaotic. It works for boyfriends who love food, cooking, or trying new places. The photo in the center anchors the page so it doesn’t feel like a random receipt scrapbook.
Cut a base from cream cardstock. Draw a header at the top and create two columns with a light pencil guide. Write items like “Burgers,” “Fries,” “Dessert” and add the date under the header. Place a photo in the center and frame it with a thin black rectangle. Make a small pocket at the bottom from a rectangle of cardstock folded into a sleeve, then tuck a restaurant receipt inside. Write one line on the pocket flap with “Saved for you.”
Editor's noteUse a ruler and keep the prices aligned — it makes the whole page look intentional.
Skip thisSkip too many menu sections — three to five lines is enough.
19. Corner Photo Frames with Layered Labels
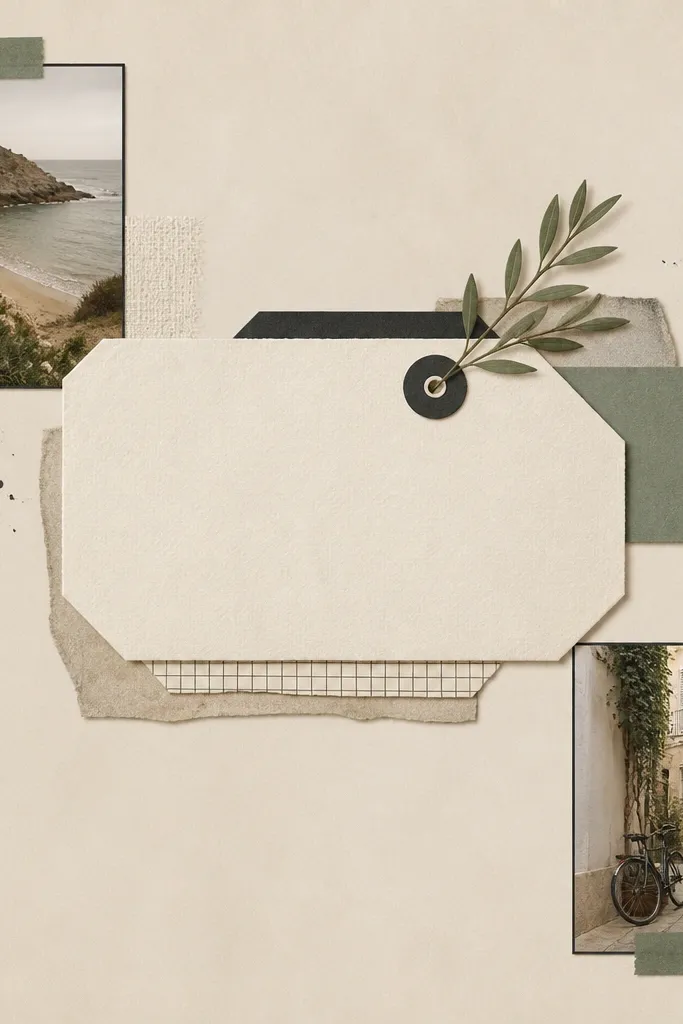
Using two small photos instead of one big one makes the page feel balanced and detailed. Corner frames work because they guide the eye diagonally across the page, so it feels like a design layout. I keep labels layered with paper cutouts instead of bulky stickers, so it stays flat. Muted green accents look good with both warm and cool photo tones. This layout is ideal when you have two moments from the same day — like “before the movie” and “after dinner.”
Start with beige cardstock. Cut two thin black photo frames sized for your small photos and glue each frame into opposite corners. Place the photos inside the frames and keep 1/2 inch margins. Create a journaling block in the center using a muted green label strip at the top and a cream label strip underneath. Layer the labels by cutting them slightly different sizes and gluing the back label first. Write your message in the center block in neat lines, then add a small green underline under one sentence.
Make your label edges straight with a paper cutter — labels are where cheap-looking pages usually show up.
Don’t overlap frames too much — corners should stay separated for a clean look.
20. Photo + "Before/After" Tape Measure Strip
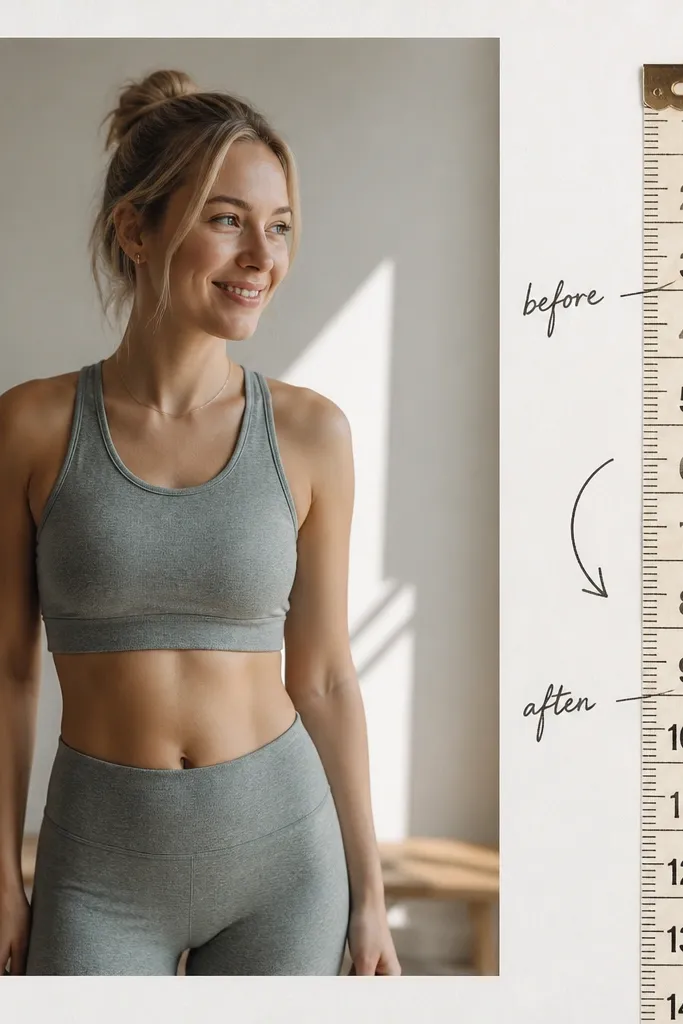
This is a sneaky way to add personality to a scrapbook page without spending on themed stickers. Tape measure graphics look like a craft poster, and you can write anything on them: “before we moved in” and “after.” I use a pre-printed tape measure image from craft stores or I draw a simple ruler/tape using gray and black pen. It works best for boyfriends because it turns memories into a progress story, like skills learned, goals reached, or routines built. The arrow doodle ties the page together so it doesn’t look like separate elements.
Start with a white or light gray cardstock base. Place a photo on the left with a cream mat. On the right, draw a vertical tape measure strip about 3.5 inches tall and 1 inch wide using a ruler, then add tick marks. Write “BEFORE” near the top and “AFTER” near the bottom, each in small caps. Add one short note under each label using a fine black pen. Finish by drawing an arrow from the before note to the after note and lightly color the arrow tip with a gray marker.
Use a gel pen for tick marks — it looks smoother than regular marker.
Skip messy tick marks — uneven spacing makes it look like a school worksheet.



