

1. Ticket-Stub Memory Pocket Page
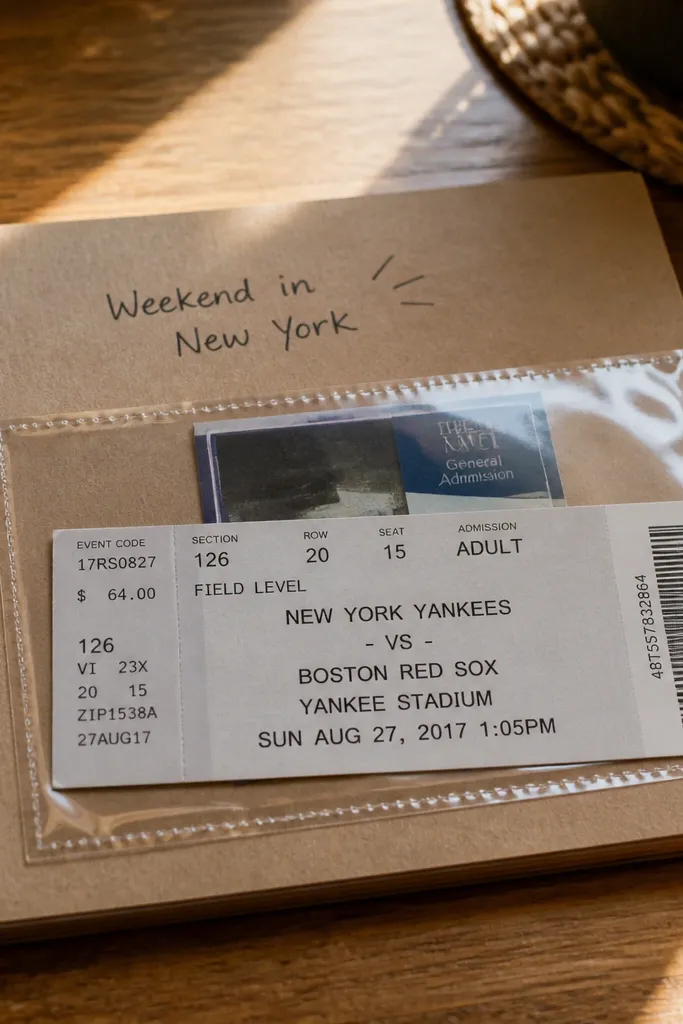
This page works because it treats the ticket like proof instead of decoration. Use kraft cardstock so the printed photo looks warmer, then add a clear pocket sleeve so the stubs stay flat and readable. I’ve done this with stadium tickets, museum passes, and even a parking receipt, and the pocket always gets the most reactions because people can touch the “real” item. It flatters almost any couple because the neutral base doesn’t fight your photo colors, especially if your pictures have mixed tones like gray skies and warm faces.
Start by cutting a 4x6 photo and layering it on a slightly larger mat of kraft cardstock (about 1/4 inch border). Add a clear pocket sleeve to the right side using strong craft glue or double-sided tape along the edges only. Slide two ticket stubs in and tuck a short journaling card behind them with the date and where you went. Finish by framing the photo with a single strip of washi tape on a diagonal and a thin pen line that matches your accent color.
Write the “moment” in one sentence on the journaling card, like what you were eating or the exact thing you laughed at.
Don’t glue the pocket on the full surface — leave a clean edge so it doesn’t ripple and look bulky.
2. Map Fold With Route Lines
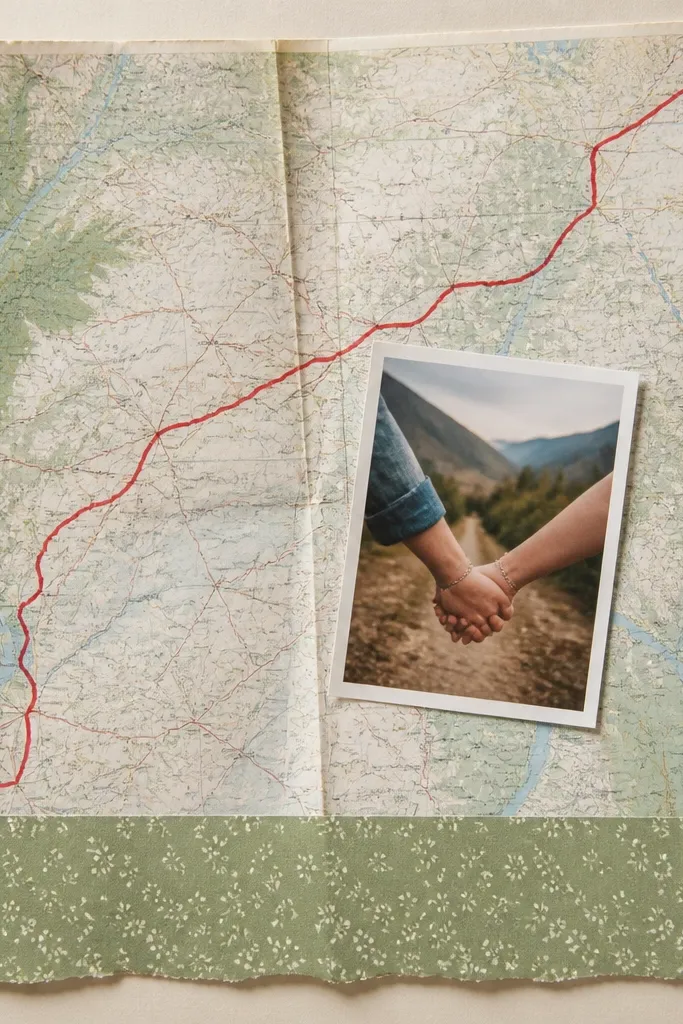
This idea looks handmade because it uses a real, visual object. The folded map gives instant texture, and the red route line makes the page feel like a story you can follow. I’ve used this for first-date drives, road trips, and even “we got lost and found the best ice cream” nights, and it never feels generic. It’s best when your photos have outdoor colors or street scenes, because the map turns the background into a coherent scene instead of a blank page. If your boyfriend likes travel or cars, this one lands hard.
Start by printing a map section from your phone (or using a vintage atlas page) and folding it into thirds like a little booklet. Glue only the outer edges of the folded map to the page so it still opens. Use a red fine-tip marker to draw the route — keep it simple and continuous. Place one small photo (3x4 works great) on top of the route where the “best part” happened, then add a short caption strip along the bottom on green or brown paper.
Add a tiny “X” sticker at the exact place you took the photo, using a white label so it stays readable.
Skip neon marker colors — bright orange or pink makes it look like a school project.
3. Fabric Swatch Love Letter Page
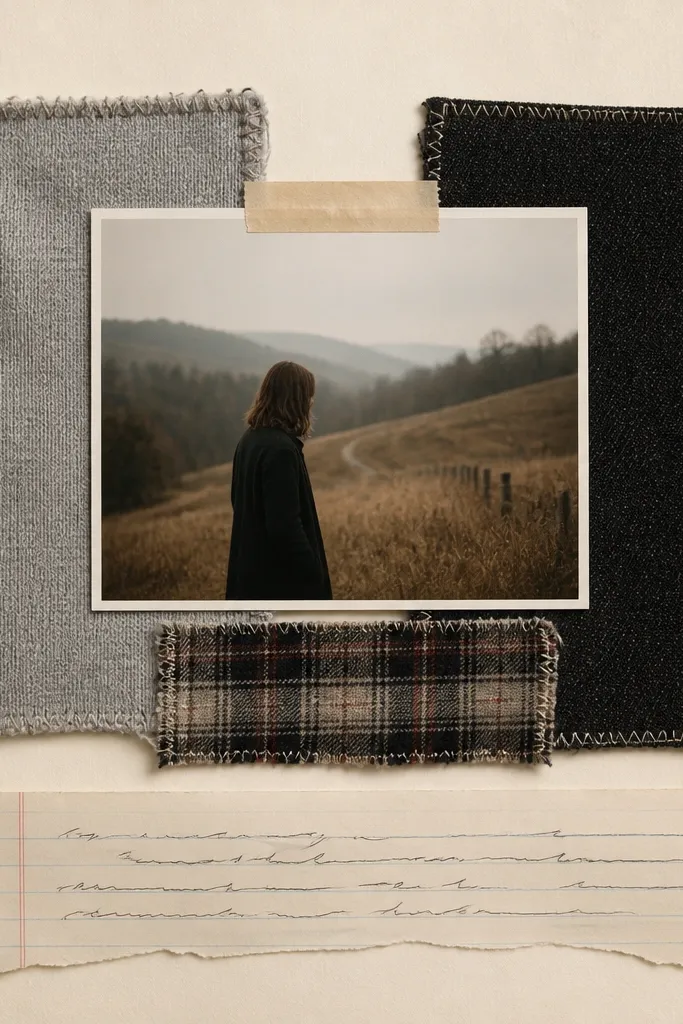
Start by choosing two to three scraps that match your photo palette (gray, black, and one accent like plaid red). Cut each swatch into rectangles about 2x3 inches, then sew a simple straight stitch around the edges with matching thread. Place the photo in the center, then arrange swatches in a vertical column on one side or stacked in a corner. Finish by adding a ruled notebook strip at the bottom and writing 3 lines with a dark pen that matches your thread color.
This page is for couples who like texture. Fabric swatches give the scrapbook a “touch” quality that paper-only layouts don’t have, and stitching makes it look intentional, not random. I used this once with my boyfriend’s old hoodie fabric and a scarf scrap, and the way the fibers catch light made the page feel cozy. It works especially well if your boyfriend’s photos include warm indoor lighting or winter outfits. The cream background keeps it soft and flattering for both light and darker skin tones because the fabric anchors the contrast.
Skip thisDon’t use slippery satin scraps — they’ll lift at the edges unless you back them with a thin interfacing.
Editor's noteIf you don’t sew, use fabric glue and add a single line of faux stitching with a black gel pen.
4. Polaroid-Style Photo Strip With Date Bars
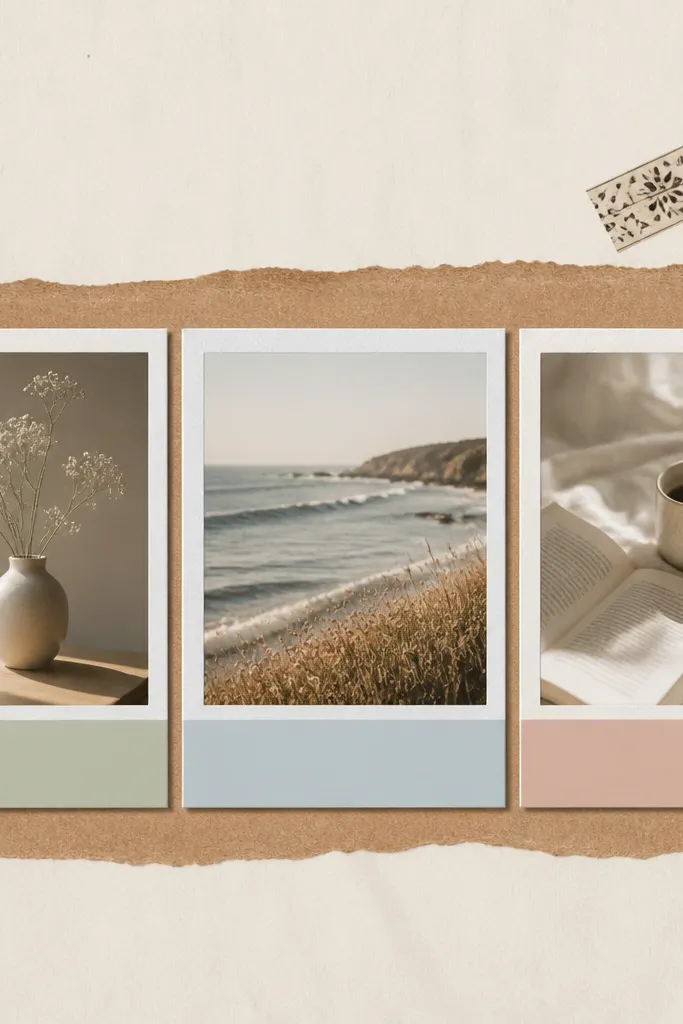
Start by printing three photos in the same size (4x4 or 3x4) and trimming them to fit polaroid frames you cut from white cardstock. Leave about 1/2 inch space between frames so the page breathes. Add a kraft paper strip behind the frames and tape it down with two thin washi strips at the ends. Write the date on each polaroid bottom using colored pens, then add one small star sticker near the photo that feels most “you two.”
This layout makes your photos feel cohesive because they share the same frame style. The thick white border looks like real instant film, and date bars keep the story moving without long paragraphs. I’ve used this for anniversary months and it always reads clean when you have multiple small moments. It flatters couples with varied outfits because the white frame neutralizes color differences. If your boyfriend likes photography or “aesthetic” things, this is a safe win.
Skip thisDon’t mix frame thicknesses — it looks messy fast.
Editor's noteUse the same pen for all date bars so the whole page feels consistent.
5. "Firsts" Page With Numbered Labels
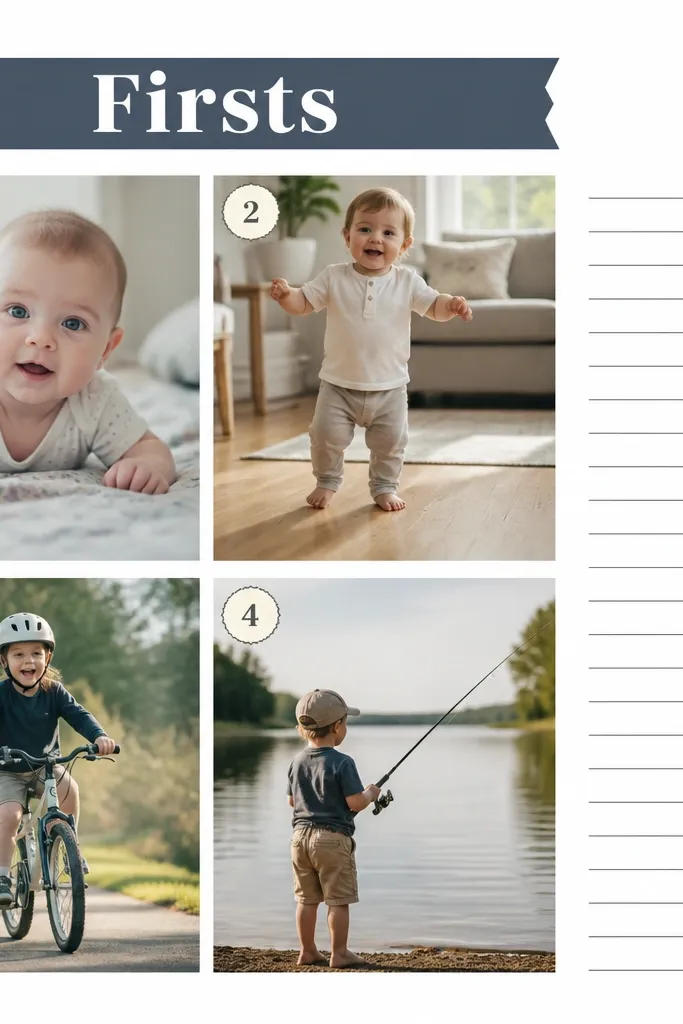
Start by choosing four photos that represent different “first” moments and cropping them to similar framing. Arrange them in a 2x2 grid with equal spacing (about 1/4 to 1/2 inch). Add numbered stickers or label cutouts above each photo, then make a top strip with a heading cut from colored cardstock. Put your journaling in a narrow right-side column with 2-3 lines per photo so the page stays airy.
“Firsts” pages work because they give your scrapbook a clear structure. Numbered labels make the story easy to read even if you’re not the type to write much. I’ve done versions for first kiss, first road trip, first time meeting friends, and first time he said something sweet, and the grid layout makes it feel organized and intentional. This also flatters busy photo sets because the layout limits visual chaos. If your boyfriend likes milestones or you’re celebrating a big age, this hits perfectly.
Skip thisSkip generic labels like “Our first date” with no detail — it reads flat.
Editor's noteWrite one sensory detail per first, like “the cold air smelled like pine” or “your laugh filled the car.”
6. Receipt Roll-Up With "Spending Memory" List
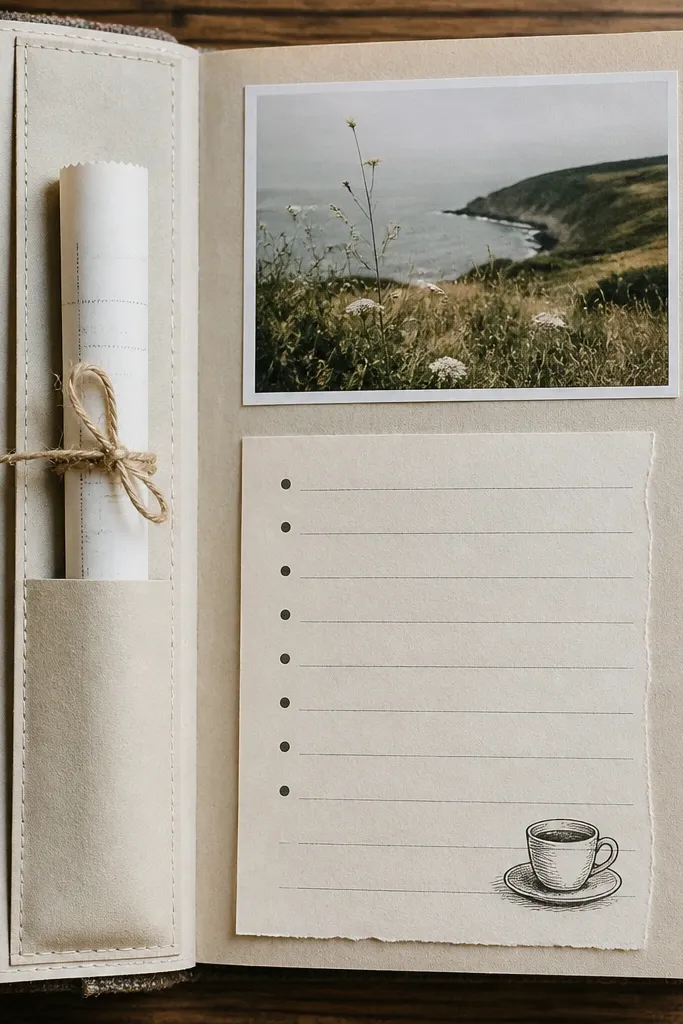
This one is for boyfriends who love food, trips, or practical details. Receipts are already formatted, so they help you create a page that looks designed without extra effort. I’ve used this for coffee runs, takeout nights, and one ridiculously expensive “we deserve it” day, and it always feels honest. The twine tie adds a craft touch, and the list below gives a quick emotional payoff. It flatters warm-toned photos because receipts often have tan and gray printed ink that matches skin warmth and street colors.
Start by printing or collecting a receipt you kept, then trim it to fit a tall pocket (leave about 1 inch spare at the top). Roll it tightly and tie with 6-8 inches of twine, then glue the pocket along the left edge. Place a 5x7 photo at the top center with a thin mat of colored cardstock (navy works great). Write a short list below the photo with 3 items: what you bought, what you did right after, and what you joked about.
Use a black fineliner for the list so the handwriting looks consistent and crisp in photos.
Don’t use a receipt that’s too faded — it turns into gray mush.
7. Countdown Chain Paper Strip Birthday Page
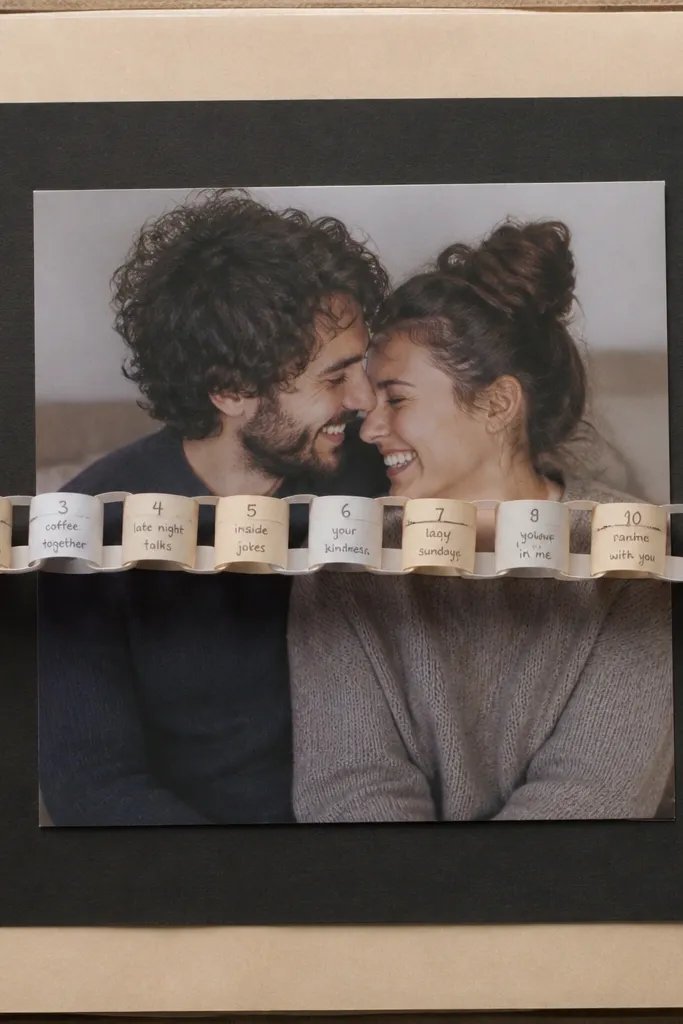
A countdown chain is interactive and it reads like a gift inside the scrapbook. I’ve done this for birthdays and it feels extra special because you’re literally counting down to the day. Each link gives you a tiny writing slot, so you can include moments without cramming. It flatters almost any photo because the chain sits over a dark or patterned layer that hides uneven photo backgrounds. Your boyfriend will enjoy flipping and reading the links one by one.
Start by cutting 20-24 paper strips about 1 inch wide and 5 inches tall. Fold them into loop links and glue the ends to build a chain across the page width. Place a dark cardstock rectangle behind where the chain will sit (matte black or deep green looks great), then center your main photo behind it. Write short notes on each link with a fine marker, like “you wore that hoodie” or “we ate spicy noodles.” Glue the chain lightly at the top and bottom only so it can move.
Make the last link say something specific, like the exact song he played on the way to your favorite spot.
Skip glossy paper — links stick and tear when you flip the page.
8. Conversation Screenshot Style Page
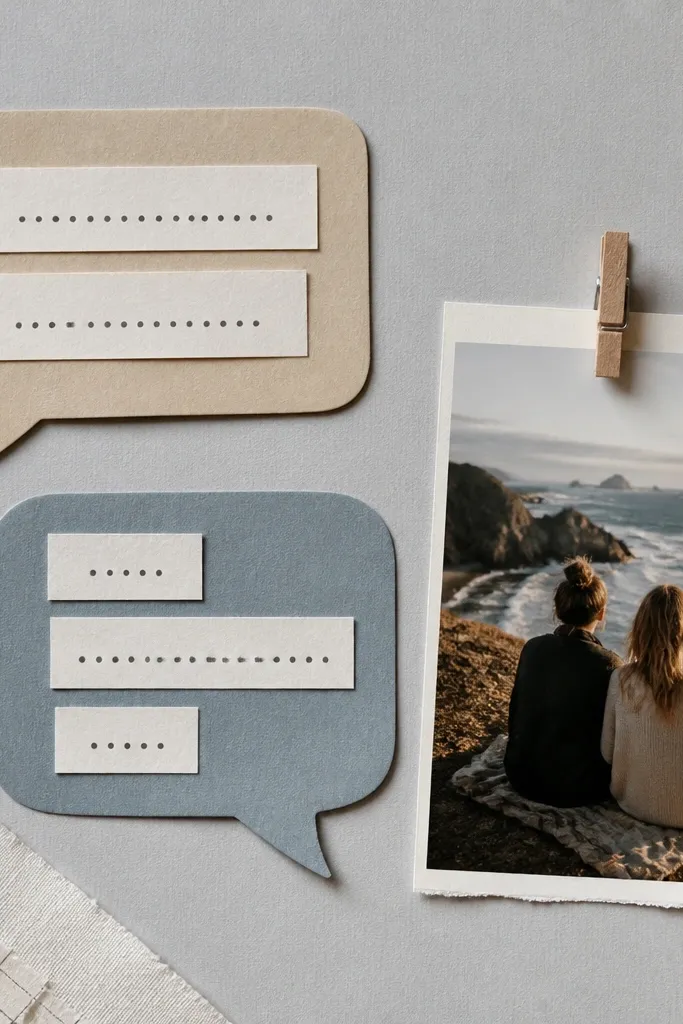
Start by picking one chat thread and copying key lines onto small strips of paper in a consistent font style (handwritten looks charming too). Cut speech bubbles from white cardstock and layer them on a light gray sheet. Add a small photo to the side and pin it with a mini clothespin so it looks like a note board. Write the date in the corner on a small label, then add one short line below the chat bubbles that explains why those messages stuck with you.
This works because it turns a memory into a format your boyfriend already recognizes. I’ve used printed chat screenshots, but I also like recreating the chat with cut paper speech bubbles so it looks handmade. The speech bubble format also limits writing length, which keeps the page from becoming a diary page. It’s best when you have one or two messages that actually matter, like the first time he said he missed you. The light gray background makes the text readable and keeps skin tones from getting washed out.
Skip thisDon’t paste full screenshots — they look messy and can get unreadable.
Editor's noteUse two colors only for the speech bubbles so the page looks clean in photos.
9. Outdoor Gear Tag Page
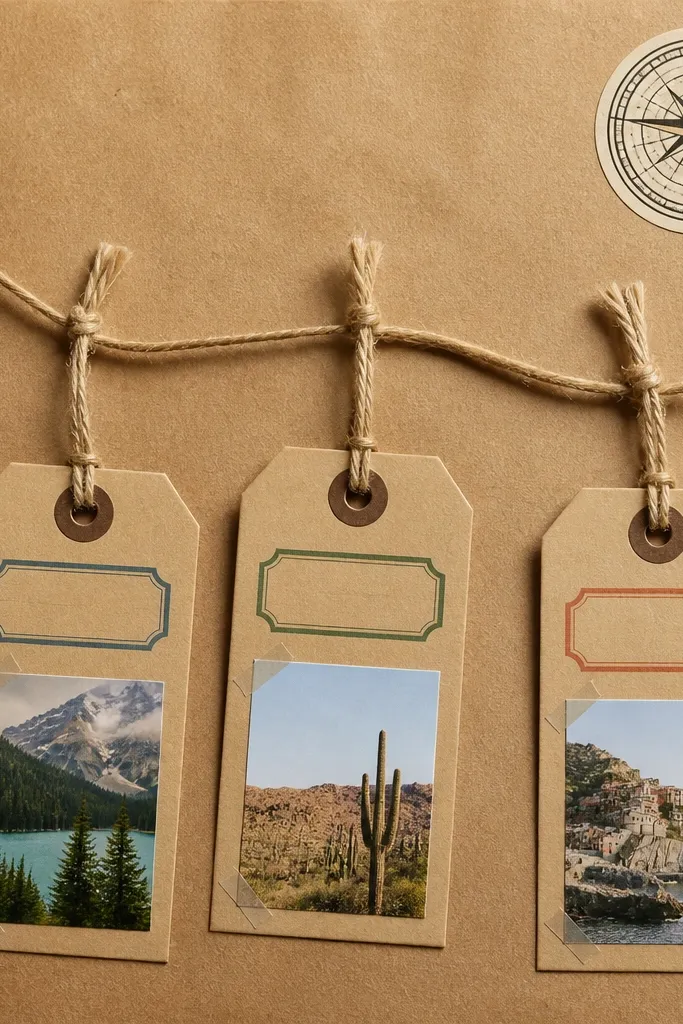
Start by cutting three tag shapes from kraft cardstock, about 2.5x4.5 inches each. Punch a hole near the top and thread twine so the tags hang in a slight arc. Add a small photo to each tag using a clear tape corner or a mini pocket, then print or handwrite a short label like “trail snack” or “the view stop.” Glue the twine anchor at the top of the page and add a small compass sticker near one edge. Finish with one journaling line under the tags, like the weather and how he felt in that moment.
If your boyfriend likes hiking, camping, fishing, or just walks with a playlist, this page fits him. Luggage-style tags look like real gear and they give you multiple mini captions without writing a paragraph. I’ve used this for day hikes and it makes the photos feel like a checklist of places. It’s flattering because the kraft base and muted tag colors match outdoor photos from bright daylight and cloudy days alike. The twine hanging also adds dimension, which you can see even from across the room.
Skip thisSkip shiny metallic stickers — they reflect and wash out your photos.
Editor's noteUse matte black ink on the tags so the words don’t smear on camera.
10. Map-Chipboard Layering With Labels
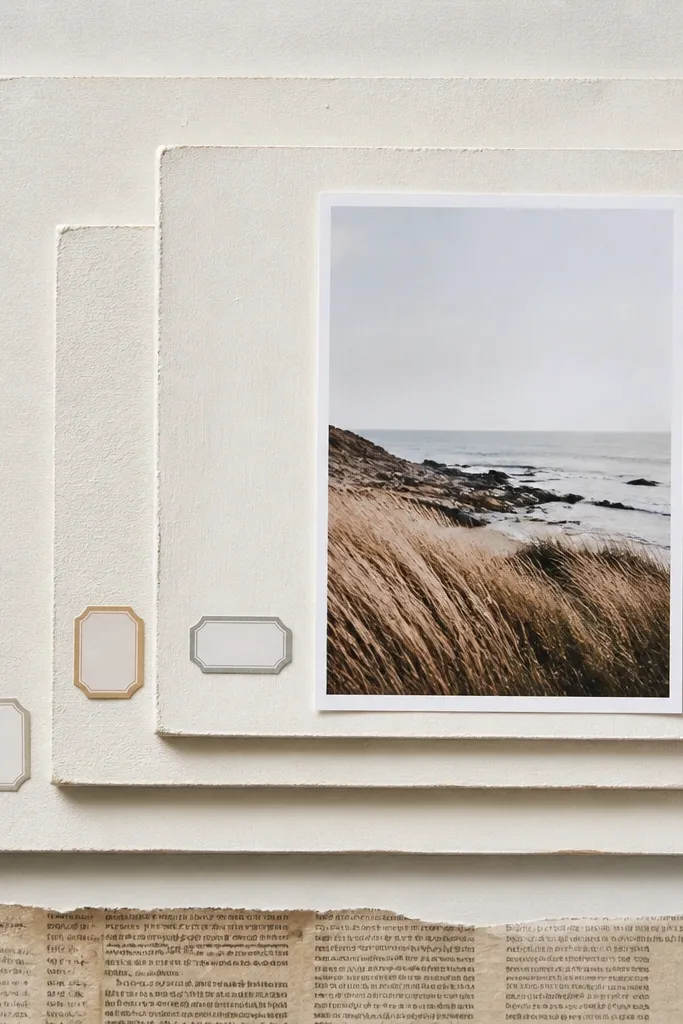
Start by cutting chipboard rectangles slightly larger than your photo mat, then paint them off-white with matte acrylic. Layer them behind the photo using foam tape for the top layer so it pops. Add label stickers on each chipboard layer with one-word captions like “date,” “laugh,” “late-night,” or “home.” Place a 4x6 photo centered on the top layer and glue it down flat. Add a newspaper print strip at the bottom edge and write the date in small handwriting.
This idea looks “designed” because it uses layers at different heights. Chipboard gives structure, so the page has real depth instead of flat paper. I’ve made this with old cereal box chipboard and it holds up well when you keep the pieces small and well-glued. It’s great for boyfriends who like organization or tech because the labels feel like a system. The off-white layers keep the page gentle, and the newspaper strip adds texture without stealing attention from the photo.
Skip thisDon’t stack chipboard on every edge — thickness makes page protectors buckle.
Editor's noteUse foam tape only on one layer per page so the page doesn’t get too thick for protectors.
11. Mini Photo Windows on a Grid
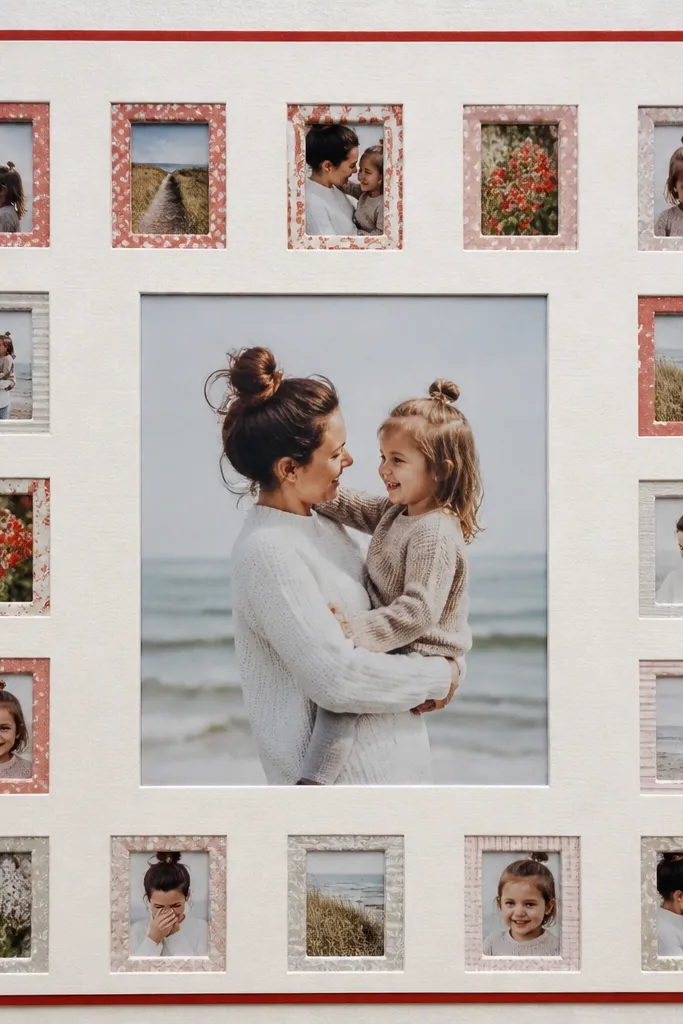
This layout makes your scrapbook feel like a gallery wall. The mini windows let you include lots of small moments without making the page cluttered. I used it when I had 10 photos from one weekend and couldn’t decide which ones mattered most — the grid solves that. It flatters any photo set because the windows create consistent borders that unify colors. If your boyfriend likes sports, concerts, or events with many snapshots, this grid format keeps the story readable.
Start by picking one hero photo for the center, then choose 6-8 smaller photos for the windows. Cut a grid layout from patterned paper: each window opening should be about 2x2.5 inches with a consistent border width. Glue mini photos behind the windows so they’re flush and don’t show uneven edges. Add a thin border frame around the entire page in one accent color, like red or navy. Finally, write one sentence under the hero photo that ties the whole weekend together.
Trim all mini photos with the same margin so the grid looks crisp.
Skip random window sizes — it looks like you measured in a hurry.
12. Old Hoodie Cut-Out Letters Page
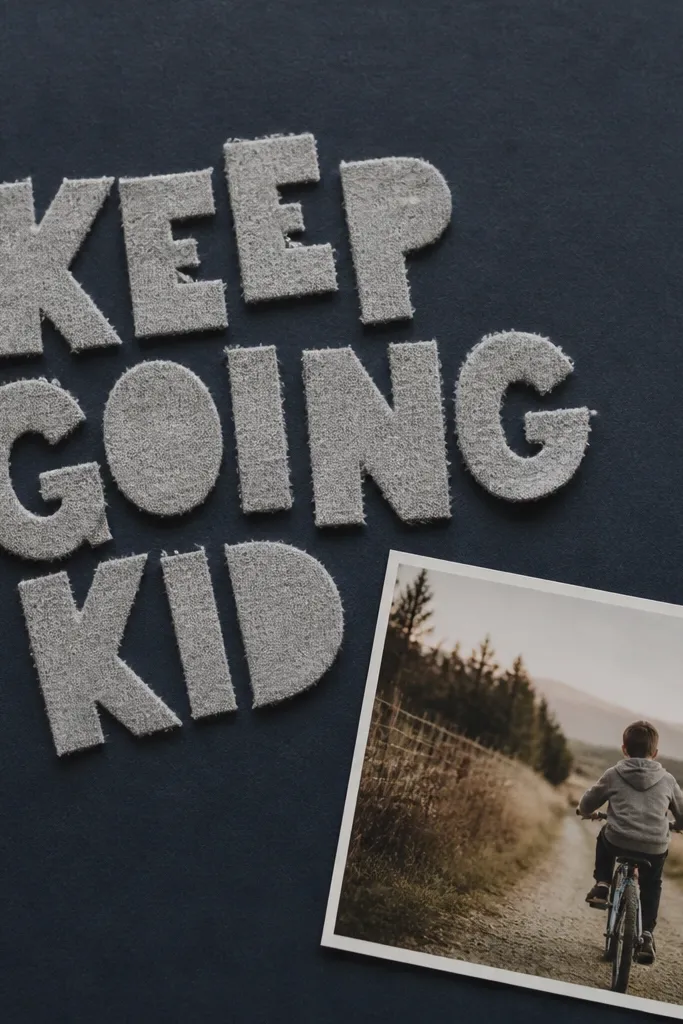
Start by ironing the hoodie fabric flat and tracing letters with a stencil (keep it short: 3-6 letters). Cut the letters carefully and glue them onto dark navy or black cardstock. Place a 4x6 photo in the corner with a small mat so it doesn’t touch the fabric letters. Add one journaling line under the photo with a light pen color like white gel pen for contrast. Finish with a small date sticker in a bottom corner.
Using real fabric letters makes this feel personal fast. I’ve cut letters from hoodie cuffs and it gives that soft, fuzzy texture that paper letters can’t match. The dark background makes the fabric pop, which looks good under most room lighting. This is especially flattering for photos with cool tones like winter coats, night streets, or camera flash. If your boyfriend’s wardrobe includes a hoodie you both associate with him, this page turns that into a memory.
Skip thisDon’t use letters that are too thin — they fray and lift.
Editor's noteUse a zigzag stitch look with a fabric marker around the letters if you want extra texture.
13. Star Map Coordinates Page
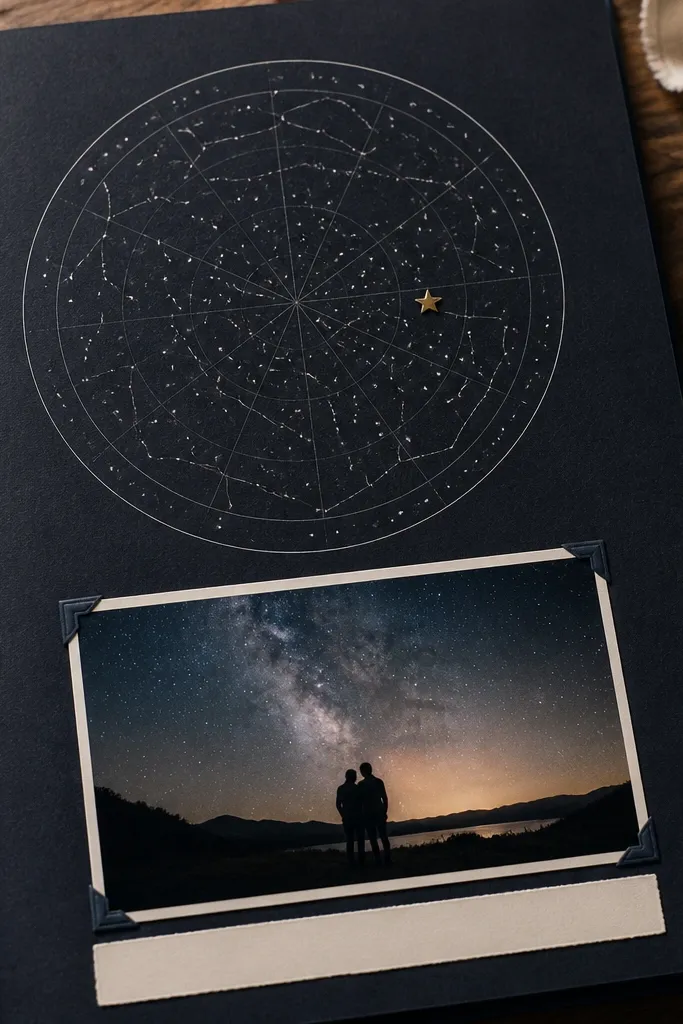
This idea feels romantic without being cheesy because it’s specific. A star map circle gives you a “where” and “when” vibe, and the coordinates marker makes it look like a real print. I’ve used it for the night of a first kiss and it landed because it’s a detail only you two understand. It flatters darker photos because the star map background already has contrast. Choose it when your boyfriend likes astronomy, gaming icons, or anything with maps and codes.
Start by printing a star map for the date you want and cut it into a circle or oval. Glue the star map to a dark cardstock background so the edges look clean. Add a gold star sticker or a tiny dot sticker where you want the “moment” to be. Place a 4x6 photo at the bottom and add a journaling strip that includes the date, location, and one sentence about what he said or did. Finish with a thin line of white gel pen connecting the photo to the star map marker.
Write the coordinates in your own handwriting so it feels like a secret message.
Skip glitter overlays — they flake and shed on other pages.
14. "Our Playlist" Song Card Page
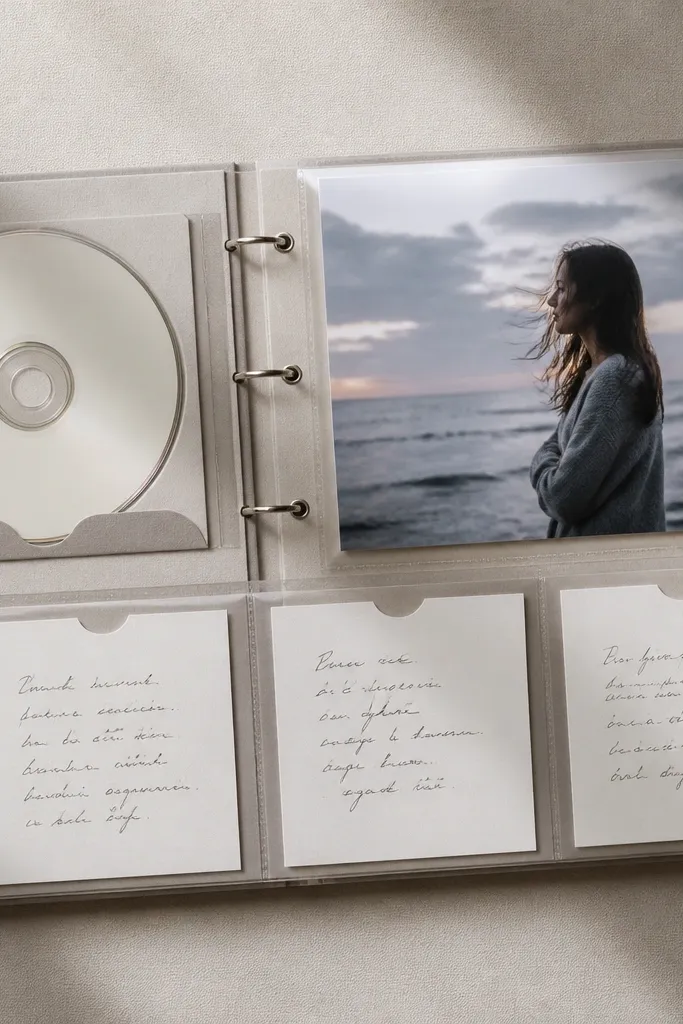
Music pages are always a hit if you actually share songs. This one works because it gives you a clear format: song title, why it matters, and a small memory line. I’ve built playlist pages around road trip songs and late-night comfort tracks, and the handwritten notes are what people read first. It flatters couples where your photos have strong colors because the song cards can match your accent palette. If he’s the kind of guy who makes playlists for you, this feels like a direct message in scrapbook form.
Start by choosing 3 songs that connect to your relationship and write each title on a small card cut from cardstock. Add a tiny “why this song” sentence under each title in smaller handwriting. Place a 5x7 photo in the center and cover it with a clear acetate sleeve or a thin clear pocket so it looks like a CD case insert. Add a faux CD circle sticker near the top and write the date on a small label. Glue everything down with clean edges and keep the journaling lines short.
Use one music symbol per page, like a treble clef doodle, so the theme feels consistent.
Don’t use too many fonts or colors — it looks like a flyer.
15. Polka Dot Background With Hand-Drawn Doodles
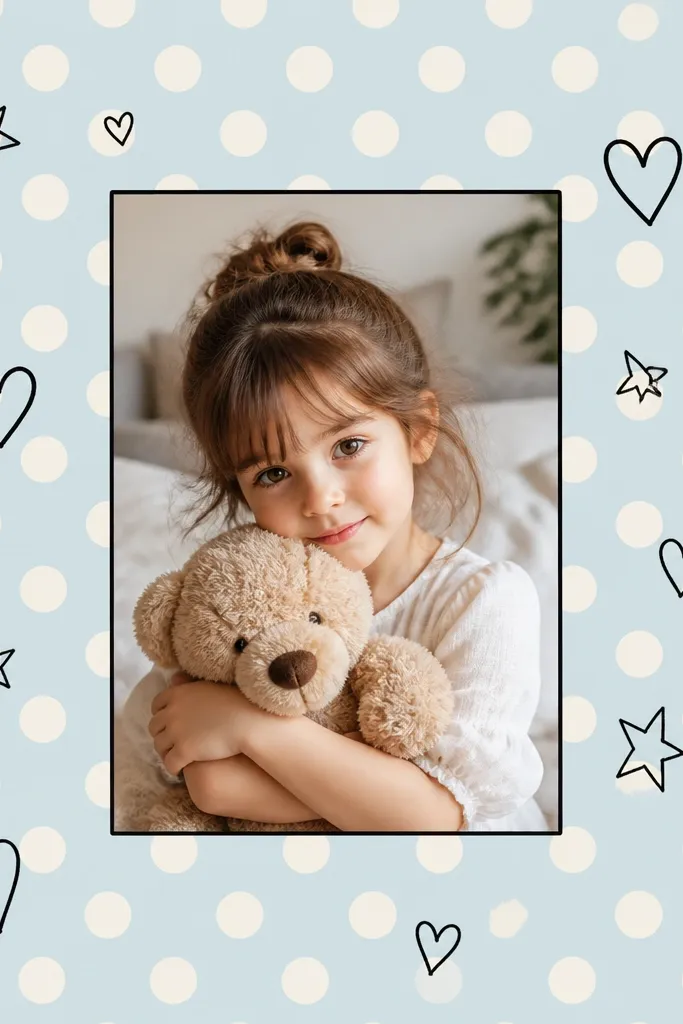
This is the scrapbook page I use when I want it to feel playful. Doodles make it look like you made it for him, not like you bought a template. The polka dot background gives a cheerful frame without stealing focus from the photo. I’ve used this for funny dates and it keeps the tone light even when the photos are candid. It’s flattering for photos with one main color, because the dots add energy while staying simple. If your boyfriend laughs easily, this page matches that vibe.
Start by choosing a polka dot paper in one accent color, like pastel blue or soft pink. Center your 4x6 photo on a thin black or white mat to keep edges crisp. Use a black fineliner to draw small doodles around the photo — keep them about 1 inch or less so they don’t overpower the image. Add a short caption strip underneath with a single sentence. Finish with a few dot stickers in the corners, matching the dot color.
Press your doodles lightly first with pencil, then go over with marker so lines look steady.
Skip thick marker scribbles — they blur in page photos.
16. Receipt + Heart Wax Seal Corner
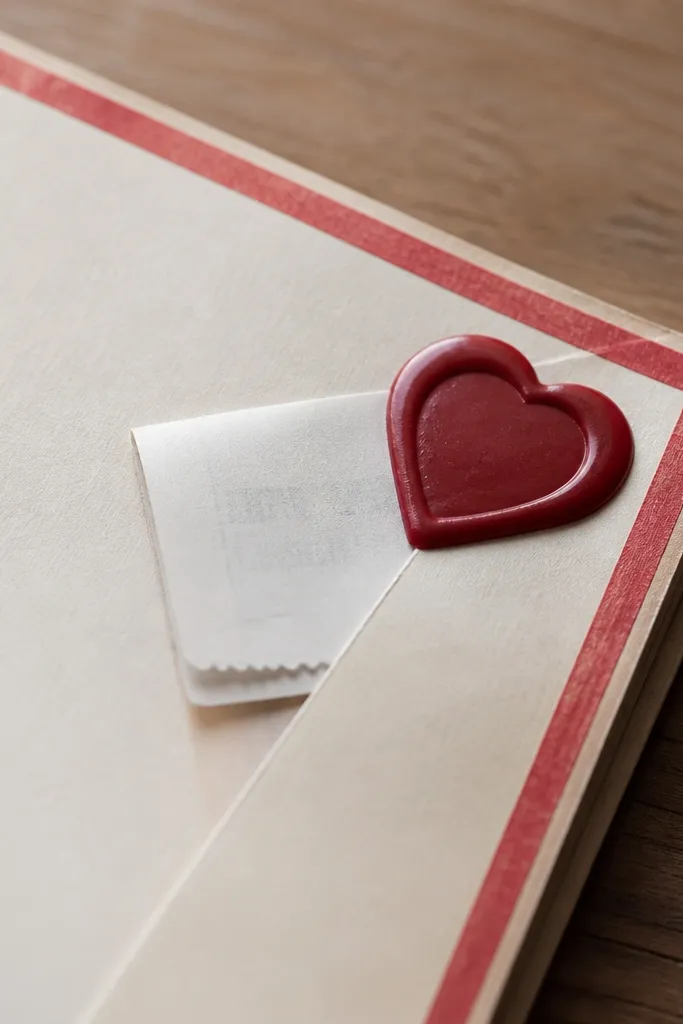
Wax seal style details make a scrapbook feel like an actual letter. I like this because it doesn’t require real wax — you get the look without the mess. Folding a receipt under the seal adds meaning and keeps the seal from looking random. This works best for romantic nights like dinner reservations, anniversary plans, or “we made a memory” moments. The red accent is flattering on both warm and cool photos since it adds a consistent focal color.
Start by cutting a folded receipt corner piece that fits under where you want the seal (about 1.5x3 inches folded). Place a heart-shaped wax seal sticker over it on the top corner of the page. Put your main photo centered with a mat in off-white or cream cardstock. Add a thin red washi tape border along two sides only, not all four, so it doesn’t look overdone. Write the date on a small label near the bottom corner.
Use a matte photo paper print for the main photo so the seal detail doesn’t glare.
Don’t overuse red tape — two edges are enough.
17. Shadow Box Mini Moment Page
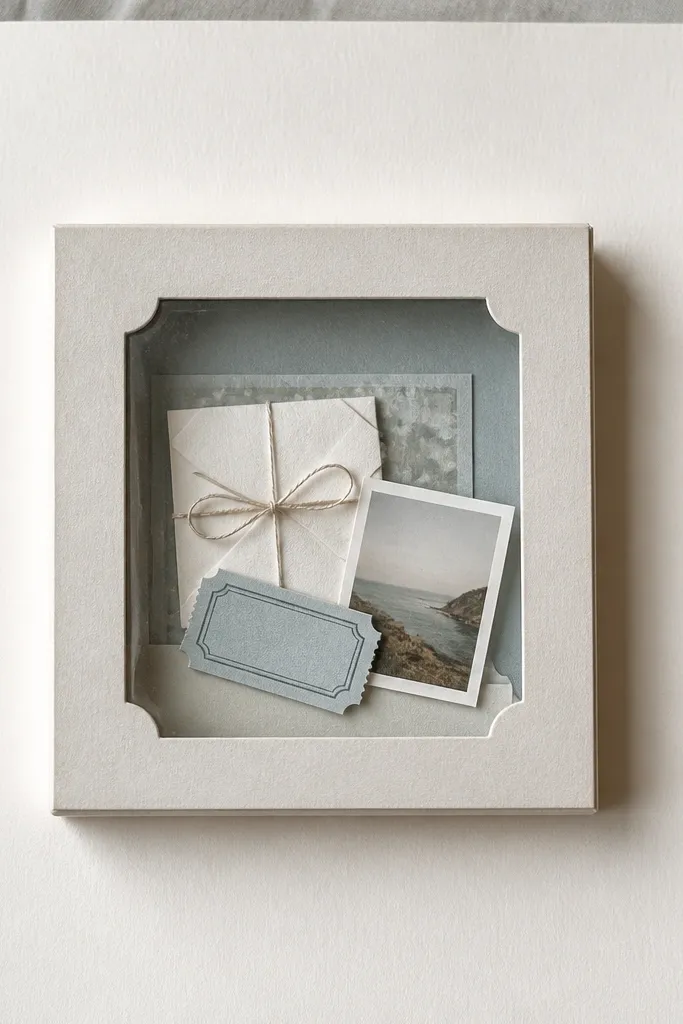
Start by cutting a shallow frame from thick cardstock or thin foam board, about 1 inch deep. Glue a clear acetate sheet to the front so the items can be seen. Place one hero photo behind the box on the page, then build the shadow box on top of it. Add 2-3 tiny items inside: a folded note, a ticket stub piece, and a small photo print. Seal the back edges with glue and add a journaling strip under the box.
Shadow box pages feel like you’re giving him a mini display. The 3D depth makes the scrapbook more gift-like, and it’s still easy if you keep the items small. I’ve used this for tiny things like a handwritten note, a dried flower petal, or a concert wristband segment. It works best with one strong photo background so the box doesn’t float in a blank space. It flatters almost any skin tone because it pulls attention to the physical items and the photo behind them.
Skip thisSkip bulky items — if it sticks out too much, it won’t fit page protectors.
Editor's noteUse foam dots under the folded note so it sits at a readable angle.
18. Stamped Polaroid Background With Inked Edges
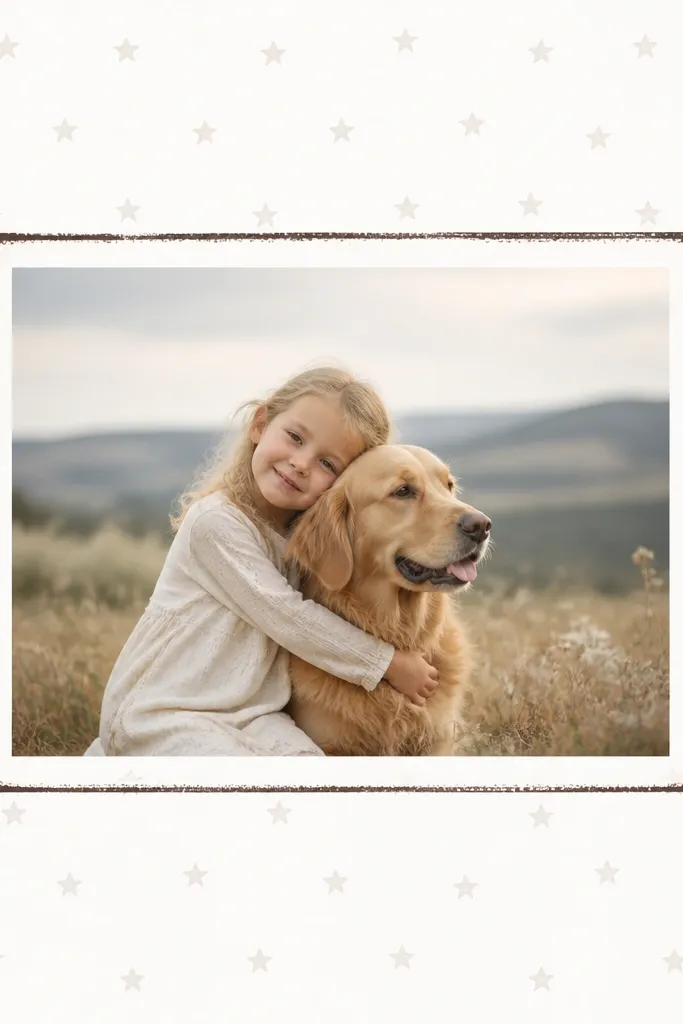
Start by matting your 4x6 photo on white cardstock. Use a sponge or stamp pad to ink the mat edges — aim for a thin, even border. Stamp small icons like stars or tiny hearts lightly across the background, leaving lots of white space. Add one journaling block on a narrow strip of kraft paper under the photo. Finish with a tiny sticker in one corner so the page has a clear focal point.
Stamping gives a page that “finished” look without adding clutter. Inked edges make the photo feel framed, and the small repeating stamps add texture that reads well in close-up photos. I use dark brown or black ink because it matches most photo palettes and doesn’t overpower skin tones. This idea is great when you want the scrapbook to feel cozy and slightly vintage. It also works for beginners because stamping is hard to mess up — even imperfect stamps look intentional.
Skip thisDon’t stamp too dark all over — it turns the page gray.
Editor's noteTest your ink coverage on scrap paper so you don’t get splotches on the final mat.
19. Dry-Embossed Quote Strip With Photo Corners
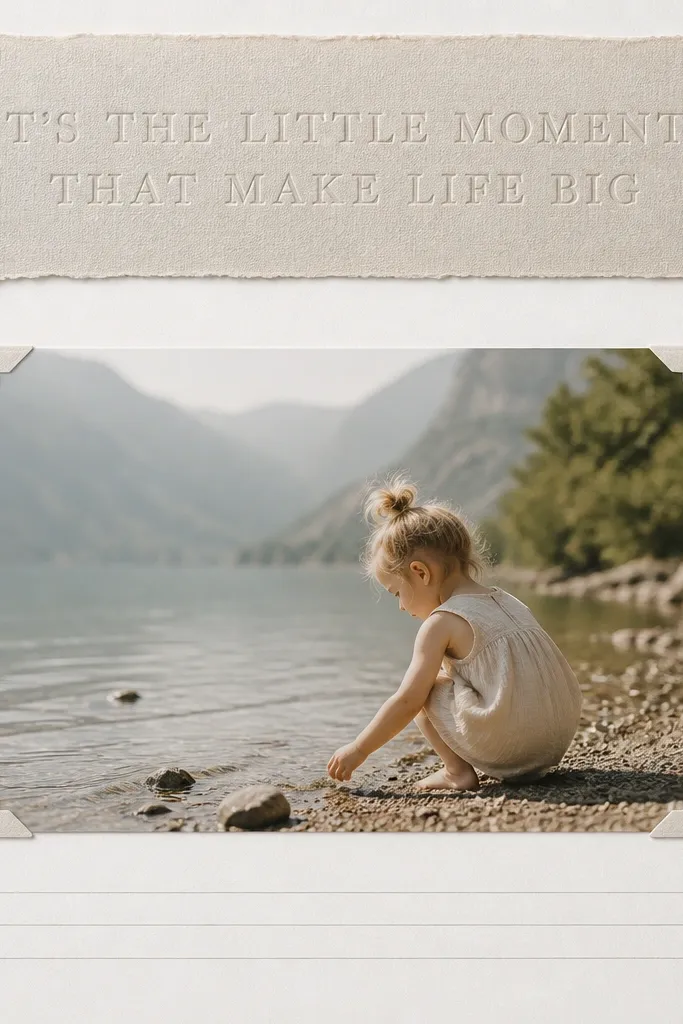
Start by running a quote strip through a dry embossing machine or using embossing folder with thick cardstock. Glue the strip across the top edge with even spacing. Place your main photo on the lower half and use small corner tabs made from cardstock to hold it — keep corners under 1 inch so they don’t distract. Add a thin journaling line under the photo with a matching pen color, like charcoal gray. Finish with a small date label in one corner.
Embossed text looks expensive because it catches light differently than flat ink. The quote strip gives you a strong theme line, while photo corner tabs keep the photo secure without covering the whole image. I’ve used embossed quotes like “Home is you” and “Still choosing you” and they look good because the words are short and readable. This works best when you use neutral cardstock and one accent color, like light gray with black and silver. It flatters almost any photo because the texture does the visual work instead of loud patterns.
Skip thisSkip long quotes — they look cramped on embossed strips.
Editor's noteUse matte cardstock for embossing — glossy paper makes the raised letters harder to see.
20. Sticker Collage With One Clean Caption
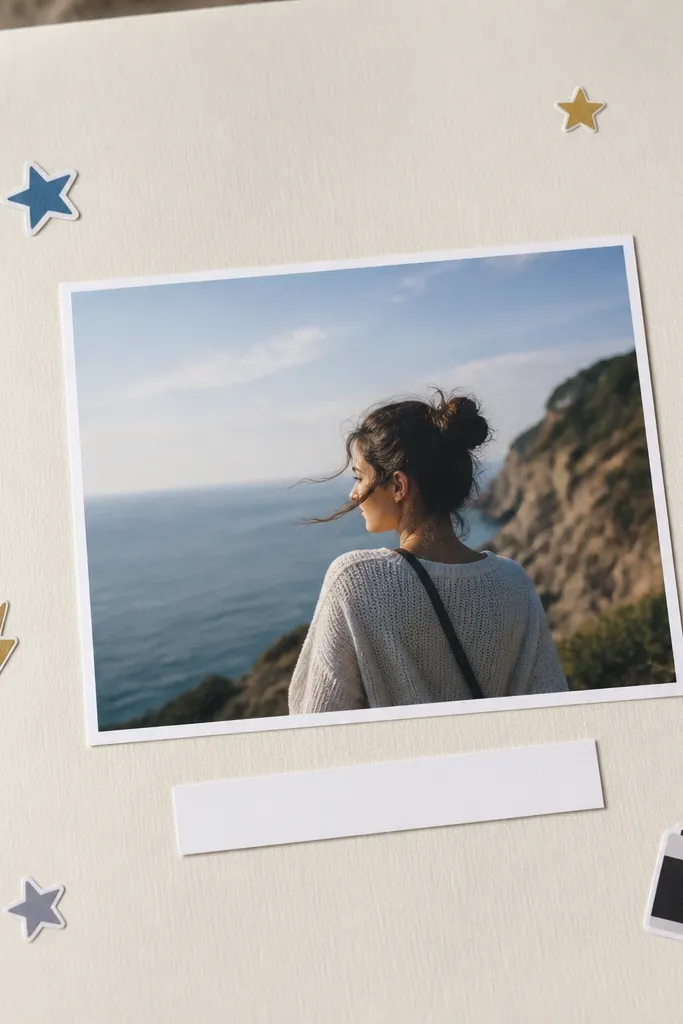
Start by matting a 4x6 photo on a solid background paper. Place the photo slightly off-center — about 1/2 inch from the middle — so it feels casual. Scatter 8-12 stickers around the photo edges, leaving empty space in the corners. Add one white label strip under the photo and write a single sentence caption with a fine marker. Finish by outlining one sticker lightly with a matching pen color for cohesion.
Sticker collage pages are fun and they work when you keep the writing simple. The key is one clean caption label so the page doesn’t turn into a mess. I’ve used this during months where our photos were candid and I didn’t want to overthink layout. The stickers add personality, and the label gives it direction. It flatters almost any photo because stickers sit on top of the background, not across the face. If your boyfriend likes gaming, music, or quirky icons, this is an easy win.
Skip thisDon’t cover the photo — keep stickers mostly on the background.
Editor's noteChoose stickers that share one theme color, like mostly black and gold, so the collage looks planned.
21. Laminated "To-Do" Mini Coupon Page
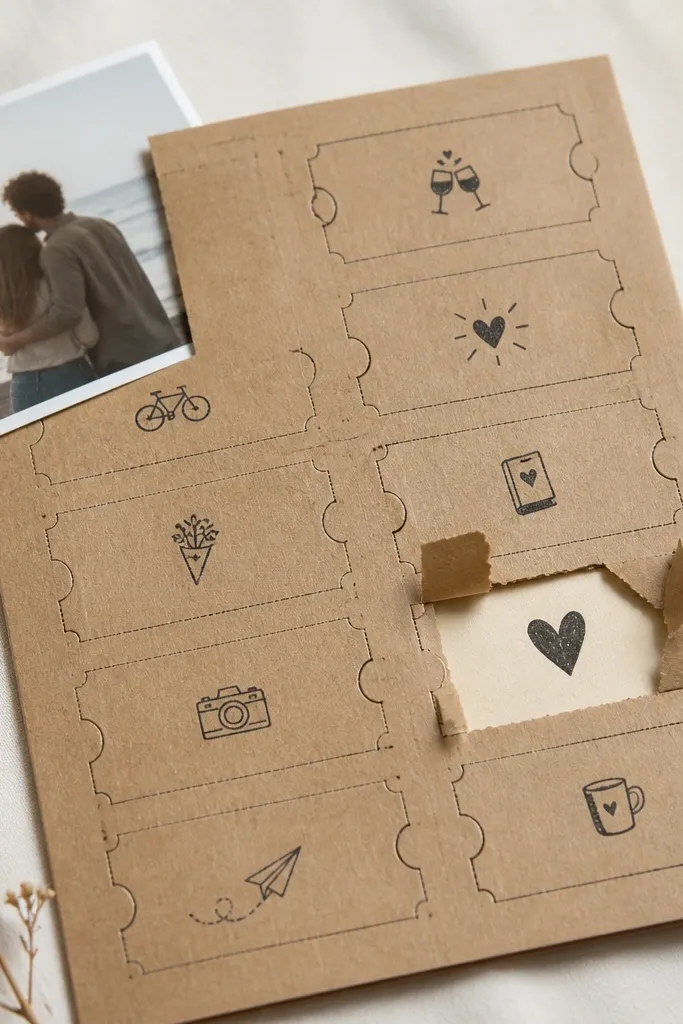
Coupons make a scrapbook feel like an ongoing gift, and I’ve found boyfriends love “future” memories. The laminated look keeps the coupons sturdy and makes the page feel like a real set of cards. You can tailor the coupons to his personality: game night, cooking together, a movie pick, or a walk with music. This layout is flattering because kraft paper keeps the coupons warm and keeps handwriting readable. It also works well if your scrapbook has a lot of photos — coupons give the eyes a break.
Start by cutting 10 small coupon rectangles from kraft cardstock, about 2x3 inches each. Write one action per coupon in black marker, like “Coupon 1: Your movie pick on Friday.” Add a small stamp icon on each coupon, then cover the whole sheet with a clear laminating pouch or clear contact paper. Place a 4x6 photo in the top corner with a mat. Add one journaling line at the bottom explaining that he can redeem them anytime this month.
Make one coupon a “birthday morning” thing so it connects directly to the day.
Skip wet-ink pens — they smear under lamination.
22. Shadowed Photo Strip With Paper Cut Frame
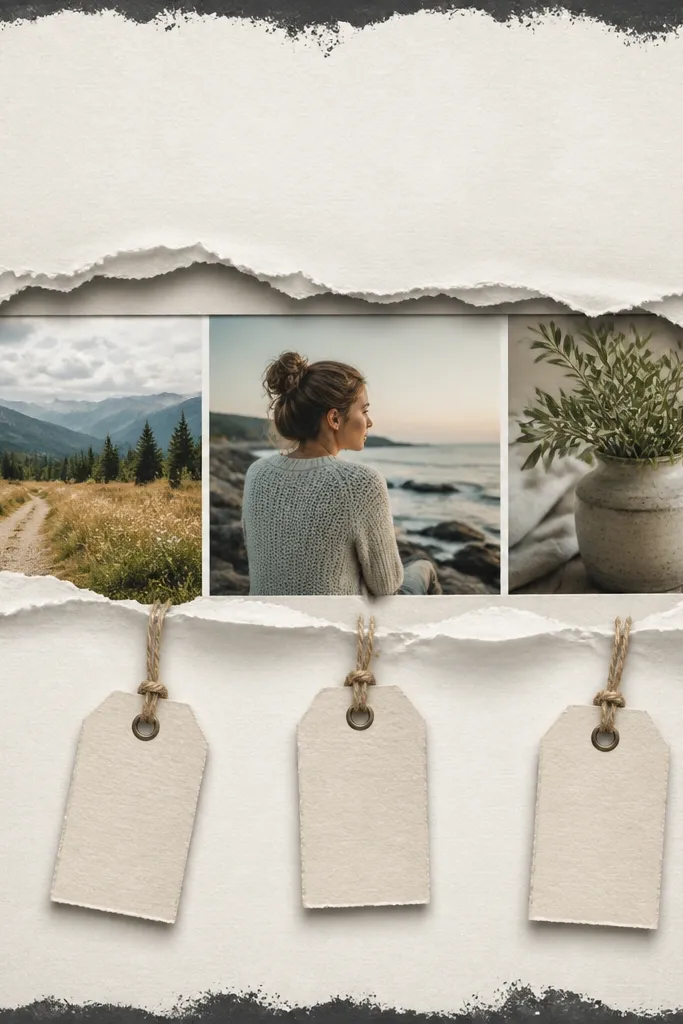
Start by choosing three photos with similar lighting and print them in 4x6, then crop them to align vertically. Cut a paper frame behind them from cardstock and paint the edges dark gray or black. Glue the frame to the page, then mount the photo strip on foam tape so it casts a subtle height. Add two journaling tags below the strip made from small cardstock rectangles, tied with twine. Write one short sentence on each tag about what happened between the photos.
This layout looks dimensional without building a full shadow box. The paper cut frame creates a “stage” for the photo strip, and the shadowed edges make it look like the photos are floating. I’ve used this when I had three photos from one event and wanted them to feel like a set. It flatters couples because it keeps the focus on the faces while still giving the background structure. Use it when your boyfriend likes sports highlights, concerts, or anything with a clear sequence.
Skip thisDon’t use a frame that’s too tall — it makes the page feel cramped.
Editor's noteUse the same spacing between photos and frame edges — consistency makes it look pro.
23. Handwritten Letter Folded Like an Origami Envelope
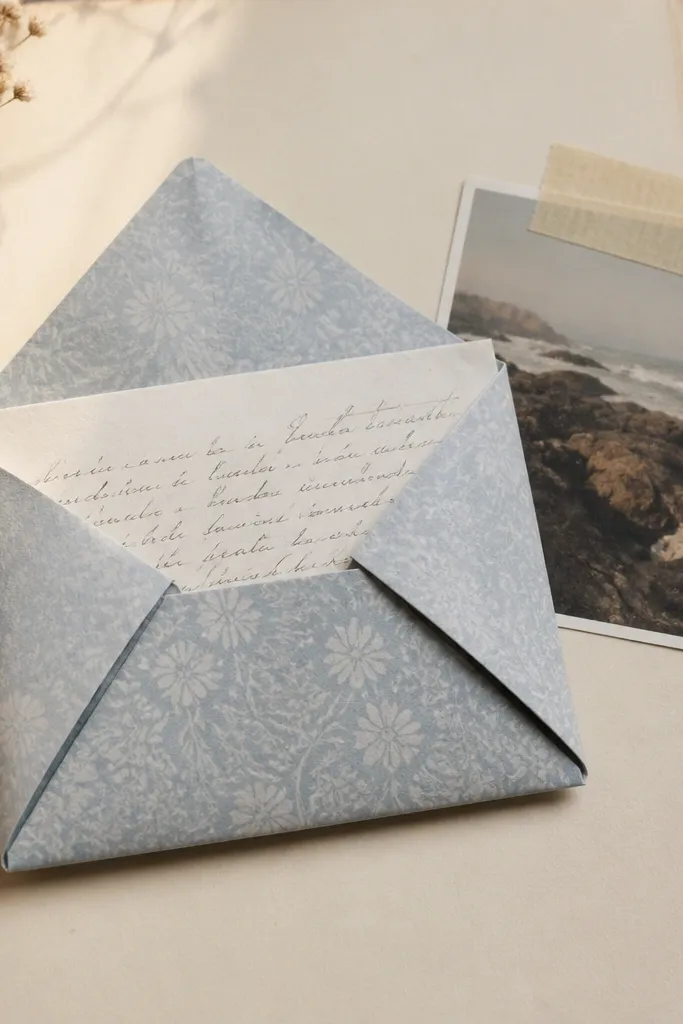
A folded letter page feels intimate because he can open it and read it without turning the whole scrapbook into a reading marathon. I’ve used origami envelope folds with patterned paper that matches the scrapbook palette, and it looks neat even if you’re not a paper-folding person. The envelope also protects the letter, so it lasts. This works best when you have one heartfelt message you want to keep short and strong. It flatters any photo set because the envelope becomes the visual anchor.
Start by cutting a square of patterned cardstock, roughly 6x6 inches. Fold it into an envelope shape and test it on scrap first so the opening sits where you want it. Write your letter on a smaller piece of paper, fold it once, and slide it into the envelope. Glue the envelope to the page only along the bottom and side edges so the top flap opens. Place a small photo next to it, then add a date label on the corner.
Write the letter in pencil first, then trace over with a pen so you don’t get messy lines.
Don’t use thin printer paper for the envelope — it collapses and wrinkles.
24. Kraft Paper "Museum Placard" Page
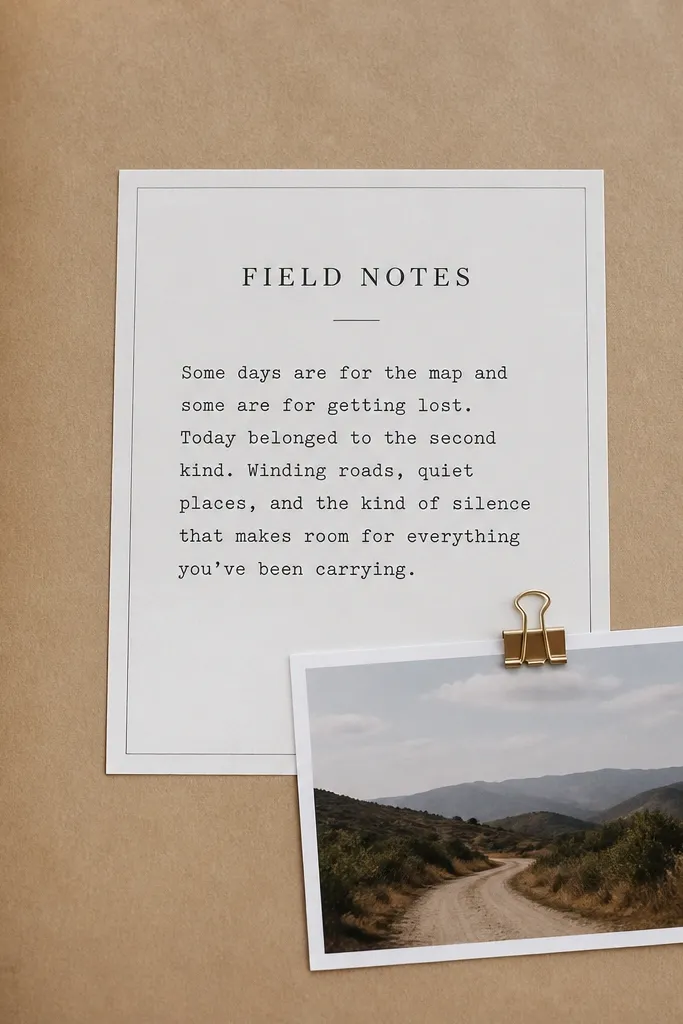
Museum placards look clean and boyfriend-friendly because they turn your memories into “exhibits.” I’ve used this for first year milestones, and it makes your journaling feel structured without sounding stiff. The kraft background keeps it warm, while the placard label gives you a clear block for writing. It flatters any photo because the label frames the page like a display. If he likes history, design, or anything “explained,” this one feels natural.
Start by cutting a kraft page and adding a white placard rectangle about 5x7 inches. Write a heading like “Exhibit A” plus a one-sentence description in neat handwriting. Clip a small photo into the lower corner using a mini binder clip so it can be removed. Add 2-3 bullet-style lines for details: date, location, and one fun fact. Finish with a thin line border drawn with a fine marker in a matching accent color.
Make the heading funny — like “Artifact: Us” — and keep the rest serious.
Don’t use bright neon ink on kraft — it looks harsh.
25. Mini Film Reel Page With Frames
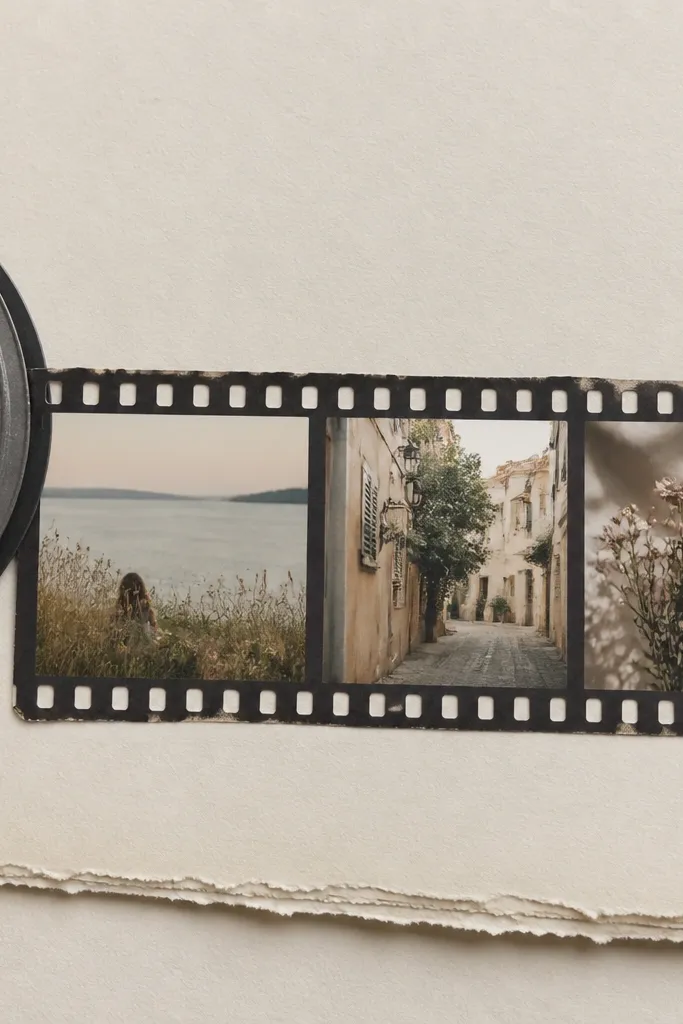
This idea is for boyfriends who like movies, photography, or anything with film vibes. The film reel shape makes your photos feel like they belong together as a sequence. I’ve used it for movie nights and it gives a playful, nerdy feel without needing complicated tools. It flatters photos with strong contrast because the dark gray film theme makes bright faces stand out. If your boyfriend already owns a film camera or talks about “frames,” this page will match his brain.
Start by cutting a film strip template from black or dark gray cardstock and making 3-5 rectangular frames inside it. Add mini photo prints that fit each frame, then glue them behind or on top so the film strip borders are visible. Place the film strip across the page center and glue a circular reel element on one end. Add a caption line at the bottom on a thin white label, then write the movie or date in small handwriting. Finish with two tiny sprocket-hole dots for extra realism.
Use matte photo paper for the mini photos so the film strip looks more authentic.
Skip too many frames — 3-5 looks designed, 10 looks crowded.



