

1. Thread-Edge Photo Pockets With a Real Closure
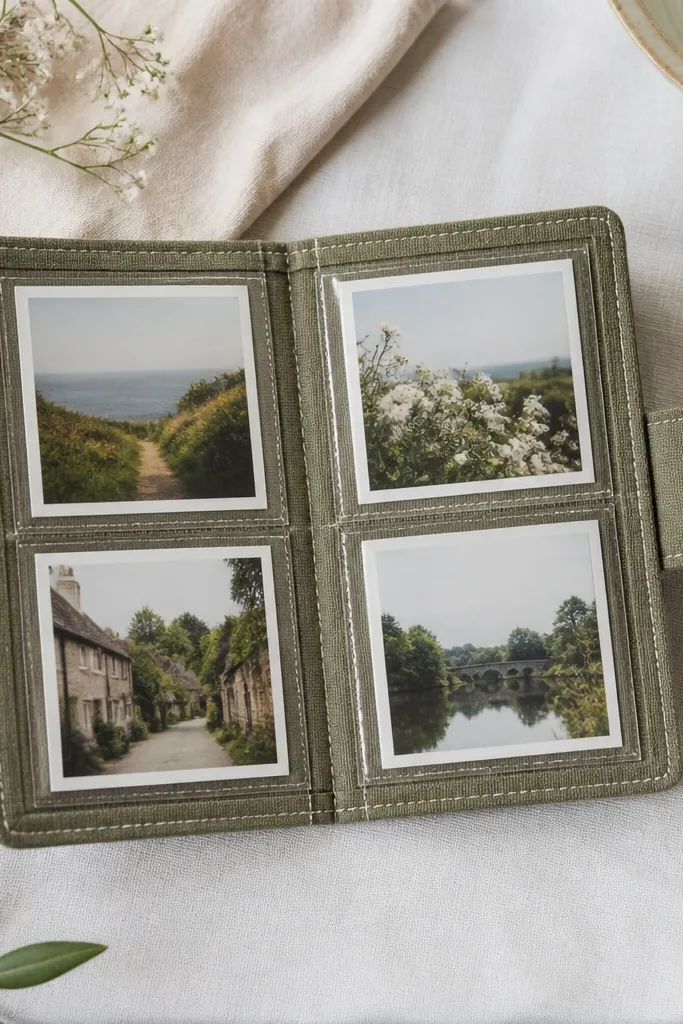
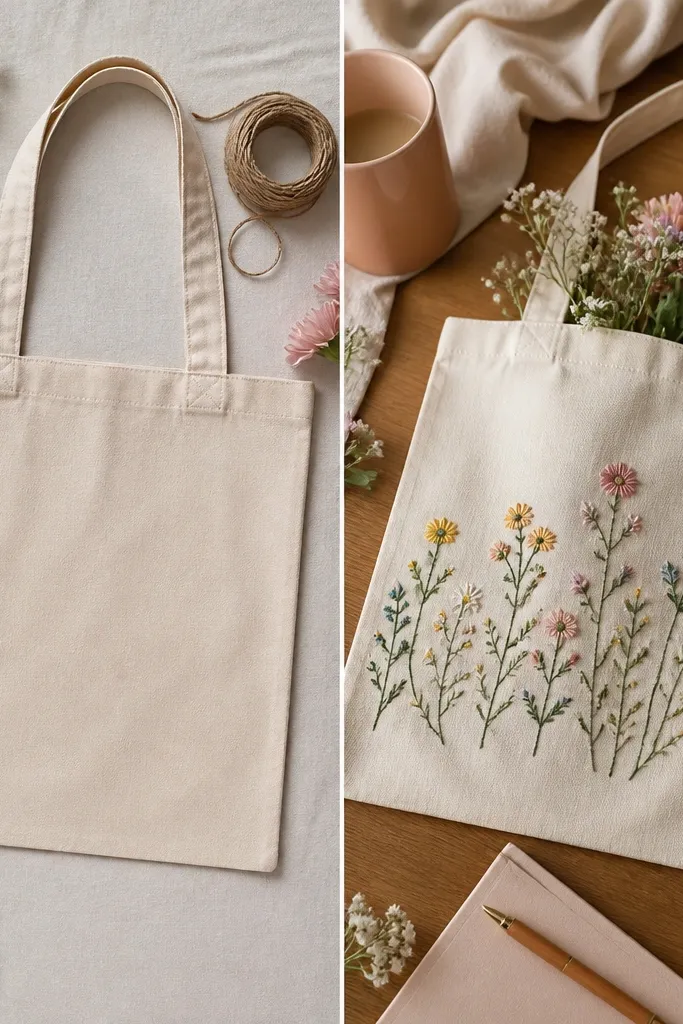
This looks expensive because the closure and edges are controlled, not because the photos are fancy. I use a medium-weight cotton or canvas for the cover in warm cream or dusty rose, then stitch a clean border with matching thread. The hero detail is the stitched edge — tight, even, and straight — so the pockets don’t sag and the layout stays readable. It flatters the “sentimental but busy” friend because she can pull one photo at a time without dumping everything out. For skin tones and lighting, the cream fabric keeps faces warm under indoor light, unlike bright white which can look harsh in photos.
Start by cutting your cover fabric to a finished size of 6 x 4 inches (or scale up to 7 x 5 if you use larger prints). Then stitch a 1/4 inch border around the cover before you attach the pockets so the edges look intentional. Make pockets from clear plastic sleeves or laminated cardstock, and keep the pocket openings aligned 1/2 inch from the top for a consistent grip. Finally, add a centered snap or hook-and-eye closure — I place it 1 inch from the bottom edge so it doesn’t distort the cover when opened.
Use a walking foot or slow down feed when topstitching — uneven feed is the #1 way “before” stitches look wobbly.
Avoid pockets that hang loose; saggy pockets make the whole gift look unfinished.
2. Custom Keychain With a Thick Split-Ring and One Charm
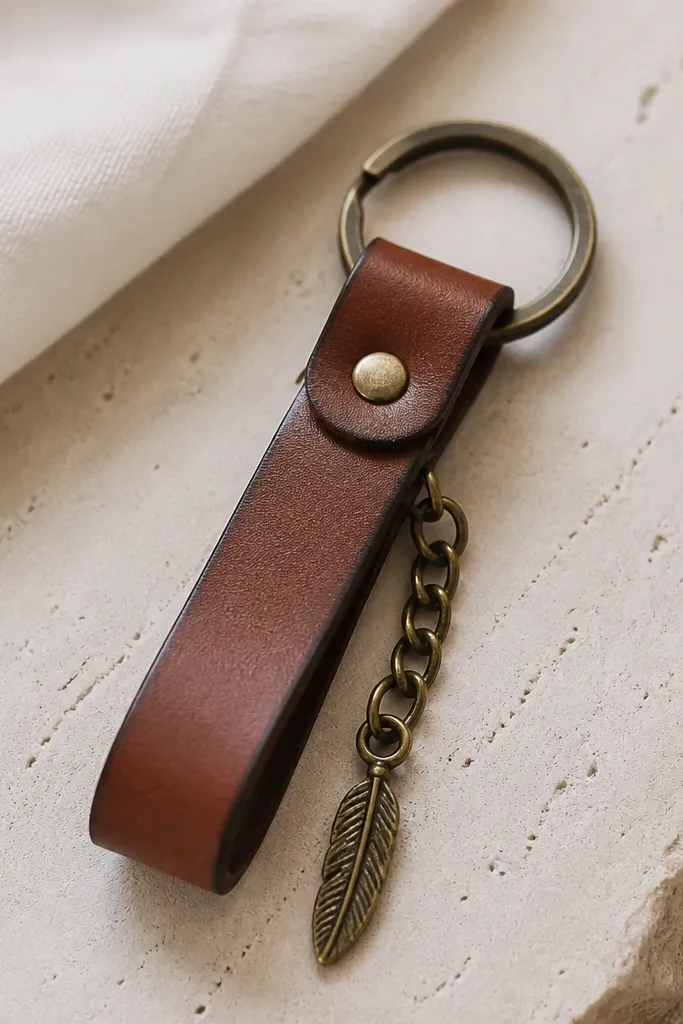
Keychains are the easiest “before and after” win because they get used daily. The finish is what separates it from a craft fair version: thick split ring, tight wrapping, and edge paint so the leather doesn’t look fuzzy. I like 1/2 inch wide leather in dark brown, black, or deep green, and I keep the charm to one piece — a small initial tag, a tiny enamel heart, or a stamped coin. That one charm is the hero detail; everything else stays clean. It flatters anyone because keys are universal, and a dark leather palette looks good on both warm and cool skin tones when your friend grabs it in photos.
Start by cutting leather strips to 6 inches long and 1/2 inch wide. Punch a hole near one end, thread it through the split ring, then wrap the strip back over itself with a slight overlap, gluing only the overlap area. Use edge paint or even a thin coat of matte acrylic sealer, then burnish the edges with a scrap of cloth once it dries. Finally, attach one charm to a short chain so it hangs straight; if it twists, your ring or chain length is off.
Before gluing, dry-fit the wrap around the split ring and check the charm hang length with your keys in hand.
Avoid thin split rings that flex; they make the wrap look sloppy and the charm spin.
3. Map-Coordinate Candle Jar With a Label That Doesn't Smear
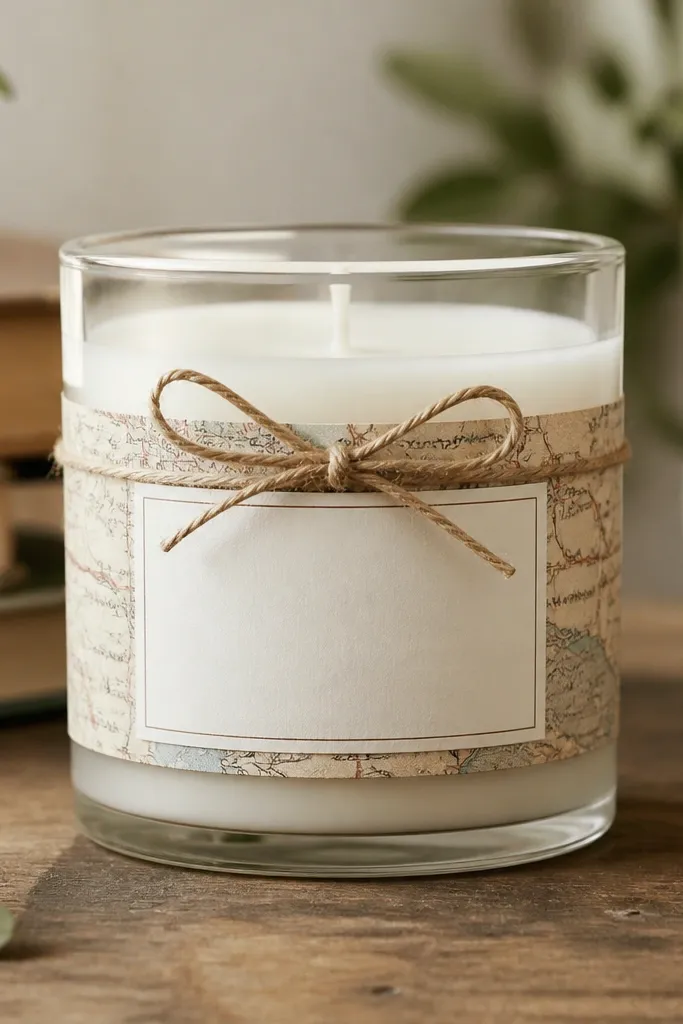
This gift looks polished because the label is crisp and the paper is protected. I use a clear glass jar with a simple cream or amber candle, then add a narrow wrap of paper — either vintage-style map coordinates or a clean coordinate grid — around the jar. The hero detail is the coordinate line with a neat typed font, not the paper texture. Choose a palette that matches the candle: warm maps pair best with cream labels and brown twine. It flatters the “homebody” friend because it looks good on a nightstand and doesn’t need explanation. In photos, the glass jar makes the label readable, and sealing keeps the paper from wrinkling.
Start by cleaning the jar with rubbing alcohol so adhesive sticks. Wrap a narrow strip of map paper around the jar with a 1/4 inch overlap, then seal the paper using a thin brush coat of Mod Podge Matte or a clear acrylic medium. Make a label from cardstock, and print it in black ink; cut the label edges cleanly and seal it separately before sticking it. Place the label at eye level on the front and hold it in place for 30 seconds so it grabs without sliding.
Do a quick test on a scrap jar — if your paper wrinkles, you need thinner adhesive or a different sealant.
4. Fabric-Wrapped Mini Vase With Double-Sided Tape Edges
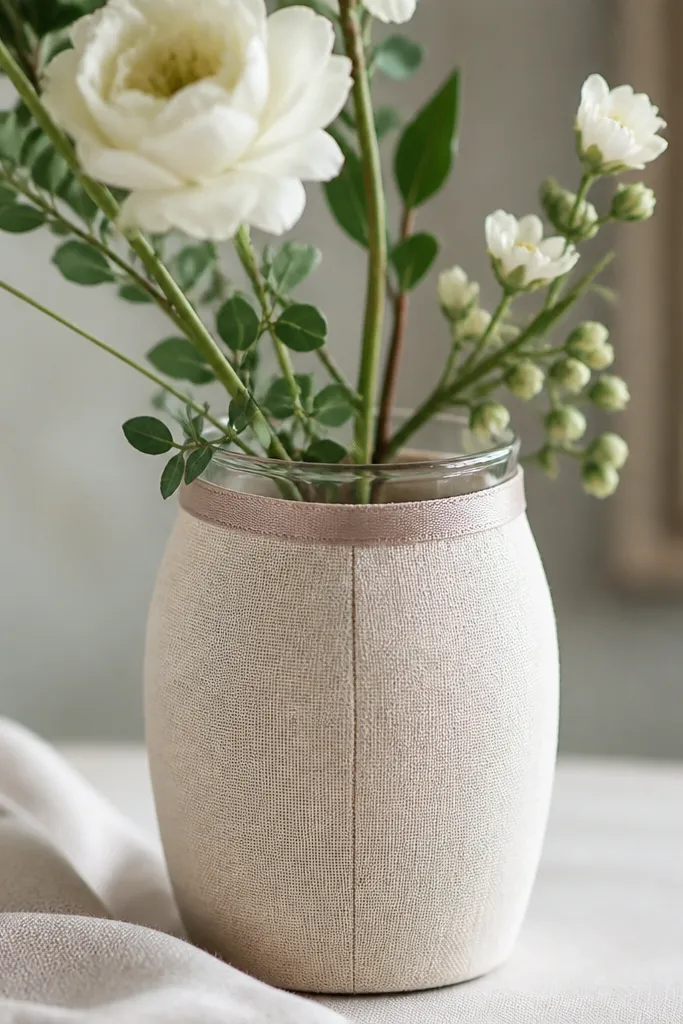
This one looks like a real boutique item because the fabric seam is aligned and the top edge is finished. I use a small glass vase (about 4 to 5 inches tall), then wrap cotton fabric in a solid color like sage, dusty blue, or mustard — patterns can work but solids show off the construction. The hero detail is the seam placement: it sits at the back, straight, and the wrap is tight enough that it doesn’t bubble. It flatters friends who like soft decor and clean lines; the fabric texture adds warmth without looking messy. For photos, sage and dusty blue read calm under daylight and don’t overpower flowers.
Start by cleaning the vase and measuring the circumference with a strip of paper. Cut fabric to height plus 1 inch for trimming, then wrap it dry first to find where the seam should land. Apply double-sided tape to the vase in a thin vertical strip, press the fabric seam in place, then smooth the wrap downward to remove bubbles. Trim the top edge close and finish it with a thin ribbon or a narrow band of fabric glued flat so the rim looks intentional.
If your seam shifts, press it with a flat ruler wrapped in cloth for 10 seconds — it sets the adhesive without stretching the fabric.
5. Resin-Style Key Charm Using Clear UV Resin and a Real Mold
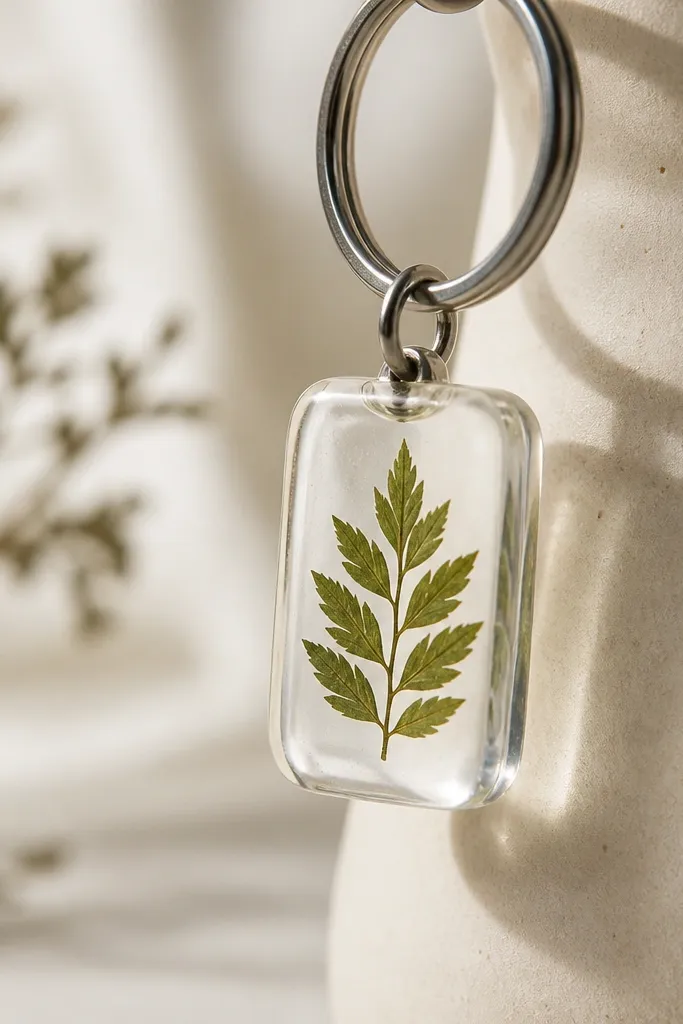
Start by cleaning the pressed element and placing it in the mold to test the orientation. Add a thin first layer of resin, cure it for the time on your bottle, then place the pressed piece on top and cover with a second layer. Cure fully, then pop it out and check for rough edges. If you see a tiny edge lip, sand lightly with 800 grit and polish with a plastic-safe buffing cloth.
Resin charms look high-end when the mold is real and the piece has no bubbles or cloudy edges. I use UV resin with a proper silicone mold so the charm has crisp sides and a glassy finish. The hero detail is one pressed element — a tiny leaf, a speckled flower petal, or a scrap of patterned paper — placed dead center. Keep the background light so the pressed item shows clearly; ivory or pale blue looks best for indoor photos. This flatters friends who love nature themes or who always lose small things; it’s light, easy to find, and the glossy finish catches light.
Editor's noteUse less pressed material than you think — too much makes it float or look cloudy after curing.
6. Stamped Bracelet Stack With a Magnetic Clasp
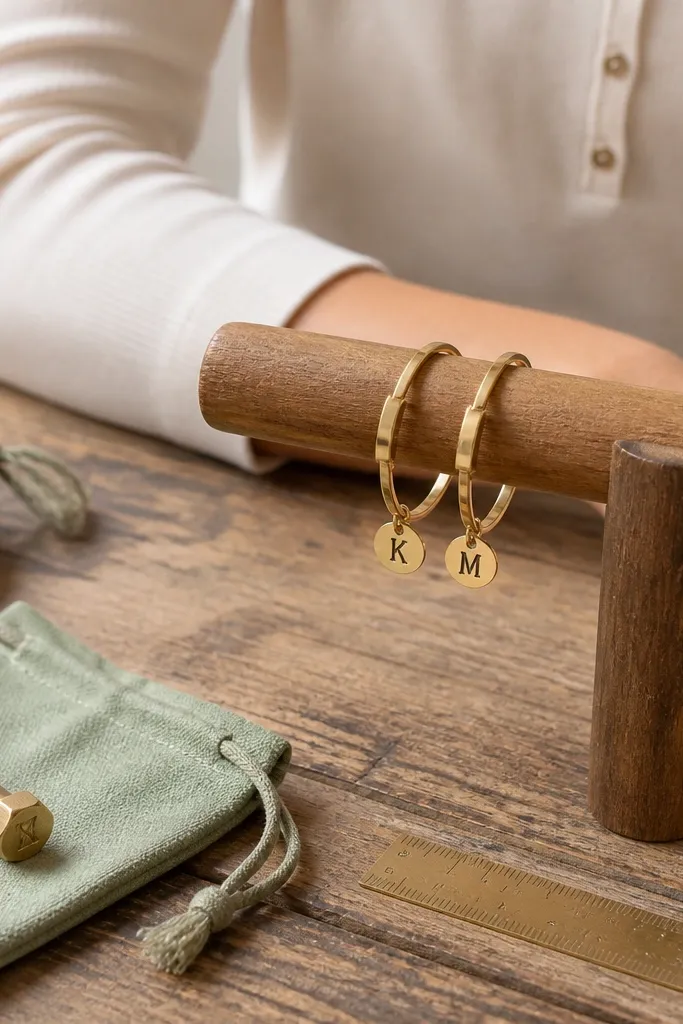
Bracelets look “done” when the clasp is secure and centered, not when the stamping is random. I use thin metal blanks or plated tags, stamp one initial per piece, and then assemble two bangles so the stack looks intentional. The hero detail is the stamped initial — crisp, readable, and not over-stamped. Choose gold-tone for warm skin and silver-tone for cool skin; both look great, but pick one and stick to it. This suits the friend who wears jewelry but hates complicated closures; a magnetic clasp is fast and doesn’t snag hair.
Start by stamping your initials onto metal pieces after you mark them with a pencil grid so the letters sit level. Then attach jump rings to each stamped piece and build a two-layer stack with consistent spacing. Add a magnetic clasp in the center back so it closes cleanly and the letters stay visible. Finally, polish with a gentle metal cloth and wipe fingerprints off with a microfiber cloth before wrapping the bracelet for gifting.
Do a test closure on your wrist before final assembly; if the clasp sits off-center, it will look wrong in photos.
7. Corkboard Memory Wall With Numbered Mini Clips
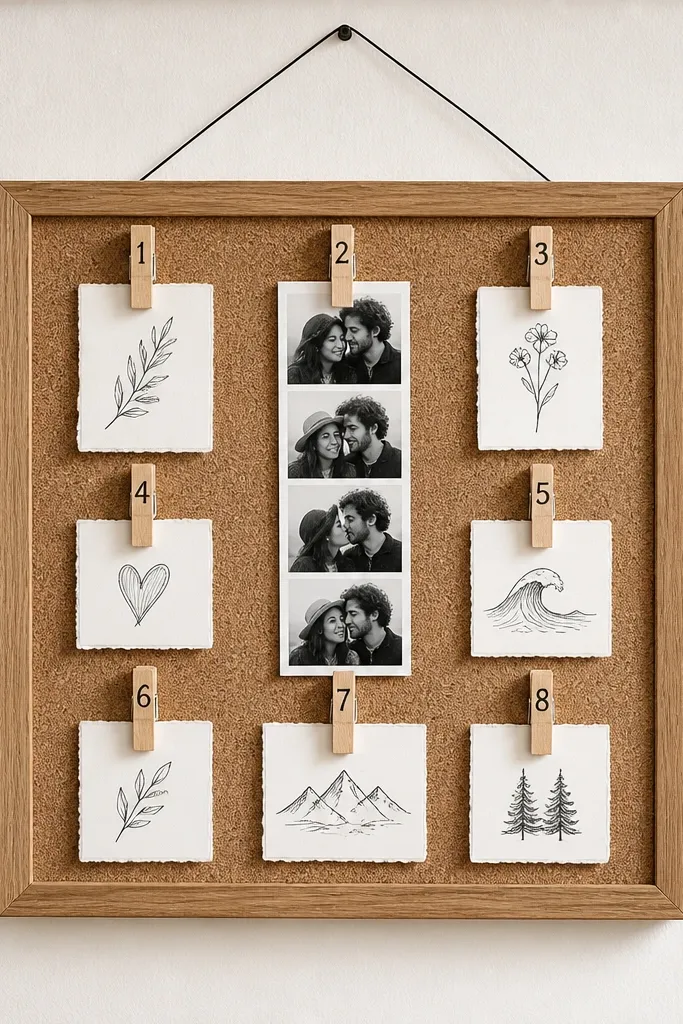
Start by cutting your corkboard to size if needed and finishing the edges with cork edging tape or thin black craft tape. Mark a light pencil grid so notes line up, then pin your photo strip first. Add numbered mini clips along the grid, with each note sized to about 3 x 4 inches so it doesn’t overwhelm the board. Hang it with a wire hook centered at the top so the board sits flat, then step back and check alignment against a wall.
This gift looks thoughtful without turning into a clutter bomb because it has a system. I use a small corkboard (8 x 10 or 11 x 14), then build a grid layout with a photo strip across the top and short notes pinned with numbered mini clips. The hero detail is the numbering — it tells your friend the order to read, which makes it feel like a plan, not random paper. Use kraft paper notes with black marker for clean contrast, and pick clip colors that match your palette: black and natural cork look good together. It flatters desk lovers and coffee-table decorators because it takes up space, looks organized, and doesn’t require crafting skills beyond layout.
Editor's noteWrite note numbers on the back first, then copy them onto the front after you decide the photo order.
8. Painted Wine Glasses With a Masked Bottom Band
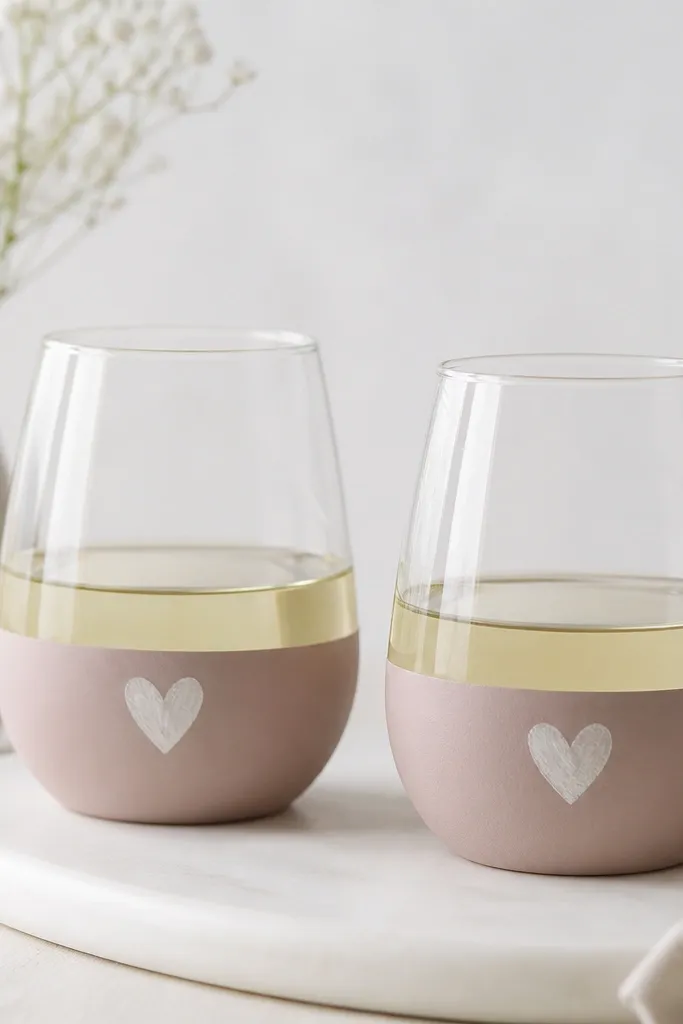
Painted glass gifts look professional when you control the stripe line. I paint a matte band near the base with glass paint, then add one small symbol like a heart or initial on the side — that’s the hero detail. The bottom band makes the glasses look styled even when they’re empty, which matters for photo day. Choose a matte finish because glossy paint shows every brush stroke under light. This flatters friends who host or just like a nice table setting; it reads thoughtful and usable. For most skin tones, the colors I’ve had the best luck with are deep navy, terracotta, and emerald — they don’t wash out in indoor lighting.
Start by washing the glasses with dish soap, then dry completely and wipe with alcohol to remove residue. Tape a straight line around the base using painter’s tape, burnish the tape edge with a fingernail, and paint the band in thin layers. Peel the tape while the paint is still slightly tacky so the edge stays crisp. After curing and baking per your paint instructions, add the small symbol with a fine brush and let it cure fully before wrapping.
Paint two thin coats instead of one thick coat — thick paint creeps and makes the stripe uneven.



