

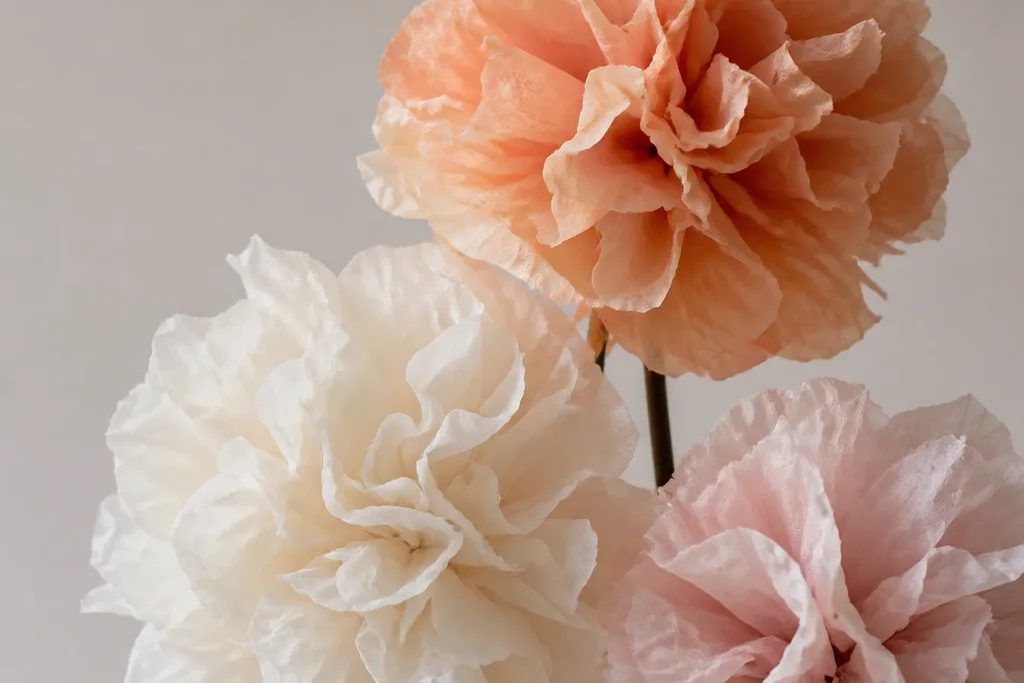
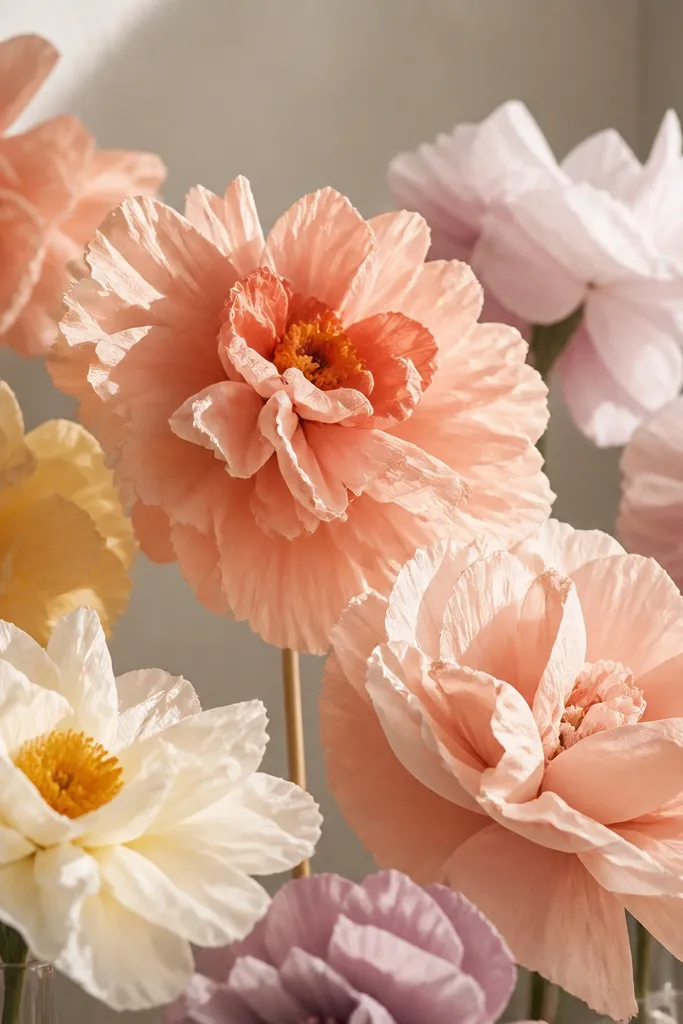
1. Velvet Peony Dome (Blush + Cream)
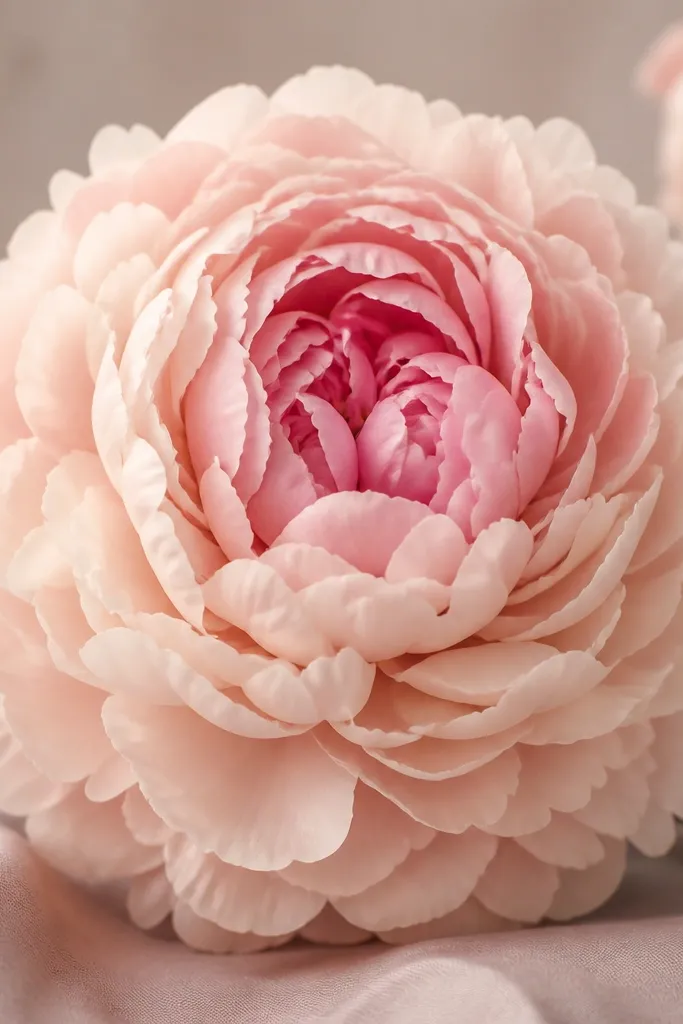
I make peonies in two tissue tones because the depth reads instantly. Use blush tissue for the outer layers and cream for the inner layers, then keep the center a touch denser by using one extra cream layer. The petals look soft and “velvety” because you round the pleat edges before opening. This shape flatters most color palettes — it looks good against dark walls, and it also looks gentle on beige or white backdrops. For photos, the dome silhouette catches light at the edges, so it looks like a real bloom instead of a paper circle.
Start by stacking 4 sheets of blush tissue and 3 sheets of cream tissue, each cut into about 12 in by 10 in rectangles. Accordion-pleat both stacks together, keeping the pleat width around 1/2 inch, then round the outer ends into a smooth curve with scissors. Cinch the center with a twist tie, then glue only the center knot — one small dot, not a smear. Open the blush stack first for the outer dome, then open the cream stack and tuck it inward so it shows as a tighter inner ring.
Editor's noteMist the finished flower lightly with water from a spray bottle, then let it dry — the tissue relaxes and looks more like soft petals.
Skip thisDon’t glue the pleats all the way out to the edges; it stiffens the petals and kills the fluffy look.
2. Rose Bud with Tight Petal Rolls (Dusty Rose)
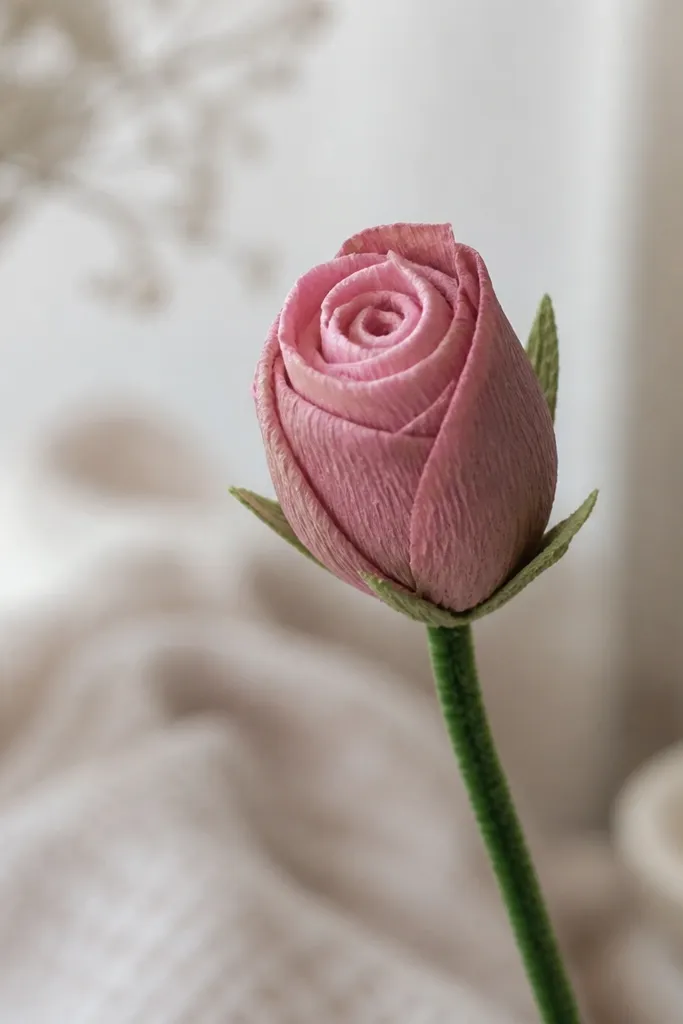
A rose bud looks expensive when the petals are tight at the center and slightly looser at the outside. I use dusty rose tissue for the outer and a lighter pink for the inner roll, so the center looks like it’s glowing. This style fits gift bags, place cards, and small vases because it stays compact and doesn’t need a big wall space. It also photographs well because the bud has a clear front angle. If you’re working with lighter skin tones for a photo shoot or event backdrop, dusty rose flatters without looking harsh.
Cut 3 to 4 tissue rectangles about 8 in by 4 in, then stack the inner-light piece first. Accordion-fold each strip lightly so it stays pliable, then roll from one short end into a tight spiral. Wrap the base with a twist tie or wrap a pipe cleaner around the bottom 2-3 times. Finish by fanning one outer strip slightly wider, then tuck it around the center roll so the bud looks layered, not flat.
Editor's noteTrim the ends of your outer strips into a gentle point before rolling; the points make the rose look more realistic.
Skip thisDon’t make the rolls too loose; loose tissue centers collapse and turn into a crumpled ball.
3. Scalloped Ruffle Lily (White with Gold Center)
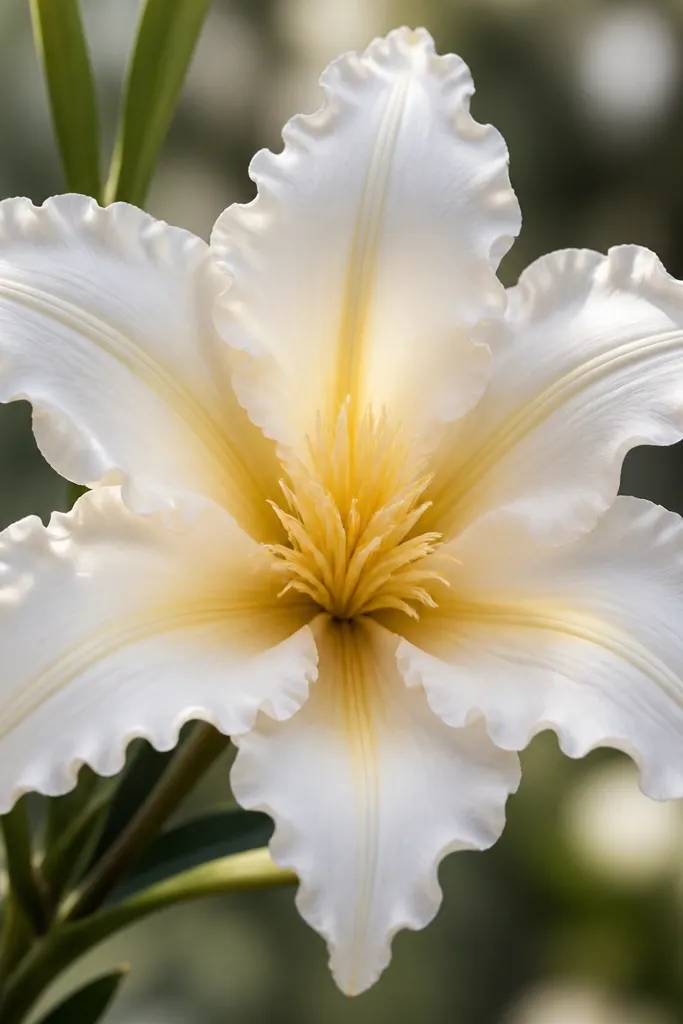
This lily shape is my go-to when someone says they want “elegant” tissue flowers. The scalloped edges read like real petal rims, and the gold center gives it a jewelry-like focal point. Use white tissue for petals and add a small center tuft made from a thin strip of gold tissue or yellow tissue. It works especially well for weddings, because it looks delicate without being fragile. On camera, the scallops create a repeating light pattern that feels expensive even with basic materials.
Start with 6 petal units. Cut 6 rectangles about 10 in by 6 in, stack 2 at a time, pleat with 1/2-inch folds, then scallop-trim the outer edge into half-moon shapes. Cinch each petal unit at the center with thread or a twist tie, then glue the cinched center to a small cardboard circle. Make the gold center by cutting 6 skinny gold strips, folding them in half, and gluing them into the middle so they stand up like stamens.
Editor's noteUse a tiny dot of glue to attach the gold stamens, then fluff them with the tip of your scissors so they stick up.
Skip thisDon’t use thick glue; it seeps into tissue and leaves glossy spots.
4. Tissue Pom-Pom Cluster (3 Colors, One Center)
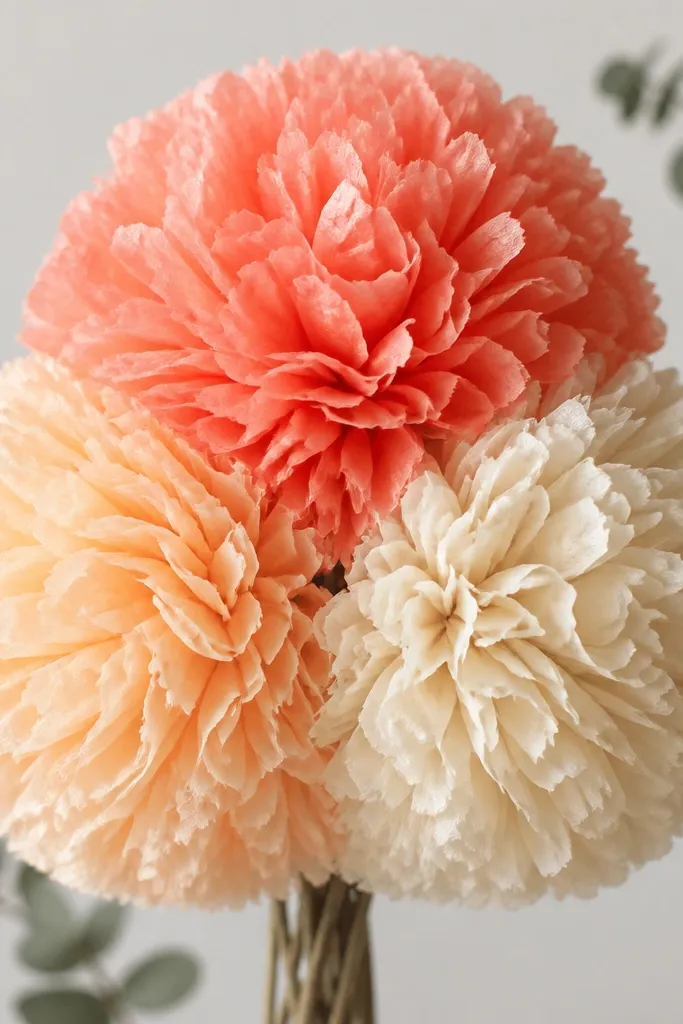
Pom-poms look expensive when you blend colors and keep the center clean. I stack three colors in the same size so the flower looks layered but still balanced. Choose a warm trio like coral, peach, and cream for a soft, high-end vibe, or do jewel tones for a richer look. This style is great for party backdrops because it fills gaps fast and hangs evenly. It also hides small imperfections because the round shape forgives uneven edges.
Cut 3 sets of tissue rectangles the same size, like 12 in by 10 in each, then stack them in a fan order: darkest at the bottom, lightest on top. Pleat each stack into accordion folds, cinch the center with a twist tie, and trim the ends rounded. Glue the centers together once, then separate each color stack and fluff outward in a spiral pattern. Attach to a string or floral wire bundle so the cluster hangs straight.
Editor's noteUse a slightly thicker tissue pack for one color and you’ll get a subtle contrast in texture that reads upscale.
Skip thisDon’t trim the edges too much — you need enough tissue surface area for the sphere look.
5. Ruffled Hydrangea Bands (Multiple Strips)
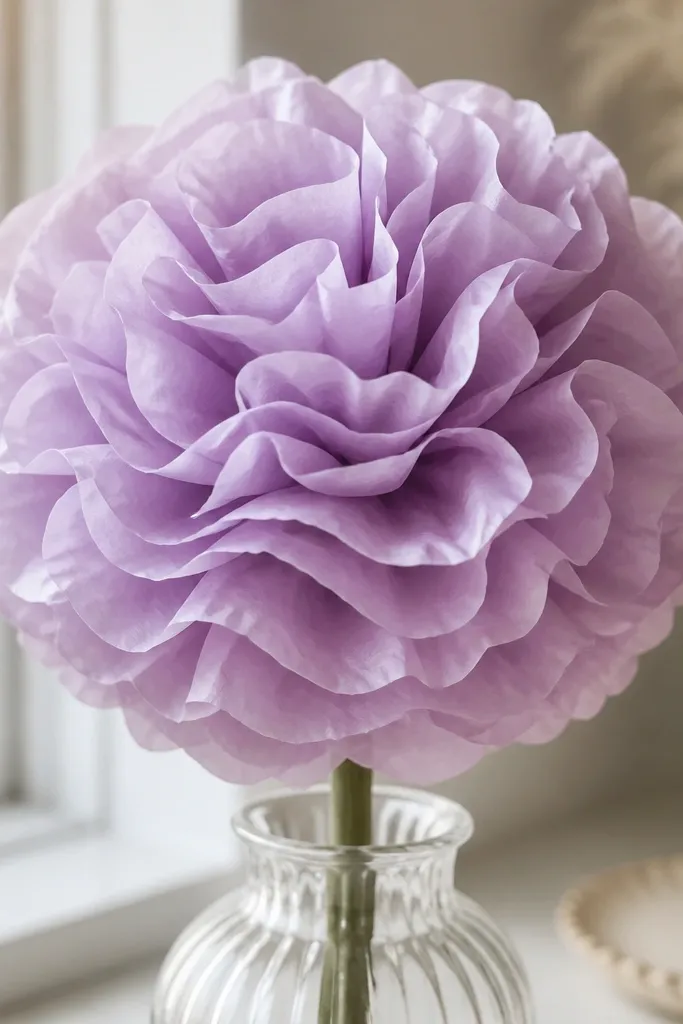
Hydrangea-style tissue flowers look pricey because they have that layered, gauzy wave texture. The trick is to make bands of tissue and ruffle them, instead of relying on one big pleated stack. I like using 2-3 shades of the same color family, like lavender-blue to pale lilac, because the bands create depth. This style is perfect for table centerpieces where the flower will be seen from the side and top. It also looks good with greenery because the ruffles mimic real hydrangea texture.
Cut 8 to 10 tissue strips about 12 in long and 3 in wide. Accordion-pleat each strip lightly, then snip small fringe cuts along one long edge (about 1/2 inch deep). Cinch each strip at one end with a twist tie and glue them around a small ring made from thin cardboard or a loop of floral wire. Start with the largest strips at the outside, then work inward with slightly shorter strips so the center tightens.
Editor's noteHold the flower under bright light while you fluff; you’ll see which bands need a gentle pull to even out the wave.
Skip thisDon’t leave the fringe un-fanned; if you skip fluffing, it reads as a single strip.
6. Butterfly Fringe Flower (Bright Pop Colors)
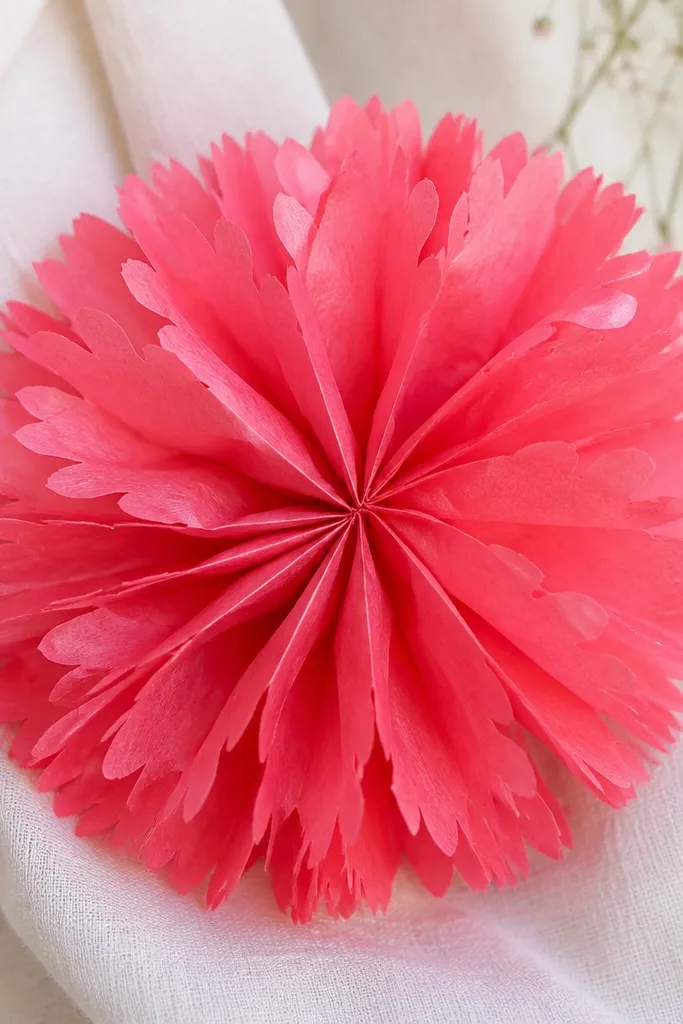
This one is playful and still looks polished because the fringe is cut evenly and fluffed with control. Use two contrasting colors — like teal and hot pink — then keep the center a neutral like white or yellow. The fringe creates a feathery edge that reads as texture, not messy craft paper. I used this for a birthday wall and it looked like store-bought decor from across the room. It also works for kids' parties because the shape is sturdy and doesn’t require delicate petals.
Stack 3 tissue sheets of one color and cut into rectangles about 10 in by 8 in. Pleat into accordion folds, then trim the outer edge into a straight line and cut fringe slits along the edge every 1/4 inch. Cinch at the center and tie tight so fringe stays crisp. Repeat with the second color, then glue both cinched centers to a small cardboard disk, staggering them so the fringe layers show.
Editor's noteUse a fresh pair of scissors for fringe; dull blades crush tissue and make uneven fringes.
Skip thisDon’t cut fringe too deep — deep cuts make petals tear when you fluff.
7. Layered Paper Tulip Burst (Pastel Gradient)
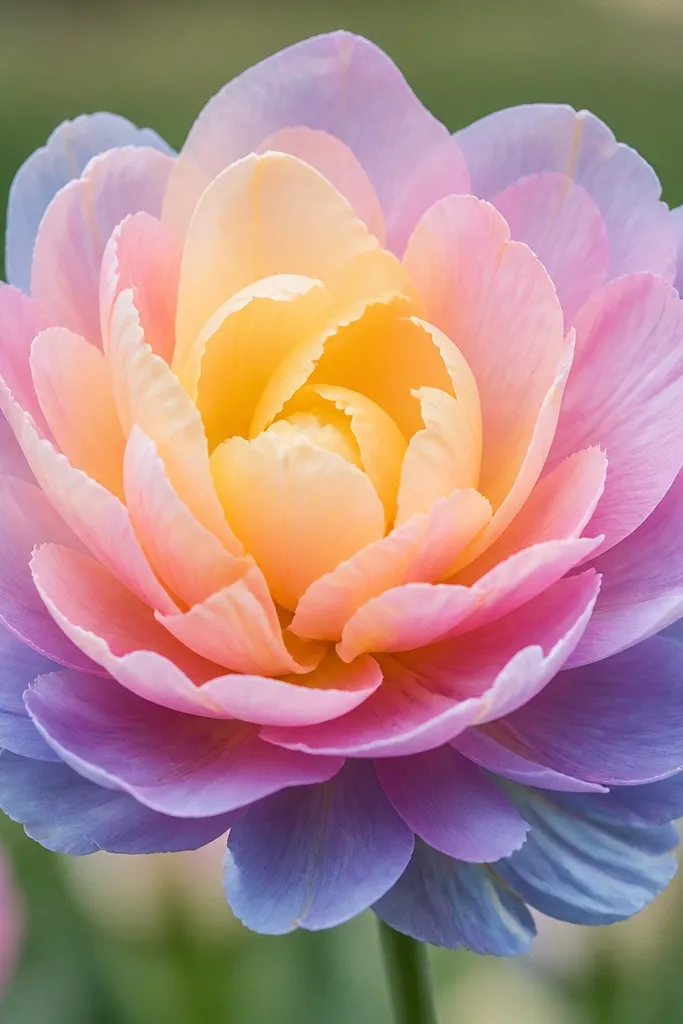
Tulip-burst tissue flowers look expensive because they have a clean fan shape instead of a cloudy ball. I like a pastel gradient because it makes the layers look intentional, like a designer color story. This style works for spring events, and it also makes great photo props because the petals line up neatly. It flatters a wide range of color schemes, especially mint, blush, and soft yellow. If you want something that reads “modern” rather than “vintage,” this is the one.
Cut 5 petal rectangles in descending sizes, like 11x8, 10x7, 9x6, 8x5, 7x4 inches, in a gradient of 5 tissue colors. Accordion-pleat each rectangle and trim one end into a pointed tulip shape. Cinch each pleated petal at the center with a twist tie, then glue the cinched center to a small circle. Start with the largest outer layer, then overlap each next layer so the points face the same direction.
Editor's noteWhen you glue layers, rotate the flower slightly each time so seams don’t line up.
Skip thisDon’t use the same-sized layers; equal petals make it look flat.
8. Classic Carnation Ridges (Double-Edge Trim)
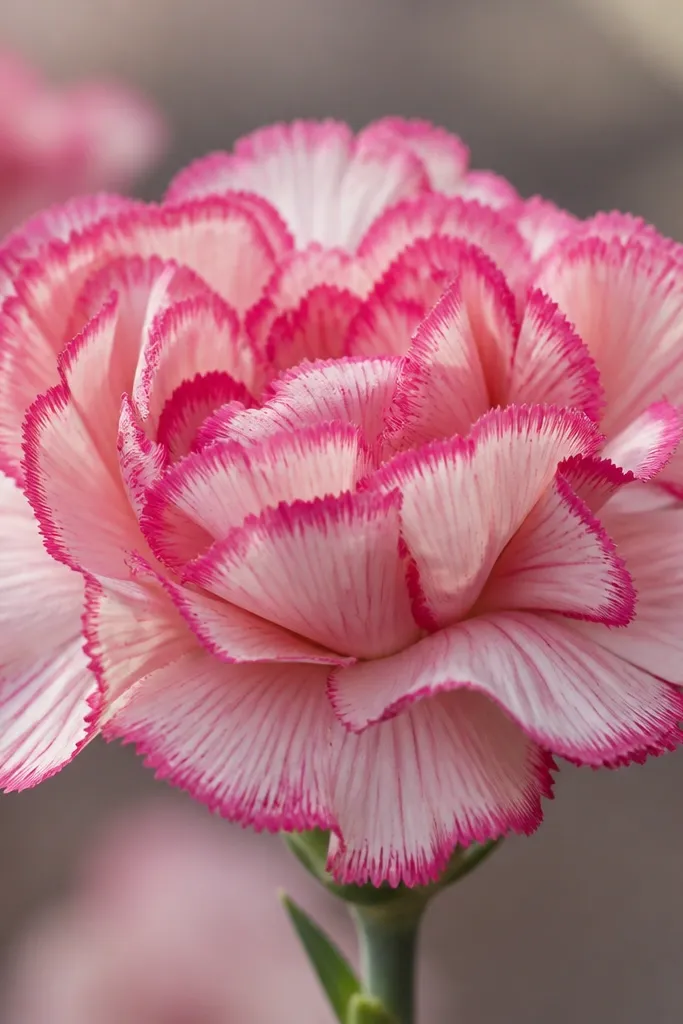
Carnation tissue flowers look high-end when the ridges are consistent. I make mine with a two-step trim: scallop the outer edge, then add small vertical slits so the petals have texture. The effect is that the light breaks across ridges, which makes the flower feel more dimensional. This style works for bouquets because it has a fuller look without being huge. It also looks good on tables because the ridges hide small center gaps. Pick a main color and a slightly darker edging color for that “crafted but expensive” look.
Stack 4 layers of tissue and pleat into 1/2-inch folds. Trim the outer edge into scallops, then cut 1/4-inch vertical slits along the scalloped edge without cutting all the way through. Cinch the center with thread or a twist tie and add one small glue dot at the center only. Open and fluff so the ridges face outward, then add a second layer of a darker tissue stack behind the first for edging contrast.
Editor's notePractice the slit spacing on scrap tissue once; once you get the rhythm, your flowers look uniform.
Skip thisDon’t over-fluff — ridges collapse and look stringy if you yank too hard.
9. Giant Wedding Flower (Oversized 16-inch Bloom)
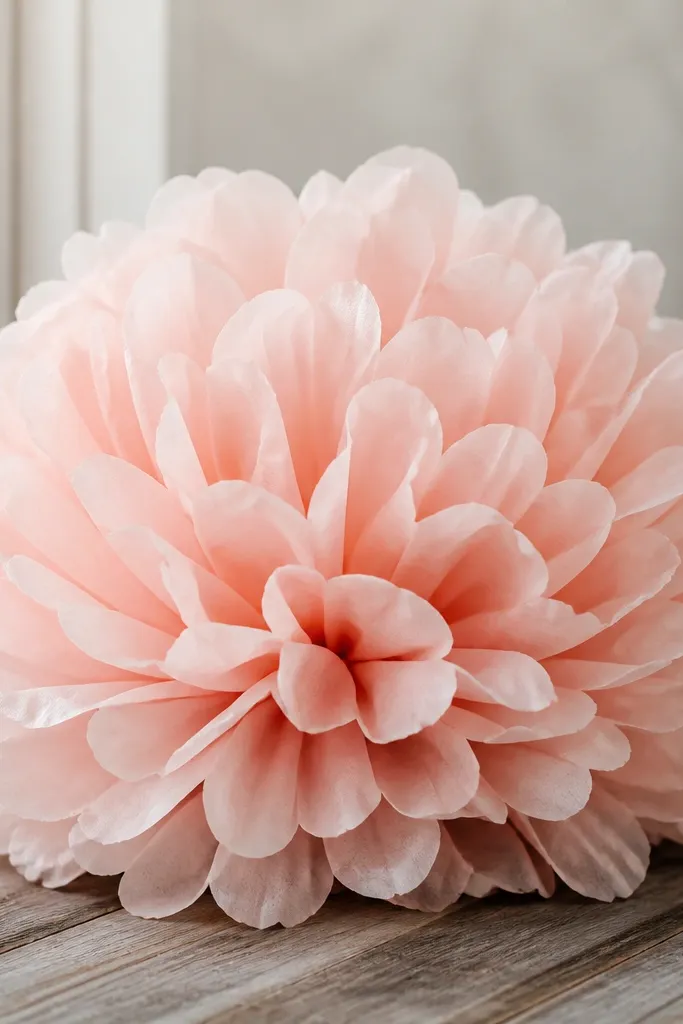
Big tissue flowers look expensive because they fill space like real floral decor. I make one oversized bloom for entrances and photo corners, and people always assume it took hours. The trick is sizing your pleats so they stay structured at a large scale. Use 8 to 10 layers total and keep the center cinch tight so the dome holds. This style is great if you want a statement without spending real money on fresh flowers. It also photographs perfectly because the petal edges are crisp at a distance.
Cut tissue rectangles around 16 in by 14 in and stack 6 layers for the main petals plus 2 layers for a slightly darker inner ring. Accordion-pleat with 3/4-inch folds for strength at scale. Round-trim the outer edge, cinch tightly at the center, then glue only the center cinch. Open in layers, starting with the outer stack, then tuck the inner ring in so you see a darker center ring.
Editor's noteHang it with two points of support on the back so it doesn’t twist and droop on one side.
Skip thisDon’t try to make a giant bloom with tiny pleats; it looks flimsy and sags.
10. Mini Bouquet Trio (3 Petal Sizes on One Stem)
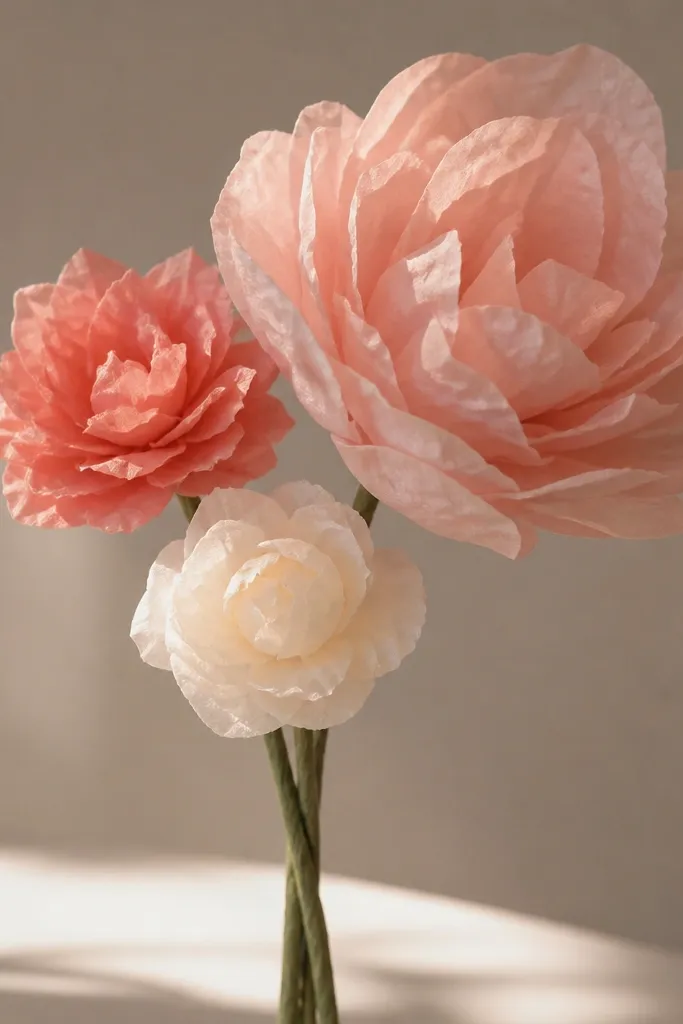
Small tissue bouquets look expensive because they look intentional, like you styled them instead of making one flower at a time. I build three sizes on one stem so it looks dimensional and not uniform. Use one base color and two shades lighter/darker for the trio. This style is perfect for desk decor and gift toppers because it takes up less space but still looks full. It also flatters most rooms because the pastel or jewel tones soften the look of shelves and tables.
Make three flowers using the same method, but change the petal rectangle size: 6x5 for the smallest, 8x6 for medium, 10x7 for the largest. Pleat each with 1/2-inch folds, trim edges rounded, then cinch with one shared floral wire bundle. Glue centers to the wire at different heights so petals don’t collide. Wrap the whole stem with floral tape, then cut a small leaf shape from green tissue and glue it near the top.
Editor's noteAngle the smallest flower slightly forward; it makes the bouquet look like it has depth, not a flat cluster.
Skip thisDon’t glue all three centers at the same height; the bouquet turns into a lumpy ball.
11. Tissue Paper Dahlia Fan (Deep Petal Layers)
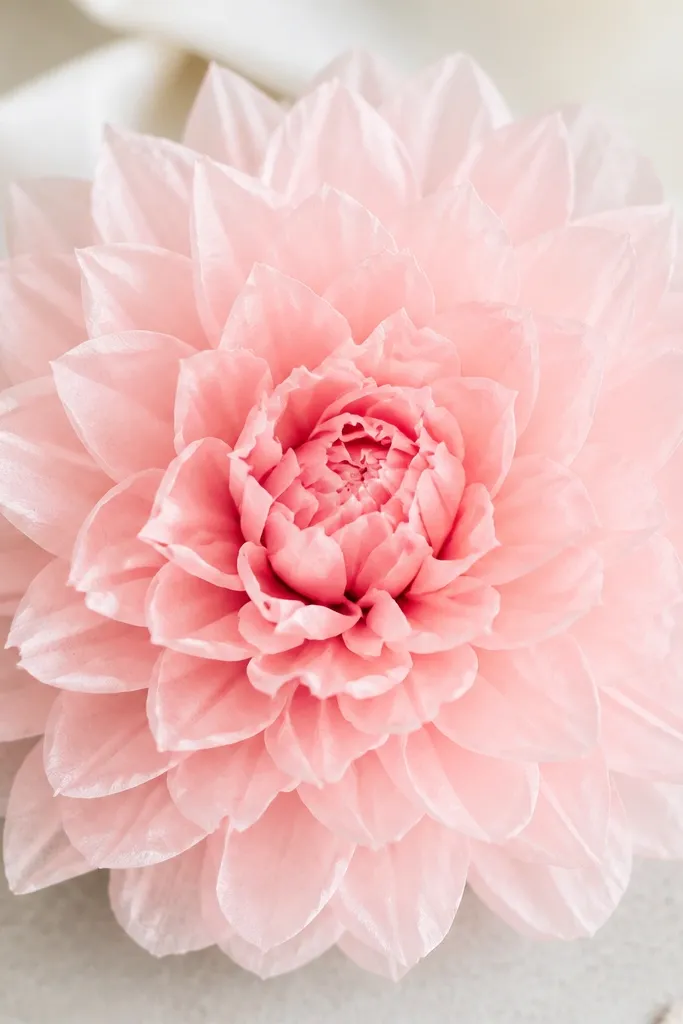
Dahlia tissue flowers look expensive because the petal count feels high even when you don’t use crazy amounts of tissue. The fan spiral gives a detailed look with structure. I use 10 to 14 petal strips in one color family, then add a contrasting center stripe so it looks finished. This style works best on open backgrounds because the spiral reads clearly from the front. It also looks great in hair clips and brooch-style decor because the center stays tight.
Cut 14 tissue strips about 11 in by 2.5 in, stack in sets of 2, and pleat each strip into 1/2-inch folds. Trim one end into rounded petals and cinch each strip at the center with thread. Roll the first strip into a tight center coil, then glue each next strip around it, spiraling outward. Finish by fanning the last layer wide so the flower spreads evenly.
Use a toothpick to apply glue only at the base of each strip so you don’t glue petals shut.
Don’t glue the top edges; glued tops make the dahlia look flat and shiny.
12. Peach Ruffle Burst (Fast 20-Minute Version)
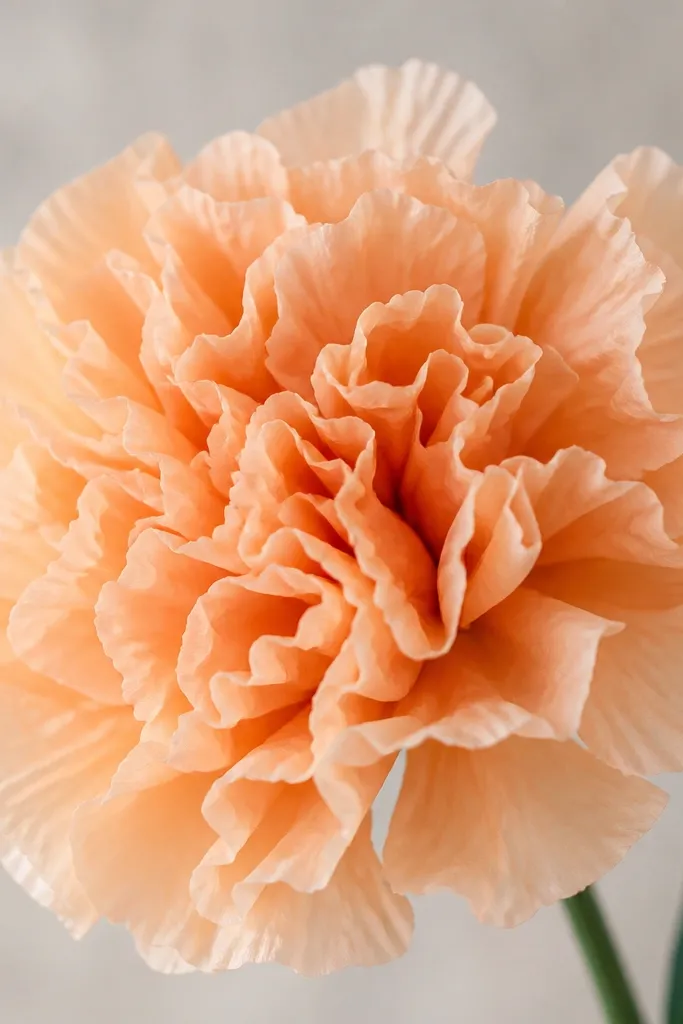
If you want the “expensive” look without the big prep time, ruffle bursts are the answer. The trick is cutting wavy edges while the tissue is pleated, then fluffing in a controlled pattern. I use one main color and one lighter shade for the inner layer, like peach with pale peach. This style fits quick party decor, last-minute gift bags, and simple centerpieces. It looks best when the petals have visible wave texture.
Stack 5 layers of peach tissue and pleat into 1/2-inch accordion folds. Trim the outer edge into a gentle wave pattern using scissors, then cinch the center with a twist tie. Open the flower and fluff outward, then make a smaller inner flower with pale peach tissue and glue it inside. Rotate the inner flower slightly so the waves show between the outer petals.
Editor's noteUse slightly different wave widths on the outer edge; the irregularity reads more natural and more high-end.
Skip thisDon’t flatten the waves with your hands; let them spring back when you fluff.
13. Monochrome Black Cherry Blossoms (Branch-Ready)
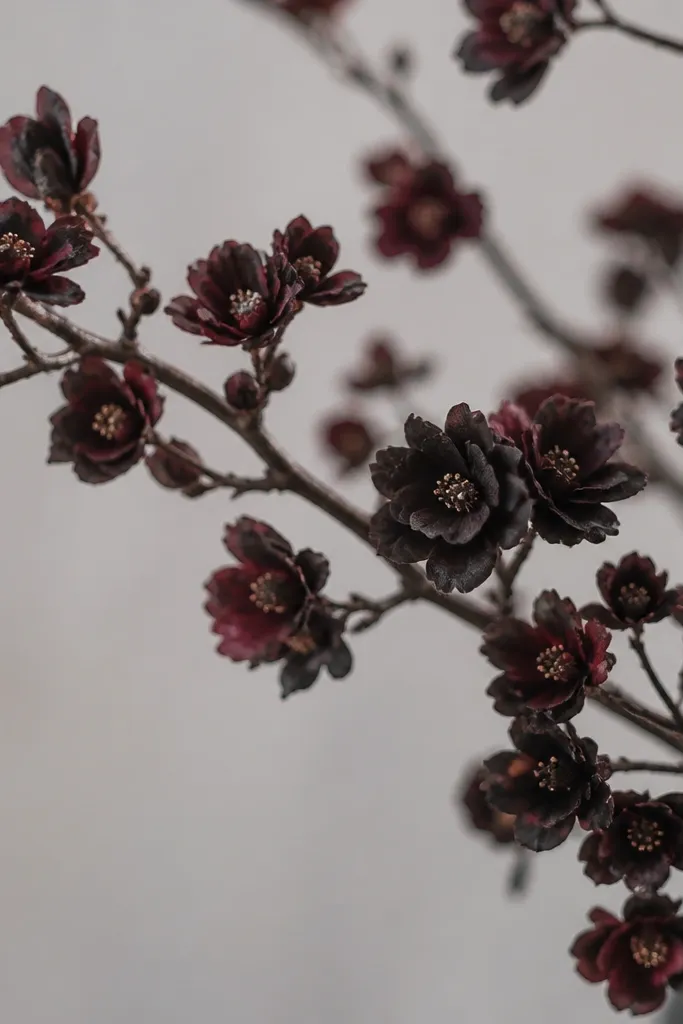
Cherry blossom tissue flowers look expensive when the petals are small and layered, and the center is understated. I like deep black-red tissue because it looks dramatic and still soft when fluffed. This style is great for branch decor, photo backdrops, and wedding centerpieces when you want a dark palette. It also flatters rooms with lots of light because the petals catch highlights. The center stays delicate, so it doesn’t look bulky.
Cut tissue squares about 7 in by 7 in, stack 3 layers, and pleat accordion folds with 1/4-inch spacing. Trim the outer edge into rounded petal shapes and cinch the center with a twist tie. Glue a tiny circle of tissue scraps into the center to form a subtle bud core. Attach each blossom to a thin branch with floral wire, spacing them 1 to 2 inches apart for a natural look.
Use a matte black or deep wine tissue, not glossy; glossy tissue reflects harshly and looks cheap in photos.
Don’t make the center too big; oversized centers make blossoms look like generic pom-poms.
14. Two-Tone Star Burst (Red + White Alternating)
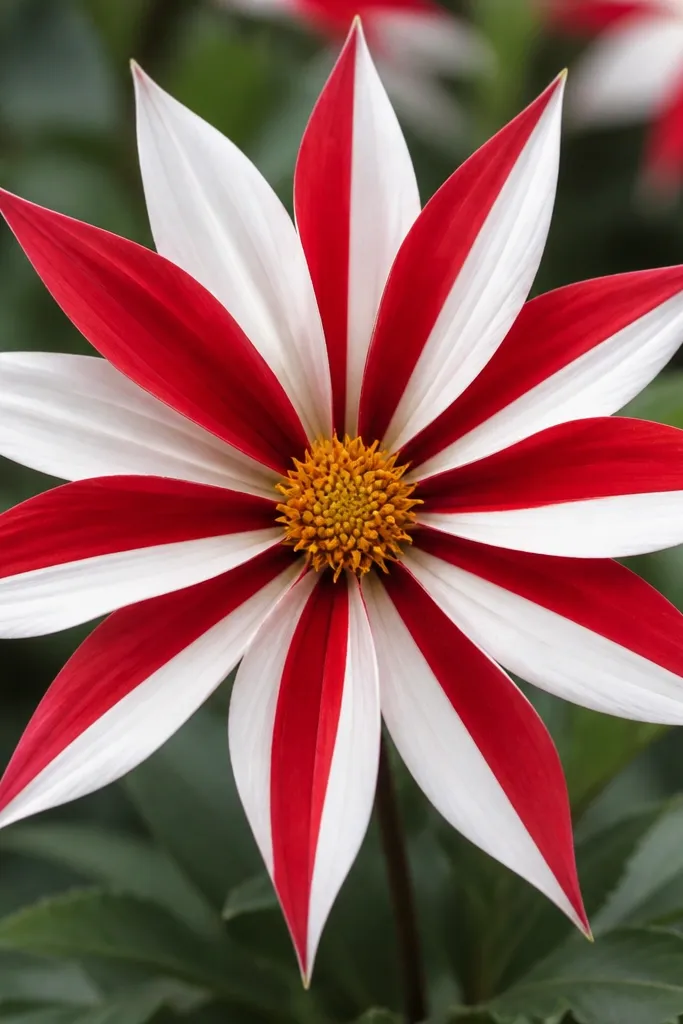
Star burst tissue flowers look expensive when the points are sharp and evenly spaced. Alternating red and white makes it feel graphic and intentional, like party decor from a high-end stationery shop. I also like this style because it works for both casual events and formal ones — it depends on how you dress the center. Use a small neutral center and let the alternating petals do the visual work. It reads well from a distance because the points create a clear silhouette.
Cut 12 petal rectangles about 9 in by 4 in, alternating red and white. Pleat each with 1/2-inch folds, then trim one end into a pointed star petal. Cinch each petal at the center with thread. Arrange petals in a circle on a cardboard base, then glue each cinched center to the base so points face outward. Finish by adding a small center disk made from layered tissue circles.
Editor's noteAdd a thin gold strip around the center disk by wrapping a narrow gold tissue band before gluing.
Skip thisDon’t let petals overlap randomly; uneven spacing turns the star into a lopsided flower.
15. Soft Ombre Garden Flower (Green-to-Petal Fade)
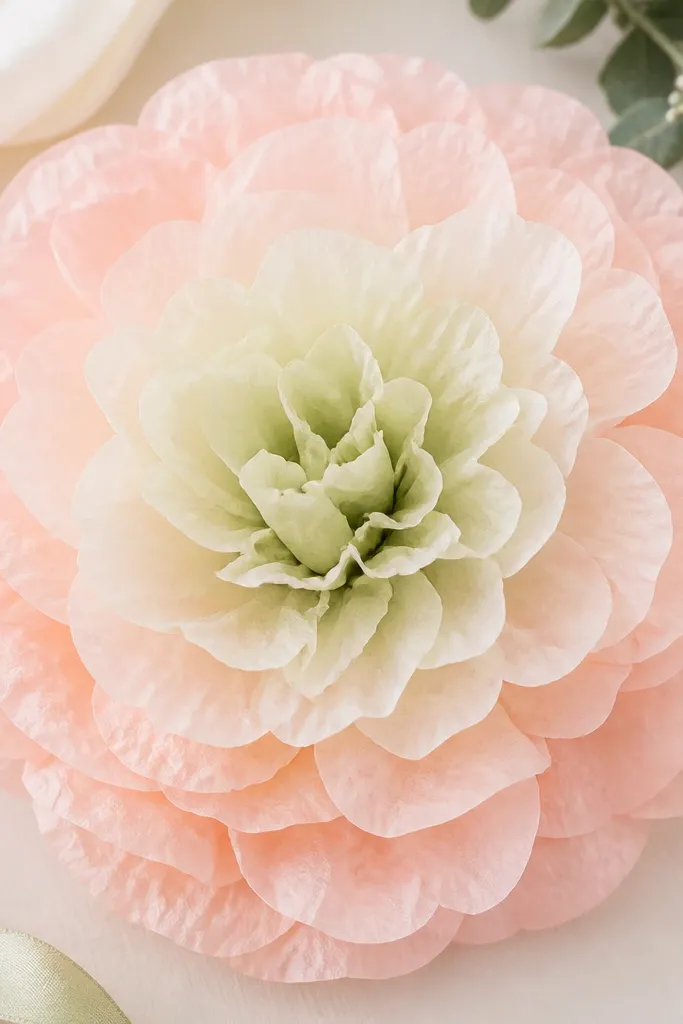
Ombre tissue flowers look expensive because they create a natural gradient, which makes your petals look like they have depth. I build this using green tissue for the inner layers and slowly shift to blush or peach for the outer. The center looks fresh, almost like a real flower head, and it makes the whole arrangement feel styled. This is a great option for spring tables and baby showers because the color fade looks gentle. It also flatters neutral interiors because green tones ground the pastel petals.
Cut 3 layers sets: inner 3 sheets in pale green, middle 3 sheets in light peach, outer 4 sheets in blush. Pleat each set into accordion folds with 1/2-inch spacing, then trim outer edges round. Cinch the center for each set separately, glue the inner set to the base, then add the middle set and finally the outer set on top. Fluff each layer so the gradient shows as a ring, not a single blended blob.
Editor's noteIf your ombre looks too harsh, lightly separate the layers during fluffing so the gradient spreads.
Skip thisDon’t mix all colors into one stack; it turns into a muddy center instead of a gradient.



