1. Rust Band Mug With Gritty Iron Paint
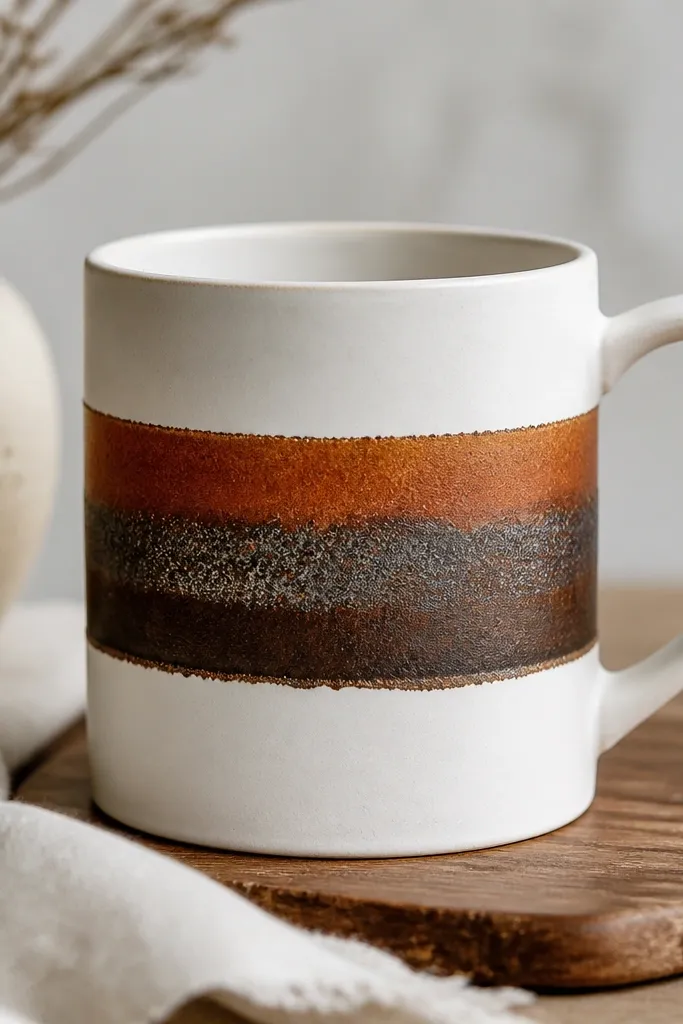
This one looks like it came from an old farmhouse shop because the paint surface has controlled texture. I use a gritty metallic finish for the band so it catches light even when the rest is plain. The rust palette hides brush marks and makes the mug feel warmer than flat orange. It also works well with winter coffee - it looks cozy even in low kitchen light.
Tape a straight band using 1/2-inch painter's tape, leaving a clean gap between band and tape edges. Paint a base in burnt sienna, then dab dark umber around the edges with a torn sponge. Finish with a metallic iron or "rust effect" paint for the speckle. Let it cure fully before removing tape; I remove tape while paint is slightly tacky for the sharpest line.
Pro tipAfter the band is dry, rub a little dry pastel chalk (burnt umber) lightly over the band for extra depth. Seal with a clear ceramic topcoat if your paint brand allows it.
AvoidDon't paint the band too wide - if it's over 3 inches, it starts looking like a stain instead of a design.
2. Botanical Tea-Stained Transfer Mug
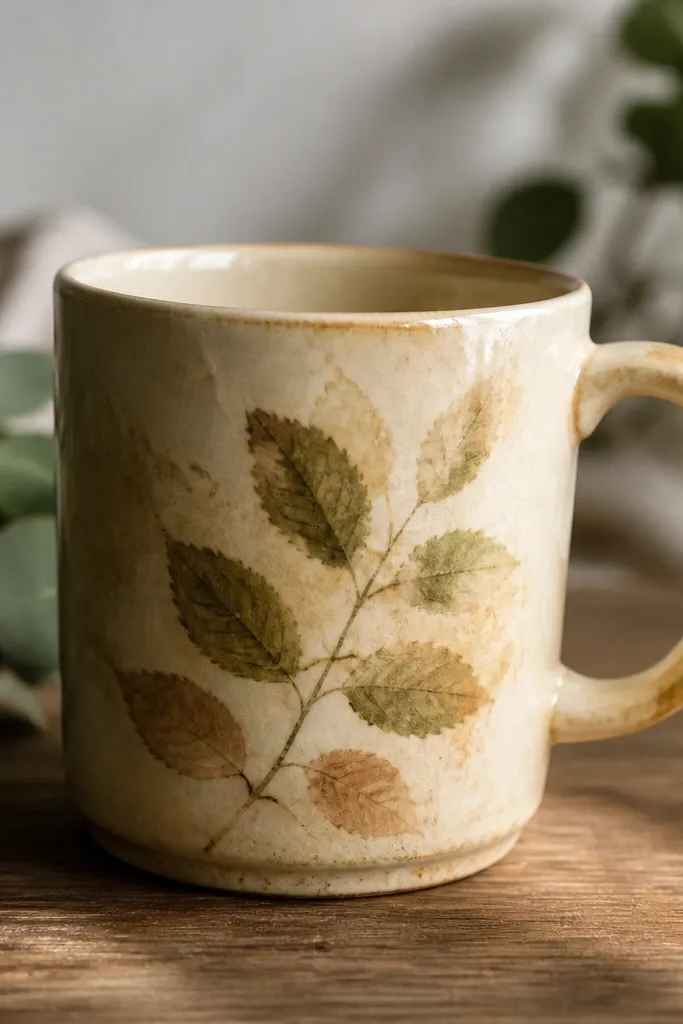
Tea-staining gives you that antique paper look without needing special paper. I like botanical prints because the lines still read even after staining. You get a soft, aged background while the illustration stays centered. It's the easiest way to make weekend handmade mug ideas look "collected," not "crafted."
Print or copy a small botanical line drawing onto inkjet transfer paper. Cut it to fit the mug about 2.5 inches tall. Brew black tea, paint a thin layer onto the mug with a foam brush, then place the transfer and press firmly. Seal with a clear, dishwasher-safe transfer sealer once cured.
Pro tipUse a reference photo of your kitchen window light and place the artwork so it's aligned with the handle - it will look right every time you grab the mug.
AvoidSkip heavy soaking in tea on the whole mug - it can turn blotchy and cover the illustration.
3. Twine Wrap Handle Accent
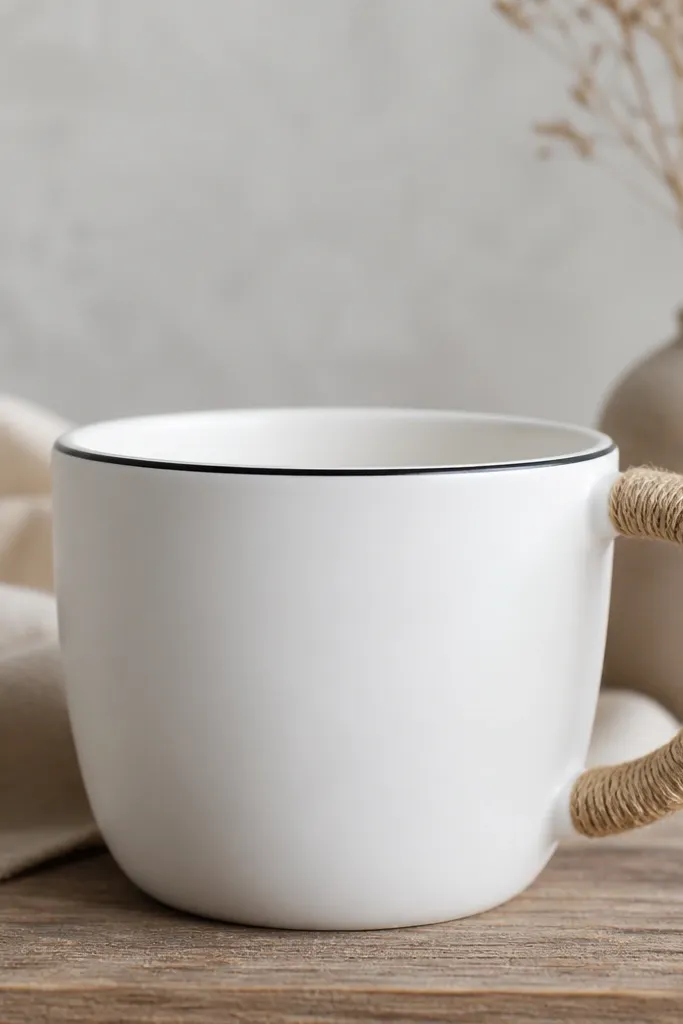
This is a small change that reads big. Twine around the handle adds warmth and texture without touching the drinking area. I like it because you can keep the mug itself clean and let the handle become the design. It also photographs well from the side, which matters if you're making gifts.
Use a hot glue gun and wrap twine starting at the handle base. Keep the twine lines snug so there's almost no gap. For a finish, tie a tiny bow or tuck the end under the last wrap. Add a thin black acrylic "bracelet" line around the mug body using painter's tape for a simple contrast.
Pro tipLightly toast the twine with a hair dryer until it's warm and pliable, then wrap - it lays flatter.
AvoidDon't glue twine in thick blobs - they create raised bumps that look messy.
4. Cork Coaster Mosaic Mug
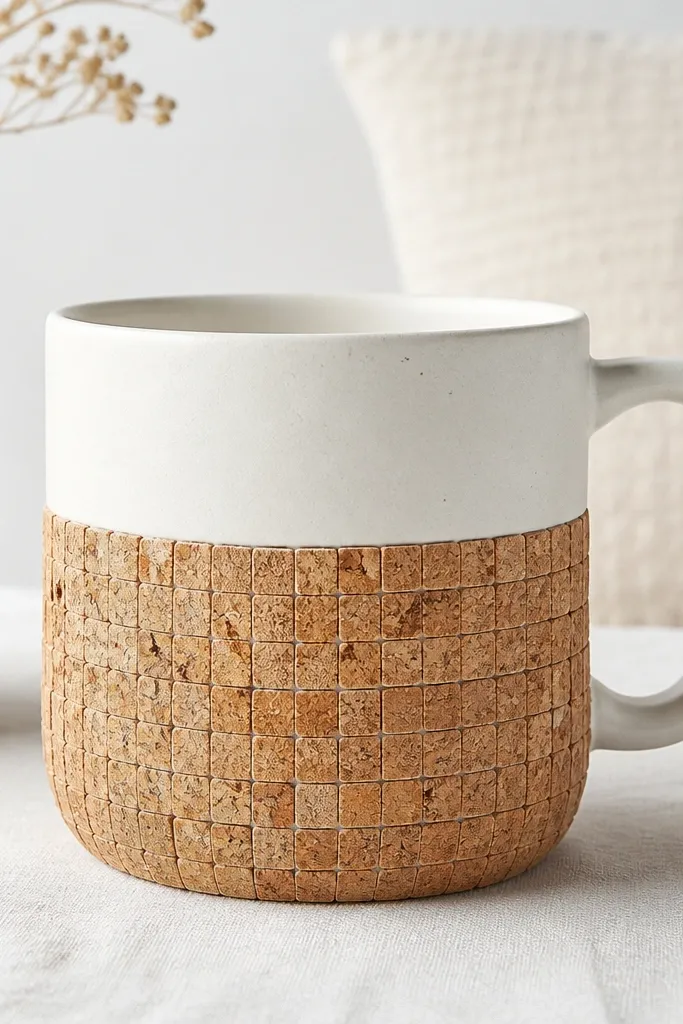
Cork is forgiving and it looks naturally rustic even when you cut it in neat shapes. The mosaic pattern makes the mug feel handmade without needing fancy drawing skills. I like it because cork hides tiny unevenness and gives a soft, warm texture. It also works great for mugs used on a kitchen counter because it doesn't show scuffs as easily as glossy paint.
Cut cork into 1/2-inch squares with a sharp craft knife. Plan a grid on the mug's lower half, about 2 inches tall, leaving the top clean. Glue with epoxy or a strong craft adhesive that bonds to ceramic. Fill gaps with a thin layer of watered-down acrylic paint matching the cork tones.
Pro tipSeal the mosaic with a matte clear coat so it doesn't get shiny and so scuffs wipe easier.
AvoidSkip oversized chunks - big cork pieces look like a craft project instead of a design.
5. Linen Napkin Decoupage Band Mug
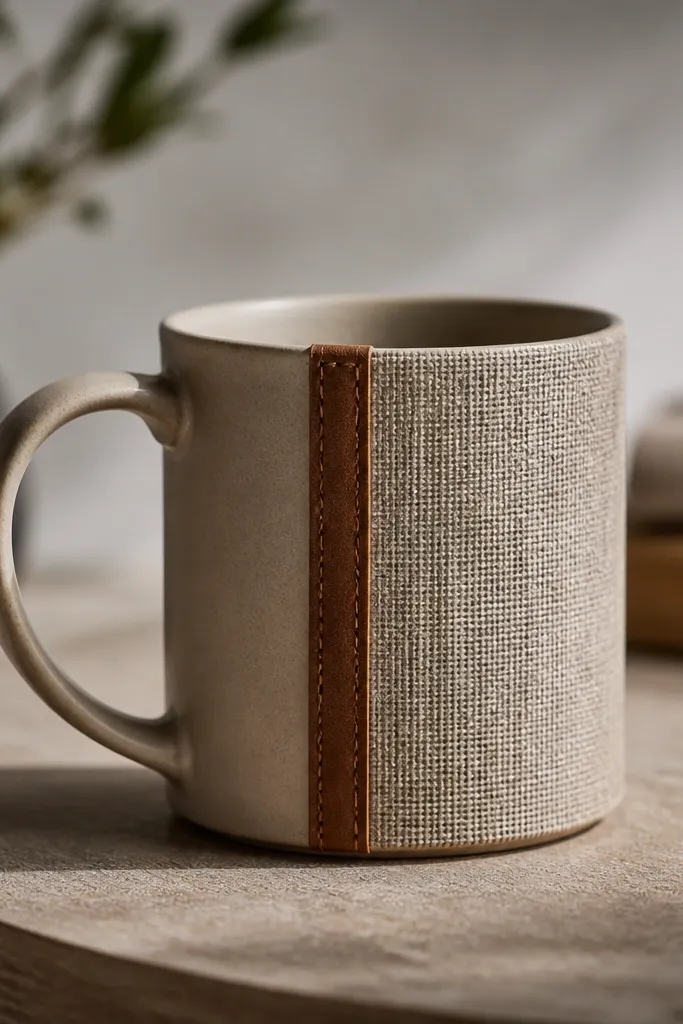
Fabric decoupage gives you that cozy, cloth-bound look that paint can't replicate. A linen napkin pattern reads calm and rustic, especially in oatmeal, sage, or faded indigo. I use a border strip because it makes the join line disappear. The mug feels like a handmade prop for breakfast photos.
Cut a fabric strip about 3 inches tall and 5/8 inch wide for one side, then fray the edges slightly for a soft effect. Brush Mod Podge onto the mug, press the fabric down, then paint more Mod Podge over the top. Add a thin faux-leather strip (from an old belt) around the edges with strong glue. Seal again with a clear topcoat.
Pro tipUse a foam brush for the top coat - it avoids visible streaks through the weave.
AvoidDon't use thick fabric - heavy denim makes the edges lift.
6. Sharpie Marbling With Rubbing Alcohol
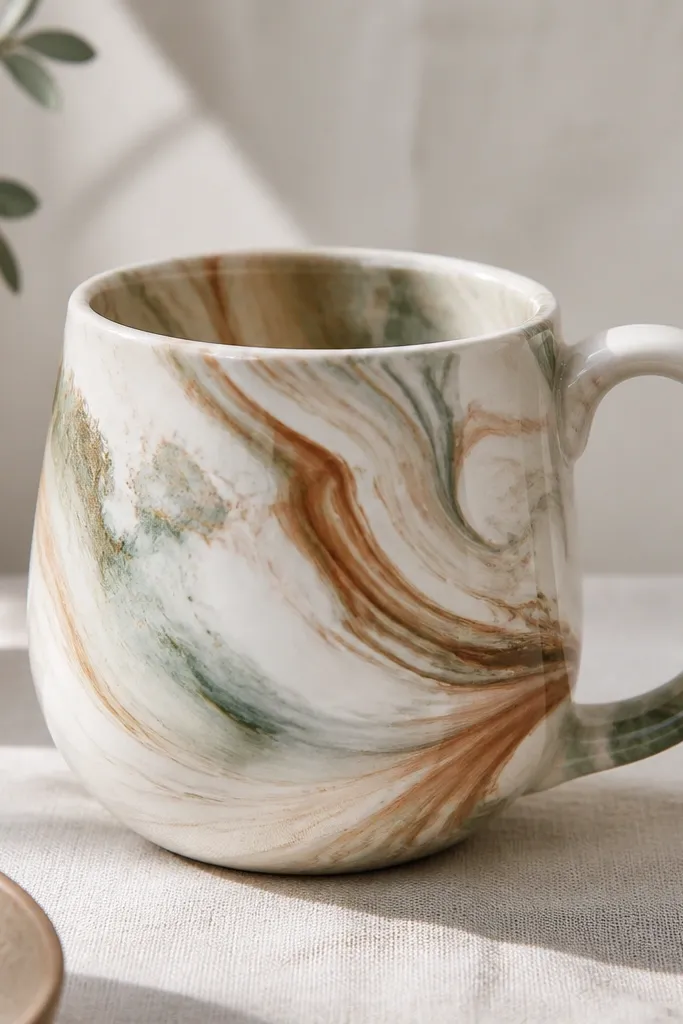
Marbling is the fastest way to make a mug look like it has movement. I use Sharpie-style permanent markers because they react predictably with alcohol and float into swirls. The result looks artistic even if you're not good at painting. It's also easy to keep the design small - one vertical panel looks intentional.
Protect your work surface. Add rubbing alcohol to a shallow tray, then drop marker dots into it. Use a toothpick to swirl once, then press the mug lightly against the pattern area. Let it dry completely and seal with a clear acrylic sealer made for ceramics. Keep it to a 3-inch tall panel so it doesn't look chaotic.
Pro tipDo a test on a cheap mug or scrap tile first - the alcohol amount changes how fast colors spread.
AvoidSkip overworking the swirl - more poking makes mud instead of marbling.
7. Enamel Pin Accent Mug
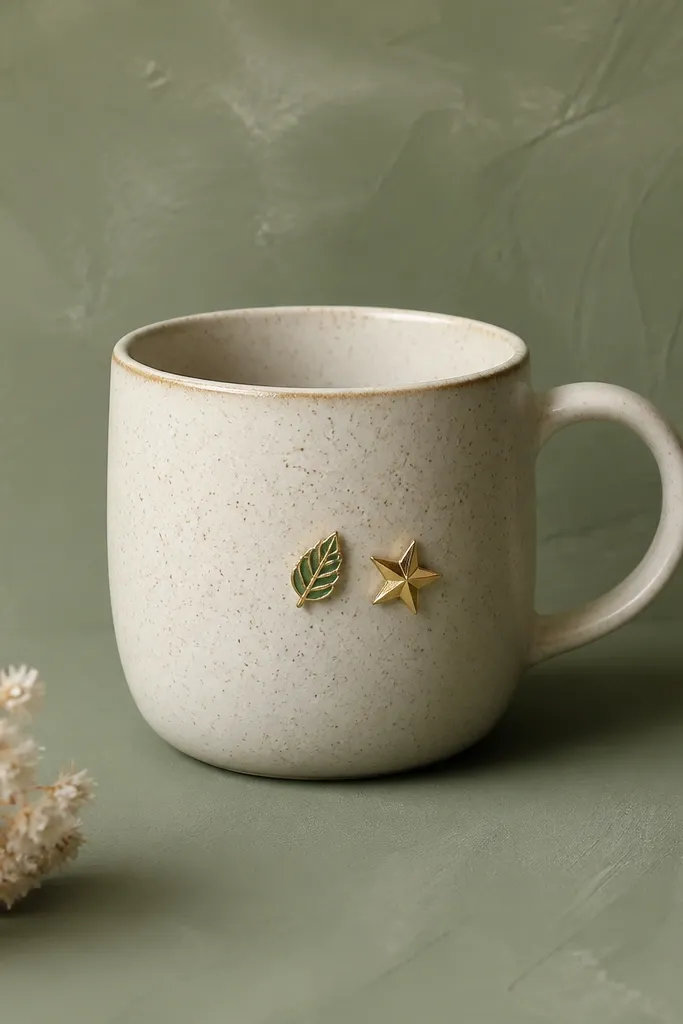
Pins let you recycle something you already own and turn it into kitchen decor. The trick is giving the pins a stable "stage" so they don't look like they're stuck on randomly. I paint a matte sage rectangle where the pins go, then attach them with a strong adhesive. The pins add crisp color and a playful rustic vibe.
Clean the mug with rubbing alcohol. Paint a matte rectangle about 2.5 inches wide and 3 inches tall. Once dry, glue the pin backs onto the rectangle area. For extra security, add a thin layer of clear epoxy over the edges of the pin base. Let cure fully before washing.
Pro tipChoose pins with a flat back - raised backs rock and show gaps.
AvoidDon't place pins near the lip - even if they're small, they can interfere with drinking comfort.
8. Weathered Chalk Paint Script Mug
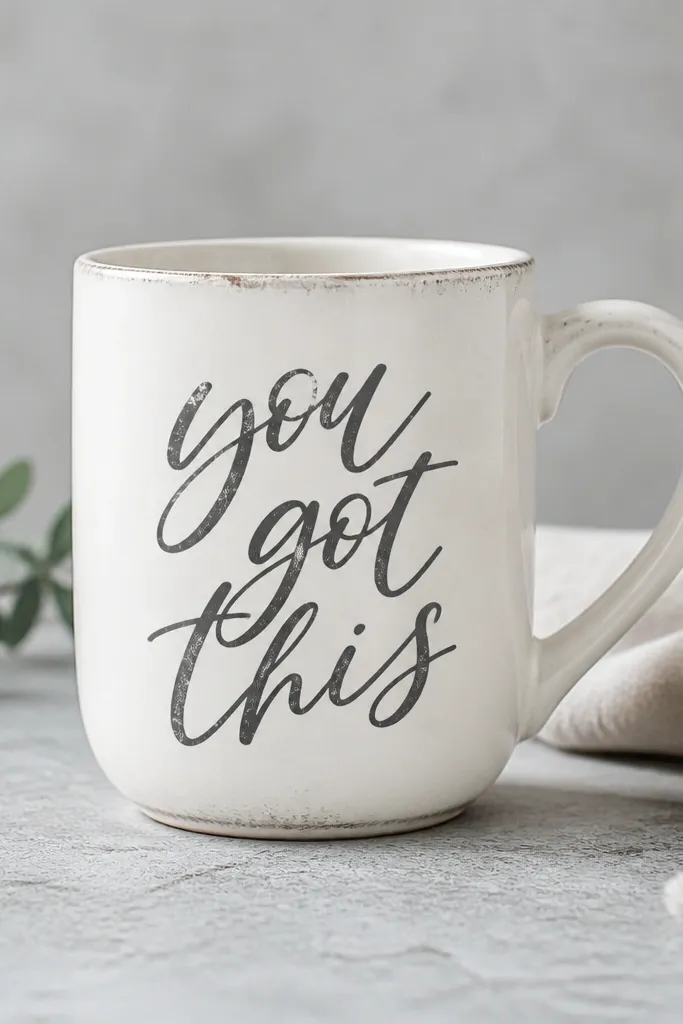
Hand-lettering looks great when it's weathered on purpose. Chalk paint gives you a matte surface that accepts sanding well, so you can create a worn look without ruining the whole mug. I like messages that are short: "Good Morning," "Oat Milk," or just a date. The worn script looks like it's been in the family.
Tape a guide line where the text sits. Use chalk paint or paint designed for chalk finishes, then letter with a small round brush. Let dry, then sand the letter edges lightly with 220-grit to reveal the white underlayer. Finish with a thin clear matte topcoat.
Pro tipWrite the message on paper first and measure the width against the mug - scripts that are too wide wrap awkwardly.
AvoidSkip thick lettering - heavy paint makes the sanded edges look chunky.
9. Vintage Button Row Mug
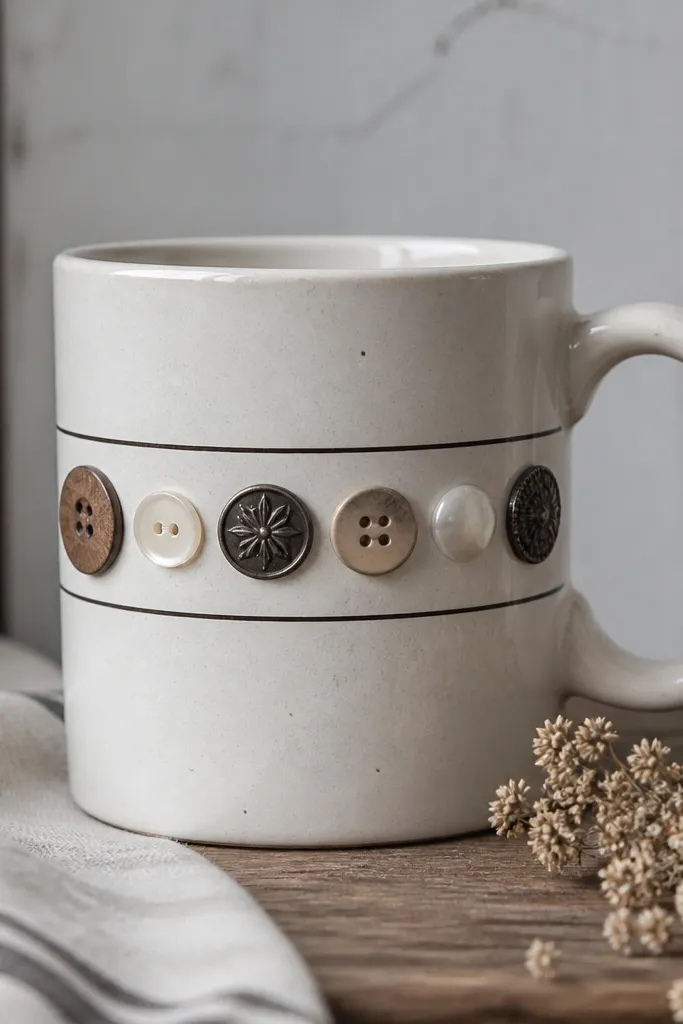
Buttons add instant charm because each one brings its own shape and shine. The key is keeping the row straight and the spacing consistent so it reads like a design. I like mixing materials: two dark metal buttons for contrast, then lighter pearl or wood for softness. The mug feels like a thrift-store find you made yourself.
Lay out 6-8 buttons across the mug middle, spacing them about 1/8 inch apart. Mark lightly with pencil. Glue with epoxy, then paint a thin black line above and below using tape as guides. Seal once the epoxy cures.
Pro tipChoose buttons that are flat on the back - big shanks cause uneven height.
AvoidDon't glue buttons near the handle curve - they warp with the mug shape and look off-center.
10. Sumi Ink Dot Rim Mug
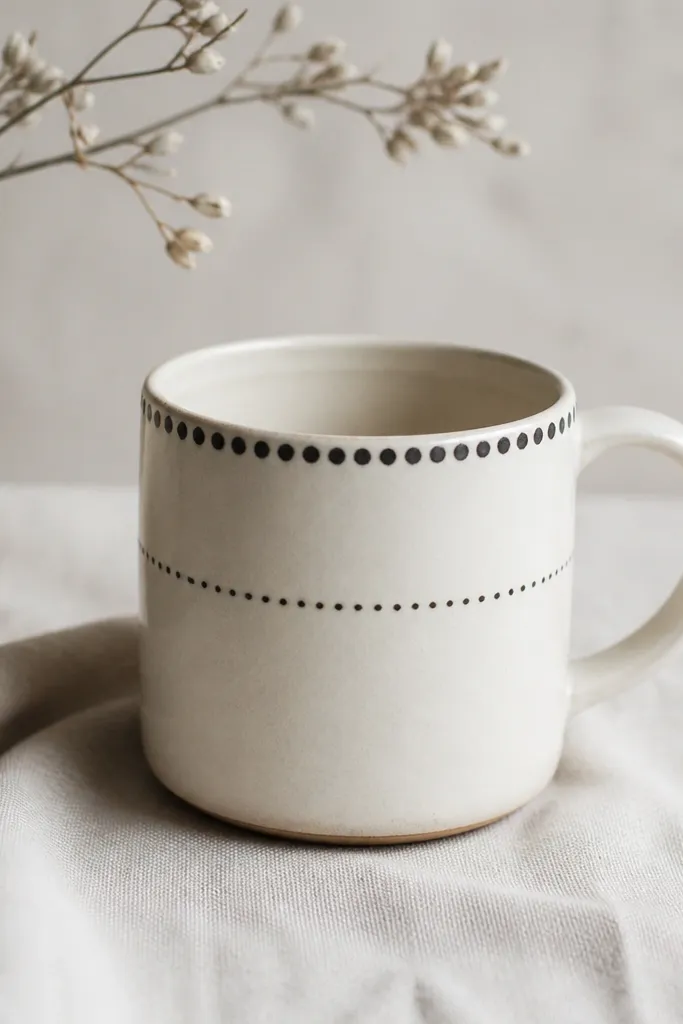
A dot rim looks clean, graphic, and rustic at the same time. Sumi ink gives you that slightly irregular edge so it feels handmade instead of printed. I keep the design minimal and let the ink spread naturally. It's a weekend win because it's fast and hard to mess up - you can adjust spacing as you go.
Use a fine brush or a dotting tool and create a ring of dots about 1/4 inch below the rim. Add a second, smaller dot line halfway down the mug body. Let ink dry, then seal with a clear ceramic sealer. If your ink smears, wait longer before sealing.
Pro tipTap your brush once on scrap paper to control dot size before you touch the mug.
AvoidSkip thick paint blobs - big dots dry glossy and look like you dragged ink.
11. Drawer Pull Handle Wrap Mug
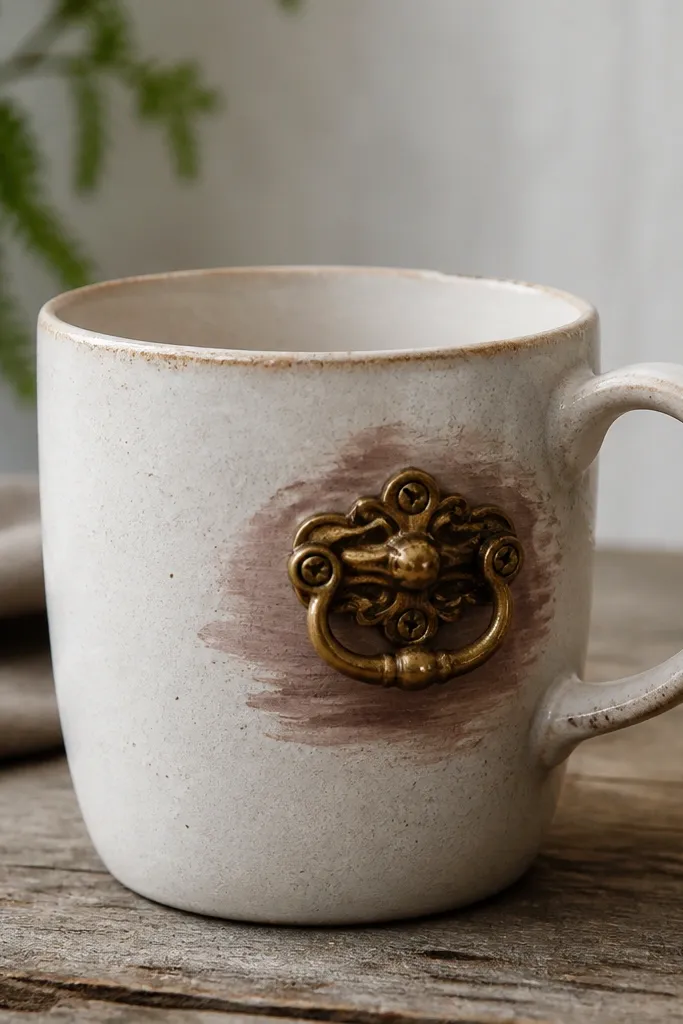
This is a "thrift flip" mug where the hardware becomes the center piece. A small drawer pull reads instantly decorative because it's already shaped. I pair it with a clay wash so the brass looks warm, not shiny. It's the kind of mug you notice across the kitchen.
Lightly sand the mug and wipe clean. Paint a 3-inch tall vertical clay wash behind where the pull will sit. Glue the pull with epoxy and clamp with a rubber band or tape until cured. Finish with a clear coat so the paint doesn't get scratched by the hardware.
Pro tipIf the pull is heavy, drill a tiny hole through a scrap of thin leather and use it as a stabilizer strap under the pull base with adhesive.
AvoidDon't use superglue - it loosens with heat cycles from hot drinks.
12. Patchwork Fabric Sleeve Mug
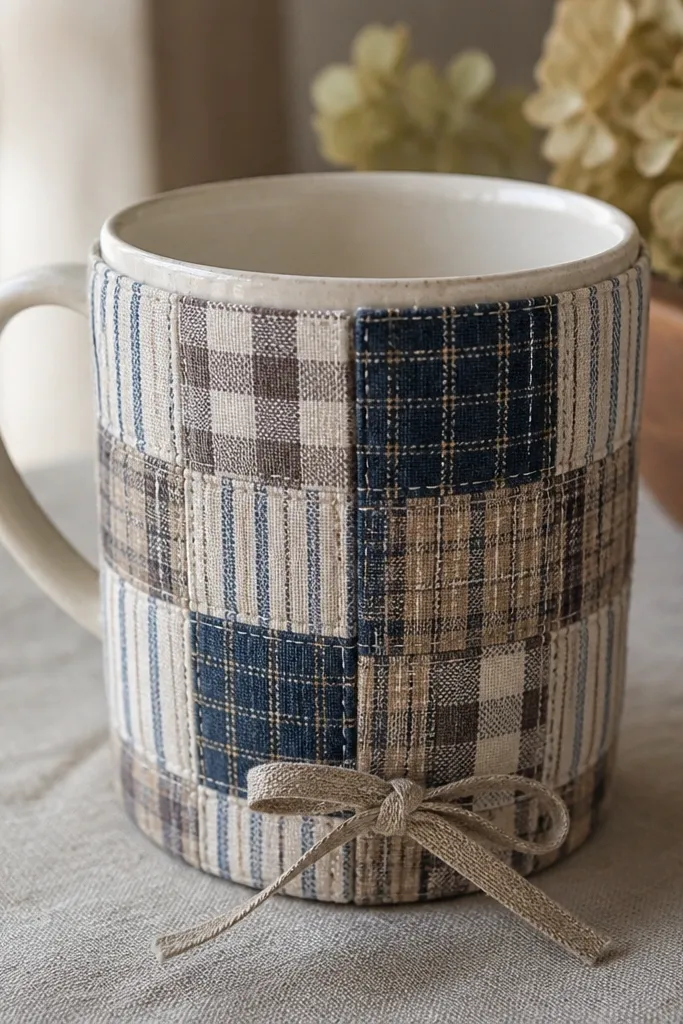
A fabric sleeve is the most forgiving beginner option because you can remove it and rework it. Patchwork makes it look intentional even when your cuts aren't perfect. I like ticking stripe with one plaid panel and one solid cream panel - it keeps the look rustic but clean. The sleeve also helps your mug feel warmer to hold.
Measure the mug circumference and cut a sleeve panel with a 1/2-inch seam allowance. Use cotton quilting fabric, then iron a thin fusible interfacing on the back to keep it crisp. Sew a side seam and add a simple tie or elastic at the bottom. If you want it to stay put, add a thin strip of Velcro inside at the back.
Pro tipUse a 14-inch piece of bias tape for the top edge so it lays flat on the curve.
AvoidSkip slippery fabric like satin - it shifts when you set the mug down.
13. Map Coordinates Mug With Epoxy Resin Clear
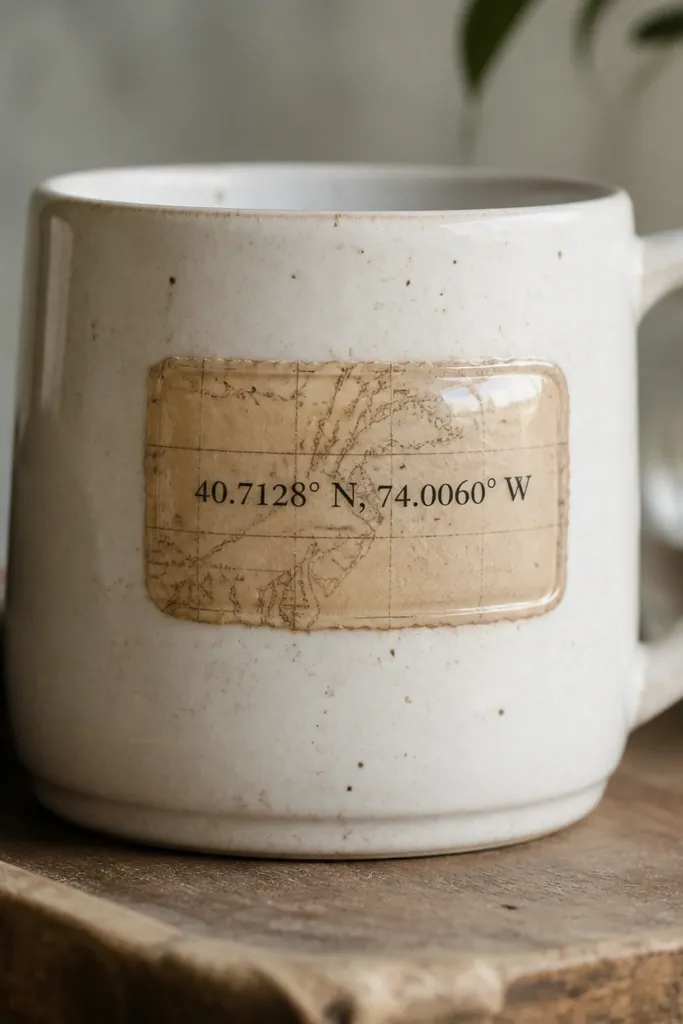
Paper maps look great because they already have texture and age. The epoxy dome makes the design feel like a glass cabochon instead of a sticker. I also like coordinates because you can pick a place that matters and keep it small. The mug looks like a handmade piece of jewelry for your counter.
Cut a map strip about 2 inches wide and 1.5 inches tall. Lightly stain it with tea or watered-down coffee so it matches your mug tone. Glue the paper to the mug, then mix clear epoxy and pour a shallow dome only over the paper area. Seal around edges with a thin clear coat so nothing lifts.
Pro tipUse slow-set epoxy if you're nervous - it gives you time to pop bubbles with a toothpick.
AvoidDon't overpour epoxy - thick resin can crack when the mug heats.
14. Stencil Corners With Oxide Green Paint
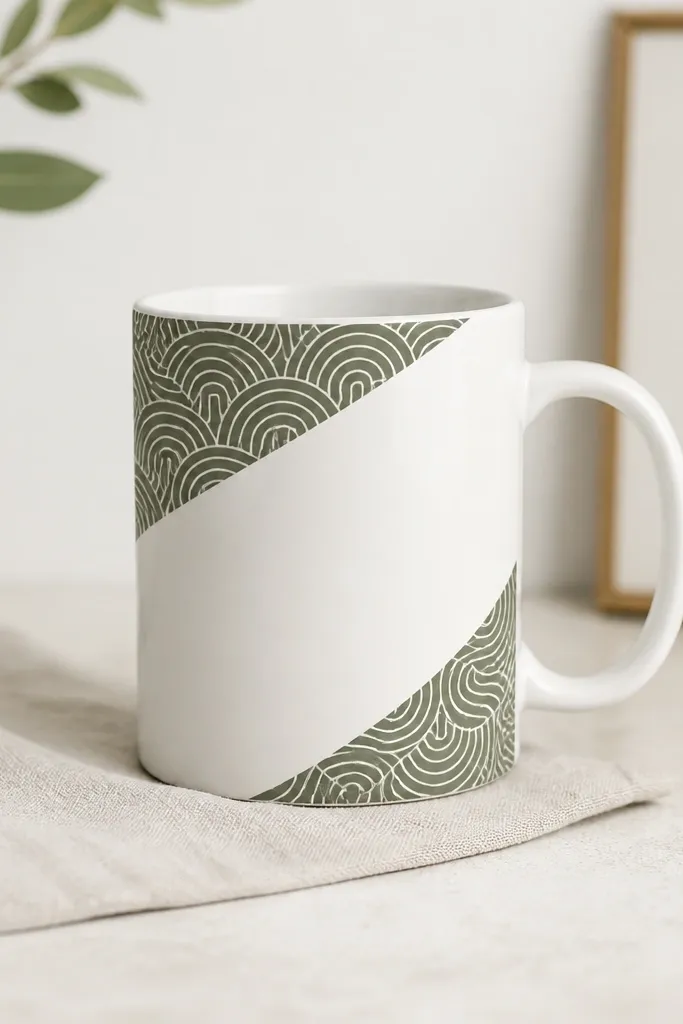
Stencil corners are my favorite "I did this in an afternoon" look. Oxide green adds an old-world feel without needing a lot of detail. Because the design is only in corners, you avoid the problem of symmetry that happens with big centered motifs. It reads clean and rustic at the same time.
Use painter's tape to mask two 1.5-inch squares in opposite corners of the mug. Apply stencil brush strokes over a stencil or just use a foam brush for a flat block. Let dry, then remove tape. Finish with a clear topcoat that cures hard for ceramic.
Pro tipPress tape down firmly with a credit card so paint doesn't seep under and create fuzzy edges.
AvoidSkip cheap craft paint - it chips faster than ceramic-grade coatings.
15. Spoon Rest Photo Frame Mug
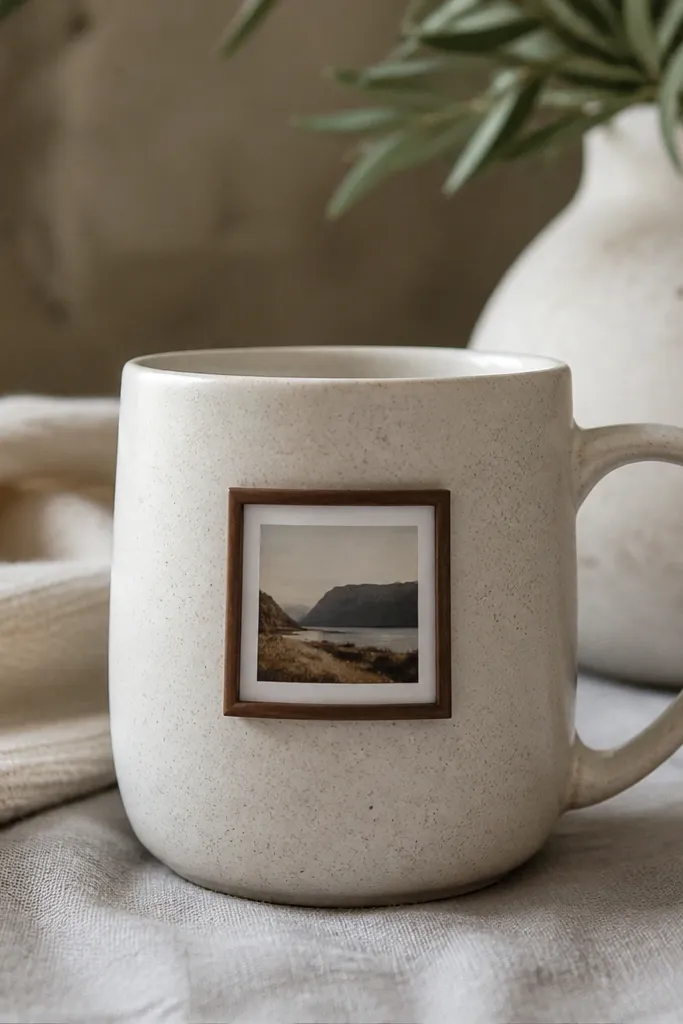
A mini frame gives you that gallery look with zero drawing skill. Wood strip frames make it feel rustic instantly, and the photo print adds personal warmth. I like using a botanical photo or a black-and-white kitchen scene because it doesn't clash with coffee colors. The frame also hides the edge of the print, so it looks professionally finished.
Cut two thin wood strips for a rectangle frame, about 2 inches by 1.5 inches. Stain dark walnut and let dry fully. Glue frame pieces onto the mug and tuck a printed image behind the "mat" paper layer. Seal the print with a thin clear coat that won't wrinkle paper.
Pro tipUse a laser-printed image if you can - it bonds smoother under clear sealer than inkjet.
AvoidDon't skip sealing the print - unsealed ink smears when you wash the mug.


