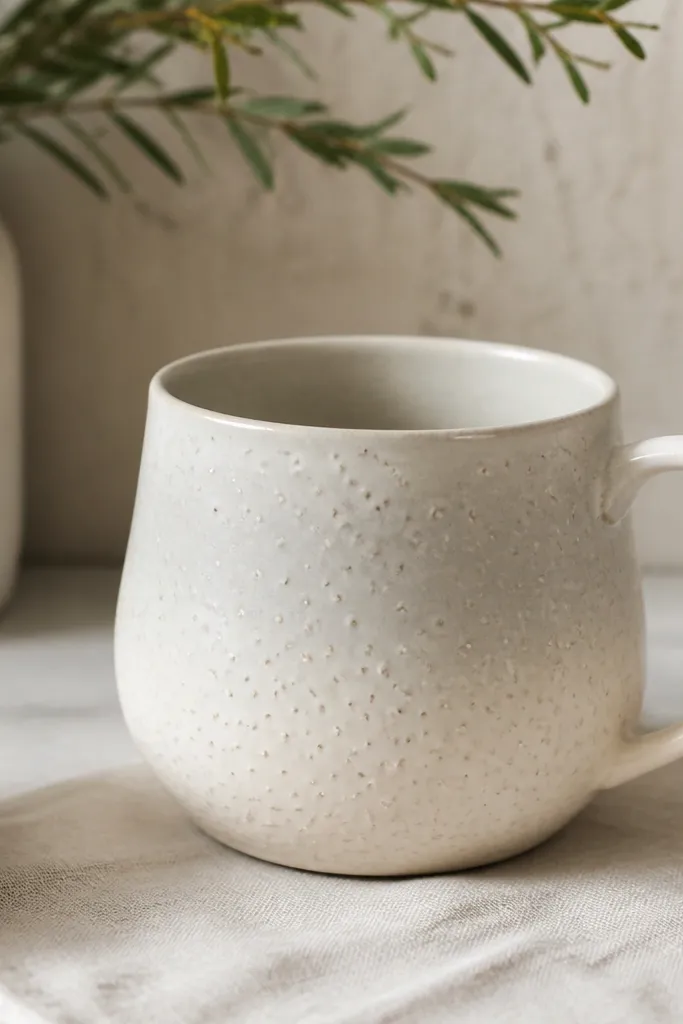
1. Soda-Drip Speckle Mug with White Acrylic + Toothbrush Texture
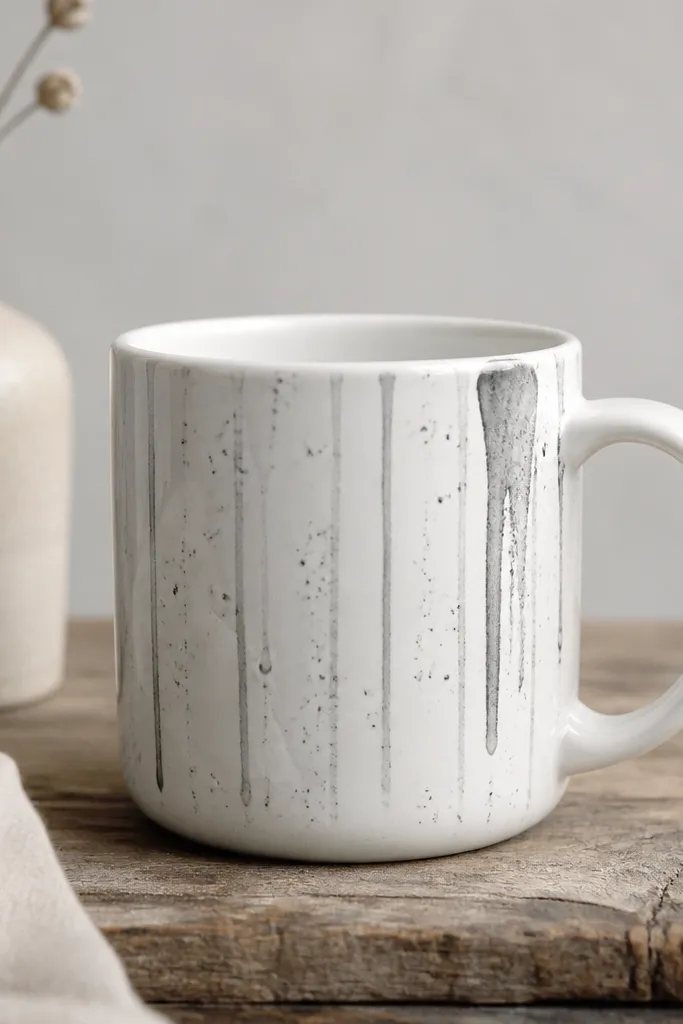
This one looks like pottery because the drip is imperfect. You paint a muted base band, then flick speckles with a toothbrush so the "glaze" breaks into tiny dots. I like charcoal on white because it reads high-contrast in daylight. The effect is cozy and a little moody, like a studio mug you'd pay $40 for.
Paint a 1.5-inch band down the mug using a matte gray craft acrylic. Add a slightly darker gray in 3-4 vertical streaks so they look like drips, then flick charcoal speckles over the streaks with a toothbrush. Let it dry fully, then seal with a ceramic-safe clear coat. Keep every painted area at least 1/2 inch away from the rim.
Pro tipUse a stiff toothbrush and load it lightly so you get small specks instead of big blobs.
AvoidDon't cover the rim with paint - it chips first and looks messy around the lips.
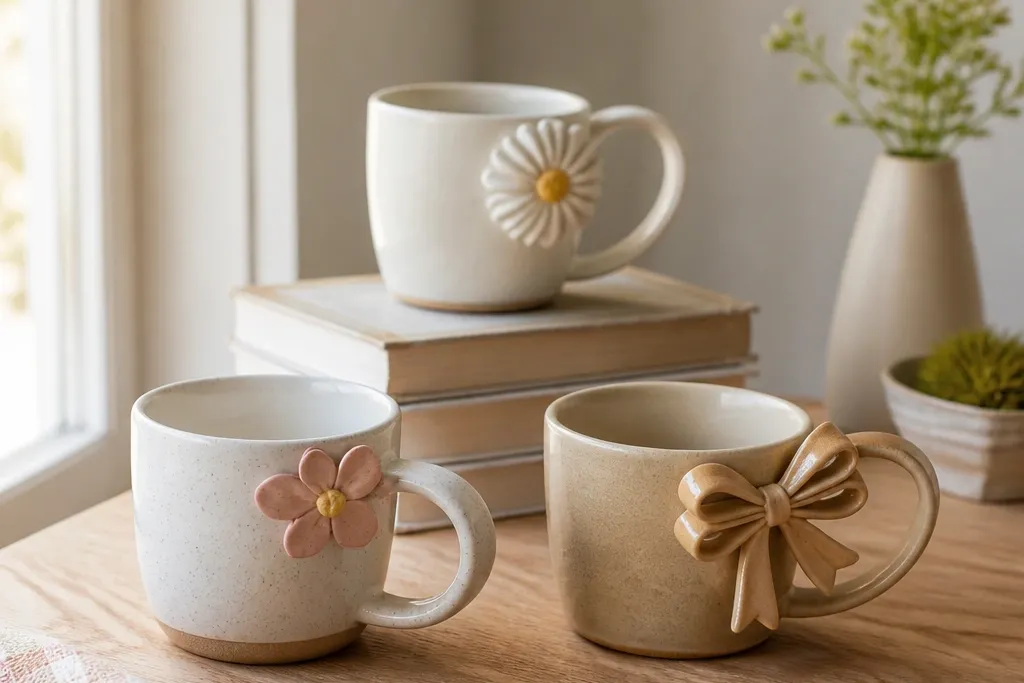
2. Terracotta Coil Look with Air-Dry Clay Slab Bands
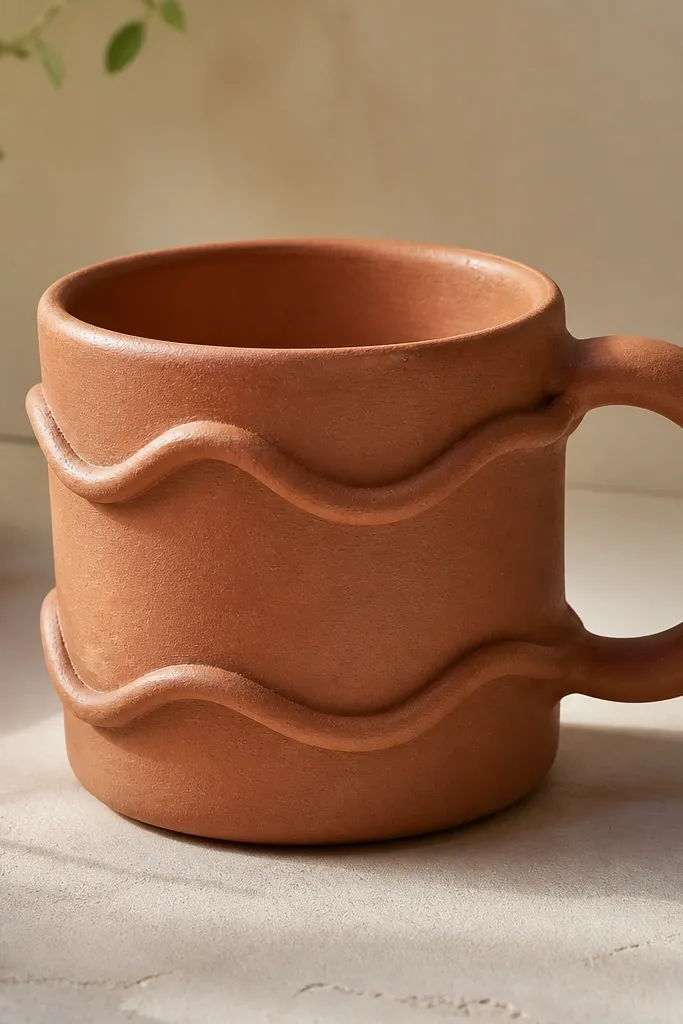
Raised bands give you the real pottery feel instantly, even if the mug is factory-made. Air-dry clay holds texture well - you can press it into soft waves so it catches shadows. I finish it with a thin wash so the grooves look deeper, then seal so the surface doesn't shed crumbs.
Cut a strip of air-dry clay about 1/2 inch wide and press it around the mug in two stacked rings, leaving a 1/4-inch gap between them. Smooth the seam with damp fingers, then poke a few tiny dimples with a toothpick to mimic coil impressions. After it dries (usually 24-48 hours), paint with terracotta acrylic, then wash with watered-down umber paint to darken the grooves. Seal with a clear coat.
Pro tipMist your fingers with water while shaping the clay so you don't leave finger ridges.
AvoidDon't make the bands too thick - thick clay adds weight and can crack at the seam.
3. Mint Glaze Fade with Sponge Layering
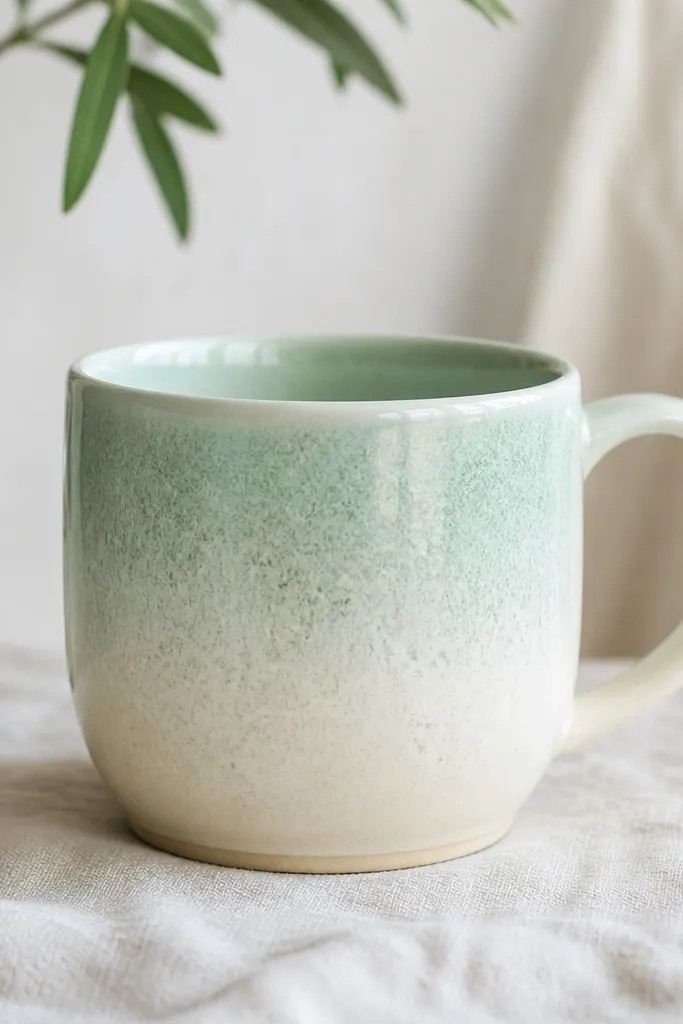
Sponge layering gives that "glaze fade" look without needing a kiln. You build the mint color slowly, letting the sponge texture show through. It reads clean and modern, and it still looks handmade because the fade isn't perfectly smooth. I've done this on plain white mugs for weekend brunch gifts and it always gets compliments.
Tape a line 1 inch above where you want the mint to start. Sponge on mint acrylic using a damp sea sponge, starting light and adding layers until the color hits where you want it. Wipe edges with a barely damp paper towel to keep the fade soft. Seal with a clear ceramic-safe topcoat.
Pro tipUse the same sponge for the whole mug and rotate it often so you don't get repeating patterns.
AvoidSkip heavy wet paint - it can streak and dry with ugly tide marks.
4. Black-Blue Crackle with Baking Soda Over Paint
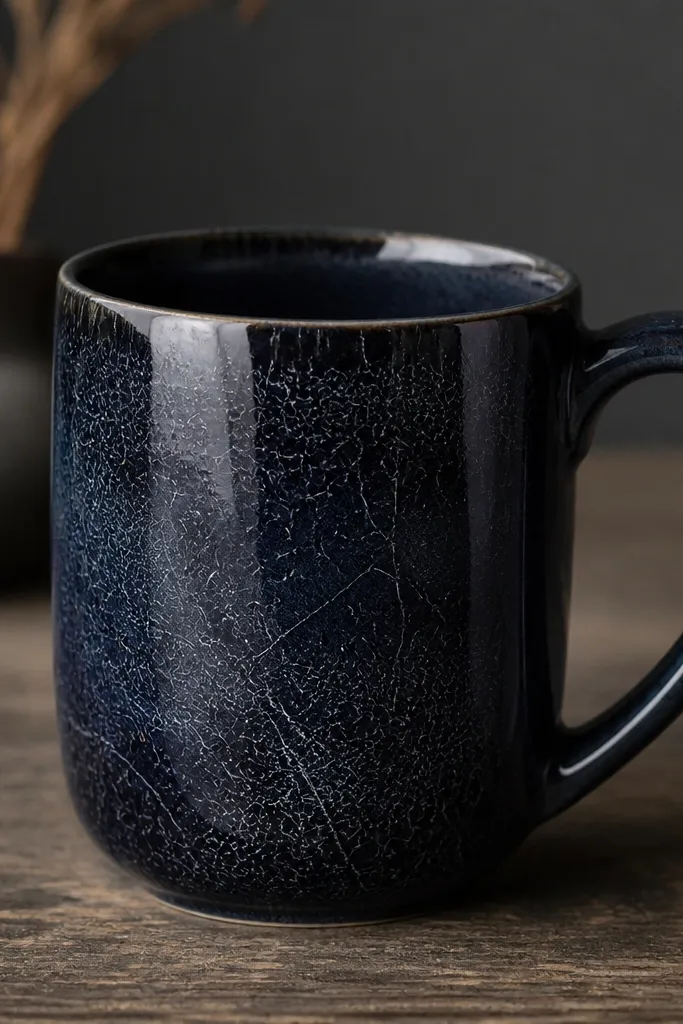
Crackle looks fancy because it mimics kiln glaze crazing. You create it by layering paint with baking soda - the texture fractures as it dries. I like black-blue because it looks deep in shadow and shiny in direct light. It's dramatic without being childish.
Paint the mug with a dark base (navy or near-black). While that base is tacky, sprinkle a light layer of baking soda, then press it gently so it sticks. Over the baking soda, brush a thin coat of a slightly lighter blue-black paint. When dry, shake off loose powder and seal with clear coat.
Pro tipUse a thin paint brush and one direction strokes so the crackle lines look natural.
AvoidDon't flood it with baking soda - thick clumps create gritty lumps.
5. Gold Rim Accent with Metallic Paint and Painter's Tape
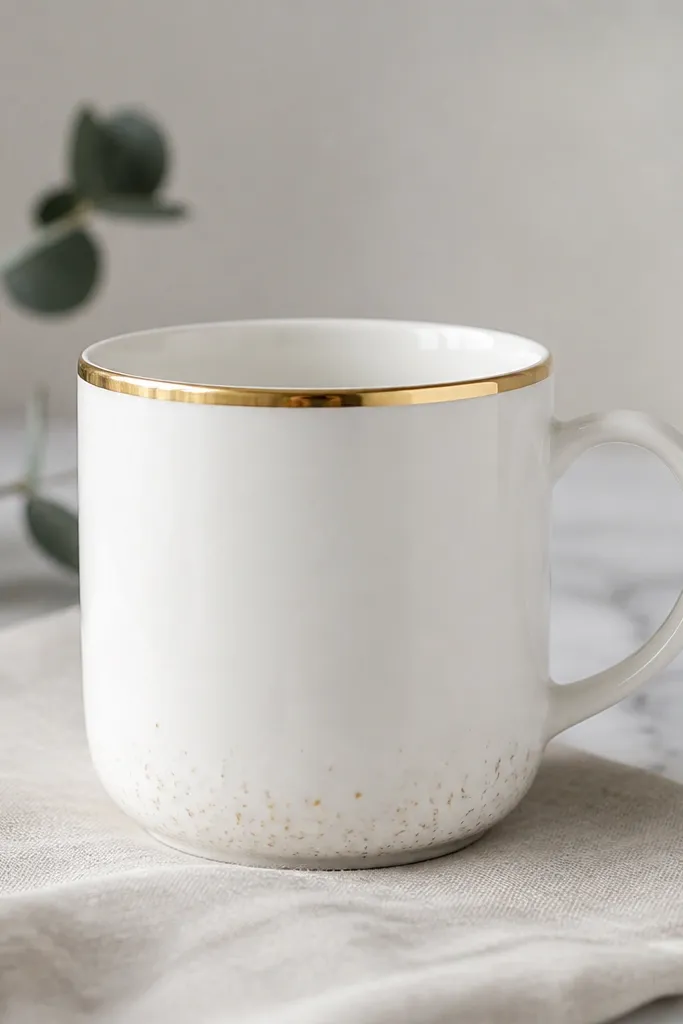
A crisp gold rim makes the whole mug look intentional, even if the rest is plain. Metallic paint catches light like glaze, and the tape line keeps it from smearing. I use this for quick gifts because it looks like a designer mug in 30 minutes. It's also easy to match to any kitchen color palette.
Clean the rim area with rubbing alcohol. Apply painter's tape to protect the inside lip line, leaving a 1/8-inch strip on the outer rim. Brush metallic gold paint on that strip, let it dry, then remove tape carefully. For extra texture, dab a tiny brush of gold paint with a scrap paper before sealing.
Pro tipLet the metallic paint dry longer than you think - metallics smear if you rush the tape removal.
AvoidDon't use thick paint - it forms a ridge that feels gross when you drink.
6. Handle Wrap with Cotton Rope and Heat-Bonded Fabric Glue
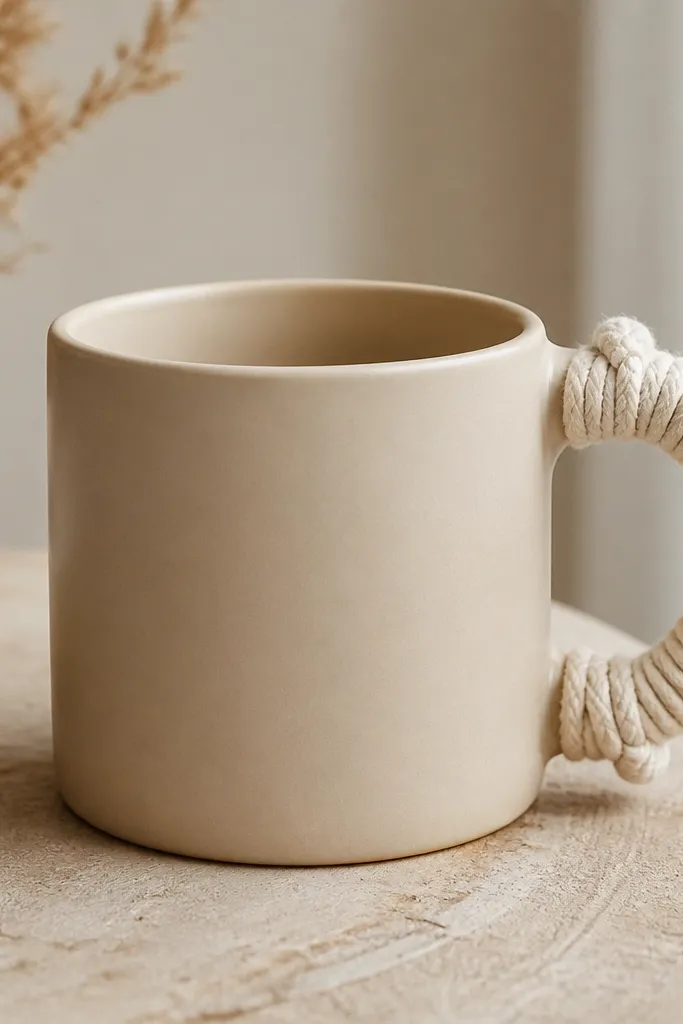
This is a no-drill way to make a mug feel handcrafted. Rope adds a tactile, pottery-adjacent vibe because it creates shadows around the handle. The mug body stays simple, so the rope becomes the focal point. I've done this for renters because it's removable later with a little heat and patience.
Use cotton clothesline or jute rope about 1/8 to 3/16 inch thick. Wrap from the top curve of the handle down, spiraling tightly with fabric glue (heat-bonded style) in small dots. Press for 30-60 seconds per segment. Seal the rope with a thin fabric sealant if you want it to handle steam and minor splashes.
Pro tipStart with a test wrap on a scrap mug or a spare handle to learn how much glue you need.
AvoidDon't glue rope across the inside curve where fingers rub - it will feel tacky.
7. Decal-Free Botanical Transfer Using Matte Medium + Tissue Paper
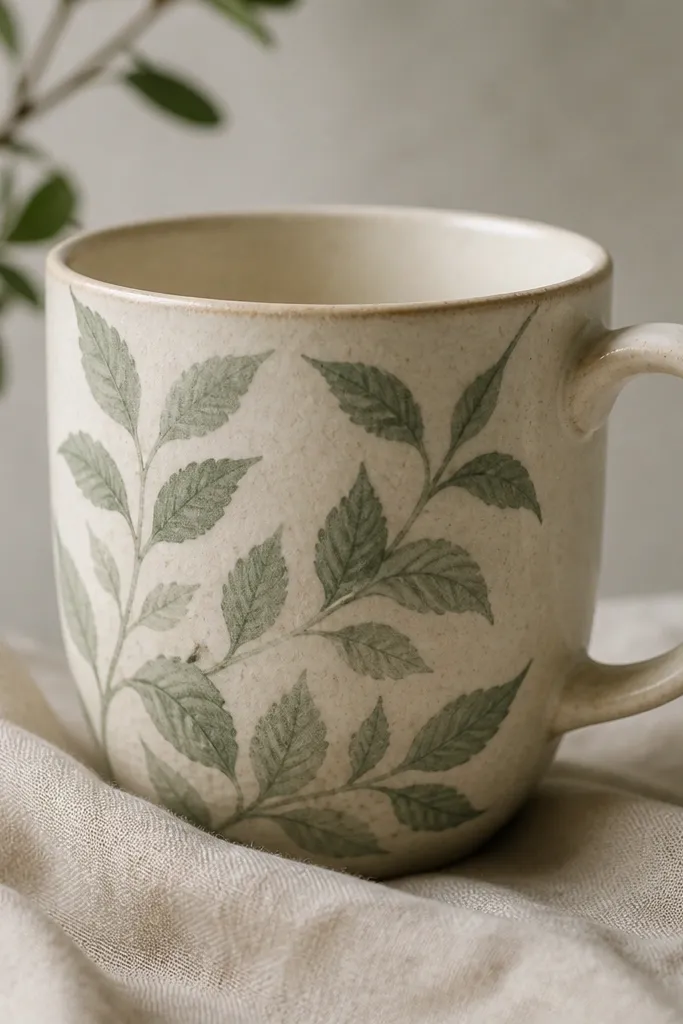
This gives you a vintage pottery print look without using store-bought decals. Tissue paper transfers through matte medium so the leaves look like they're part of the ceramic. I like it because you get subtle fading instead of a flat sticker surface. It also works well when you want color that doesn't overpower the mug.
Cut botanical tissue paper pieces so the leaves sit in a band about 2 inches tall. Brush matte medium on the mug, lay tissue down, then brush more matte medium over the top. Smooth gently and let it dry completely. Seal with a clear ceramic-safe coat, and avoid the rim zone.
Pro tipUse a soft makeup sponge for smoothing tissue so you don't tear the paper fibers.
AvoidDon't use glossy medium - it leaves shiny patches that look like tape.
8. Speckled Clay Patchwork with Fabric Scrap Textures
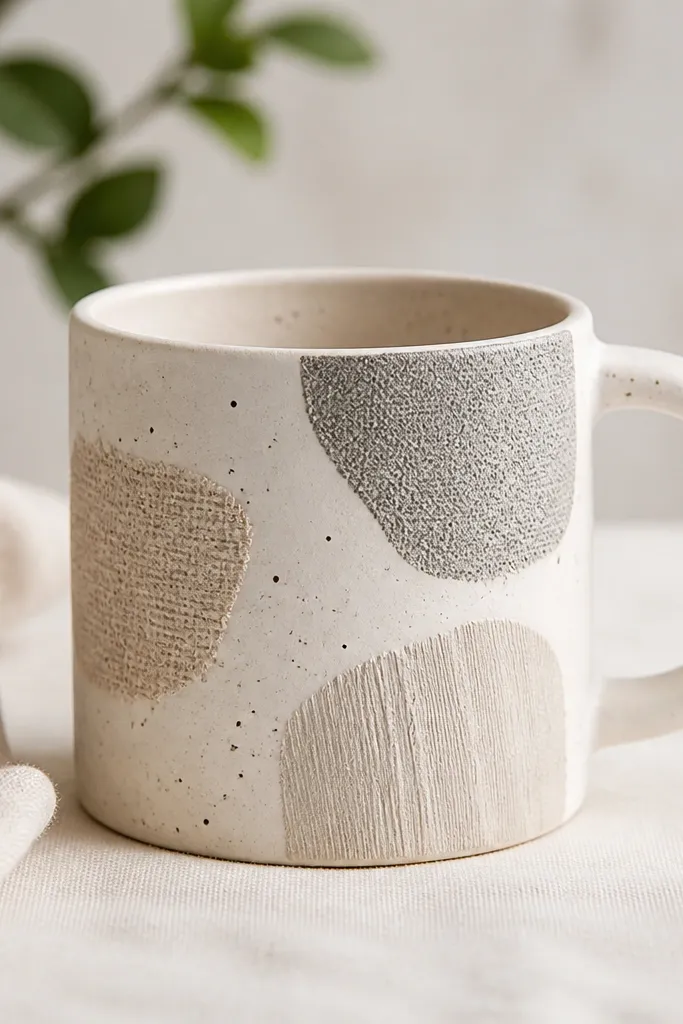
Textured patches make a mug feel handmade even if you don't cover the whole thing. You can press fabric scraps into thin clay or into texture paste to copy the weave. Then paint over it so the fabric pattern shows through like pottery pores. This one looks great in earthy neutrals.
Mix a small amount of air-dry clay with a little water until it's spreadable, then press it onto the mug in 3-4 patch shapes using fabric scraps (linen, denim, or a coarse cotton). Remove fabric carefully to reveal the texture. Let dry, then paint patches with two base grays and one warm beige. Wash with diluted brown paint to deepen the texture, then seal.
Pro tipChoose fabric with a clear weave; smooth cotton gives boring texture.
AvoidDon't cover the entire mug - too many patches look like random craft glue.
9. No-Drill Faux Kiln Wash with Chalk Paint + Wax Resist
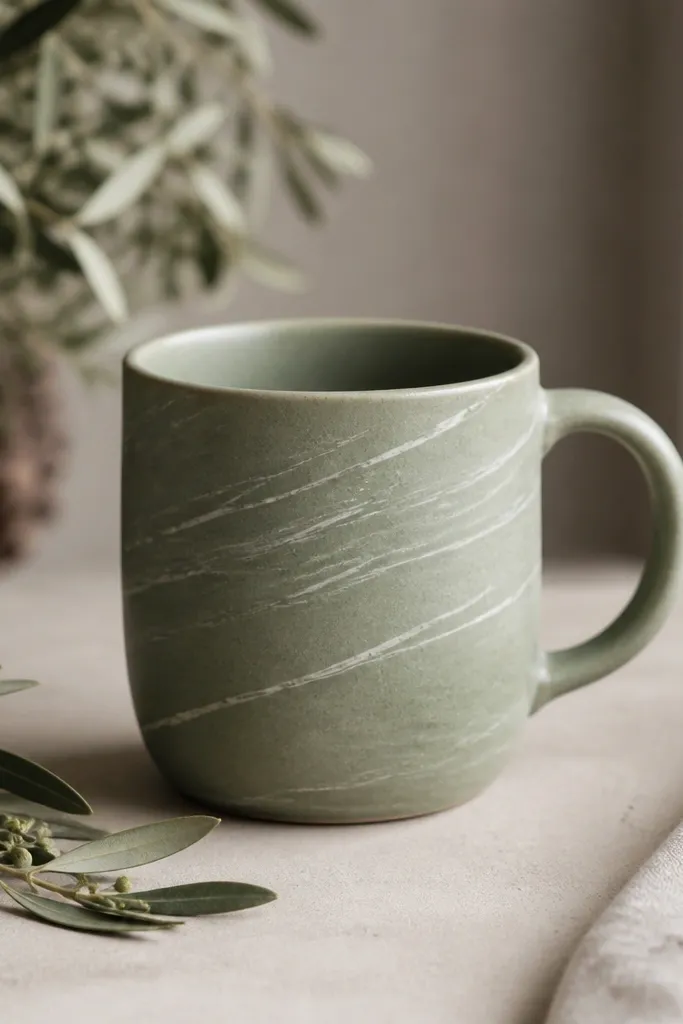
Wax resist is how you get those kiln-wash streaks that look accidental but controlled. You paint over wax, then the wax resists color so you get lighter lines. It looks like glazed runoff and it photographs beautifully. I like sage or dusty blue with cream mugs because it looks calm.
Paint a thin base with chalk paint in sage. Rub a candle or wax resist in a few curvy lines where you want lighter streaks. Paint over the whole area with a slightly darker sage or dusty blue. After drying, buff off wax with a dry cloth, then seal with a matte clear coat.
Pro tipUse a toothpick to draw thin wax lines - thick wax makes blobs.
AvoidDon't use glossy clear coat if you want the pottery vibe; it looks plastic on chalk paint.
10. Mug with Wrapped Denim Bottom Band and Fabric Dye Fade
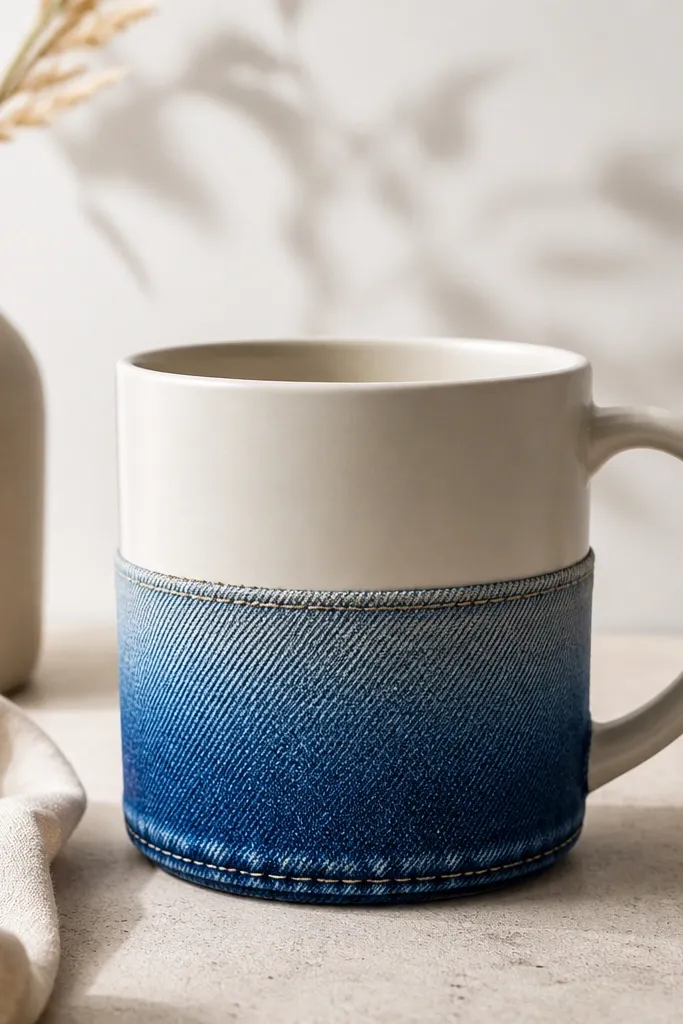
Denim gives you instant texture and a casual, handmade look. Dyeing the fabric fade makes it look like it's been dipped or glazed. This idea works because you're decorating the mug exterior only, and the fabric hides small imperfections. It's also forgiving if your paint lines aren't perfect.
Wrap a denim strip around the lower third of the mug, leaving 1/4 inch gap from the base so it doesn't snag. Dye the denim with fabric dye diluted in a container, then let it dry fully. Glue the seam with fabric glue on the back side only. Seal the exterior with a clear fabric sealant so it handles washing without peeling.
Pro tipUse a narrow denim strip about 2 inches tall so the band looks intentional, not like a patch.
AvoidDon't glue fabric onto the rim side - it peels from heat and friction.
11. Cobalt Thumbprint Pattern with Sponge-Tip Dots
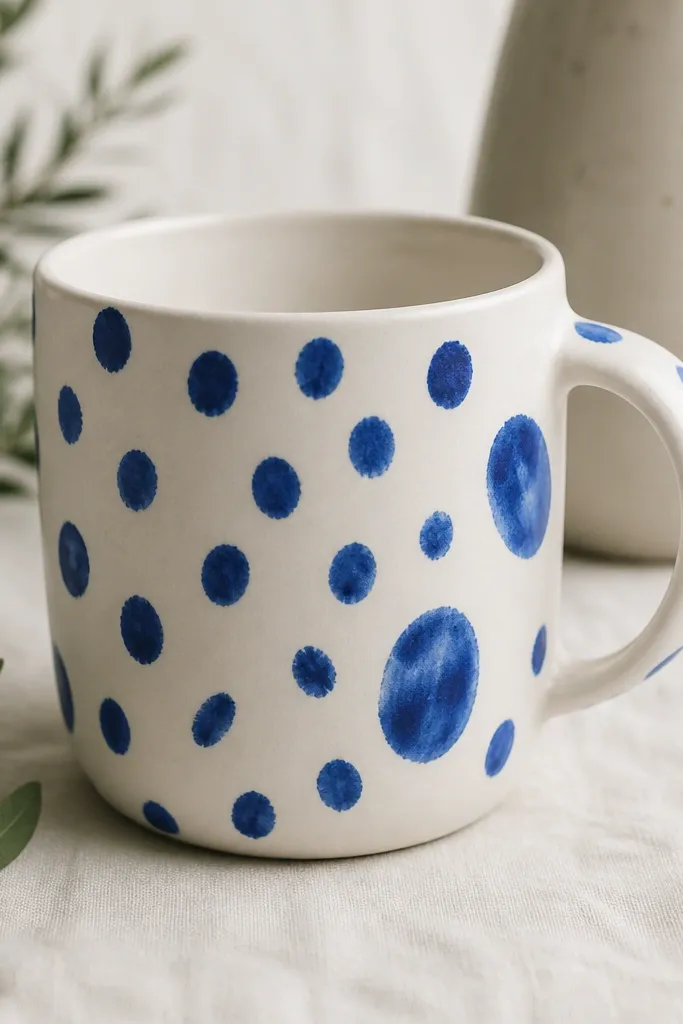
Thumbprints look like hand-applied glaze. You can fake them with a sponge-tip dauber and a tiny bit of paint so each dot has a soft edge. Cobalt blue pops against white and makes the mug look like a studio piece. It's playful but still clean.
Use painter's tape to create a loose "print zone" about 3 inches tall on the mug. Dab cobalt acrylic with a foam dauber, alternating dot sizes by pressing harder for some and lighter for others. Add one vertical cluster near the handle for balance. Let dry, then seal with a clear coat.
Pro tipTap on scrap paper first so the dauber isn't overloaded.
AvoidDon't use too much water in the paint - it spreads and loses the thumbprint shape.
12. Color-Block Glaze Look Using Masking Tape Edges
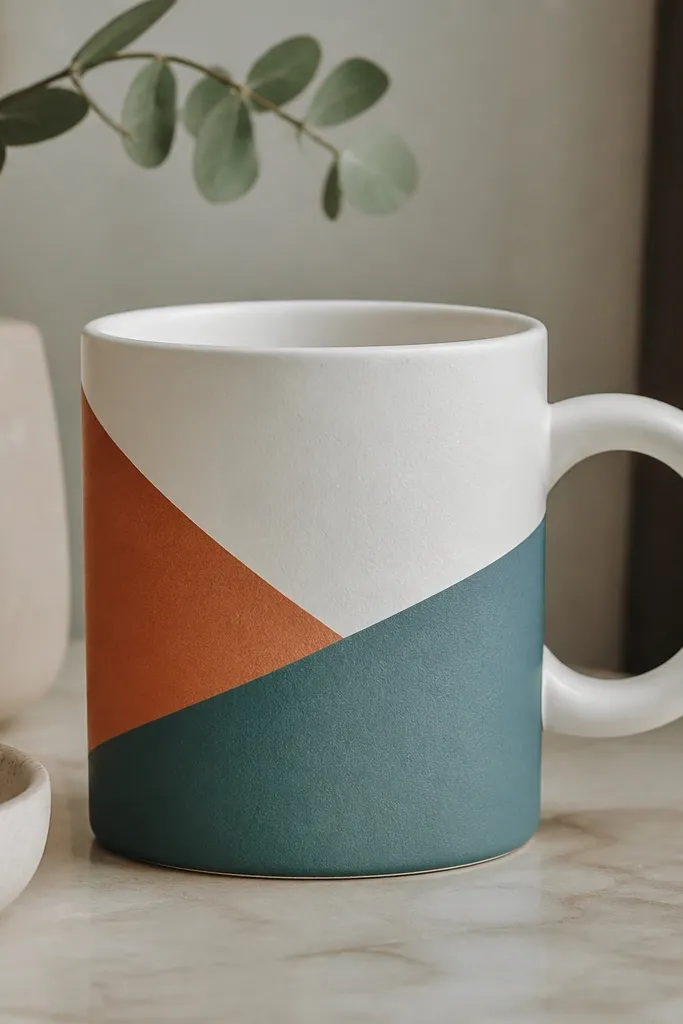
Clean tape edges make color-block mugs look designer-grade. To keep it from looking like a sticker, you add a thin dry-brush layer on top so the paint has depth like glaze. The best part is you can match it to your dish set without guessing. I've made these for renters who want the mug to coordinate with their plates.
Scuff the mug lightly, then tape off areas for two or three blocks. Paint the blocks with matte acrylic in terracotta and dusty teal. After drying, dry-brush a lighter shade across each block to create faux glaze variation. Remove tape while paint is slightly tacky for the cleanest edge, then seal.
Pro tipPress tape down firmly along curves; loose tape makes a fuzzy line.
AvoidDon't paint over unsealed tape lines - bleed makes it look cheap fast.
13. Rice-Paper Ombre with Stamped Texture Paste
Rice paper makes soft gradients look like glaze. You soak and adhere layers with matte medium, then add texture paste in a light pattern so it reads handmade. I use this when I want something airy and not heavy. The stamped dots keep it from looking flat.
Tear rice paper into 1-inch strips and layer them where you want the ombre. Brush matte medium under and over, then let it dry. Mix texture paste with a tiny amount of gray acrylic and stamp with a small pattern stamp. After drying, seal with ceramic-safe clear coat.
Pro tipTear the paper edges - straight edges show and look like decoupage.
AvoidDon't stamp too thick; raised paste can scratch hands.
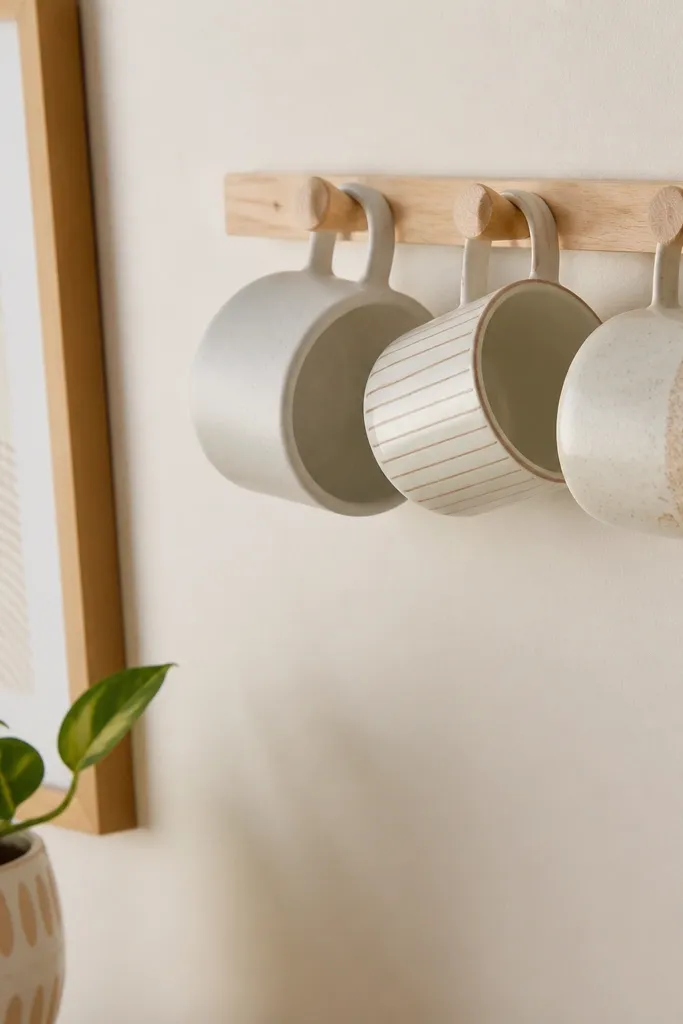
14. No-Drill Hanging Mug Display with Magnetic Backing + Painted Front
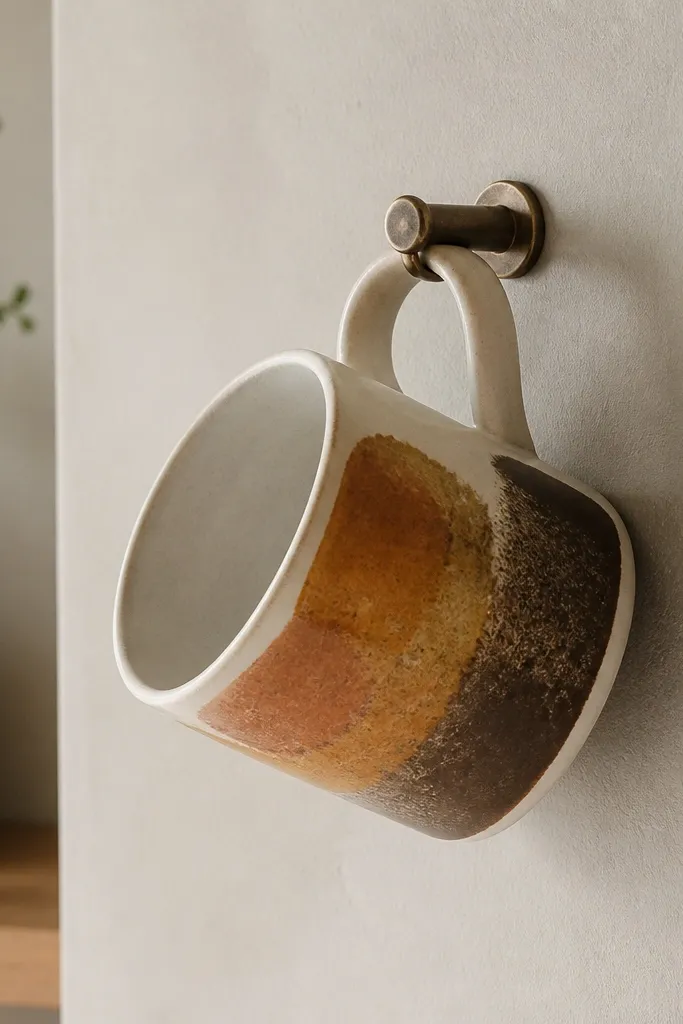
This is the one I use when renters want the mug art to be seen. You paint a front "panel" like pottery signage, then attach a magnetic backing so it hangs without drilling. It keeps your decorated surface protected and lets you rotate designs. The look is modern but still handmade.
Paint a rectangular panel on the mug front with matte ochre and a darker brown dry-brush pass. On the back side, attach a thin magnetic sheet with strong double-sided tape (keep it away from the bottom where it contacts water). Use a removable wall hook system or fridge-magnet style backing on a metal strip. Seal the painted panel so it survives wiping.
Pro tipTest magnet strength by holding the mug upside down for 10 seconds - if it slips, use a wider strip.
AvoidDon't put magnets near the drinking area; it complicates cleaning and leaves residue.
15. Handmade Look with Brush-On Crackle Varnish and Copper Wash
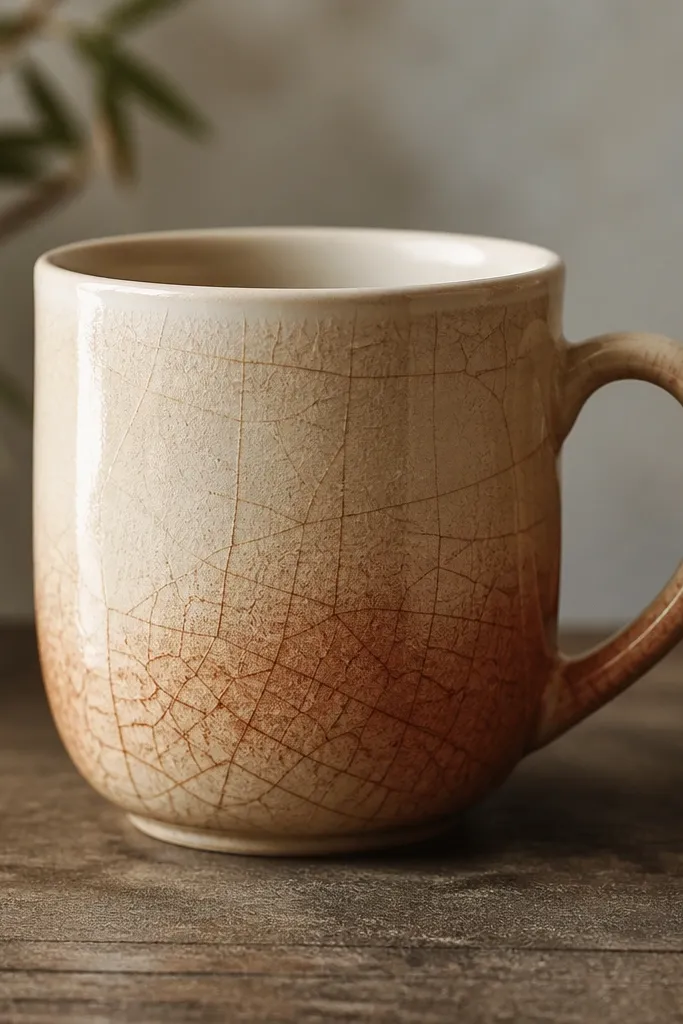
Crackle varnish is the fastest way to mimic aged glaze. The cracks catch the copper wash underneath, so the mug looks deeper than paint alone. I like beige bases because copper warms it up without going orange. This looks great for tea mugs and desk mugs.
Paint the mug beige and let it dry fully. Brush crackle varnish over it according to the product's timing, then apply a copper or antique gold wash over the top while it's still in the crackle window. When dry, seal with clear coat. Keep all product off the rim and inside lip zone.
Pro tipUse a foam brush for varnish so you don't leave streaks that fight the crackle pattern.
AvoidDon't recoat too soon - early second coats ruin crack formation.
16. Sgraffito-Style Leaf Lines with Layered Paint and Needle Carving
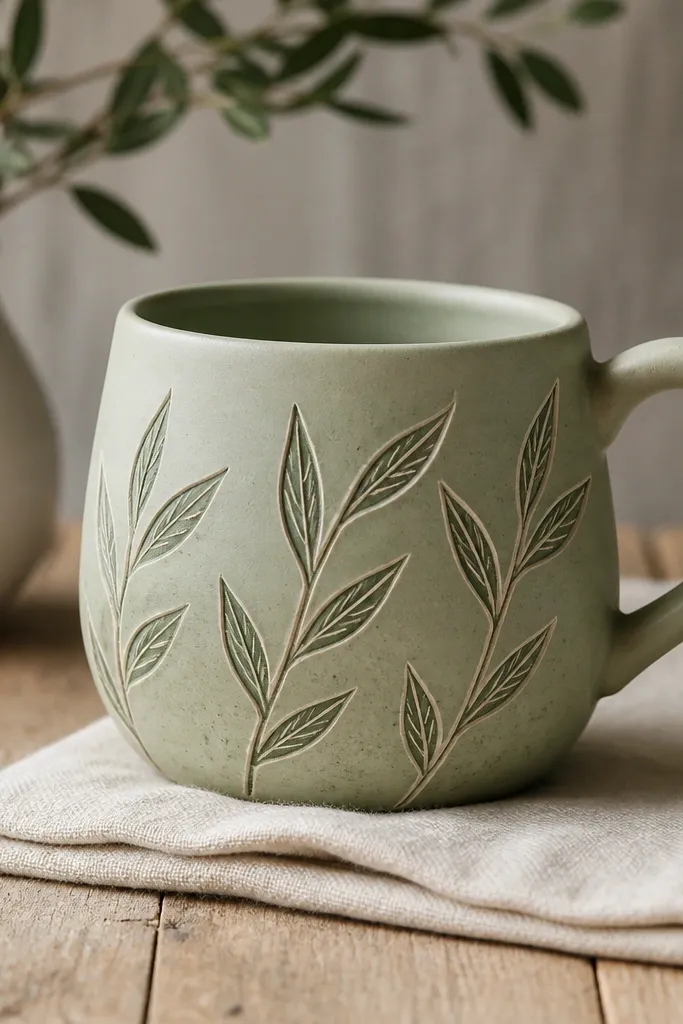
Sgraffito looks like you carved ceramic, but you're really carving paint. Two paint layers - one light, one dark - let the needle reveal the layer beneath. It's one of the most "pottery studio" looking techniques you can do at home. The leaf lines also hide small imperfections because the pattern gives the eye something to read.
Paint a light base (sage-tinted cream) and let it cure. Brush on a thin dark green layer, then wait until it's dry enough to scratch but not fully hardened. Use a needle tool or craft knife tip to scratch leaf veins and stems into the dark. Seal carefully with a clear coat that dries hard.
Pro tipSketch lightly with pencil first so you don't carve leaf shapes that look lopsided.
AvoidDon't dig too deep - you want exposed paint, not gouges that collect grime.
17. Rimless Dip Dye Look with Fabric Dye on Paper Mask
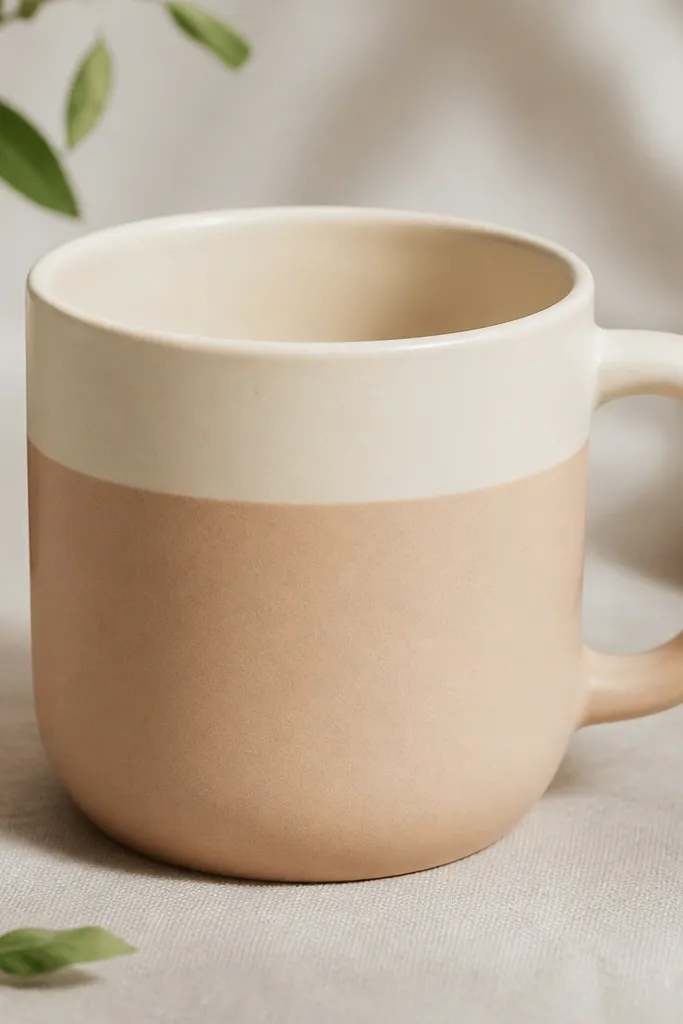
Fabric dye gives a soft, stained look that feels like glazed ceramic. The trick is masking so the fade stops cleanly. This is one of the easiest ways to make a mug look like it came from a ceramics shop - no raised clay needed. It's also very forgiving if you mess up the first attempt.
Cut a paper mask or use painter's tape to cover the interior rim and the top outside band you want to keep white. Mix fabric dye diluted in water and dip the mug up to your desired height in 10-20 second increments. Let it dry between dips for smoother layering. Rinse according to dye instructions, then seal with a clear coat.
Pro tipDo two shorter dips instead of one long dip; it gives control and a cleaner gradient.
AvoidDon't skip masking - dye creeps and makes the rim area look stained.
18. No-Drill Charm Mug with Twine Bow + Clay Bead Dangles
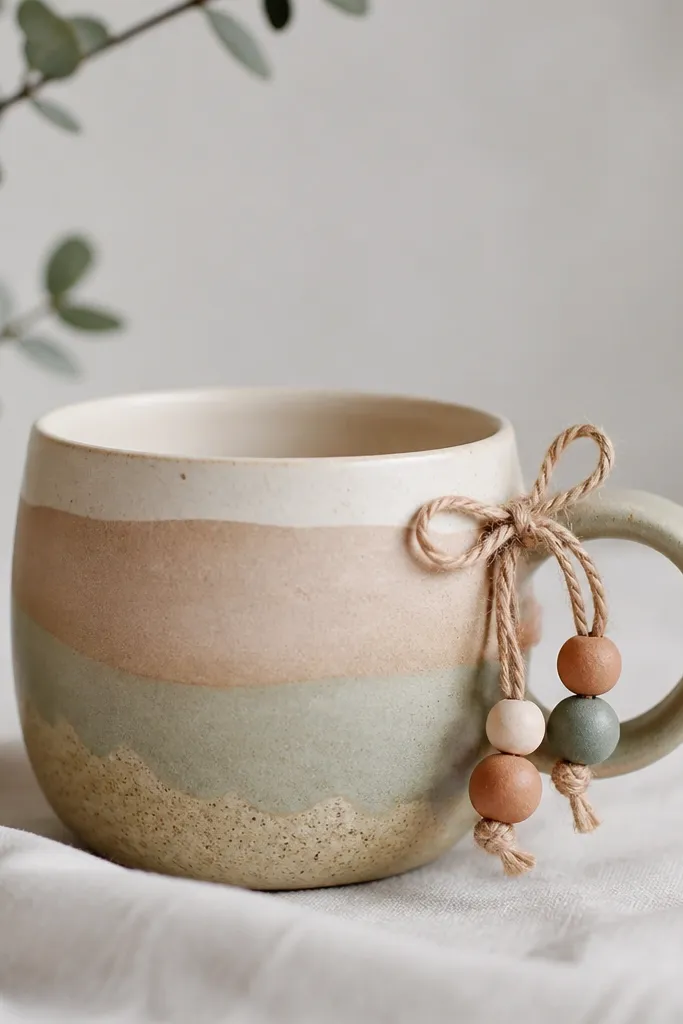
This reads handmade because it adds movement and small details. Clay beads catch light like tiny glaze drops, and the twine keeps it soft and casual. I use this for mugs that sit on a shelf or in a gift basket, not for daily dishwasher abuse. The look is charming without being cluttered.
Tie twine around the handle base with a tight bow. Roll small air-dry clay beads (about 1/4 inch wide), poke a hole with a toothpick, and let dry. Paint beads in 2-3 muted colors (sage, dusty rose, gray) and seal. Thread beads onto the twine ends and tie off.
Pro tipSeal beads twice and let the second coat cure fully so they don't shed chalky dust.
AvoidDon't make beads too heavy - they pull on the twine and sag.
19. Mug Body Marbling with Shaving Cream + Acrylic Swirl Transfer
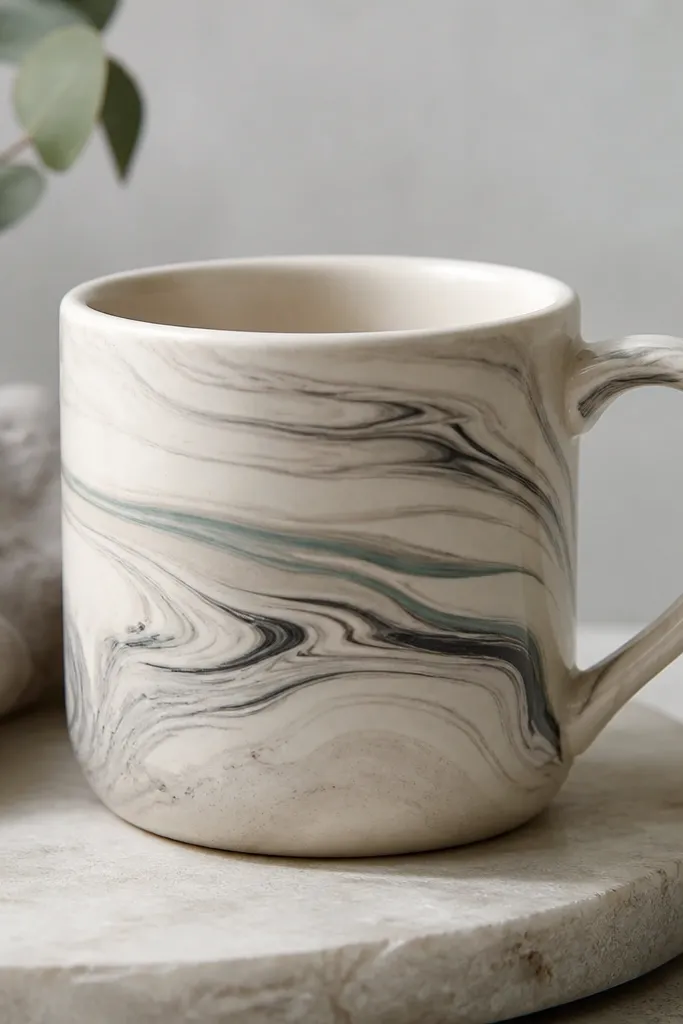
Marbling looks like real pottery glaze because it has organic movement and layered depth. Shaving cream acts like a floating medium - acrylic paint spreads and you drag patterns through it. When you press the mug surface into the marbled layer, you transfer a thin, even skin. It's one of the best ways to get a high-end look on a plain mug.
Cover a tray with shaving cream and drop acrylic paints in stripes. Use a skewer to swirl the colors into bands. Press the mug gently onto the surface and lift straight up. Scrape off excess cream carefully, let the marbling dry, then seal with a clear coat.
Pro tipUse thick acrylic paint (less water) so the pattern stays crisp when transferred.
AvoidDon't press too hard - it smears and makes the marbling look muddy.
20. Porcelain-Style Blue Transfer with DIY Stencil Sprays
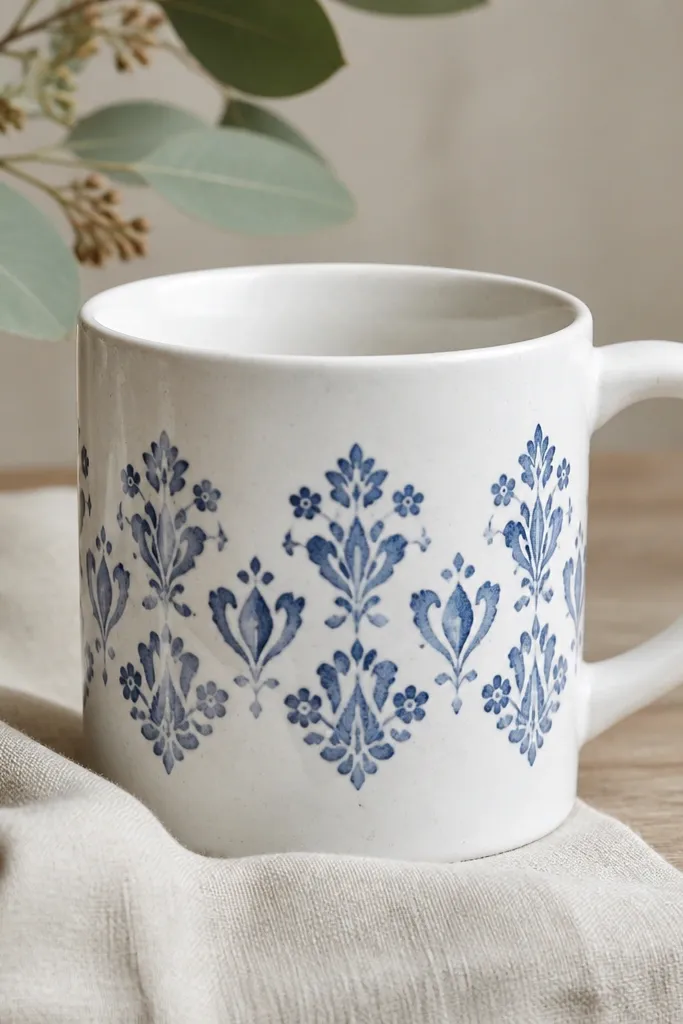
Stencil sprays give you the crisp motif you'd expect from porcelain, but you control the style. I use a simple stencil and add a light speckle pass so the motif feels hand-finished. Blue on white always reads pottery-adjacent and it's easy to repeat cleanly. It also works great for mugs you give as sets.
Cut a stencil from stencil film or sturdy cardstock and tape it to the mug side. Spray or dab blue acrylic in light coats, then remove the stencil immediately to avoid paint bridging. For the speckle effect, flick a darker blue with a toothbrush over the motif area only. Let dry and seal.
Pro tipUse low-tack tape so the stencil doesn't lift when the paint hits.
AvoidDon't overload the stencil - thick paint bleeds under the edges.


