1. Map-Edge Mug with Color-Blocked Rim
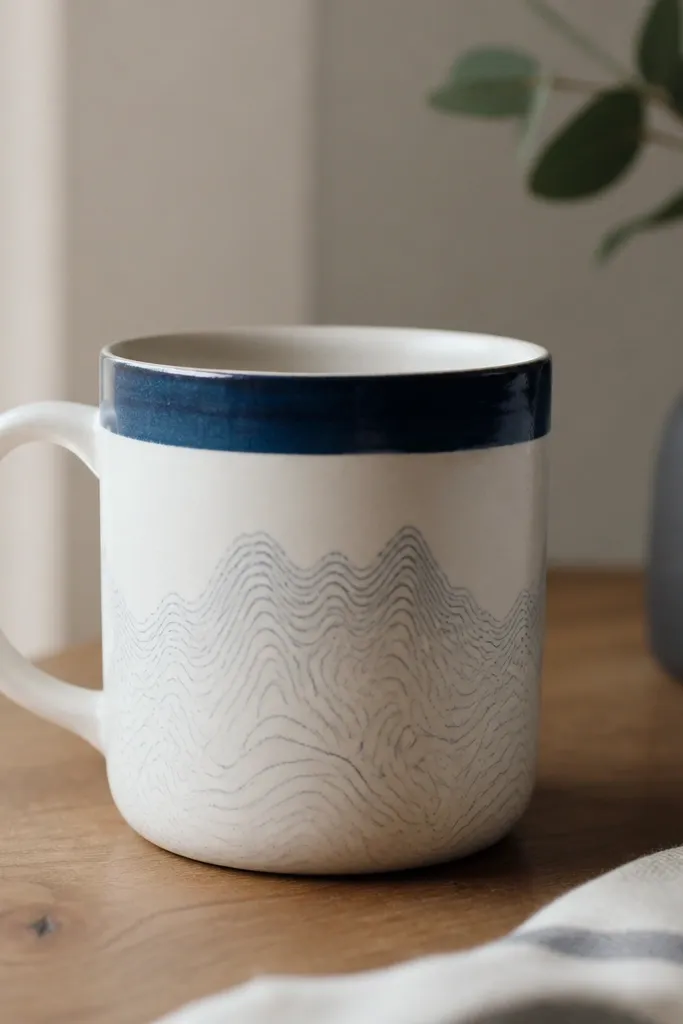
This look uses a simple illusion: a map edge pattern makes the mug feel designed without covering the whole surface. I used navy for the rim band and a faded teal for the contour lines so the bottom section looks like it's "folding" into the mug. Leaving the handle bare keeps it comfortable and makes the design look intentional instead of crowded. The contrast between the crisp rim and the softer lines is what makes it read as handmade but still clean.
Start by masking a 1/4 inch band at the top of the mug with painter's tape. Scuff the glossy area with fine sandpaper, then paint the rim band navy. For the map effect, draw contour lines with a fine paint marker or a liner brush, then lightly blend the last 1 inch with a damp sponge. Cure according to your ceramic paint instructions.
Pro tipDo the rim band first, then draw contour lines after - your tape edge stays crisp.
AvoidAvoid covering the handle with paint; it gets slippery and shows wear first.
2. Thrifted Coffee Sack Wrap with Stitched Look Vinyl
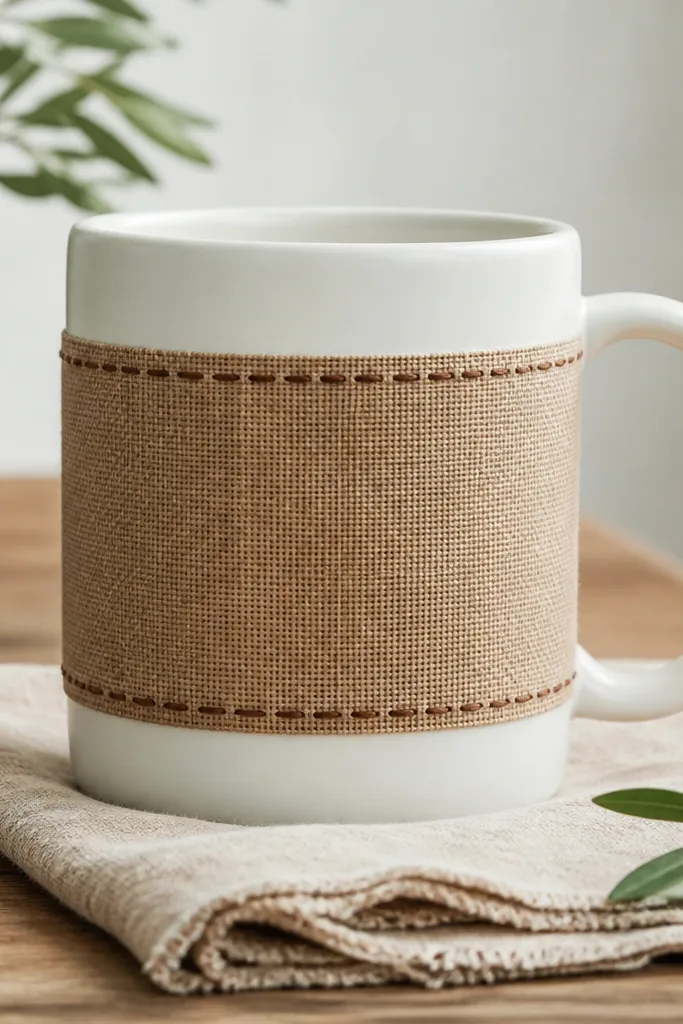
This idea takes thrift-store fabric vibes and turns them into a mug-friendly surface. The key is using a band that sits in the middle so it doesn't get scraped by the rim or the dishwasher-style heat of constant washing. The faux stitching gives the design structure, so it doesn't look like a sticker slapped on. It also hides tiny surface imperfections because the printed texture breaks up light.
Cut a vinyl strip about 3 inches tall for a standard 11-12 oz mug. Press it onto the mug's scuffed ceramic, aligning so the band sits centered. Use a clear topcoat that's rated for ceramics and kitchenware, and apply thin coats. Let it cure fully before the first soak.
Pro tipIf your vinyl edges lift during application, warm the vinyl with a hair dryer for 10-15 seconds and press again.
AvoidAvoid applying vinyl directly to glossy glaze without scuffing; edges peel after a few washes.
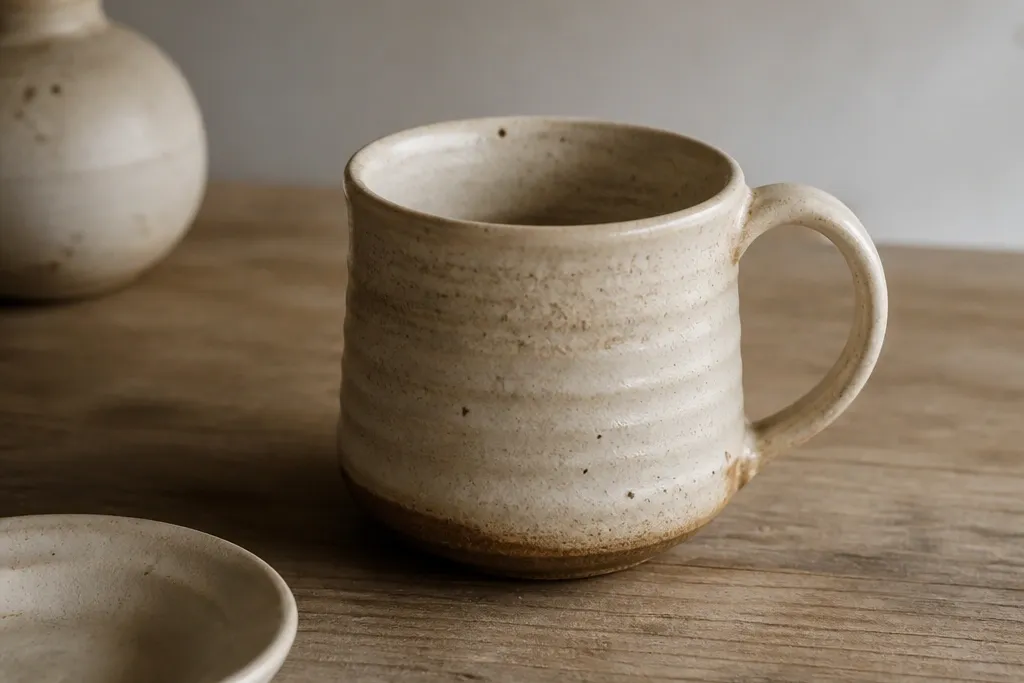
3. Speckled Clay Slip Effect on a Plain Mug
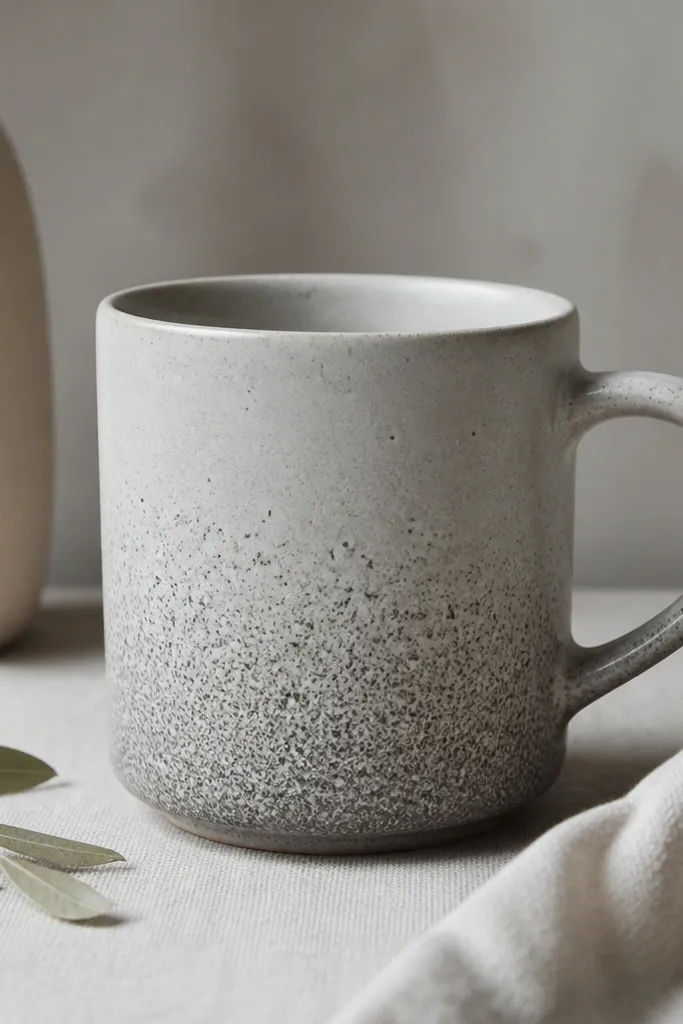
This is the "pottery look" without making a whole new mug. The speckle effect hides brush marks and gives texture that looks expensive. I used two shades close to the base color so it looks cohesive: a slightly darker gray and a charcoal speckle. It also photographs well because the texture catches light differently across the curve.
Mix a small amount of ceramic paint with a touch of matte medium for a chalky speckle. Dip an old toothbrush into the paint, then flick over the lower 2 inches of the mug. Work in thin passes so you don't get big blobs. Once dry, lightly seal with a ceramic-safe clear matte or satin.
Pro tipPractice on paper first; the flick strength controls speckle size.
AvoidAvoid thick splatters; they feel raised and chip at the edges.
4. Pressed Leaf Silhouette with Clear Gloss Topcoat
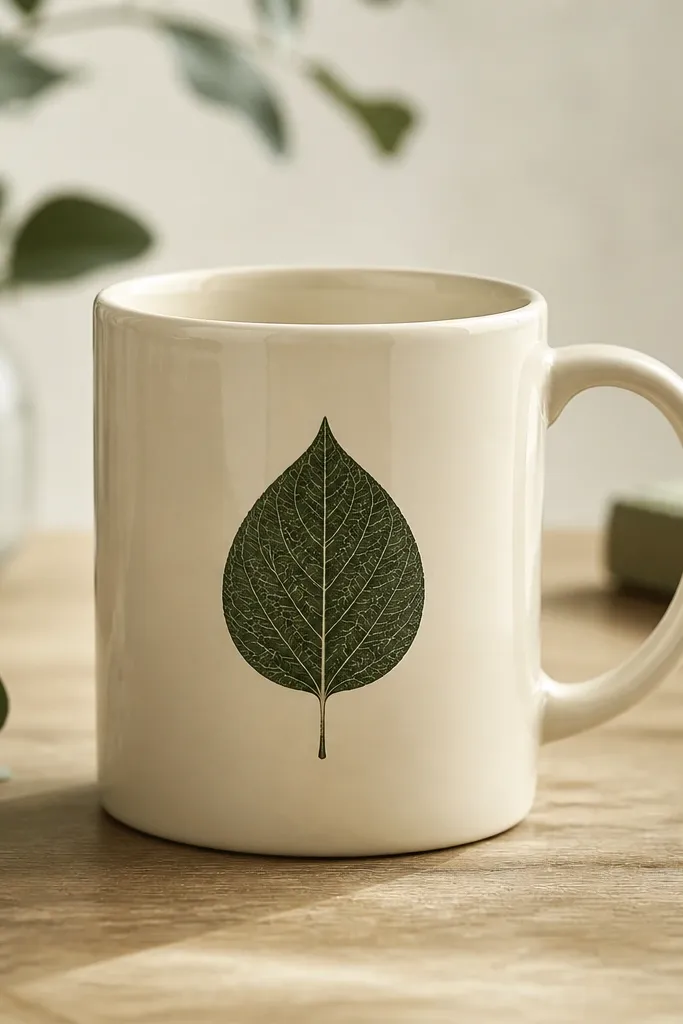
Leaf silhouettes look calm and expensive because they're simple and organic. I used real pressed leaves as a guide, then painted the silhouette with deep green and added a few vein lines. A glossy topcoat makes the leaf shape pop and keeps the surface smooth to the touch. It's also a great way to use a single centerpiece motif without turning the mug into a craft project.
Scuff the mug, then transfer the leaf outline lightly with pencil. Paint the silhouette in two layers: first a thin base green, then a darker edge line for depth. Seal with a clear ceramic topcoat in thin coats and cure fully. Keep the motif on the mid-height so it's visible when you hold the mug.
Pro tipUse a small round brush for veins; 3-5 lines looks better than covering the whole leaf.
AvoidAvoid using watercolor-style paint that isn't rated for ceramics; it smears when hot liquid hits.
5. Retro Stripe Mug with Straightedge Tape Lines
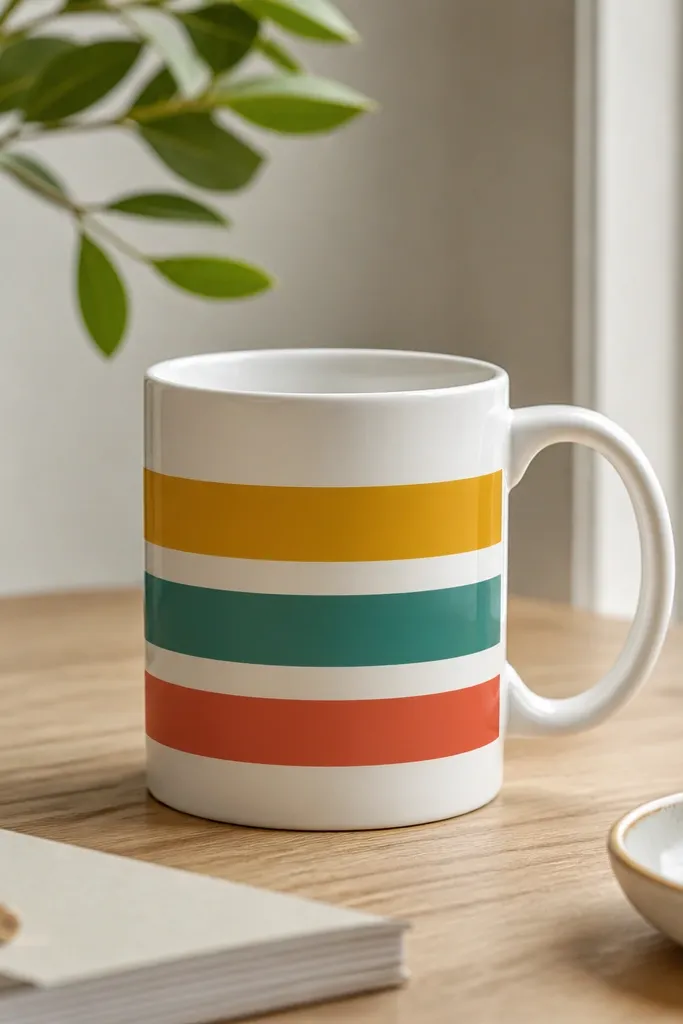
Straight stripes are unforgiving, which is why they look so good when you do them right. The tape edge gives you crisp lines, and the bold colors make the mug feel retro. I chose a warm mustard with teal and a red accent because that combo looks great in daylight and under warm kitchen lights. The mug stays readable because the stripes stop before the handle curve.
Mask stripes using painter's tape and a ruler, spacing about 1/2 inch between bands. Paint in layers: one stripe color at a time so tape doesn't get smeared. After each color dries, remove tape carefully. Seal with ceramic-safe clear coat and cure.
Pro tipPull tape while the paint is slightly tacky for the sharpest edge.
AvoidAvoid painting all stripes at once; one color bleed ruins the clean retro look.
6. Marbled Ink Swirl with Rubbing Alcohol
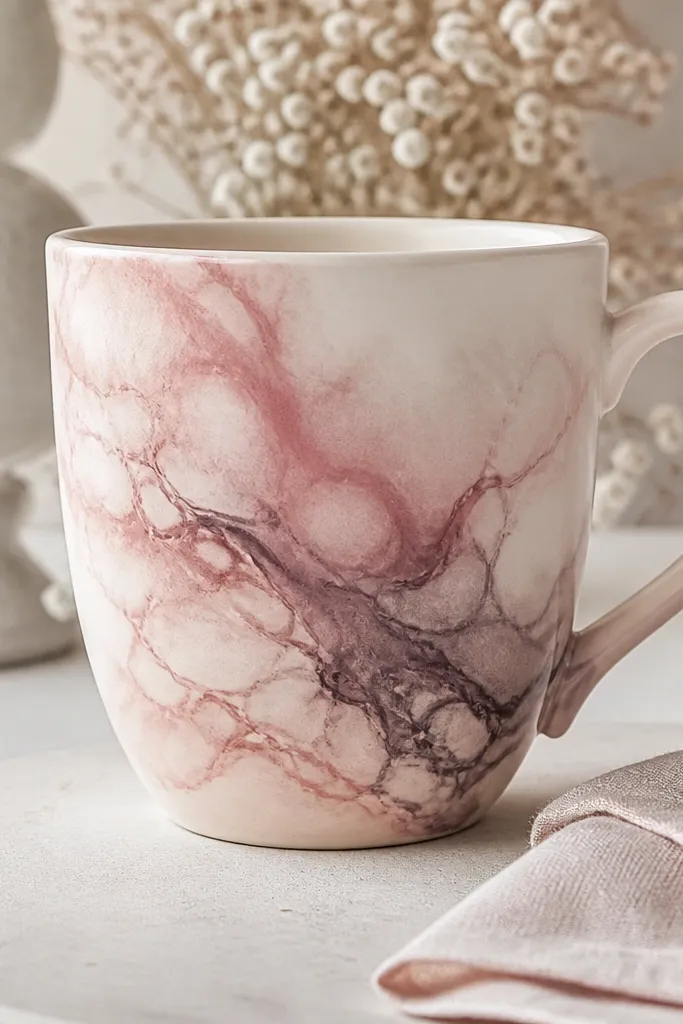
Marbling looks hard, but it's mostly about controlling flow. I use alcohol-based ink or diluted acrylic ink and a quick swirl technique, so the pattern forms naturally instead of looking hand-drawn. The result is organic movement that covers small surface flaws. Keeping the pattern centered makes the mug look designed instead of chaotic.
Scuff the mug lightly so the ink grabs. Drop ink onto a surface of the mug, then use a cotton swab with a tiny amount of alcohol to drag lines into swirls. Build slowly - one pass is better than trying to make it perfect immediately. When it's fully dry, topcoat with a ceramic-safe clear that won't yellow.
Pro tipDo a test swipe on a scrap mug or plate first to see how far the ink will spread.
AvoidAvoid heavy soaking during cleanup; water lifts some inks before they cure.
7. Decal Transfer Layered with Fake 3D Shadow
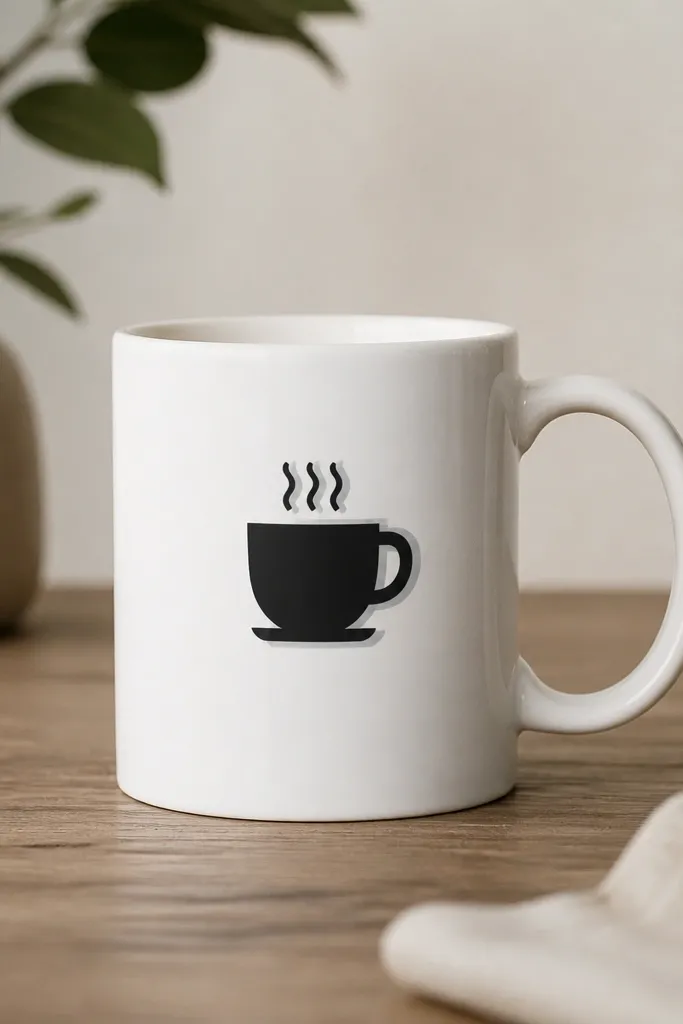
This is one of the easiest ways to make a decal look handmade instead of store-bought. The trick is layering: one cutout sits slightly offset behind the main icon, so the shadow reads as depth. I used matte black for the icon and a softer gray for the shadow. The matte finish hides minor imperfections and looks great with a glossy clear topcoat.
Use a vinyl cutter or pre-cut stencil for the icon, then place the shadow layer first with a 1-2 mm offset. Seal over the design with clear topcoat in two thin coats. Cure fully to lock the edges. Place it at mid-height so it lines up visually on photos and on the shelf.
Pro tipKeep the icon small enough that it doesn't wrap around the handle curve.
AvoidAvoid thick topcoat blobs; they dry uneven and show as glossy bumps.
8. Stencil Constellation Night Sky with Star Dotting
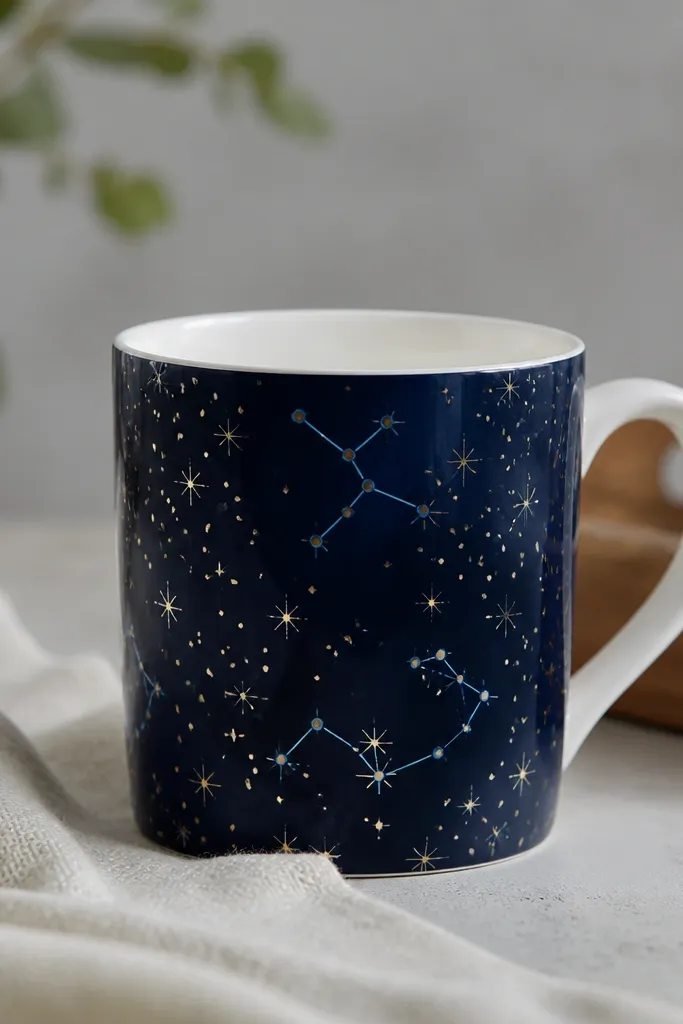
A night sky mug looks dramatic because the negative space does the work. I stencil the constellation lines, then add stars with a gold paint marker in different dot sizes. Leaving the handle plain keeps the mug wearable and prevents gold paint from rubbing off where your hand goes. The gold against navy always looks like a gift, not a craft fail.
Paint a navy base band about 3 inches tall, leaving the rest white. Stencil constellation lines with a light blue paint, then dot stars with gold marker. Seal with a satin clear so the navy stays smooth but not glassy. Cure fully and wash by hand for the first week of use.
Pro tipVary star sizes by using the marker tip at different angles.
AvoidAvoid painting the entire mug navy; it makes the design look heavy and harder to read.
9. Old Book Page Transfer with Coffee Stain Edges
Paper transfers can look great if the paper stays flat and the edges are sealed. I used a torn book-page rectangle, then stained the edges with watered-down coffee so it looks naturally worn. The printed text adds personality without needing fancy drawings. The brown edge stain also hides the transition line where paper meets ceramic.
Use a paper transfer medium meant for ceramics and apply the paper to scuffed mug surface. Press firmly and remove bubbles. After it dries, seal with multiple thin clear coats, letting each cure. Keep the text block at mid-height and avoid placing it near the handle where it rubs.
Pro tipTrim paper edges with a craft knife so you don't get a bulky paper rim under the medium.
AvoidAvoid using regular Mod Podge thickly; it can turn cloudy on ceramic and peel at edges.
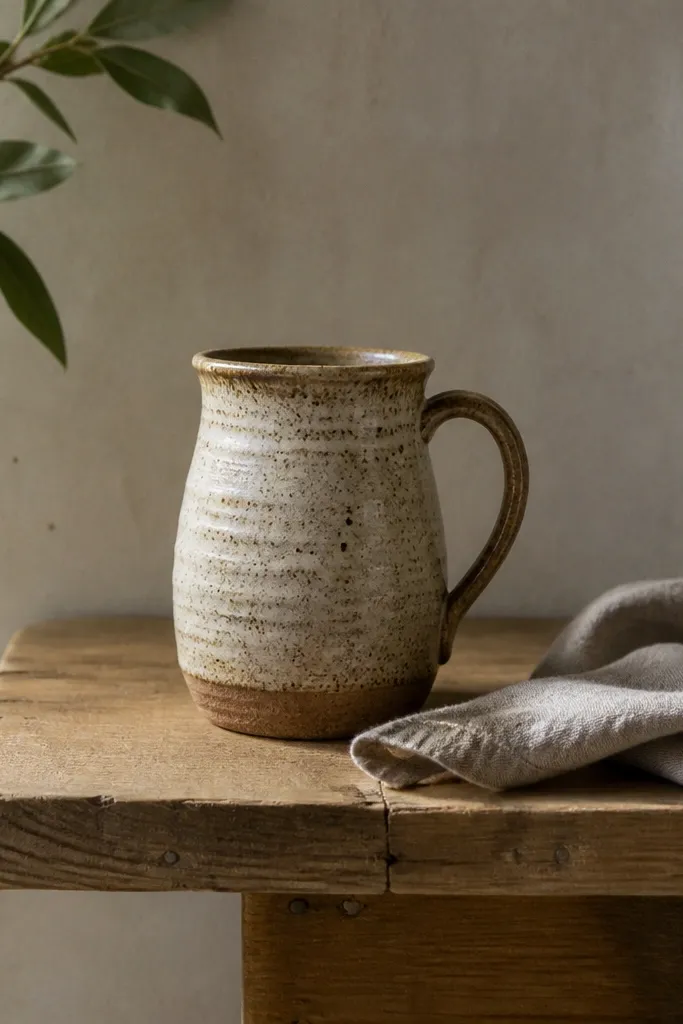
10. Marigold and Charcoal Ombre with Sponge Fade
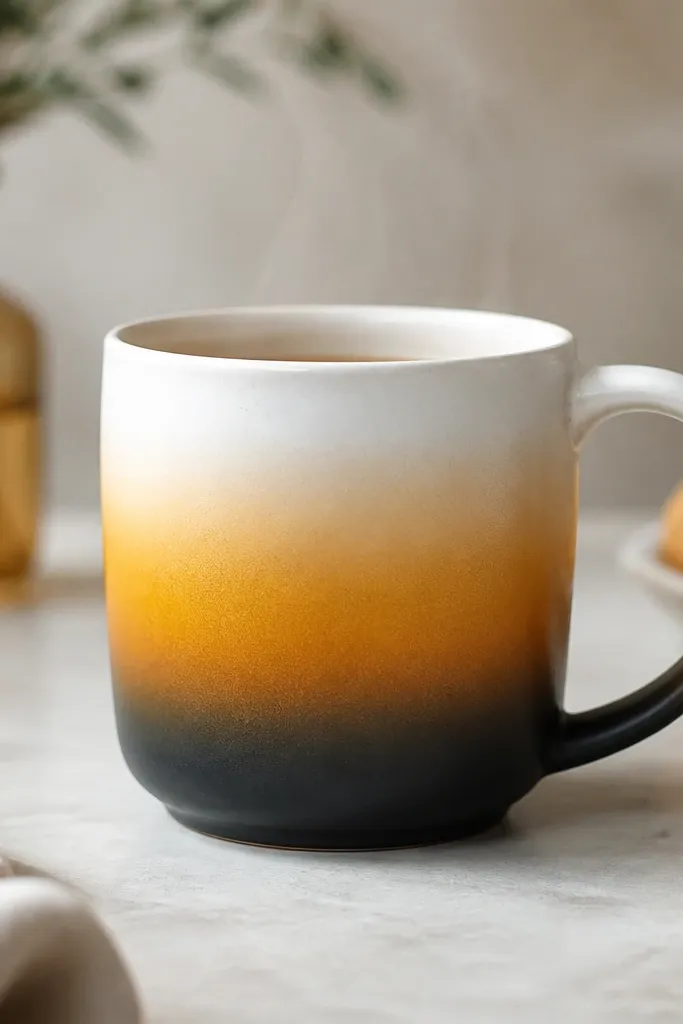
Ombre looks smooth only when you blend in layers, not in one swipe. I used a sponge to build the fade from charcoal at the bottom into marigold, then let it taper to white. The contrast makes the mug look like studio pottery. It's also forgiving if your mug has tiny scuffs because the sponge texture hides them.
Paint a charcoal band at the base about 1.5 inches tall. Sponge in marigold starting at the middle, overlapping slightly with charcoal. Blend upward with a clean damp sponge to soften the transition. Seal with a ceramic-safe clear and cure.
Pro tipUse a sea sponge with a dry surface; too wet makes streaks.
AvoidAvoid using a foam roller for ombre; it leaves uniform lines that look cheap.
11. Monogram on Handle Curve with Mirror Marker
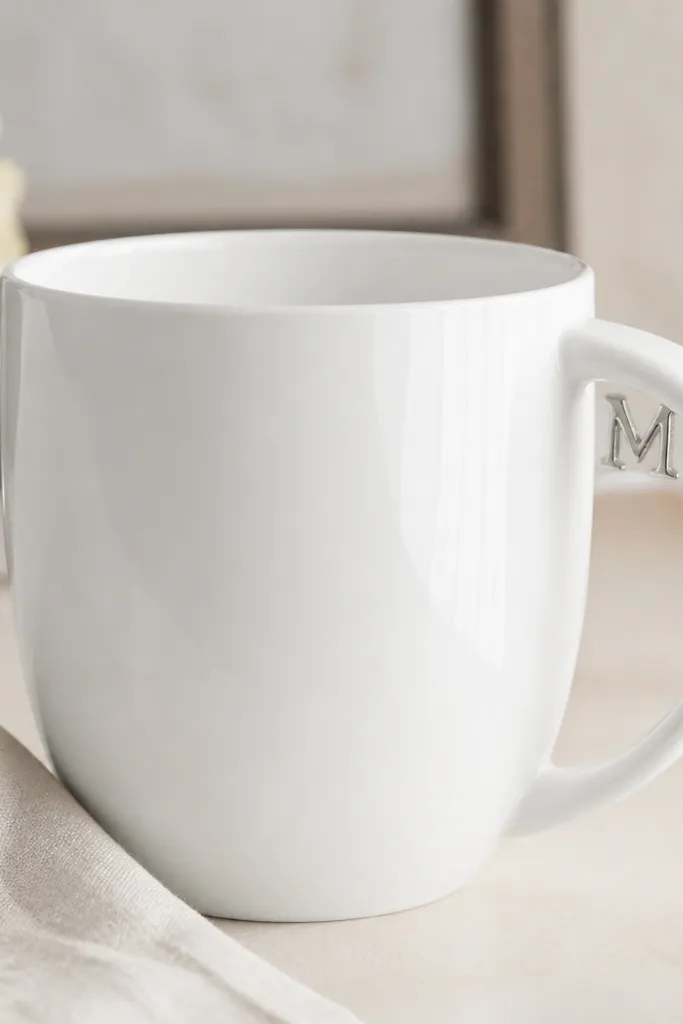
Putting a monogram on the handle curve makes the mug feel personal without covering the drink area. I used a metallic silver marker that dries glossy, then sealed to protect it. The reflective lettering catches light when you pick the mug up, so it looks special even with minimal design. It's also a practical choice because the design sits where you see it most.
Scuff the handle lightly, then draw a thin monogram with a ruler or printed stencil. Keep letters small so they don't hit your fingers. Let the metallic ink dry fully, then add a clear ceramic topcoat in thin coats. Cure before washing.
Pro tipTest your marker on a scrap tile first to see how dark it gets after sealing.
AvoidAvoid placing the monogram on the outer handle where your thumb rubs; it wears off first.
12. Ceramic Paint Transfer Using Freezer Paper Stencil
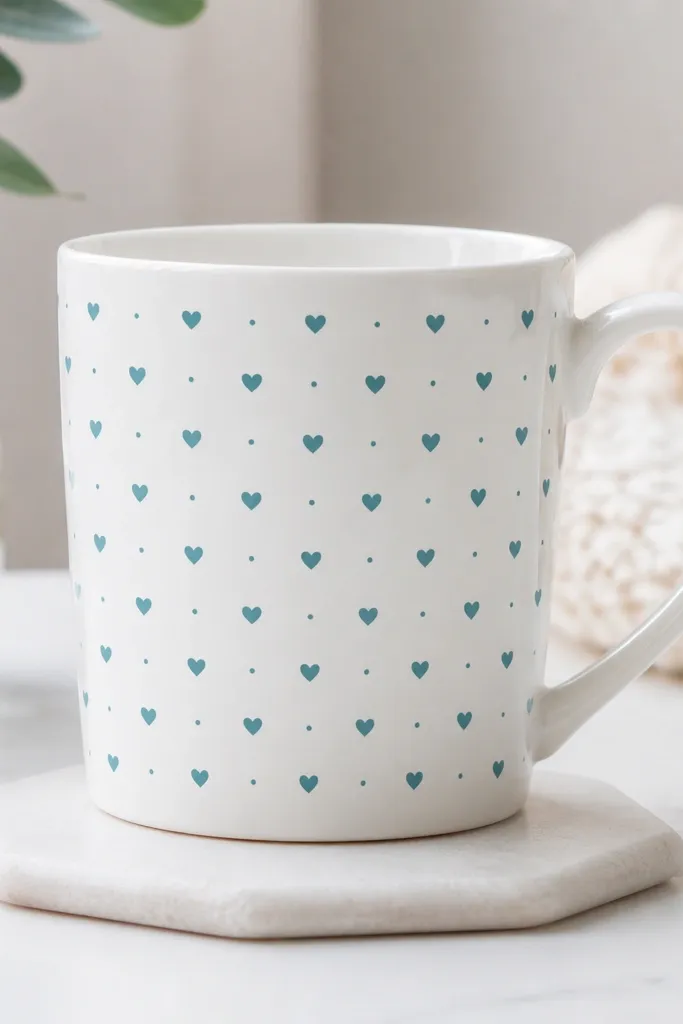
Freezer paper stencils make repeat patterns look sharp because the edges stay fixed. I cut hearts and dots, ironed the stencil onto the scuffed mug surface, then painted over it with ceramic paint. The pattern reads neat, not messy, because every element is the same size. It's a great fix for people who hate freehand lettering.
Iron freezer paper stencil onto scuffed ceramic with the shiny side down. Paint over the stencil with a small foam brush to avoid bleed. Peel the stencil while paint is slightly tacky. After curing, seal with clear topcoat.
Pro tipCut small registration marks so the stencil lines up for the next row.
AvoidAvoid rushing stencil removal once paint fully dries; it can tear the paint edge.
13. Cord Wrapped Handle Accent and Tiny Tag Charm
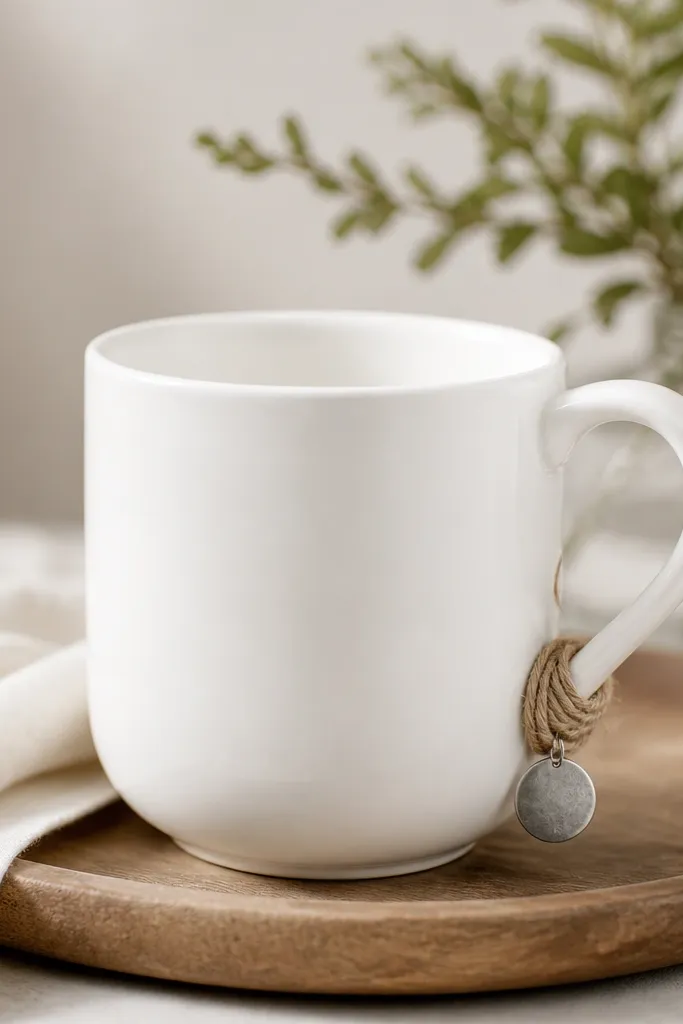
This is a non-paint idea that still looks handmade. The cord adds texture and warmth, and the small charm gives a focal point without covering the drinking surface. I used jute cord because it looks cozy and hides minor frays at the ends. The charm is tiny enough to keep the mug comfortable and not snaggy.
Wrap cord around the handle base and secure with heat-safe glue or a tiny stitch through a hidden spot. Add a metal tag charm with a jump ring. Keep the cord tight so it doesn't loosen with washing. Seal the glue area and let it cure fully.
Pro tipIf you want it dishwasher-proof, skip glue and sew through a small loop you attach with a heat-set method.
AvoidAvoid thick knots where your fingers grip; they make the mug uncomfortable.
14. Terrazzo Dots with Acrylic Pour on a Spoon

Terrazzo is forgiving because random dots hide uneven application. I built it by dropping tiny amounts of mixed paint onto the mug using the edge of a spoon. The effect looks like little stones scattered across the surface. A matte base makes the dots pop; a glossy base makes everything blend together.
Paint a matte base color first, then mix dot colors with a small amount of gloss medium so they level. Load a spoon edge with paint, then tap to release dots. Let dots cure longer than the base so they don't smear. Seal with a ceramic-safe clear that matches the finish you want.
Pro tipKeep dot size consistent by using the same spoon edge and same paint thickness.
AvoidAvoid pouring directly from a cup; it creates puddles instead of terrazzo specks.
15. Rope and Paint "Coastal Sign" Label on Mug
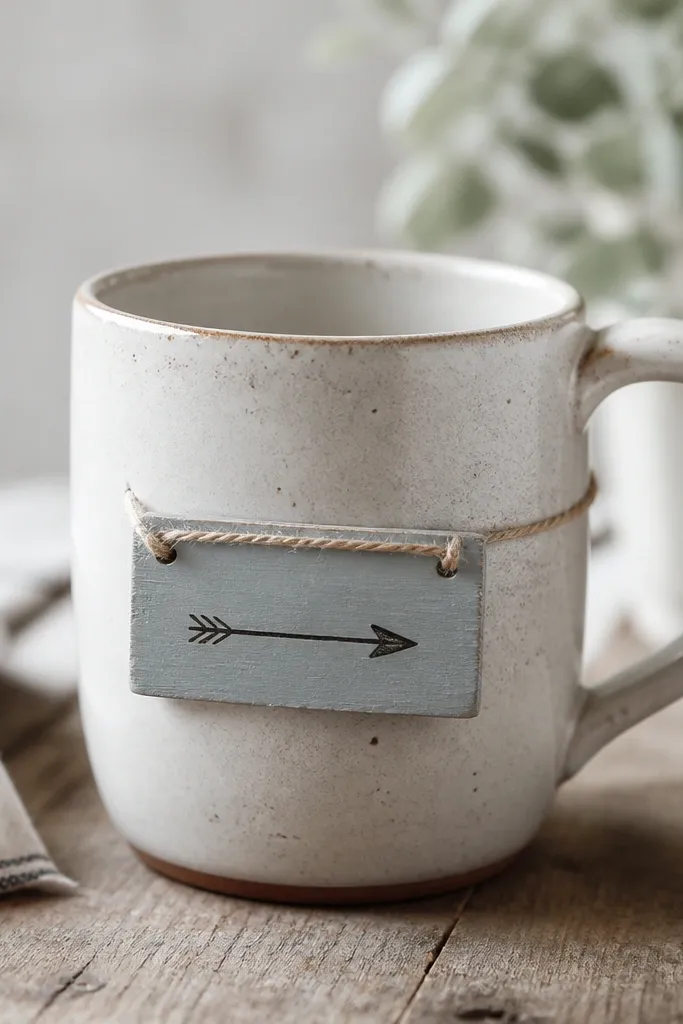
A label sign gives your mug a story without turning it into a collage. I used pale blue-gray for the sign background and a darker slate for the lettering. Rope adds dimension and makes the mug look like it belongs on a summer shelf. The design stays readable because it's framed like a tag.
Paint a rectangle about 2.5 inches wide on the mug, leaving a thin white border. Seal the paint, then add rope loops at the top corners using small, hidden glue points. Use a thin paint marker for lettering so it doesn't bleed. Cure fully and hand wash at first.
Pro tipMake the sign slightly taller than wide; it fits the mug curve better.
AvoidAvoid putting the rope ends near the rim; they snag on drying racks.
16. Citrus Peel Pattern with Stamped Orange Zest
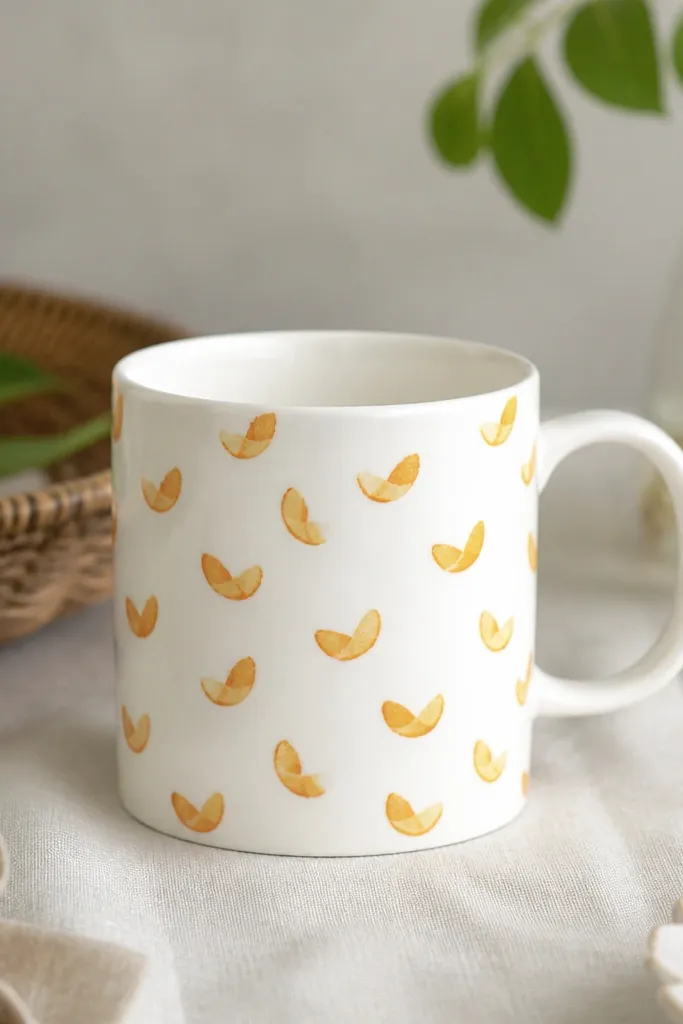
Stamp patterns look handmade when the stamp has texture, not when you draw every shape. I used a small foam stamp made from folded craft foam, then layered orange and pale yellow for peel depth. The repeating motif makes the mug cheerful without needing big artwork. It also covers small chips because the texture breaks up the surface.
Scuff the mug lightly, then stamp the peel shapes in a grid around the middle band. Alternate colors in a consistent rhythm, like orange base with yellow highlights. Let dry, then seal with a clear ceramic topcoat. Keep the pattern band away from the handle for comfort.
Pro tipPress stamps firmly for 2 seconds, lift straight up, and repeat without dragging.
AvoidAvoid freehanding the peel shapes; it ends up uneven and looks like clipart.
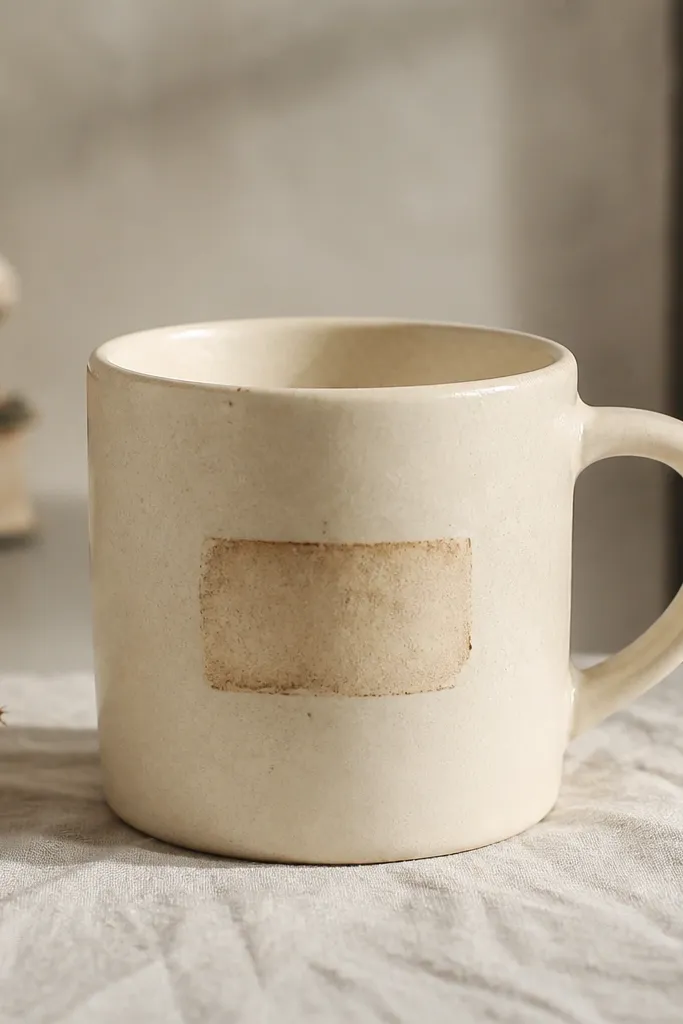
17. Blackboard Paint Quote with Chalk Marker and Clear Coat
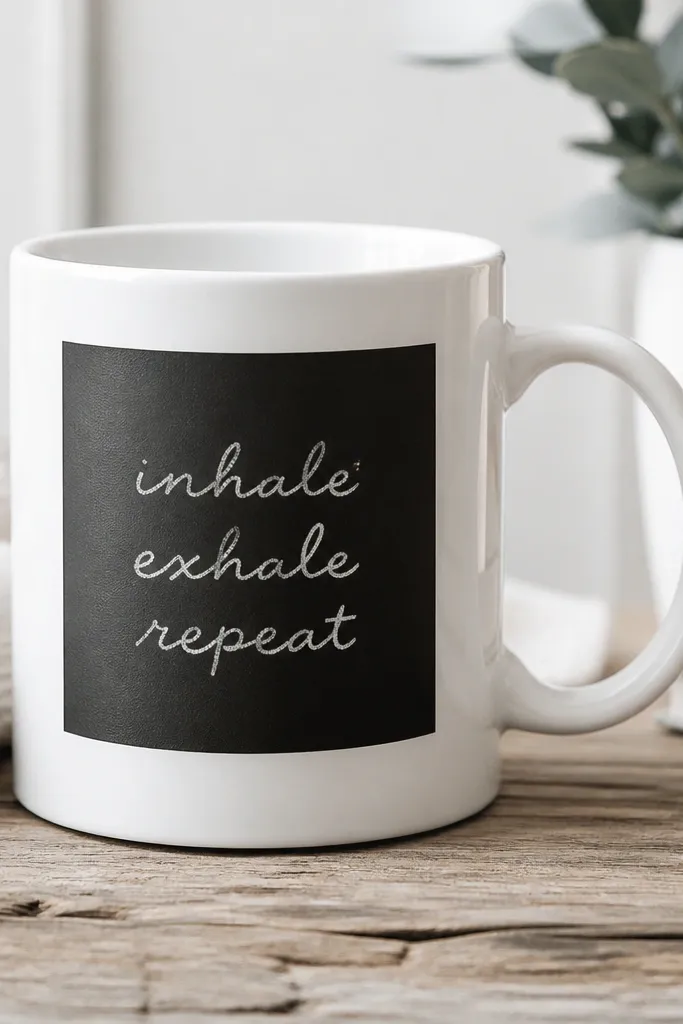
Blackboard paint gives you a writing surface, and it looks clean because it's a defined rectangle. I painted a matte black box, then used a chalk marker for the quote. The matte finish hides brush strokes and makes the text look crisp. When you want a new message, you can wipe and rewrite.
Paint a rectangle about 2.5 x 1.5 inches using chalkboard paint, then cure per label. Write with chalk marker or chalk after curing. Seal only the edges with a thin clear coat if you want water resistance; keep the writing area unsealed if you want it erasable.
Pro tipTest chalk marker smudging on a scrap mug before sealing anything.
AvoidAvoid sealing the entire blackboard area with glossy clear; it ruins the chalky feel.
18. Heat-Resistant Transfer with Coffee Cup Outline and Paint Wash
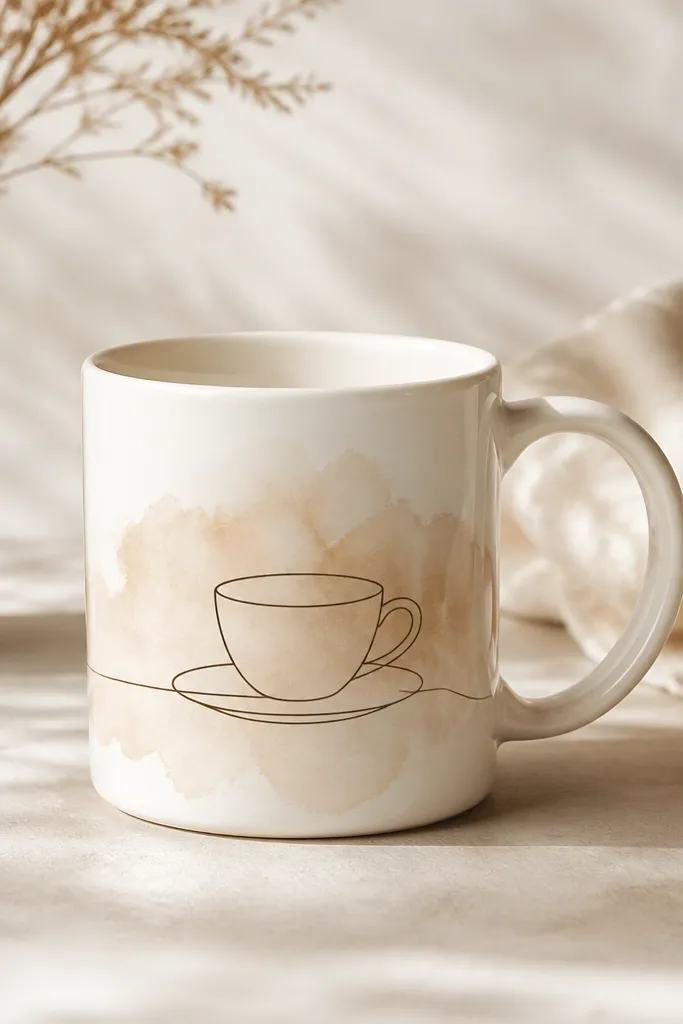
Transfers look better when you add a painted wash behind them. The outline stays crisp, and the wash creates depth so it doesn't look like a flat decal. I used dark brown for the outline and a light tan wash so it looks like coffee fading into cream. This combo also hides transfer edge lines.
Apply a heat-resistant transfer to a scuffed mug surface, then paint a very light wash around and behind the outline. Use a damp brush and small amounts of ceramic paint - you want soft pooling, not streaks. Seal with clear topcoat after everything cures. Place the outline centered on one side.
Pro tipKeep the wash 1/4 inch away from the outline edges so the line stays sharp.
AvoidAvoid painting directly on the transfer before it sets; the ink can smear.
19. Oat Milk Color Base with Hand-Painted Tiny Botanicals
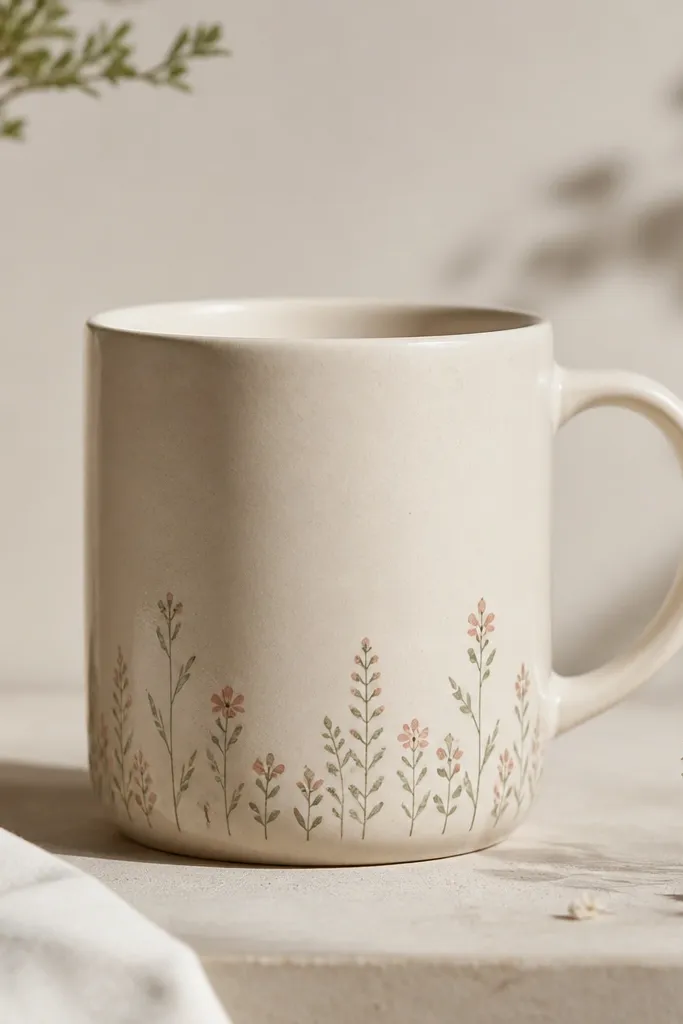
A soft base color makes small botanicals look intentional instead of scattered. I painted the mug in an oat milk tone, then added tiny sprigs near the bottom where the eye expects decoration. Muted sage and dusty rose feel calm and don't fight with kitchen colors. This design also hides minor unevenness because the base is matte and the botanicals are small.
Paint the entire mug in oat milk ceramic paint and let it cure. Dot a few sprig stems and leaves along the bottom edge, keeping them under 2 inches tall. Use a liner brush for stems and a tiny round brush for leaves. Seal with satin clear for a soft finish.
Pro tipPaint 5 sprigs total, not 15; spacing matters more than quantity.
AvoidAvoid big botanical flowers on an oat base; they look busy fast.


