
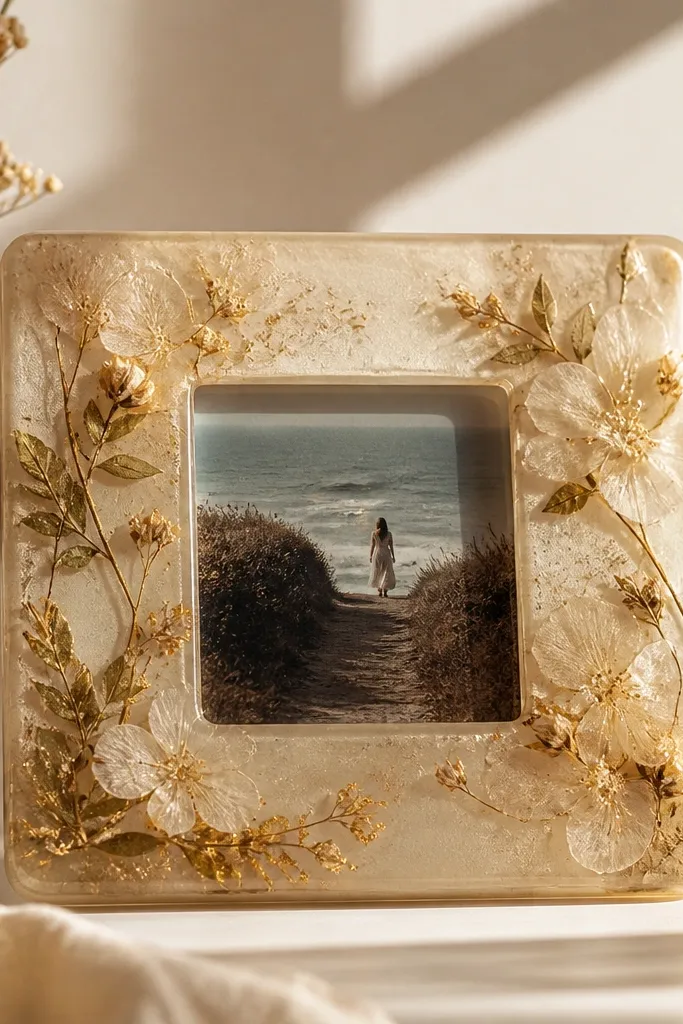
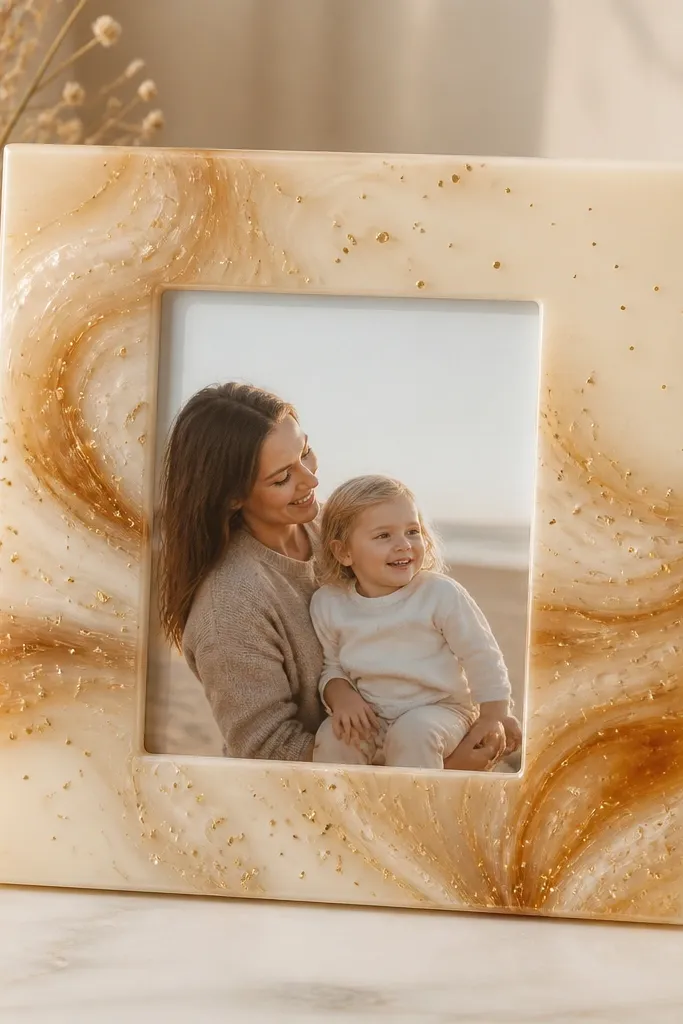
1. Dried Petal Glow Frame with Warm Amber Resin

This one looks cozy because the resin color is warm, not yellow-orange in a harsh way. I use dried petals that are thin and flat, then scatter them lightly so the photo still reads clearly. The amber tint makes skin tones look softer and it hides micro-bubbles better than pure clear resin. Petals under a glossy top also catch light without looking glittery or loud.
Start by tearing or cutting kraft paper to the size of the frame backing and lightly distressing the edges with ink. Mix amber resin tint gradually until it looks like honey under a lamp - you want warmth, not color blocks. Embed a small cluster near the lower third, then cover with a 3 mm first pour and a thin final pour.
Pro tipPress petals flat between two pieces of scrap paper for 10 minutes before embedding so they don't curl under resin.
AvoidDon't dump in a big pile of petals - thick clusters create dark spots and make the resin look cloudy.
2. Book Page + Resin Snow for a Vintage Cozy Look
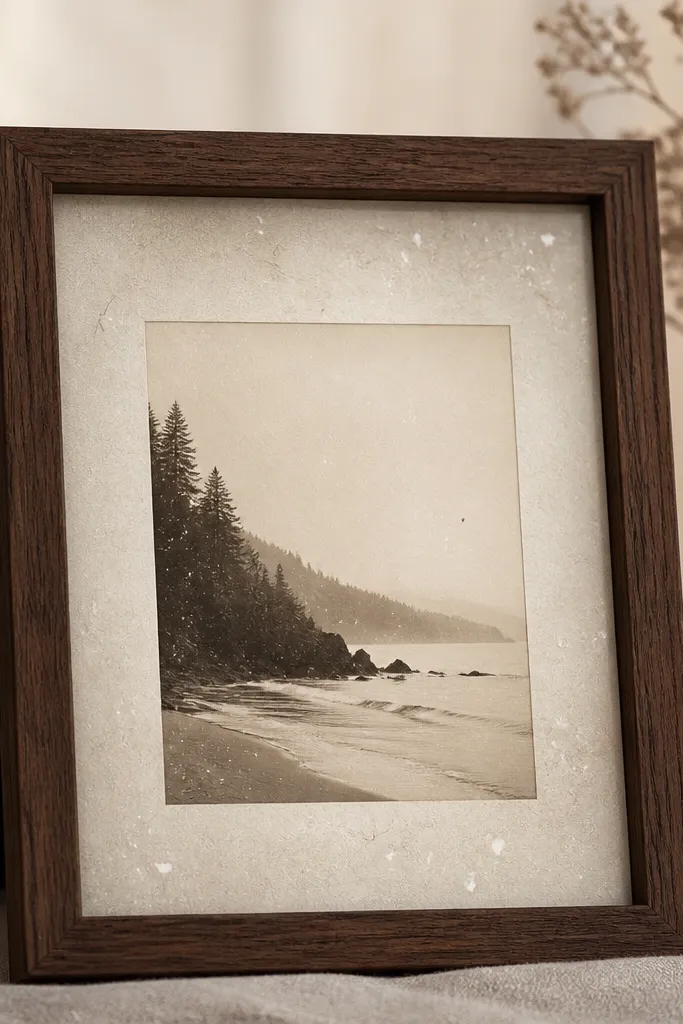
The cozy part here is the contrast between old paper and a clean, glossy resin top. I use torn book page for the backing and add a tiny amount of white mica or microcrystalline "snow" flakes under resin. It reads like winter without turning into a glitter mess. The page texture also gives depth, so the resin doesn't look like it's just sitting on top.
Tear book pages into irregular shapes that cover the backing, then seal the paper with a thin coat of matte Mod Podge or craft varnish. Add a light dusting of white mica - start with a pinch and mix it into a small amount of clear resin before pouring. Pour 3 mm, then top with a thinner clear layer to smooth the surface.
Pro tipIf your snow flakes sink, pre-mix them into a thicker batch of resin and pour that mix only for the first layer.
AvoidSkip thick glitter - chunky pieces make the surface bumpy and cheap-looking.
3. Lace-Edge Resin Frame with Soft Blush Tint
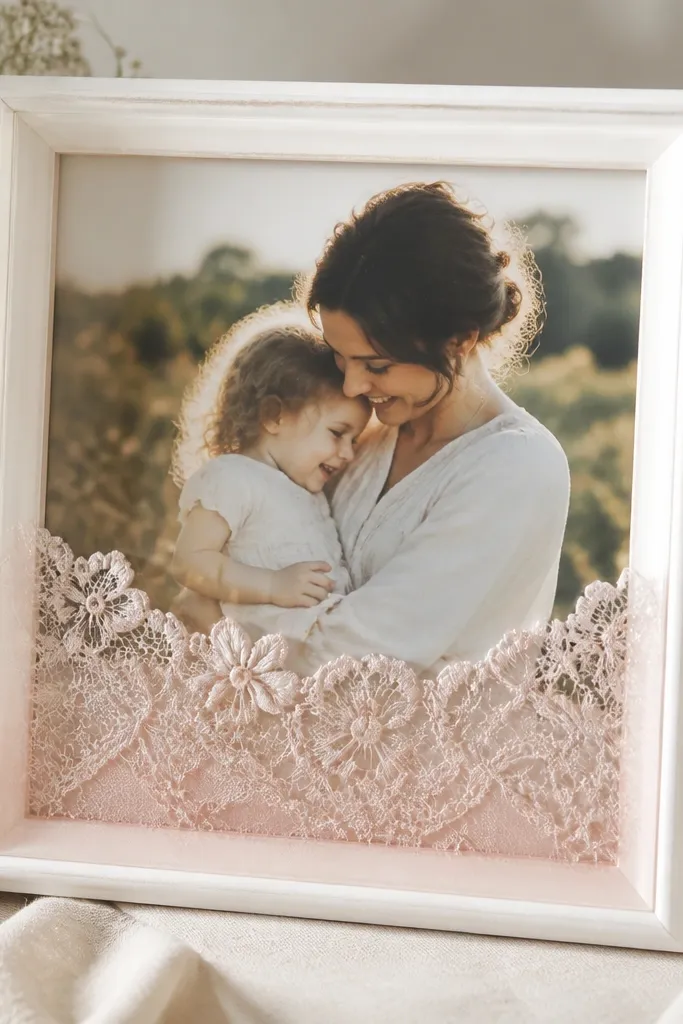
Lace gives you cozy because it has airy texture that looks good under a high-gloss dome. A blush tint in the resin makes the lace shadows warm instead of gray. I keep the lace to one edge only so the frame feels delicate, not busy. The result looks like a boutique wedding photo frame even with casual photos.
Use lace ribbon cut to the inner width, glue it to the backing along the bottom edge, and seal the lace with a thin brush coat so fibers don't float. Mix blush resin tint lightly - you should still see clear edges around the lace. Pour a 3 mm layer, let it gel, then top off thinner for a smooth finish.
Pro tipTrim lace with pinking shears for a cleaner edge that doesn't fray under resin.
AvoidDon't glue lace directly to unsealed cardboard - resin soaks in and can create dark blotches.
4. Corded Twine Border with Clear Resin Over a Photo
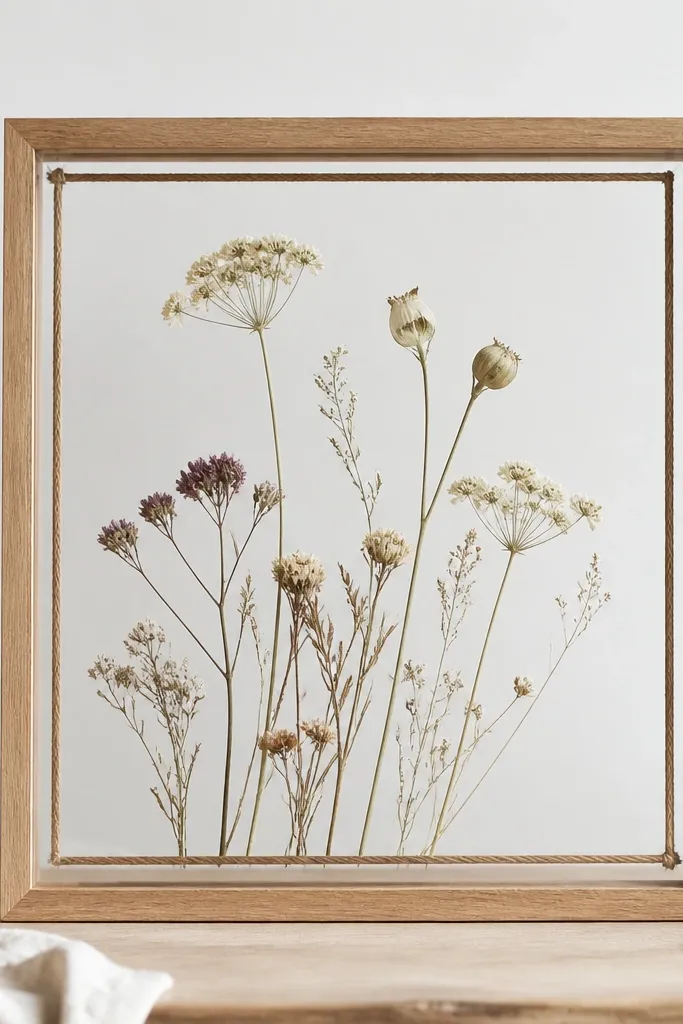
This looks cozy because twine adds tactile warmth and keeps the design grounded. I keep the resin clear so the photo stays the star. The twine border also hides frame edges and gaps where you might see raw backing. It reads rustic-cozy without needing any fancy molds.
Wrap twine around the inner lip in a tight spiral, then glue with hot glue or a strong craft glue. Seal the twine with a thin brush coat of clear varnish before resin so it doesn't wick. Pour clear resin in a controlled first layer around the twine, then top off once the first layer sets.
Pro tipUse a toothpick to push resin into the twine gaps so you get a smooth dome instead of pinholes.
AvoidDon't leave loose twine ends - they float and create sharp, ugly ridges.
5. Cinnamon Stick + Mica Warmth Frame
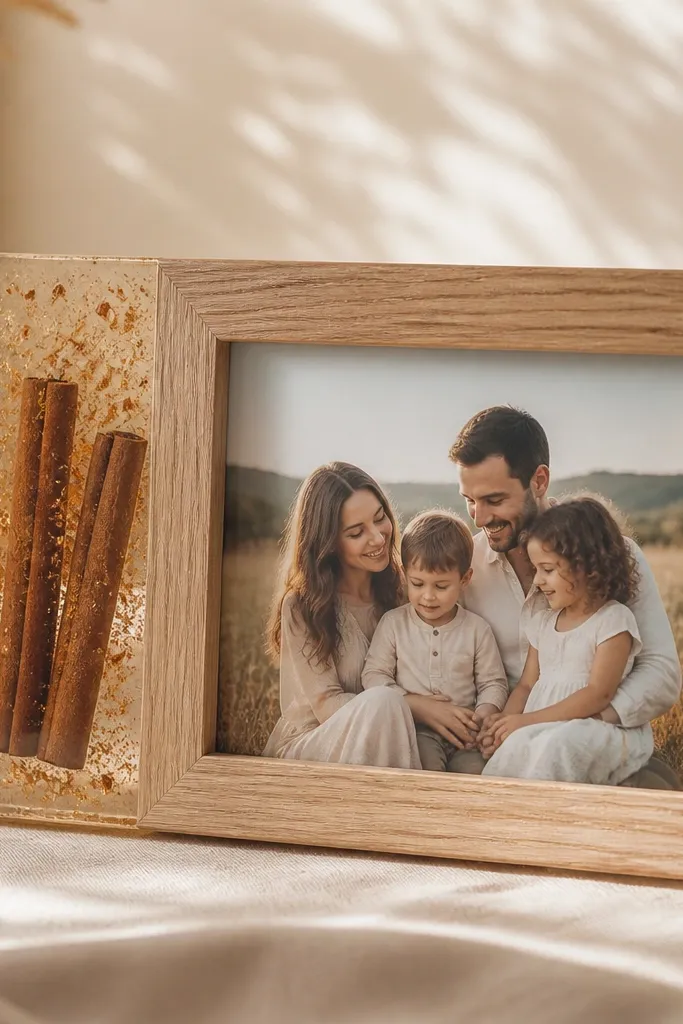
Cinnamon sticks make this cozy because they add a natural, warm tone that looks good even when the photo is bright. Mica gives a soft sparkle that stays classy because it's dust-sized, not glitter chunks. I like placing cinnamon at slight angles so it feels like a still-life rather than a flat decoration. The resin glass top makes everything look sealed and intentional.
Sand cinnamon sticks lightly so they don't have glossy patches, then seal with a quick coat of matte varnish. Lay them diagonally under the clear resin and sprinkle tiny mica dust around, not on top of them. Pour 3 mm first, then top off thinner so the sticks don't create a thick hump.
Pro tipKeep cinnamon pieces small - about 2 inches each - so the resin thickness stays even across the frame.
AvoidDon't use fresh cinnamon - moisture can cause clouding or bubbles.
6. Sea Glass Micro-Mosaic in Clear Resin
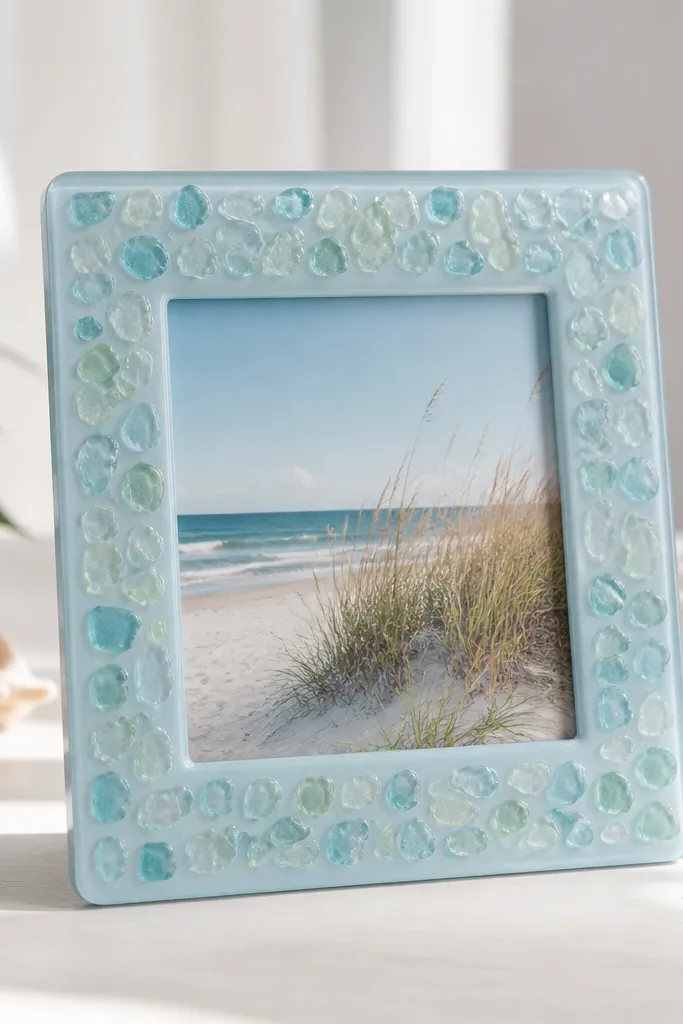
This one feels cozy because sea glass colors are soft, not neon. The micro chips create a gentle sparkle when light hits the resin surface. I keep the chip pattern clustered near one corner so the photo stays readable. It's beachy-cozy without looking like a souvenir glued on top.
Use small pieces from actual sea glass or glass craft chips, and rinse then dry thoroughly. Glue the chips lightly to the backing in a corner cluster, then pour a thin first layer to lock them in place. After it gels, pour a final clear layer to level the surface.
Pro tipIf chips have sharp edges, lightly sand the backs and edges so they don't puncture the resin top.
AvoidDon't cover the whole photo with chips - it turns into a collage instead of a cozy frame.
7. Fabric Confetti Frame with Clear Resin Dome

Fabric confetti looks cozy because it's soft and irregular, so light breaks in a gentle way. I use scraps from a thrifted blouse or linen napkin instead of glitter or beads. The muted palette matters - blush, oat, and dusty sage keep it warm. Under resin, the fibers look like they're floating, which makes the frame feel handmade but polished.
Cut fabric into 3-6 mm squares and strips. Seal the backing with matte Mod Podge, then mix a small amount of clear resin and coat the fabric pieces before placing them - this helps them sit flat. Pour a 3 mm first layer, let gel, then top off thin for a level dome.
Pro tipUse fabric with a tight weave (cotton, linen). Loose-knit scraps fuzz into the resin and look messy.
AvoidAvoid shiny satin - it reflects too hard and makes the frame look cheap.
8. Gold Leaf Corners with Warm Clear Resin
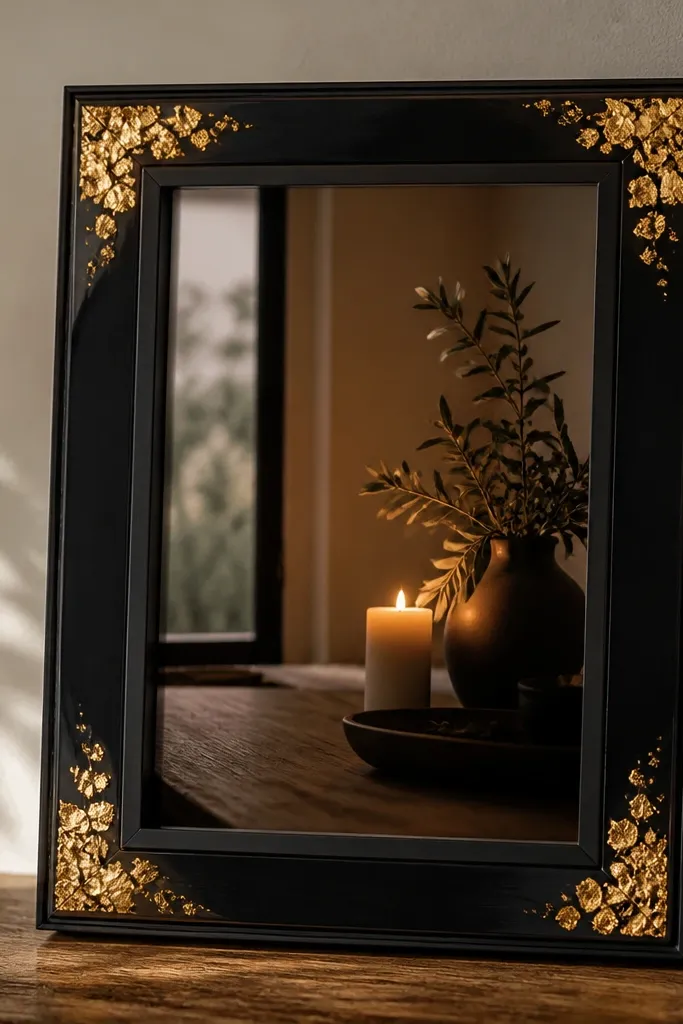
Gold leaf gives cozy because it mimics candlelight warmth when resin is slightly tinted. I place leaf only in corners so it feels intentional and frames the photo instead of covering it. The resin top makes leaf look like it's under glass, not stuck on. This is great for night photos, dinners, and "date night" pictures.
Apply a thin adhesive layer for leaf (or very thin craft glue) to the corner areas on the sealed backing. Tear gold leaf, press lightly, and leave a few edges rough for natural texture. Use warm clear resin (a drop or two of amber tint) and pour 3 mm, then top off thinner once set.
Pro tipIf leaf keeps sticking to your gloves, press it with a foam brush - it transfers cleanly.
AvoidDon't use liquid gold paint under resin - it can streak and look uneven.
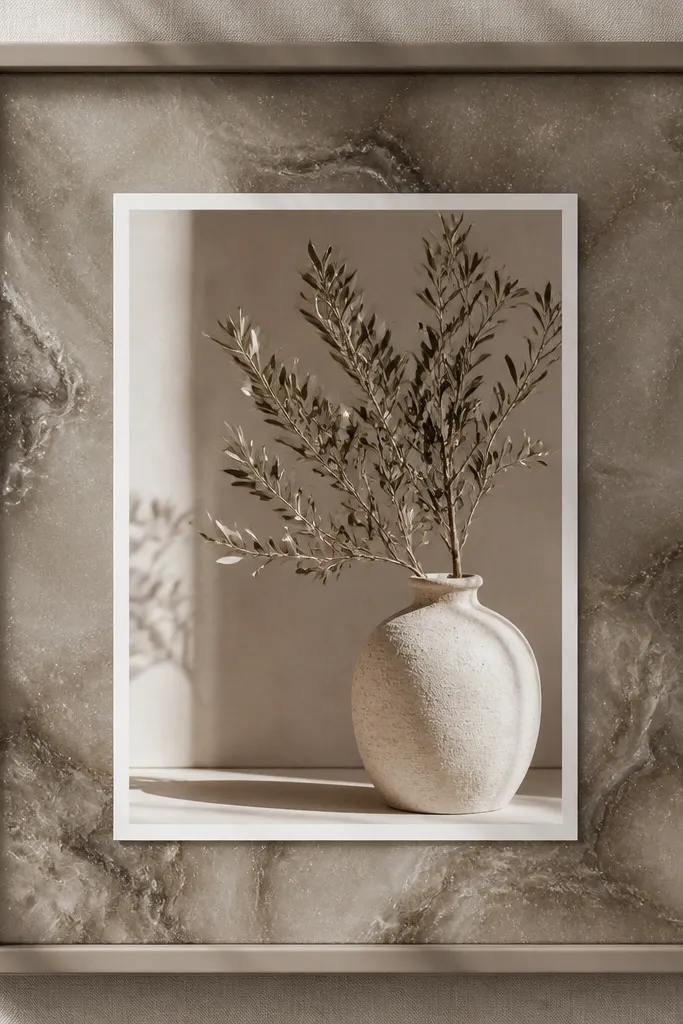
9. Pressed Fern + Clear Resin for Soft Green Cozy
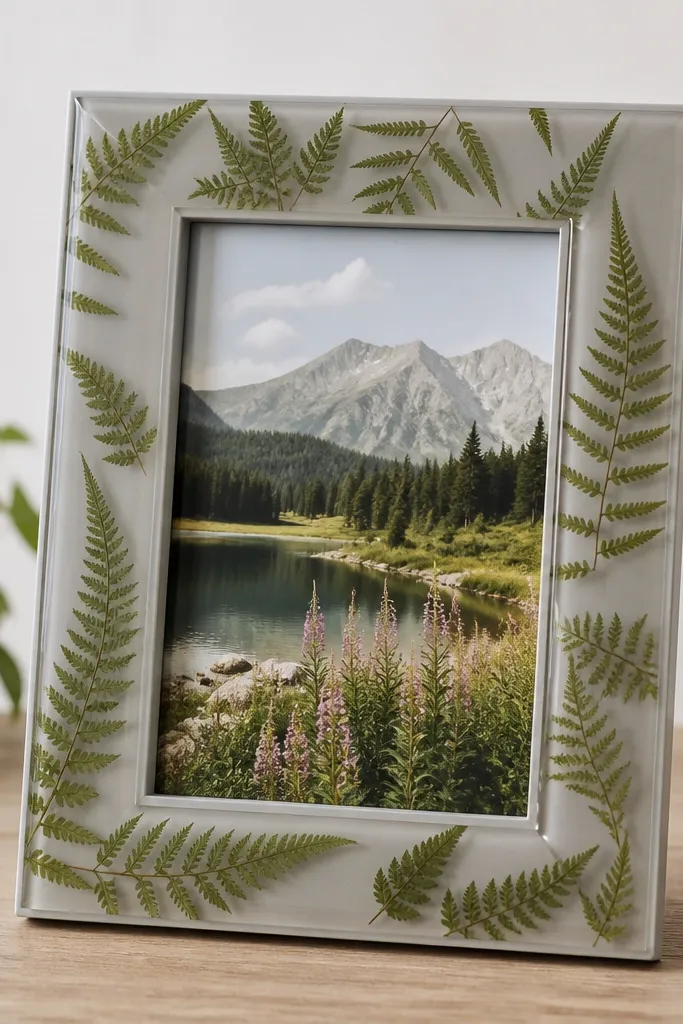
Pressed fern looks cozy because it brings real organic texture without looking busy. Clear resin keeps the green muted and natural. I like placing ferns in a diagonal line so they guide the eye toward the photo center. When the fern edges are thin and dry, they sit flatter and look like botanical art.
Press ferns between book pages for a week if possible, then trim to fit the inner opening. Seal the fern with a thin brush coat of clear glue diluted 1:1 with water or a light matte medium so it doesn't float. Pour 3 mm clear resin, then top off thin to lock everything down and level the surface.
Pro tipUse tweezers to place fronds - fingers leave oils that can cause fisheyes in resin.
AvoidSkip fresh leaves - they release moisture and cause clouding.
10. Washed Linen Backing with Clear Resin and No Color Tint
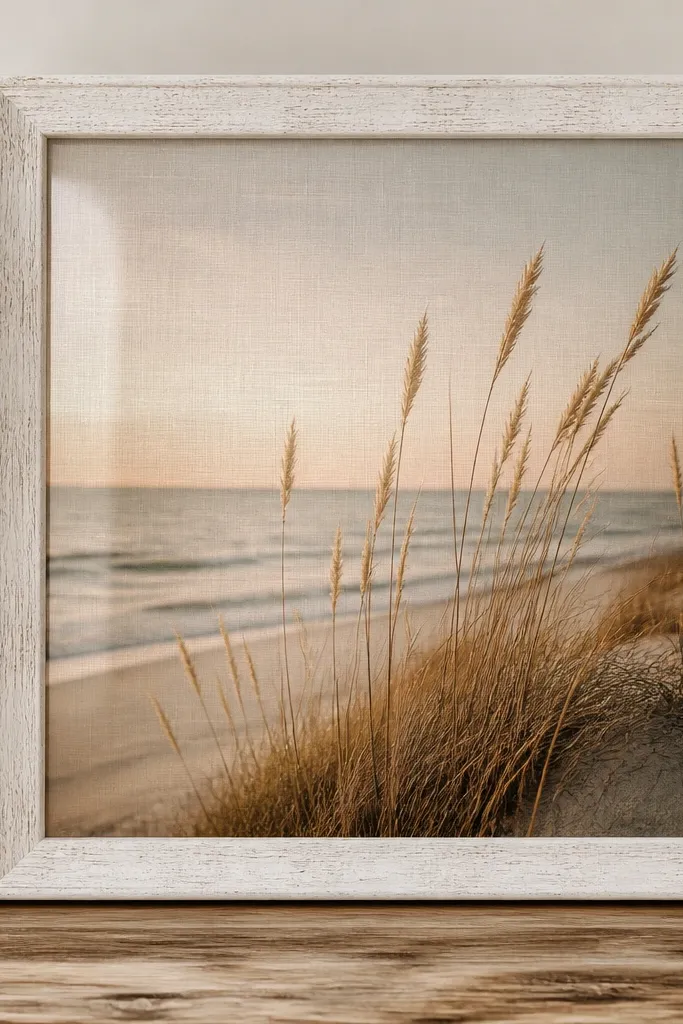
This is cozy because linen texture warms everything, even with clear resin. There's no colored tint, so the photo tones stay true while the resin adds a glassy depth. The weave shows through slightly, giving it a handmade, understated look. It's also one of the easiest designs because you're not trying to hide bubbles with pigments.
Cut linen to the backing size with 1/4 inch extra, fold edges behind, and glue flat. Seal the fabric with matte Mod Podge so the weave doesn't drink resin. Pour clear resin in a 3 mm first layer, then top off thin for a smooth, level finish.
Pro tipUse a hair dryer on low for 30 seconds after sealing the linen so it's fully dry before resin.
AvoidDon't skip sealing - unsealed fabric makes resin look dull and patchy.
11. Warm Marble Swirl Resin with Tiny Confetti
Marble swirls feel cozy when the palette is warm and the pattern is subtle. I use two or three tints in small amounts, then swirl with a stir stick just enough to create movement. Tiny gold confetti keeps it festive without looking like a party craft. The resin top makes the swirls look like they're trapped under ice - but warm.
Mix small batches: clear base, caramel tint, and a lighter beige tint. Add 1/2 teaspoon of gold mica to the clear or beige batch. Pour a thin first layer, then swirl your tinted resin with a toothpick, and top off with clear once it gels.
Pro tipPractice swirls on a scrap silicone mat first so you know how fast your mix spreads.
AvoidAvoid heavy black in marble - it turns harsh and kills the cozy warmth.
12. Polaroid-Style Resin Frame with Faux Film Grain

Film grain gives cozy because it makes modern photos feel nostalgic. I build this by adding a controlled layer of speckling under clear resin, then keeping the rest clean. The resin dome makes it look like a vintage print sealed in plastic. It's great for travel photos, portraits, and older family shots that you want to feel softer.
Create a cream border backing with thick cardstock, then add a light wash of diluted brown ink or coffee tint. For grain, tap a stiff toothbrush over a scrap to create tiny specks - don't overdo it. Seal the cardstock, then pour clear resin in a 3 mm first layer and top off thin.
Pro tipUse thicker cardstock (at least 300 gsm) so the speckled background doesn't warp under resin weight.
AvoidDon't use watery paint - it can bleed and create streaks under the clear top.
13. Holiday Ornament Backing with Clear Resin and Red Thread
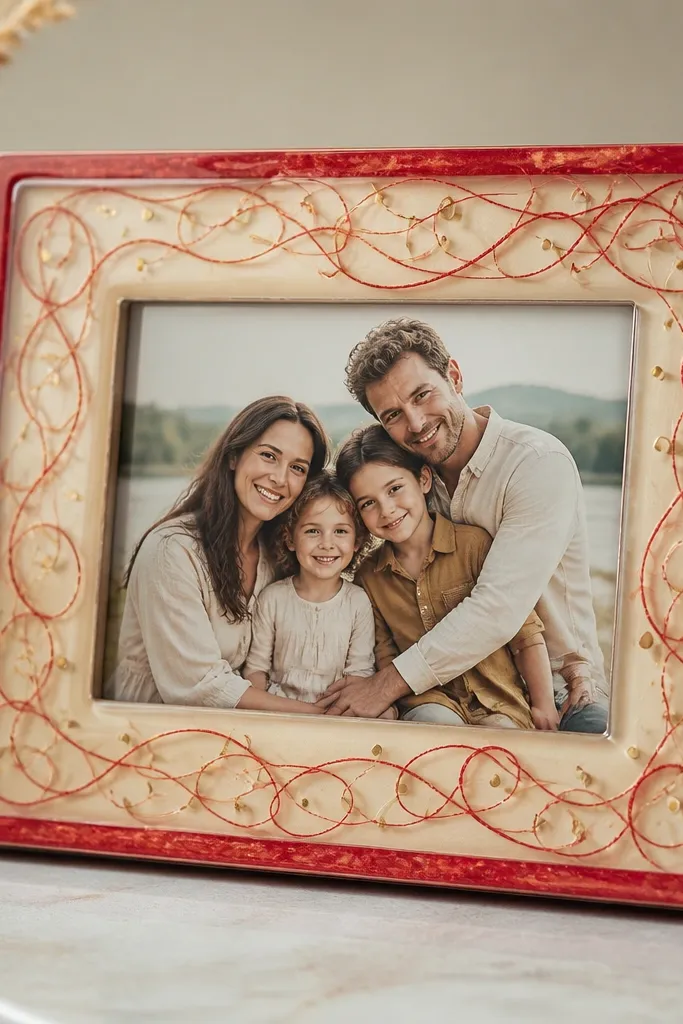
Thread loops look cozy because they create soft curves and catch light in tiny highlights. I keep the thread to a few loops around the corners so the photo stays crisp. Muted gold dots add a warm festive hint without going full glitter. This one is perfect for winter gifts because it looks intentional from across the room.
Use red embroidery thread or thin yarn, and cut 1-2 inch loops. Glue loops to a sealed backing using a tiny dot of glue so they don't float. Add a light scatter of gold mica mixed into a small amount of clear resin for the first pour. Pour 3 mm first, then top off thin for a level dome.
Pro tipStretch the thread slightly before looping so it holds shape under resin.
AvoidDon't use thick rope - it creates big voids and makes the surface uneven.
14. Smoky Quartz Look with Gray Mica and Warm Base
Smoky quartz looks cozy when the base is warm and the mica is controlled. Gray mica can turn cold quickly, so I add a warm undertone with a beige tint in the clear resin. The effect is soft like stone - not glittery. It makes dark photos feel calmer and light photos feel moody in a good way.
Tint your clear resin beige first, then mix gray mica in tiny increments. Swirl the gray mica with a toothpick after pouring a 3 mm layer, then cover with a clear top coat once it gels. Keep mica amounts low so you get translucent stone, not opaque paint.
Pro tipMix mica into a small cup and pour a test strip on scrap to judge the opacity before committing.
AvoidSkip straight silver mica - it looks icy and cheap under resin.
15. Warm Photo Backing with Handmade Paper Cutouts Under Resin

Handmade paper cutouts give cozy because the fibers show through and soften the edges. I like layering two paper tones so the depth reads even through clear resin. The cutout border frames the photo without taking attention away from faces. It also hides tiny unevenness from cutting because paper has natural irregular edges.
Cut handmade paper into a thin border frame shape, leaving 1/4 inch space around the photo edges. Seal the paper cutouts with matte Mod Podge so they don't float or soak resin. Pour a 3 mm clear layer to lock them, then top off thinner to level the surface.
Pro tipUse a craft knife on a cutting mat and press firmly - paper fibers tear if you rush.
AvoidDon't use shiny scrapbook paper - it creates glare and kills the cozy softness.


