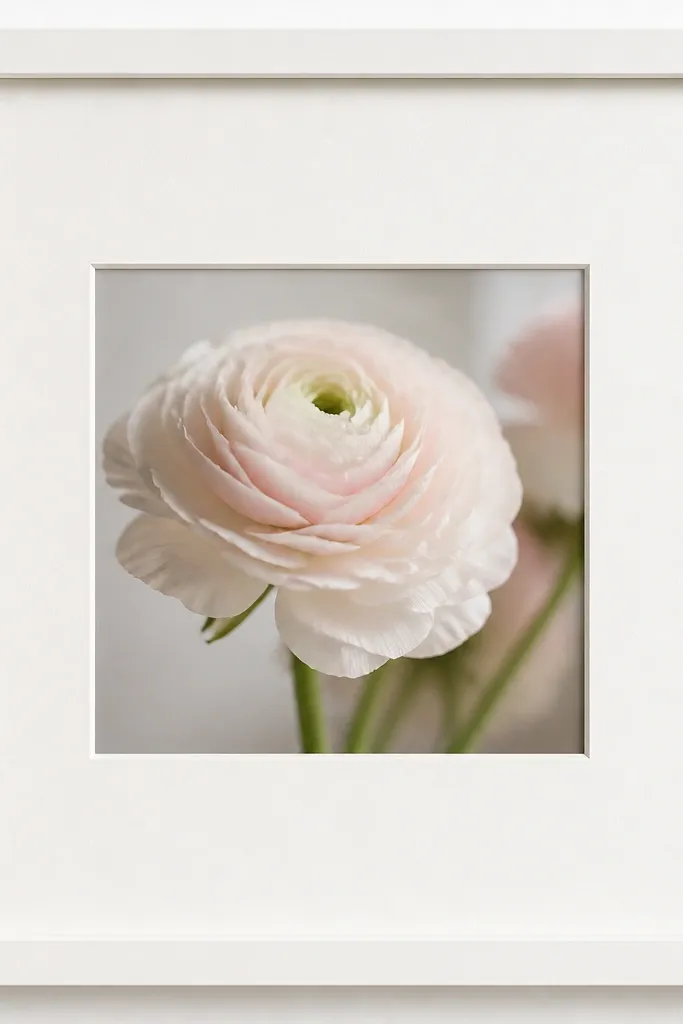
1. Cream Mat + Pink Bloom Print in a Thin Black Frame
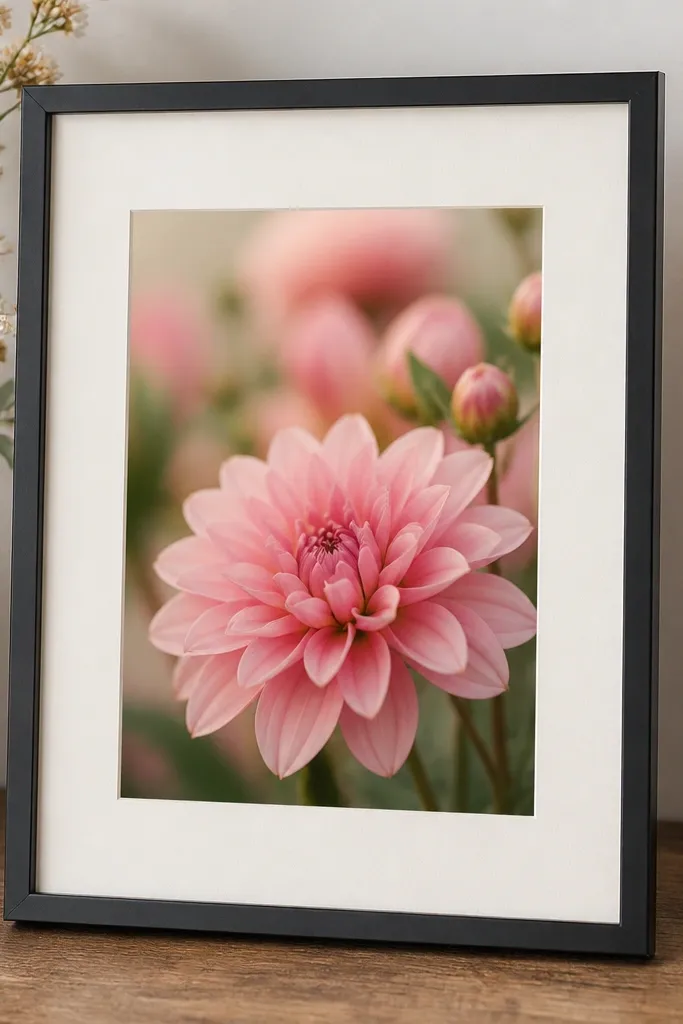
I like this combo because the thin black frame makes the flower look crisp instead of busy. The cream mat gives the pink room to breathe, which matters in small space flower frame wall decor where everything is close together. Use a matte print so the pink doesn't glare under daylight.
Choose a 5x7 or 6x8 frame with a removable back. Cut a cream mat board to leave a 1 inch border around the print, then center the photo so the flower sits slightly above midline.
Pro tipIf the wall is near a window, flip to a matte finish print - glossy photo paper makes pink look harsh.
AvoidAvoid a thick, wide mat with a tiny print - it makes the whole frame look like a sad label.
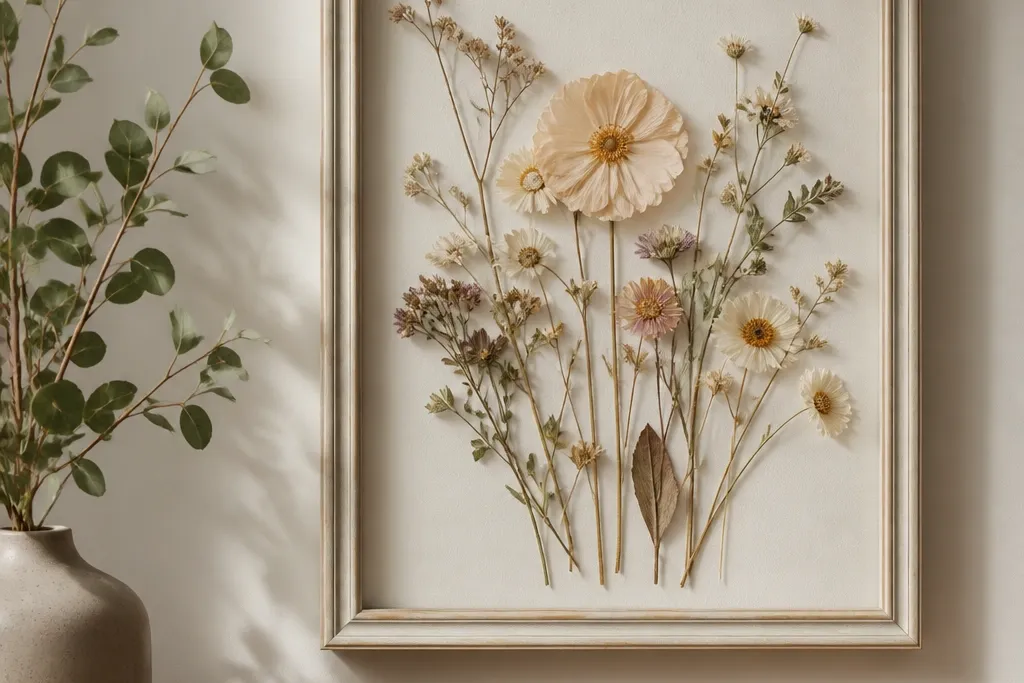
2. Gold Frame with Pressed Flower Look (But It's Actually Paper)
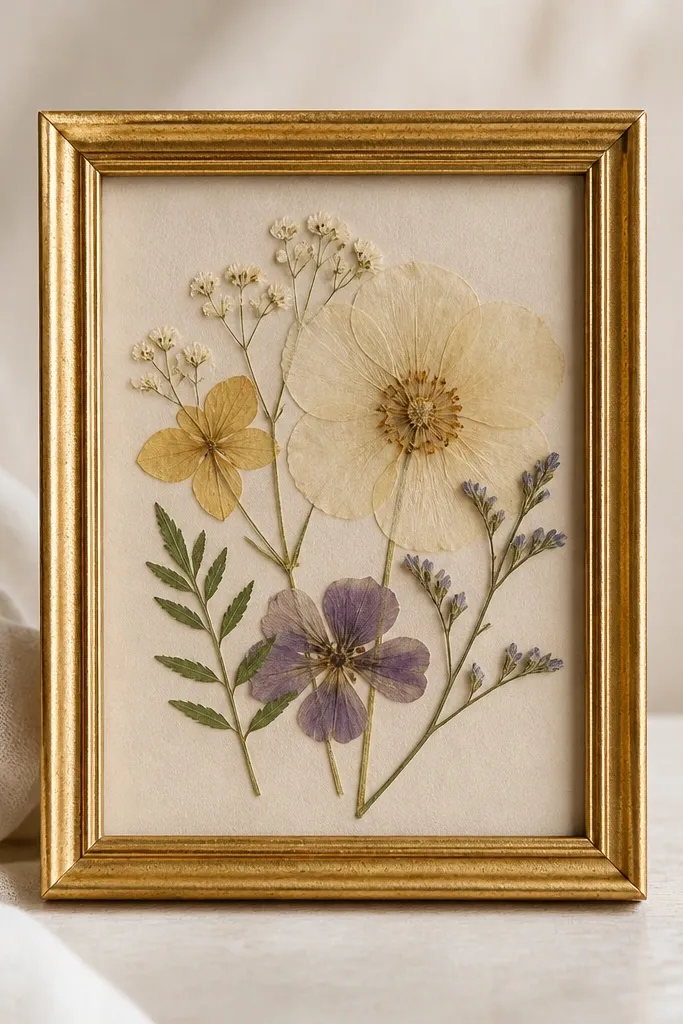
Gold reads holiday-adjacent without feeling loud, especially on small walls. The pressed-flower style looks delicate, and the muted palette keeps it classy even when you add other seasonal decor. I've used this during spring and again in winter because the colors don't scream a single season.
Print your flowers on textured art paper (or matte cardstock) and add a thin layer of translucent vellum over the top for that papery pressed vibe. Keep the collage in the center and leave at least 1/2 inch from edges so it doesn't feel cramped.
Pro tipUse a single flower type (like daisies or lavender) so the collage looks intentional, not random.
AvoidDon't use bright neon paper - it kills the pressed effect instantly.
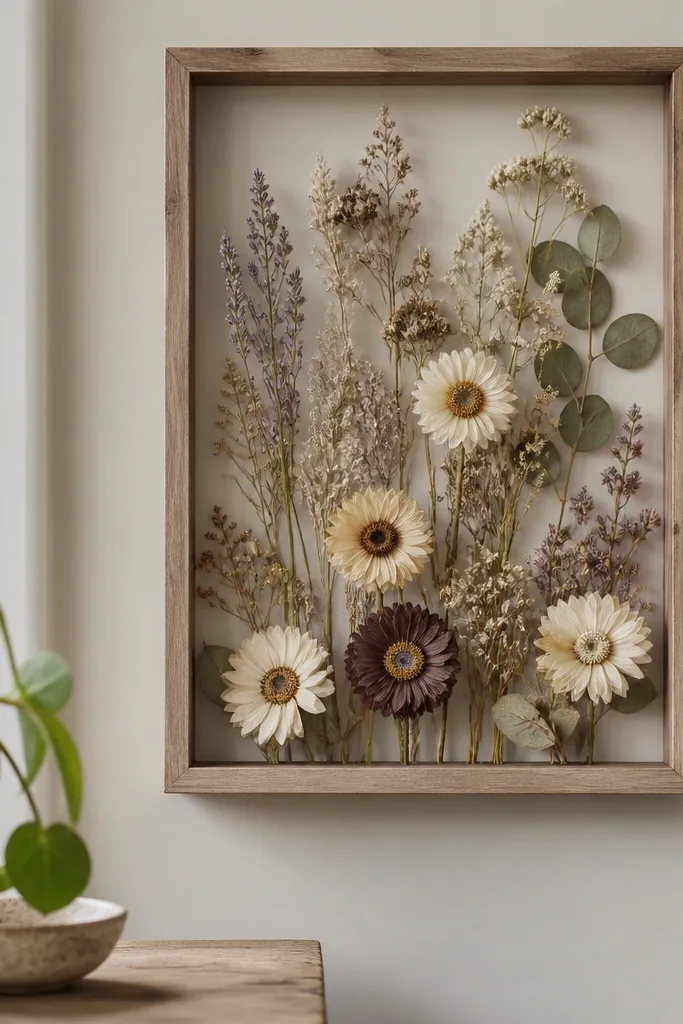
3. Whitewashed Wood Frame with Monochrome Blooms
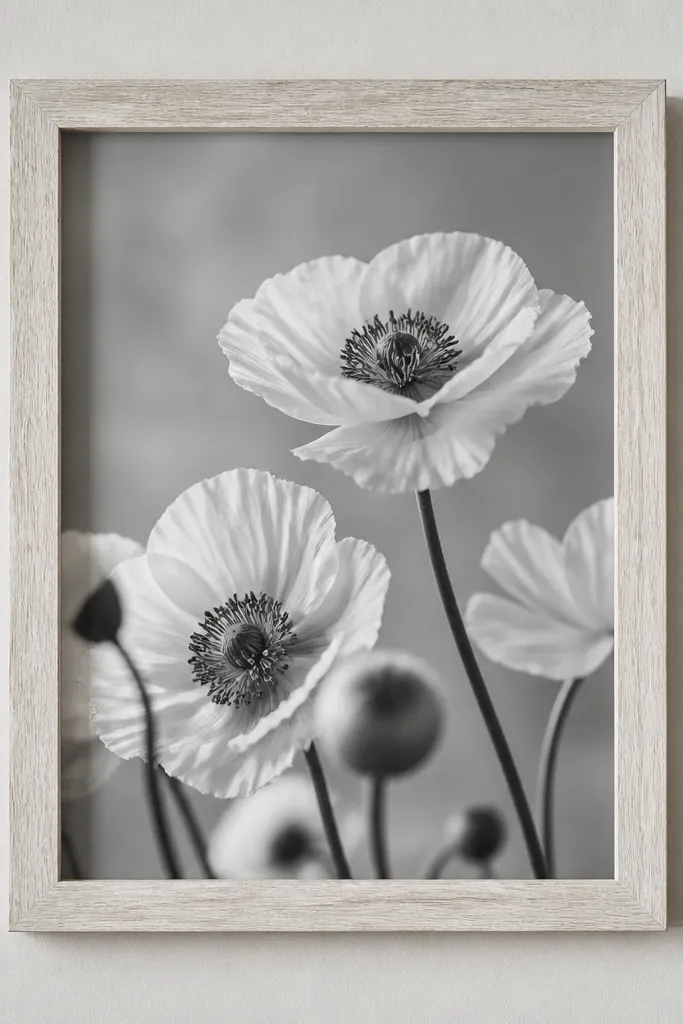
Monochrome flowers in a light wood frame calm down a busy room. This is the option I pick when the rest of the wall has shelves, prints, or a lamp - the frame blends with the space instead of competing. In small spaces, that "quiet" contrast makes everything feel bigger.
Use a black-and-white print with a gray gradient background. Leave a 3/4 inch white mat border and keep the frame finish distressed or light-grain so it matches the monochrome theme.
Pro tipIf your wall paint is warm (cream, honey, off-white), choose gray-black flowers instead of pure black.
AvoidSkip fully black-and-white images with hard contrast - they look like a flyer, not wall decor.
4. Deep Green Background Frame with Burgundy Petals
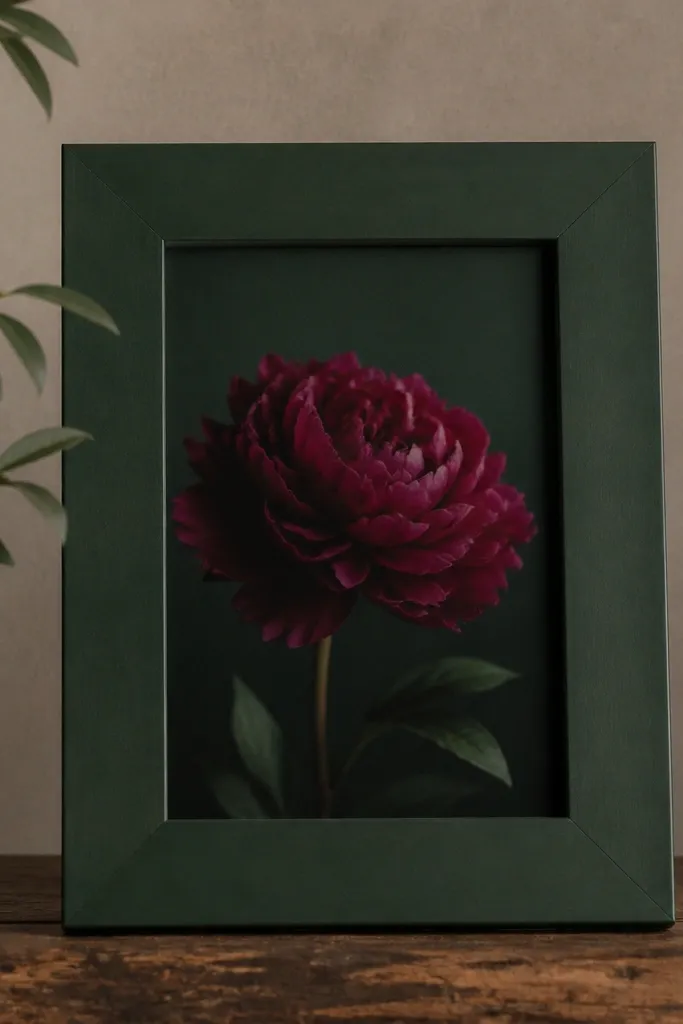
This is my winter-friendly flower frame look. The deep green background makes burgundy feel cozy, and it pairs well with gold hardware in the room. It also hides fingerprints and smudges better than light backgrounds.
Pick a 5x7 frame and paint it with a matte deep green spray if needed. Back the print with heavy cardstock tinted green, then place the flower print so it overlaps the background by 1/4 inch around the edges.
Pro tipUse a gel pen to add a tiny faux-ink outline around the flower shape for a handmade feel.
AvoidDon't choose a glossy green background - it reflects light and makes the burgundy look dull.
5. Floating Frame Look with Oversized Flower Crop
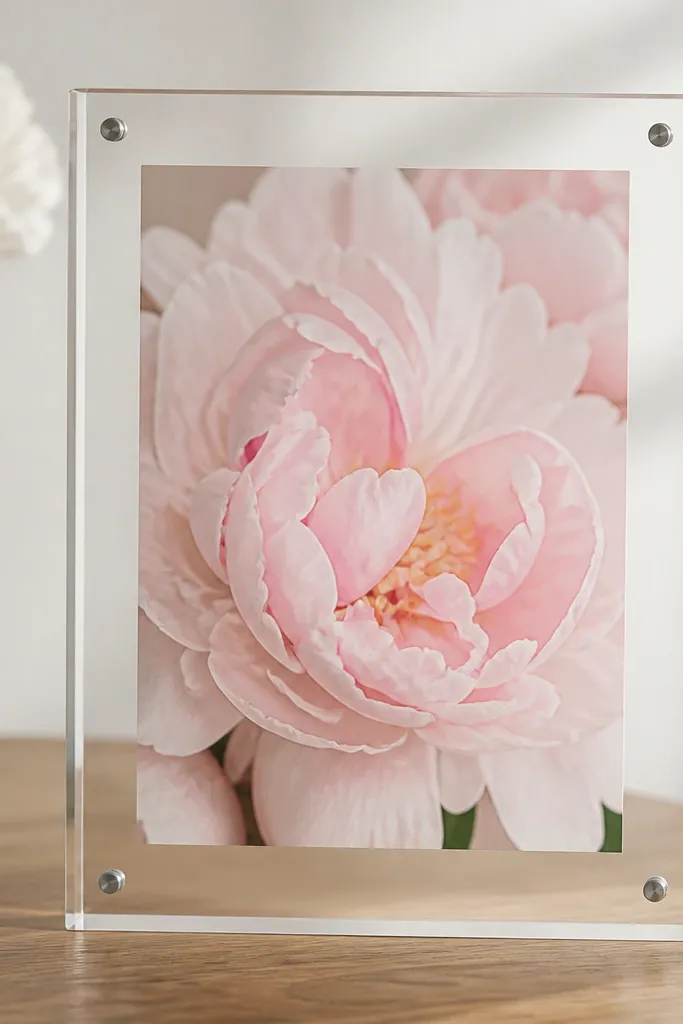
Oversized cropping makes small space flower frame wall decor feel like a "real" artwork instead of a small photo. The visible gap around the edges gives a modern floating effect. When the petals fill the frame, your wall doesn't need extra pieces to look finished.
Use an acrylic or glass-front frame with a spacer-style backing. Choose a print where the flower takes up about 80% of the image area, then align the bloom so it sits slightly off-center.
Pro tipPrint at 300 dpi and crop carefully - low-resolution images turn fuzzy when blown up.
AvoidAvoid centering the flower perfectly every time - it looks like a passport photo.
6. Ribbon Bow Frame Trim for Spring Mantel Energy
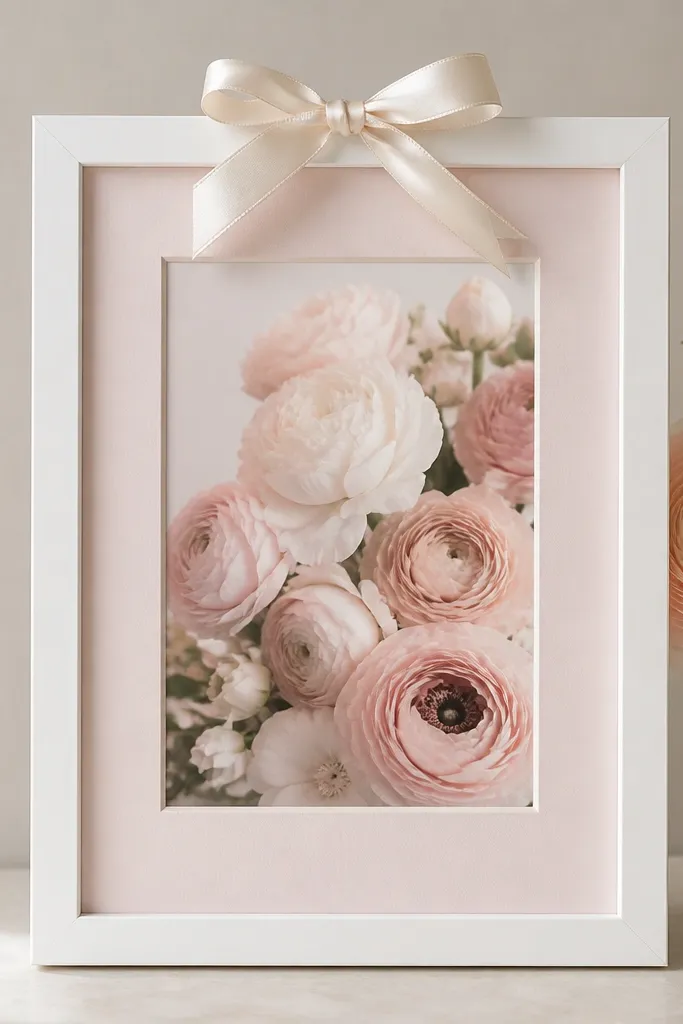
A tiny ribbon bow makes the frame feel seasonal without replacing your whole decor. Pastel flowers in a light pink mat look soft and romantic, and the bow adds a clear "holiday cue" for spring events. Keep the bow small so it doesn't look like gift wrap stuck to a wall.
Use a satin ribbon in dusty blush or pale blue, about 1/2 inch wide. Tie a bow with 3 inch loops, then glue it to the frame front with a hot glue dot at the very top center.
Pro tipMatch ribbon color to one flower color in the print so the bow looks intentional.
AvoidSkip wired ribbon - it puckers under glass and looks uneven.
7. Terracotta Frame with Orange Marigold Print
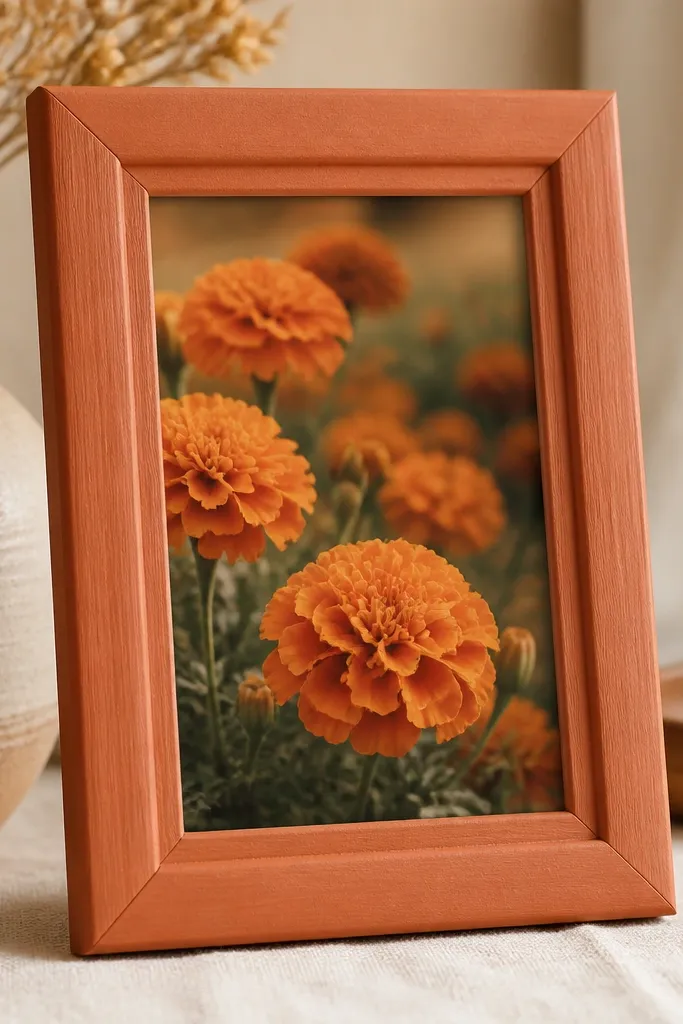
Terracotta makes flower frames feel like they belong to fall tables and holiday kitchens. Orange marigolds look bright but grounded when the frame matches the warm tone. This combo also works in small hallways where you want color without clutter.
Paint a thrifted frame terracotta matte and let it cure overnight. Use a 5x7 print and keep a 3/4 inch cream mat so the orange doesn't swallow the frame.
Pro tipIf your wall is gray, terracotta pops hard - but keep the rest of your decor neutral.
AvoidDon't use glossy terracotta paint - it reflects light and looks plasticky.
8. Patchwork Photo Strip Frame for a Mini Gallery
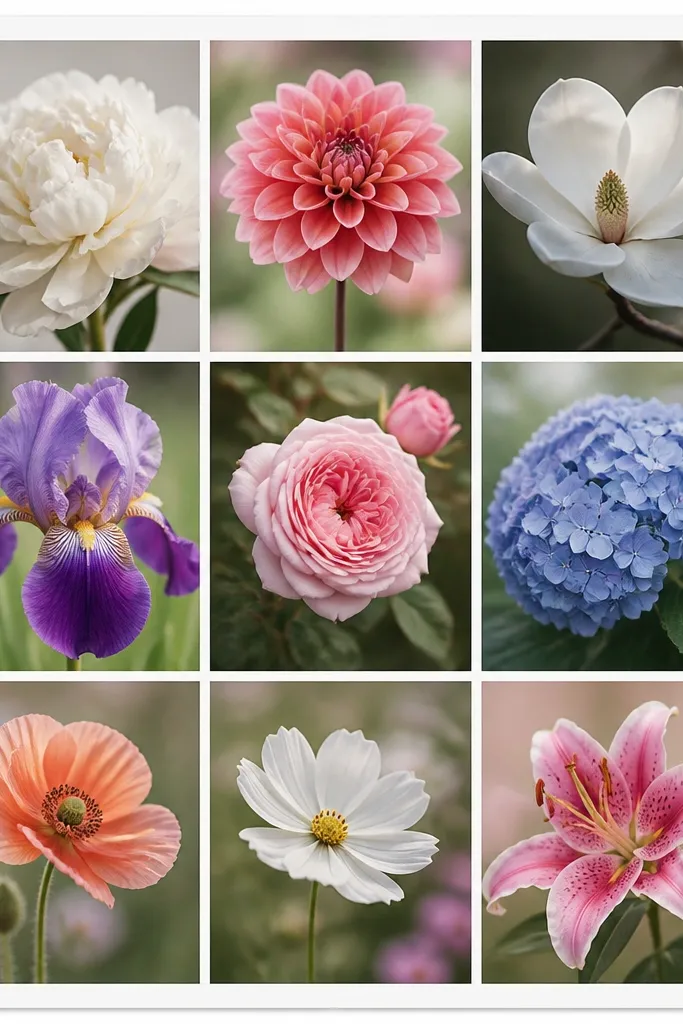
Instead of hanging five separate frames, this gives you the same variety in one tidy footprint. The thin white spacing keeps it airy, which matters in small space flower frame wall decor. You get a "collected" look without the wall feeling crowded.
Use an 8x10 frame and create a grid with 4 smaller prints (around 2.5x3.5 inches each). Add strips of white cardstock between photos, 1/8 inch thick, and mount everything onto a single backing board.
Pro tipPick flowers from one color family (like all pinks and mauves) so the grid looks cohesive.
AvoidAvoid mixing wildly different backgrounds (bright sky + dark studio + white paper) - it turns chaotic fast.
9. Black Frame with White Pencil-Sketch Flowers
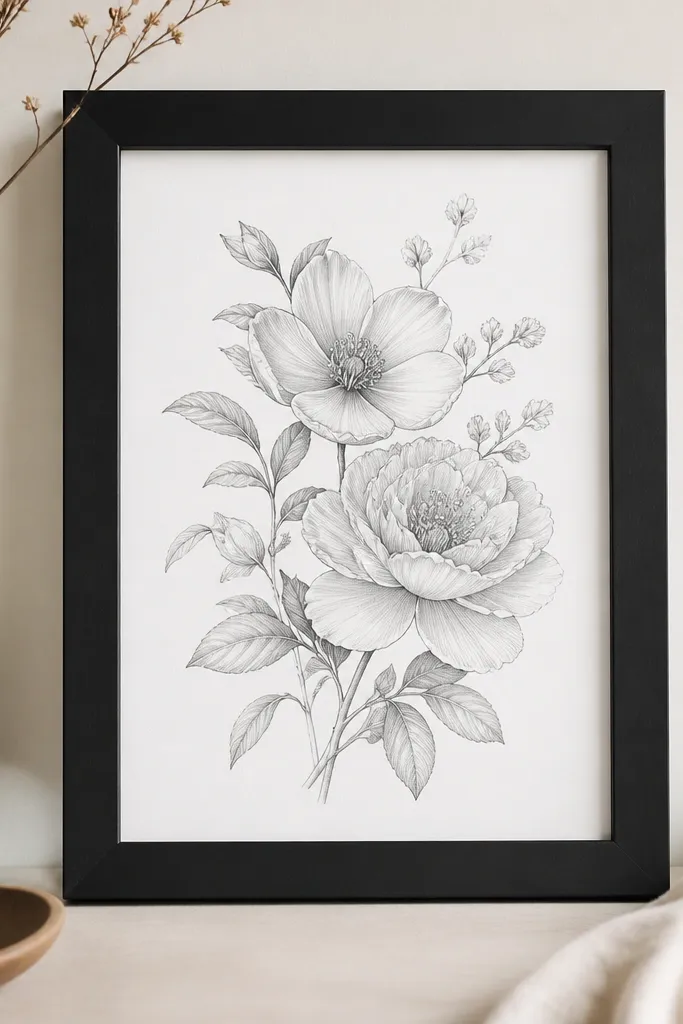
Sketch-style flowers look great in modern homes, and they don't compete with other decor. The black frame makes the linework pop, and the white paper keeps the whole set light even if your room is dark. This one is a go-to for small spaces because it doesn't add lots of texture.
Use a 6x8 frame and print your sketches onto thick white cardstock. Leave a 1 inch border so the drawing doesn't touch the glass, then place the paper flat and centered.
Pro tipLightly erase the paper background around the drawing with a kneaded eraser for a softer edge.
AvoidSkip thin printer paper - it wrinkles when you slide it into the frame.
10. Hexagon Flower Frame with One Big Bloom Centered
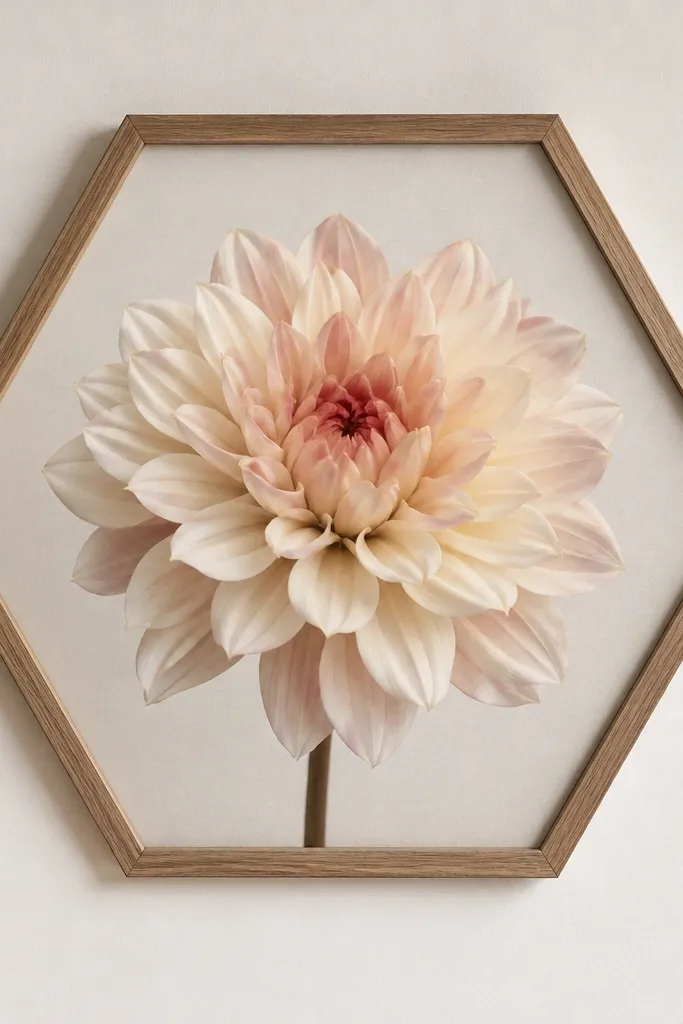
Hexagon frames add shape without needing a whole collage. One big bloom keeps the look clean, and the unusual outline makes the wall decor feel intentional. This works great for renters because you can swap the print for every season while keeping the shape.
Buy a small hexagon frame around 6-7 inches across. Use a print where the flower head is centered and fills about 70% of the insert area.
Pro tipHang it slightly above eye level (about 60-62 inches to the center) so it catches attention quickly.
AvoidDon't use a busy multi-flower print - the hexagon already does the visual work.
11. Clear Acrylic Frame with Pressed-Look Labels at the Bottom
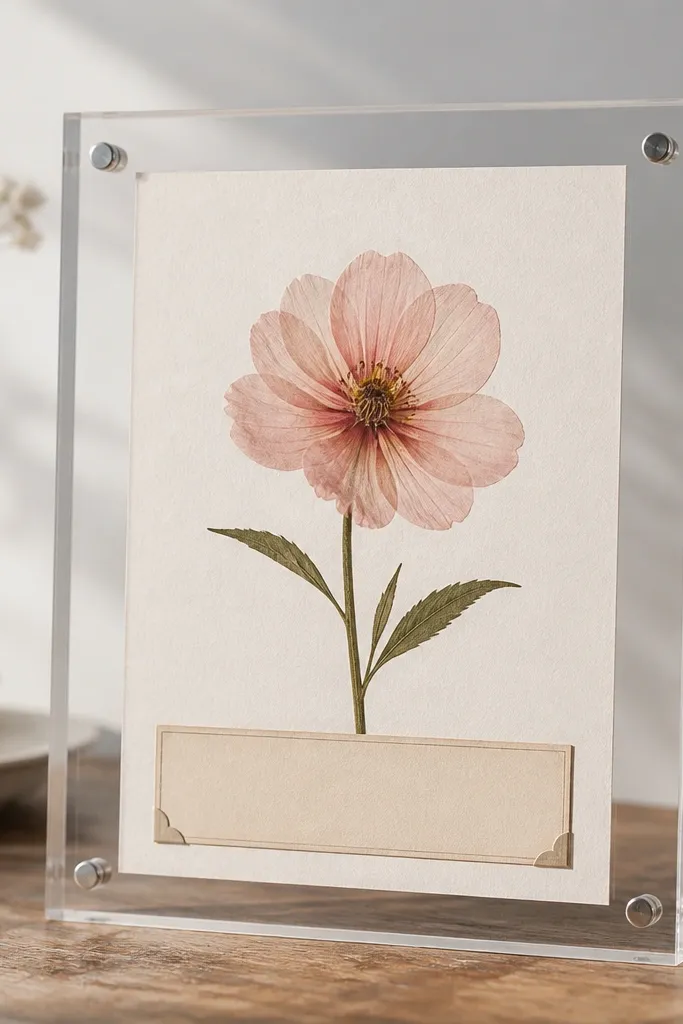
The label detail makes it feel handmade and seasonal. Clear acrylic frames also reduce visual weight, which helps in tight hallways. Pair a delicate flower photo with a small label strip in matching ink color so it looks like a set, not a sticker.
Print the flower and label on matte paper. Use a label strip about 1 inch tall with a simple font, then place it at the bottom with even margins on both sides.
Pro tipUse permanent ink pens for the label - pencil smears if you wipe the glass later.
AvoidAvoid labels that are too long - they cramp the frame and look messy.
12. Seasonal Swirl Border Frame for Rotating Holiday Sets
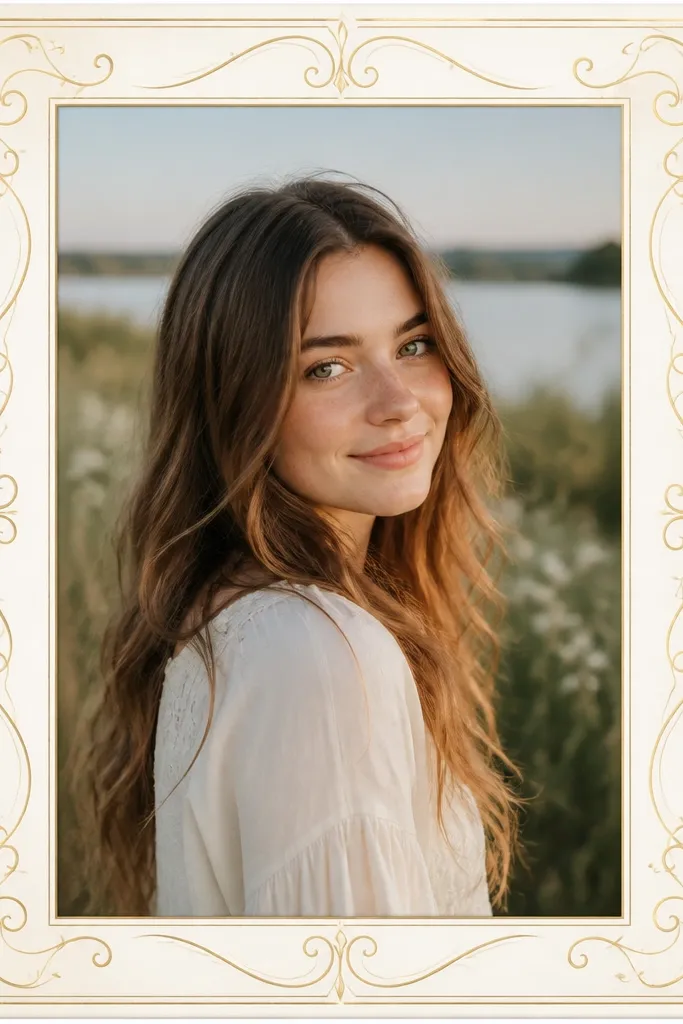
Borders make a small print feel finished, especially when the flower photo is simple. I use this format for holiday rotations because you can swap the center image while keeping the same border. It's also forgiving if the flower photo isn't perfect - the border carries the design.
Create a border by printing a thin swirl frame pattern on cardstock, then cut a window in the middle for the photo. Keep the border thickness around 1/4 inch and use gold accents with cream or ivory.
Pro tipIf you want fall, switch the swirl color to dark green or muted bronze without changing the layout.
AvoidSkip thick scrapbook borders - they bulge under glass and look crooked.
13. Wreath Frame Insert for One-Minute Holiday Change
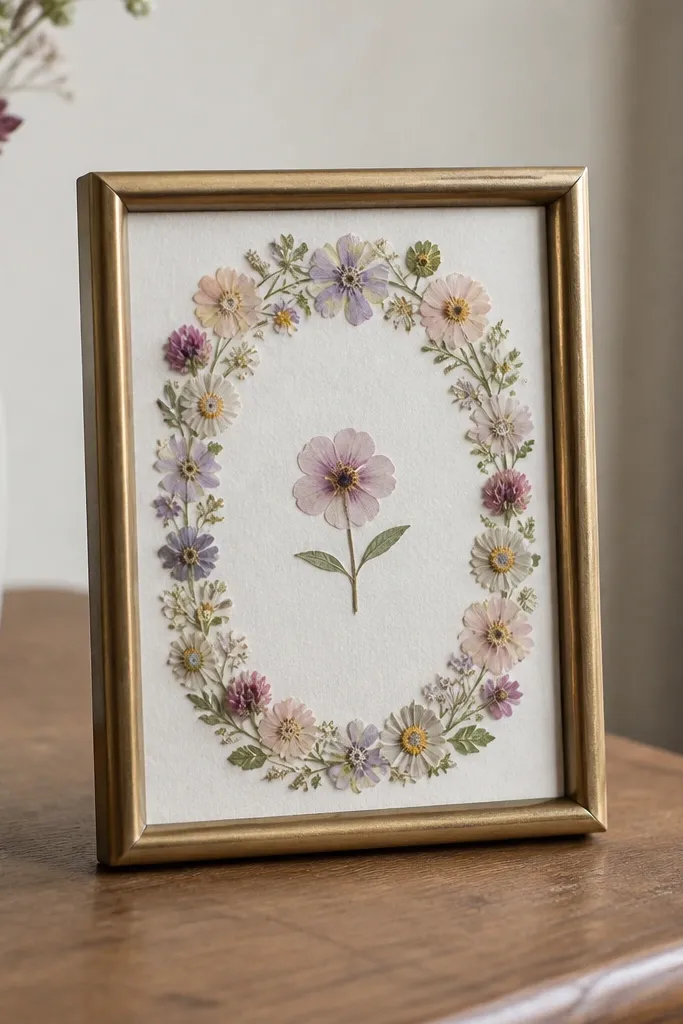
This is the fastest holiday upgrade I've used because the "wreath" already reads seasonal. The center flower gives you the aesthetic focus, while the border keeps the frame from looking empty. It's great for small space flower frame wall decor because it doesn't require a big wall plan.
Use a 6x8 frame with glass and a removable back. Print the wreath border as a full-size insert, then place a centered circle photo window for the main bloom.
Pro tipKeep the wreath colors to two tones (like white + sage, or cream + burgundy) so it stays elegant.
AvoidDon't use four or five colors - the border turns into visual noise.
14. Soft Linen Backing Frame for a Textured Look
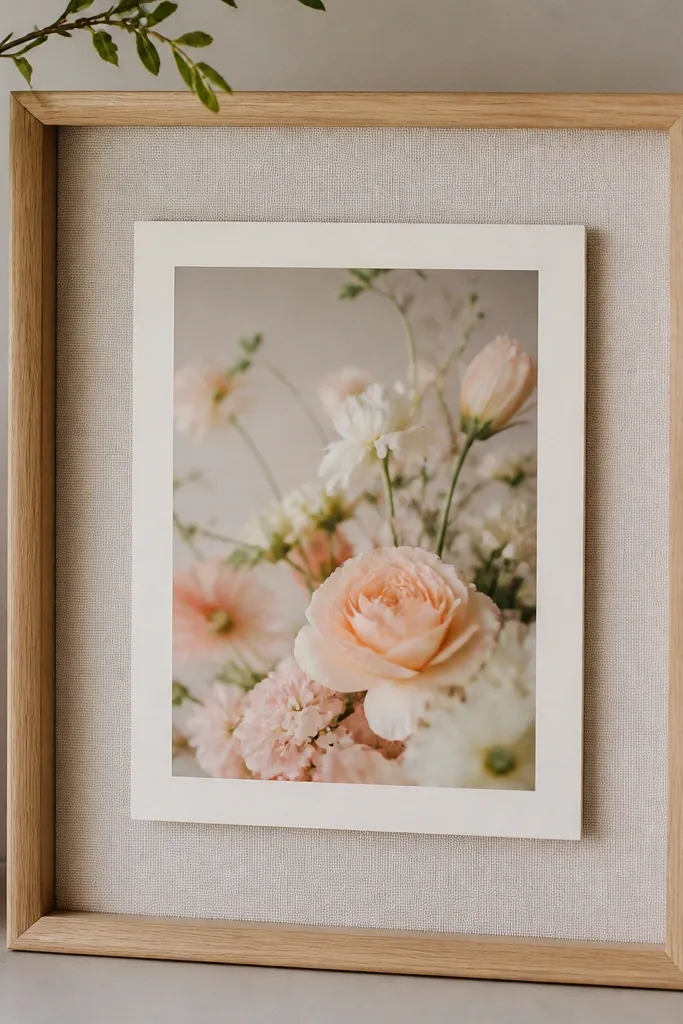
Textile backing changes how the light hits your flower photo. Linen adds a gentle texture you can see even through glass, which makes small prints look more intentional. This is my go-to when I want the decor to feel "warm" in winter without adding more ornaments.
Cut linen to fit the backing board with 1/2 inch extra on each side, then fold and staple or glue to the back. Use double-sided tape to mount the photo on cardstock so the insert looks flat and smooth.
Pro tipChoose linen in oatmeal or sand, not bright white - bright white looks harsh behind glass.
AvoidDon't stretch linen tight over a curved backing - it puckers and shows through.
15. Matboard Cutout Frame with Flower Behind a Window
This one looks like a gallery because the flower sits behind a mat cutout, creating a real "layer." In small spaces, layering makes the wall art feel deeper without needing bigger frames. You can also switch the flower photo quickly while keeping the window mat.
Use a frame that takes 1/8 inch thick matboard. Cut a rectangle window leaving 1 inch margins, then mount the photo on a second layer of cardstock to create depth.
Pro tipUse foam tape under the photo layer by 1/4 inch for a clean shadow gap.
AvoidSkip thin paper for the photo layer - it bows and makes the window edge look uneven.
16. Holiday Red Frame with White Snowy Flower Photo
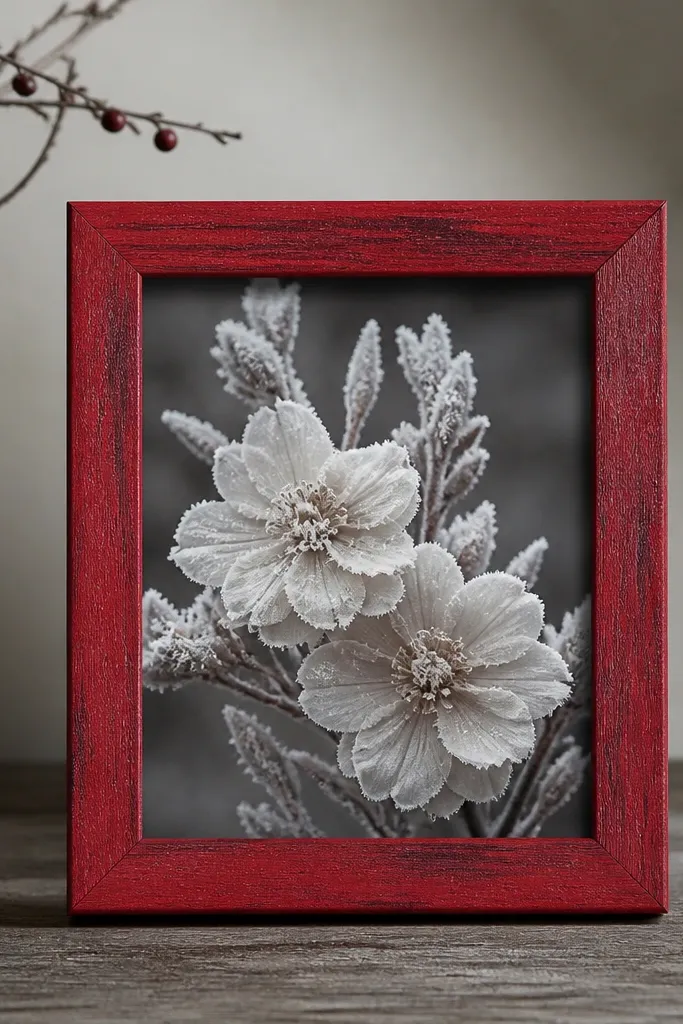
Red frames read holiday fast, and the frosty flower look keeps it from feeling like plain Christmas. The dark gray background makes the white flowers pop, which is exactly what you want on small walls where colors can get lost. This is a strong choice for winter nights and dim corners.
Paint or buy a small red frame with a matte finish. Print a white flower photo with visible frost texture, then back it with a gray paper so the whites stay crisp.
Pro tipIf your room has warm lighting, choose a gray background closer to charcoal, not brownish gray.
AvoidAvoid glossy red - it reflects overhead lights and makes the print look washed.
17. Pastel Frame Pair with Matching Flower Types
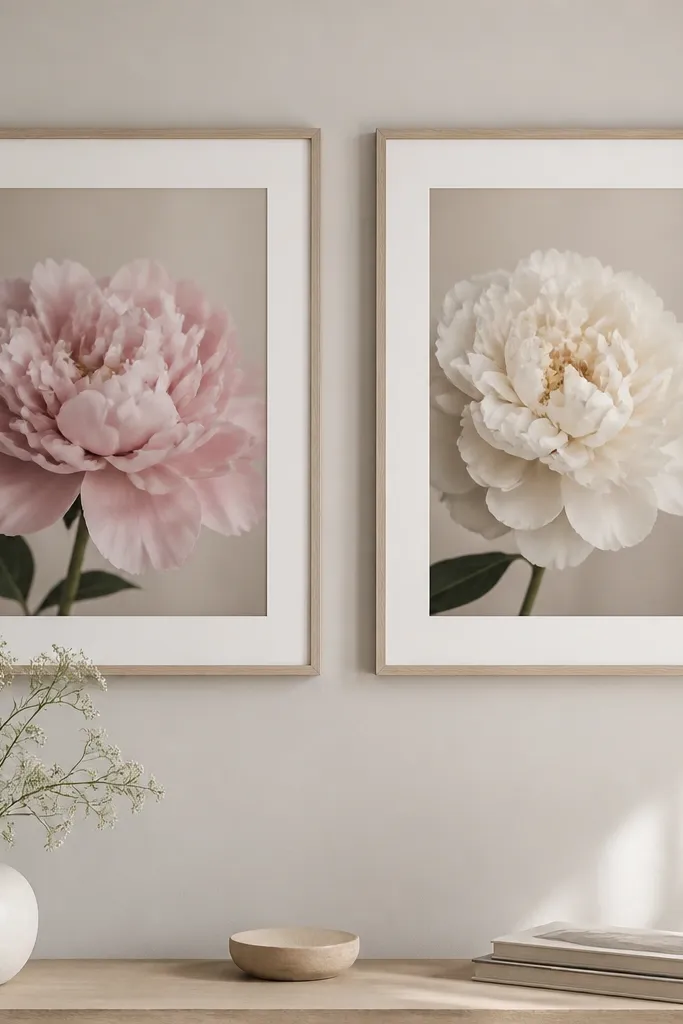
A pair is the sweet spot for small space flower frame wall decor because it fills the area without crowding. Matching the flower type makes the set feel designed, and the pastel shades keep it soft. I've used this on narrow dining room walls where one big piece looked too heavy.
Use two identical frames and two prints of the same flower species (like hydrangea) in different colors. Keep the mat border the same width on both and hang them with 2-3 inches between frames.
Pro tipMeasure the height of your couch back or table edge, then align the pair's center to that visual line.
AvoidDon't mix frame finishes (one wood, one metal) in the same pair - it reads accidental.
18. Washi Tape Frame Edge Around a Printed Flower
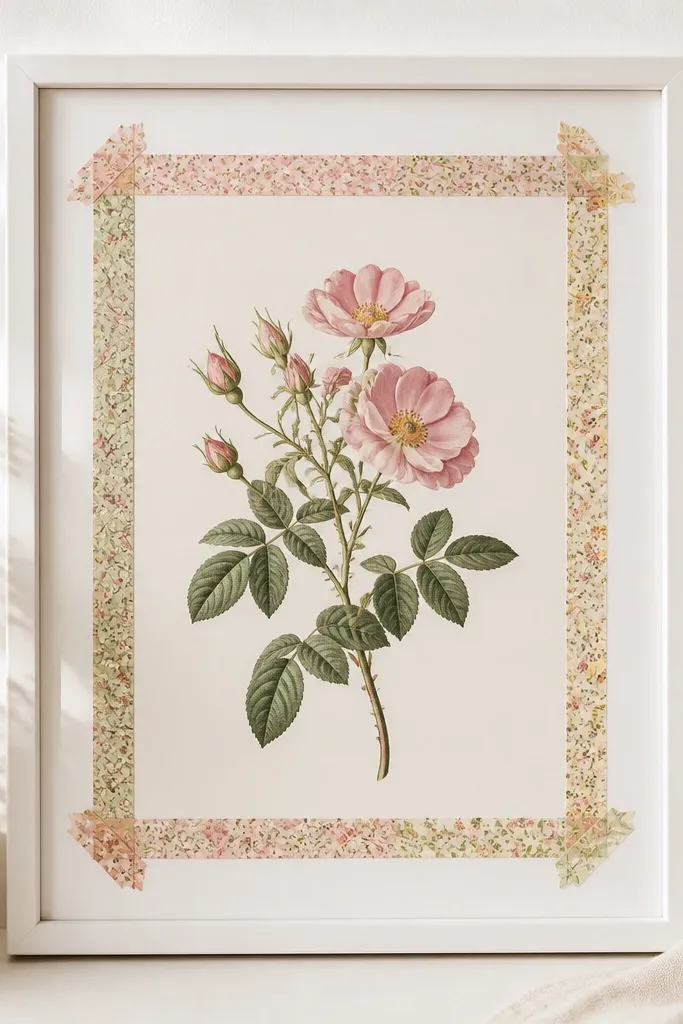
Washi tape makes an ordinary frame look styled without permanent changes. I like it because you can swap tape colors to match spring, Halloween, or winter in minutes. The tape border also thickens the visual frame so a small print looks more intentional.
Use a white or light wood frame with glass. Apply washi tape in strips inside the mat area, each strip about 1/4 inch wide, leaving a 1/8 inch gap so the pattern doesn't blur.
Pro tipUse one pattern tape and one solid tape max, or it turns into scrapbook clutter.
AvoidDon't place tape too close to the glass edge - it lifts and catches dust.
19. Polaroid-Style Flower Print in a Clip Frame
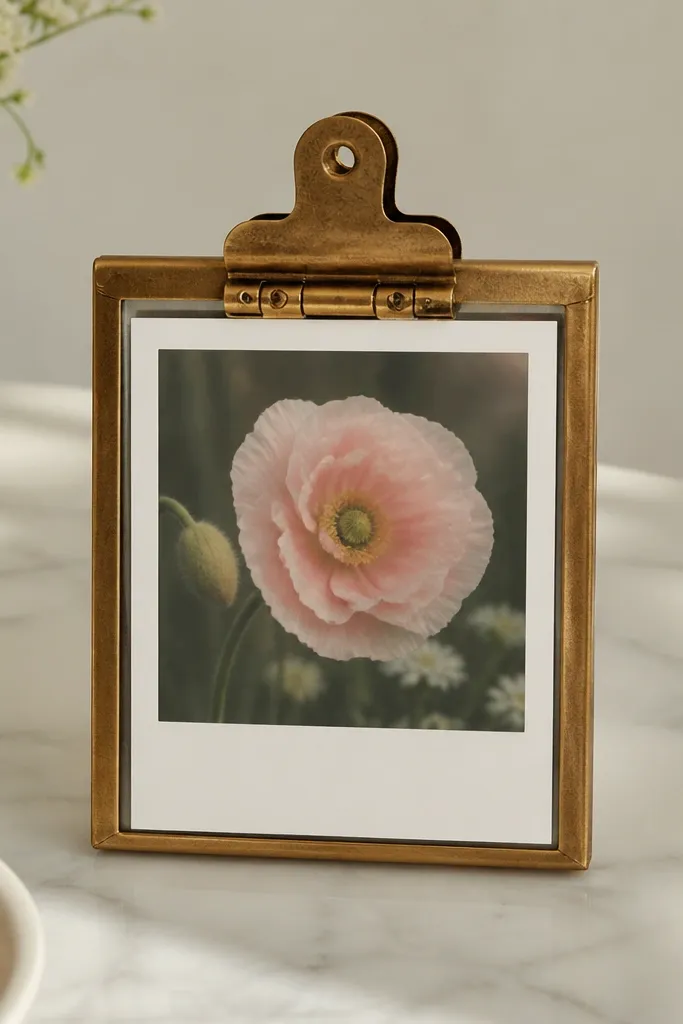
Clip frames let the photo look like it's "floating" and they're perfect for seasonal swapping. Polaroid-style prints add charm without making the wall feel childish when the flower photo is high quality. This is great if you like changing decor every few weeks.
Print your flower with a faux polaroid border: 2 inches top white, 1.5 inches bottom caption strip, then the photo. Use a clip frame that holds 3/4 inch thick inserts or trim your print backing to fit.
Pro tipWrite the flower name in a simple dark pen on the caption strip and keep the handwriting consistent across the set.
AvoidAvoid using low-contrast photos - polaroid borders make weak images look worse.
20. Monogram + Flower Photo Frame for Small Entry Walls
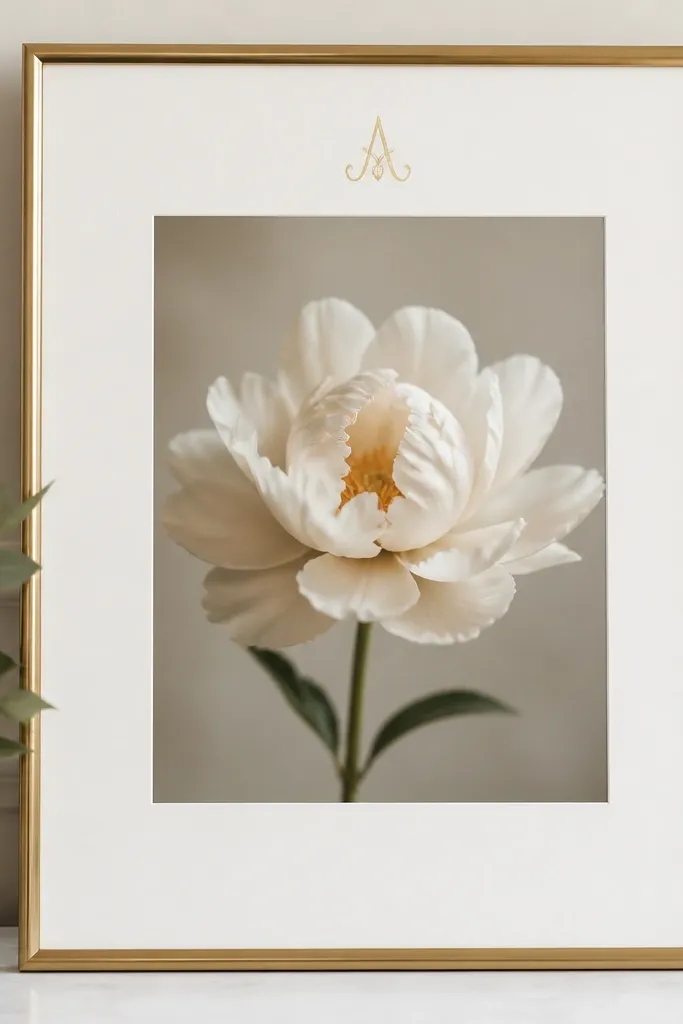
A monogram anchors the frame so it doesn't feel like random art. In small entryways, that anchor helps you manage visual clutter from shoes, hooks, and mirrors. Choose one flower photo per season and keep the monogram the same year-round.
Use a gold vinyl monogram letter about 1 inch tall placed 1 inch from the top of the mat. Print a flower photo with a light background so the letter stays readable.
Pro tipIf your wall is busy, use a smaller letter and a wider mat border for legibility.
AvoidSkip glitter vinyl - it catches light and makes the letter look messy.


