1. Floating slanted shoe shelves with a 1x2 toe lip
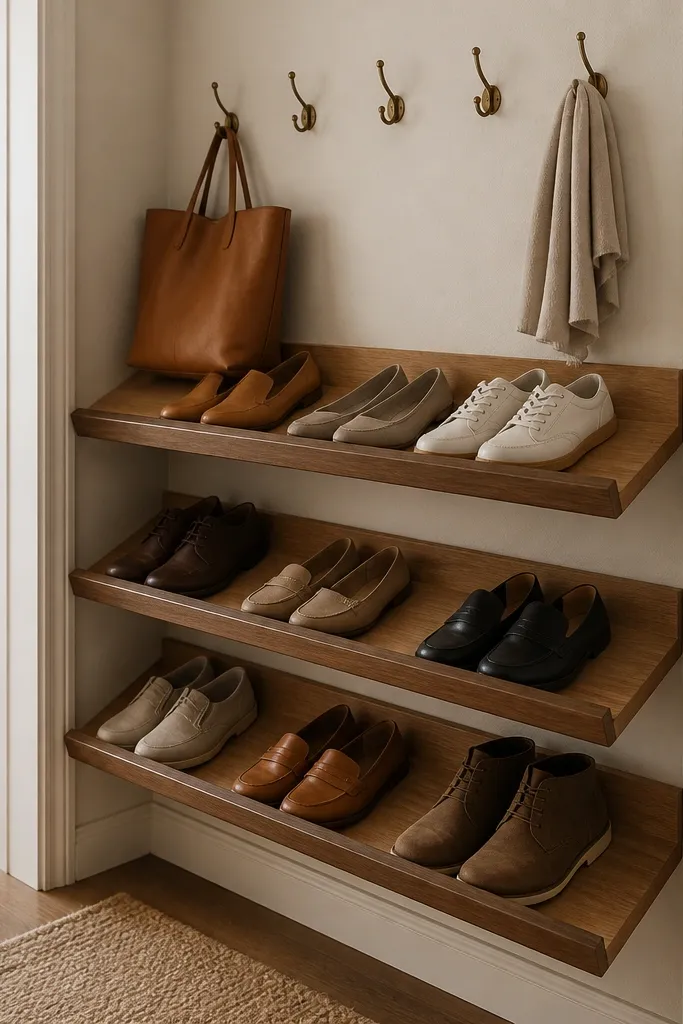
This setup makes shoes look like they belong there because they sit on an angle instead of stacking straight. The toe lip catches the front of sneakers so they don't creep forward and leave scuff marks. I like pairing a pale oak shelf with a walnut-toned lip strip - the contrast reads clean from across the hall.
Build shelves from 3/4-inch plywood with a 10-15 degree slant. Use concealed L-brackets and screw into studs. Add a 1x2 front strip (same length as the shelf) and finish everything with matte poly so it doesn't glare under hallway light.
Pro tipCut a small notch in the lip for boot heels if you have taller pairs - it keeps them from pushing the shoes out of line.
AvoidDon't leave the shelf edge bare; shoes slide forward and the whole thing looks unfinished fast.
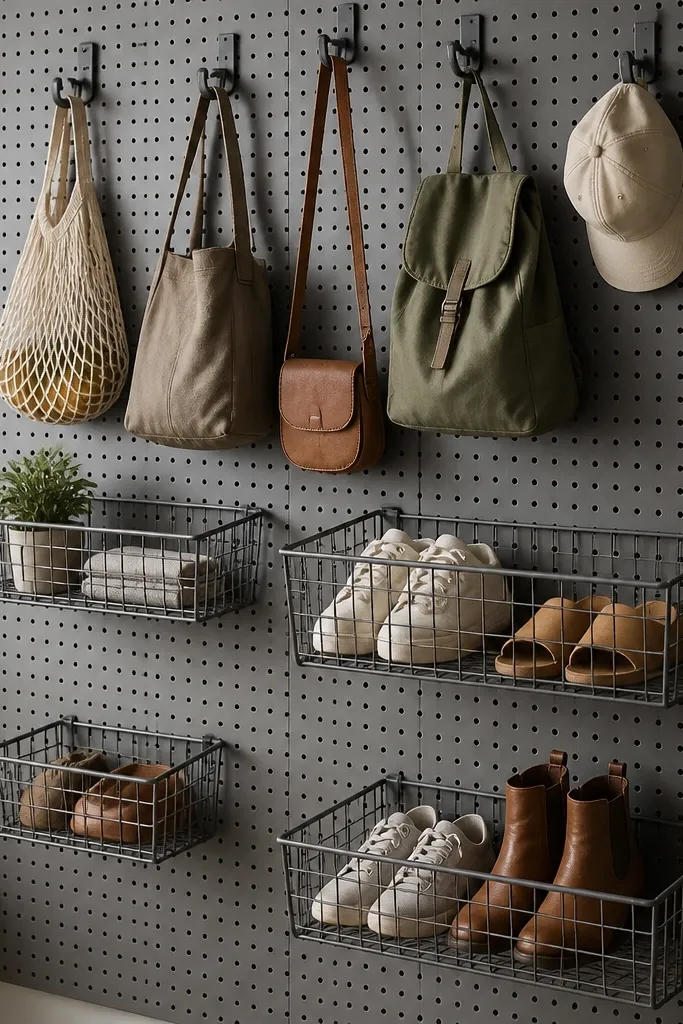
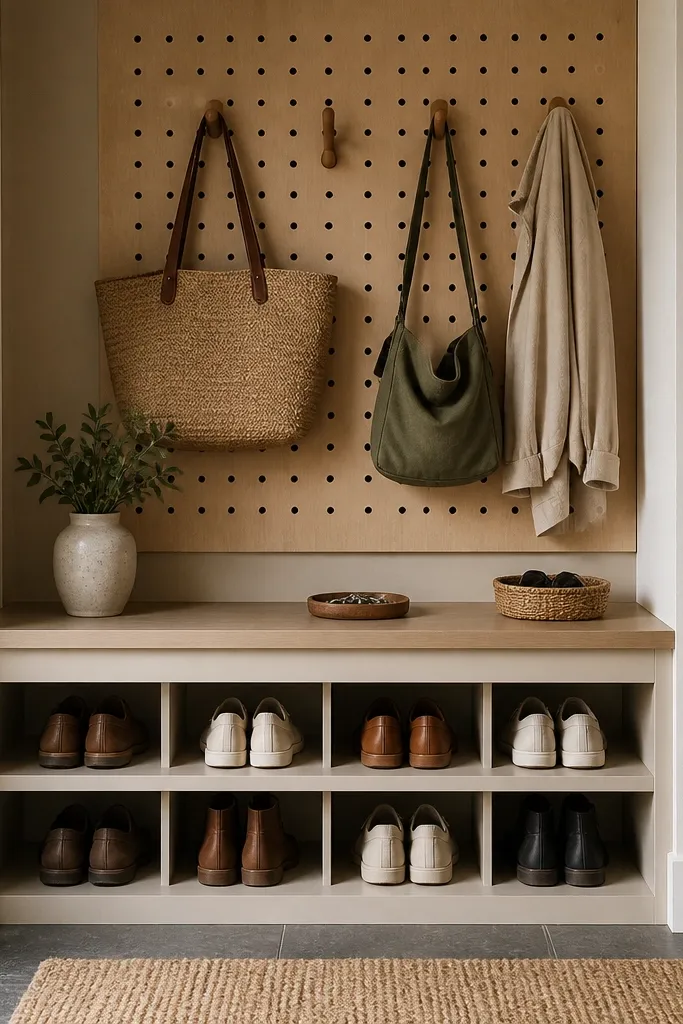
2. Pegboard wall with numbered hook rows and shoe cubbies
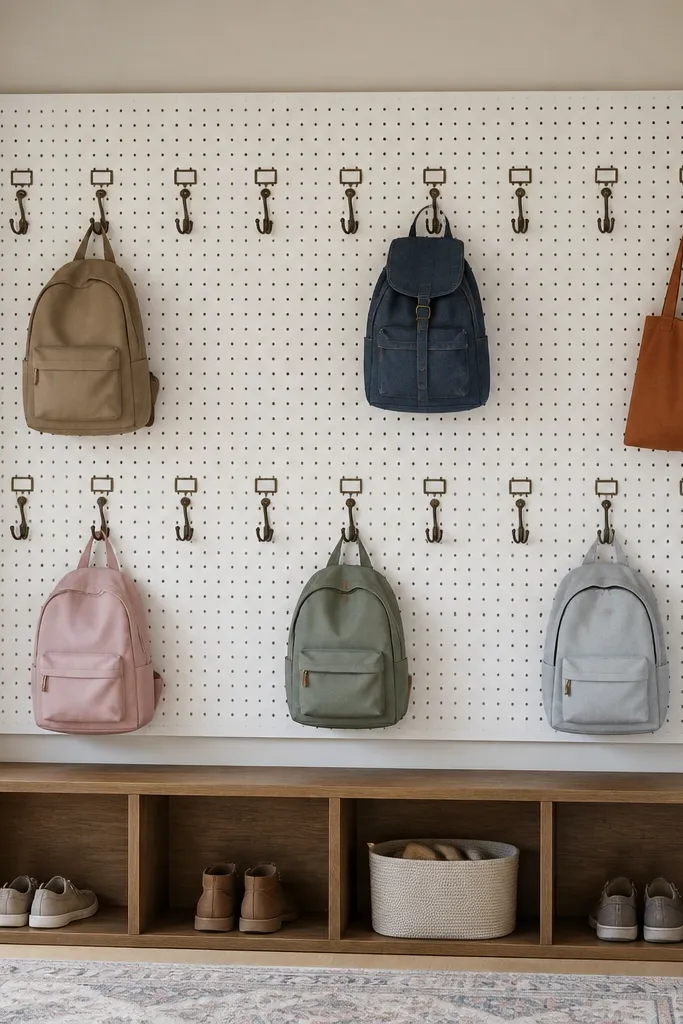
Pegboard is the fastest way to get tidy hall shoe and bag rack ideas working because you can move hooks when your household changes. Numbering the hook rows keeps everyone from grabbing random spots. The cubbies below stop shoes from rolling, and the open fronts make it easy to grab without digging through bins.
Use 1/4-inch pegboard with a paint finish (semi-gloss holds up better). Mount with wood backing so screws bite. Make cubbies from 3/8-inch plywood with 16-18 inch depth and add a thin back panel to keep heels from falling out.
Pro tipPut a tiny strip of painter's tape on the pegboard as you test hook locations before drilling holes in anything permanent.
AvoidDon't mount pegboard directly to drywall without backing - hooks loosen and the wall starts to sag.
3. Wall-mounted ladder rack with hanging bag rails
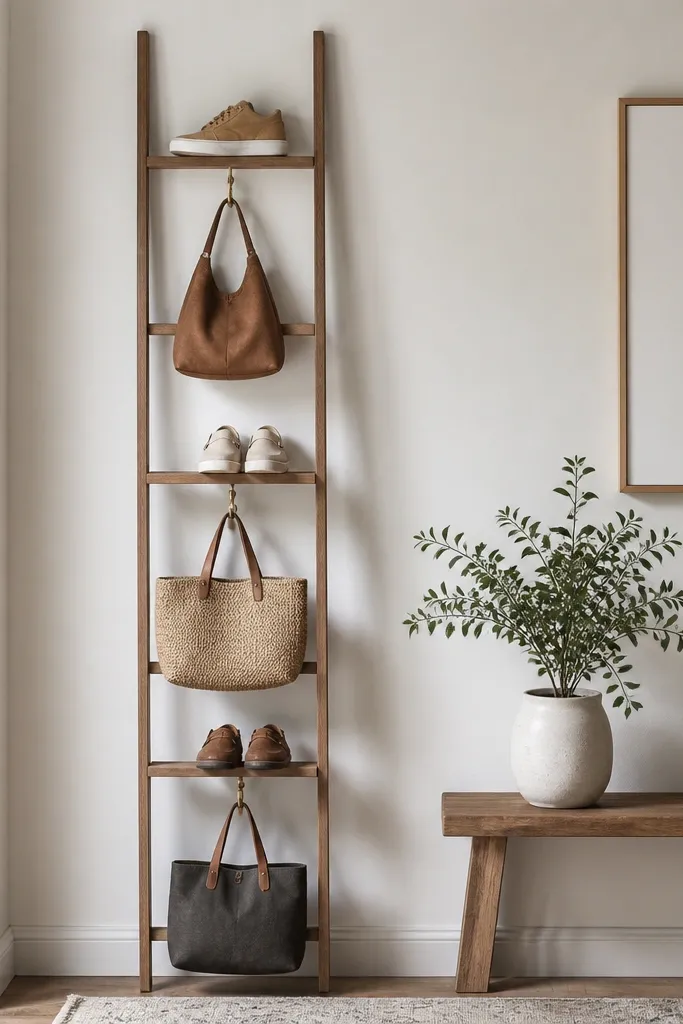
A ladder rack makes the hall feel organized because it creates natural lanes. Shoes sit upright on rungs and you can see what pair you're grabbing. For bags, use hooks attached between rungs so straps hang straight instead of drooping.
Use a real wooden ladder or a ladder-style frame built from 1x3 side rails and 1x2 rungs. Space rungs 10-12 inches apart for shoes. Seal with satin clear coat, then add black metal hooks every 4 inches along the mid-to-upper section.
Pro tipIf you have wet umbrellas, add two umbrella hooks at the bottom corners and keep them off the shoe lane.
AvoidDon't use rungs that are too narrow - shoes fall through and it stops looking intentional.
4. Bench-top shoe rack with flip-down bag hooks
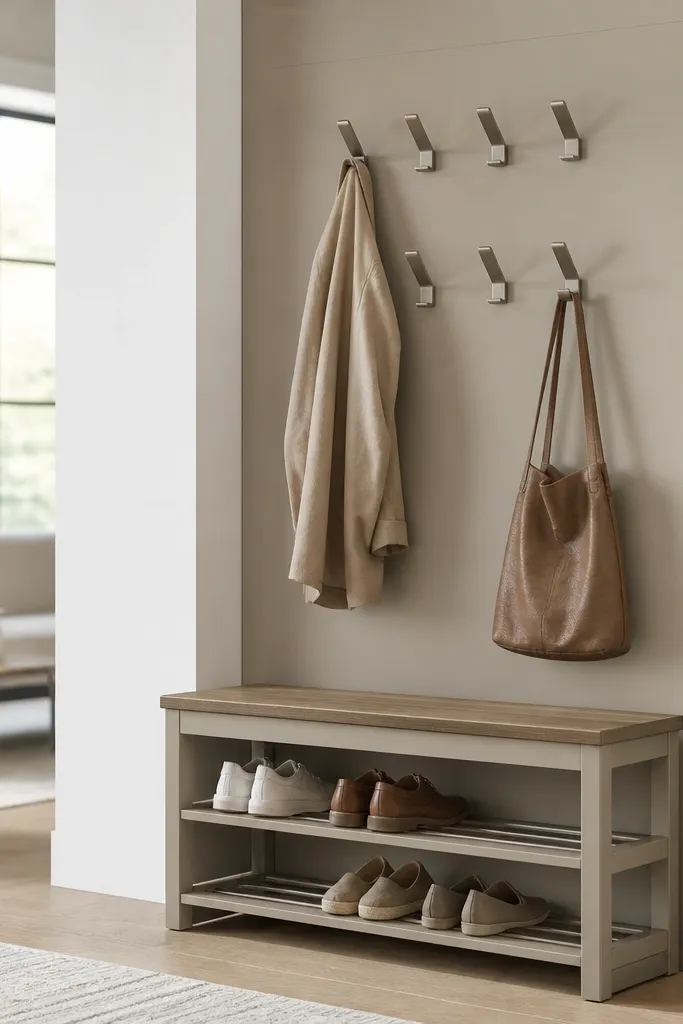
This is the "I want it hidden" option. Shoes stay in the rack below, while bags hang on flip-down hooks that disappear when guests arrive. It keeps the hall from looking cluttered because the hooks aren't always staring at you.
Build a bench frame with 2x2 legs and a top platform. Put a shoe rack base using slats spaced about 2 inches apart. Install flip-down coat hook hardware into a backer board so the screws have solid material.
Pro tipPaint the bench and rack the same color, then use a darker backer board behind the hooks so hardware blends in.
AvoidDon't mount hooks into thin plywood; they loosen after a few heavy bags.
5. Reclaimed wood crate rack with fabric bin pulls

Crates hide shoes without making the hall feel crowded. The fabric bins keep dust down and stop laces from tangling. I like this look with warm wood tones and soft gray bins - it reads cozy instead of warehouse.
Use crates sized so each opening is about 14 inches wide and 16-18 inches deep. Secure them into studs with corner brackets. Add fabric bins cut from heavy cotton canvas or use ready-made storage bins with handles; pull handles should sit flush with the crate face.
Pro tipScrew a small 1-inch stop strip inside the crate so bins don't slide out when you yank a handle.
AvoidDon't leave crates unsealed; scuffs and dirt show quickly in entryways.
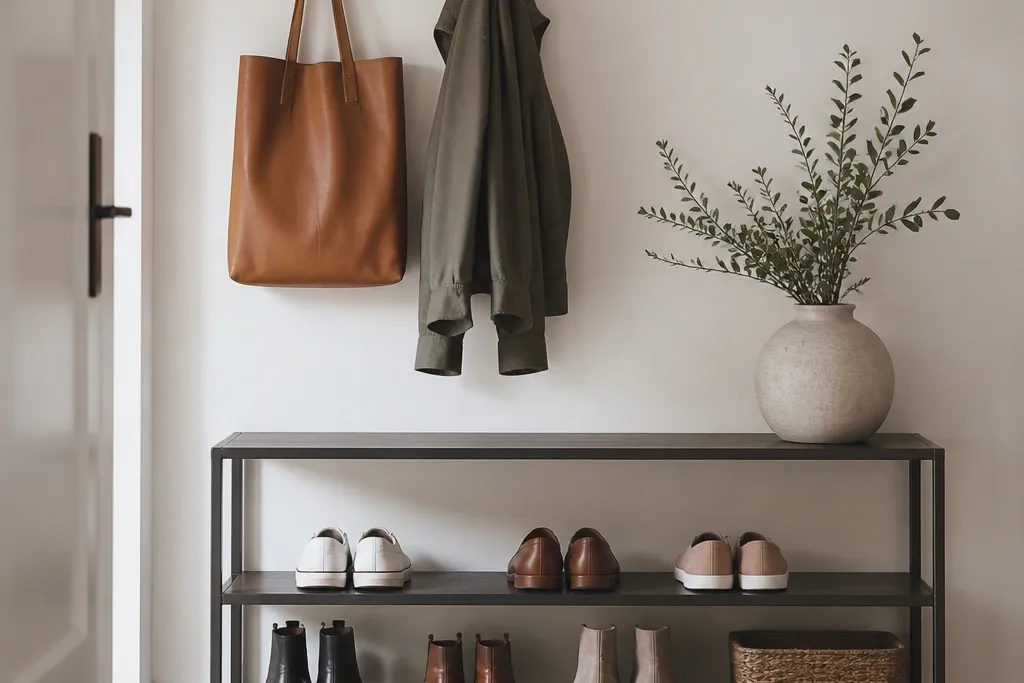
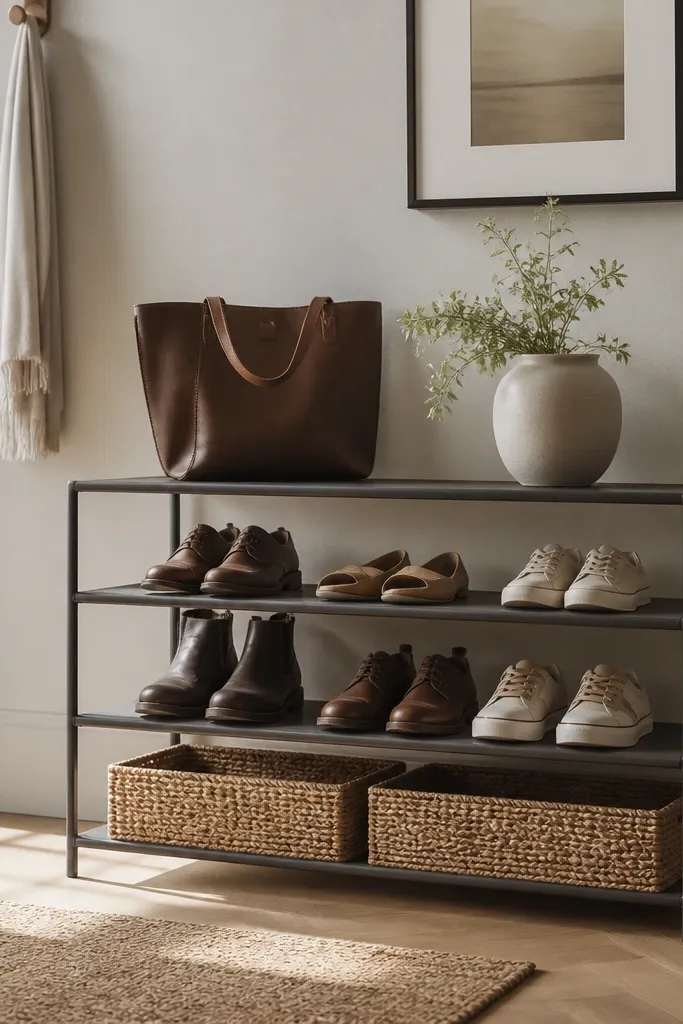
6. Metal grid shelf rack with a magnetic bag tray

This one looks clean because everything is open and straight. Wire shelves let air move, so sneakers don't trap moisture as fast. A magnetic tray keeps small items from floating around the hall and gives bags a "landing" spot for what you take out daily.
Choose a grid wall system with 1-inch spacing so hooks and trays clip on easily. Add two shelves at 12 inches and 18 inches high. For shoes, use a shelf lip or a front rail so pairs don't slide.
Pro tipUse black hardware with matte gray shoe bins for a calm contrast that hides scuffs.
AvoidDon't skip the shelf lip; wire shelves alone let shoes creep and fall.
7. Shoe rack tower with side bag hooks and labeled shelves

A tall tower is great when your hall is narrow but you have vertical space. It keeps shoes stacked correctly and makes bags easy to grab because hooks sit at one consistent height. Labels make the system stick - people put things back because it's obvious where they go.
Build a 24-inch wide tower using 3/4-inch plywood. Make shelves 10-12 inches apart in height, and keep shelf depth at 16-18 inches. Add a hook board on one side with hooks spaced 3-4 inches apart and finish with matte paint.
Pro tipUse label stickers that wipe clean and put them on the side edge so they don't peel from shoe scuffs.
AvoidDon't make shelf spacing too tight; boots and thicker sneakers force people to shove pairs sideways.
8. Curtain-hung shoe rack behind a slim rod

This is the quick way to hide shoes without building a full cabinet. The curtain softens the look and keeps visual clutter down, while the bag hooks stay visible so you don't fight the curtain to hang a purse. I've used this in rentals where you can't add heavy hardware.
Install a simple shoe shelf unit (16-18 inch depth) and mount a tension rod above it. Use a curtain panel in medium-weight cotton or linen blend in a color that matches your entry walls. Add two or three bag hooks on the wall outside the curtain line.
Pro tipUse weighted curtain hem tape so the curtain hangs straight and doesn't blow open when the door swings.
AvoidDon't choose a thin see-through fabric; it turns the whole thing into a "half hidden" mess.
9. Corner L-shaped rack with boot shelf and bag bar
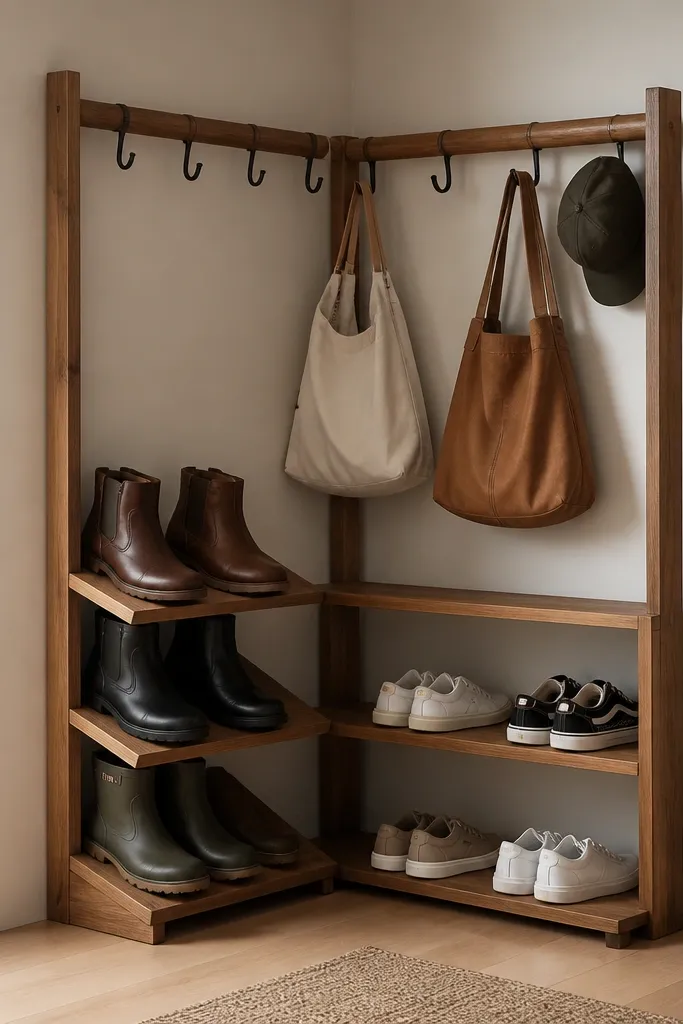
Corners waste space in most halls, so this setup uses the corner for the heavy stuff. The boot shelf slope keeps tall boots from leaning into the wall and leaving marks. The bag bar across the corner gives you a single grab point for handles.
Measure the corner wall depth and build a right-angle frame from 1x3 boards. Keep the inner shoe shelves at 16 inches deep. For the boot shelf, tilt 5-10 degrees and add a front rail so boot shafts don't slide.
Pro tipPaint the inside corner the same color as the wall, then stain only the shelves so it looks intentional instead of bulky.
AvoidDon't put bag hooks too low - straps tangle at knee height and it looks messy fast.
10. Industrial pipe rack with wood plank shelves and leather strap hooks
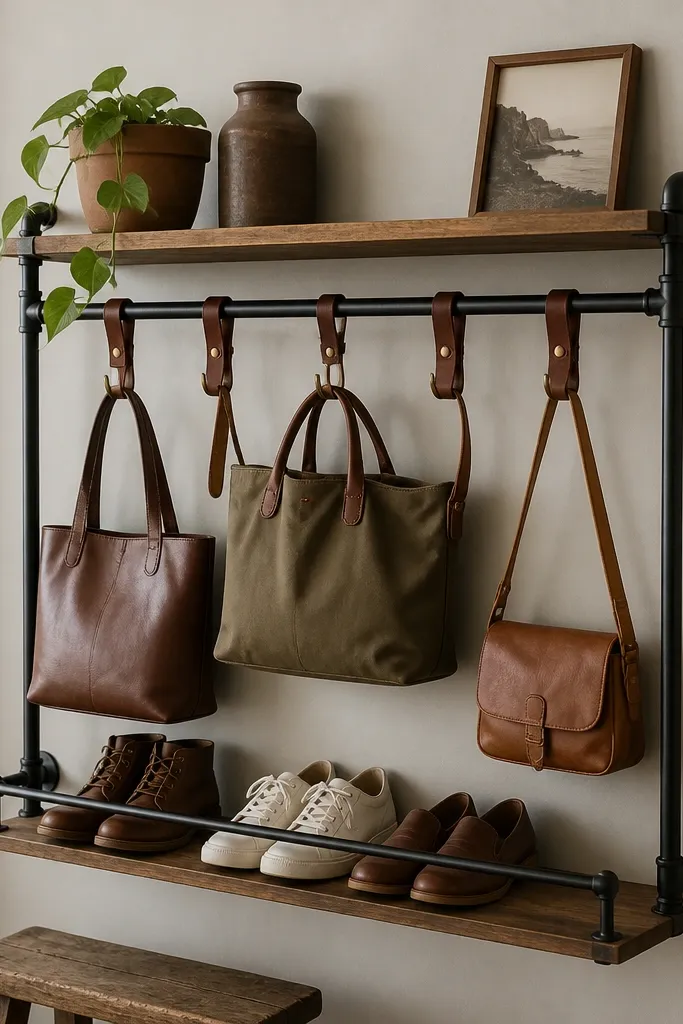
Pipe racks look sharp because the lines are straight and the hardware is visible on purpose. Leather strap hooks are softer than metal hooks and they don't snag bag hardware. I like this combination in entryways with dark floors or black light fixtures because everything matches the same tone.
Use 1/2-inch black steel pipe with matching flanges. Plank shelves should be 3/4-inch thick and about 14-18 inches deep. Add a thin 1x2 rail at the front edge of the bottom shelf so shoes don't slide.
Pro tipSeal wood planks with hardwax oil for a matte finish that hides fingerprints.
AvoidDon't hang bags directly on bare pipe - straps slide and bags bounce when you walk by.
11. Pegboard + wire basket combo for wet shoes and bags
If your family comes in with damp sneakers, wire baskets are the difference between "odor by week two" and "still fine in a month." The open mesh dries fast, and the pegboard keeps the layout tidy. Bags hang cleanly on hooks without getting shoved into shoe areas.
Mount pegboard with a moisture-safe paint finish. Use wire baskets with a depth around 16 inches and front lip height high enough to stop heels. Add a drain-friendly mat behind baskets if the wall area gets splashed.
Pro tipPut a small drip tray or absorbent mat under the lowest basket so wet bottoms don't stain the wall.
AvoidDon't use plastic baskets with thin bottoms - they bow under wet shoes and look cheap.
12. Shaker-style cabinet with open shoe shelf and top bag shelf
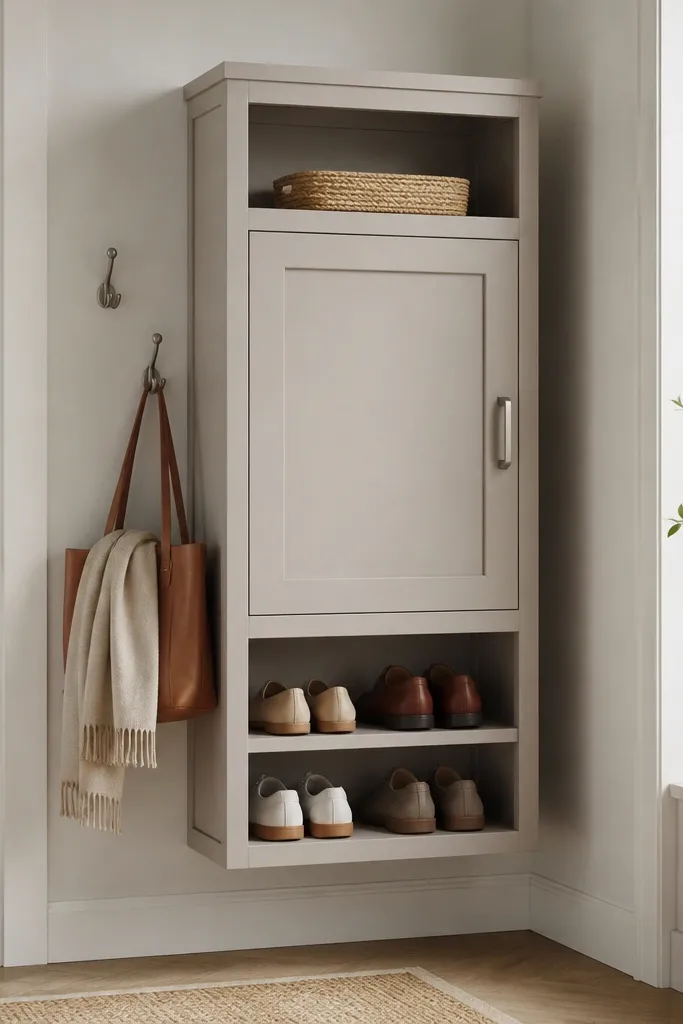
This is for halls that need to look tidy even when you're not. The open shoe shelf keeps pairs accessible, while the cabinet door hides bags and clutter when you're done for the day. The shaker trim makes it look built-in without going custom.
Build a cabinet frame with 3/4-inch MDF or plywood and add shaker doors on top. Keep shoe shelf depth at 16-18 inches and shelf height at about 8-10 inches for most sneakers. Finish with paint that matches your trim, then install brushed nickel knobs.
Pro tipAdd a removable tray inside the bottom shelf so you can wipe road salt off quickly.
AvoidDon't make the cabinet too shallow; doors stick and shoes end up pushed into the frame.
13. Narrow rolling cart rack with fold-out bag hooks
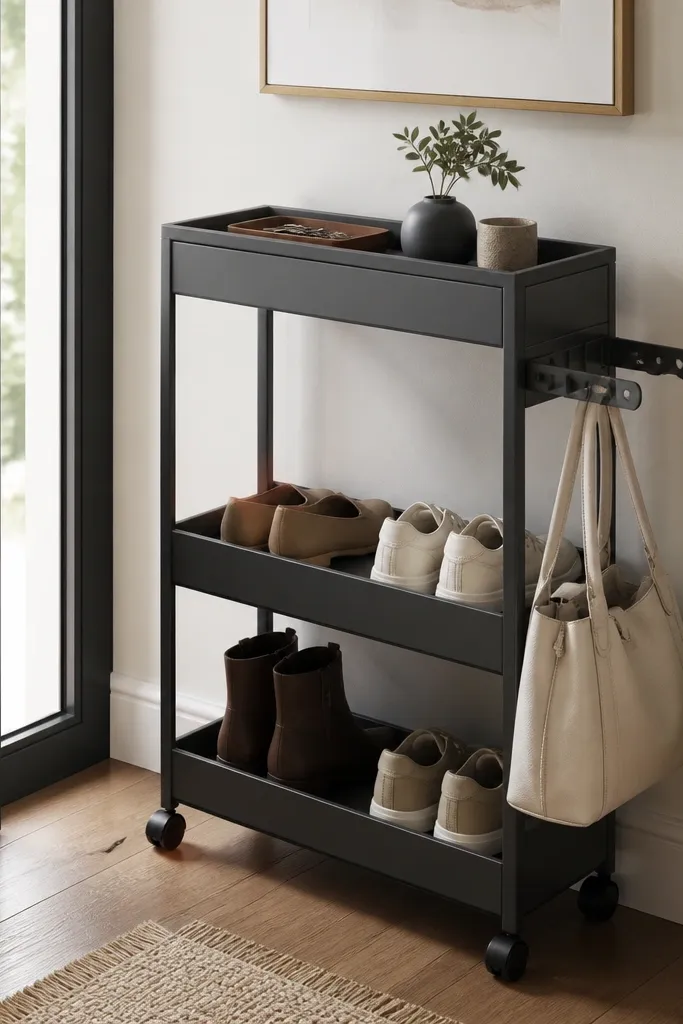
This is the "rent-friendly tidy" option. You can roll the cart out to clean behind it, and the fold-out hooks keep bags in one spot without drilling holes in the wall. It's also great if your hall gets rearranged for seasons.
Choose a cart width of 14-16 inches and shelf depth that supports 16-inch shoes without bending. Use fold-out hook hardware mounted to a side panel. Add a front rubber bumper so the cart doesn't scuff the wall or baseboard.
Pro tipPut felt pads on the bottom corners and test turning the door - you want the cart to clear without scraping.
AvoidDon't overload the top shelf; bags weigh more than you think and the cart starts to wobble.
14. Hanging organizer with rigid shoe slots and insulated bag hooks
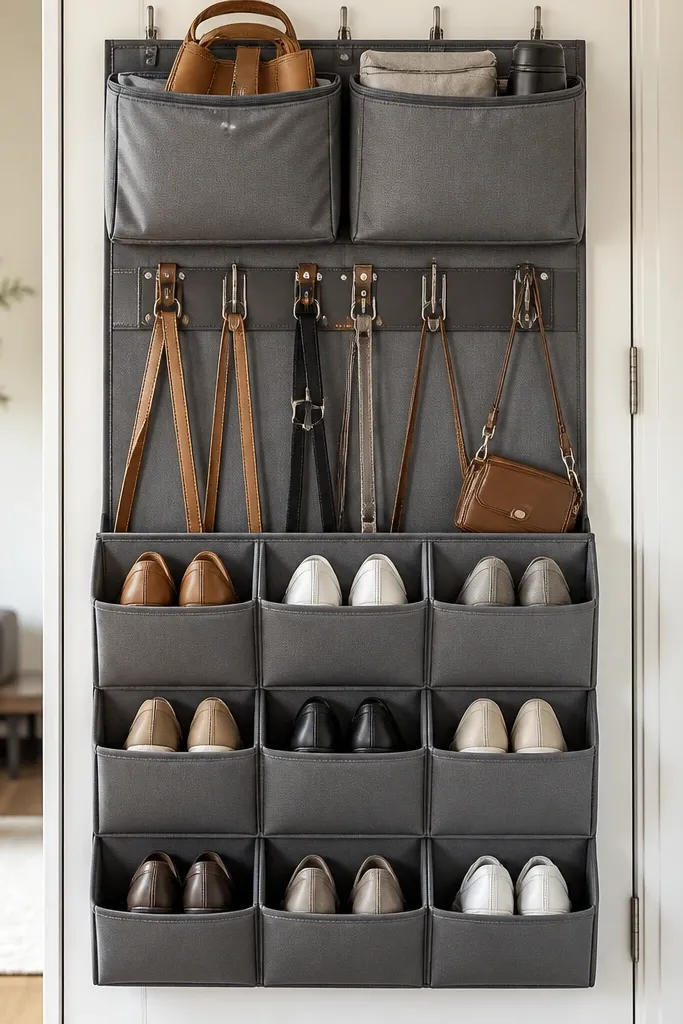
This is the soft-goods version of tidy hall shoe and bag rack ideas, and it works when you want low build time. Rigid shoe slots keep pairs separated so they don't collapse into a pile. For bags, insulated fabric pockets protect against scuffs and keep items from sliding around.
Use a hanging organizer with reinforced panels and add a backing board behind it so fasteners bite. Mount at about 40 inches high for bag hooks and 10-12 inches above your shoe line. Choose neutral fabric in taupe or charcoal so dirt doesn't show.
Pro tipAdd a thin foam strip at the top edge where hooks connect - it prevents strap wear marks.
AvoidDon't mount too high; you'll end up reaching awkwardly and dropping shoes around the organizer.
15. DIY pegboard top shelf + bottom bench rack with shoe dividers
This layout gives you three separate habits: keys land on the top ledge, shoes go into divided lanes, bags hang on hooks. Shoe dividers are the part most people skip, and it's the reason your rack stays tidy even when you're rushing. The bench base also gives you a place to sit while you change shoes, which keeps the floor clear.
Make dividers from 1/4-inch plywood strips about 2 inches wide and install them inside a 16-18 inch deep bench compartment. Space dividers so each lane fits one shoe width plus a little gap (about 5-6 inches). Use a pegboard panel above the bench and mount hooks into backing for strength.
Pro tipFinish the bench top with an easy-wipe seal (matte polyurethane) so scuff marks don't ruin the look.
AvoidDon't use dividers that are too tall; they catch laces and make shoes harder to place.


