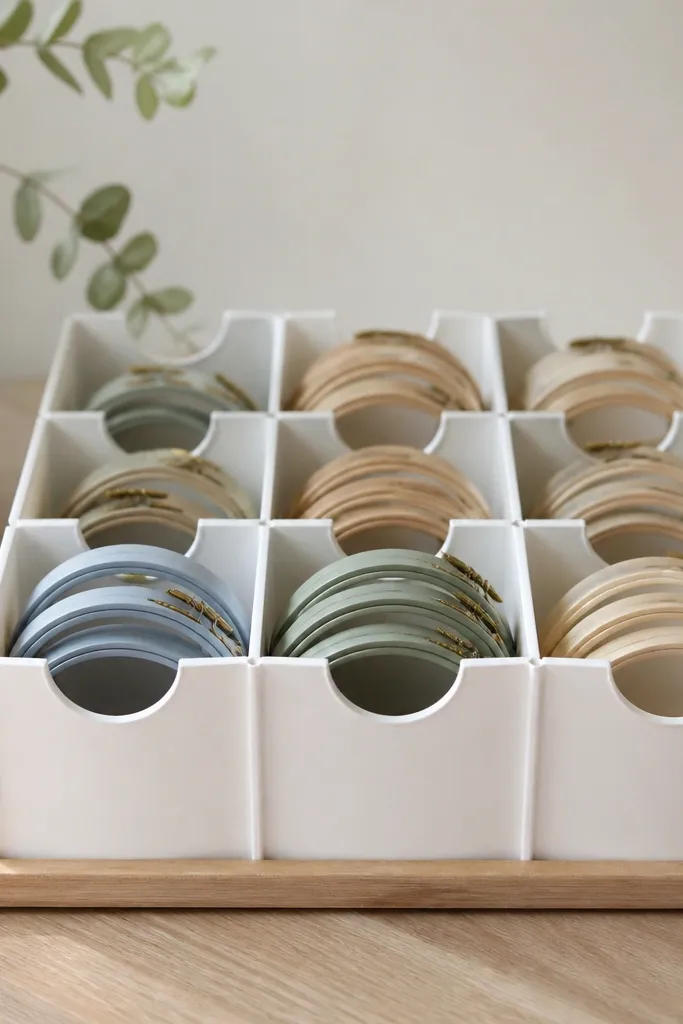
1. Foam Block Stud Grid with Removable Top
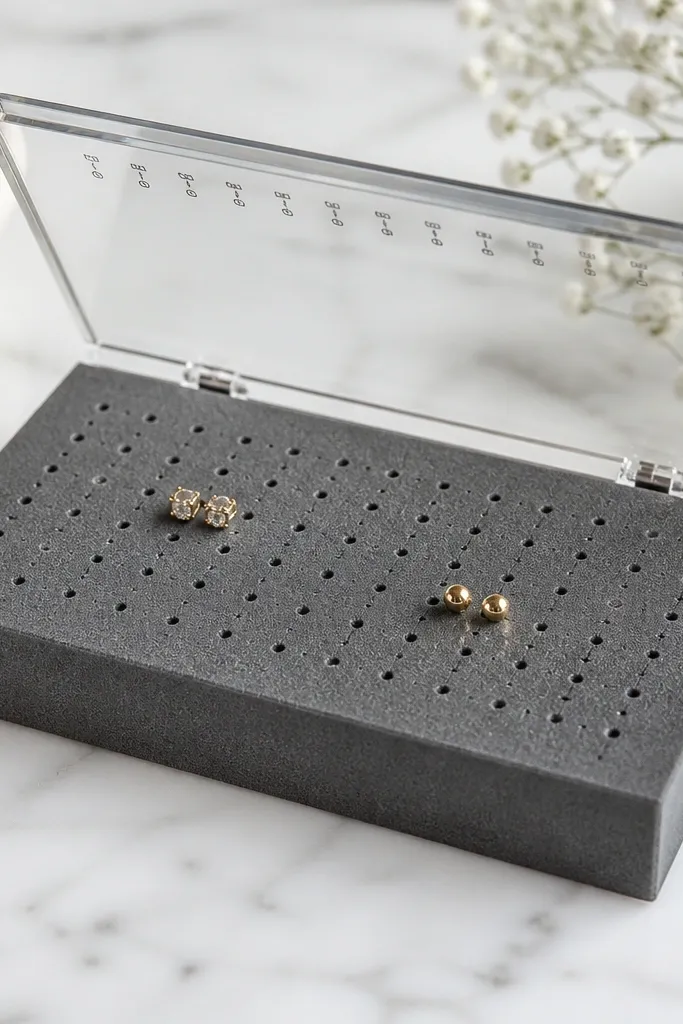
This one is my go-to for stud-heavy collections because foam holds posts without the "slip and clatter" problem. The grid keeps pairs aligned, so you can grab matching earrings in seconds. Clear acrylic on top stops dust and prevents the foam from getting grimy when it lives on a dresser. It also looks clean - the foam stays hidden until you lift the top.
Cut a foam block to 6 x 3.5 inches and mark a 1-inch grid with a ruler. Use a pin vise or the tip of a heated metal awl to punch holes just smaller than your post thickness. Make a hinged top from 1/8-inch clear acrylic and attach it with two small cabinet hinges. Keep labels on the acrylic edge using white vinyl labels with fine black text.
Pro tipPunch holes in a test scrap first so the posts feel snug but not crushed.
AvoidAvoid punching holes too big - loose posts look messy and fall out when you lift the organizer.
2. Pegboard Mini Frame with S-Hooks for Hoops

Pegboard gives you instant spacing - hoops hang without touching each other, and you can rearrange pairs as your taste changes. I love it for mixed metal sets because the hooks show the shine while keeping order. A frame makes it look intentional instead of like a craft board on the wall. It also handles heavier hoops better than foam.
Use a 10 x 12 inch pegboard and drill or pre-mark hook points every 1.25 inches. Install small S-hooks (6-8 mm opening works for most hoops) and keep taller hoops on the outer columns so they don't bump. Frame it with 1/2-inch pine strips and paint everything matte white. Hang it with two D-rings so it sits level.
Pro tipGroup hooks by size: small hoops on the top row, medium in the middle, statement hoops on the bottom.
AvoidDon't use oversized hooks - big gaps make hoops swing and tangle.
3. Jewelry Dish Tray from Scrap Picture Frame Glass
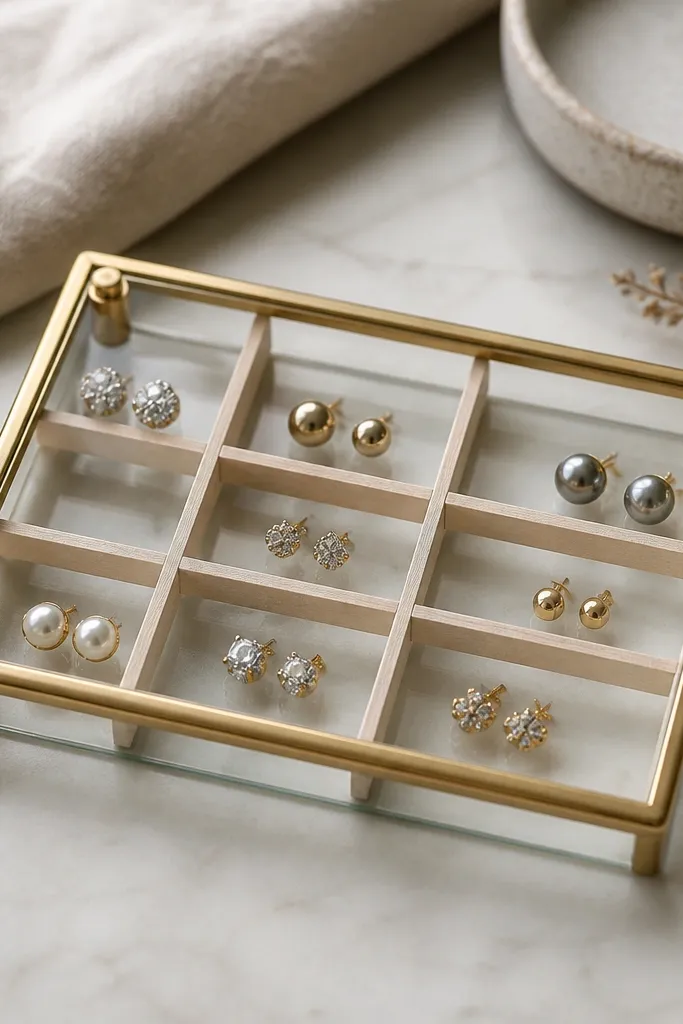
When you want something pretty on a nightstand, glass with a raised rim looks high-end fast. The compartments stop contact between studs and small drops. I like this for earrings you wear weekly because it's easy to wipe and it doesn't grab hair the way fabric organizers sometimes do. The glass also makes metals reflect nicely in daylight.
Cut balsa strips and glue them into a grid while the glass is on a flat surface. Use a clear silicone adhesive so it stays flexible and doesn't crack the glass. Build a shallow rim from the remaining frame wood and paint it gold or black depending on your decor. Seal the wood rim with two coats of polyurethane.
Pro tipPaint the rim, then wipe the glass edges clean before silicone cures so it looks sharp.
AvoidSkip superglue near glass - it can fog and looks cloudy after curing.
4. Mini Drawer Organizer with Felt Dividers and Magnetic Strip
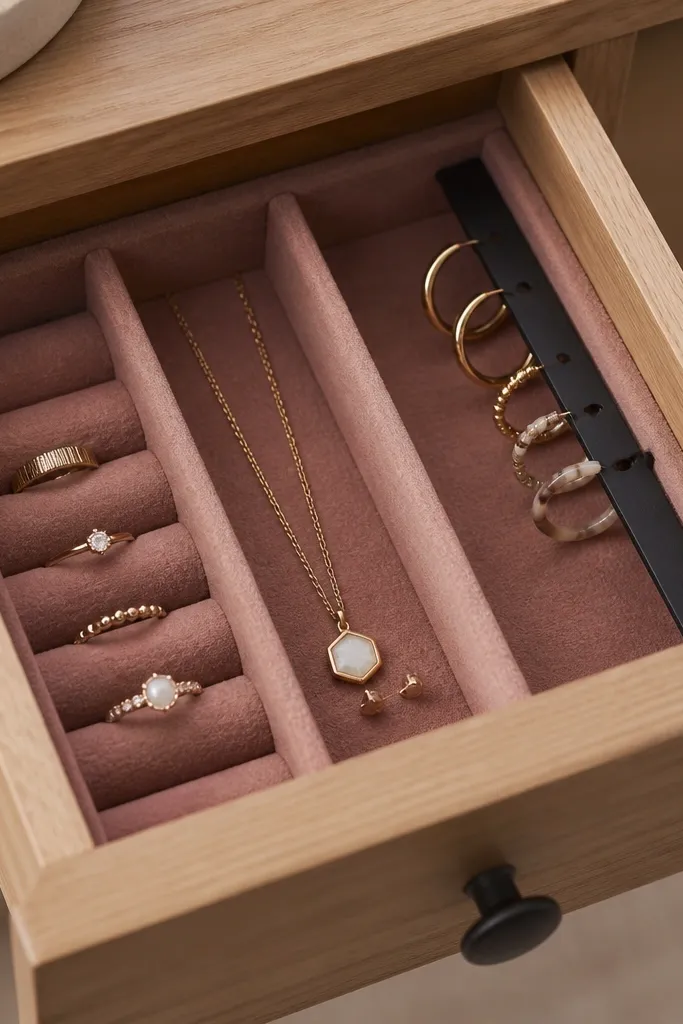
This is the best setup for people who hate counter clutter. Felt dividers stop metal-on-metal scratching, and the drawer stays quiet. The magnetic strip is great for lightweight hoops and charm earrings because it holds them in place without poking holes. Dusty rose feels soft and still reads organized when you open the drawer.
Cut felt sheets to fit a 12 x 8 inch drawer base. Use 1/2-inch foam board as the divider base so dividers stand upright. Add a thin neodymium magnetic strip along one side with strong adhesive or screws through pre-drilled holes. Cover divider faces with felt and tuck edges under so they don't fray.
Pro tipUse two magnets spaced 2 inches apart if your hoops are heavier - one strip can let pairs slide.
AvoidAvoid felt that sheds - it sticks to earring backs and makes the drawer look fuzzy.
5. Hanging Wall Pocket Organizer with Clear Sleeve Inserts

This is the fastest "everything has a home" option I've built. Clear sleeves let you see pairs without digging, and the fabric pocket keeps earrings from falling even when you toss a bag nearby. I use it for delicate drops because sleeves keep them from tangling at the top. The look is casual but clean because the items sit flat.
Sew or glue fabric pockets onto a backing panel using heavy canvas. Add clear vinyl sleeves (food-safe thickness) sized about 3 x 6 inches per pair. Insert earrings and close with a top flap or Velcro strip. Hang on a hook rail so it doesn't stretch - I've used a 1-inch gap from wall to keep sleeves from curling.
Pro tipAdd a tiny paper label behind the vinyl using a label maker - it stays readable without peeling.
AvoidDon't use thin plastic - it crinkles and looks cheap fast.
6. Wood Dowel Ring Rack with Stretched Twine Grid
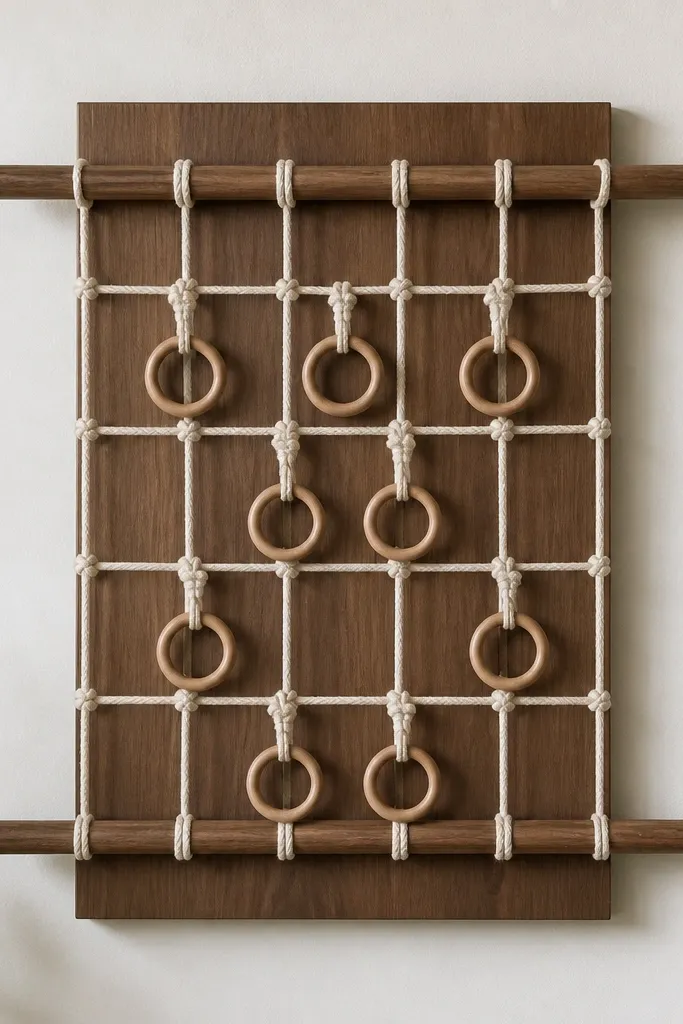
This looks charming and it works because hoops hang from their own weight without rubbing each other. The twine grid creates boundaries, so one earring doesn't swing into another. I like walnut stain with off-white twine - it reads warm and intentional even when you swap earrings weekly. It's also forgiving for different hoop sizes.
Mount two 1/2-inch dowels across a 14 x 10 inch board. Stretch twine between dowels in rows with 3-inch spacing. Tie knots at intervals so each hoop hooks onto a single twine point. Finish the board with walnut stain and a satin clear coat to handle bathroom humidity.
Pro tipTest spacing with your biggest hoop first - if it touches, bump the grid wider by 1 inch.
AvoidAvoid rough twine ends - they catch on earring clasps and can snag chain links.
7. Acrylic Earring Organizer with Pegs and Color Blocks

Acrylic stays crisp and doesn't absorb oils from skin, which matters when you wear earrings daily. Pegs separate studs and short drops so they don't tangle. The color blocks act like a sorting system - I assign mint for everyday studs and peach for special-occasion pieces. The whole thing looks modern on a vanity.
Use a 1/4-inch clear acrylic sheet as the base and drill holes with a step bit for pegs. Insert acrylic or wooden pegs and secure with clear epoxy. Add color blocks by gluing small foam shapes around peg groups and sealing them with clear tape. Keep the base edges sanded smooth so nothing feels sharp.
Pro tipUse painter's tape around drilling spots to reduce cracking and keep holes clean.
AvoidSkip rushing the sanding - sharp acrylic edges chip and look messy.
8. Repurposed Mug Rack for Statement Earrings
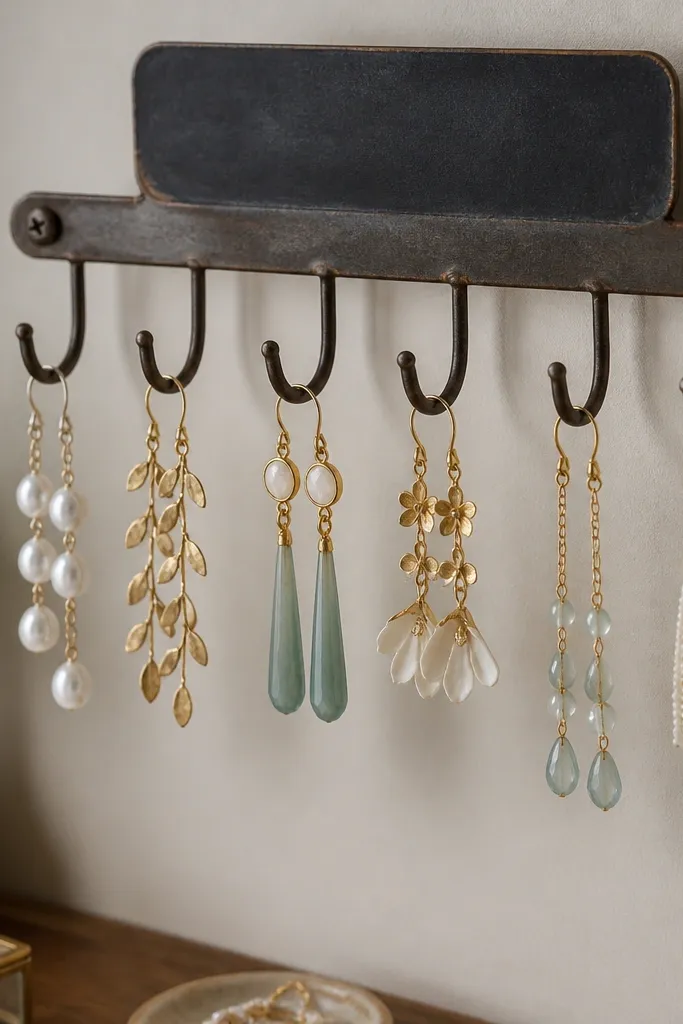
A mug rack is a cheat code for long earrings because hooks already have depth. Statement drops hang straight instead of folding over. I used this for a collection that kept tangling in a jewelry tray, and the difference was immediate. It also looks like decor, not storage.
Find a rack with hooks spaced at least 2.5 inches apart. Mount it with wall anchors into studs if possible. Hang long drops by the ear wire, and keep heavier pieces on the bottom hooks so the rack doesn't twist. Spray paint the rack matte black or brass-gold for a cleaner look.
Pro tipWrap hook tips with a tiny strip of clear heat-shrink to prevent scratching shiny ear wires.
AvoidDon't use racks with tiny hooks - your earrings slip and swing into each other.
9. Clear Photo Frame with Wire Mesh Insert
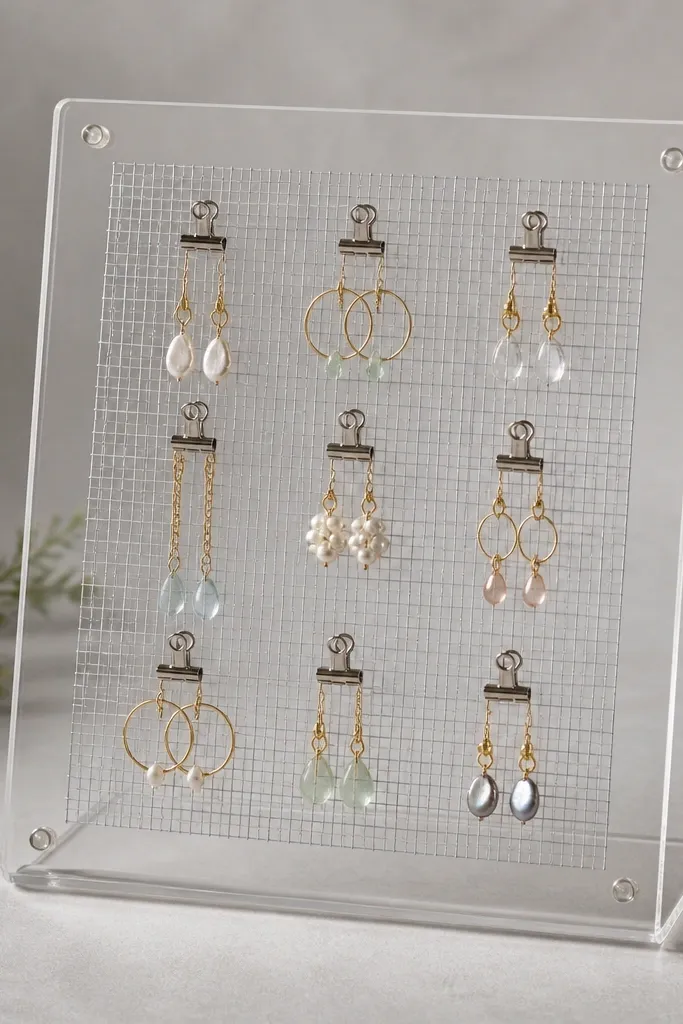
This is a tidy way to store earrings you want to see instantly. Wire mesh gives structure, and binder clips hold pieces without crushing them. The clear front makes it feel like a display piece, while the clips make it easy to swap out. I use it for pairs with charms because clips grip the top of the charm without bending the wire.
Remove the back of a standard 8 x 10 photo frame. Cut wire mesh to fit and staple it to the inner lip, then add a gray paper backing. Use small binder clips (or mini alligator clips) attached to the mesh. If your clips scratch the mesh, add a small piece of felt behind the clip contact point.
Pro tipSet your frame on the wall at eye level - clips are easier to grab when you can see them clearly.
AvoidAvoid overstuffing - if clips touch, earrings tangle again.
10. PVC Pipe Segment Organizer for Large Hoop Pairs
PVC segments create firm boundaries that stop hoops from collapsing into each other. The rounded notch lets a hoop rest without bending the shape. I like this for larger hoops because foam organizers can feel too soft and make them look flattened. The white finish reads clean and works with almost any decor.
Cut PVC into 2-inch lengths and glue them upright in a 4 x 3 grid on a plywood base. Use a Dremel or sandpaper to make a shallow notch in the top of each segment. Paint the whole thing with adhesion primer and a satin white spray paint. Seal with a clear topcoat if it lives in a humid room.
Pro tipHeat the notch edges lightly with a heat gun to smooth them if they feel sharp.
AvoidDon't skip sanding the PVC edges - rough plastic catches ear wire and looks unfinished.
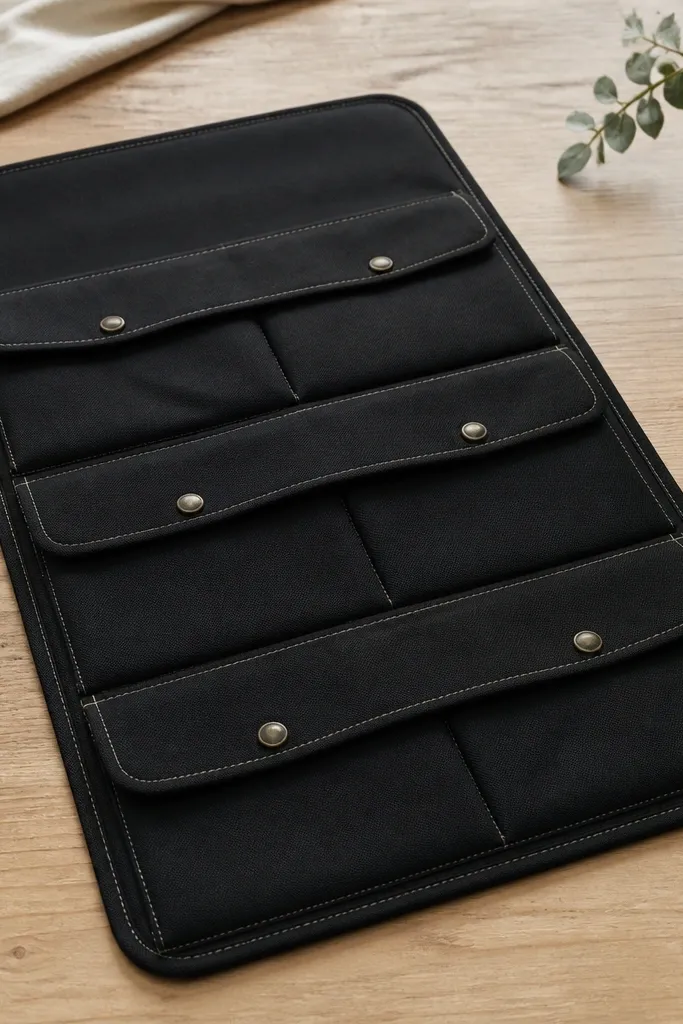
11. Leatherette Bracelet Roll Adapted for Earrings
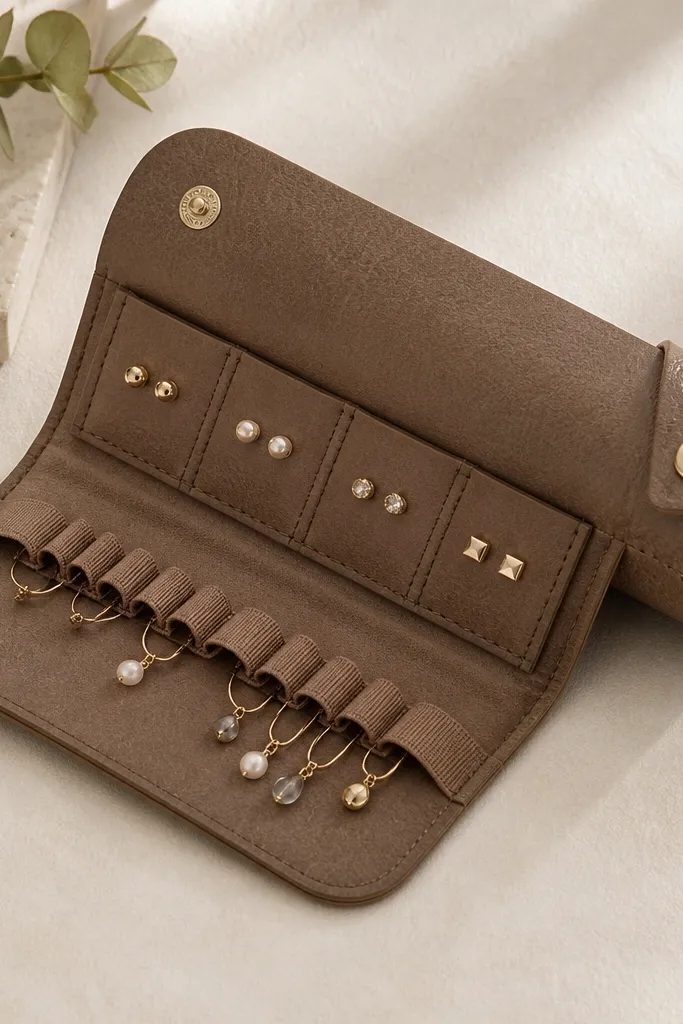
If you travel with earrings, this is the organizer that actually gets used. The roll keeps pairs flat and separated, so you don't open a tangled mess in a hotel bathroom. Leatherette looks polished and it wipes clean with a damp cloth. The pockets are perfect for studs and small drops, and elastic loops hold dangles upright.
Cut leatherette fabric into an 18 x 10 inch rectangle. Sew in two types of compartments: 1-inch pockets for studs and 1.5-inch elastic loops along one edge for drops. Add a snap closure at the roll end and a second snap to keep it tight. Use a thin batting layer so the roll holds shape.
Pro tipMark pockets with small fabric tabs in two colors so you can sort by outfit quickly.
AvoidAvoid bulky seams - thick stitching makes the roll hard to close.
12. Tin Can Rings Organizer with Fabric-Coated Dividers
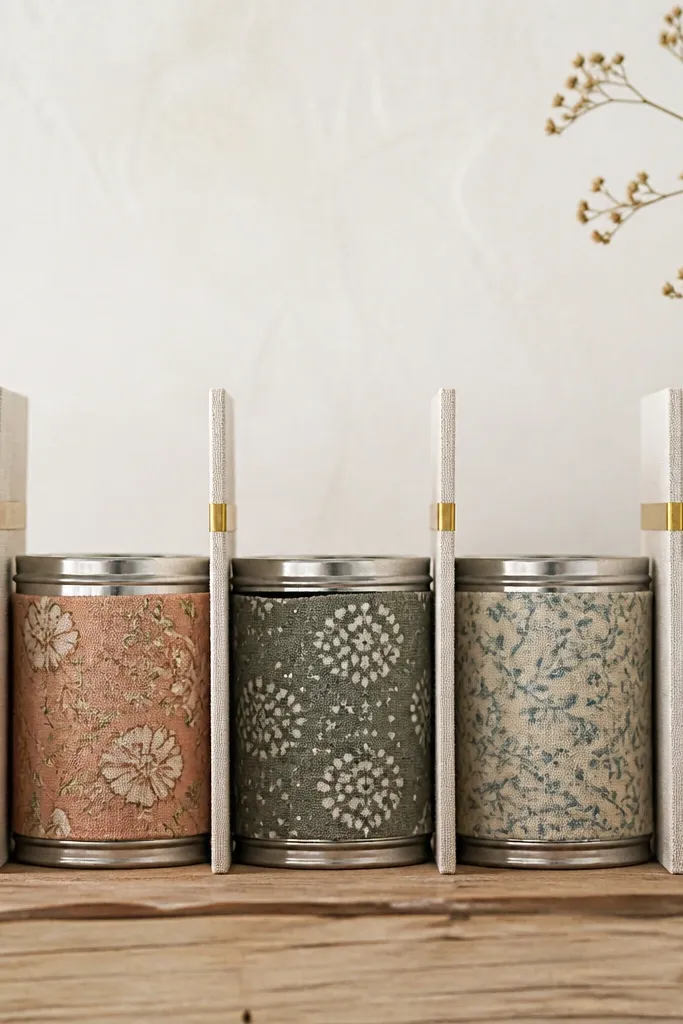
This is a space-saver for small collections and it looks cute on shelves. Each can holds one type of earring, so you don't mix metals and end up with missing pairs. Fabric wrap keeps the metal from scraping and makes the organizer softer visually. It's also easy to customize with whatever patterns you like.
Clean and dry tin cans, then wrap them with cotton fabric using Mod Podge or fabric glue. Add fabric dividers by gluing thin foam board strips between cans, then cover those strips with matching fabric. Label the divider tops with washi tape in a consistent spot. Seal the fabric with a final thin Mod Podge layer so it wipes clean.
Pro tipUse double-sided tape plus glue - the wrap stays smooth while drying.
AvoidSkip skipping the seal - unsealed fabric picks up oils and looks dull.
13. Ceramic Tile Pegboard for Studs and Minis
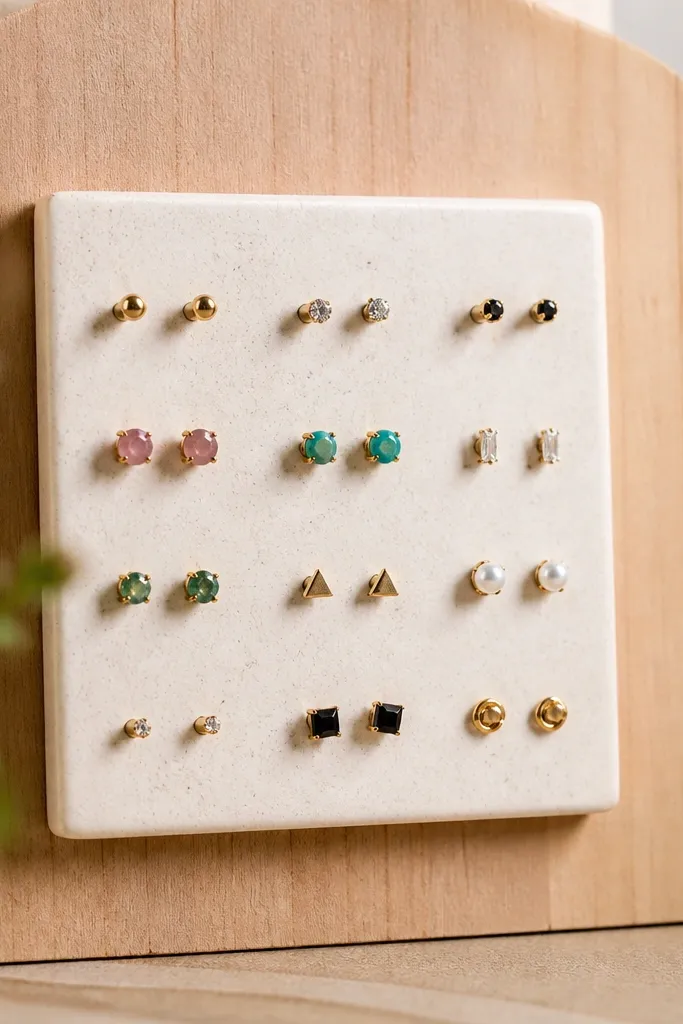
Ceramic pegs look neat and they hold shape better than foam when you press posts in and out daily. The tile surface gives a clean, spa-like backdrop. I use this for tiny studs and minimalist drops because pegs keep them from falling backward. It also looks like a product display, not a homemade box.
Mount a 6 x 6 inch ceramic tile to a wood base. Glue tiny brass pegs on the tile in a 4 x 4 grid using epoxy made for ceramic. Drill shallow entry points in the pegs if needed so posts sit straight. Finish the wood base with matte white paint and seal it.
Pro tipTest peg height with one earring before you glue the whole grid so posts sit at the right angle.
AvoidAvoid pegs that are too short - studs fall over and look sloppy.
14. Wine Cork Strip Organizer for Lightweight Drops
Cork is forgiving and it grips posts without needing a lot of force. This is my pick for lightweight drops and small charms because they stay upright. It also has a warm, natural look that doesn't clash with wood furniture. The holes are easy to customize as your collection changes.
Cut a cork strip about 10 inches long. Mark hole spacing at 1 inch intervals and punch holes with a heated metal rod. For dangles, add shallow slits with a craft knife so wires rest in place. Seal the cork with matte clear spray so it resists dust and light spills.
Pro tipKeep a small jar of tiny backup holes nearby - it's faster than redoing the whole strip.
AvoidAvoid soaking cork with glue - it warps and makes holes uneven.
15. Magnetic Sheet Under Clear Lid for Quick Pair Grab
For earrings with flat metal backs, magnet storage is fast and satisfying. You can see everything through the clear lid and grab a pair without digging. The separation lines keep pieces from sliding into each other, and the lid keeps dust off. I use this mostly for clip-on earrings and small stud backs with magnet-friendly metal.
Cut a magnetic sheet to the size of a clear plastic storage box lid footprint. Add thin divider strips using acrylic strips or 3D-printed separators. Place earrings so the backs contact the magnet - avoid ones with delicate coatings that scrape. Label the bottom with a strip of vinyl so it stays readable.
Pro tipPut a soft felt sheet between magnet and box if you notice scratching on delicate finishes.
AvoidAvoid magnets with strong pull for fragile charms - they can yank charms out of shape.
16. Spoon and Fork Hook Rail for Tiny Studs
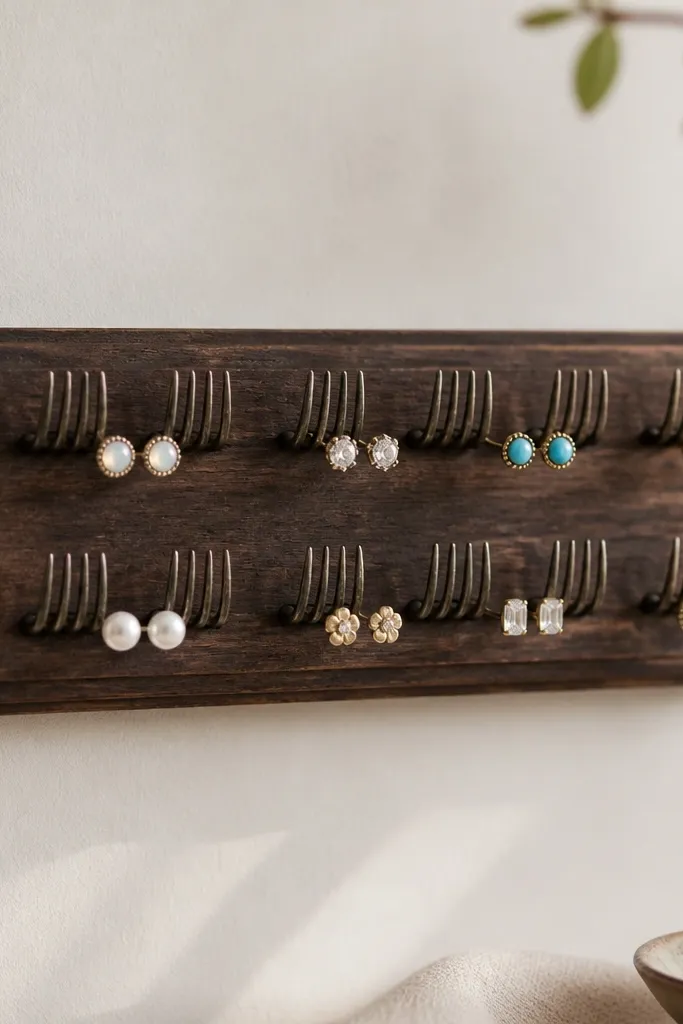
This one looks quirky in a good way and it's surprisingly practical. The bent tines create tiny hang points that keep studs from piling. It also adds height and makes small earrings easier to grab with dry hands. The dark wood makes the metal shine stand out.
Find a decorative utensil rail or mount a 12-inch wood strip. Bend fork tines into small hooks and secure them with screws through drilled holes in the wood. Keep hook spacing at about 1.25 inches so each stud has room. Seal and stain the wood, then optionally paint hooks a matching gunmetal tone.
Pro tipHang only studs and short drops - long dangles snag on the rail quickly.
AvoidDon't leave sharp wire ends exposed - they catch fingers and look rough.
17. Fold-Over Fabric Organizer with Buttoned Rows
Fabric organizers can look messy, but this structure keeps it neat. Buttoned rows mean you don't dump earrings in and lose pairs. I like this for sets that include studs and mini hoops because pockets hold posts while the row spacing keeps hoops from tangling. The fold-over design also protects earrings while you're getting ready.
Use cotton canvas for structure and cut three rectangular pocket strips, each about 2.5 inches tall. Sew pockets with a top flap and add snaps at the fold line. Fold the organizer so pockets face inward when closed. Use a contrasting thread for visible stitching and reinforce corners with extra bar tacks.
Pro tipAdd a thin plastic sheet behind the pockets so they keep their shape on a shelf.
AvoidSkip floppy fabric - if it sags, earrings fall to the bottom and look like a pile.
18. Brass Chain Divider Board with Mini Clips
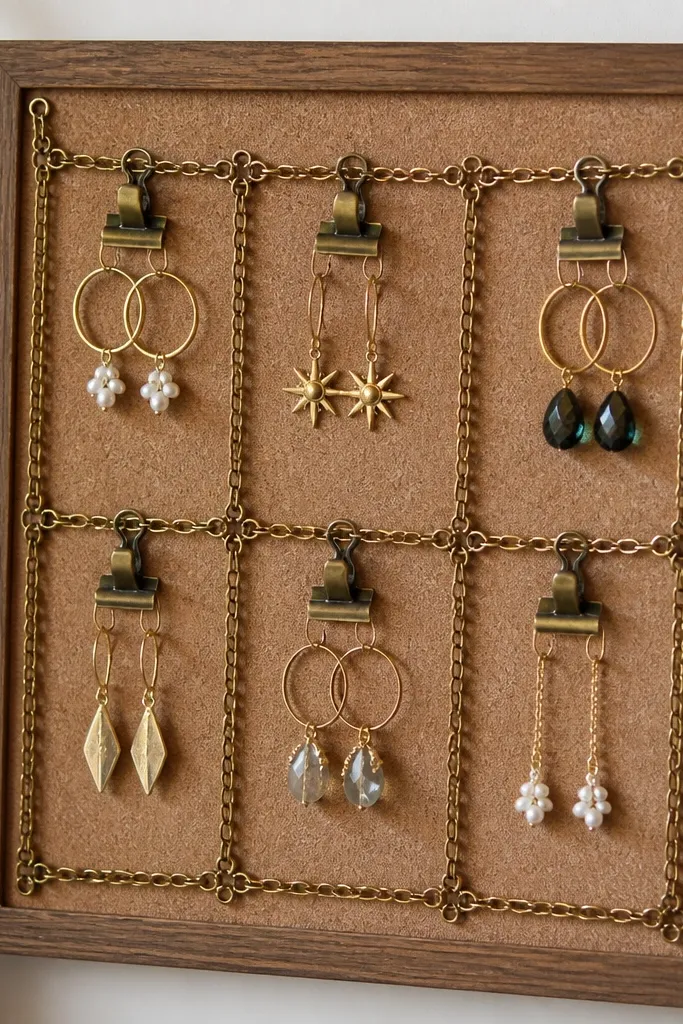
This organizer looks like jewelry hardware and it works because chain creates clean compartments. Mini clips let you swap earrings without re-poking holes or fighting foam. I used it for layered necklaces too, but for earrings it's great when you have lots of matching sets. The brass color makes gold and mixed-metal collections look intentional.
Glue felt or cork to a board about 12 x 8 inches. Attach short brass chain sections to form a grid with 3-inch compartments. Add mini binder clips that hook onto chain links. Keep compartments sized to the largest earring - for drops, give them at least 2.5 inches of vertical space.
Pro tipUse clip sizes that match the chain link thickness so they don't wobble.
AvoidAvoid loose chain - if it swings, earrings tangle again.
19. Wall-Mounted Peg + Clear Cup System for Studs
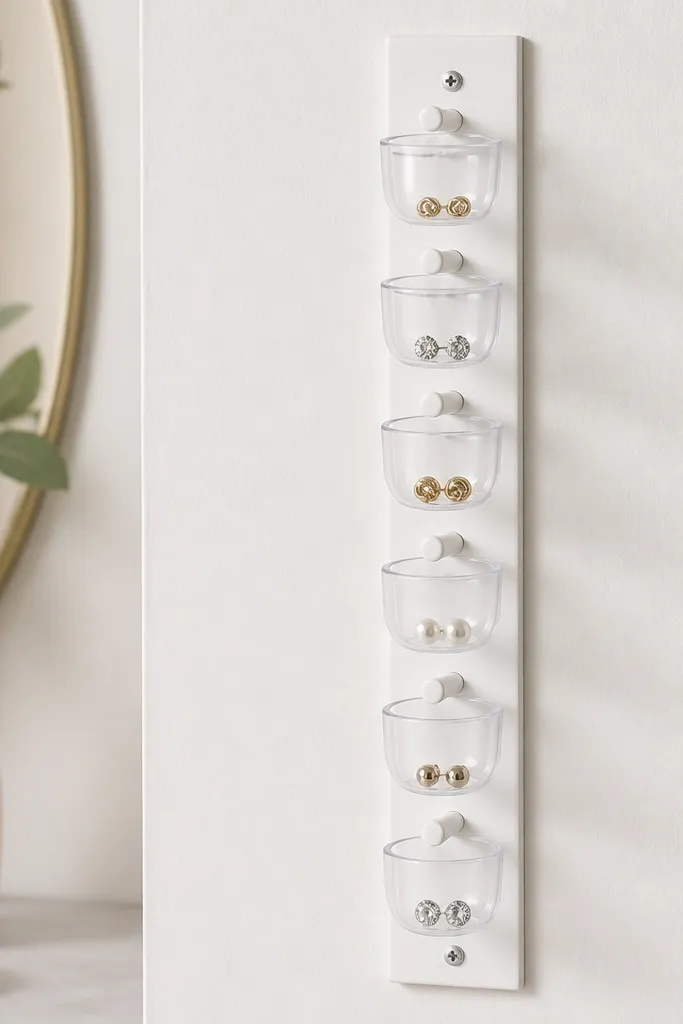
Clear cups are perfect for studs because they prevent posts from slipping and they keep backs from getting lost. Mounting cups on a peg strip makes it easy to add more cups later. I like this for people who have a lot of tiny earrings and hate digging through trays. It also looks neat because the cups line up like a mini retail display.
Mount a peg strip on a wall or inside a closet door. Hang clear plastic cups (small condiment cups work) on each peg using a hook or screw-in cup holder. Place one pair per cup and sort by size. Paint the backing panel matte white and use clear cup holders so the display stays bright.
Pro tipPut heavier statement studs in the bottom row first so the cups don't tip when you touch them.
AvoidDon't use cups that are too shallow - posts pop out and it looks chaotic.
20. Jewelry Box Lid with Magnetic Ribbon for Charms
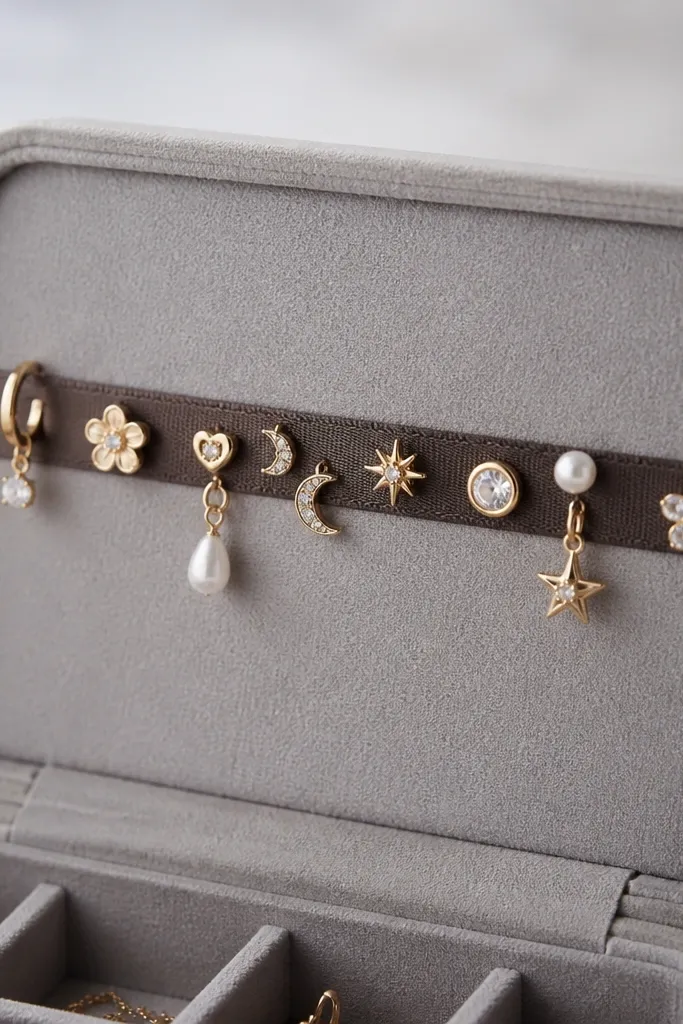
If you already have a jewelry box, upgrade the lid and you get instant organization without buying new storage. Magnetic ribbon keeps small charms and earring backs from sliding around. Fabric backing prevents scratching and makes the inside feel soft and clean. This layout is great for charm earrings, small hoops with flat backs, and mixed metal sets.
Remove the old lid liner and replace it with soft gray felt or faux suede. Cut magnetic ribbon to width and secure it under the fabric edge or on top of a thin clear acrylic strip. Place earrings so the metal backs stick flat. Add a second small ribbon section for a second row so pieces don't crowd.
Pro tipMark sections with two-color tape so you can sort quickly when you're half dressed.
AvoidSkip shiny fabric - magnets can pick up dust and make it look gray over time.


