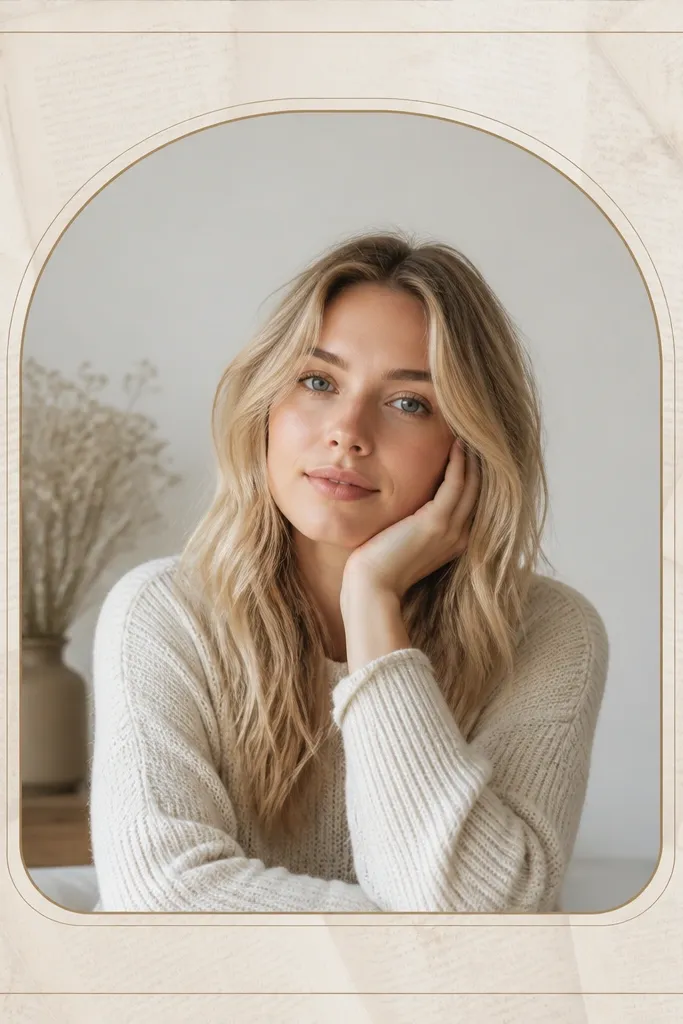
1. 12mm White Mat with a Dusty Rose Border
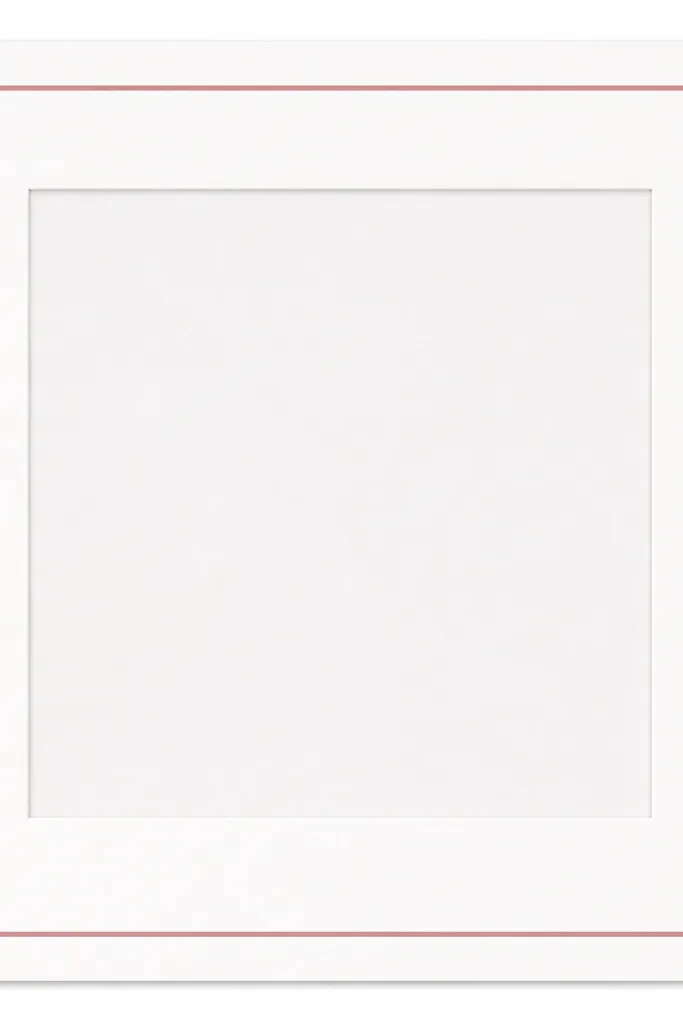
This template makes your photo look "professionally framed" without turning it into a craft project. The white mat gives separation, and the dusty-rose border adds softness that still reads clean in feeds. I used it with portraits and flowers because the pink border doesn't fight skin tones. The rounded corner marks are a guide for consistent cutting across multiple prints.
Set the mat to 12mm on all sides, then add a 6mm border strip in dusty rose. Keep the inner photo window square if you're using 1080x1080 exports. Print the border on matte cardstock so the rose looks velvety, not glossy, then cut using the mat as a ruler.
Pro tipIf your photos have warm lighting, keep the rose slightly muted (more mauve than hot pink) so it doesn't look neon.
AvoidDon't use a glossy border print - glare makes the edge look cheap under daylight.
2. Black Corner-Mat Frame with a Neon Green "Hero Edge" Strip
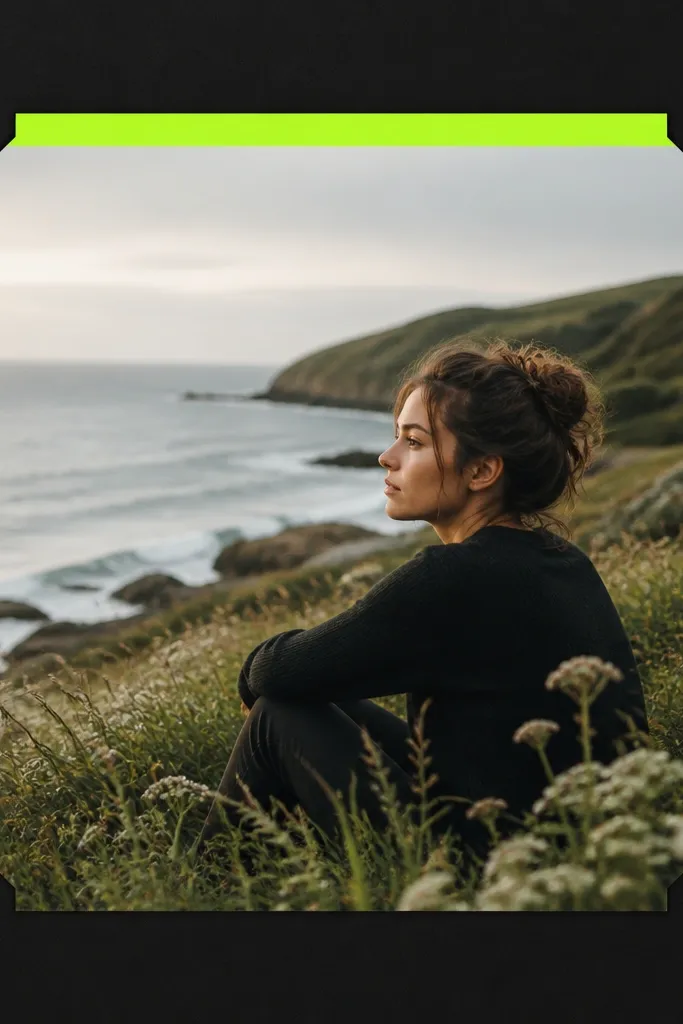
This one is for when you want your photo to pop fast. The black corner mat adds structure, but the neon green hero strip is what makes the frame feel like a design, not just a border. I used it for night shots and city skylines because neon tones echo street lighting. The corner mat keeps the center clean so the photo stays the focus.
Make a black outer border about 10mm wide, then cut the inner corners so they form an "L" shape around the photo. Add a 14mm neon green strip only at the top side (not all around). Use a 1:1 layout so the corners line up with square exports.
Pro tipTest the neon strip on one photo first - if it looks too loud, switch to lime green (less intense) and keep the strip thickness the same.
AvoidDon't add neon on all four sides; it turns into a sticker frame in a bad way.
3. Two-Tone Denim Border with White Stitch Lines

Denim frames make travel and casual lifestyle photos feel grounded. The trick is the stitch detail: it makes the border look like fabric even though it's paper. I used medium blue and light chambray tones so the border doesn't overpower the photo. The white stitch lines add contrast that reads well in both bright and dim lighting.
Use a 9mm medium-blue denim border and a 5mm lighter denim inner strip. Add two 1mm "stitch" lines with a 1mm gap between them. Print on matte photo paper so the blue looks like cloth. For cutting, use a rotary cutter and a metal ruler for straight lines.
Pro tipIf your photo has lots of blue, shift the border denim lighter so it doesn't blend into the image.
AvoidSkip glitter or textured embossing - the frame should look like fabric, not like craft foam.
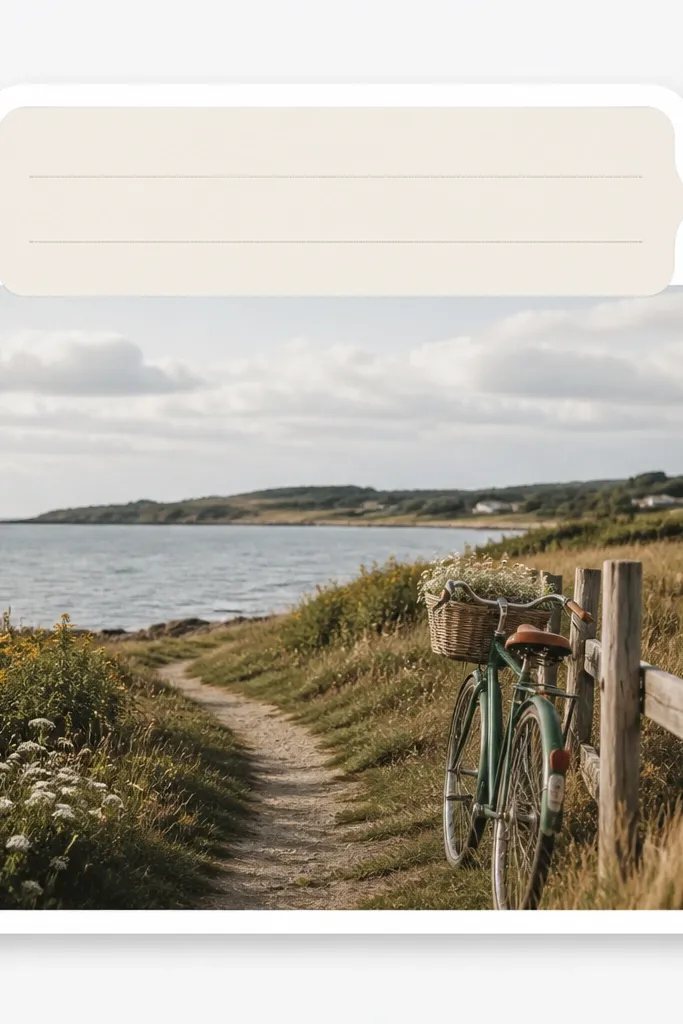
4. Book Page Background with a Thin Sepia Frame
This is the "I want it to feel vintage but still clean" template. The book-page background gives texture without needing a patterned border all around. The sepia frame lines keep it from looking messy. I used it for handwritten notes, coffee mugs, and older-looking prints because the warm tones make everything feel cohesive.
Set the background to a light off-white with faint text (low contrast). Use a 4mm sepia frame line, and keep the inner photo window centered with a 2-3mm gap. Print the background on matte paper so the text pattern stays subtle. Seal with a quick matte clear coat if you're handling it a lot.
Pro tipReduce the book-page contrast by half compared to what you think - the pattern should whisper, not shout.
AvoidDon't use a dark brown thick border; it makes the whole piece look like a scrapbook from 2012.
5. Corduroy Plaid Border in Warm Browns
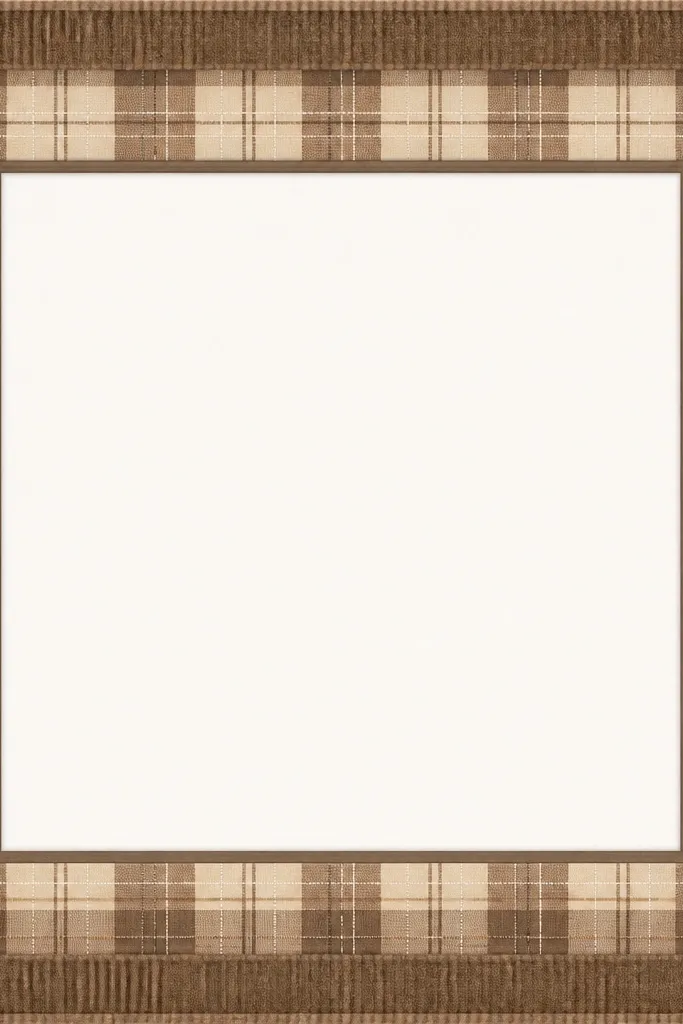
Plaid frames work when your photos have fall colors or cozy interiors. The warm browns make the border feel like fabric and match wood tones. I used it for kitchen shelves and blanket shots because the frame doesn't compete with the subject. The grid lines also help your eye read the photo as a "panel" in a collage.
Create a 12mm outer border using alternating bands of warm tan and cocoa brown. Add 2px grid lines in a slightly darker brown to form plaid. Print on heavyweight matte cardstock (at least 200gsm) so the texture holds. For a physical version, back it with black foam board so the border edges look crisp.
Pro tipIf your photo has strong reds, tilt the plaid slightly lighter so the border stays neutral.
AvoidDon't choose high-contrast plaid; it makes the photo look smaller.
6. Rounded "Polaroid" Frame with a Soft Shadow
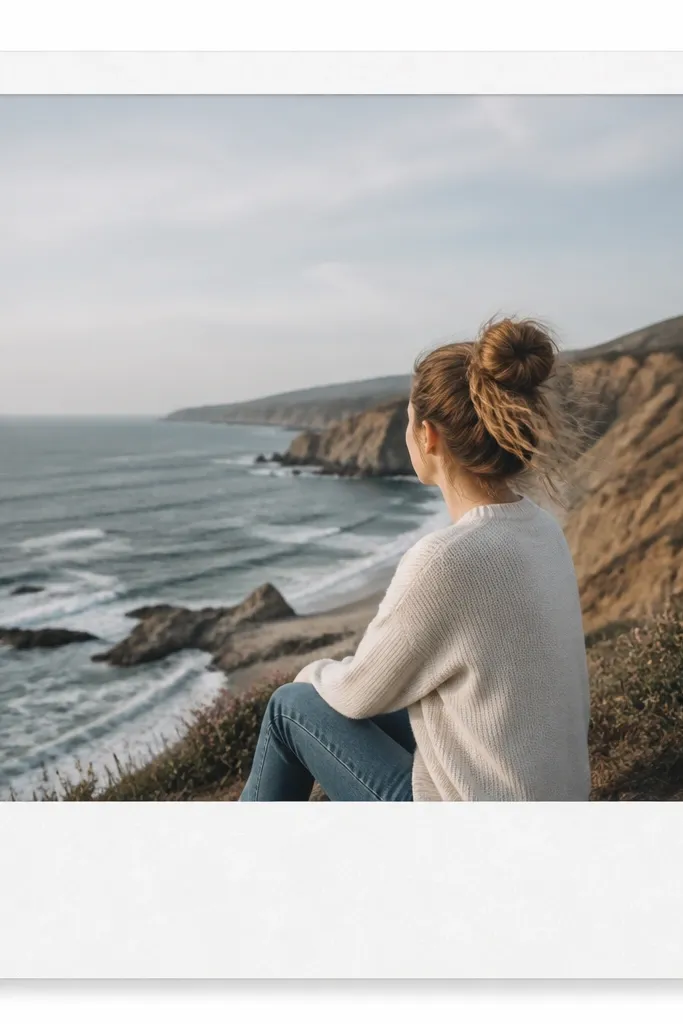
This one is for casual posts where you want charm without clutter. Rounded corners keep it friendly, and the soft shadow gives depth on your feed. I used it for weekend check-ins and coffee walks because it looks like a photo you grabbed off a camera roll but dressed up. The small caption line under the image helps when you want a consistent text style.
Use a 20mm white border with 8mm rounded corners. Add a faint shadow offset by 6px down and 4px right (for digital export), or use a gray pencil shadow for physical prints. Keep the caption area 18mm tall and leave it blank if you don't want text. Export at 1080x1350 for portrait posts.
Pro tipUse one font style for the caption line across all your polaroid frames so the set looks intentional.
AvoidDon't make the shadow too dark; hard shadows make it look like a sticker cutout.
7. Single Ribbon Band Frame in Cream and Black

Ribbon frames look surprisingly good on wedding, gift, and "holding something" photos. The ribbon band gives you that editorial feel, but keeping it to one band keeps it clean. I used cream and black because the contrast makes the photo look sharper. The small knot shapes are minimal, so the frame doesn't look childish.
Set the outer border to 10mm cream matte. Place a 16mm black ribbon band across the top third of the frame edge, not centered. Add 6mm knot icons near the left and right edges. If you're printing physical copies, use a semi-matte black paper so it doesn't reflect like foil.
Pro tipWhen your photo is already dark, keep the ribbon band slightly thinner (12-14mm) so it doesn't swallow the image.
AvoidAvoid a shiny ribbon effect - it reads fake on camera.
8. Teal Grid Frame with White Thin Lines
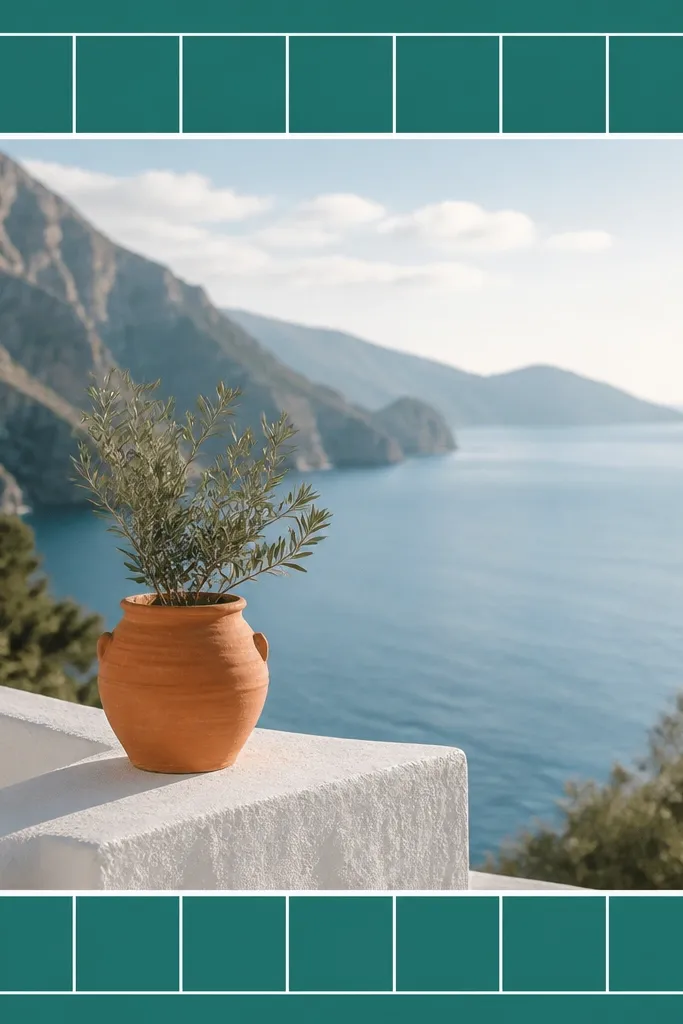
This template makes your images look organized and a little architectural. The teal border adds color without filling the whole frame with pattern noise. The white grid lines give a subtle structure that works for food, desk setups, and flat lays. I used it mostly for series posts where you want every photo to feel like part of one project.
Use a teal outer border 14mm wide. Add a grid of 6-8mm rectangles with 1mm white lines around the photo window. Keep the grid only in the border area, not over the photo. For digital templates, export at 1080x1080 and keep the photo window centered.
Pro tipIf your photo is busy, reduce the number of grid cells by making them larger (8-10mm) so it stays calm.
AvoidDon't add grid lines into the photo space - it looks like a layout overlay, not a frame.
9. Gold Foil Line Frame on Matte Cream Card

Gold line frames look expensive when the rest of the template is matte. The key is using a single thin border line instead of thick ornate gold. I used it for clean product photos and candle shots because the gold catches light in a subtle way. Rounded corners keep it modern.
Set a 6mm cream border, then draw a 2mm gold line inside it. Make corners radius 10mm for a soft look. For physical prints, print the cream matte and add gold foil line using a gold paint pen or foil transfer tape on top. For digital exports, use a gold color that's more muted than bright yellow.
Pro tipMatch the gold tone to your photo highlights - if your photo has warm highlights, use a deeper antique gold; if it's cool, use lighter gold.
AvoidSkip multiple gold layers - more than one line makes it look like a cheap craft frame.
10. Marble Background with a Thin Black Outline
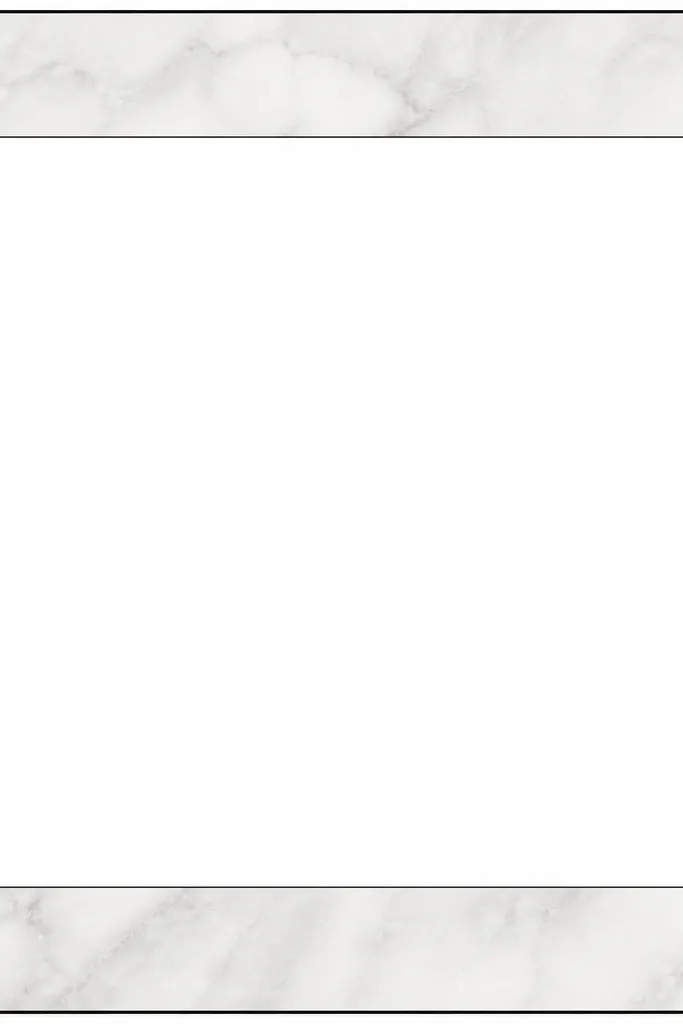
Marble templates make simple photos look styled fast. The marble background adds movement, but the thin black outline keeps everything sharp and readable. I used it for skincare bottles, bathroom tiles, and monochrome outfits. It works especially well when your photo colors are limited and you want a clean contrast.
Use a light marble pattern that stays mostly in white and pale gray. Set the border thickness to 8-10mm and add a 2mm black outline. Keep the photo window straight and centered. Print on matte paper to avoid the marble looking like laminate.
Pro tipIf the marble looks too busy, lighten the pattern and reduce contrast so it doesn't steal attention.
AvoidDon't use thick black borders; they make marble look like a cheap sign.
11. Pastel Gradient Border that Follows the Photo Mood
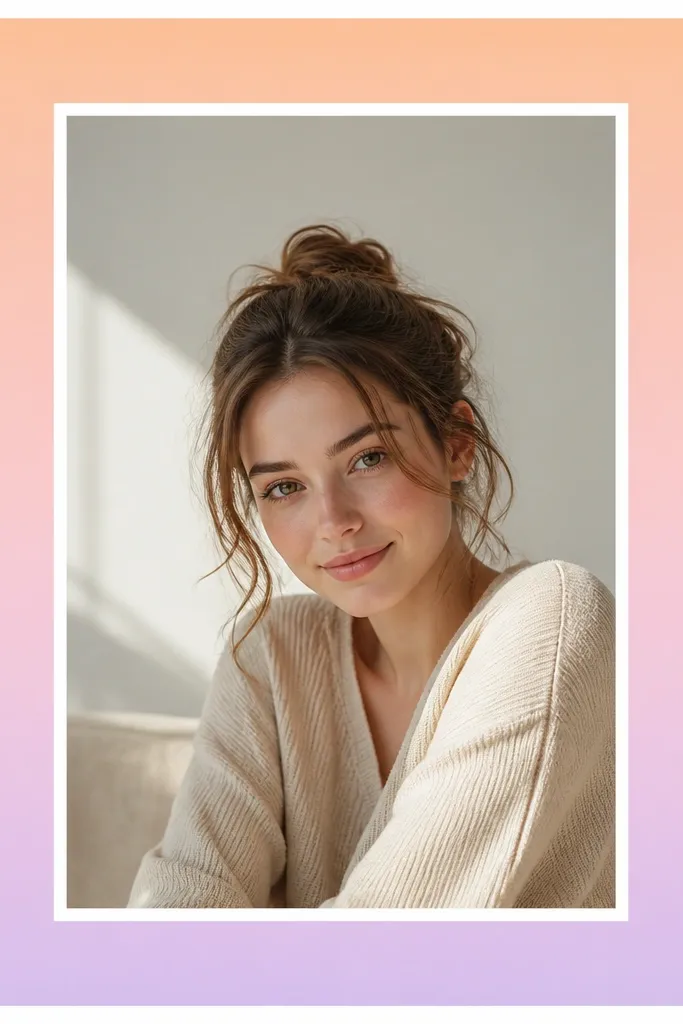
This is my go-to when I don't want a themed border but still want the frame to feel designed. The gradient border gives color continuity with your photo without adding clutter. I used it for scenic shots and outfit selfies because the border makes the whole post look cohesive. Keeping it pastel means it stays out of the way.
Create a 12mm border with a left-to-right gradient and a 6mm white mat between border and photo. Use two colors pulled from the photo - for example, peach from skin tones and lavender from background flowers. Export at 1080x1350 for portrait posts. If printing, use matte cardstock and avoid heavy ink coverage that can smear.
Pro tipPick your gradient colors from the photo's two most common tones, not from one bright accent.
AvoidAvoid neon gradients - they turn the frame into a warning label.
12. Corkboard Frame with Tiny Nail Heads
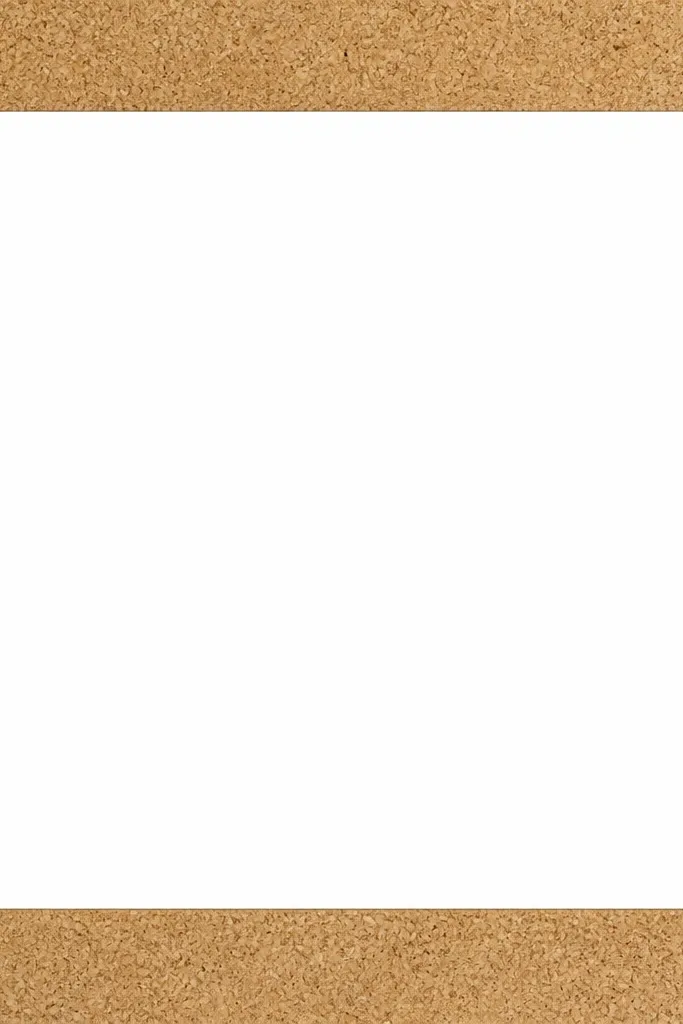
Corkboard frames make memories feel "pinned" and casual. The texture gives depth, and the nail heads make it look like you built it by hand. I used it for travel snapshots and recipe cards because the vibe matches paper notes. It also hides slight print misalignment better than clean straight borders.
Use a speckled cork texture in tan with darker flecks. Set border thickness to 16mm and place nail-head dots at each corner - 4-5mm diameter. Keep the photo window with a 3mm white mat so the cork doesn't touch the image directly. Print on matte paper so the texture looks like cork, not plastic.
Pro tipIf your photo has warm tones, keep the cork border slightly darker so the photo pops off it.
AvoidDon't add nail heads on all four sides - corners only looks believable.
13. Checkered Floor Frame in Soft Gray
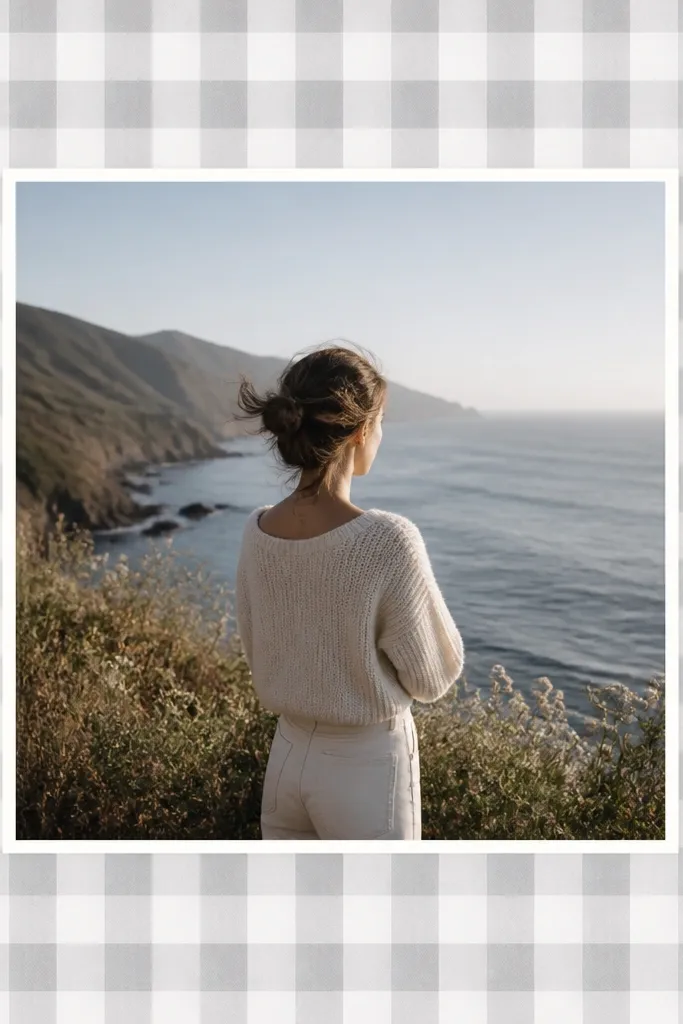
Checkered borders make photos look like they belong to a series or a themed set. Soft gray keeps it modern and doesn't fight color-heavy photos. I used it for street photos and cafe interiors because the pattern adds a sense of place. The white mat keeps the photo clean and prevents the checkers from feeling overwhelming.
Set the border to 14mm with checkers sized 4-6mm. Use a thin 3mm white mat between the checkers and the photo window. Export square at 1080x1080 so the pattern stays consistent. For physical prints, trim with a sharp blade so the checkers look crisp at the edges.
Pro tipIf your photo is monochrome, make the checkers slightly darker so they're visible on small screens.
AvoidDon't use big checkers; they look like a cheap board game frame.
14. Hand-Lettered Label Frame with Thick White Sticker Border
This frame works when you want the post to feel like a note you made for yourself. The thick white sticker border gives you a clean edge, and the label strip lets you keep captions consistent. I used it for desk photos, weekly planning, and "what I ate" shots. The guide lines make it easy to keep handwriting straight.
Use a 22mm thick white border with slightly rounded corners (radius 12mm). Add a 24mm tall label strip at the top with three faint horizontal guide lines. Leave the label text blank on the template so you can write directly on physical prints or overlay text on digital exports. Print on matte sticker paper if you're making physical frames.
Pro tipWrite the label in all caps and keep it under 8 letters so it fits the strip on stories.
AvoidSkip tiny handwriting - it turns into a blur on phones.
15. Monochrome Film Strip Frame with 35mm Edge Marks

Film strip frames make your photos look like they came from a roll. The monochrome palette stays classy, and the 35mm-style marks add that real-camera detail. I used it for travel and candid portraits because the frame adds story without needing extra graphics. It also looks great when you rotate the photo slightly for a more analog feel.
Create a portrait layout with a 10mm inner mat and a 18mm film-strip border. Add perforation holes every 12mm along the left and right edges. Include small frame numbers near the top and bottom, but keep them very light so they don't dominate. Export at 1080x1350 for Instagram posts.
Pro tipIf your photo is colorful, keep the film strip border near-black and gray so it still reads film, not a theme park.
AvoidDon't add color gradients into the film strip - it stops looking like film.
16. Torn Paper Edge Frame in Warm Cream
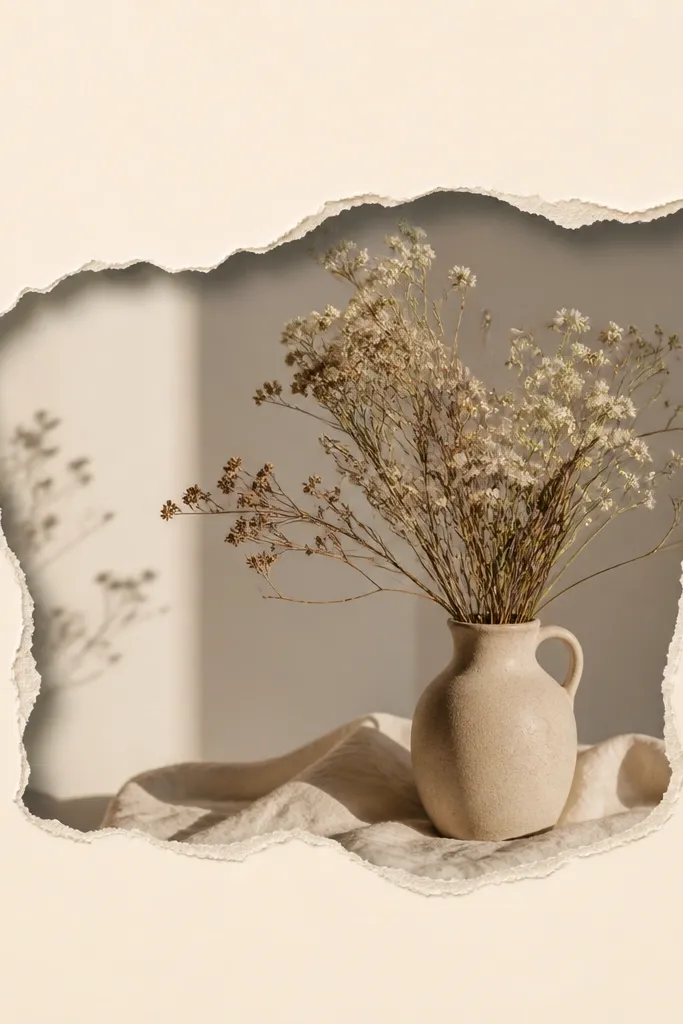
Torn paper frames have a handmade look that still photographs well. The warm cream background keeps it gentle, and the torn edge shadow makes it feel layered. I used it for art prints, journaling photos, and cozy corners. It's also forgiving if your cutting isn't perfect because the tear line is meant to be irregular.
Use a 14mm warm cream border and create a jagged tear line with a subtle gray shadow under it. Add a 3mm white mat before the photo window so the tear doesn't touch the photo edges. Print on medium matte paper so the tear edges look soft. For physical builds, tear the paper by hand after printing the border, then trace the tear edge into your template.
Pro tipMake the tear edge slightly heavier on one side - perfect symmetry looks fake.
AvoidDon't use pure white - torn edges look harsh and cheap against it.
17. Brick Wall Border with White Mortar Lines
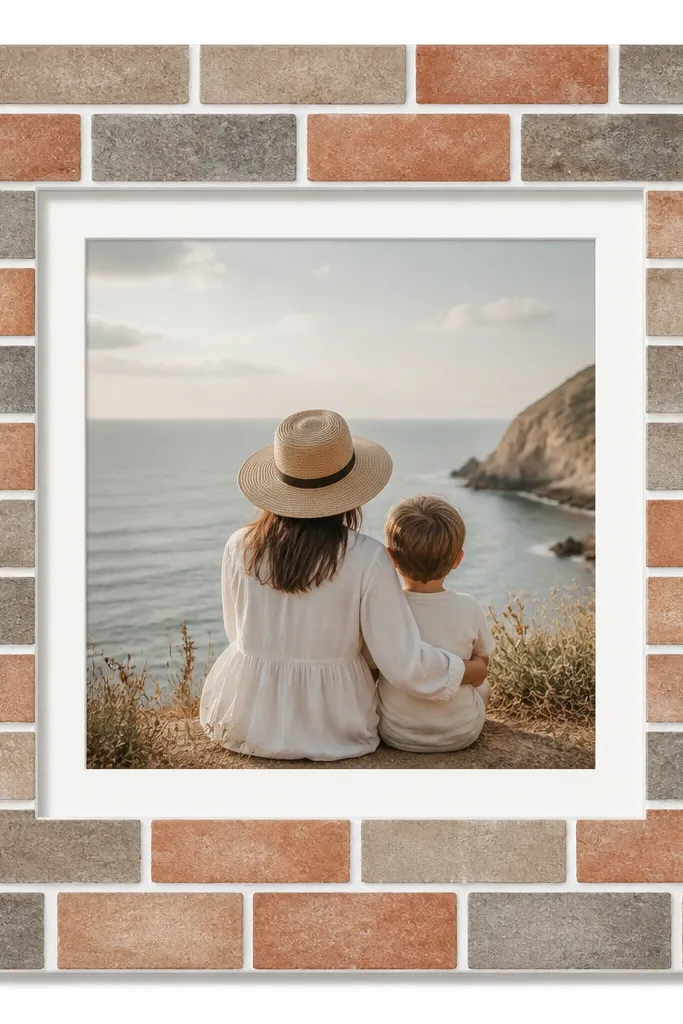
Brick borders give your photos an instant setting without needing to edit the photo itself. The muted terracotta keeps it from turning into a Halloween palette. I used it for coffee shop shots, outdoor patios, and any photo with warm shadows. The white mortar lines keep the frame readable even when your photo is busy.
Set the border to 15mm and use bricks sized around 18-22mm wide in the template scale. Add white mortar lines about 2mm thick. Keep the photo window with a 4mm white mat so the brick doesn't touch edges. Print on matte cardstock so the brick texture doesn't glare.
Pro tipIf your photo has lots of orange, shift bricks slightly cooler (more gray in the mix).
AvoidDon't make the mortar lines too thick - chunky white lines look like clip art.
18. Minimal Frame with One Thick Side Border in Cobalt

This is the cleanest template I used when I wanted the frame to feel modern and not like a craft. One thick side border pulls attention and creates balance, especially for photos with a subject on the right. I used it for product shots and flat lays where the composition is already structured. The rest of the frame stays neutral so your photo dominates.
Use a 4mm light gray border on top, right, and bottom, and a 16mm cobalt border on the left only. Add a 6mm white mat between border and photo. Keep the photo window square and centered. Print on matte paper and use a ruler for consistent thickness - small differences show on minimal frames.
Pro tipMatch the cobalt to a color that already appears in the photo - even a small detail like a mug handle helps.
AvoidDon't make the thick side border too wide; more than 18mm starts looking like a poster margin.


