
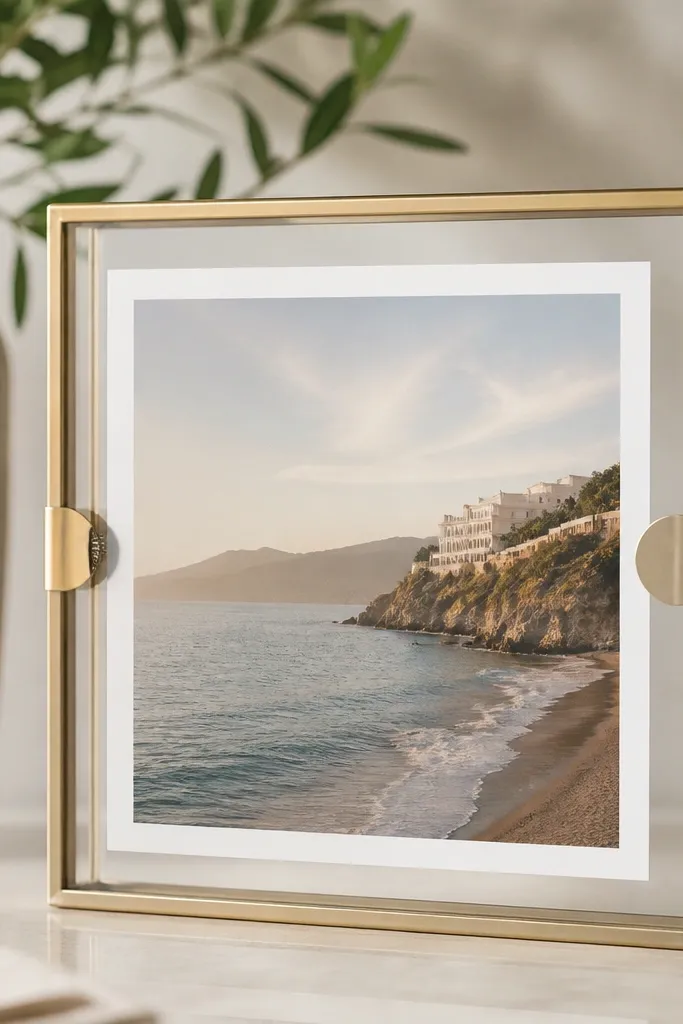
1. Square border wood frame with clear acrylic cover
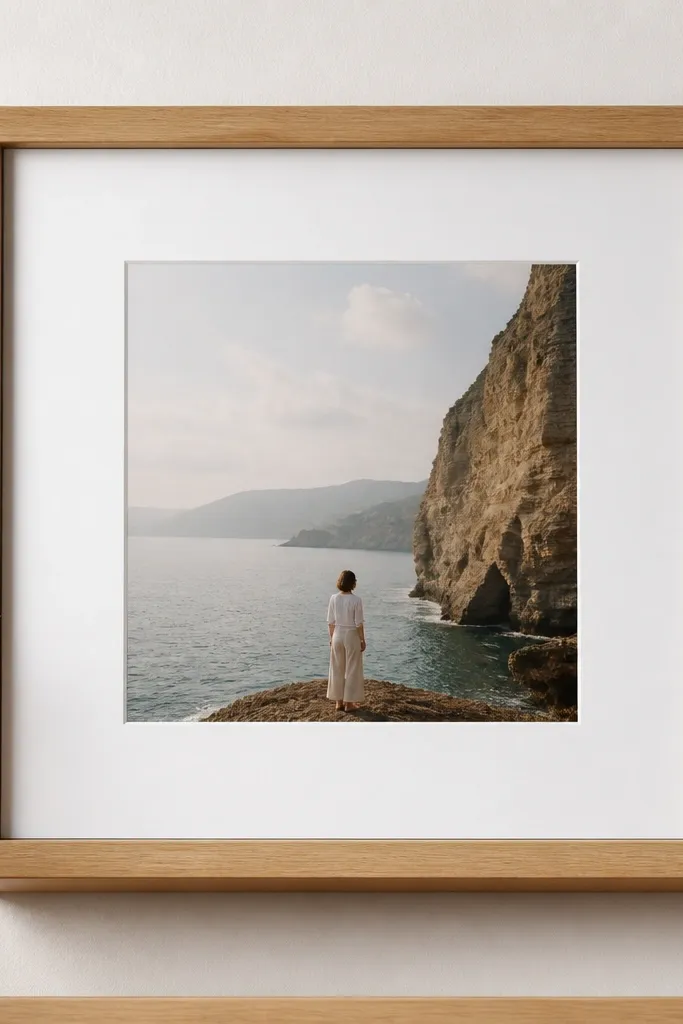
This look is clean because the wood border is the same thickness on all sides and the acrylic makes the photo feel "finished." I like light oak or birch because it reflects room light without looking yellow. The clear acrylic also protects the print from dust and fingerprints, which matters when it hangs near a doorway or desk.
Cut a frame outer size of 12x12 inches for a 4x4 photo, with a border width of 1.25 inches. Make the inner opening 4x4 minus 1/8 inch (so about 3 7/8). Attach a thin acrylic sheet with a snug lip or small corner stops so it doesn't slide.
Pro tipWipe acrylic with microfiber and a tiny drop of dish soap in water, then dry - no paper towels.
AvoidSkipping the inner lip makes acrylic bow and creates a wavy look.
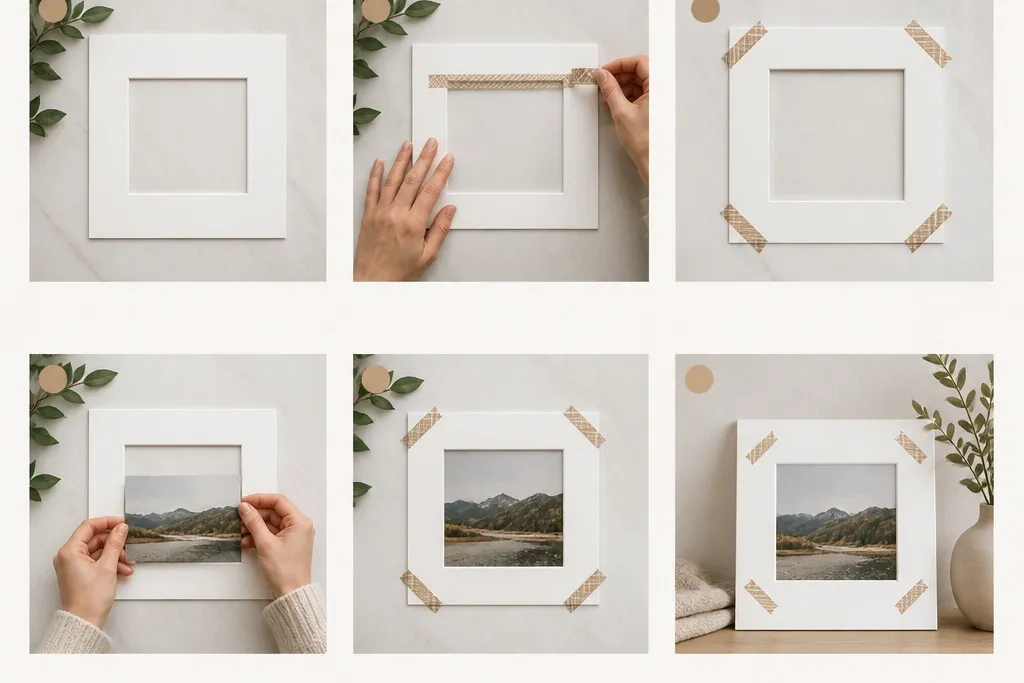
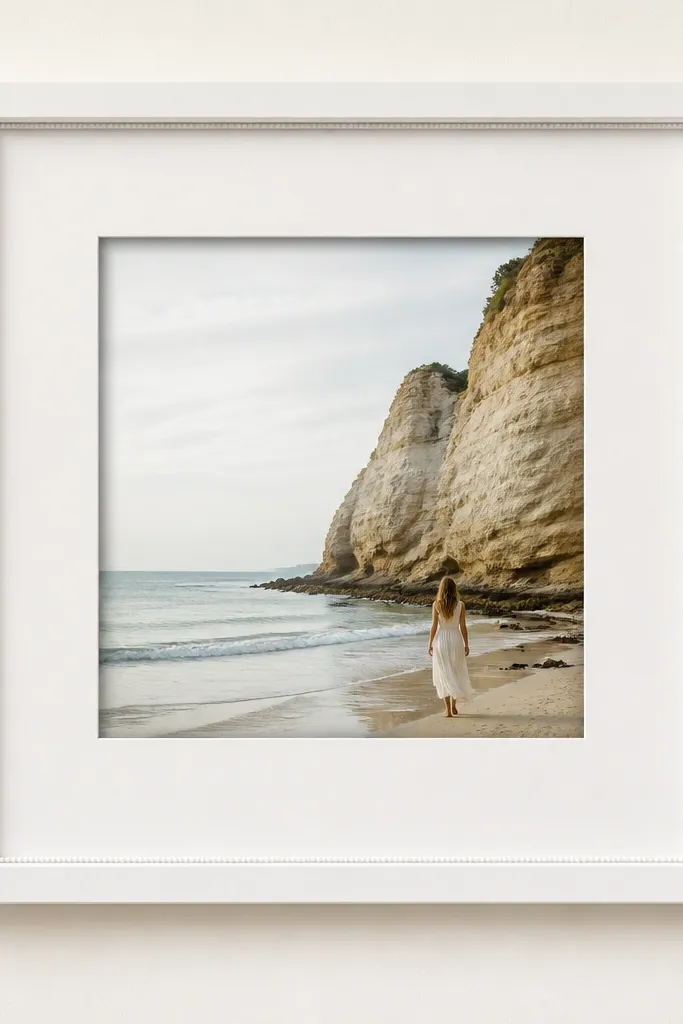
2. Foam board Instagram template frame with faux mat border
Foam board is the fastest way to get an even border because it cuts cleanly with a sharp blade. The faux mat border gives you that gallery look without buying a real picture frame. I use a darker mat color like charcoal or slate gray so the photo pops.
Use 5mm foam board for the base and 2mm foam board for the mat. Cut the mat opening 1/8 inch smaller than the photo. Glue the photo to a backing sheet, then sandwich it between the base and mat using white craft glue and short binder clips while drying.
Pro tipPress a straight metal ruler along your cut line twice instead of forcing one deep pass.
AvoidUsing a dull blade tears edges and makes the border look fuzzy.
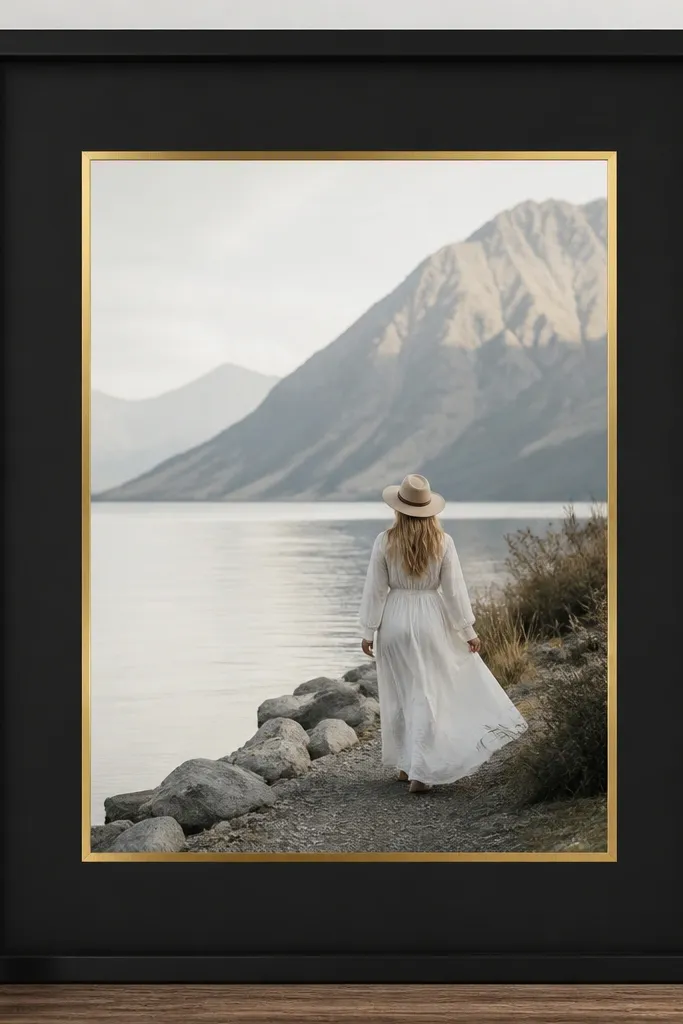
3. Black painted MDF frame with linen-texture backdrop
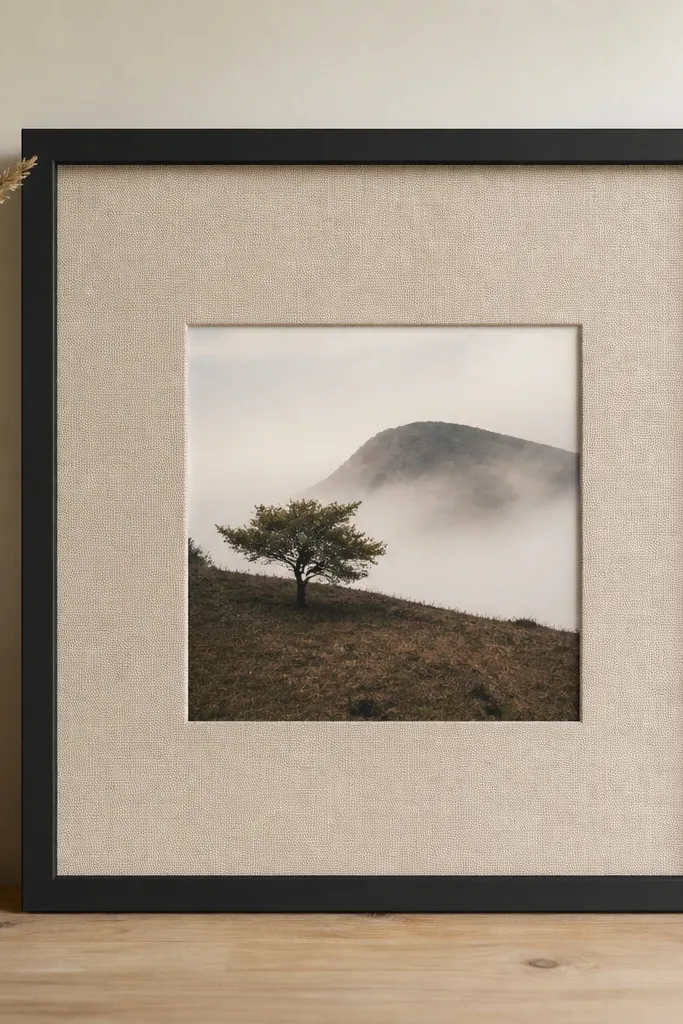
Matte black MDF looks sharp in modern rooms, and linen texture adds warmth so it doesn't feel like a store-bought box. The fabric backdrop also hides small gaps around the photo. I like beige linen because it softens the black without turning the whole piece into "farmhouse."
Cut MDF to 12x12 with a 1-inch border width. Paint two thin coats of matte black acrylic paint, sanding lightly between coats with 220 grit. Staple linen to the back after you mount the photo, keeping fabric tension even on all sides.
Pro tipStaple fabric with the grain running straight up so it doesn't wrinkle after hanging.
AvoidPutting linen on a glossy painted surface - it makes the photo corner shadows look messy.
4. Reclaimed wood frame with routed inner lip

Reclaimed wood looks real because you get natural grain and tiny color shifts. The routed lip makes the photo sit deeper, so it reads as intentional even from across the room. I use this style when I want a "warm" frame that still looks structured.
Use boards about 3/4 inch thick; cut a 1/4 inch deep inner lip so the photo backing sits below the front edge. Keep the border width around 1.25 inches for a 4x4 print. Seal the wood with a satin clear coat to prevent uneven darkening.
Pro tipPre-drill screw holes and use wood glue on every corner - reclaimed boards split easily.
AvoidLeaving raw edges on the lip - fingers and dust catch on them.
5. Cork board Instagram frame with pinned photo look
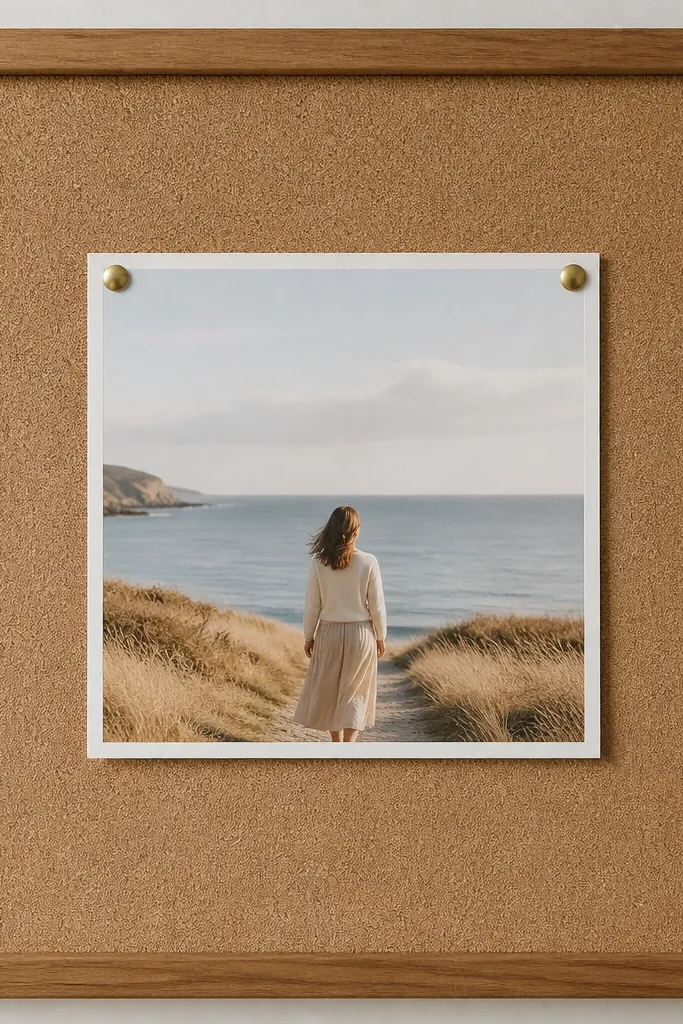
Cork gives you that "creative wall" vibe, and pinned photos feel casual but neat when the border is straight. Brass pins look better than silver when your lighting is warm. This frame is also forgiving - you can adjust the photo after you pin it.
Cut cork to 12x12 and add a 1-inch border frame on top (wood strip or painted MDF). Use double-sided tape or glue to keep the cork flat before mounting. Pin the photo using two pins near opposite corners and add a third only if the print curls.
Pro tipPin through a thin cardstock backing so the photo doesn't bend at the pin holes.
AvoidPinning directly into thin photo paper - it leaves a permanent crease.
6. Pegboard frame with floating photo and binder clips
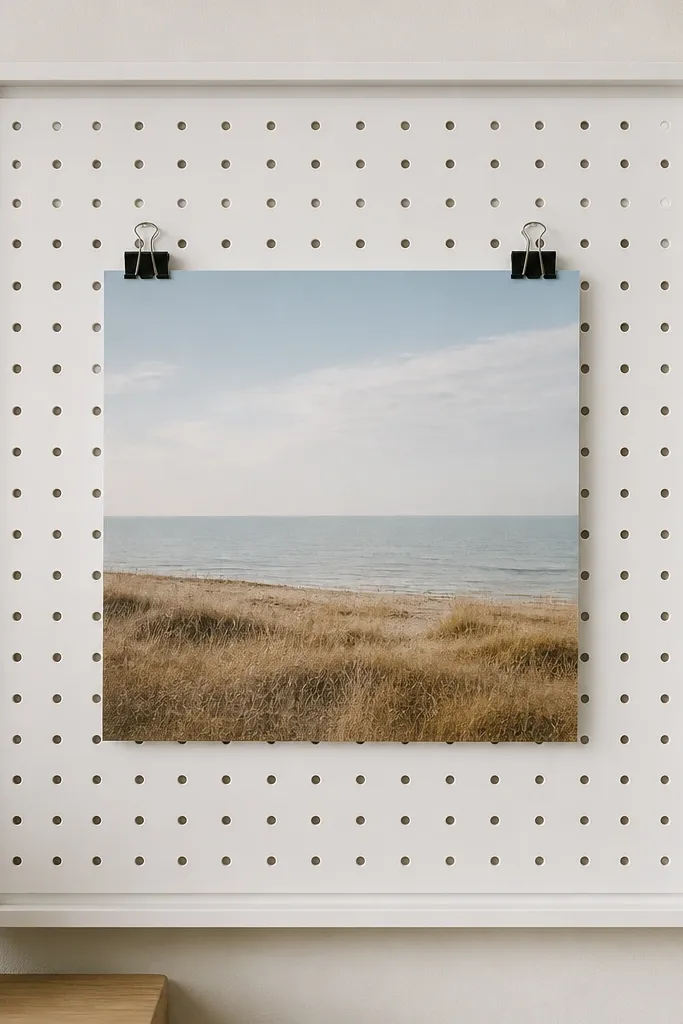
Pegboard makes the photo look like it's suspended. The floating effect is easy to control because binder clips grip the paper firmly. I like this for desks and studios since it feels adjustable and playful.
Use 1/4-inch pegboard cut to 10x10 inside a 12x12 outer frame. Paint pegboard white, then mount it to the back. Place the photo and attach binder clips to the top and bottom edges so it sits centered with a consistent gap.
Pro tipCut two small spacers from craft foam so the photo gap stays 1/4 inch.
AvoidClips too close to the edges - they warp the border and show uneven pressure.
7. Watercolor wash frame with thick gallery border

A watercolor wash makes the frame feel custom without needing fancy techniques. The secret is keeping the wash only on the border area, not the photo opening. I use a thick inner white mat so the color stays airy and doesn't fight the photo.
Build a 12x12 frame with a 2-inch border width. Tape off the photo opening with painter's tape and mask the inner mat area first. Use watercolor or diluted acrylic wash, then let it dry fully before sealing with a clear matte spray.
Pro tipSpray matte sealer in light passes from 12 inches away to prevent streaking.
AvoidSealing before the wash dries - you'll trap wet pigment and get cloudy patches.
8. Monochrome tile frame with grout-look lines
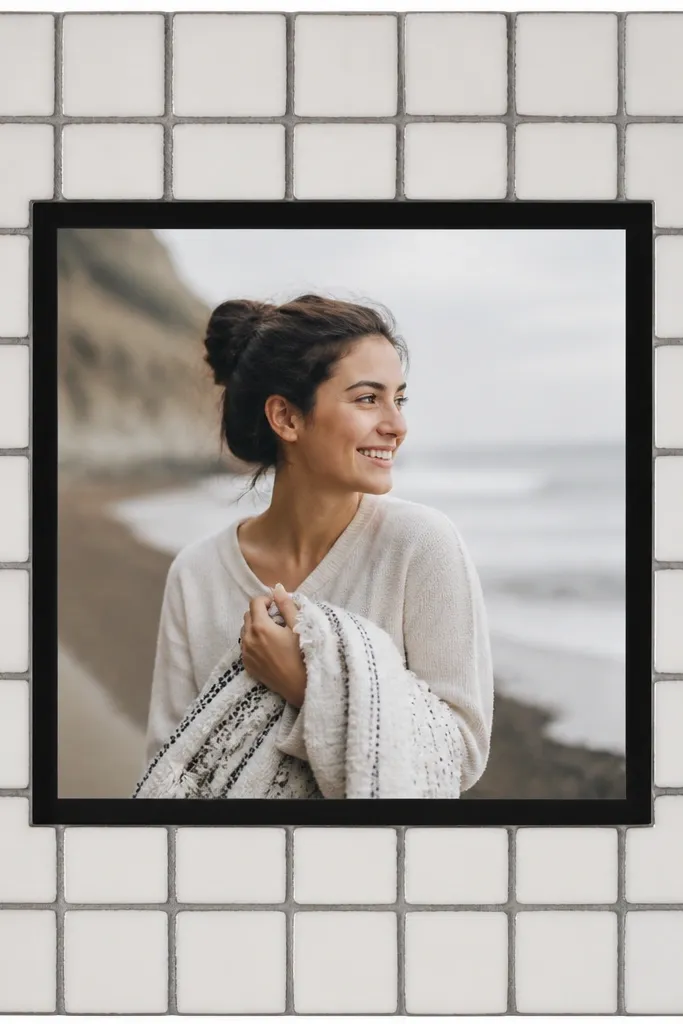
Tile illusion looks expensive when it's simple and consistent. You get that grid structure that makes the photo feel aligned, and the grout-look lines keep the eye moving. I use this when I want a graphic, modern frame without buying actual tile.
Start with a 12x12 foam board base. Apply a thin layer of acrylic paint in charcoal or near-black, then draw tile squares using a ruler and a fine-tip marker. Add a black inner mat opening with the same 1/8-inch smaller rule for the photo size.
Pro tipLightly wipe marker lines with a damp cotton swab to soften harsh edges.
AvoidSkipping a ruler - crooked grout lines scream "craft project."
9. Leather-look frame with corner wraps
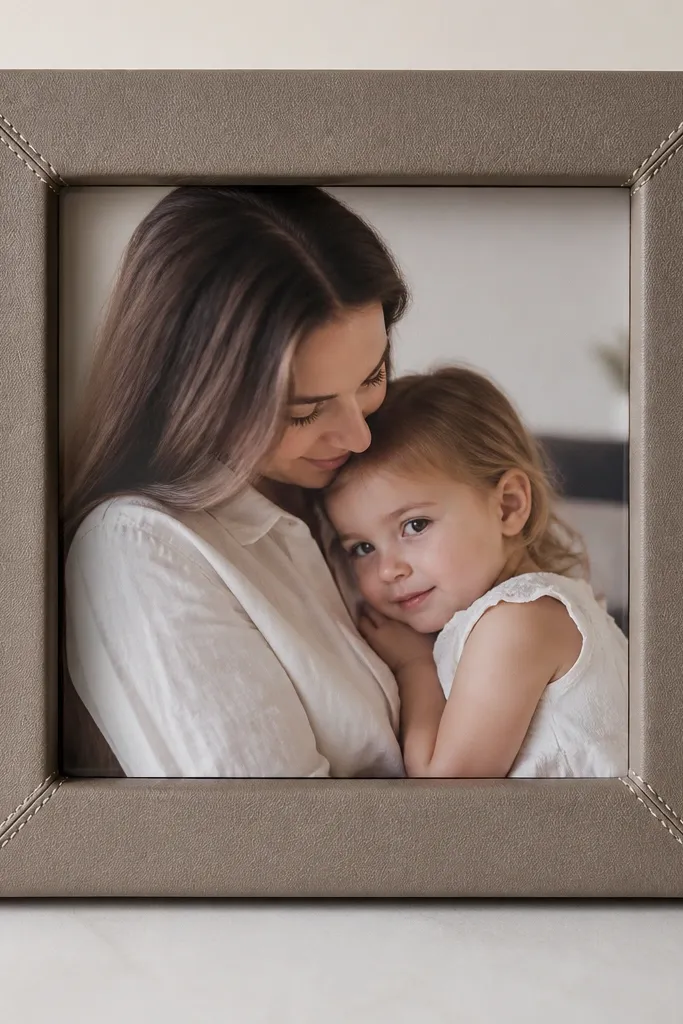
Leather-look materials hide minor edge imperfections because the wrap covers raw cuts. Corner wraps also give you that tailored look even if the border is simple. I use dark brown or black faux leather bonded to thin board for a smooth finish.
Wrap 3/4-inch thick board strips around the frame edges, then glue the faux leather with contact cement or strong craft adhesive. Keep the photo opening 1/8 inch smaller than the print. Add a clear acetate sheet held by small corner tabs so it stays flat.
Pro tipTrim faux leather with a rotary cutter for straight edges.
AvoidUsing fabric glue - it can leave a sticky ridge that shows through the finish.
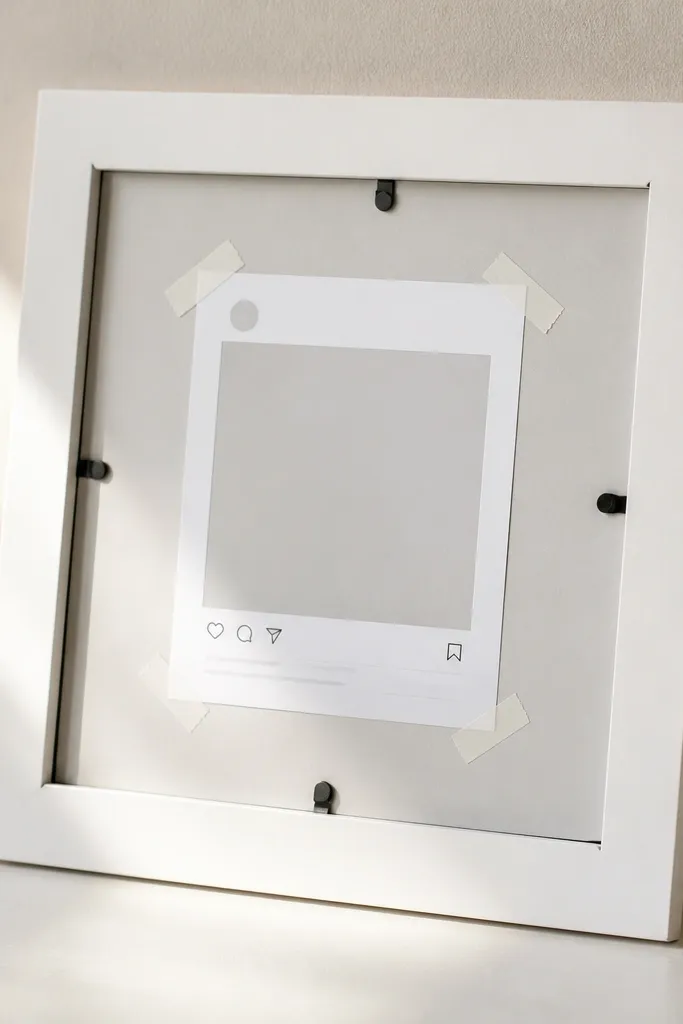
10. Spring clip frame for quick swaps and gallery wall
If you like rotating photos, spring clips are the easiest way to swap prints without re-gluing. The frame still looks crisp because the opening is straight and the clips sit evenly. I use this for mini gallery walls where I change one image per month.
Use a shadow box style with a 1-inch border and a 1/8-inch smaller opening. Install two spring clips per side (top and bottom) so the photo stays centered. Use clear acrylic or polycarbonate as the cover, secured with corner screws or a back panel.
Pro tipMark clip positions with painter's tape before screwing so they line up perfectly across frames.
AvoidOver-tightening screws - it cracks thin plastic covers.
11. Matte white frame with micro-bead trim border
Micro-bead trim creates a subtle shadow line that makes the photo look layered. Matte white keeps the piece bright and makes skin tones and prints look natural. I like it for family photos because it reads clean without feeling sterile.
Build a 12x12 frame from wood or MDF, paint matte white, and glue micro-bead trim around the inner opening. Keep the trim thickness in mind so your photo opening stays 1/8 inch smaller than the print. Mount the photo on cardstock to create a 1/8 to 1/4 inch shadow gap.
Pro tipUse hot glue for the trim only if you can work fast - test on a scrap first to avoid stringy edges.
AvoidSkipping a shadow gap - flat prints look pasted on.
12. Gold foil border with black photo mat
Gold foil looks best when you keep the rest of the frame quiet. The black mat gives the foil a clean contrast and keeps the photo from blending into a light border. I use gold foil for frames that hang where the light hits at an angle, like above a console.
Cut a 12x12 board base, then apply a black mat layer around the photo opening. Add a 1/4-inch gold foil strip on top of the mat border using foil transfer adhesive. Seal the foil with a clear matte topcoat to stop fingerprints and smudging.
Pro tipPress foil with a brayer or a clean foam roller for full contact.
AvoidTrying to foil over rough sandpaper - it tears the surface and looks patchy.
13. Pressed flower frame with clear front and kraft backing
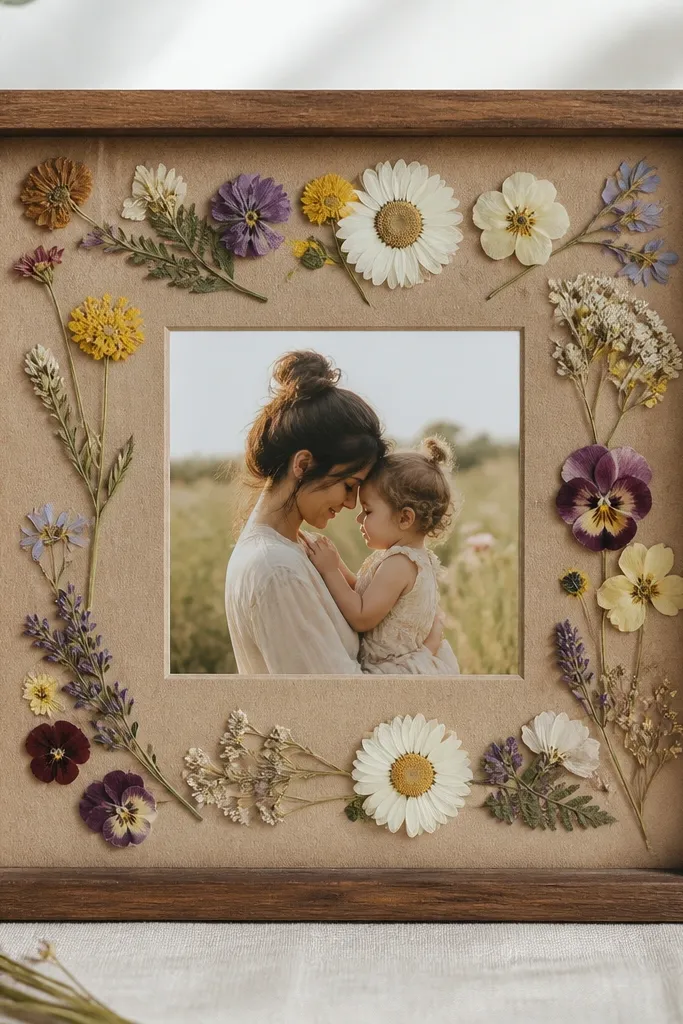
Pressed flowers add a personal touch without cluttering the photo area. Kraft backing makes the botanicals look warmer, and the clear cover keeps everything flat. I keep the florals in the border band so the photo stays the main subject.
Use a 12x12 frame and design the opening for a 4x4 photo. Arrange pressed flowers on a kraft paper strip around the photo, then seal them with thin matte gel medium. Mount the photo on a cardstock backing and secure with a clear acrylic cover.
Pro tipPress flowers between parchment and heavy books for 10-14 days for flatter results.
AvoidOverloading the border with thick petals - they create bumps under the cover.
14. Hanging rope Instagram frame with macramé-style knots

Hanging rope changes the whole vibe because the frame looks like decor, not a picture. The knots give a handmade texture, and the rope also lets you adjust height. I use this style in a hallway where you want photos at a slightly higher, "gallery wall" feel.
Build a 12x12 frame with a simple border and attach two rope loops to the back corners. Use a half-hitch or simple square knot pattern so the rope sits straight. Keep the rope tension even so the frame doesn't tilt - measure the distance from the top of the frame to the knot on both sides.
Pro tipUse a small level app on your phone to set the final hanging position before tightening.
AvoidUsing stretchy rope - the frame drops after a day.
15. Assorted postcard collage frame with Instagram-style grid
A grid collage looks Instagram-ready because it repeats spacing like a feed layout. It also lets you use older prints that aren't the same size, which saves money. I keep one "hero" photo centered and place smaller postcards around it with consistent gaps.
Use a 16x16 outer frame for a more forgiving grid. Cut a central opening for a 4x4 photo, then add four smaller postcard windows around it with 1/4-inch spacing. Mount everything on one backing board so the paper edges sit flat and aligned.
Pro tipCut a paper spacing template out of cardstock so every gap matches across the frame.
AvoidMixing photo sizes with no spacing rule - it turns into a messy collage fast.


