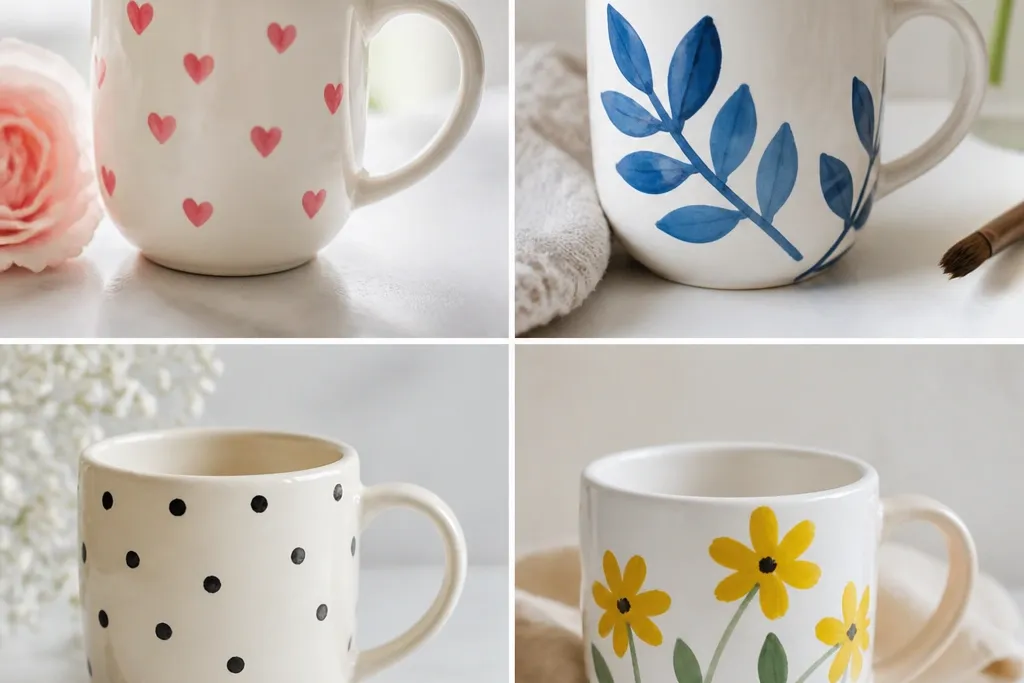
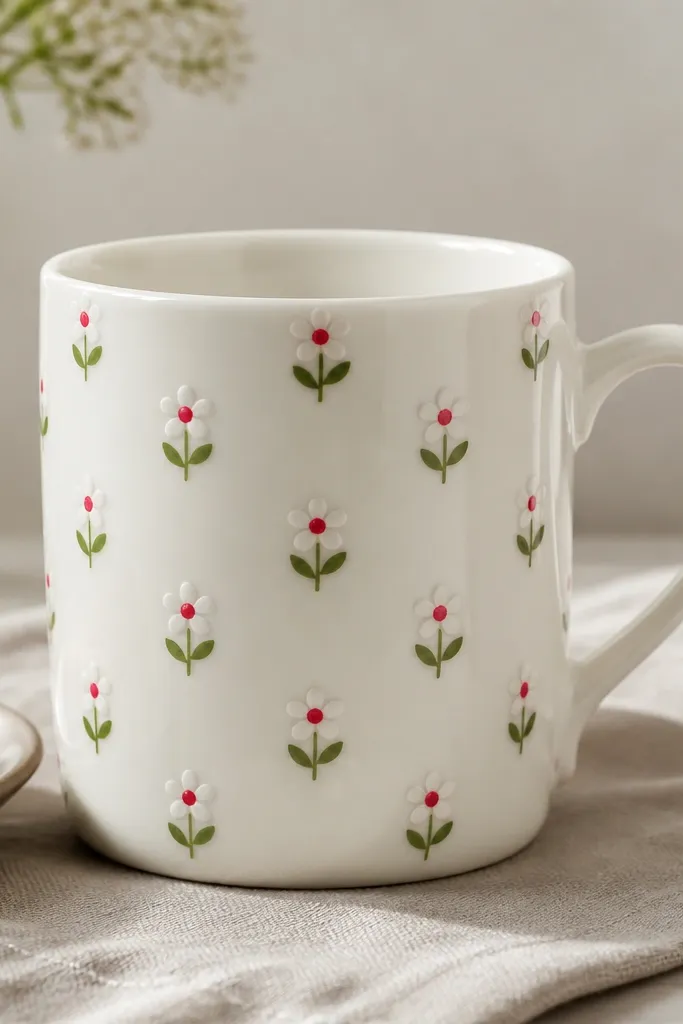
1. Five-Minute Daisy Dot Cluster
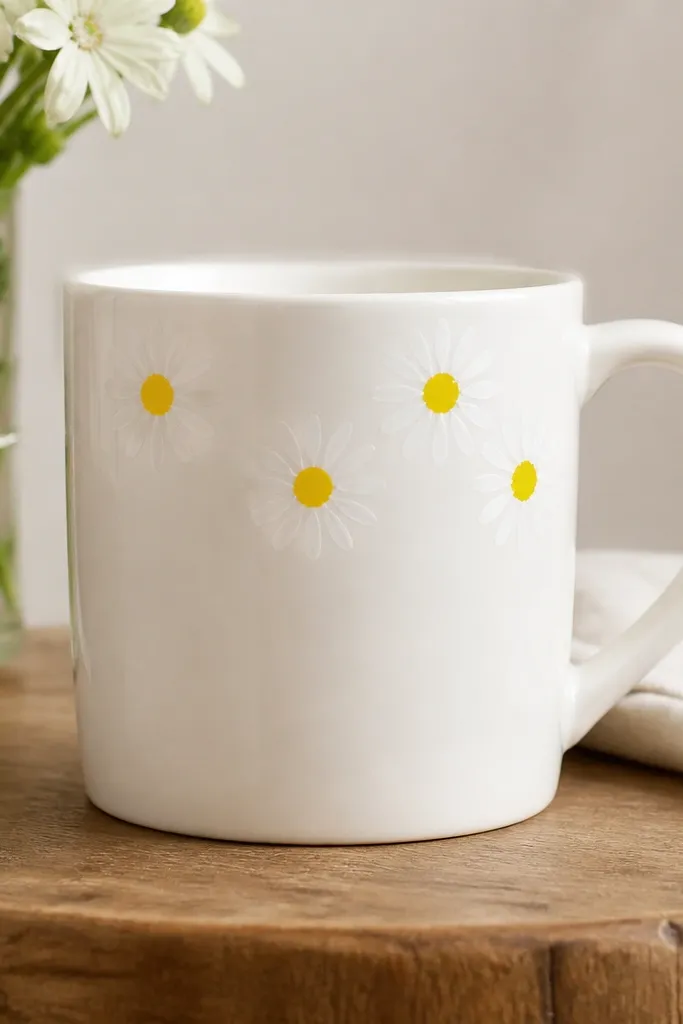
This design is fast because every daisy uses the same shapes: a yellow center and a ring of white petals. The slight gaps between petals make it look airy instead of like a sticker. It works especially well on a white mug because the petals read clearly without extra coats.
Paint one yellow dot for the first center, then add 10-12 white petal dots around it. Repeat four more times, keeping all centers on a gentle curve so the cluster looks intentional. Use a fine-tip paint marker for centers and a dotting tool or toothpick for petals.
Pro tipPress the toothpick lightly for petal edges; heavy pressure makes petals look round and blob-like. Let the centers dry for 2-3 minutes before adding petals if you're using acrylic.
AvoidDon't paint the yellow center over wet white petals - it turns the middle orange and messy.
2. Single Rosebud on a Vertical Stem
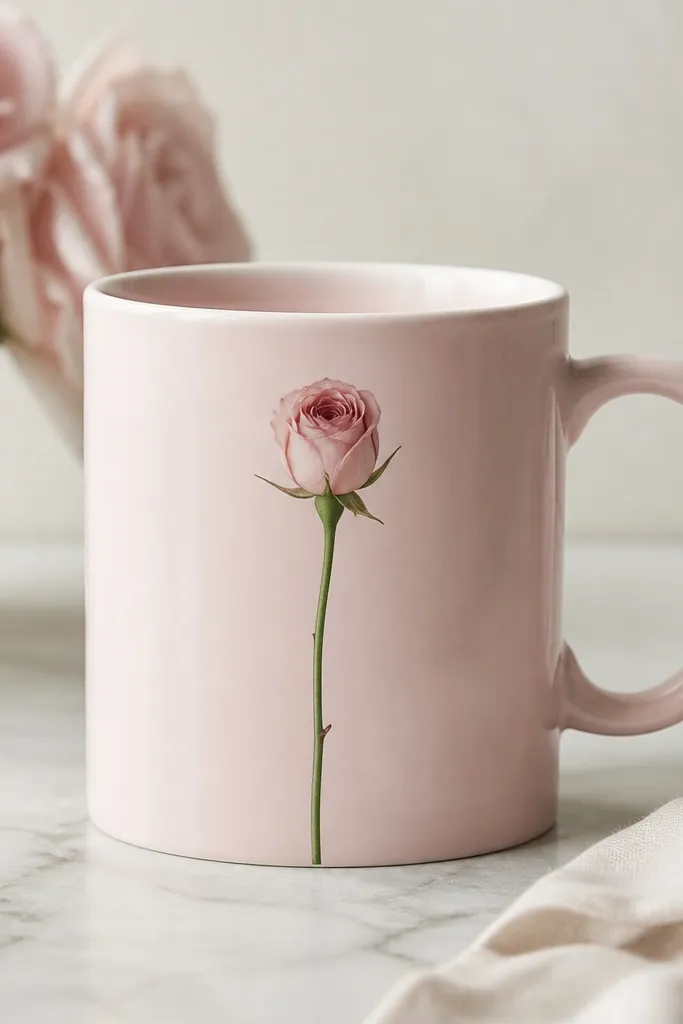
One rosebud looks fancy because the composition is simple and tall. The vertical stem gives structure and makes the flower feel "placed," not scattered. Using two pink tones for petals makes the rosebud look dimensional without blending.
Draw a stem line from bottom to near the handle using green paint. For the rosebud, paint five rounded petal shapes in a lighter pink, then add two small petals in darker pink on top of the center. Add one tiny leaf on the stem about halfway up.
Pro tipMake the rosebud slightly off-center toward the handle side; it frames the handle and looks balanced.
AvoidDon't use one flat pink for every petal - it looks like a dot, not a bud.
3. Lemon-Butter Tulip Stripe Flowers
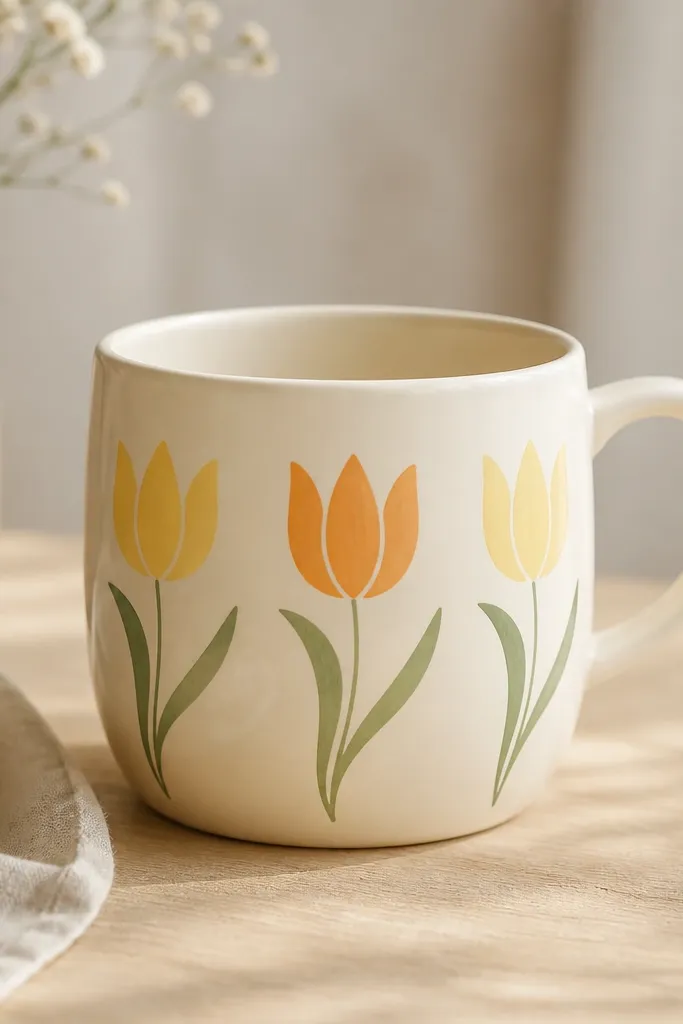
Tulips read well even when you paint them quickly because their shape is basically a pointed oval with a fold line. Stripe petals add interest without needing shading. The green stem ties the whole row together and keeps it from looking like random marks.
Paint three stems in green, then fill each tulip with two colors: a lighter yellow base and an orange stripe down the center. Add two tiny leaf strokes at the bottom of each tulip. Keep the tulip height consistent so the row looks tidy.
Pro tipUse the brush edge to pull the stripe line; it gives a natural taper instead of a thick band.
AvoidAvoid painting tulip outlines too thick - heavy outlines make it look like a child's craft.
4. Watercolor-Look Floral Wash (No Wet-on-Wet Chaos)

You get the watercolor vibe by layering diluted paint and letting it dry between layers. Feathered edges make the mug look artistic without requiring true brush blending. This works great for calming colors like periwinkle and lavender.
Mix your blue and lavender acrylic with water until it's like tinted milk. Paint two or three petal shapes per flower, let dry 2-3 minutes, then add a second lighter layer to deepen the center. Finish with a tiny dot center in warm yellow or muted gold.
Pro tipUse a dry brush technique: load a brush lightly, wipe most off, then tap petals for that speckled watercolor edge.
AvoidDon't flood the mug with water-thin paint - it can crawl and leave patchy rings.
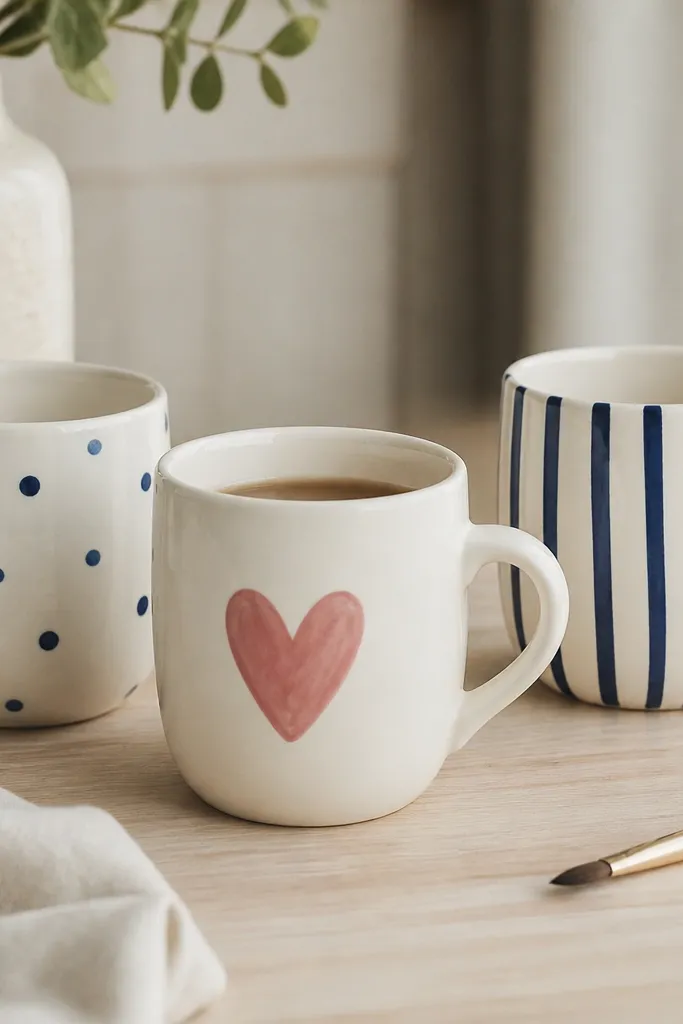
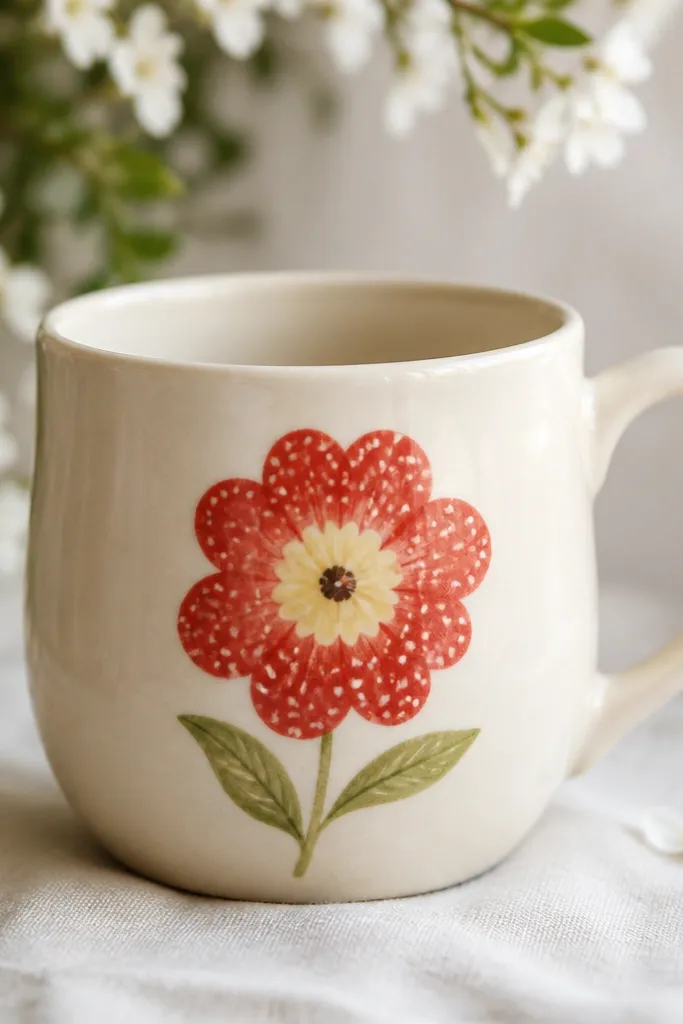
5. Tiny Heart-Petal Blossoms
Heart petals are forgiving because the shape covers small hand wobble. When you repeat them in a grid-like arc, it looks intentional and decorative. The contrasting centers pull the whole pattern together instantly.
Paint four small heart shapes around a center dot for each bloom. Space blooms about 1 inch apart around the mug's side, keeping the arc aligned from near the handle to the opposite side. Add one short green leaf stroke beside every other flower.
Pro tipUse a toothpick to place the center dot exactly - it keeps the symmetry.
AvoidSkipping spacing - if flowers crowd, the hearts merge and the design turns into a single blob.
6. Monochrome Black Flower with Gold Center
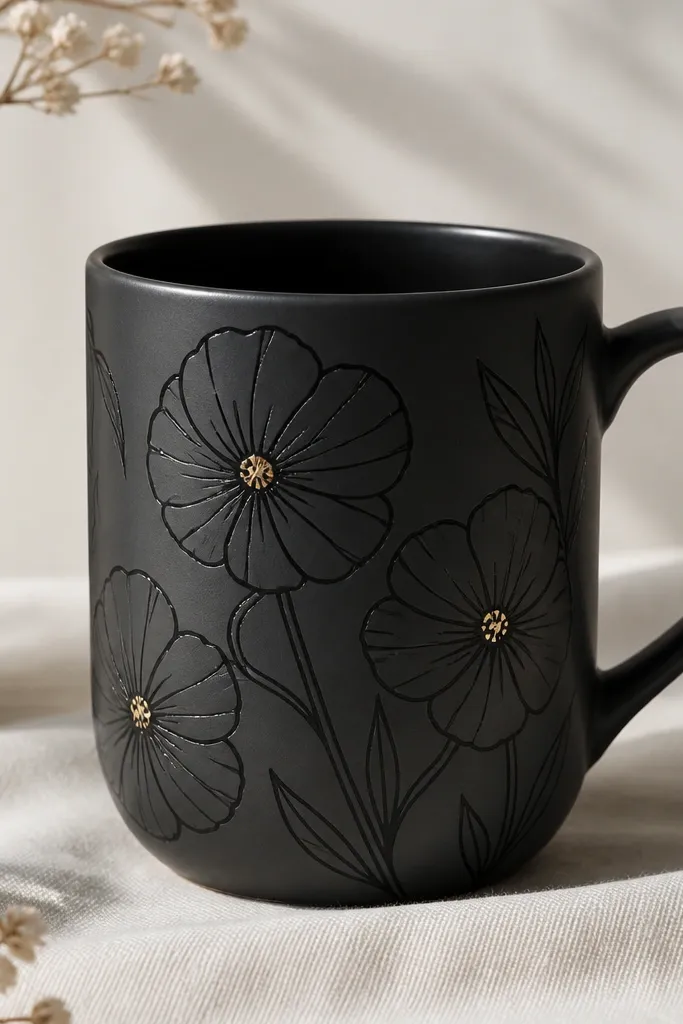
This looks sleek because it's mostly one color with one bright accent. Black linework stays sharp even on dark mugs, and gold centers add a "jewelry" effect. You don't need a lot of flowers; 3-5 blooms look classy.
Use a fine paint marker or liner brush for petals in black. Make each flower two layers: six petals in a ring, then add three inner petals slightly smaller. Place one gold dot in the middle of each flower using metallic paint.
Pro tipLet black linework dry fully before touching gold - metallic paint can smear if the lines are still tacky.
AvoidDon't use metallic paint for the petals - it looks grainy and cheap compared to matte black.
7. Sunflower Corner Frame

Corner framing makes a mug feel styled, not decorated. Sunflower centers are easy: a dark brown dot with short strokes around it. Orange petals with a few uneven edges look natural and not overly perfect.
Paint one sunflower near the bottom side, about 1.5 inches above the base. Add 12-16 orange petals around a dark brown center, then add tiny brown dashes on the center for texture. Add two green leaf strokes and one small orange swirl beside it.
Pro tipFor the center texture, drag a toothpick through wet brown paint in a few tiny lines.
AvoidDon't make every petal identical - natural sunflowers have uneven lengths.
8. Pastel Blossom Garland Across the Handle Side
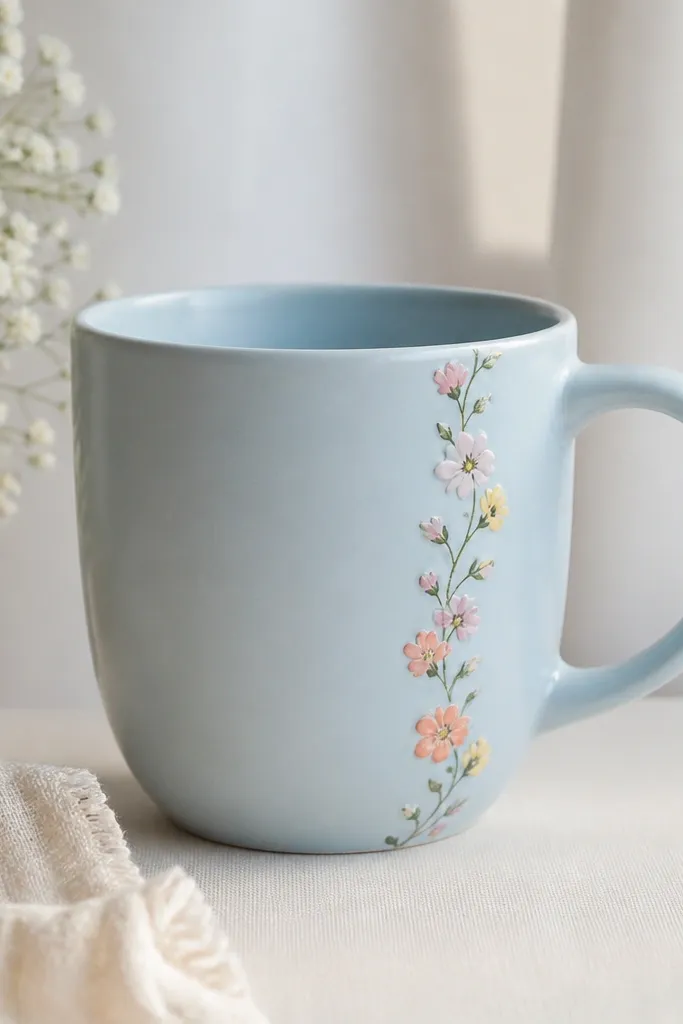
A garland reads like decoration because it follows a path. The handle side is a great placement since the curve creates a natural "string" effect. Pastels look soft and clean when you keep the stems thin and the petals small.
Draw a thin green line from near the top to mid-mug, then add small five-petal blossoms every 1 inch. Use three pastel colors for petals, but keep centers the same color (warm yellow). Add one leaf per two flowers.
Pro tipUse the same brush angle for every stem stroke so the line stays consistent.
AvoidDon't thicken the stems after you finish - thick stems make the whole garland feel heavy.
9. Cherry Blossom Branch with Three Blooms
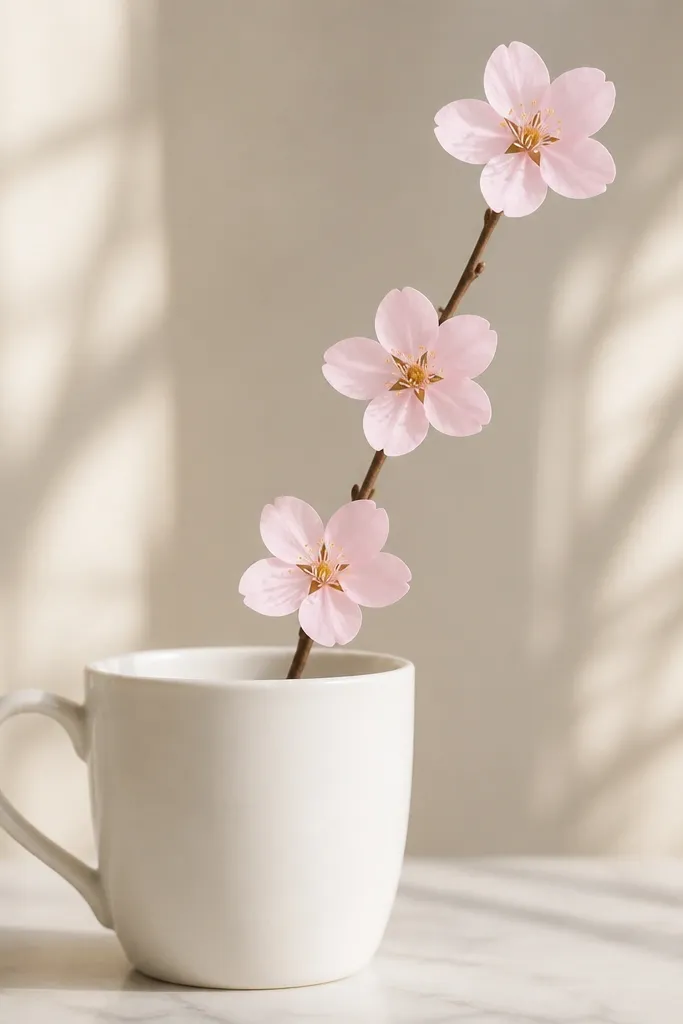
Cherry blossoms look delicate even when painted fast. The branch line does most of the work; the blooms just need simple petal shapes. Using pale pink keeps it airy and springy without becoming childish.
Paint one brown branch line with a slight S curve. Add three blossoms spaced along the branch: each flower is five teardrop petals around a tiny yellow dot. Add a few short twig lines off the branch for realism.
Pro tipFor petals, drag the brush tip to make a point at the end. It makes the flower look like a blossom, not a circle.
AvoidDon't make the branch too dark and thick - thin brown line looks more natural.
10. Five-Petal Flower with Dot-Row Petal Tips
This trick makes quick flowers look "finished." The dot tips add a pattern detail that hides imperfect petal edges. It also gives a playful, handmade look that still reads as intentional.
Paint five small petal blobs in pink or coral around an orange center dot. Then place one tiny lighter-pink dot at the tip of each petal using a toothpick. Make 6-8 flowers around the mug in a loose band.
Pro tipMix a lighter version of your petal color by adding white to your paint marker color so dot tips pop.
AvoidDon't skip the dot tips if you're using uneven petals - that detail is what makes the design look deliberate.
11. Green Leaf + White Daisy Border
A rim border frames the mug and makes it look like it belongs on a shelf. Leaves and daisies together create movement without needing shading. Because it's a repeating pattern, you can paint it in a steady rhythm.
Start with a thin green line around the rim area. Add a leaf shape (two strokes meeting in a point) then a tiny daisy (yellow center + 8 white petals) repeating along the band. Keep the daisies small, about the size of a dime.
Pro tipUse a paper template for the leaf point - I trace a leaf punch shape once, then replicate with the brush tip.
AvoidDon't paint the border too high - if it sits too close to the drinking lip, it feels cramped.
12. Rose Window Flower Stencil Look
Stenciled petal segments make a flower look complex without complex painting. You get crisp edges, and the repeating wedges hide small brush slips. It's a great option when you want symmetry fast.
Use a paper stencil with a rosette pattern (or trace one from a craft store stencil set). Paint petals in alternating pink and light purple. Add a dark center ring, then a few tiny highlights in white on two or three wedges.
Pro tipHold the stencil flat with painter's tape so paint doesn't bleed under the edges.
AvoidDon't use too much paint on the stencil - thick paint seeps and ruins the clean wedge lines.
13. Lavender Sprig with Three Buds
Lavender sprigs look elegant because buds stack in a vertical line. You only need three buds to make the idea clear. Purple buds with tiny green leaves read as a sprig, even when painted quickly.
Draw a thin curved stem in green or sage. Add three bud clusters along it: tiny purple ovals with a slightly darker purple dot at one end. Add one small leaf stroke near the bottom bud.
Pro tipUse the brush tip straight down to place buds - that keeps them rounded instead of stretched.
AvoidAvoid overcrowding buds - if buds touch, the sprig becomes a purple smear.
14. Blue Forget-Me-Not Scatter
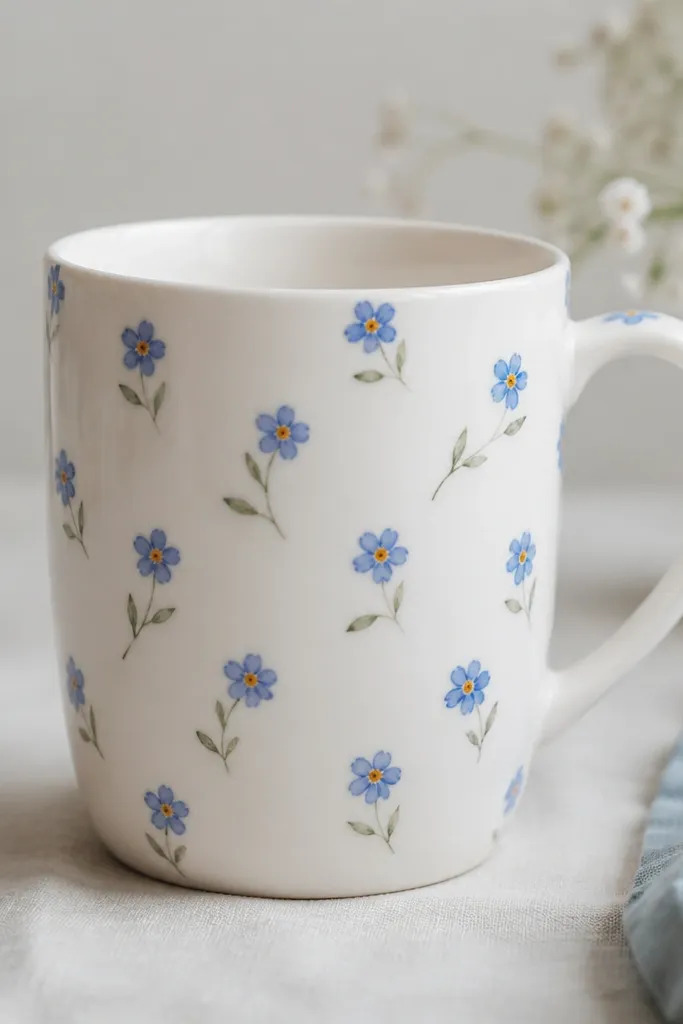
Forget-me-nots look cute because they're tiny and repetitive. The yellow centers create instant contrast. This is one of the fastest styles because each flower is a simple five-petal pattern.
Paint five small blue petals around a yellow dot for each flower. Add a tiny green stem line for every other bloom so it doesn't look random. Scatter 10-12 flowers across the mug in a loose cluster near the handle.
Pro tipMake petals slightly uneven in size; perfect circles look fake at this scale.
AvoidDon't use a large brush for tiny flowers - you'll lose the petal points.
15. Peony Blobs with One Center Swirl
Peonies are forgiving because they're layered and fluffy. You don't need every petal detail; rounded blobs create the full flower mass. The center swirl adds the "peony" identity quickly.
Paint one big circular cluster of rounded petals in blush, then layer a few coral blobs over it. For the center, drag a thin darker pink line in a spiral using a toothpick. Add small green leaf strokes on one side.
Pro tipLet the outer petal blobs dry before adding the center swirl so it stays crisp.
AvoidAvoid painting the center too wide - a huge center makes the flower look like a lollipop.
16. Sunset Gradient Flowers with Warm Centers
Gradient petals look advanced, but you can fake it fast by layering colors while each petal is still wet. The warm center with a tiny gold dot makes the flower feel lit. This style looks amazing against a plain white mug.
Paint a petal base in peach, then while it's still tacky, add a thin orange line near the outer edge. Add a coral edge on just two petals. Center: dark brown dot plus a tiny gold dot in the top half.
Pro tipDo one flower at a time so you're not racing the drying time.
AvoidDon't overwork the gradient - too much blending turns petals muddy.
17. Green Vines with Tiny Five-Petal Flowers
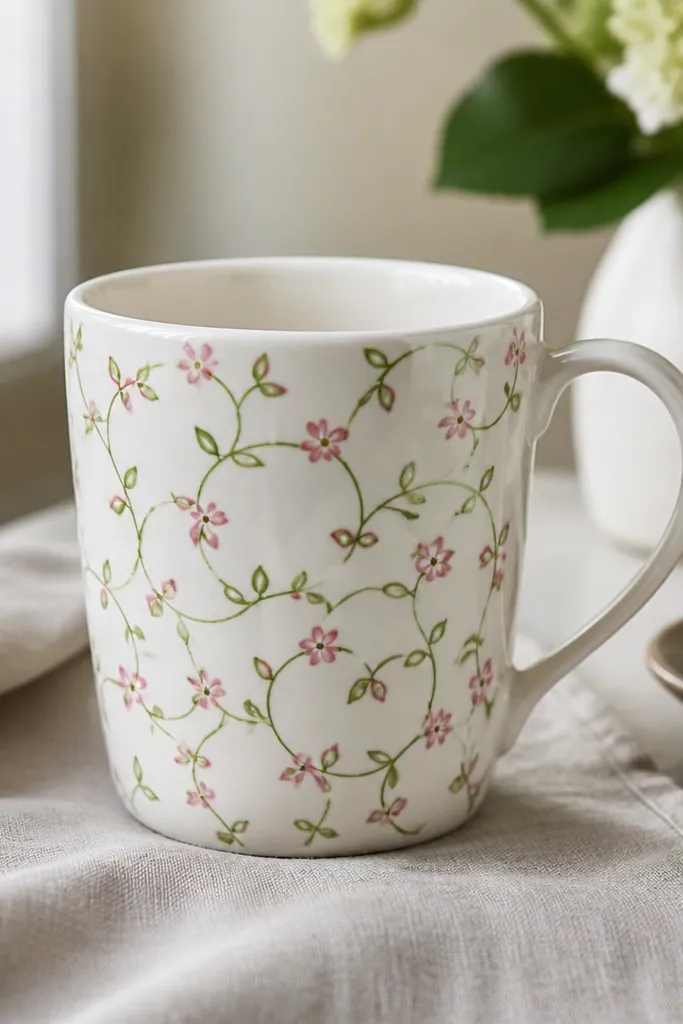
Vines make the whole mug feel like a themed pattern, even when each flower is tiny. The loops guide your eye and hide the fact that you're painting fast. Keep leaves small and consistent so it reads as a garden.
Draw a looping vine line around the mug in green. At intervals, paint tiny five-petal flowers (pink petals, yellow centers) and add one or two small leaf pairs. Keep flower size under a dime.
Pro tipUse a toothpick to clean up vine edges - it sharpens the line where paint bleeds.
AvoidAvoid thick vines - they overpower the tiny flowers and make it look crowded.
18. Polka Dot Petal Flowers with Center Ring
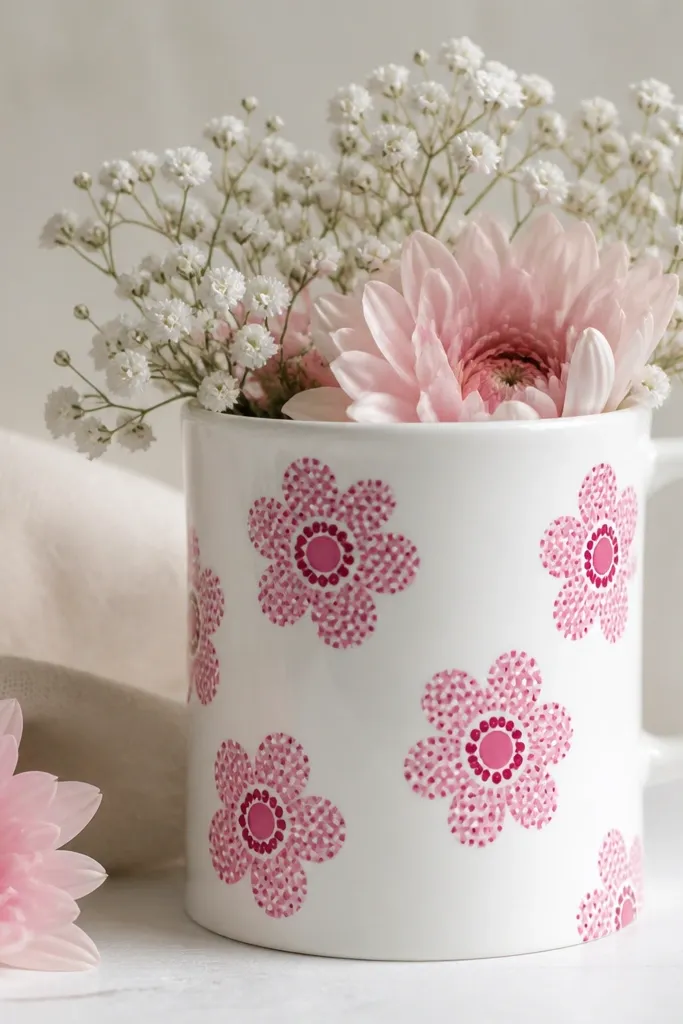
Dotted petals hide shaky brush control and add texture instantly. The center ring makes the flower pop even from across the room. This looks playful and clean, especially when the rest of the mug is blank.
Paint five petal shapes in light pink. While they're still a little tacky, dab tiny magenta dots along each petal edge. Add a magenta center ring (a circle) and a small yellow dot in the middle.
Pro tipUse the eraser end of a pencil as a dot tool for even spacing.
AvoidDon't use too many dot colors - two colors max keeps it crisp.
19. Terracotta Pot Flower Scene
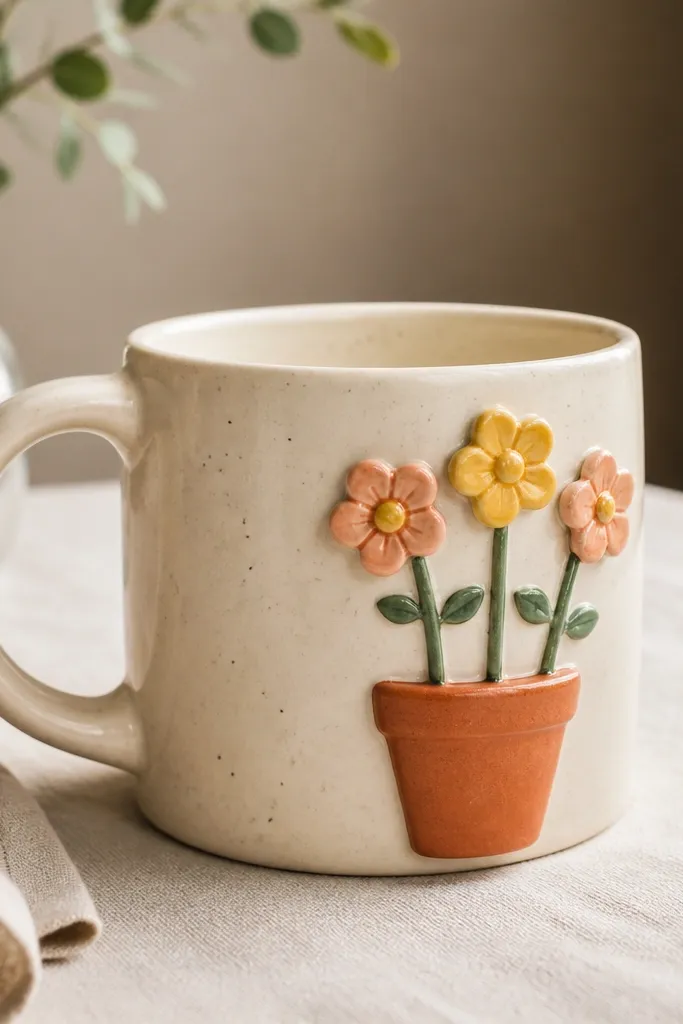
A pot scene makes a mug feel like a tiny still life. You only need three stems and three flowers to sell the idea. Terracotta on the mug side looks warm and cozy, and it balances bright petals.
Paint a simple pot shape: a rounded rectangle with a darker terracotta rim and a couple of horizontal lines for texture. Add three stems rising from the pot, then paint one flower per stem. Use peach petals with yellow centers and small green leaves at the stem base.
Pro tipAdd a tiny highlight line on the pot rim in lighter terracotta so it looks glazed.
AvoidAvoid drawing the pot too tall - keep it about 1.5 inches high so flowers have room above.
20. Minimal Line Flower with One Shaded Petal
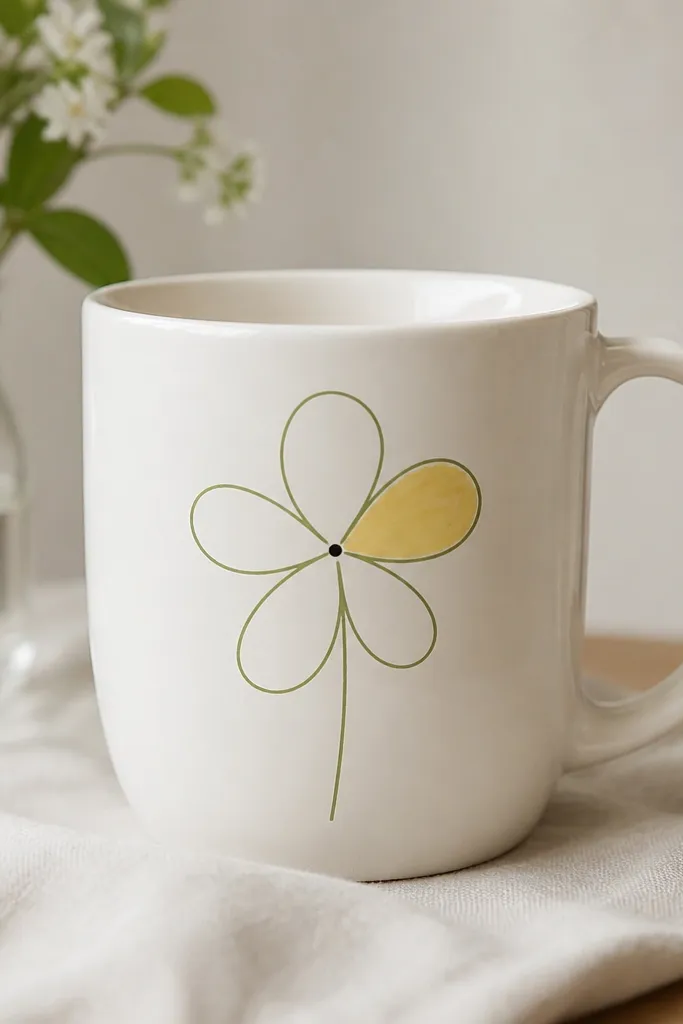
Minimal linework looks expensive when it stays thin. Shading only one petal gives contrast without needing full coloring. This design is great if you like clean, modern decor.
Use a fine brush or paint marker to outline five petals in green. Fill only one petal with a light yellow wash or a single solid stroke. Add a small black center dot and one tiny leaf stroke near the bottom.
Pro tipKeep line thickness consistent by reloading the brush at the same spot each time.
AvoidDon't overfill petals - minimal flowers look best when most of the mug stays visible.
21. Sunburst Daisy with Orange Petal Rays
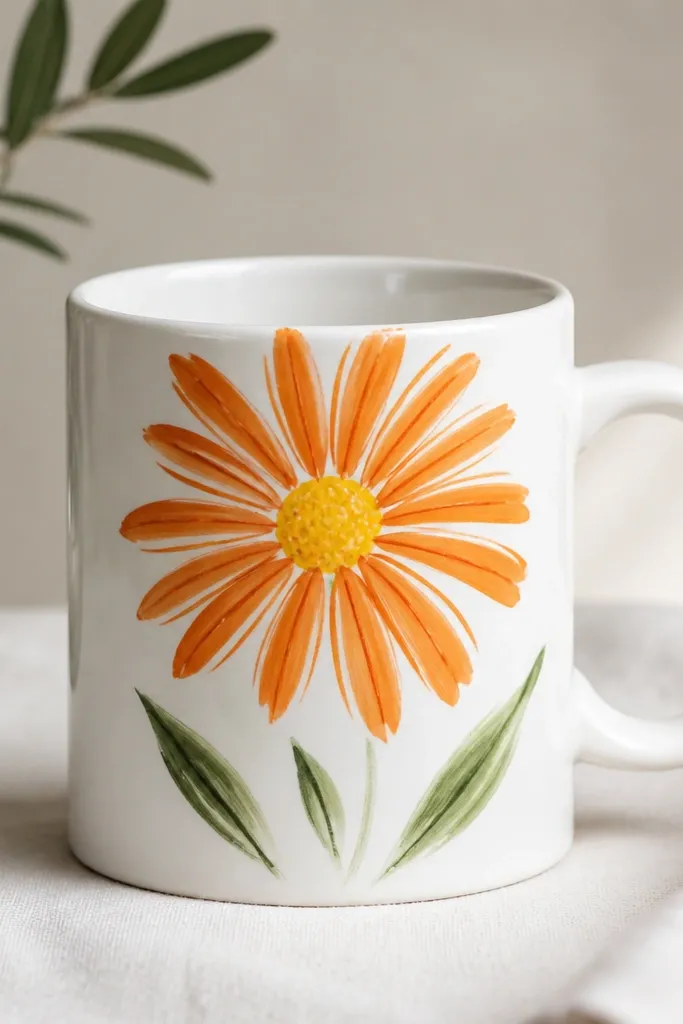
A sunburst daisy makes a statement without complicated shading. Orange rays create energy, while the yellow center anchors it. It's a good choice when you want one hero flower instead of many small ones.
Paint one big yellow center dot. Add 18-22 orange petal rays by pulling short brush strokes outward. Add two or three green leaves below the daisy, angled differently so it doesn't look flat.
Pro tipUse a ruler edge to lightly mark where the rays start, then paint over the marks.
AvoidAvoid uneven spacing - if rays clump, the sunburst loses its crisp look.
22. Strawberry Bloom Flower (Red Petals, White Speckles)
This one looks playful because of the speckles. The white dots on red petals mimic strawberry seeds and hide small brush imperfections. Keep the center small and light so the petals stay the star.
Paint five red petals around a pale yellow center. Add tiny white speckles across each petal using a toothpick tip. Finish with a small darker dot at the center and one green leaf stroke at the base.
Pro tipDo speckles in two passes: first place bigger dots, then smaller ones. It looks layered instead of random.
AvoidDon't use pure white speckles everywhere - mix a slightly off-white if your paint looks chalky.
23. Green-and-White Hydrangea Bubble Clusters
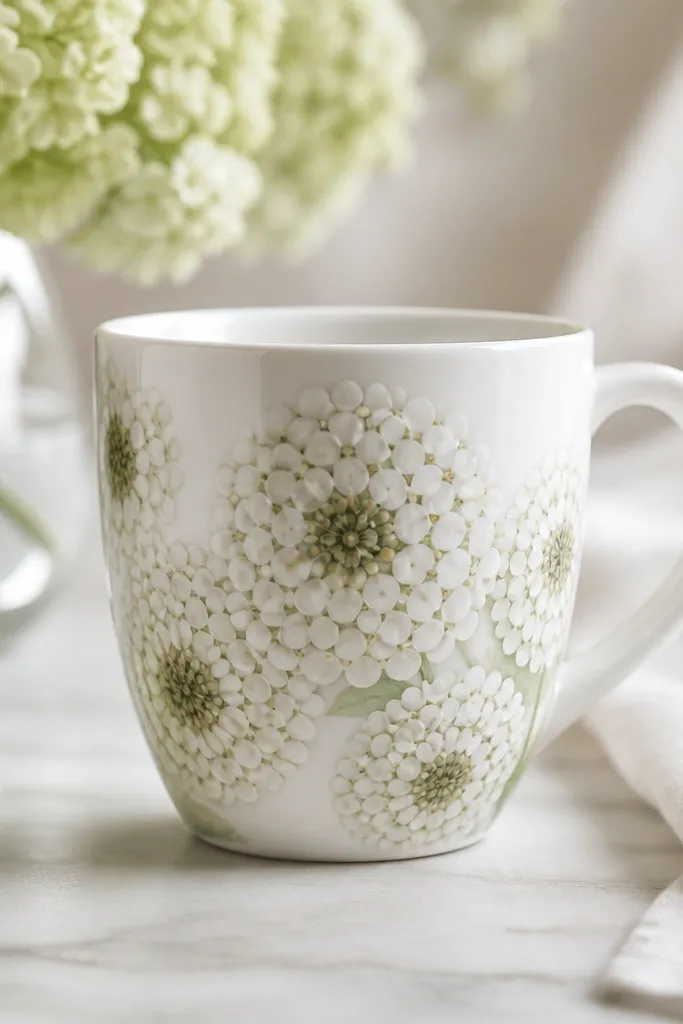
Hydrangeas are made of tiny blooms, so dotting is exactly the right technique. This design looks full even when it's quick because the "bubble" clusters create volume. The pale green variation keeps it from looking like plain daisies.
Paint a cluster of small circles in off-white and pale green on one side of the mug. Make one cluster bigger, about 2 inches wide, and a second smaller cluster below it. Add a light gray or muted blue tint in the center area using a few extra dots.
Pro tipUse a sponge-tipped applicator for circles; it gives a textured look without brush streaks.
AvoidAvoid large circles - big dots make it look like confetti instead of flower clusters.
24. Pressed Flower Look with One Leaf Shape
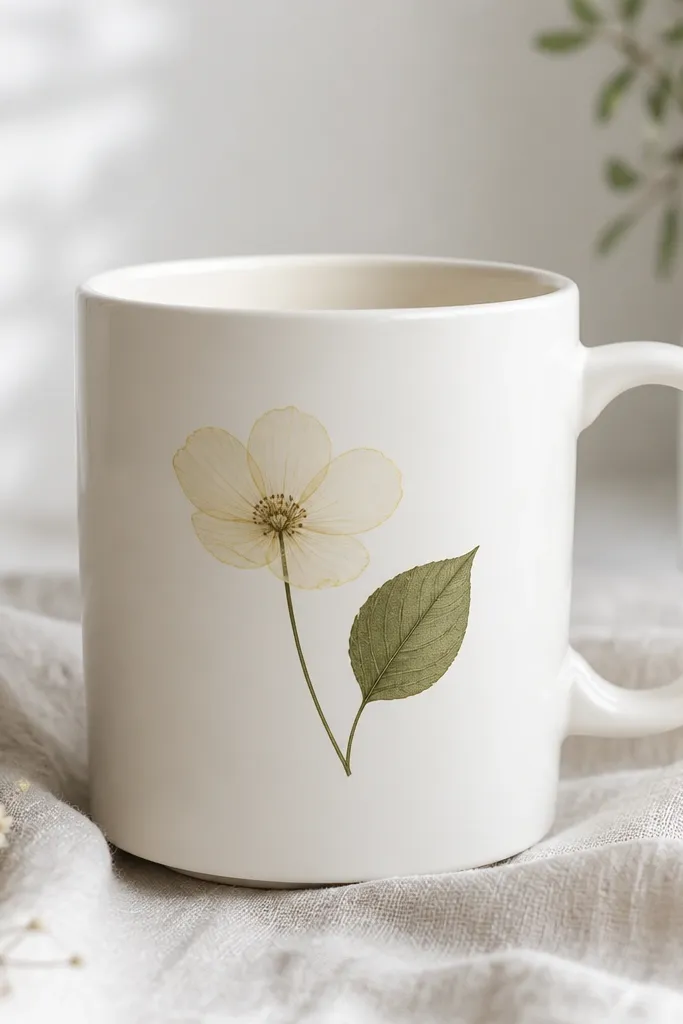
A pressed-flower look feels artsy without needing real dried plants on your mug. Outline plus one leaf shape gives the impression of something natural and delicate. The pale yellow flower outline is subtle and looks good even on busy kitchens.
Outline a five-petal flower in pale yellow or light tan. Add one leaf silhouette in green and draw a few vein lines with a toothpick or fine brush. Keep the design to one main flower and one leaf so it reads clearly.
Pro tipAdd two tiny "stems" lines from the leaf base to the flower to connect the scene.
AvoidDon't outline everything - one flower and one leaf looks intentional; multiple outlines look chaotic.
25. Butterfly Wing Flower Accent
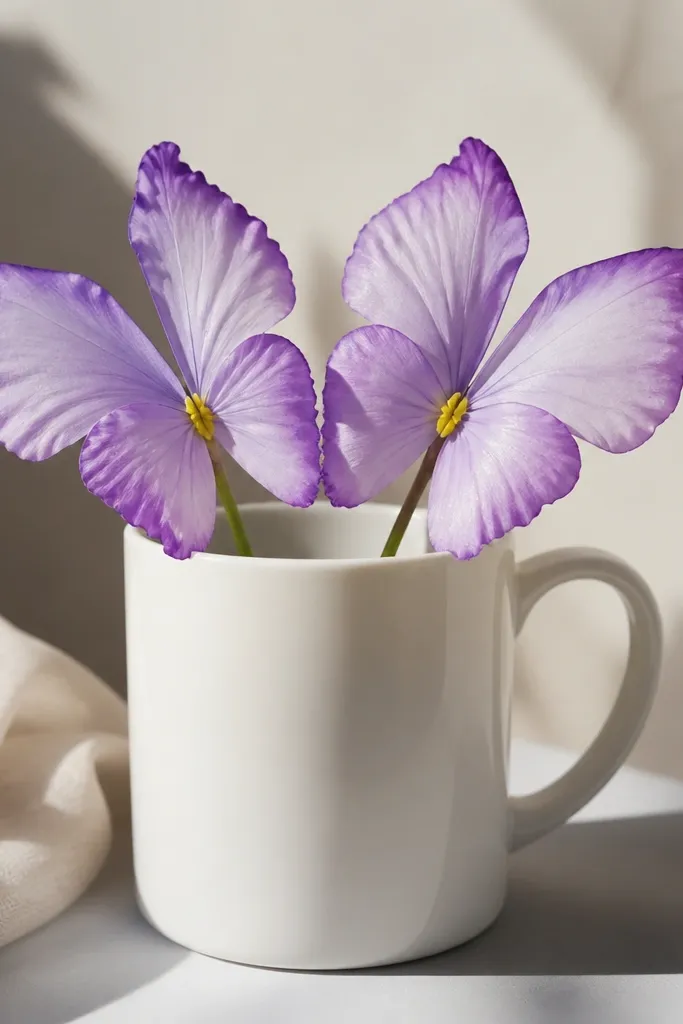
Turning petals into wing shapes makes the flower feel whimsical. The darker edge gives a framed look, like stained glass. It's quick because you're repeating the same wing petal twice per flower.
Paint two wing-like petal shapes mirrored around a center dot. Use lavender for the main petal and add a thin darker purple outline along the outer curve. Make two flowers total, one near the handle and one on the opposite side.
Pro tipUse a very light touch for the dark edge line; if it's too thick, it looks like a sticker border.
AvoidAvoid using only pastel with no contrast - you need that darker edge to make it readable.


