
1. Cracked-to-Glossy: the "bake + seal" rescue bracelet
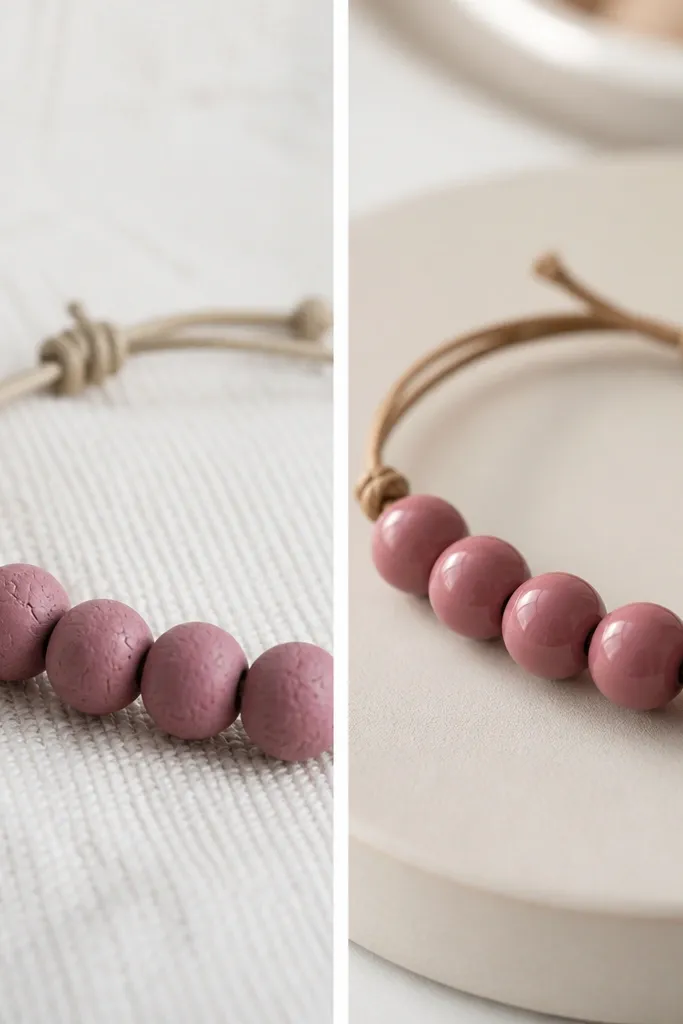
This before after clay bead bracelet idea fixes the two causes of early cracking I've seen most - under-baking and skipping a proper seal. The before version looks chalky and breaks at the bead edge where the string pulls hardest. The after version has a glassy top coat that seals micro-scratches from sanding, so the beads feel smooth and look uniform even under daylight.
Bake your polymer clay beads according to the package directions, not the "looks done" guess. After baking, sand with 600-grit to knock down seams, then wipe with a dry microfiber cloth. Seal with 2-3 thin coats, letting each coat dry fully, then add one extra light coat only if you want a deeper shine. Assemble with elastic stretch cord so the bracelet flexes without yanking the holes.
Pro tipDo a quick hole test before sealing: string 3-4 beads and check that they sit flat on the cord without wobbling.
AvoidDon't seal over dusty beads - you'll get a rough, pebbly finish that chips at the edges.
2. Mold-Seam to Smooth: sanding direction makes a difference
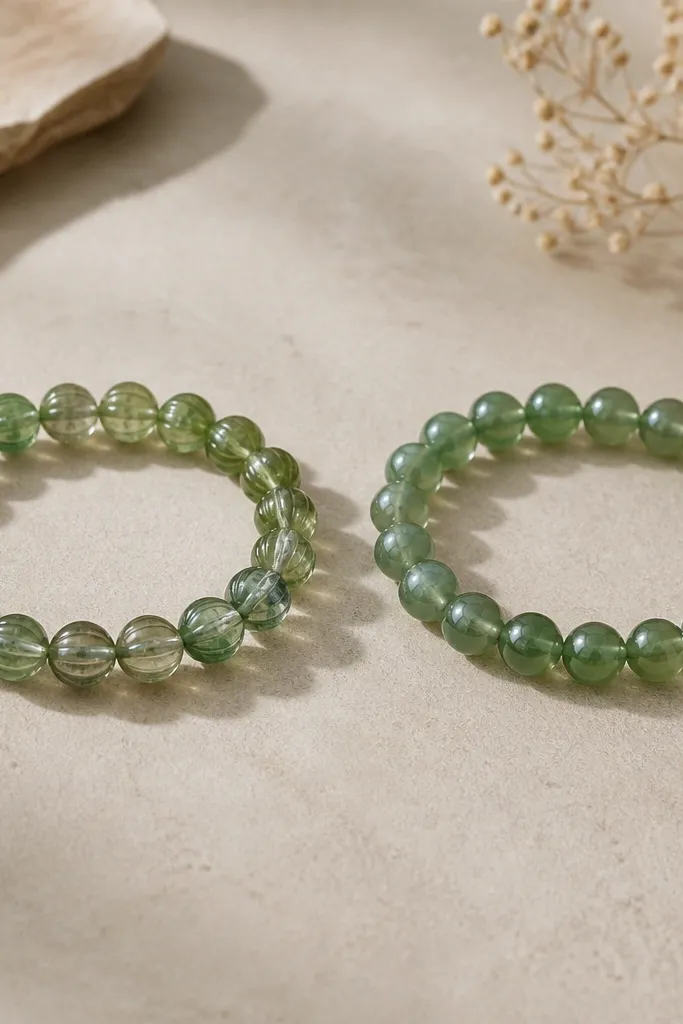
Those tiny ridges from molds or hand-rolling make clay beads look cheap because light hits the high spots. In the after version, the beads look like they were finished on purpose: the surface is even and the shine is smooth across the curve. I've noticed this most on beads made with silicone texture mats - sanding fixes the "stamped" look that reads messy.
Use 400-grit only if you have real seams, then switch to 600-grit for finishing. Sand in one direction for 10-15 strokes, rotate the bead, then repeat. After sanding, wipe clean and seal. Keep your bead thickness consistent; if one bead is thinner, it will flex differently and the finish will look uneven.
Pro tipHold a bead under a desk lamp - rotate it slowly to spot ridges before you seal.
AvoidDon't skip sanding entirely - clear coat won't hide ridges, it only locks them in.
3. Twist Problem to Clean Fit: hole placement + cord size
When holes are too close to the bead edge or not centered, the string pulls the bead into a tilt. That tilt shows up as a twist - the bracelet rotates on your wrist and the pattern looks off. The after version uses centered holes and a cord diameter that matches the hole size so beads don't slide and rotate.
Mark hole placement while the clay is still soft. I press a needle straight through and then wiggle it just enough to widen the path - then re-check alignment by stringing beads on the cord before baking. After baking, test the hole with a toothpick. If the hole feels tight, gently ream with a pin before sealing.
Pro tipUse a caliper or even a sewing gauge to compare cord thickness to hole diameter - if the cord is thicker than the hole, it will force twist.
AvoidDon't force beads onto a too-small hole - you'll shave clay and create weak spots around the hole.
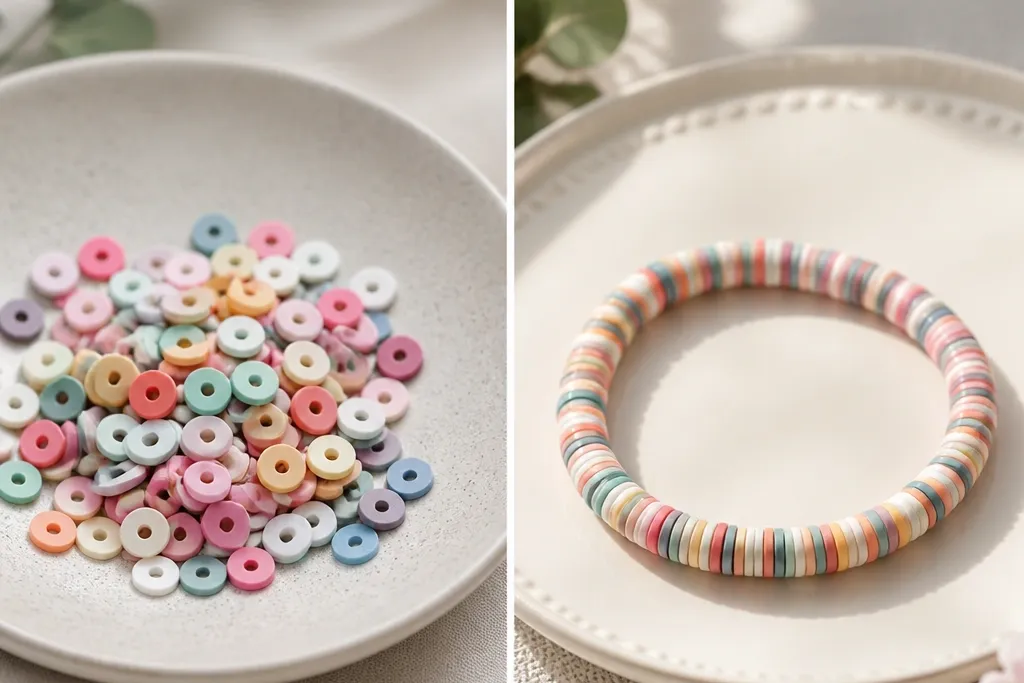
4. Matte Clay to Soft-Lustre: choosing the right finish
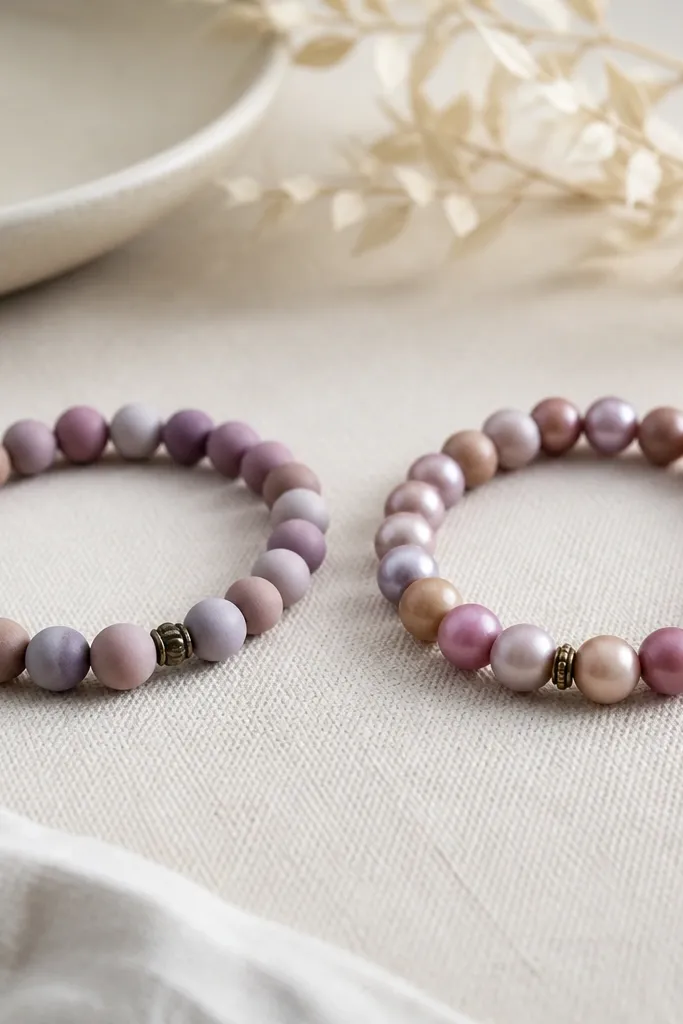
Glossy clear coat isn't always the answer. If your beads are patterned (marbling, mica swirls, or tiny dots), a high-gloss top coat can make the pattern look plastic. The after version uses a satin finish that keeps the clay's personality while sealing it against hand oils.
If you want satin, use a water-based craft varnish labeled as satin or semi-gloss. Apply thin coats with a foam brush so you don't leave streaks. Let it cure overnight before wearing. Pair this look with smaller beads (6-8 mm) and a simple bead spacing because satin shows gaps more clearly.
Pro tipTest your finish on 1 spare bead first - some varnishes darken clay slightly after two coats.
AvoidDon't use a super-gloss resin coat on every bracelet - it can flatten texture and make the clay pattern look like paint.
5. Color Bleed Prevention: cleaning between coats
Clay bead color looks messy when residue sits on the surface before sealing. In my before version, I handled beads with oily fingers right after sanding and the clear coat dragged that oil into the colored areas. The after version looks sharper because the surface is clean and the coat spreads evenly instead of pulling color.
After sanding, wipe beads with a dry microfiber, then do a quick second wipe with isopropyl alcohol on a cotton pad. Let them dry fully before any coat. Brush on clear coat lightly - keep the brush moving so you don't flood the hole. If you see pooling, dab with a clean paper towel corner.
Pro tipWear nitrile gloves for the sealing step - it cuts down on fingerprints and smears.
AvoidDon't touch sealed beads with bare hands - fingerprints show up as dull circles after drying.
6. Bead Size Makeover: chunky beads need wider spacing
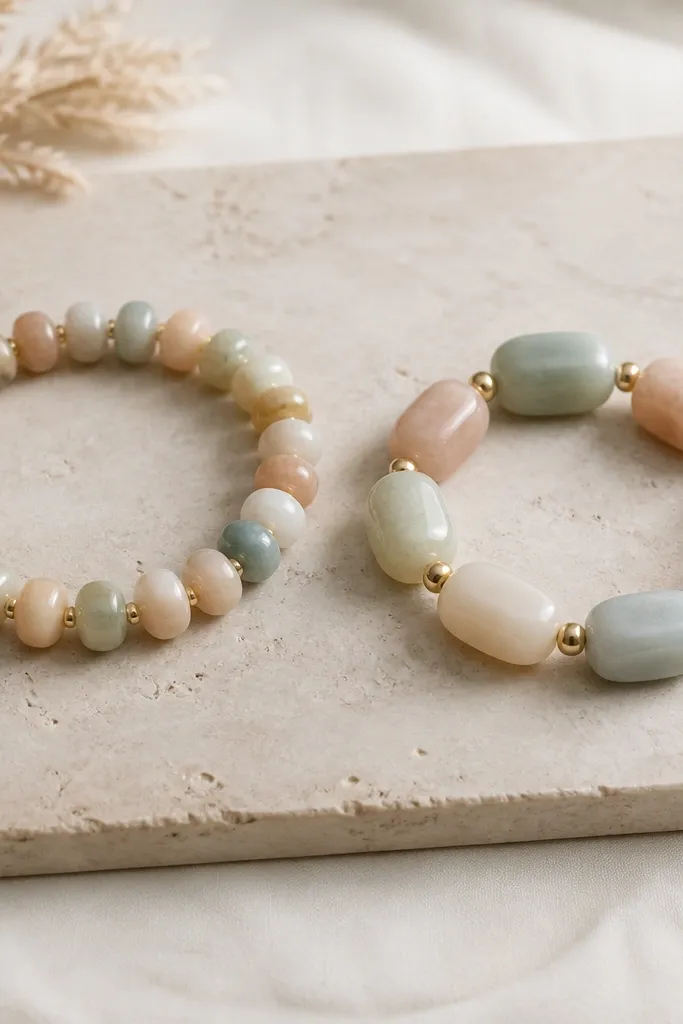
Chunky beads need room to breathe or the bracelet looks crowded and stiff. The before version packs beads tightly so they rub each other and the clear coat gets scuffed at contact points. The after version spaces beads so the bracelet flexes and the shine stays even.
For chunky beads around 10-12 mm, I use 8-10 beads on an average 6.5-inch wrist bracelet (plus a 1.25 cm comfort gap). Use elastic cord with a knot hidden under a bead or finish with a clasp that gives movement. If you're using stringing wire, keep the wire tension looser than you think so beads can rotate smoothly.
Pro tipLay beads on the table in your intended order, then measure the length end-to-end before you string - spacing errors show up immediately.
AvoidDon't cram big beads into a tight line - rubbing makes them look worn even before you leave the house.
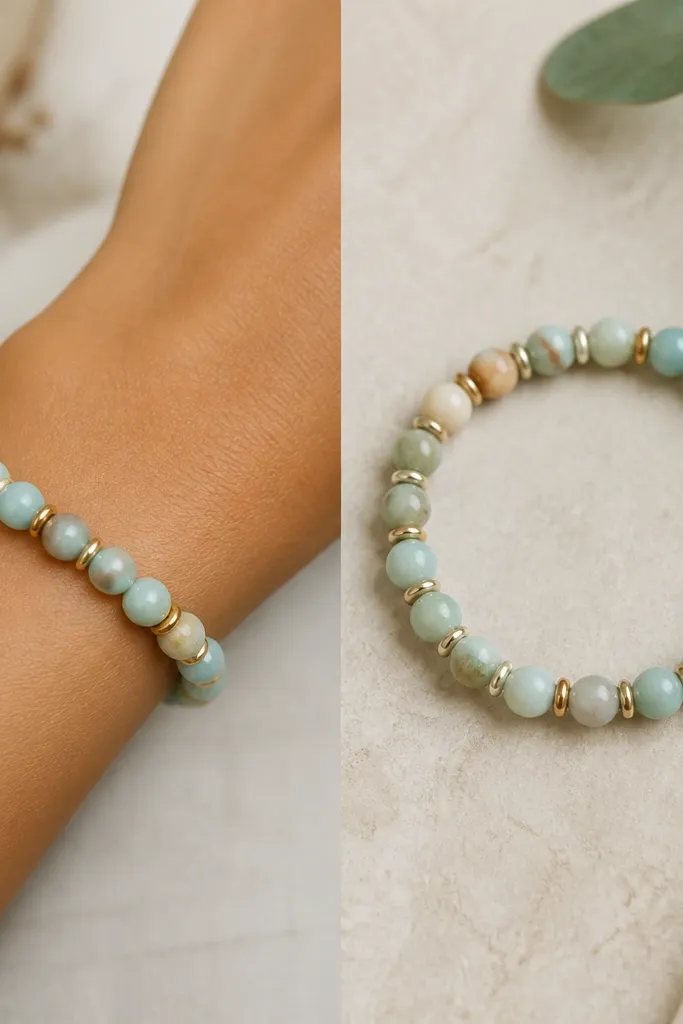
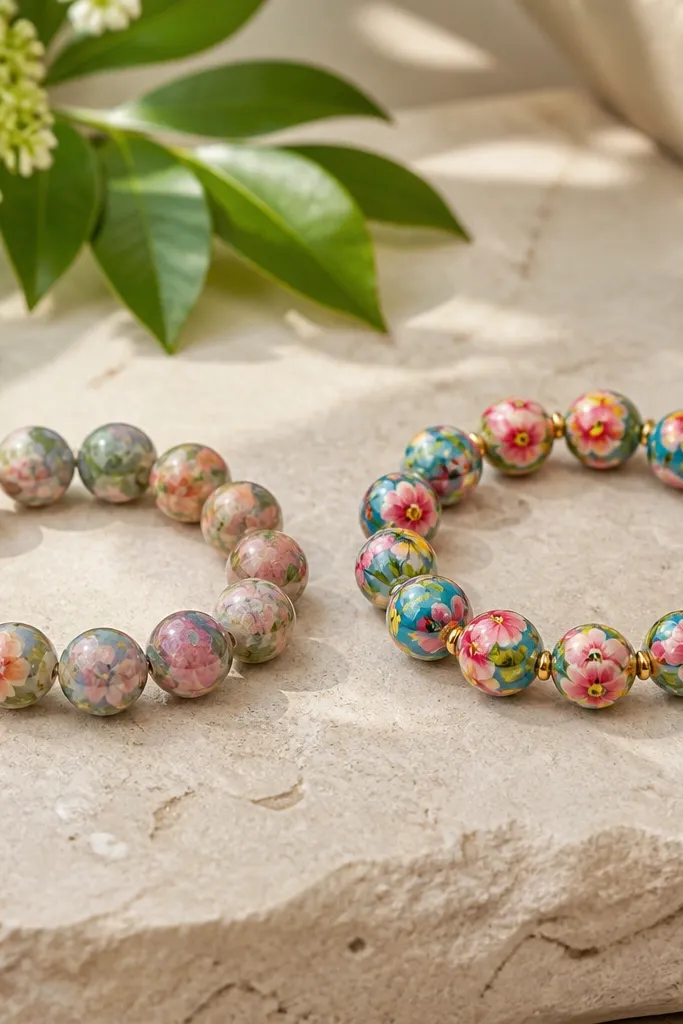
7. Centerpiece Swap: turning a random bead mix into a focal design

When every bead is the same scale, the bracelet reads flat. The after version adds one centerpiece - a larger bead with a different texture or color - so your eye lands somewhere. I've built this with one 14 mm focal bead and smaller 6 mm seed beads or tiny clay dots around it for a clean rhythm.
Pick a focal bead that has a clear surface feature: a swirl, a metallic mica inlay, or a simple gradient. Keep the rest consistent in finish so it doesn't look like a parts pile. Use a simple clasp or knotless elastic with a tiny spacer bead near the focal to stop it from rotating.
Pro tipMatch the focal bead to your outfit color by pulling one exact shade from the bead and repeating it in the accent beads.
AvoidDon't add three different finishes at once - matte + glitter + gloss on the same bracelet looks chaotic fast.
8. Fraying Fix: knot choice and hiding the ends

Most clay bead bracelets fail at the ends, not the beads. In the before version, the knot shows, the cord frays, and the bracelet looks unfinished. The after version uses a knot that holds under stretch and hides it under a small clay bead or a wrapped cord cap so the bracelet looks intentional.
For elastic cord, I use a double-knot technique and then add a tiny dab of clear jewelry glue on the knot. Trim ends short but leave a millimeter so the glue can lock them. For a clay bead end cover, make a 6-8 mm mini cap bead with a center hole and slide it over the knot area before sealing.
Pro tipAfter knotting, pull each side gently for 10 seconds - if it slips, fix it immediately before the glue dries.
AvoidDon't seal the knot without trimming - excess bulk under clear coat turns into a bump you feel every time you wear it.
9. Before After Clay Bead Bracelet Ideas with Charms: spacing charms so they swing
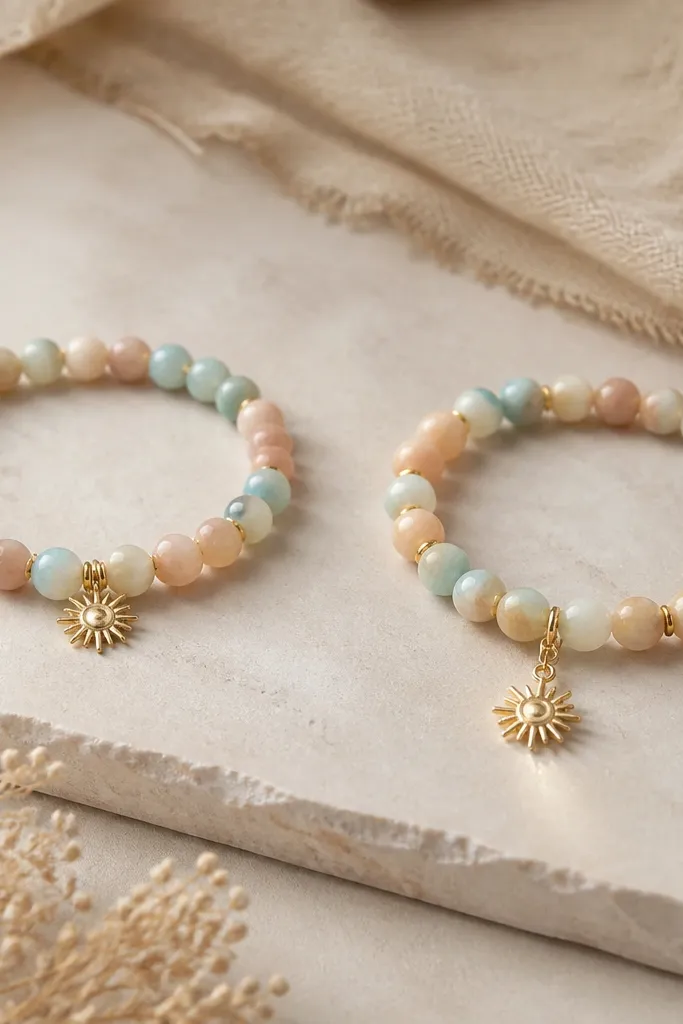
Charms look wrong when they're pressed against clay beads. The after version leaves a small gap and uses a connector so the charm swings instead of grinding against the bead surface. I like this look with flat charms (tiny moons, stars, or tag shapes) because they catch light without snagging.
String beads first, then thread a small jump ring or short chain link at the charm point. Keep that connector at least 3-4 mm away from the nearest clay bead so it can move. Seal the charm attachment area only after assembly so you don't glue the charm shut.
Pro tipTest movement before sealing: shake the bracelet gently and watch the charm swing. If it sticks, loosen the spacing now.
AvoidDon't glue a charm directly onto a sealed clay bead - the glue line can crack and peel where the charm flexes.


