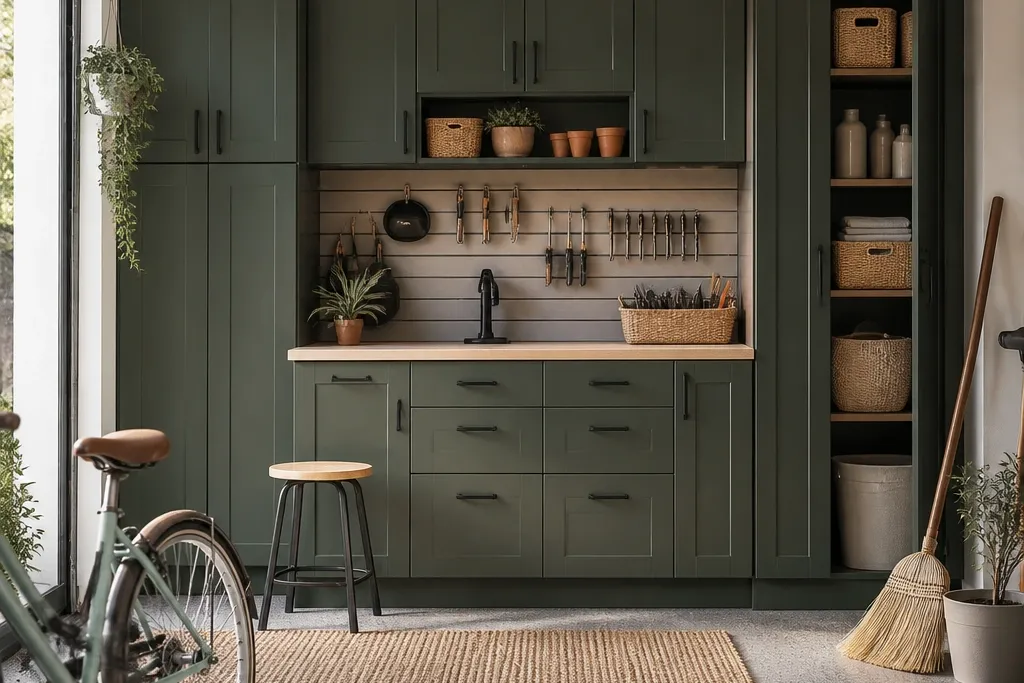
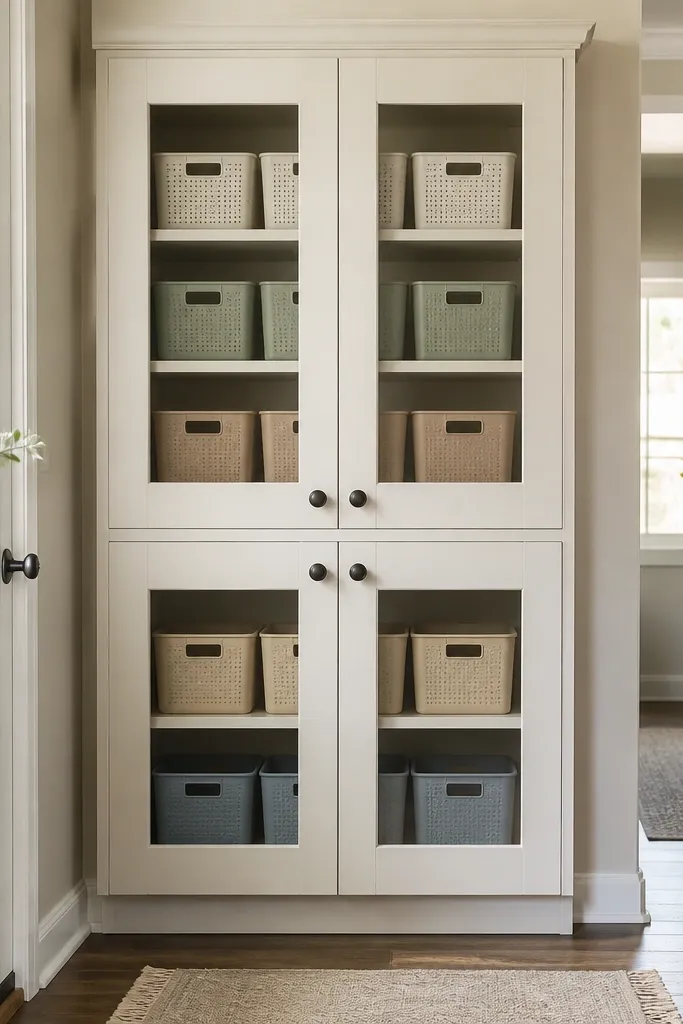
1. Warm White Cabinet Interior + Walnut-Look Bin Lanes
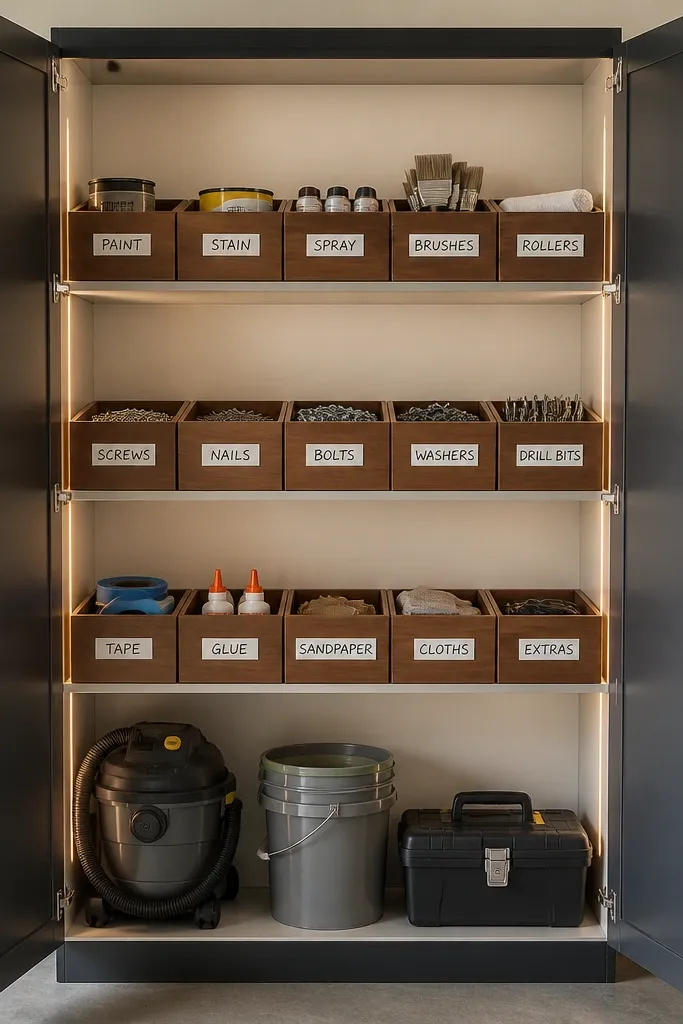
The cozy look comes from the contrast: warm white makes the space feel clean, and walnut-look bins add softness so the garage doesn't feel like a workshop dump. I do lane-style organization by lining up bins in straight rows so your brain reads it fast. When the bins match in color and height, the cabinet looks intentional even before you perfect the categories.
Paint or contact-paper the cabinet back and side panels warm white. Use bins that fit between shelf rails with a small gap for airflow. Aim for consistent bin heights - two sizes max - so the rows look uniform. Choose walnut-look bins with matte finishes, not shiny plastic.
Pro tipBefore you commit, hold a strip of warm white painter's tape on the cabinet interior for a day. If it looks too yellow, switch to a slightly cooler "linen white."
AvoidAvoid mixing random bin colors and heights - the cabinet looks messy even when the items are sorted.
2. Front-Lip Clear Bins for Paint Markers and Small Hardware
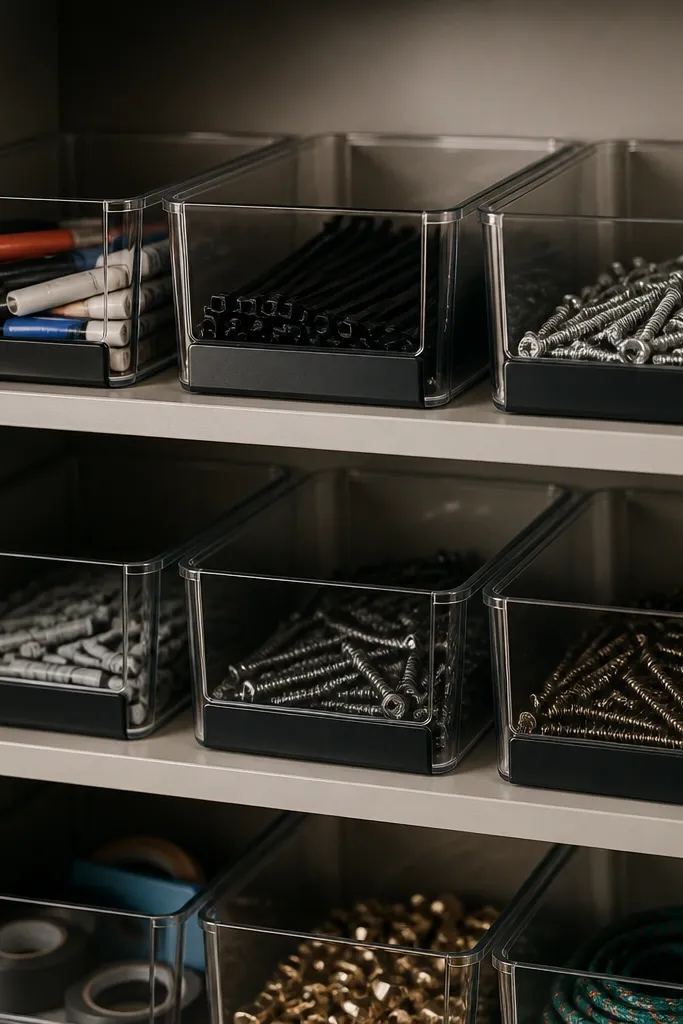
Clear bins with a front lip keep the cozy vibe while still letting you see what you need. The front lip stops bins from sliding forward and dumping contents when you open the door quickly. I like this for small stuff because it reduces the "where did it go?" feeling. Warm gray-beige behind clear bins makes the labels and colors look calmer.
Use bins that are shallow enough that the marker caps sit above the lip when the bin is placed. Keep hardware in small compartments like pegboard-style cups inside the bin, or use separate mini bins. Label with thick black tape so it reads from the doorway.
Pro tipStore markers and pens with caps facing outward so you can scan for the color without pulling every bin.
AvoidSkip frosted bins for tiny hardware - you end up guessing and digging.
3. Fabric-Front Organizer Pockets for Rags and Gloves
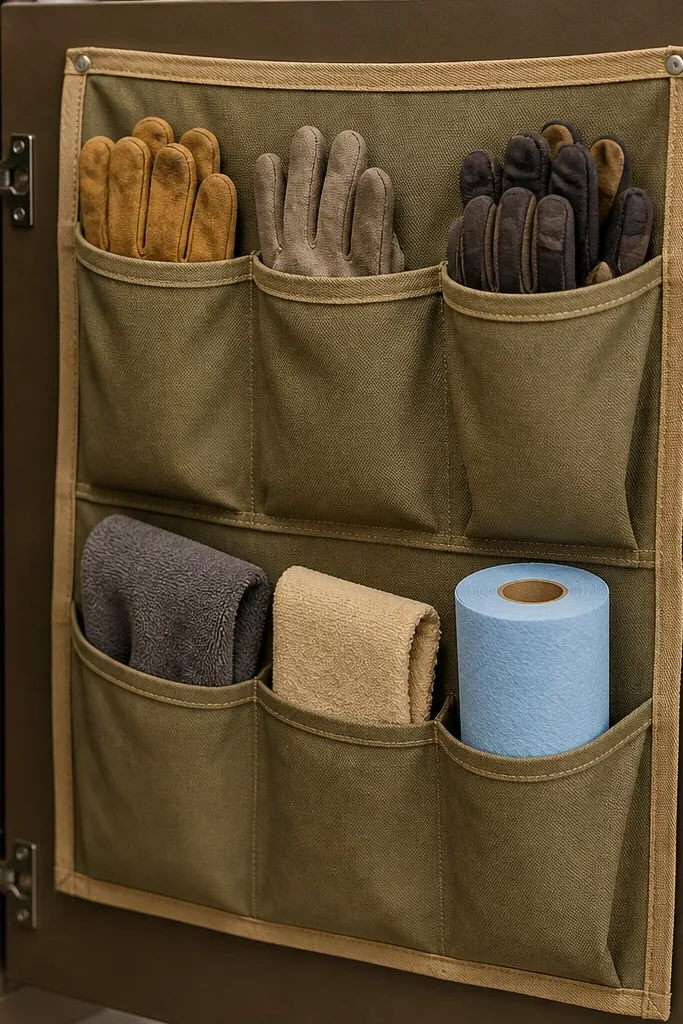
Fabric pockets make a garage feel warmer because they hide clutter while still being functional. I keep rags and gloves here because they're grab-and-go and they don't belong loose on shelves. The soft texture also reduces the harsh look of bare plastic bins. Olive canvas with tan trim reads cozy without turning the garage into a craft room.
Mount the pocket organizer on the inside of the cabinet door with screws and washers, not just adhesive. Use thick canvas or duck cloth so it doesn't sag. Keep pockets sized for the items: gloves folded flat, rags stacked no taller than 2 inches so the door closes cleanly.
Pro tipAdd a small elastic loop at the top of each pocket for glove fingers. It keeps pairs from sliding out when kids open the door.
AvoidDon't use thin felt pockets - they look droopy and cheap after a few weeks of real use.
4. Pull-Out Drawer Trays for Drill Bits and Kids' "Fix-It" Parts
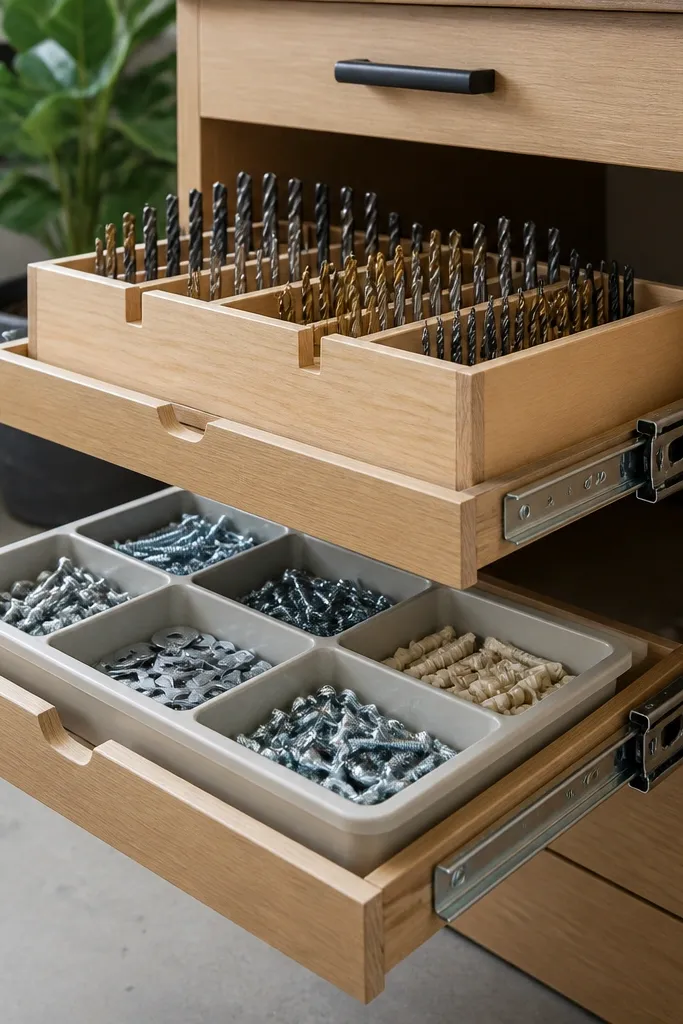
Pull-out trays are the difference between "organized" and "actually used." When you can slide it out, you stop reaching into the back and knocking things over. Drill bits stay sorted by diameter and kids' parts stay separated so nothing gets mixed with sharp or tiny hardware. A cozy look comes from wood-toned tray fronts and warm labels.
Install full-extension drawer slides sized to your cabinet opening. Build shallow trays with 1/2-inch plywood sides and a smooth sealed top. Use small plastic compartments inside for bits. Keep the kid tray clearly marked and only stock large, non-choking parts.
Pro tipAdd a rubber drawer liner under the compartments so bits and parts don't rattle when the tray moves.
AvoidAvoid cheap slides that don't fully extend - you'll lose the benefit and bits end up buried.
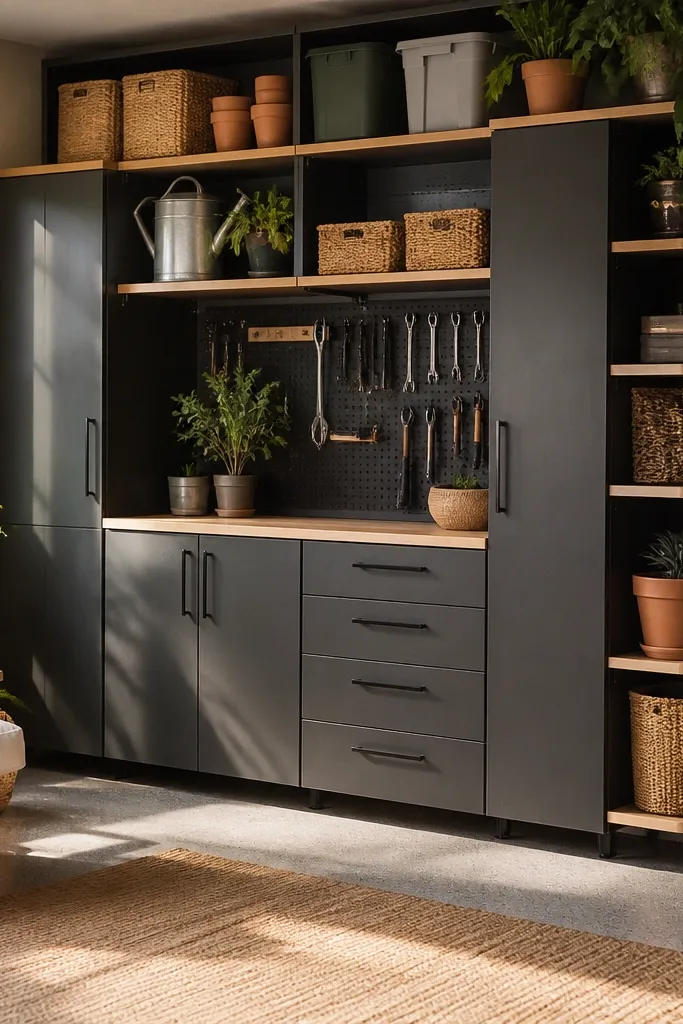
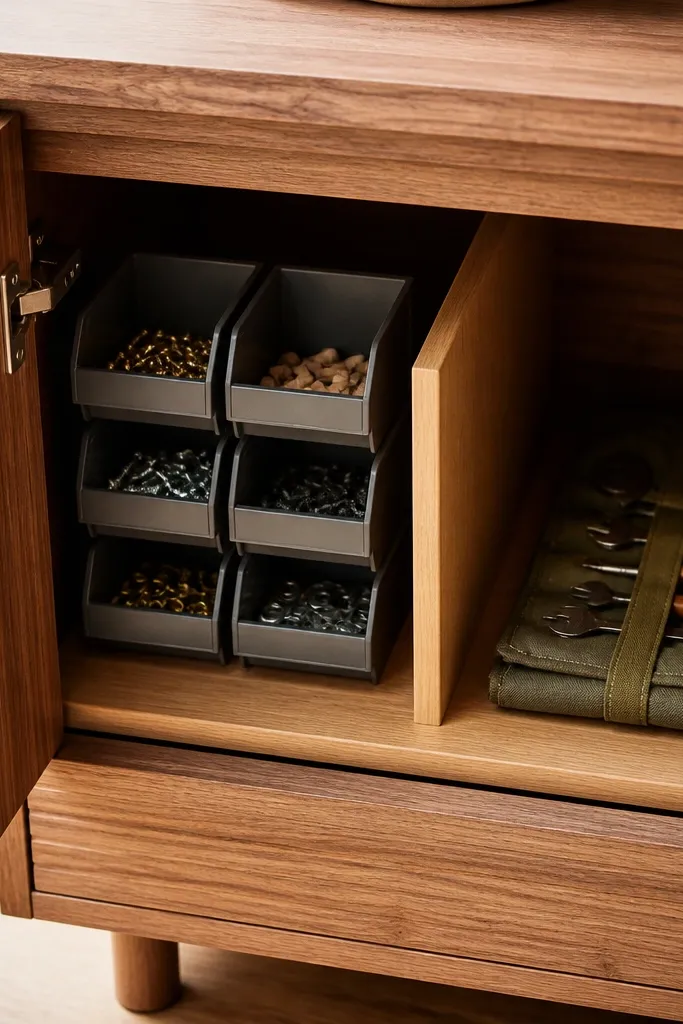
5. Pegboard Side Panel + Small Bins for Tape, Batteries, and Chargers
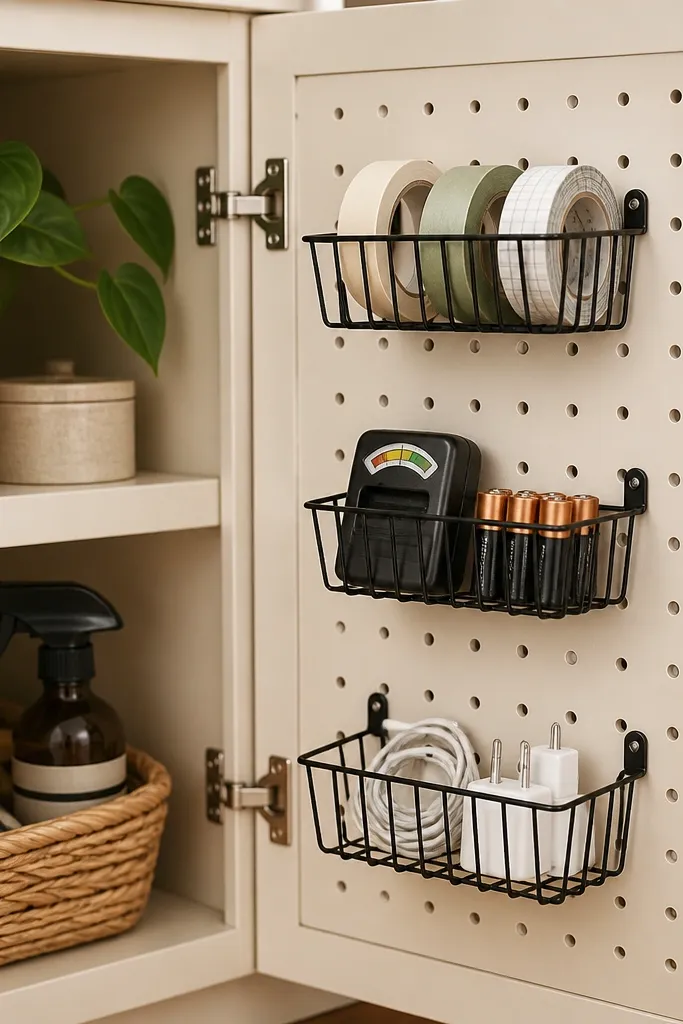
Pegboard inside a cabinet turns messy "small stuff piles" into a visible grid. It also keeps chargers and tape from becoming a tangled mess. Matte black bins look clean, and the warm pegboard color keeps it from feeling like a cold tool shed. This setup also keeps kids from dumping everything into one open shelf gap.
Cut pegboard to fit the cabinet side and screw it in place. Paint it with a cabinet-safe primer and a warm off-white topcoat. Hang wire bins sized for tape width and charger plugs. Add a small hook strip at the top for scissors or a kid-safe wrench.
Pro tipUse zip ties to bundle charger cords into 6-inch loops so they hang flat and don't twist.
AvoidSkip bare metal pegboard - it looks gray and harsh inside a cozy cabinet.
6. Lazy Susan Shelf for Seasonal Items and Back-of-Cabinet Stuff
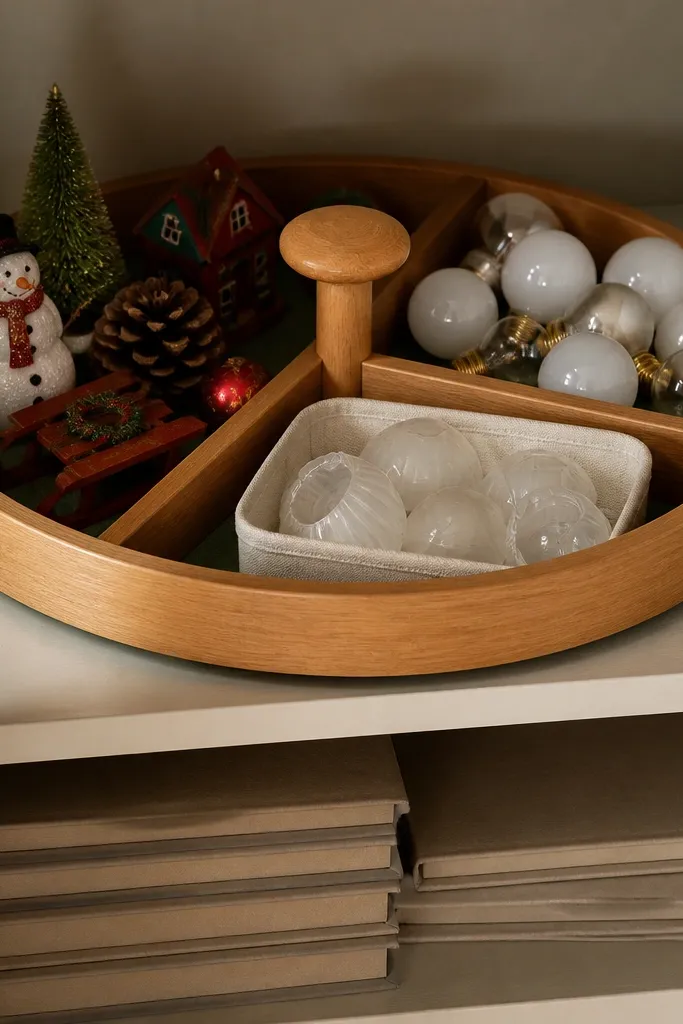
A lazy Susan makes the back of a cabinet reachable without digging. That keeps seasonal items from turning into mystery piles. Cozy comes from the warm wood top and the calm organization - you see everything at once in a circle. I use this for things you touch less often but need quickly, like batteries, replacement light covers, and school project supplies.
Buy a lazy Susan turntable sized to your shelf depth. Mount it so it sits flat and doesn't wobble when you spin it. Add a non-slip mat under the turntable for stability. Partition with shallow bins so items don't slide when the table rotates.
Pro tipLabel the underside of each bin too. When you pull it out, you still know what it is.
AvoidAvoid oversized lazy Susans that don't clear the cabinet door swing - you'll get stuck mid-turn.
7. Wood Slat Shelf Inserts for Tools That Hate Bins
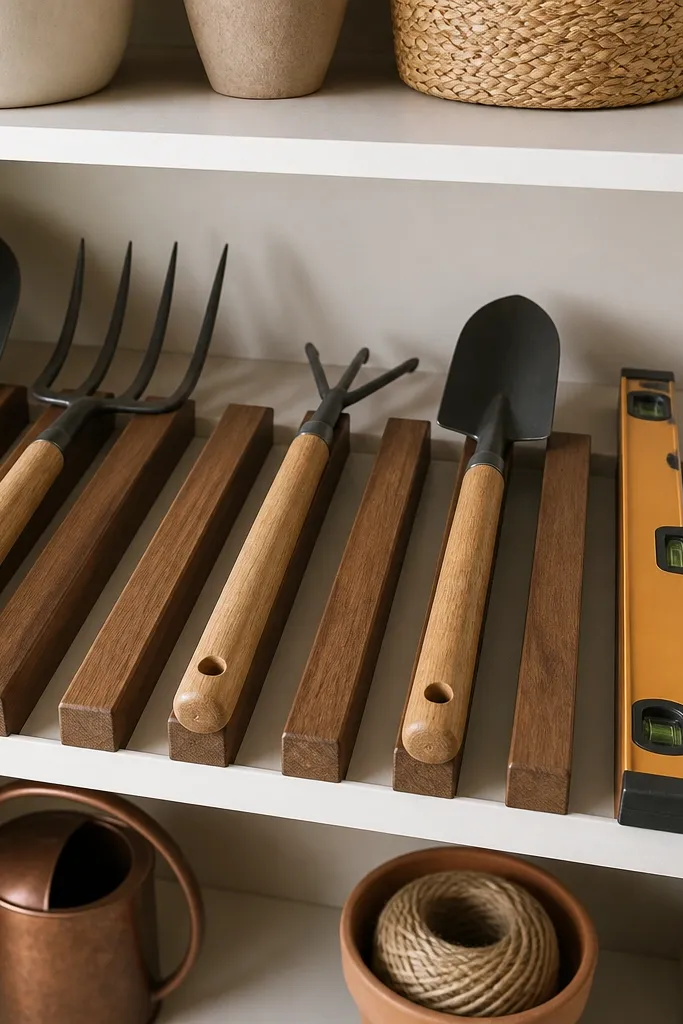
Some garage tools look better without bins. Wood slat inserts hold long-handled items in place and keep them from tipping, which makes the cabinet feel more like a workshop than a storage closet. The slats also create breathing room so things don't look stacked and heavy. Cozy comes from the warm wood tone and the light shadow lines between slats.
Use 1x2-inch wood strips cut to the shelf width. Space slats 3/4 to 1 inch apart depending on tool handles. Seal with satin clear coat so it wipes clean. Install with screws from underneath so you don't mess up the shelf top.
Pro tipAdd a thin strip of felt under the slats where metal touches wood to prevent scratches.
AvoidDon't use unfinished pine - it dents and stains fast in a garage.
8. Kid-Safe Color Code with Lidded Plastic Bins and a Return Shelf
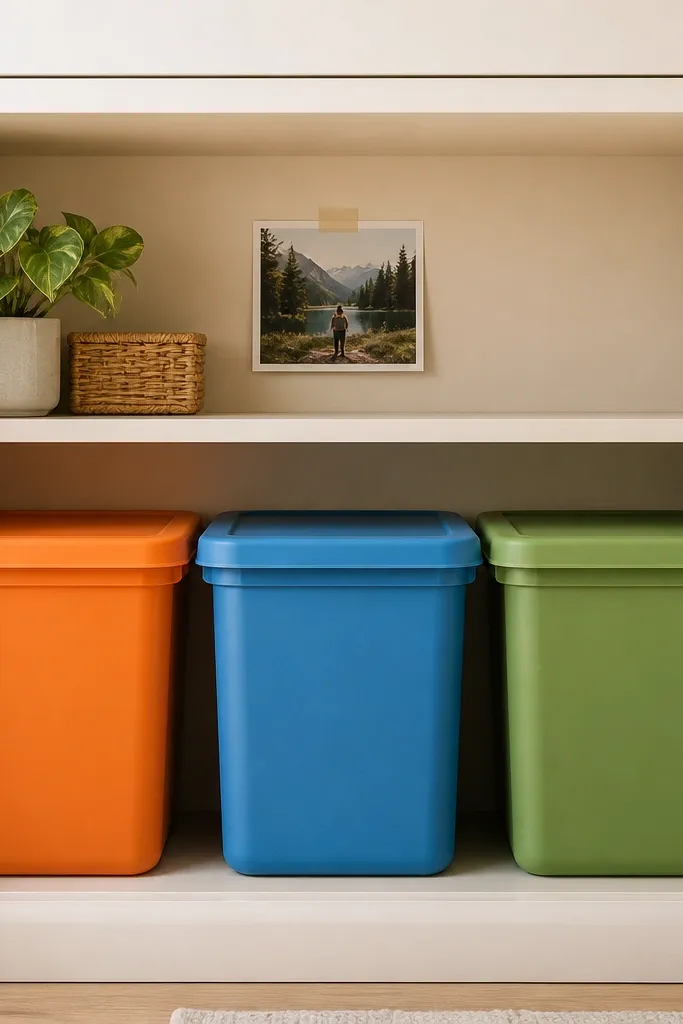
Kids need a system that tells them what goes where without reading a label like it's a chore. Color-coded bins with lids work because they reduce mess even when the bins get shaken. The return shelf is where items go when kids are done - it prevents the "it's on the floor now" pattern. Cozy comes from consistent bin shapes and warm cabinet interior, not from hiding everything.
Pick three bin colors and keep them only for the kid zone. Use lidded bins that are shallow enough for little hands. Mount the return shelf 10-12 inches above the kid bins so it's reachable. Add a simple photo card of each category inside a small clear sleeve.
Pro tipUse only large, kid-safe pieces in the kid bins. If it can fit through a toilet paper roll, it doesn't belong here.
AvoidAvoid leaving kid bins open - loose parts end up in the bottom of the cabinet and disappear.
9. Soft-Edge Corner Caddies for Spray Bottles and Cleaning Supplies
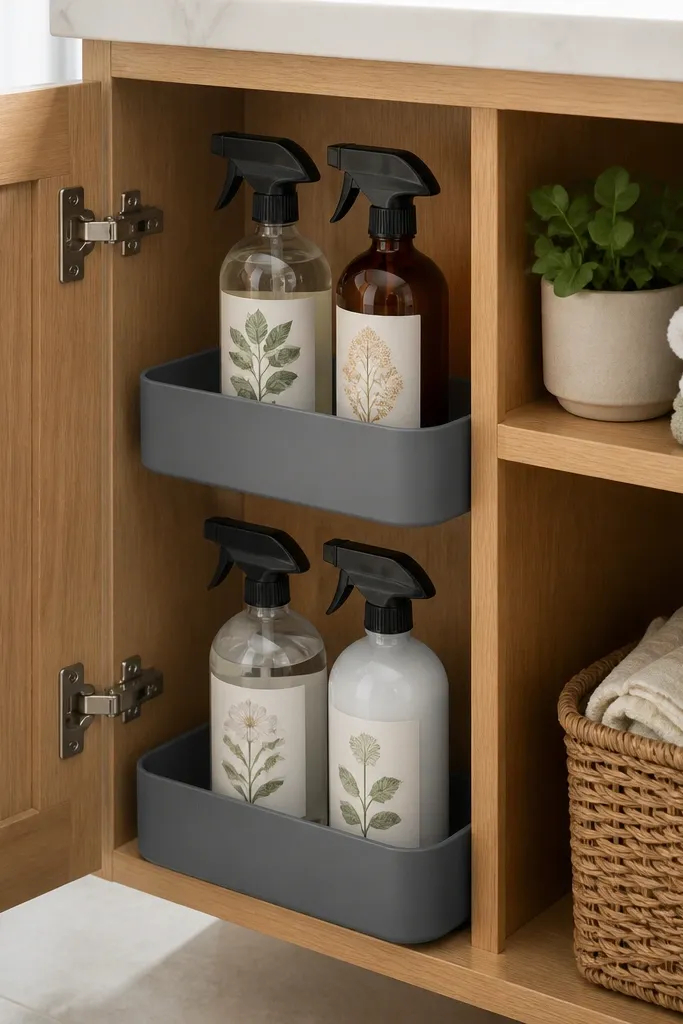
Corner space is where garages get chaotic. Corner caddies keep spray bottles upright and prevent leaks from turning into sticky chaos on shelf bottoms. Soft edges matter because they protect bottle plastic and reduce rattling. Cozy comes from tidy, consistent bottle placement and warm backing color.
Choose corner caddies that fit your bottle diameter. Place the caddies on a shelf with a lip or install a thin 1x2 stop rail so they can't drift. Use a small drip tray liner under the bottles. Keep only one type per caddy so you can scan quickly.
Pro tipWipe bottle bottoms with a damp rag before storing so old residue doesn't transfer to the liner.
AvoidSkip bare metal corners - they scrape bottle labels and make the cabinet look rough.
10. Clear Door Insert Panels for the Cabinet Front Look
Clear inserts on the cabinet doors make the whole organization feel calmer because you're not opening doors constantly. It also helps kids learn where things go since they can see the labeled bins through the door. Cozy comes from reducing visual clutter: you're not staring at random boxes and dark shelves. I like acrylic because it's lightweight and doesn't shatter like glass.
Cut acrylic panels to fit your door openings or use a pre-made insert kit. Add a thin foam gasket around edges to prevent rattling. Use muted bin colors inside so the view looks warm, not neon. Stick labels on the bin fronts where they line up with the window insert.
Pro tipUse black label tape and keep the font size consistent - the cabinet looks designed, not improvised.
AvoidAvoid foggy or scratched inserts - they turn clear storage into a blurry mess.
11. Rope-Handle Pulls for Bins and Baskets
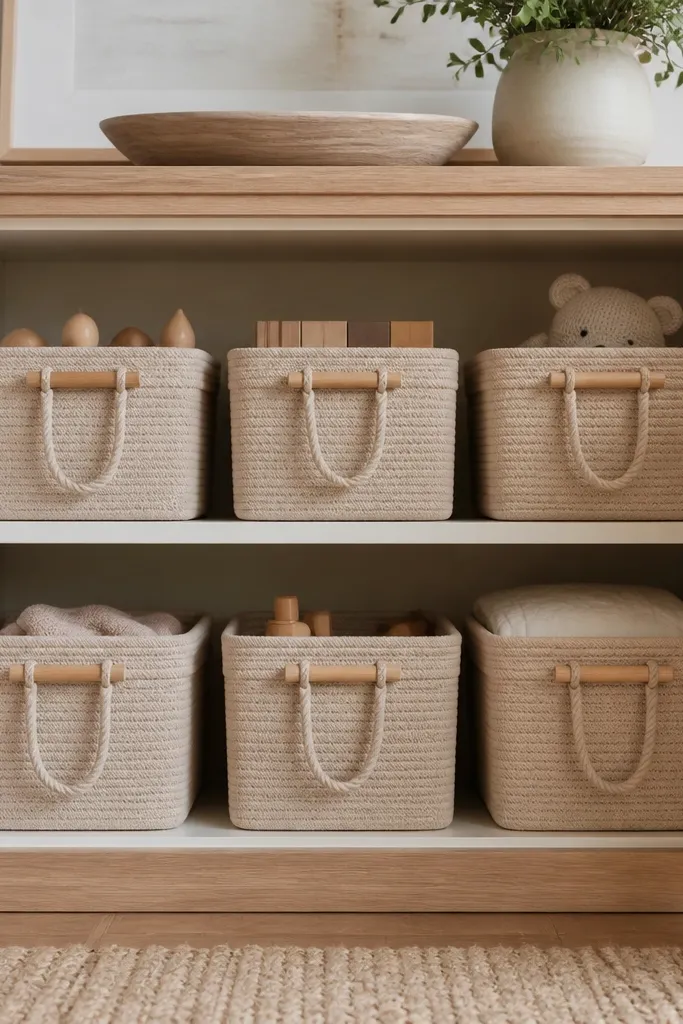
Tiny handles make a big difference because they change how you grab items. Rope handles feel softer than plastic handles and they add a cozy, handmade look. I use them on bins that kids or guests pull out often, like the "bike repair" bin and the "school project" bin. When bins slide out easily, people actually put things back.
Tie tan cotton rope into a loop around a short dowel or use grommets in bin sides. Keep the handle height so it clears the shelf lip by 1-2 inches. Seal the bin edges so rope doesn't fray against sharp plastic. Use the same rope style across all bins so it looks intentional.
Pro tipLightly wax the rope once it's tied so it stays clean and doesn't fuzz.
AvoidAvoid slippery handles that fall out of your hands - if it's hard to pull, bins stop getting returned.
12. Matte Black Shelf Edges + Warm Beige Back Panel
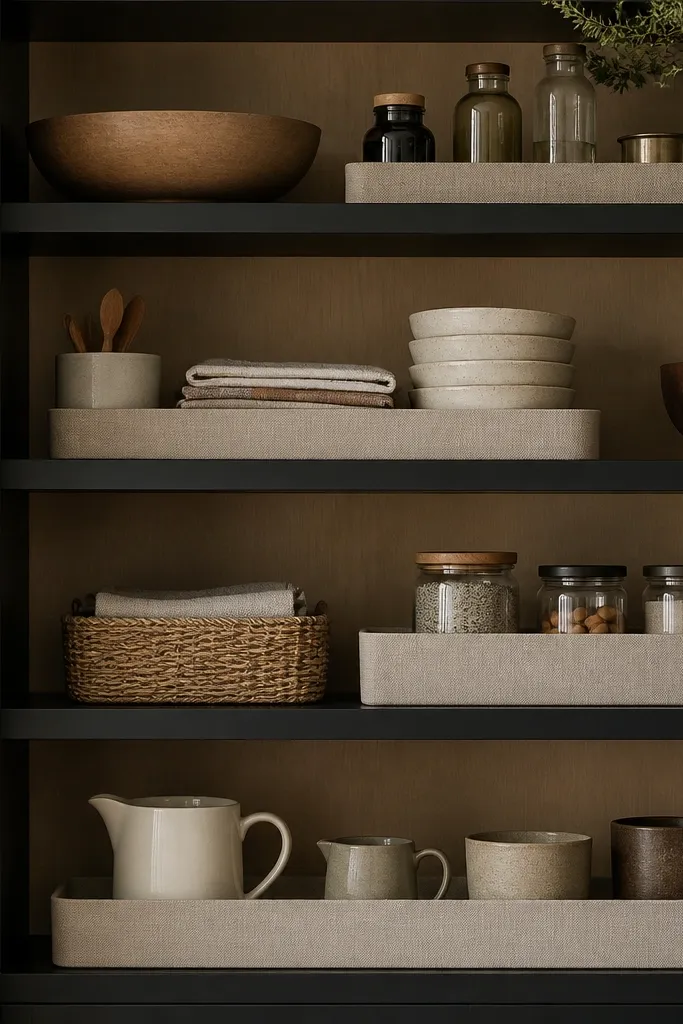
This is the "cozy framing" trick. Warm beige makes the interior feel softer, and matte black edges give structure so the shelves look finished. It's the same reason picture frames make a wall look better - it stops the cabinet from looking like plain boxes stacked inside metal doors. The result reads clean and intentional even if you're still sorting categories.
Paint the cabinet back with warm beige, then tape off and paint shelf edges matte black. Use painter's tape to keep lines crisp. Choose bins in cream, wood tone, or muted sage so they don't clash with the black frame. Keep shelf heights consistent so each level looks like a panel.
Pro tipUse a foam roller for the beige back to avoid streaks that show up under LED lighting.
AvoidSkip glossy black - it reflects light and makes fingerprints obvious.
13. Satin Wood Divider Board for Tool Categories
Dividers make the cabinet look cozy because they create order lines. I use a wood divider board when bins alone don't fix the problem - like when you have long items and small items living together. The satin finish looks warm under LED and it's easy to wipe clean. This also helps kids because they see the boundary and stop mixing categories.
Cut a divider board to the shelf depth minus 1/4 inch so it fits without scraping doors. Seal with satin polyurethane so it wipes like furniture. Attach with screws from underneath. Space bins so they sit snug against the divider edge without gaps.
Pro tipRound the front corners of the divider board with sandpaper so it doesn't look sharp or bulky.
AvoidDon't use unfinished MDF - it chips at edges and looks rough fast.
14. LED Strip Under-Shelf Lighting with Warm 2700K Diffuser
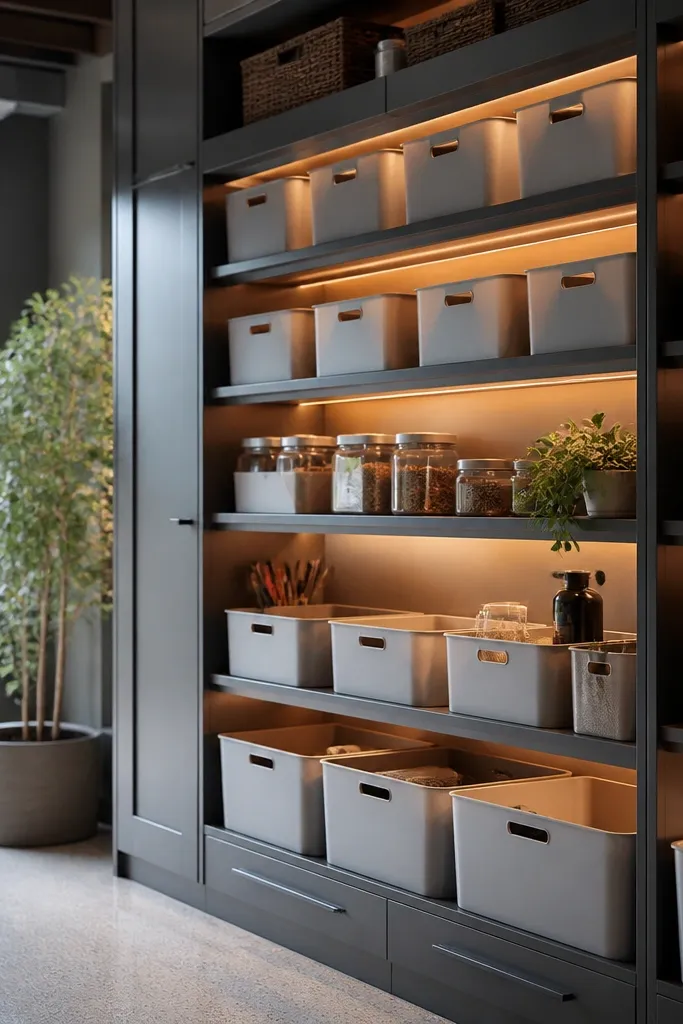
Lighting is the fastest way to make organization feel cozy. Warm 2700K LED strips make labels readable and make the cabinet interior look like a built-in piece instead of a storage box. Under-shelf placement keeps glare off you when you're grabbing items. If you've ever opened a cabinet and felt annoyed because you can't see, this fixes that.
Use a 2700K LED strip and mount it under the shelf lip with clips. Add a frosted diffuser cover so you don't see LED dots. Power it with a simple plug-in driver or a switch you mount inside the cabinet frame. Test the light level by placing one labeled bin where you'll stand and check readability.
Pro tipSet labels with black marker on white tape and place them facing the light - the text pops without needing extra brightness.
AvoidAvoid cool white LEDs (like 5000K) - they make the whole cabinet feel harsh and gray.


