1. Felt pencil tray with a warm terracotta face
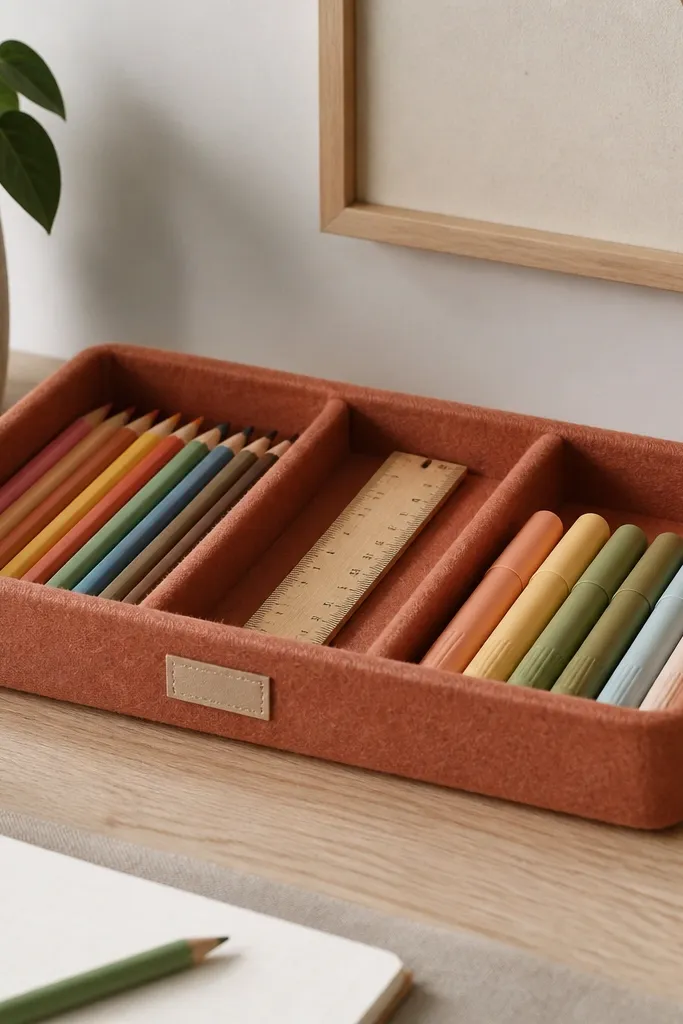
This setup makes pencils look intentional instead of chaotic. Felt hides scratches and pencil nicks, and terracotta reads warm under desk lamps. The tray shape matters - a low front edge lets you see what's inside without lifting anything. I like adding a ruler slot because long items are the main thing that knocks over the rest.
Cut felt 3/8 inch thick into a tray base about 12 inches wide and 5 inches deep. Glue a second layer behind the front edge to make a firmer lip for the label. Add two felt dividers that are 1 inch wide and stand about 2 inches tall for markers and pencils.
Pro tipStitch the dividers with thick thread (or use fabric glue) so they don't sag after a month of daily use.
AvoidAvoid shiny faux-leather trays - pencil tips slide too easily and it looks plasticky under warm light.
2. Three-tier desk riser for notebooks and textbooks
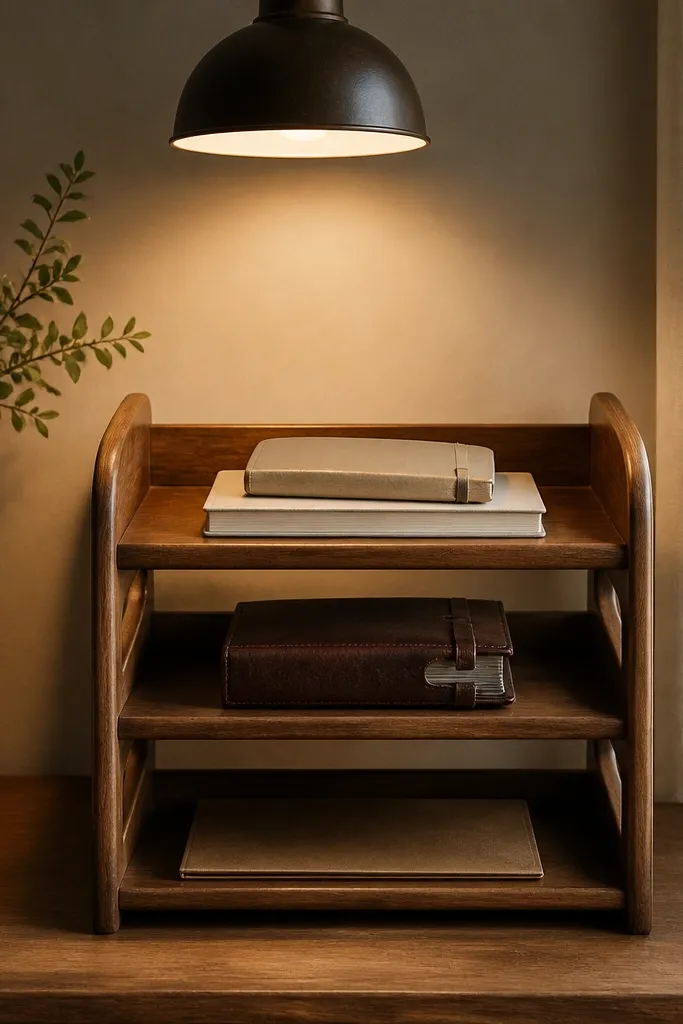
A riser stops the "notebook mountain" and keeps the active book at eye level. Three tiers gives you a clear place for current work, next work, and finished sheets. Wood plus warm paper tones creates that cozy warmth without needing extra decor. It also makes desk cleaning faster because everything is already stacked in one unit.
Use a DIY wooden stand or build one from 1x2 pine boards. Make each tier about 10 inches deep so hard covers don't overhang. Paint with a matte warm walnut stain or use clear matte poly - I keep it matte so the lamp glare doesn't wash it out.
Pro tipAdd a small felt pad under the bottom shelf so it doesn't slide when kids bump the desk.
AvoidAvoid too-deep shelves - if shelves are deeper than 12 inches, students start stuffing the back and the system collapses.
3. Cork board letter tray for "to do" slips
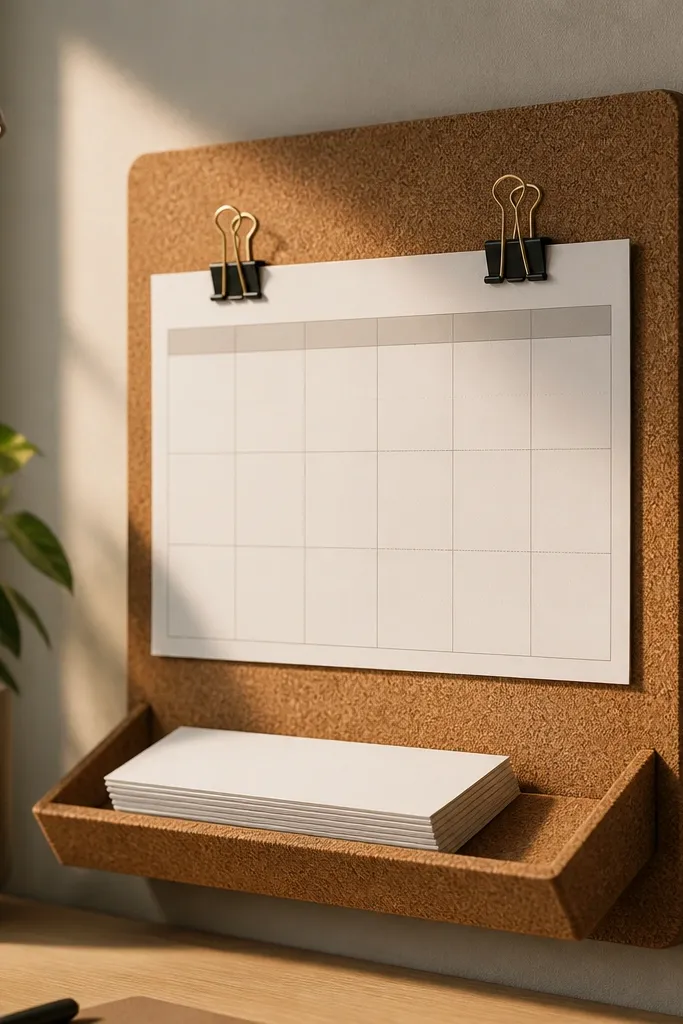
Cork looks cozy and it grips paper without needing tape everywhere. An angled tray keeps slips visible and reduces the "where's my assignment" scramble. Cork also handles weekly mess better than smooth boards because fingerprints and tiny smudges don't stand out as much.
Glue 1/4 inch cork sheet to a thin wood backing, then attach a small angled ledge (like a 2-inch high strip) at the front. Make the tray about 8x10 inches for a manageable "to do" area. Use two binder clips on the right side for quick swapping of the weekly sheet.
Pro tipUse kraft paper slips and write in dark brown or black - it matches cork and looks calm.
AvoidSkip glossy cork tiles - they reflect lamp light and make the whole board look cheap.
4. Drawer divider kit with labeled fabric tabs
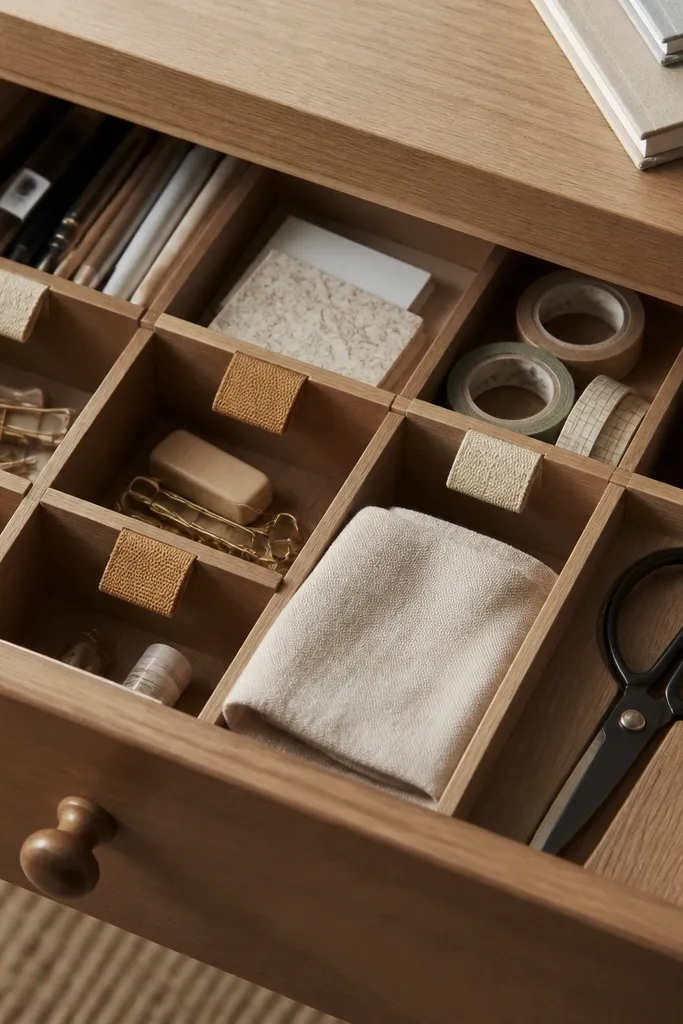
A drawer that holds its shape keeps the desk top clean. Fabric tabs make labels feel softer than plastic stickers, and they're easy for kids to peel-free read. I like having one "grab zone" for daily tools: scissors, tape, glue stick, and a pen. It reduces rummaging because everything fits the same footprint.
Buy thin wood drawer dividers or cut 1/4 inch plywood strips. Keep compartments under 6 inches wide so items don't disappear. Add fabric tabs by gluing a 1.5 inch wide strip to the divider front, then write the label using permanent marker.
Pro tipUse a different color tab for each subject (math = green, reading = blue) so kids find things faster.
AvoidAvoid giant compartments - if a divider is too wide, the drawer becomes a junk drawer again.
5. Warm wood cable catch behind the desk edge
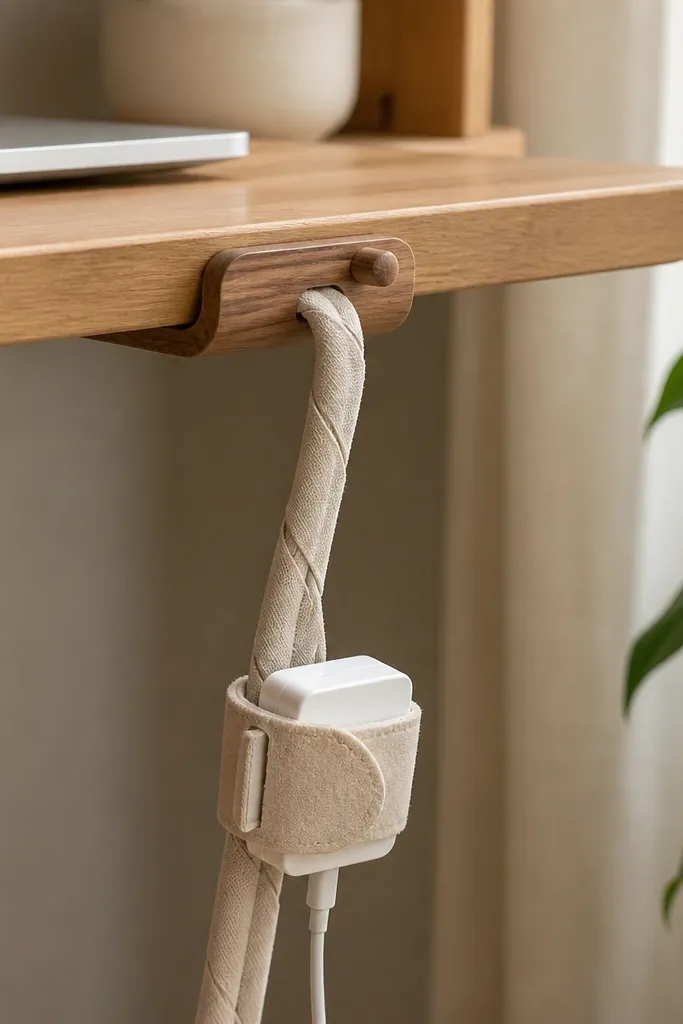
Cables make desks look messy even when everything else is organized. A cable catch keeps the charging brick and extra cords off the floor and out of the sightline. Warm beige cord sleeves look calmer than black cords under a warm lamp. This also protects headphone wires from being yanked.
Mount a small wood strip under the desk edge with two screws so cords slide into it. Use a fabric cord sleeve (beige or oatmeal) and wrap the cable before feeding it into the guide. Leave 6 inches of slack near the outlet so the charger can move without pulling.
Pro tipTape a small strip of kraft paper on the sleeve with the word "charger" so kids plug the right thing in fast.
AvoidDon't let cords hang in a loop - loops snag on chair wheels and the mess comes back.
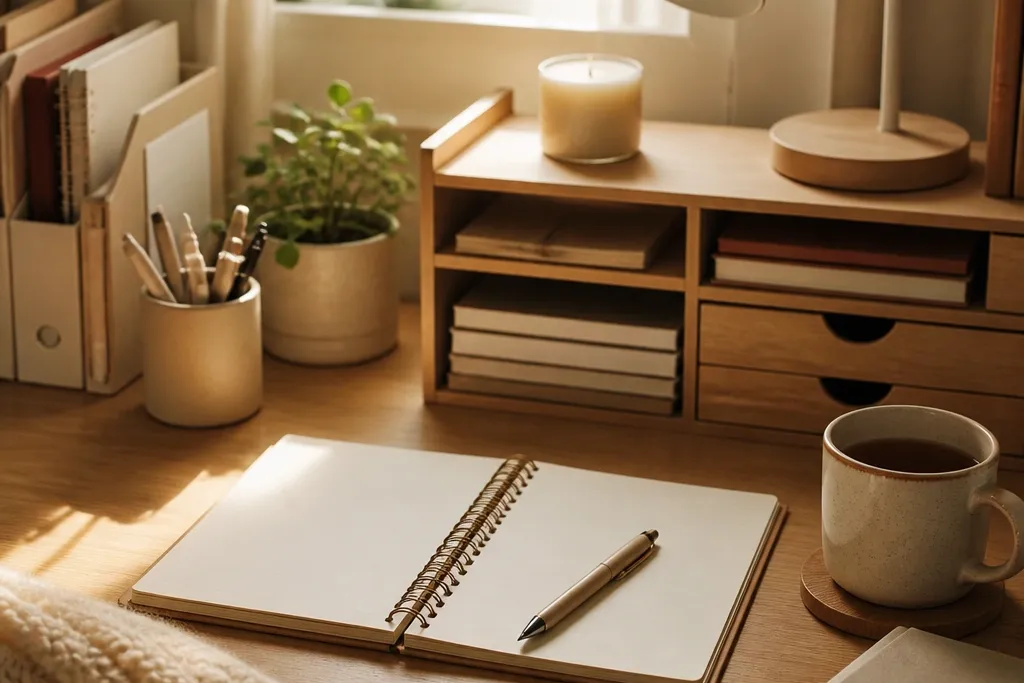
6. Stackable tray for sticky notes and index cards
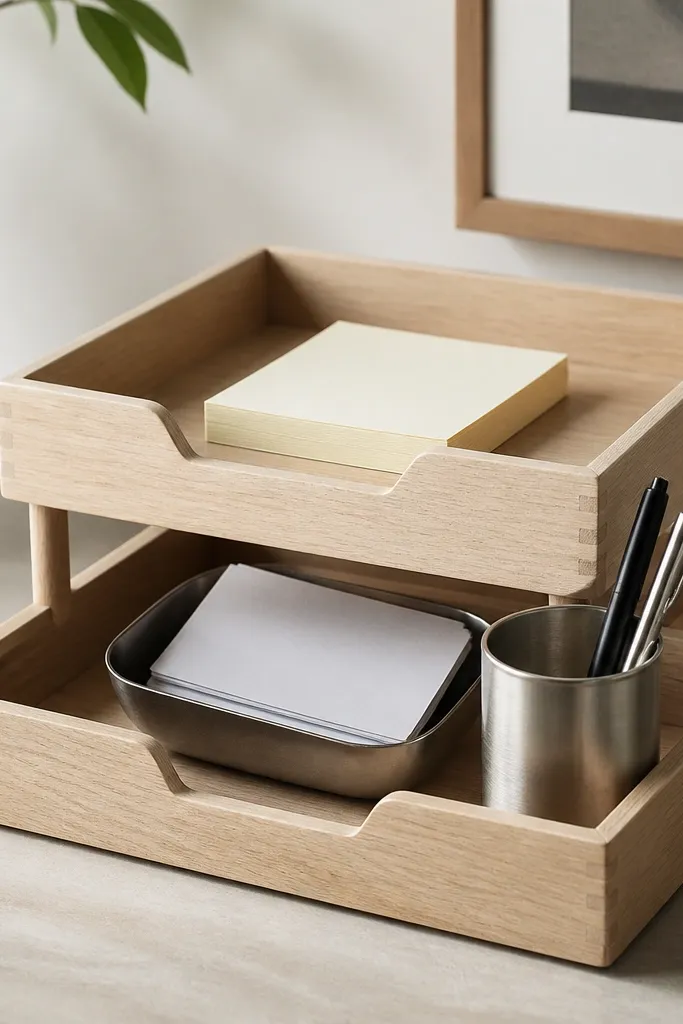
Sticky notes and index cards multiply when they're loose. A stackable tray keeps them in one place and makes the top pad easy to grab. Matte wood and a small metal accent look warm without turning into clutter. I also like adding a pen cup right beside sticky notes so writing never gets "paused."
Use one shallow tray (about 8 inches wide) and one matching tray slightly smaller. Add a divider inside the lower tray using a strip of wood or acrylic painted matte cream. Choose a metal scoop for index cards so the cards don't slide.
Pro tipColor-match the pen - use a warm brown or caramel pen so it visually blends with the trays.
AvoidSkip clear acrylic without tint - it reflects desk lamp glare and looks harsh.
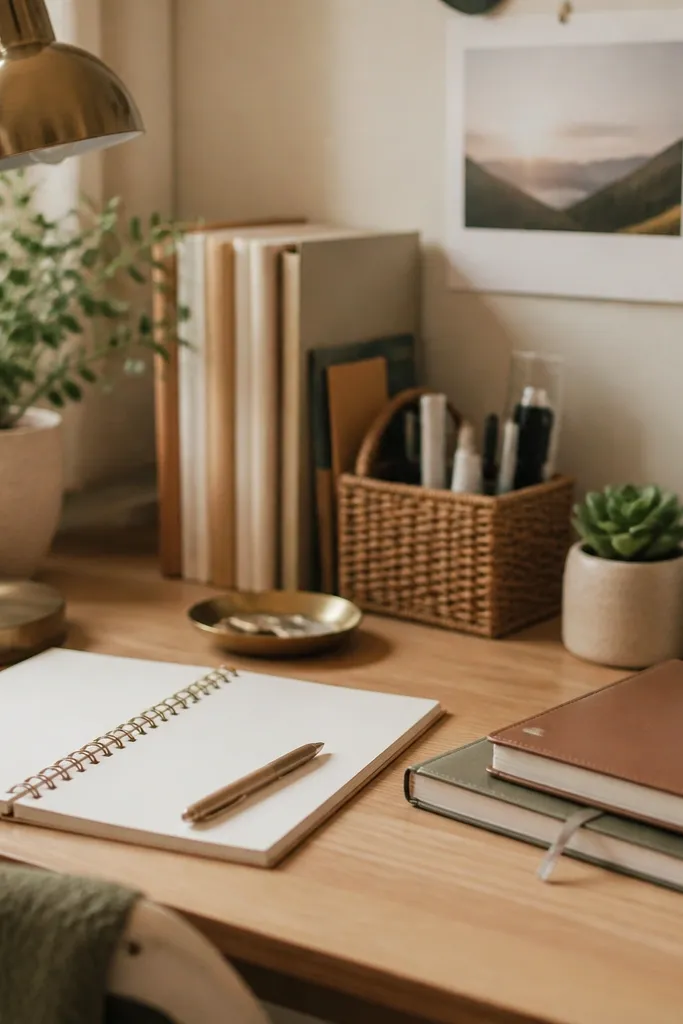
7. Paper path with two file folders and a clip-in spine
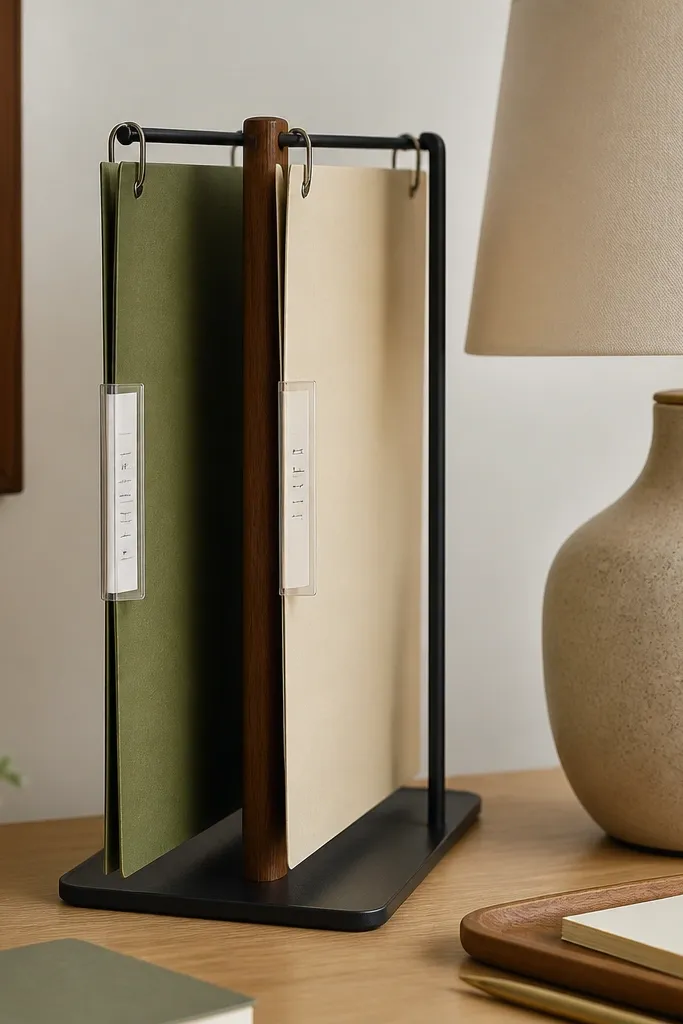
Paper systems fail when students don't know where "done" goes. This paper path uses only two folders: "In" and "Finished," so there's no third decision. The clip-in spine keeps labels readable and lets you swap them weekly. It also looks tidy because folders hang straight.
Attach a vertical file stand or use a simple wooden riser with two hooks. Make the "In" folder the left one so it matches how most desks are laid out. Use kraft label cards inserted into a clear page protector strip clipped to the folder spine.
Pro tipWrite labels in thick marker and add a tiny color dot on the corner to match the subject color.
AvoidAvoid open piles on the desk edge - paper falls and the system breaks in two days.
8. Mini spice-jar style organizers for small supplies
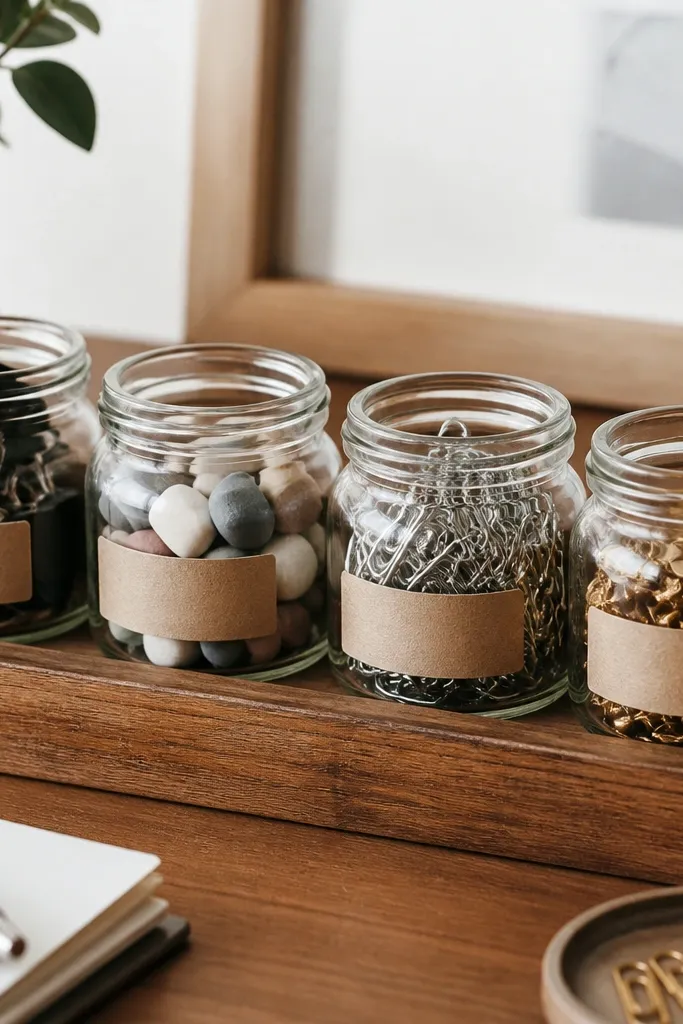
Small supplies get lost in larger bins because they roll around. Jars are glass or clear plastic with lids, so you can shake out exactly what you need. The wooden rack keeps jars aligned and makes the desk look styled instead of random storage. It's especially good for kids because the jars are easy to open and the contents stay visible.
Use 4-8 jars, each about 3 inches tall. Build a simple wooden rack with spacing of 2.75 inches center-to-center so labels don't overlap. Put heavier items like thumbtacks in thicker jars and keep binder clips in wider jars for easy grabbing.
Pro tipAdd a small felt circle under each jar to stop the rack from rattling.
AvoidSkip too many jar sizes - it looks messy when every jar is different height.
9. Desk lamp base tray for pens and highlighters
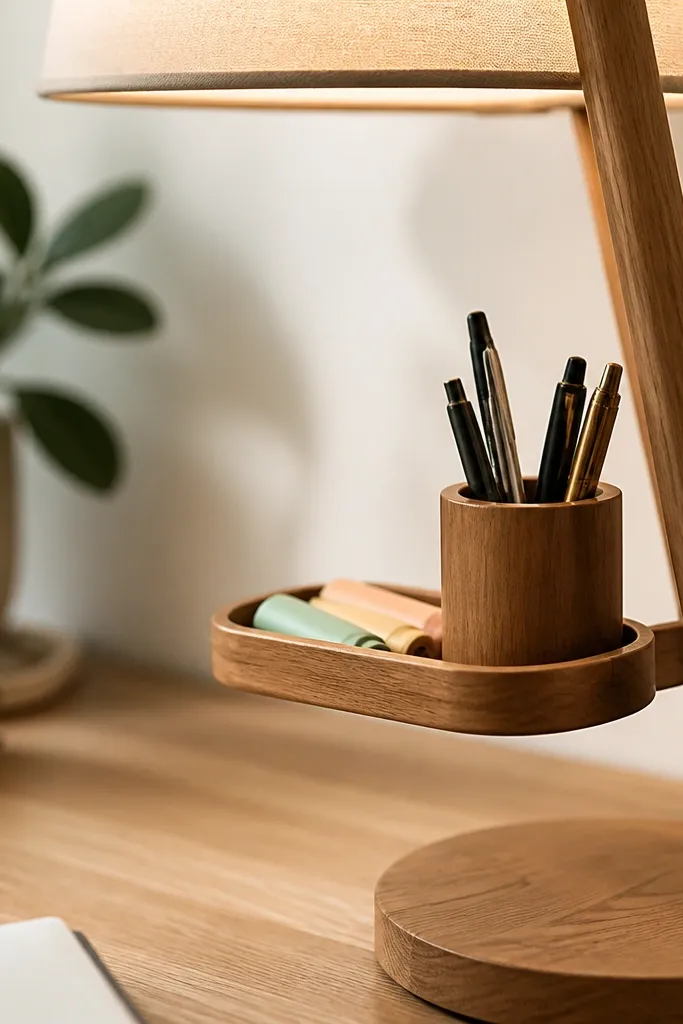
If the lamp is where you sit, the lamp area is where hands naturally reach. A side tray turns that instinct into organization. Pens and highlighters are the fastest items to lose, so keeping them beside the light makes studying feel smoother. Warm wood tray + matte paint keeps it from looking like an add-on.
Glue or screw a small tray plate to the lamp base area, about 3 inches from the edge so it doesn't block light. Use a shallow cup for pens and a small divider for highlighters. Keep the tray depth at about 2.5 inches so items don't tip.
Pro tipUse one color for "today" (like orange highlighter) so the desk looks organized even when you're actively working.
AvoidAvoid placing the tray too far from the seat - if you reach forward, you'll stop using it.
10. Fold-flat fabric bin for homework sheets
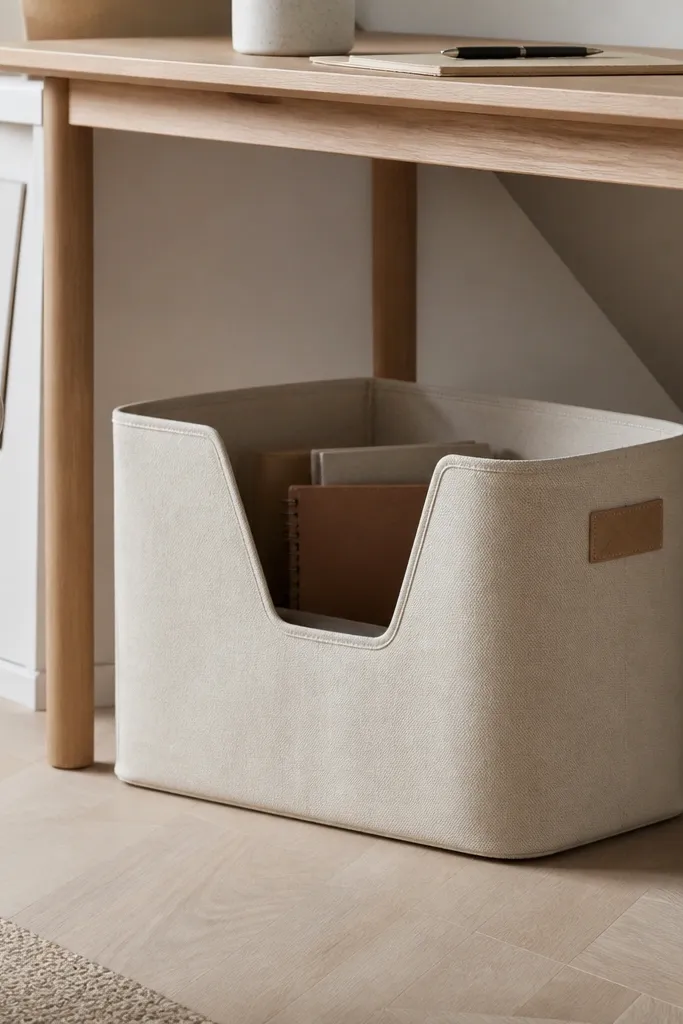
Loose sheets slide off desks. A fabric bin under the desk keeps homework sheets together and hides mess until you're ready. Oatmeal canvas looks cozy and soft, and the stiff base keeps the bin from collapsing when kids shove papers in. This is a lifesaver for shared desks where the top must stay clear.
Sew or assemble an oatmeal canvas bin using a stiff insert (like 1/8 inch foam board) on the bottom. Make it about 10 inches wide and 7 inches tall so it holds a stack without bulging. Add a stitched label tag on the front so kids don't peel stickers off the fabric.
Pro tipMark the bin with a simple rule: "New homework goes here before you start."
AvoidAvoid thin fabric without a base - it turns into a floppy paper bag by day three.
11. Magnetic chalkboard label strip on metal organizer
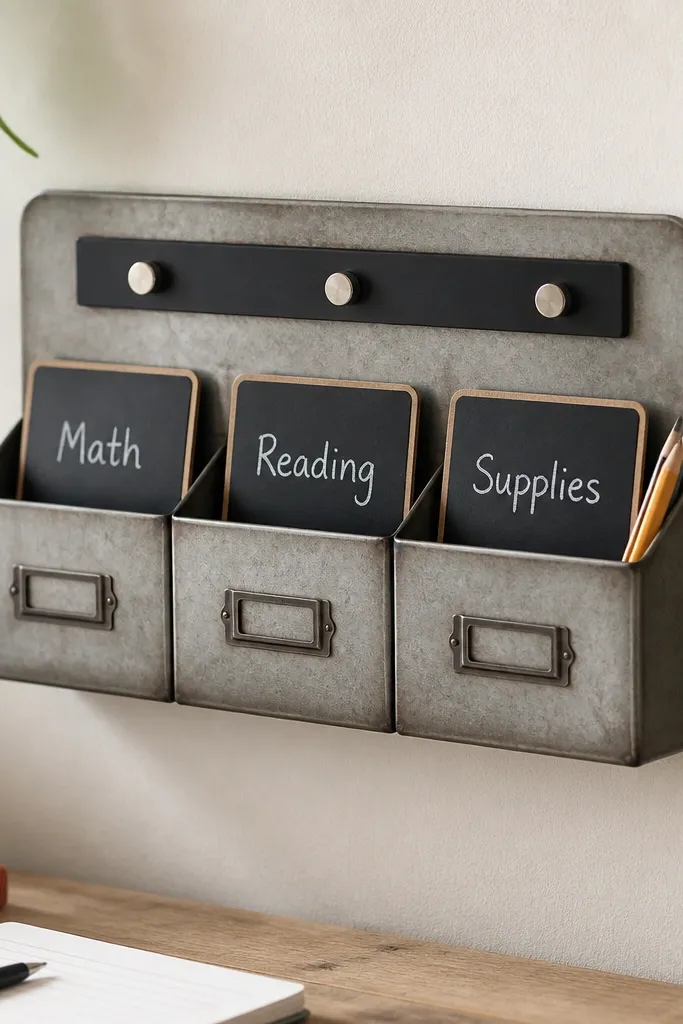
You get flexibility without messy sticker residue. Magnetic chalkboard cards let you rewrite weekly assignments and keep labels consistent. Metal organizers also hold their shape, so the whole desk looks cleaner over time. The warm look comes from using chalkboard cards with kraft backing and pairing them with wood or beige accents.
Use a metal tray system or a metal utensil holder. Add a magnetic strip or magnetic sheet on the front edge. Make chalkboard cards from chalkboard vinyl on cardboard, then attach to the magnetic strip.
Pro tipUse a white chalk marker for the handwriting - it looks clean under warm lamp light.
AvoidSkip permanent marker on the cards - it looks gray and smudges fast.
12. Cable-free headphone hanger with cork backing
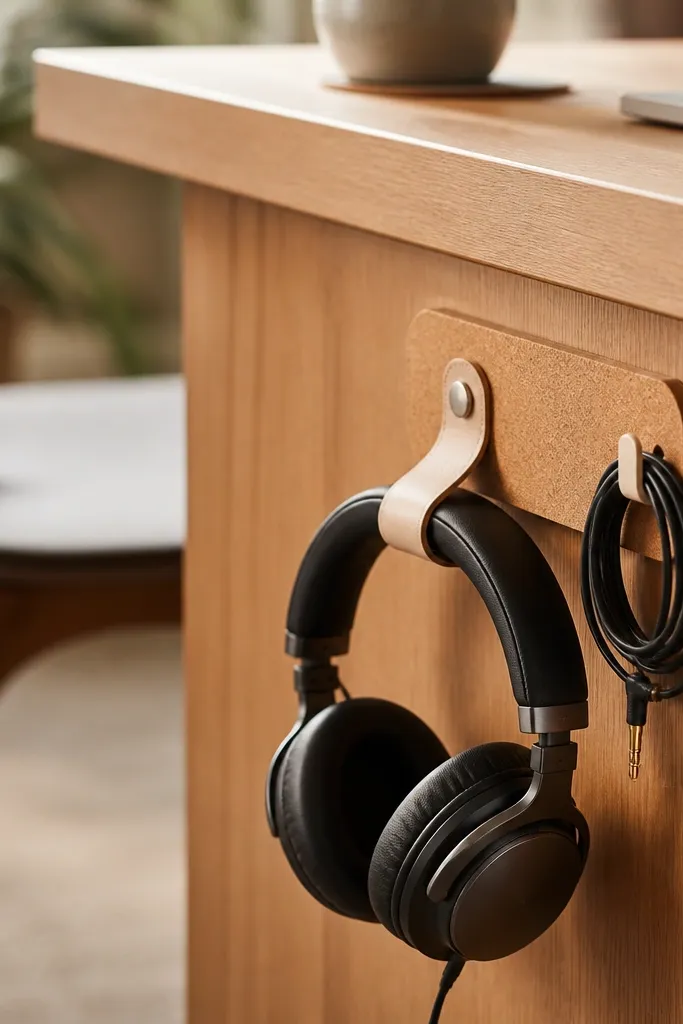
Headphones on the desk become a tangled mess. A cork-backed hanger holds them upright and makes the desk look intentional. Cork adds warmth visually, and the strap-style hold protects the headband from getting crushed. Keeping cords coiled on a side hook prevents the cable from dragging across the workspace.
Mount a cork sheet on the desk side using double-sided mounting tape plus two screws for extra hold. Add a small hook for cord coil and a strap made from cotton webbing to hold the headphone band. Keep the hanger positioned so kids can put headphones away without reaching over papers.
Pro tipAdd a tiny "hang here" label on the cork with kraft tape so the placement is obvious.
AvoidAvoid flimsy sticky hooks - they peel and you end up with headphones on the desk again.
13. DIY rotating card file for flashcards

Flashcards are easier when you can flip through without dumping them. A rotating card file keeps cards upright and stops the "card pile collapse." Felt base reduces slipping and adds that cozy softness. The warm wood finish keeps it looking like furniture, not classroom storage.
Build a turntable base from a plywood circle and a lazy Susan bearing. Add 6-8 vertical dividers made from thin plywood strips spaced so cards slide between. Use 1/8 inch felt on top of the base to keep the turntable quiet and stable.
Pro tipLabel each slot with a small colored dot on the divider so kids don't read every label every time.
AvoidSkip loose piles inside bins - they spill during rotation and the desk looks worse than before.
14. Waterfall desk organizer for art supplies
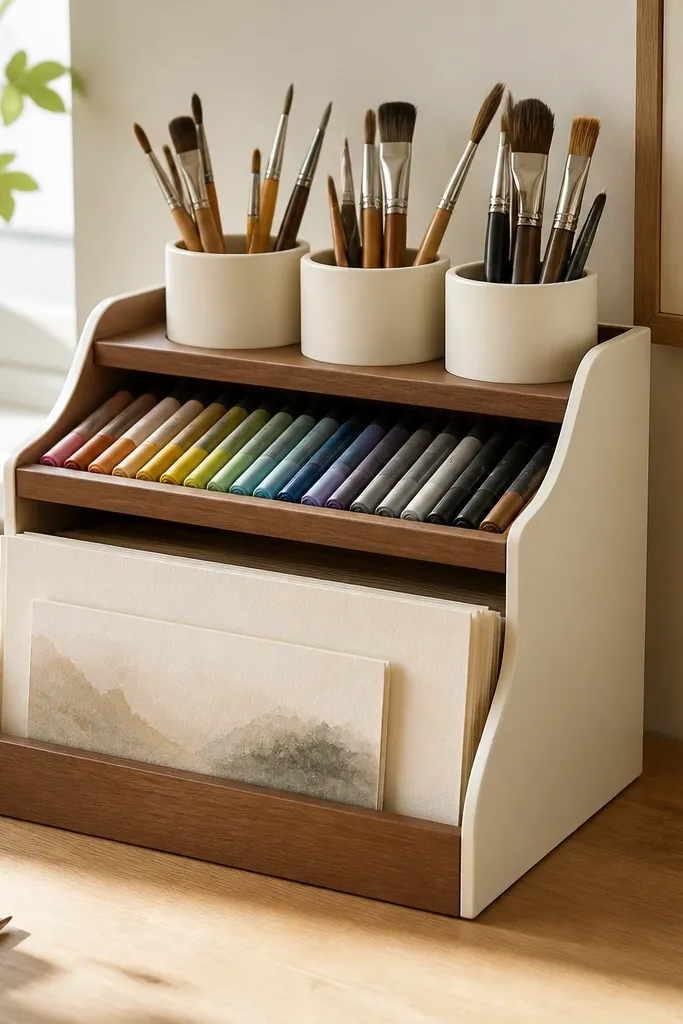
Art supplies spread fast because they're tall, messy, and easy to knock over. A waterfall organizer with steps keeps items at different heights so you can grab without moving everything. It also looks warm because paint cups and paper slots read like a studio. I've used this for kids who draw daily and it keeps the desk surface clear between sessions.
Make a three-level structure from plywood: top shelf 10x6 inches, middle 10x6, bottom 10x8 with a vertical paper slot. Line marker compartments with felt so caps don't roll. Paint in matte cream and stain the edges warm brown.
Pro tipPut a small wipeable tray under brush cups for spills - it saves you from dried paint stains.
AvoidAvoid open shelves without lips - brushes slide and markers tip when a chair bumps the desk.
15. Wraparound ruler and protractor pocket on the side
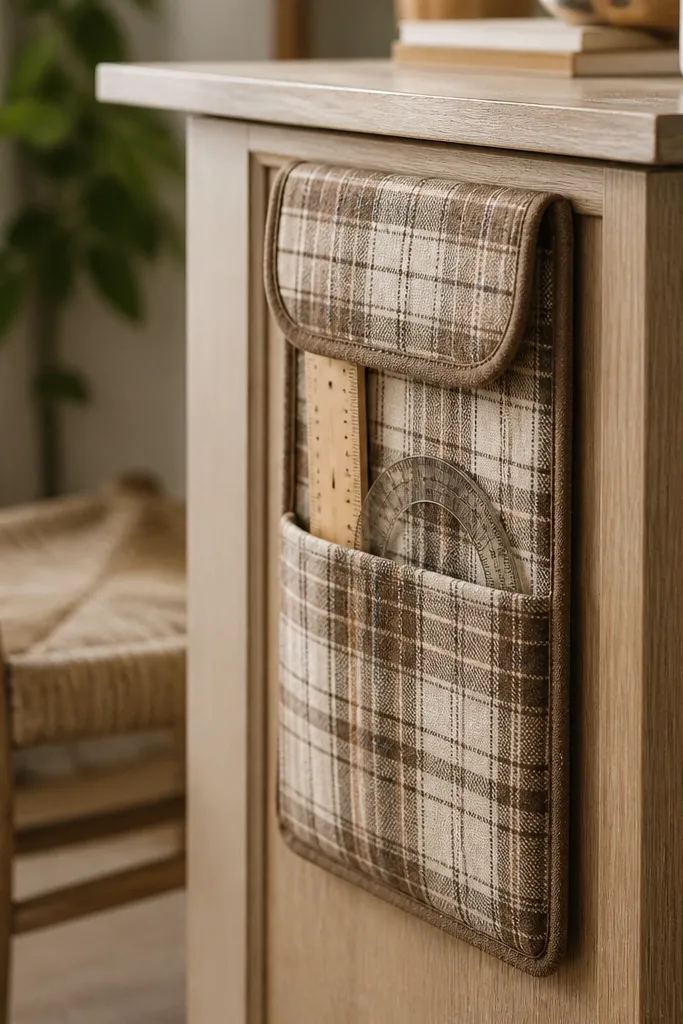
Long tools create desk clutter because they don't fit neatly in bins. A side pocket keeps rulers and protractors off the work surface and easy to grab. The pocket flap keeps them from falling out during daily movement. Warm plaid fabric makes the organizer look like part of the desk decor instead of an afterthought.
Sew a pocket using canvas or heavy cotton in a width of about 14 inches and height about 16 inches. Add a flap that overlaps by 2 inches with a button or velcro dot. Use two internal elastic loops to hold the ruler straight and prevent sliding.
Pro tipMark the back edge of the pocket with a small arrow so kids insert tools the same way every time.
AvoidAvoid stretchy fabric - rulers slide and end up crooked in the pocket.
16. Labeled jar for "pens that work" and "spare caps"
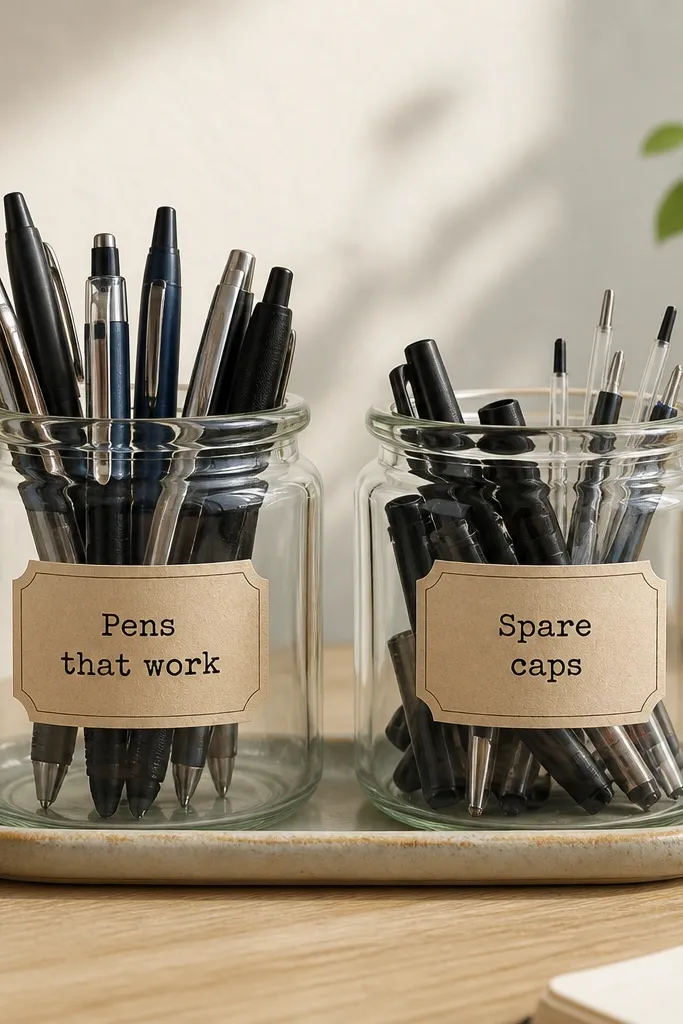
This is the kind of organization that feels invisible because it removes frustration. When a pen runs out, kids swap it immediately, and the desk stays functional. Two jars prevent the classic problem of mixing random broken pens with usable ones. Matching labels and warm jar colors keep the desk cozy, not chaotic.
Use two jars with matching lids. Keep only working pens in the first jar by doing a quick test every Sunday. Put spare caps, extra leads, and small eraser bits in the second jar. Place both jars on the desk tray near the lamp.
Pro tipSet a 1-minute check routine after homework: cap the pens, and move any nonworking pen to the "spare" jar for later replacement.
AvoidAvoid keeping everything in one jar - it turns into a junk grab and kids stop checking.
17. Warm-toned desk mat with built-in tray edge
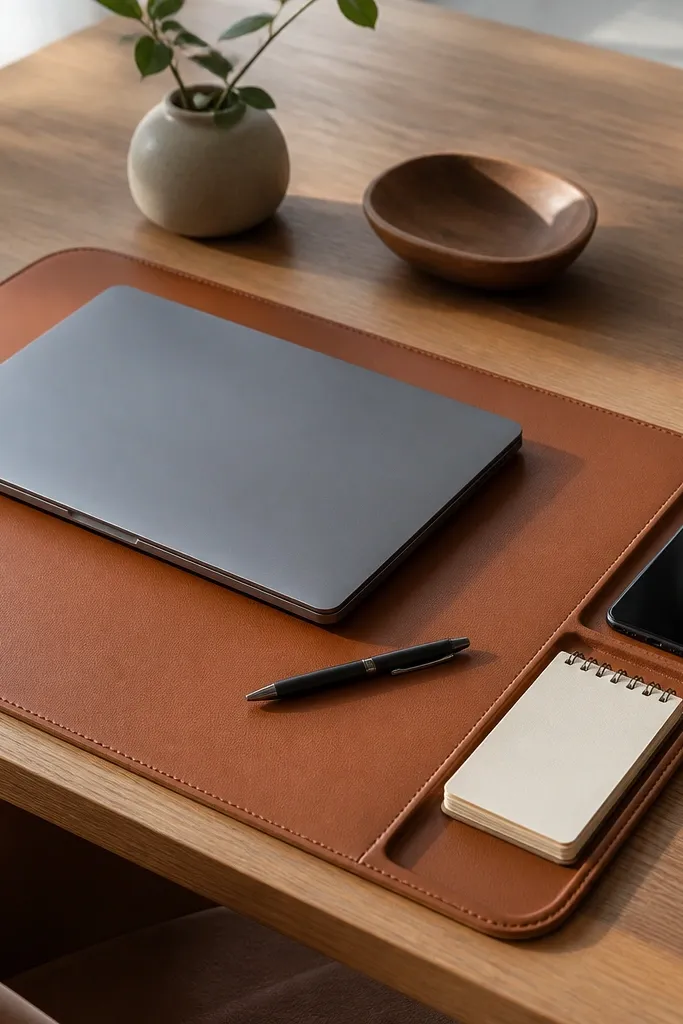
A desk mat makes the whole area feel finished. The built-in tray edge controls where small items land so they don't drift into the paper pile. Caramel brown looks warm under 2700K light and hides minor smudges from marker and pencil. It also gives a surface where paper doesn't slide as much.
Buy or make a felt-backed mat sized to cover most of the desk surface, around 24x48 inches. Add a slim stitched lip along the side using fabric or leather strip about 1 inch tall. Place a phone stand or notepad on the lip edge so it stays in the same spot.
Pro tipUse a small felt pad under the phone so it doesn't slide when the desk vibrates.
AvoidAvoid pure white mats - they show every shadow and smudge and kill the cozy warmth.
18. Sticky note bookmarks in a cork ring holder
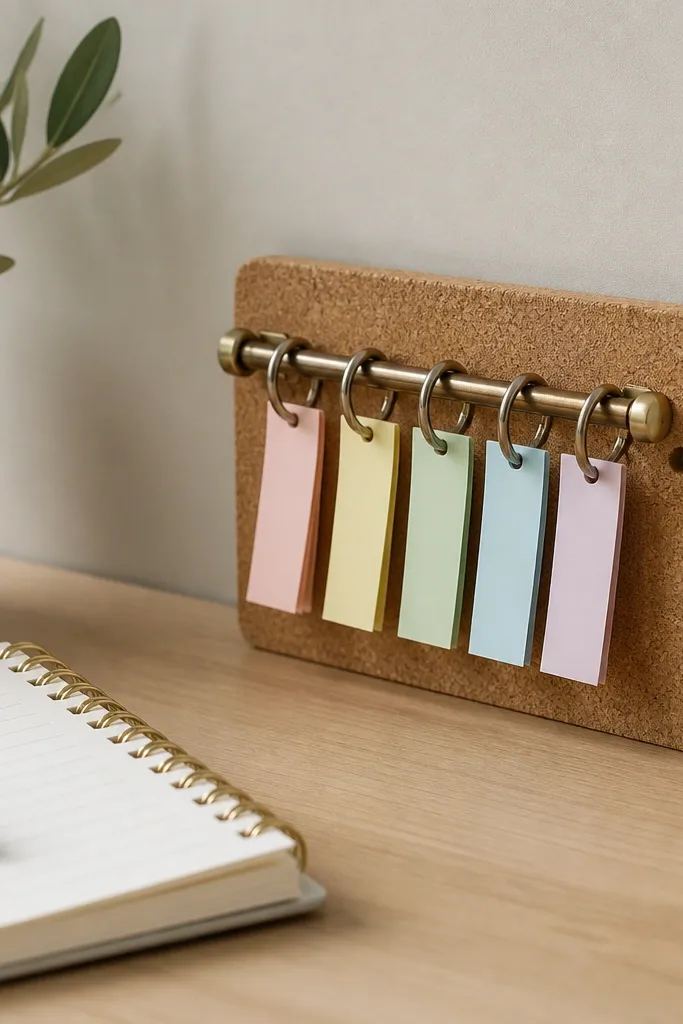
Bookmarks are a clean way to keep track of pages without scattering sticky notes across the desk. The cork ring holder looks warm and keeps tabs sorted in one spot. This works especially well for reading assignments, where you're constantly marking quotes and chapters. It also makes the desk feel calmer because notes are vertical, not stacked.
Mount a cork strip and attach 6-10 small metal rings using screws. Cut sticky note tabs into thinner bookmarks (about 1 inch wide) and loop them through the rings. Keep the holder near the notebook so you can add or swap tabs in seconds.
Pro tipWrite the chapter number on the bookmark with a dark marker and add a tiny color dot for the book.
AvoidSkip random binder clips - they dent pages and look messy next to paper.
19. Corner shelf with soft basket for "extra supplies"
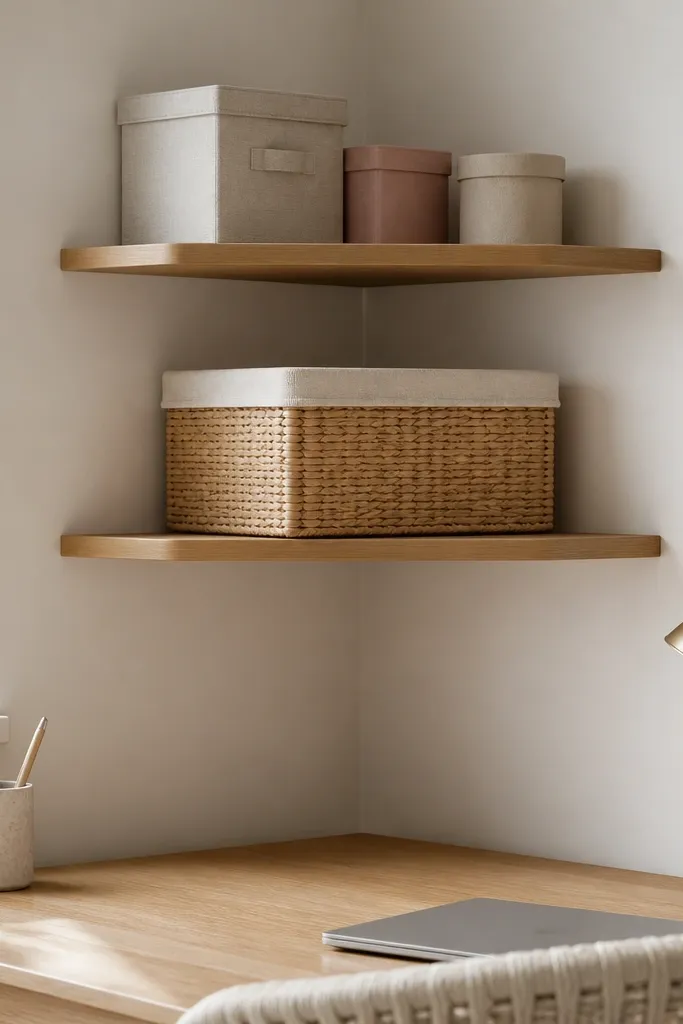
You need storage for the stuff you don't touch daily. A corner shelf lifts extra supplies out of the line of sight and keeps the desk top breathable. A woven basket with a fabric liner looks cozy and helps hide packaging clutter. Labeled bins on the shelf make it easy to restock without bringing everything down to the desk.
Install a shelf about 24 inches above the desk surface. Use a basket about 12 inches wide and 10 inches deep with a removable liner. Put one small labeled bin for "refill ink," one for "extra paper," and one for "craft supplies."
Pro tipKeep only two weeks of refills in the basket so it doesn't become a storage dump.
AvoidAvoid putting everything on the shelf - if you can see it all, it starts looking cluttered again.
20. Mini whiteboard with warm wood clip rail
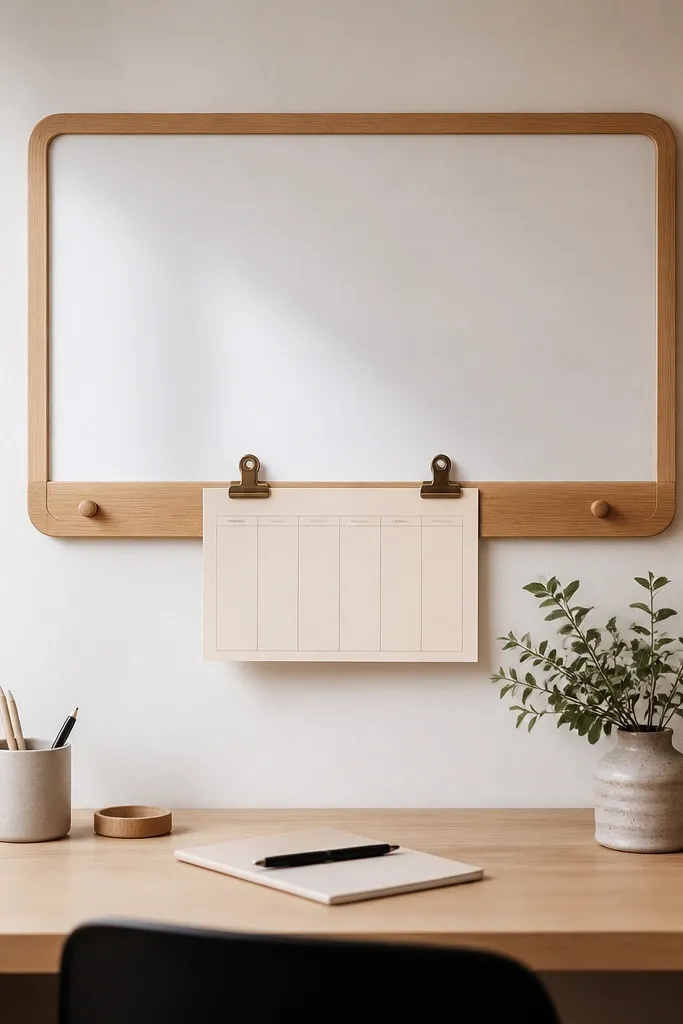
A mini whiteboard gives you one visible plan area so papers don't become the only "to do." The warm wood clip rail makes it look furniture-like instead of school-issued. I like using it for daily reminders: "Math practice," "Reading pages," and "Bring library book." Under warm light, the board looks softer and less clinical.
Mount a small whiteboard about 12x16 inches. Add a 1x2 wood rail under it with two screw holes for clips. Use two to three clothespins or binder clips to hold a printed weekly card; keep cards tucked so they don't flop.
Pro tipWrite in one color and use a second color only for due dates so the board stays readable.
AvoidAvoid full-size wall whiteboards - they invite messy scribbling and the desk area becomes visually loud.


